White Knuckle

White Knuckle

48 ratings
White Knuckle All Denizens and Events Detailed Guide
By <i><mark><b><#FF0><u>Qwergin
A detailed guide that explains how all Denizens and Events work. Spoiler-friendly, unless you go to the chapters of the things you don't know about. Most of the information here is things I've learnt by myself in Developer Playground or the Campaign using godmode, so I might be missing some information that could help. If there is anything that I've managed to miss, tell me and I can add it.

If you would prefer to watch a video then click this link.
https://www.youtube.com/watch?v=DYx6WSjDGjg

The video above does not have the things that say (TCU) next to their name. To see a video with those things, click this link.
https://www.youtube.com/watch?v=FBYWvzHr4Xg&list=PLRH0Mr_EP9ASDU9hovM9JXUZEIhe1xkSb&index=2
5
8
3
   
Award
Favorite
Favorited
Unfavorite
Introduction
Hello!
This is a guide that explains how every single living thing and danger works and its counters, in order of when you discover it. Unlike my other guides, this guide can be viewed no matter how far you've gotten in the game, because it is spoiler-friendly, unless you go to the chapters of things you don't know about. The only spoilers you'll get otherwise is the names of everything if you look at the chapters. I highly recommend beating the game and figuring out how everything works, but if you really don't want to, or you've beaten the game and want to learn more, then use this guide.

If you would prefer to watch a video then click the link below.
https://www.youtube.com/watch?v=DYx6WSjDGjg&list=PLRH0Mr_EP9ASDU9hovM9JXUZEIhe1xkSb&index=8
If you want to see the things that have (TCU) at their name, click the link below.
https://www.youtube.com/watch?v=FBYWvzHr4Xg&list=PLRH0Mr_EP9ASDU9hovM9JXUZEIhe1xkSb&index=2


You can find my other White Knuckle guides here:
White Knuckle 100% All Achievements Guide
White Knuckle How to Enter the Developer Playground
White Knuckle All Items Detailed Guide
White Knuckle How to Use the Cheat Console
White Knuckle All Perks
White Knuckle All Logbook Unlocks
White Knuckle How to Mod the Game
White Knuckle How to Get Good at the Game
White Knuckle Best Routes For Every Room (W.I.P)
Basic Knowledge
This is some basic universal information you should know. I will update this part each time I remember something I can add.
Your main weapons are:
Hammers, Bricks, Any Rebar, and (Spoilers for the 3rd major region) the Flare Gun.
The guide goes in more detail on how to use these weapons.

There is an advanced technique you can do to kill things with hammers faster. You need both hands open. If you switch the hand your hammer is in, it resets the cooldown for the next hammer swing. So, hit your hammer, swap, hit, swap, hit, and repeat as fast as you can, and you can harm things very fast and easily.

If you are having trouble with enemies in dark areas, turn your brightness to 2. It helps a lot.

The guaranteed way to counter absolutely everything is to escape.
The Mass
Also known as Class-7 Fluid.

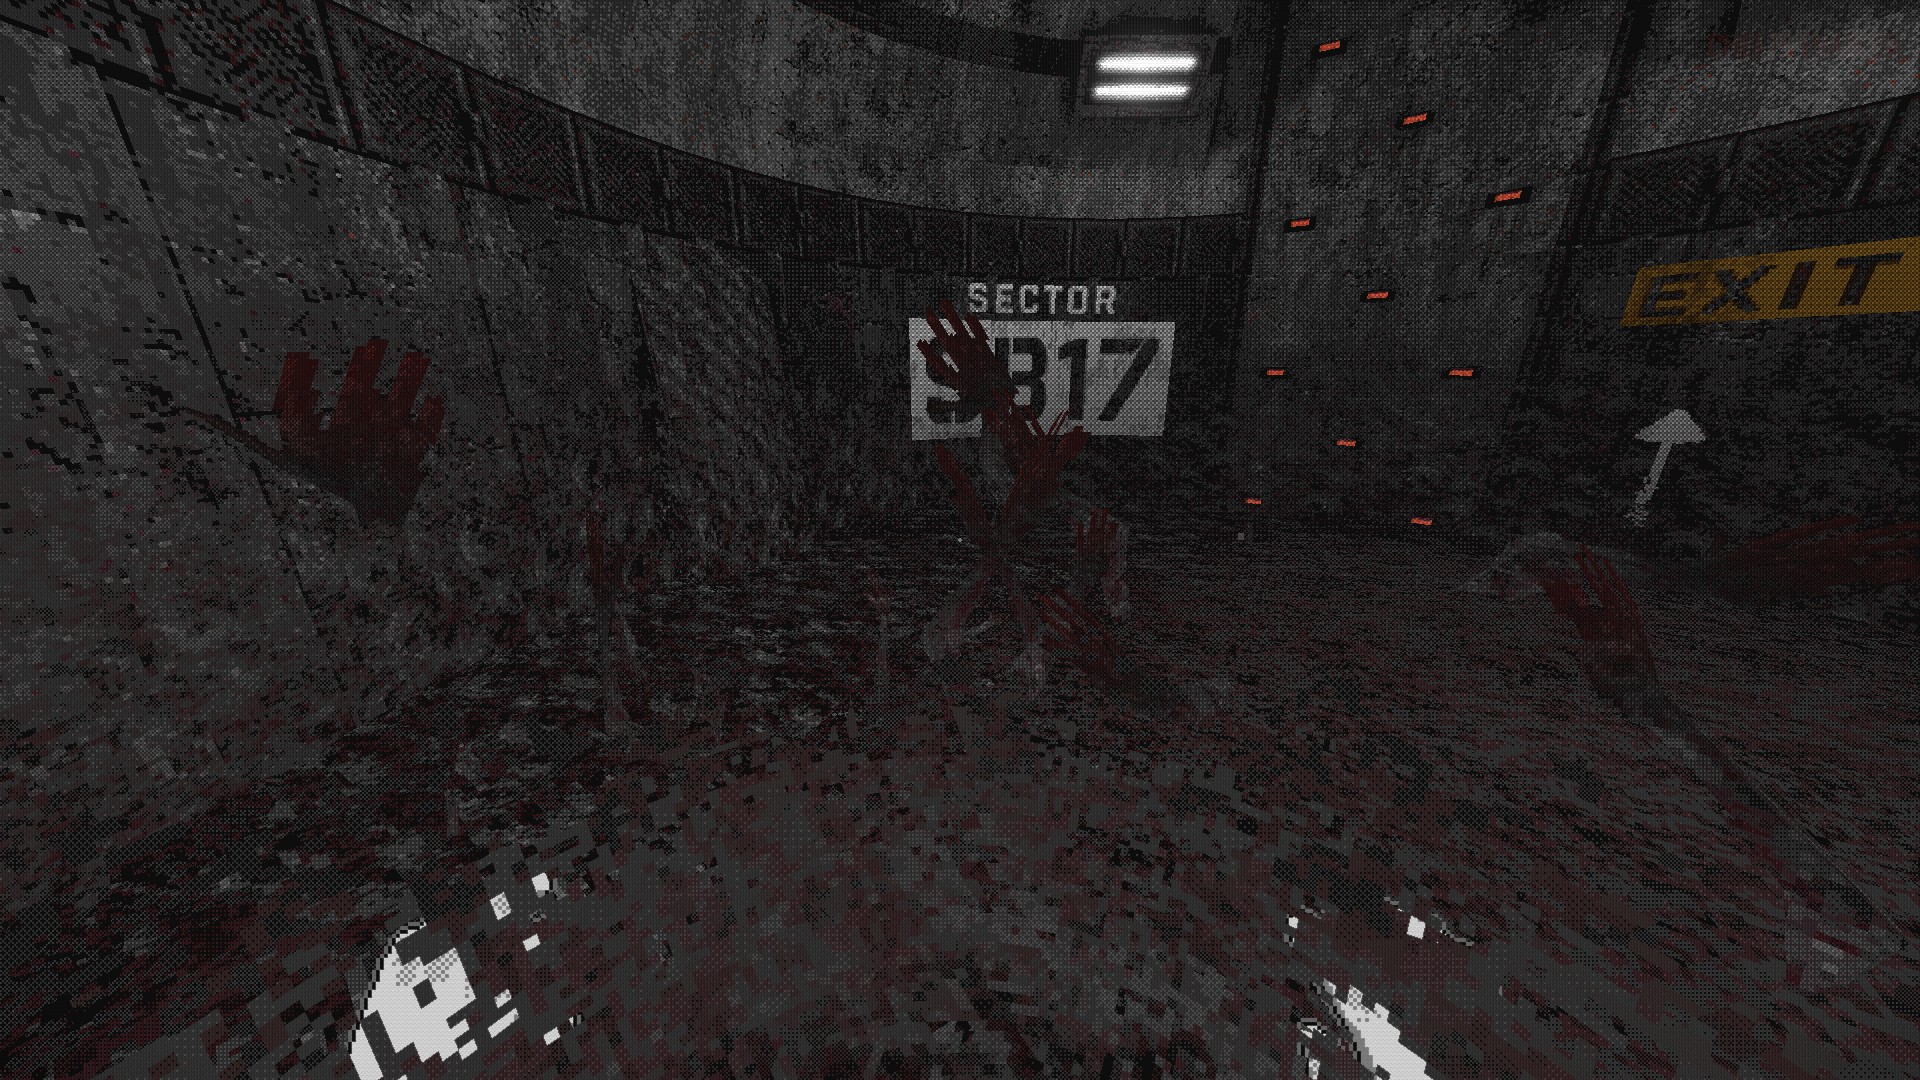
The simplest hazard in the entire game.
Just climb up. When it starts moving, you will hear a very loud noticeable sound cue. As you progress through the game, it gets faster and faster, capping at 2 meters per second. Once you reach 5K meters, it caps at 3 meters per second. Once you reach 10k meters, the cap gets bumped up to 16 meters per second... It can not be over 50 meters below you. Also, all of the achievements in the game that require you to die to a specific thing can be achieved if those specific things push you into it. It DOES NOT move in secret graffiti rooms. It also does not move in the Break Rooms. It also does not move if you do something that blocks it. SPOILERS FOR THE 3RD MAJOR REGION: It does not appear in Habitation Yellow, because the airlock keeps it from coming in.

The best advice that can be given for the mass is to just climb as fast as you can. If the mass is nearby, you will hear the atmosphere change a little, and you will hear liquid sounds. If you slip, and are about to fall into the mass, ready your hands and pray, or do something more effective. A simple way to save yourself if you're falling, is to keep something powerful in your pocket, like a grub, or something that boosts you if used. You can also crunchy climb, which is slowly climb jumping with each hand, and the time between each hands jump is long enough to where the stagger from 0 stamina does not stop you from grabbing.

In hard mode, it moves much faster.

In the Training Sector there is a different variant of The Mass called The Flood. It looks and sounds different, but it's basically the same thing. You can only encounter The Flood by enabling it in the Training Sector, and you can choose the speed of The Flood.


That's all there is to know about The Mass.
Don't scroll any further if you don't want to spoil yourself, there is another hazard below.


Doors
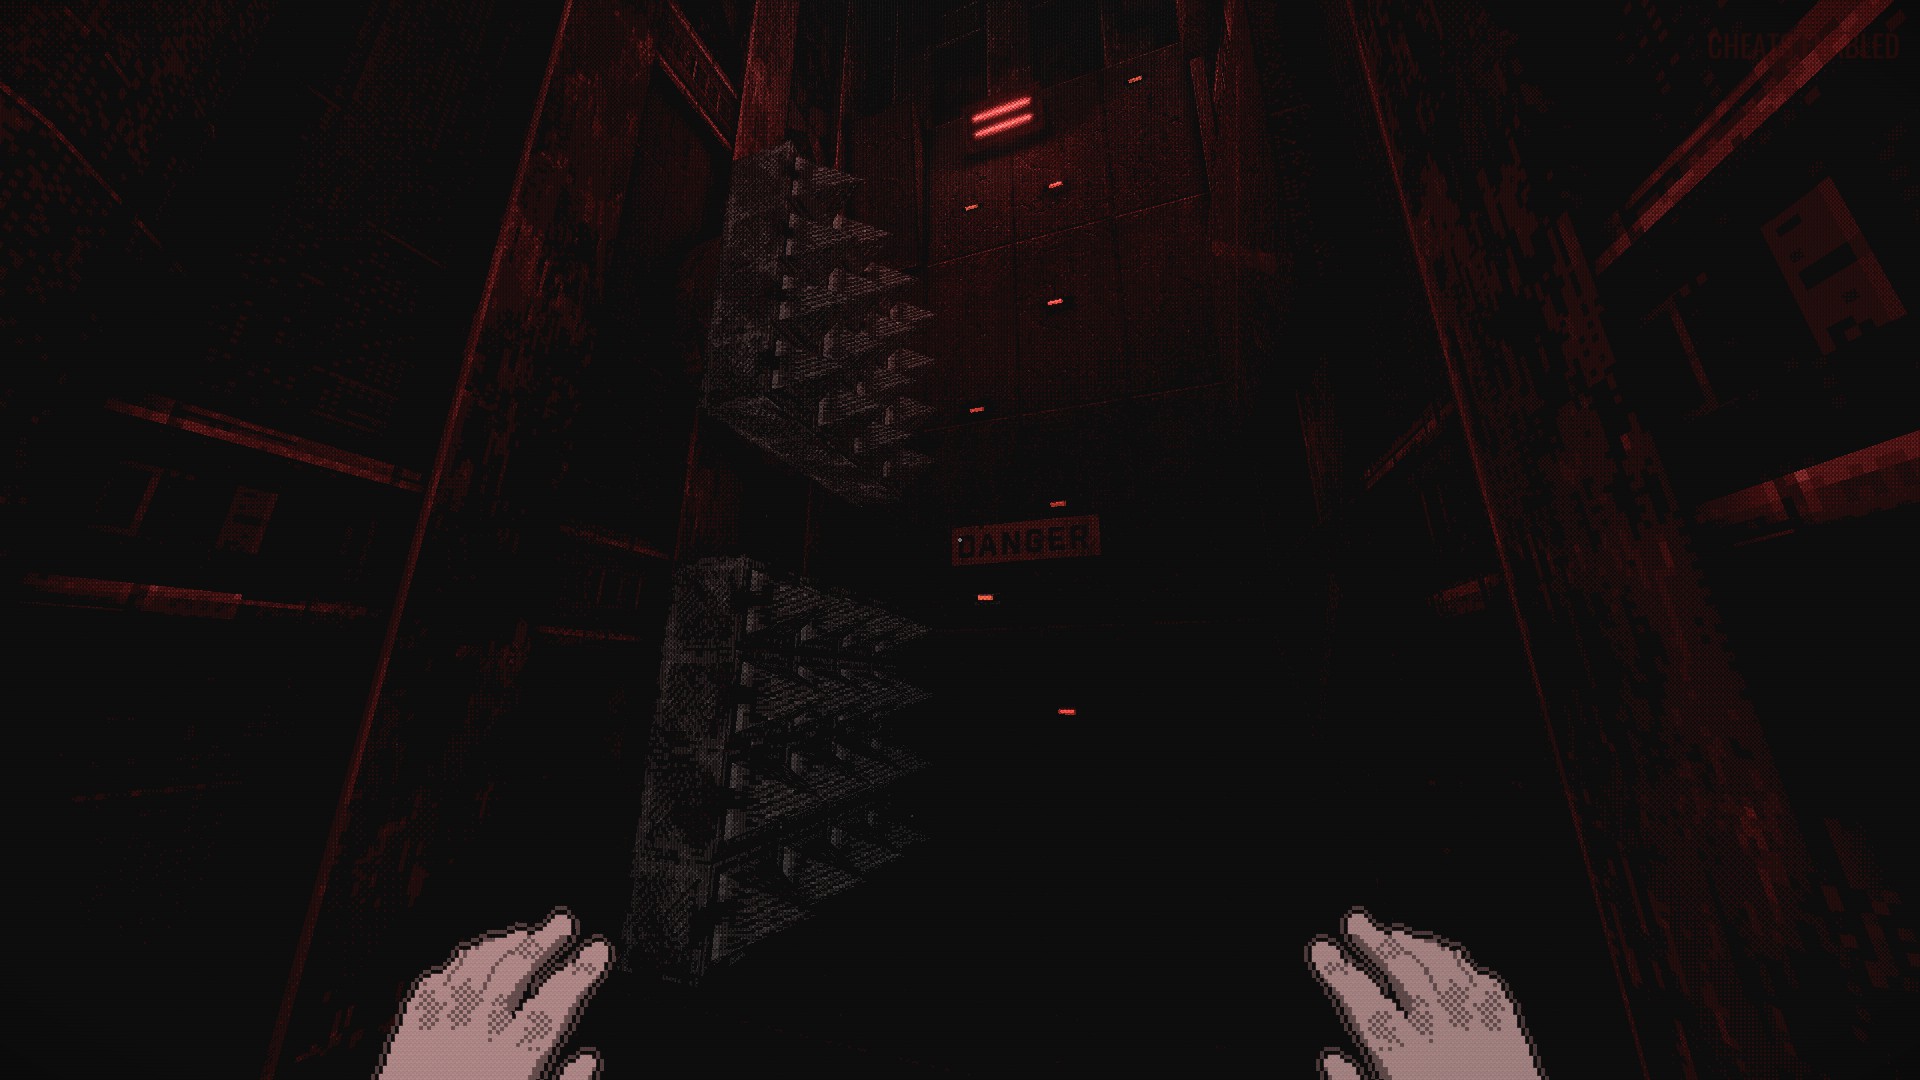
A closed door.

The worst way to die in the entire game.
Exclusively in Silos, whenever you leave a room, the door to it closes behind you. When you go above the door, it will start to close. If the door closes on you, you die... You get the "Crushed Embarassingly" death message if you die to a door. Be careful when leaving Silos rooms, because if you accidentally trigger the door, you have to make it up there QUICK because you don't want to be locked out in the room below and die. This is an incredibly simple hazard. Just be careful leaving Silos rooms.

If the door doesn't close on you and only partially touches your lower body, you will take a large amount of damage instead of dying.

Pressing F5 twice lets you see the damage a door is actively doing. If VDMG is green, it's safe. If it is yellow, it hurts you. If it is red, it will kill you.


That's it for doors.


Fall Damage
im fallign

Not dangerous at all.
There really aren't any places where you can actually die to fall damage. You can die to it on purpose pretty easily in very specific places, but other than that you shouldn't worry about it.

While you're falling, you take bits of damage the longer you fall and when you touch the ground you get a heap of damage. If you double jump, grab onto something, rebar boost, or do anything else that stops you from falling, you get that heap of damage immediately. There isn't much to say about fall damage, it technically isn't even just a hazard.


That's it for fall damage.


Barnacle
A spot infested with Barnacles.

"Tip: Don't get eaten."
The Barnacle is one of the more common threats in Substructure 17. They all look the same, and are usually together in groups. They make weird wet sounds when their tentacles move, so you'll always know if one is nearby. They always stay stuck in one spot.

They randomly shoot out up to two tentacles at once at random locations. If you hit the tentacle with a hammer, or a brick, the tentacle will go away. If you drag a physics object into a tentacle, the Barnacle will pull it in and eat it. If you walk into the tentacle, you will be slightly damaged and slowly pulled towards the Barnacle. Even if the tentacle is attached to you, hit it with a hammer or brick and it'll detach. If you move far away from the Barnacle, it detaches, so you can save yourself even in an item-less run.
These are the ways to kill a Barnacle.
Hammer: 5 hits.
Brick: 2 hits.
Any Rebar: 1 hit.
Spoiler for 3rd major region: Flare gun: 1 hit.

Now that you know the ways to kill it, you should know that killing it just wastes potential on easier travel. You can grab onto it's tentacles to climb, you can grab onto the Barnacle itself, dead or not, if you're holding the tentacle while you break it, you can slingshot yourself, and basically you should focus on using the Barnacle for climbing. The Barnacle is not a hazard, it is a tool.
Also, if you die to the Barnacle you can get an achievement.

There's an advanced technique you can do once you get used to Barnacles.
Let a Barnacle attach it's tentacle onto you.
Since you can climb onto the tentacles, you can grab the tentacle while its on you, jump, and repeat. Just aim at the tentacle, hold left click or right click and spam jump. You can literally fly using a Barnacle. When you're done, hammer it off of you.

There are a lot more niche uses for the Barnacle than you might think. For example, a tentacle is connected to a physics object, it can not grab onto you. This can be helpful if you want to climb the tentacles but you aren't skilled enough. Another thing that Barnacles can help you with is keeping you safe from fans in Air Exchange. Especially the room with the side-pulling fan or if you have p-binding, Barnacles can be a great help in pulling you away from the fan.

You can also... resist the pull of a Barnacle? If you have your hand on its tentacle while the tentacle is attached to you, and you are moving yourself backwards, you can resist the pull of it, no matter how strong it is pulling you.

Pressing F5 twice will allow you to see barnacles through walls. You will see text that says state: ___ on every tentacle and there are 4 different states. Searching (tentacle not out yet) Reaching (tentacle is out) Retracting (tentacle going back) and Grabbing (tentacle grabbed something and is pulling it in)

In hard mode, the Barnacles have aimbot, and their pull is significantly stronger.


That's it for the Barnacle.


Mechanical Barnacle (TCU) (W.I.P)
barnacles that only appear in the training sector. they are really different than normal, they look different, require more hits for a hammer death, shoot only one tentacle, make different sounds, shoots and retracts more aggressively, and a bunch of other stuff
Fans
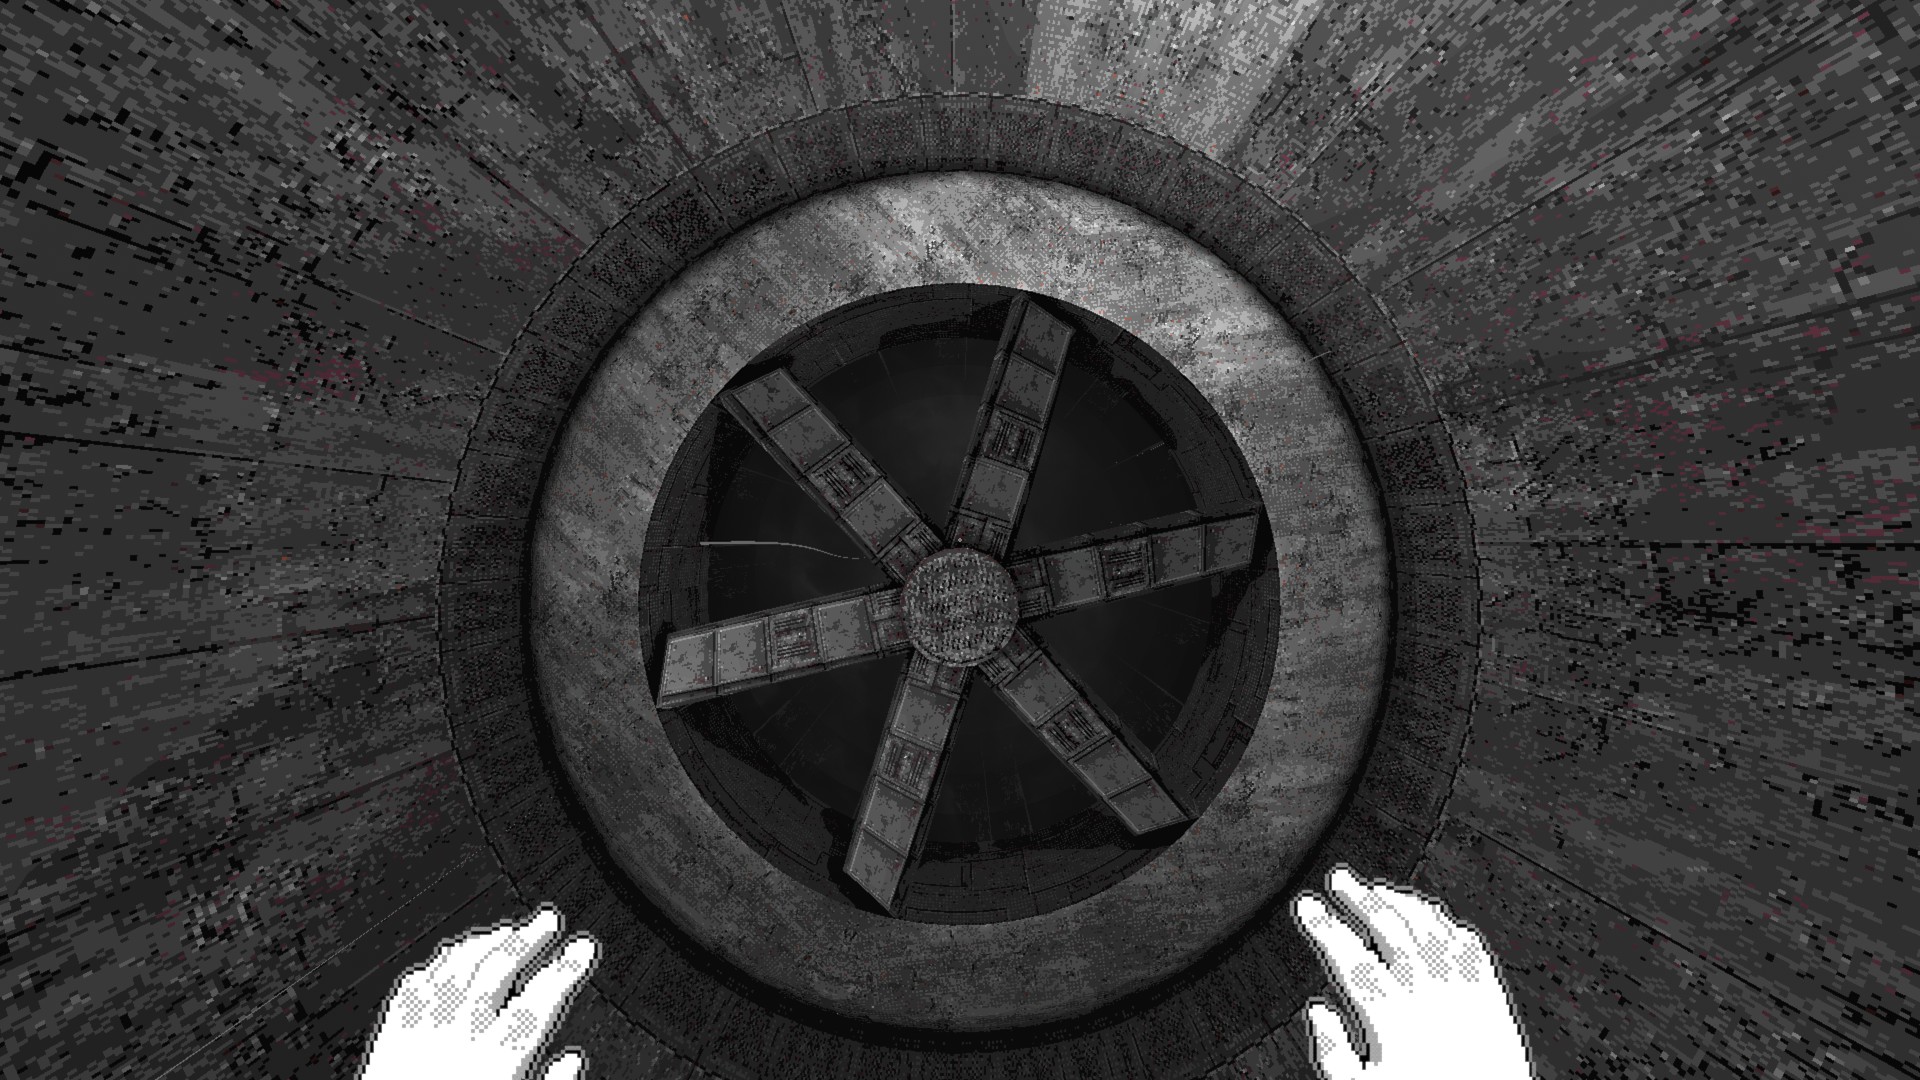
A fan.

Remove Air Exchange.
Fans are simple hazards found exclusively in Silos Air Exchange. When you touch them, you get damaged. Certain rooms in Air Exchange have the fans power on and off. Keep in mind that the on and off powering is not realistic. The moment the fan turns on, if you're touching it you'll get hurt, and the moment the fan turns off, you can touch it and you'll be safe. One room reverses the flow of the fans occasionally. Some rooms require you to wait for the fan to turn off. Some rooms require you to press a button, and more. You'll figure it out, this isn't a complicated hazard to work around.

Some fans are slow and some fans are fast, slow fans require two hits to kill you, and fast fans require only one hit to kill you. Fast fans are usually the ones that are a difficult, which is why you may not have ever known that some fans don't instantly kill you.
What I said is not technically correct. Fans only damage you based on its exact speed, not a type of speed. However, the only times you will encounter something that doesn't kill you in one or two hits is when the fan is slowing down or speeding up after being turned off or on.

You can press F5 twice to look at how dangerous fans are. Each blade has a speed number, and is colored. If it's colored red, it does 5+ damage. If it's colored yellow, it does below 5 damage. If it's colored green, it's harmless.

You can BLINK through the fans.


That's it for the fans.


Crusher
2 crushers in Shattered Chambers.

Wait for 6000 years to get a prize!!!!!
This is a very simple hazard. They crush and go back at the same times in a loop. You also hear a sort of whistling sound right before they crush. It's less of a whistle and more of a balloon losing air. Almost every situation you can skip these, but if you don't want to skip them, just wait for them to crush and go as fast as you can. You can also climb on the crushers themselves, but be careful doing that. It's very risky.
In hard mode, the crushers crush much more frequently.


That's all there is to know about the crushers.


Contamination
Also known as Acid.

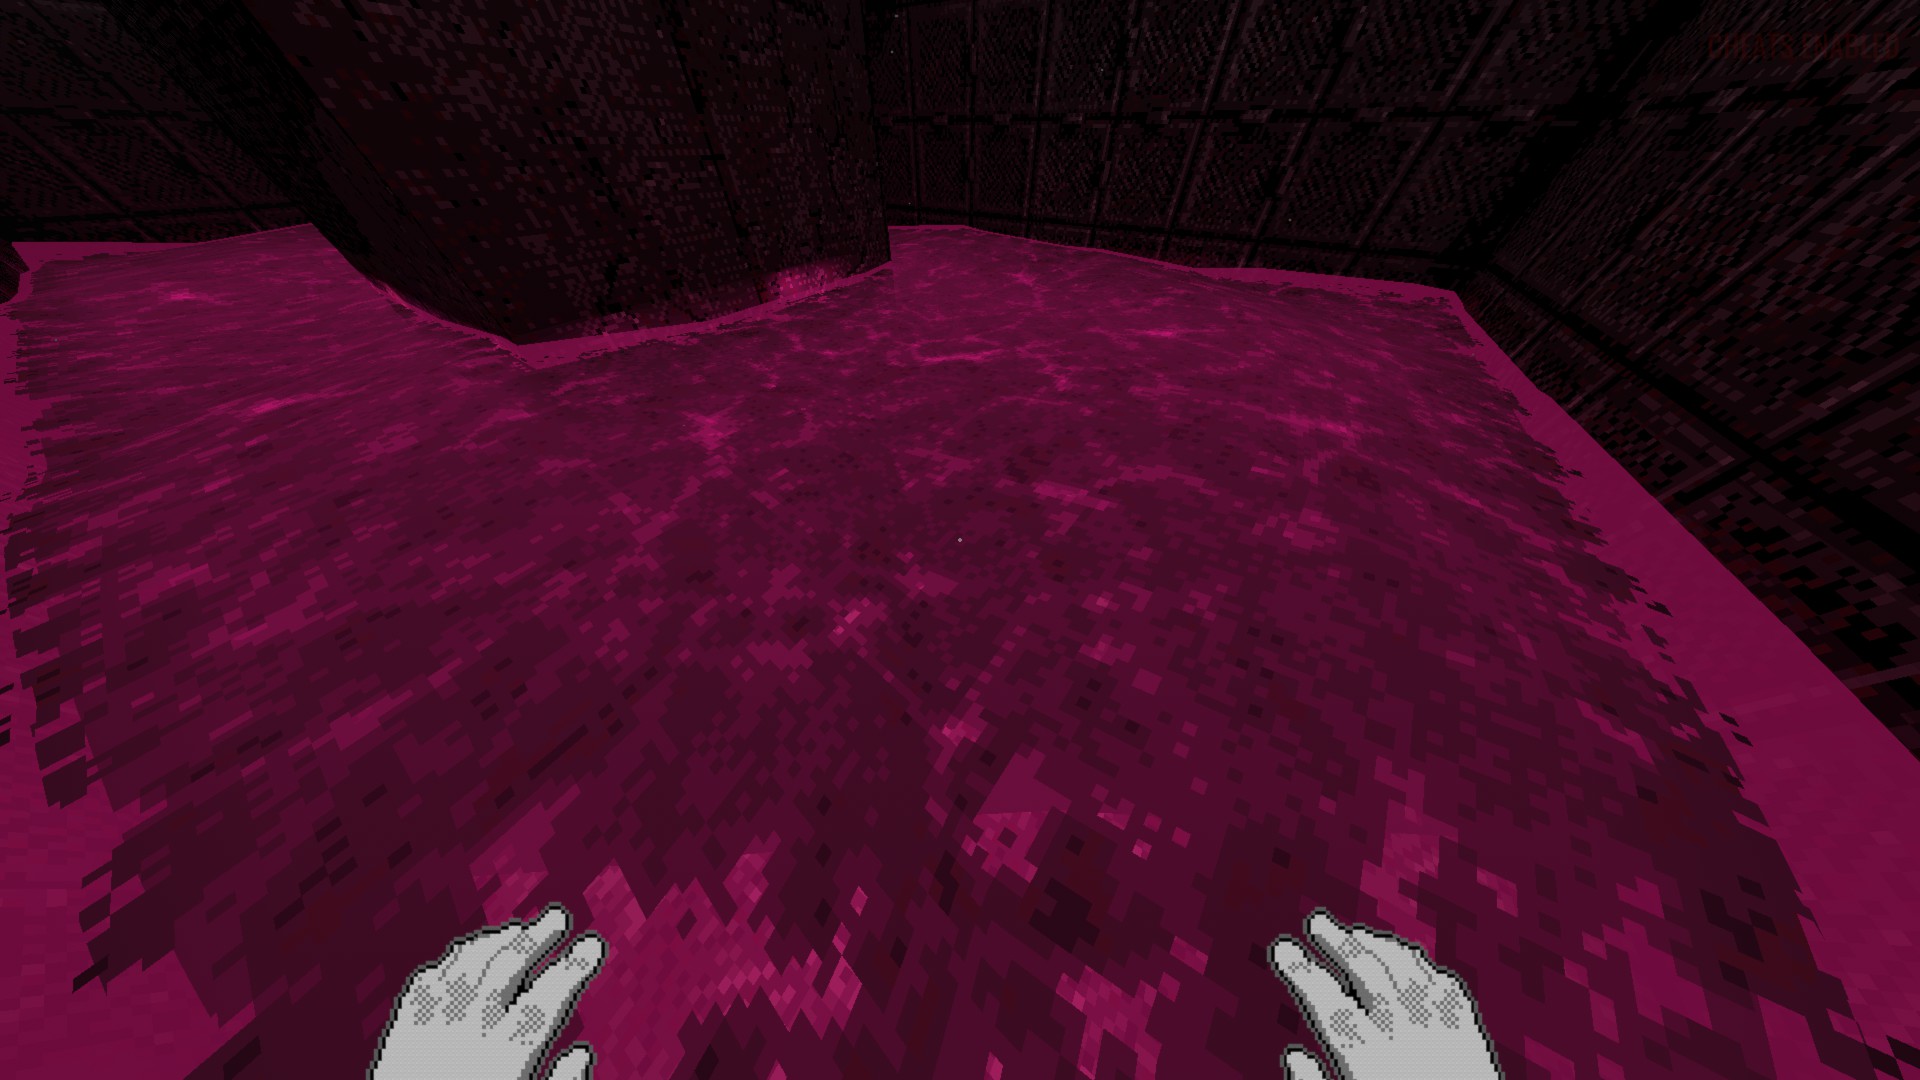
A rather unhealthy liquid.
You can find this hazard in Silos Shattered Chambers. It looks like pink goop. It disintegrates props and you. If anything is touching it, every second a loud liquid sound plays and it takes damage. Any breakable prop that gets thrown in it requires as many hits as it does with a hammer to disintegrate, and you take 6 hits to disintegrate. The death message for this hazard says contaminated.


That's it for contamination.


Bloodbug
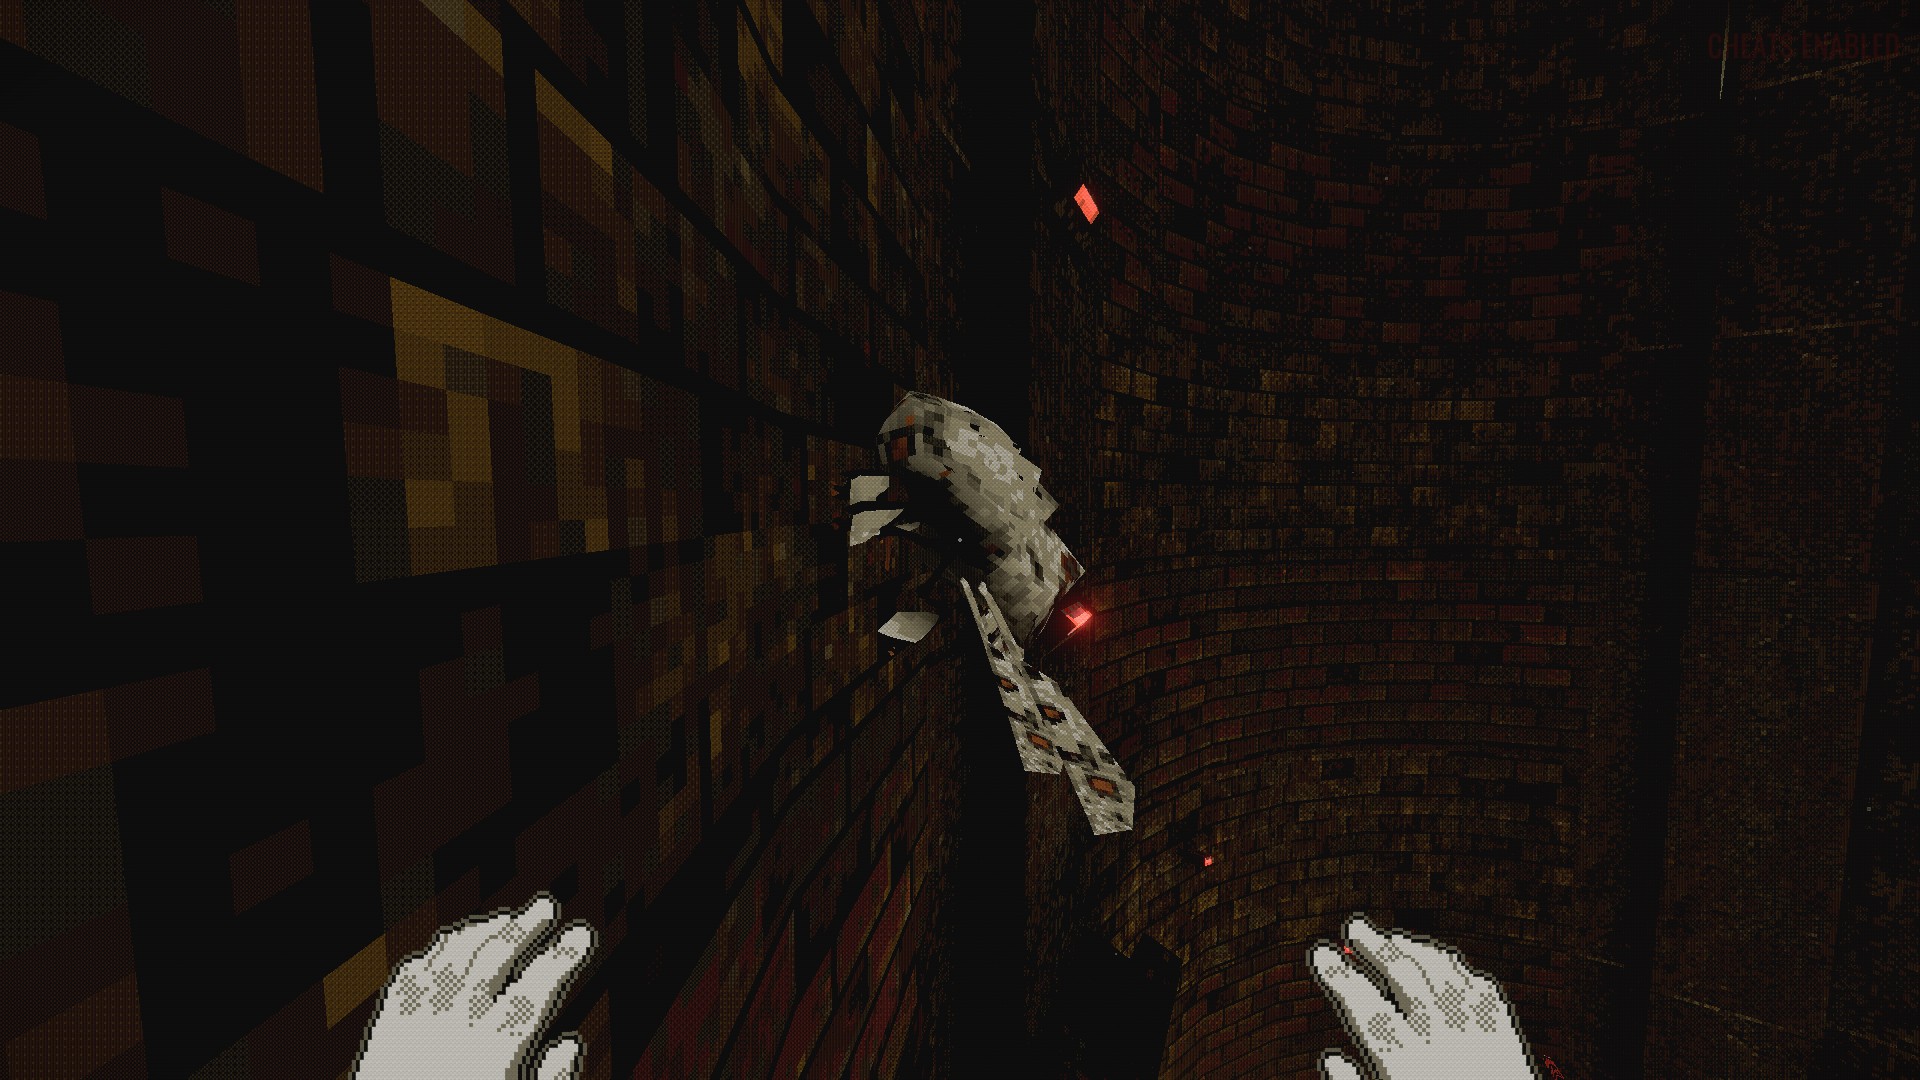
A Bloodbug resting on the wall.

One of the most annoying enemies in the game.
The Bloodbug can appear in Silos, but it appears much more commonly in the second major region, Pipeworks.
The Bloodbug will wander around, making a flying sound, sometimes resting, making whistling sounds, until it notices you. When it notices you, it will fly around you, and occasionally make a rough crunchy charge up sound, which means its about to charge into you. When it charges into you, you get bumped, knocking you off of anything you're holding, and hurting you slightly. This can be incredibly dangerous. I recommend just avoiding them entirely. However, if you want to fight them, this is what can kill them.
Hammer: 3 hits.
Brick: 1 hit.
Any Rebar: 1 hit. You can pierce through multiple Bloodbugs with one Rebar too.
Spoilers for the 3rd major region: Flare gun: 1 hit.

If you don't have time to kill it, you can easily make it lose track of you by running out of its line of sight and range. When you get out of its line of sight and range, it will investigate where it last saw you, but it has no idea where you are until it sees you again. You can also get rid of Bloodbugs by using other Bloodbugs. If multiple Bloodbugs are in a swarm, they will get stuck on each other and hit each other. Also, you can get an achievement by dying to the Bloodbug. It's near impossible to die to the damage the Bloodbug does, so if the Bloodbug hits you and you fall into The Mass right after, then you get the achievement.

There is an advanced technique you can do once you're familiar with Bloodbugs. This requires some practice, but it is very helpful. If you stand on a Bloodbug, you can use it as an elevator to go up. You will have to move around a tiny bit to match its random movements, but you can skip entire levels in waste heap in only a few seconds by doing this. This is much harder than using a Barnacle to your advantage though.

There is another advanced technique you can do but there aren't that many situations where you can do it. You need a grub for it. Use a grub, and grab onto the Bloodbug, allowing you to hold onto it as it flies around. If you hit it with your hammer, the knockback will fling it into the direction you're aiming, allowing yourself to fly wherever you want.

Pressing F5 twice will allow you to see Bloodbugs through walls. When you press F5 twice, there is a green/yellow square which shows where the Bloodbug is targeting. This will help you know where to avoid if you don't want it to see you, and you can also see the where it is without light, and where it is investigating if it lost line of sight with you.

In hard mode, Bloodbugs are much more aggressive and powerful. Be careful around them, because you can die to a Bloodbug via damage. They can also spawn in unusual places throughout Underworks in hard mode only, indicated by an announcement which says "Warning: Infestation of unknown origin detected. Proceed with extreme caution."


That's it for the Bloodbug.


Drones (TCU) (W.I.P)
things similar to bloodbugs that appear in the training sector and underworks (and labs if you're in hardmode). you can grab them, kill them in one shot with any method of killing, they do a lot less damage and a lot less knockback compared to bloodbugs, they look and sound different and more. You can unlock the underworks ones by reaching Habitation Yellow
Drone Buddy (TCU) (W.I.P)
a drone that spawns rarely in silos. the only difference between this drone and the normal drones, is it does not attack you, it has a smile on its screen, and it talks.
Fog (TCU)
The fog is coming

Obstructs your vision.
In Silos, there is a 5% chance at the start of each subregion for there to be fog. The fog is indicated by an announcement about humidity, and the subtitles for any of those announcements are red. All the fog does is obstruct your vision. You can change the quality by going in the settings and toggling Low Quality Weather. The fog will disappear when you reach the next subregion.

You can unlock the Fog by reaching Habitation Yellow.


That's it for fog.


Explosives
woah

A mostly harmless threat.
The only source of explosives in this game is using the explosive rebar, and touching the rare red roach. The explosive rebar is incredibly helpful because you can rocket jump with it, but it does take some damage. If you're spamming explosive rebar right at you, it takes 6 explosive rebar hits. It's hard to even have this many explosive rebars in the first place, let alone be able to find a spot where you can use 6 fast enough to kill you.

The red roaches can be more dangerous though. They are extremely rare. If you have the Pheromone Glands perk, they only explode if you grab them. Anyways, if you touch a red roach, it explodes, but it is MUCH weaker than an explosive rebar. The red roach is just annoying. It takes 2 or 3 red roaches at once to die to it.


That's it for explosives.


Strider
Henry walking around. His name is Henry.

A completely harmless and helpful creature.
The Strider can not kill or be killed. It does nothing but walk around, no matter what. It is exclusive to Pipeworks Waste Heap. If you repeatedly click anywhere that isn't its legs, you get an achievement for petting it, it makes a silly sound, and your screen vibrates a little. You can climb absolutely anywhere on its body, except the short little dinosaur claws. Those don't have collision for some reason. Getting on a Strider is risky, because Bloodbugs are always around Striders for some reason.

Pressing F5 twice will allow you to see where the Strider is going. The Strider can only move the way it's facing. You can see the way it's facing by going up to its legs. It has two back legs, and one leg. Going up to its legs with F5 pressed twice will tell you whether it is a back leg or not. The direction of its main leg is where it is facing.


That's it for the strider.


Gasbag
A gasbag wandering around.

A helpful boost into the air.
The gasbags can be found around the second major region in the game, Pipeworks. (I will no longer be spoilering this term further in the guide)
The gasbags fly around slowly. If you are near them, they will very slowly fly towards you. If you touch the gasbag, it explodes and hurts you a little. However, if you jump on top of them and they explode, you get a major boost up into the air, and you get the Combustion Architect achievement.
If you're not able to get a vertical boost and they're coming towards you:
Hammer: 3 hits.
Brick: 1 hit.
Any Rebar: 1 hit. You can pierce through multiple Gasbags with one Rebar too.
Spoilers for the 3rd major region: Flare gun: 1 hit.

As you can see, they require the same amount of hits per killing method as the Bloodbug does. Although, it's usually not worth it to kill them, because its not that hard to jump on top of them. Something interesting to know, is if you die of damage to a gasbag, it says "Turned into a fine mist."

Pressing F5 twice will allow you to see gasbags through walls. You can also see the exact direction the Gasbag is moving. There is a white arrow which points to the direction the Gasbag is currently moving towards.


That's it for the gasbag.


Pipe Leech
Yummy

You probably haven't even seen these yet
Pipe Leeches are EXCLUSIVE to Waste Heap in Pipeworks, and they appear in the bodies of water. They wander around aimlessly, sometimes slowly shrinking and disappearing. They don't really do anything at all. They are just there for decoration or something.


That's it for Pipe Leech.


Engraved Door (TCU) (W.I.P)
Super rare and only spawns in drainage system, tries to pull you in and kills you and says a random thing while doing it, if it fails to kill you when it appears, it has a chance to keep trying for a little bit in future rooms that you enter.
Unlocked after you reach Habitation Yellow
Steam
Steam blowing.

The most annoying non-creature in the entire game.
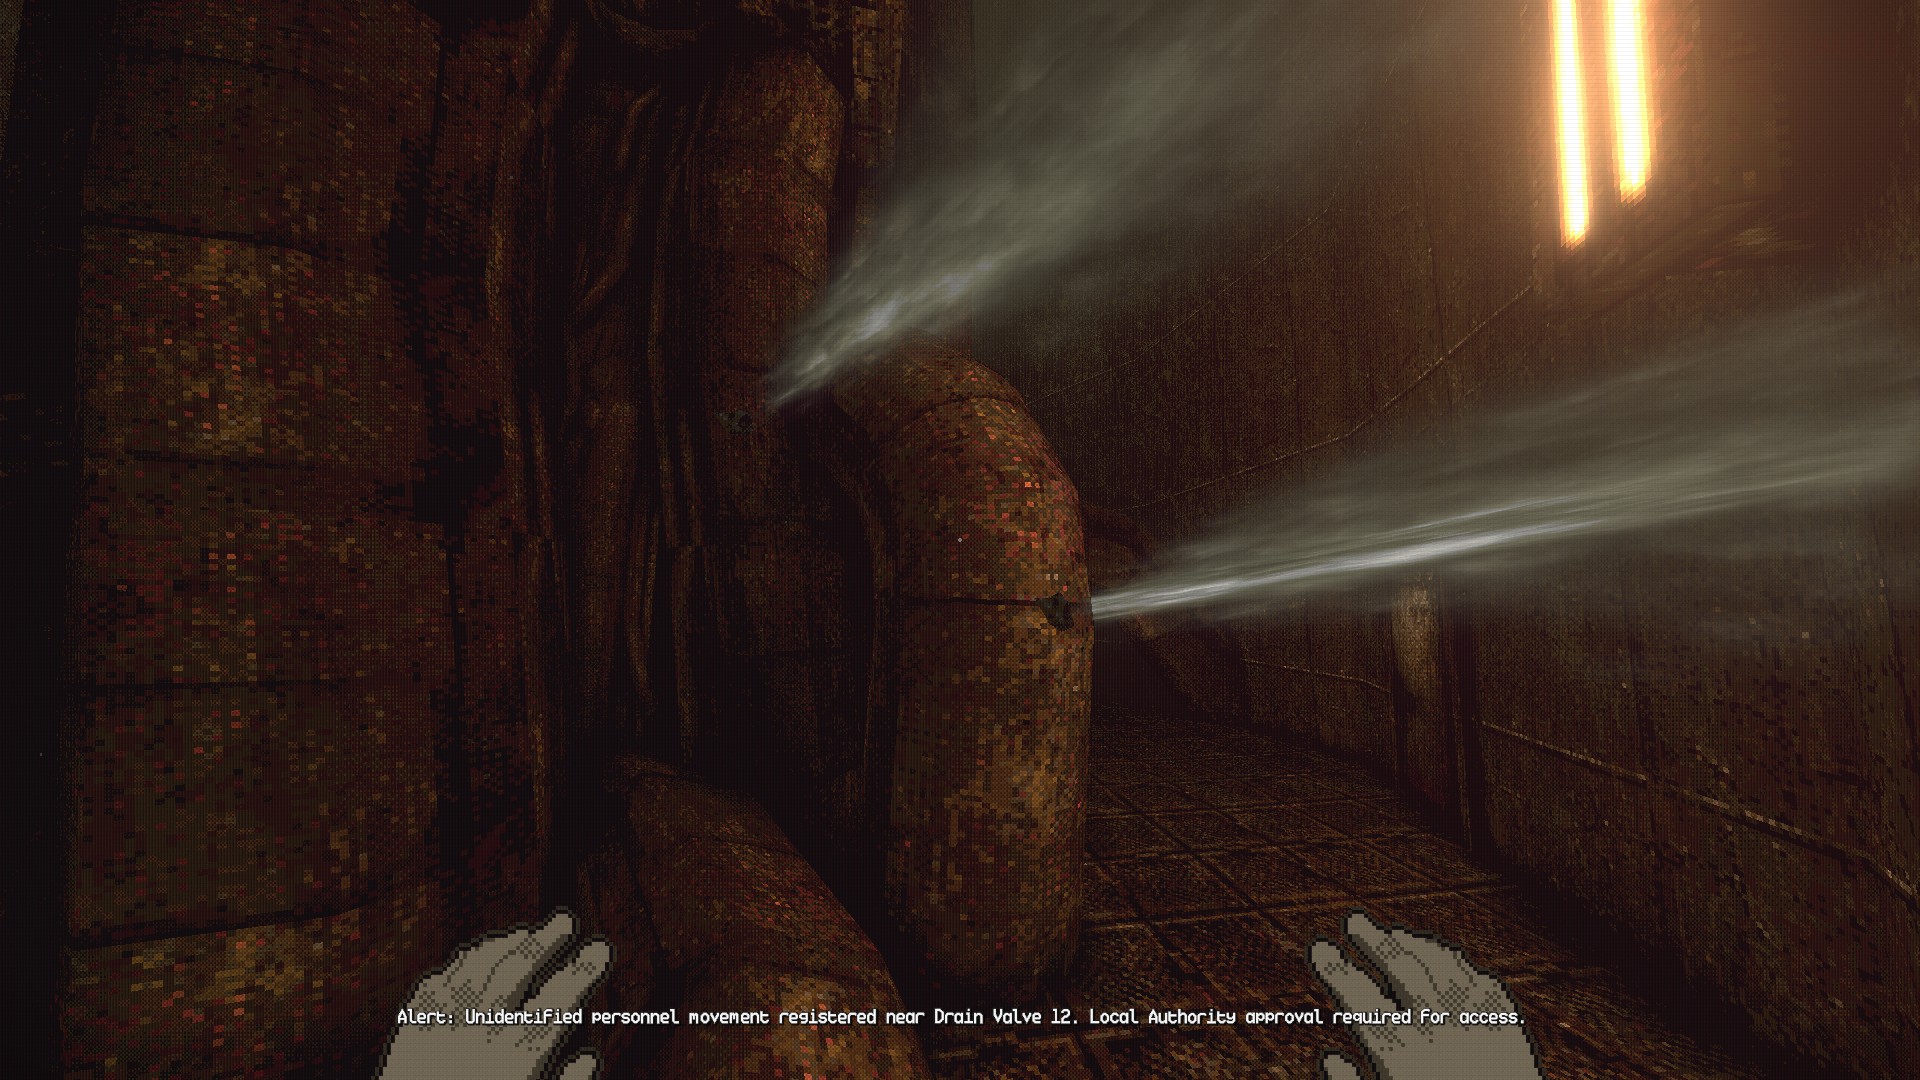
The steam only appears in Pipeworks Pipe Organ, and it is very annoying. The steam is coded to shoot at the most inconvenient time possible. Steam is frequently shot from holes, and there is an audio cue that happens before it shoots. If you get blown by steam too much, you get boiled alive and die. If you get blown by steam at all, you also get flung away, which can make you fall in the mass easily if you're not prepared to grab onto something. The counters to steam is either just waiting or using perks that prevent grip loss. Also, if you get boiled alive or get pushed into the mass by steam, you get the achievement called A New Hatred.

There is an advanced technique you can do with steam. If there is steam that blows upwards, or any other way that would be helpful, you can use that to boost yourself to places very easily.


That's it for the steam.


Toxic Fog (TCU)
Stinky fog

Obstructs vision and makes you weaker.
Toxic Fog has a 4% chance of spawning at the start of Drainage System, and is indicated about a red-colored announcement about toxic stuff. It is similar to the fog. It goes away at the end of a subregion, it obstructs your vision, all of that stuff. Toxic Fog can also go away if you take too long, unlike the Silos fog only being based off of getting to the next subregion. Toxic Fog doesn't just obstruct your vision, it gives you debuffs too. Those debuffs are: limitGripStrength, addSpeed (negative numbers used), roided, poisoned, poisonStaminaDamage, and poisonDropHands. These debuffs get stronger very very slowly. Your stamina also very slowly goes down too. When in Toxic Fog, you cough occasionally. Coughing very quickly brings your stamina down. You can view how the debuffs and coughing work by pressing F5.

You can unlock Toxic Fog by getting to Interlude Lockdown 4 times.

There is a special version that has a .000001% chance of happening every second in the entirety of Pipeworks if you've beaten the game and not seen it before.


That's it for Toxic Fog.


Elevator Cable
Yeowch

If you die to this I think you should stop playing
The cable that the crane uses to hold the elevator in Interlude Ascent hurts you if you touch it. If you grab onto it, your hands immediately retract and you lose some stamina and some health. If you click it as fast as you can you can die to it. There is no special death message to dying to this. There isn't much to say about this hazard. Just don't touch it.


That's it for the elevator cable.


Teeth
Teeth while stunned in fullbright mode.

The scariest enemy in the game.
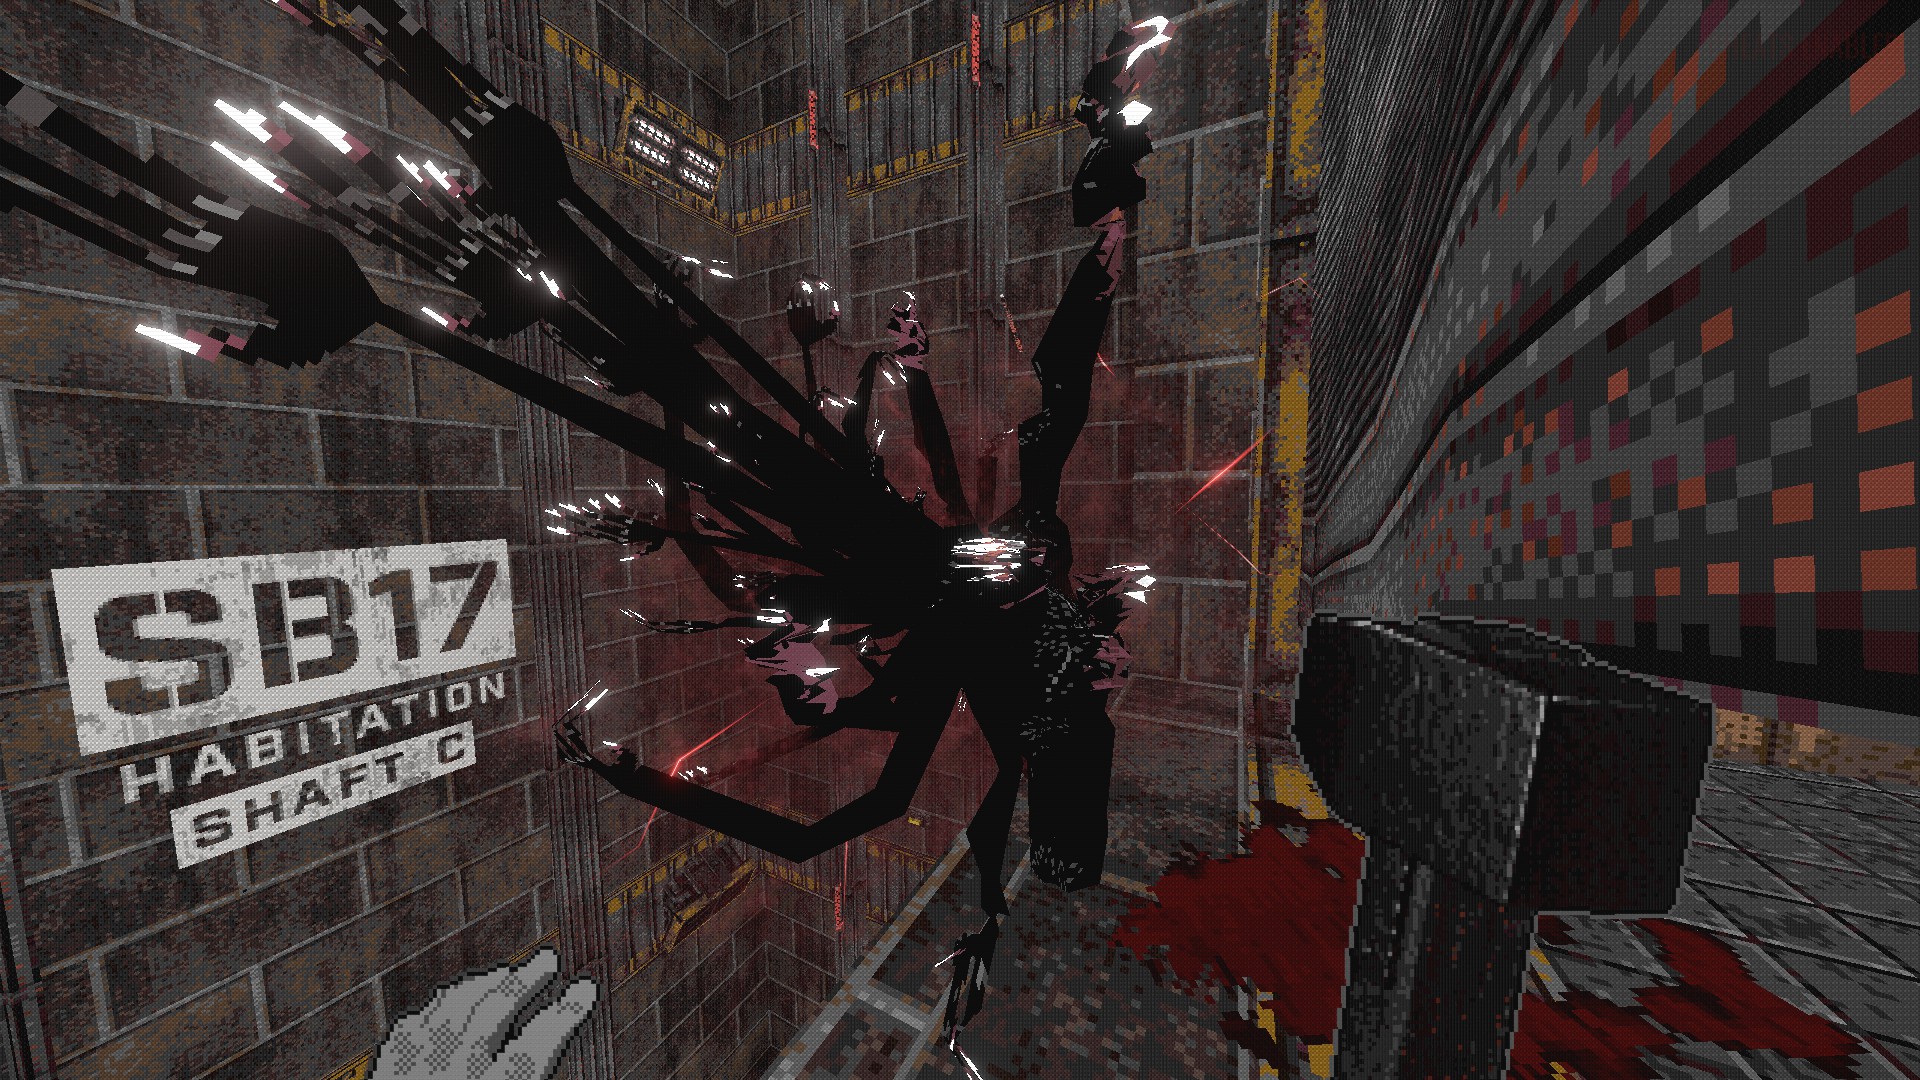
Teeth is exclusive to the Service Shaft in Habitation Yellow. Your goal is to escape the service shaft while being constantly chased by Teeth. When Teeth is close enough, he starts whacking you. After he hits you 6 times, you die. It's impossible to lose track of Teeth, because he makes a lot of loud sounds and audio cues, and when he hides in the wall, it takes a while for him to come back out, so you don't need quick reaction time. A lot of people are very scared by Teeth. They think the only way to survive Teeth is to hide and use the flare gun, and if it runs out, they have to climb faster than they ever have before. That's not the truth.

Hammer: Hurt in... a LOT of hits.
Brick: Hurt in 1 hit.
Any Rebar: Hurt in 1 hit.
Flare Gun: Hurt if in proximity of the light for too long, while also building tolerance to the light, or gets instantly hurt if a direct hit is made.

If you hit Teeth with any of these, he runs away and then burrows. If you hit him with any of these while he is attacking you, he gets stunned, and then burrows after he is unstunned, matching to the same time as how he would burrow if he gets hit from afar. While stunned, he also can't hit you at all. So if you're getting beat up, whip out a Weapon and hit Teeth and you'll be safe. Be careful though, he can still attack you when he's running. Also, Teeth doesn't just chase you. He has to know where you are first. You can be stealthy and escape him before he sees you. He can't see you when he is exiting a burrow. You can literally do the entirety of Service Shaft without being seen. Also, dying to Teeth gives you the Devoured achievement.

When he is coming out of the wall, he is not looking at you so you can hide. While he is coming out of the wall, you have a handful of seconds to hide. If he does not see you he makes a sad whale sound but if he sees you he starts screaming. You can do Service Shaft without being seen with this knowledge. Speaking of the wall, he can only come out of very obvious burrows that all look the same. He can't just come out of the wall anywhere else. You can identify these burrows by pressing F5 twice and if something says "AI_Burrow" then that's a burrow. Or you can just look at it. Not hard to miss.

I don't recommend doing this in any situation, but if you really want to, you can jump to the bottom to be safe. There is an invisible ceiling in a part of the Service Shaft, and Teeth cannot go below it. The invisible ceiling is actually much higher than you might expect.

There's some interesting tech I discovered, I'm not sure if anyone else found this yet. If you throw a rope rebar on him, he'll run, which you know. You can hold onto the rope, and if he happens to run upwards you can use him as an elevator to go up. This is more effective if he is faster.

Now, about his AI. Pressing F5 twice will tell you all of this stuff. He has two statistics. Aggression, and fear. Aggression slowly rises when he is not burrowed or not attacking. Aggression makes Teeth faster, and makes it take longer to gain fear. Teeth starts with much higher Aggression in hard mode. Fear is his current amount of fear. He updates his fear each second. Once he reaches 4.5 fear, he will run away. Your flashlight and flare gun make his fear go up, but the flare gun light is the most powerful. He also has a velocity thing which tells you how fast exactly he is moving, and he has a state thing. His states are: Burrow, Retreat, Chase, and Wander. Burrow is whenever he is entering, leaving, or in a burrow. Retreating is when he is running away. He CAN attack you in this state if you get in his way. Chase is when he is chasing you, and wander is when he is looking for you when you left his vision. Similar to the Bloodbug, he has a yellow colored small square that says Investigate Target, and it is the area where he moves to. This isn't very helpful for us though. How can you use F5 to help you? It can help you a LOT. Teeth only comes out of his burrows, and pressing F5 twice shows you EVERY burrow, and they all say AI burrow. And you can see where Teeth is long before he comes out of a burrow, because it shows his debug stats in the burrow before he comes out. These two things are very helpful.

In hard mode, Teeth is much faster, starts out with more aggression, and kills you in only 3 hits.


That's it for Teeth.


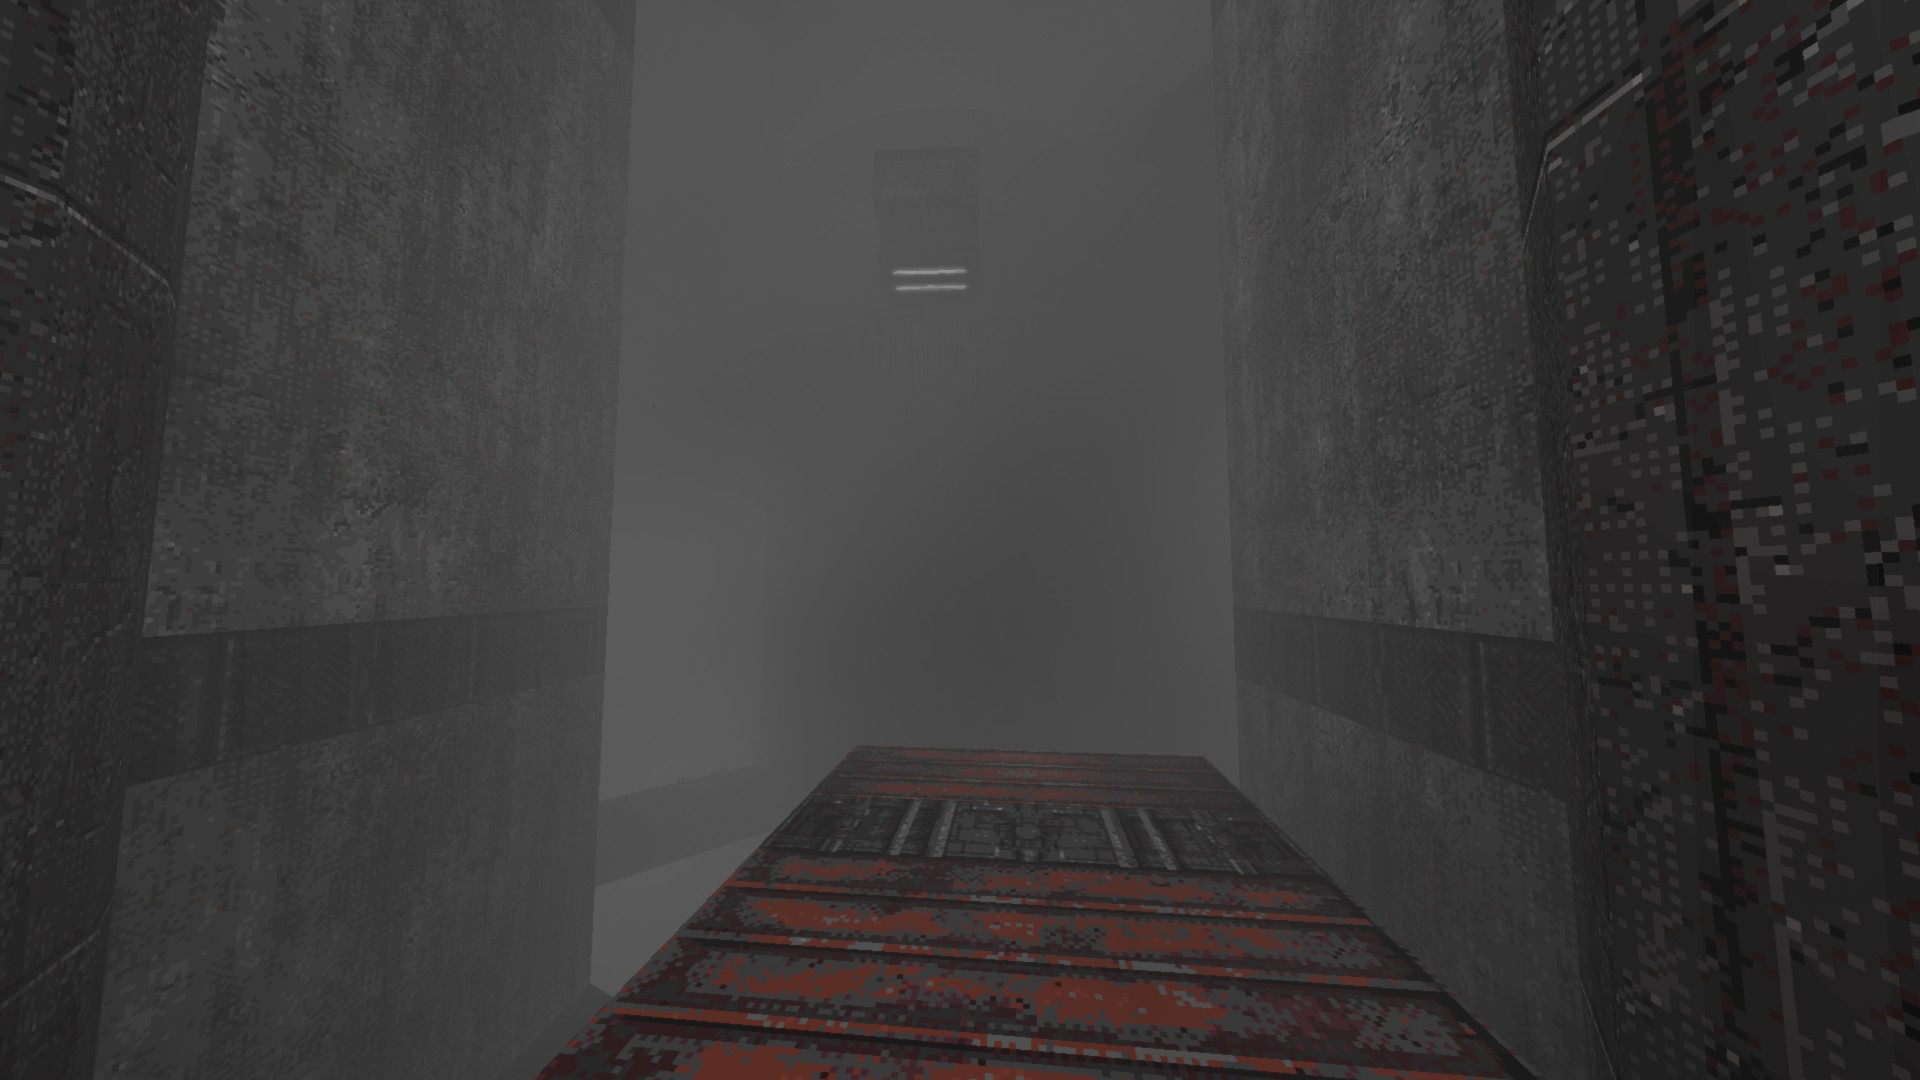
Pier Fog (TCU)
Pier full of fog

Obstructs your vision in Haunted Pier.
There is a 5% chance of Pier Fog appearing in Haunted Pier. It functions the same as normal fog, but it looks different. It disappears once you reach Delta Labs. There isn't anything to say about this, it's just simple fog that appears in Haunted Pier.


That's it for Pier Fog.


Apparitions
There's nothing wrong with this picture

This is probably how Haunted Pier got its name
Apparitions are black shadowy figures with white eyes. They are always at the same specific spots in Haunted Pier. If you look at them or get close to them, they become more invisible. They are very abundant especially near the ground, but they are harder to see because the ground has a bunch of buildings and is cramped, meaning that it is a bit harder to look away while still seeing them clearly. The screenshot above was one of the few spots you can easily see them. If you haven't found them in the picture yet, there are two at the right side of the screen, on the edge of the big platform coming out of the wall.


That's it for the apparitions.


Ghostly Events (TCU) (W.I.P)
In Underworks, your screen may turn static and text will appear saying something about "beyond" or "help" or "no." This indicates nothing.

In Pipeworks, you may see "PLEASE TURN AROUND" and hear breathing. This indicates nothing.

Static may appear on your screen and show a random image while making scary wind/breathing sounds in Underworks and Habitation. This indicates nothing.

In Haunted Pier, static may appear on your screen and text will say something related to "still being alive." This indicates nothing.

These are all just events that are here to scare you
Electric Discharge (TCU) (W.I.P)
Has little electricity in the air telegraphing its shocks, and one shots you if you get shot by it. Only appears in haunted pier 04 and the 𝐵𝒶𝓁𝓁𝓈 𝒟𝑒𝓋𝒾𝒸𝑒 room in delta labs
Vent Thing
Being grabbed by the Vent Thing.

Watch your back...
Vent Thing is actually as simple as Teeth. A Vent Thing is a hand, a White Knuckle if you will, connected to its home with a red string. Their home is some weird mouth on the wall. The Vent Things CONSTANTLY make a very audible sound, and if they are close by, it gets much louder.
There are 4 counters to the Vent Thing:
Your eyes
Your hands
The environment
Your hammer
If you look at a wandering Vent Thing, they run away FAST. Knowing they immediately skedaddle if you look at them, and knowing that they make very loud idle sounds should already make it pretty easy. However, if a Vent Thing manages to grab you, ready your hands and hopefully you grab on something. They pull you very fast. If you're safely grabbed onto something, there are three things to do from here. Wait for it to lose stamina by stalling on a handhold, get yourself in a position where it pulls you into a wall because the path to its home is obstructed, or hammer the red string. All three give the same results. It is a bit hard to hammer the red string, because when grabbed, your camera is moving all crazy. Getting yourself in a position where you don't have to do anything because the hand is just pulling you into a wall is actually pretty easy if you're in a big room. When a Vent Thing grabs you, all other Vent Things retreat to their home. You also get the achievement called The Thing In The Walls if you die to the Vent Thing.

It can be pretty hard to know where to go in the vents of Delta Labs. Thankfully, the Vent Thing leaves a trail of blood and... mold...? on the path to it's home. In most situations, don't go in the pathway of blood, and also try not to go downwards either.

Pressing F5 twice will allow you to see the entirety of the Vent Things AI. The Vent Thing has the most complex AI in the entire game so far. You will see blue arrows, and things above them that say TP and RP with a number. The numbers lead to the Vent Things closest path to you. The Vent Thing always knows where you are, and it constantly repaths to the quickest way to get to you. The farther away from it you are, the faster it moves. If you're looking at its general direction, it doesn't move. Basically, the RP (reachpath) and arrows is the closest way to you. If you are looking in its general direction, it stops at the nearest current RP (waypoint). When you're looking away from its general direction it will continue to follow its RP path to reach you. Now, the text on the Vent Thing. Its reachpath count is how many waypoints there are to reach you. Repathing tells you whether it is repathing or not. It very quickly repaths and adapts if there is a faster way to reach you. Retreating tells you whether it is retreating or not after being seen or after letting go. It does not retreat to its mouth, it just retreats a handful waypoints back, which may be its mouth if its close to it. Cur waypoint is the current waypoint or RP it is at. Last is the last waypoint or RP it was at. Target waypoint is where it wants to go next. Can see target tells you if it can see you. If the Vent Thing sees you, it does not follow its RP and it just moves to you, not following a specific path. If the Vent Thing can see you, it does NOT stop moving if you're looking in its general direction. But it still runs away when you look at it. If you don't look at it and it grabs you, all the other hands retreat to their mouths. And that's how the AI works. If you have any questions, ask me in the comments.

In hard mode, the Vent Thing moves significantly faster, and it has much more stamina. Food is helpful for countering Vent Thing in hard mode.


That's it for Vent Thing.


Turret
Two turrets and their de-activator computer thingy.

A complicated hazard.
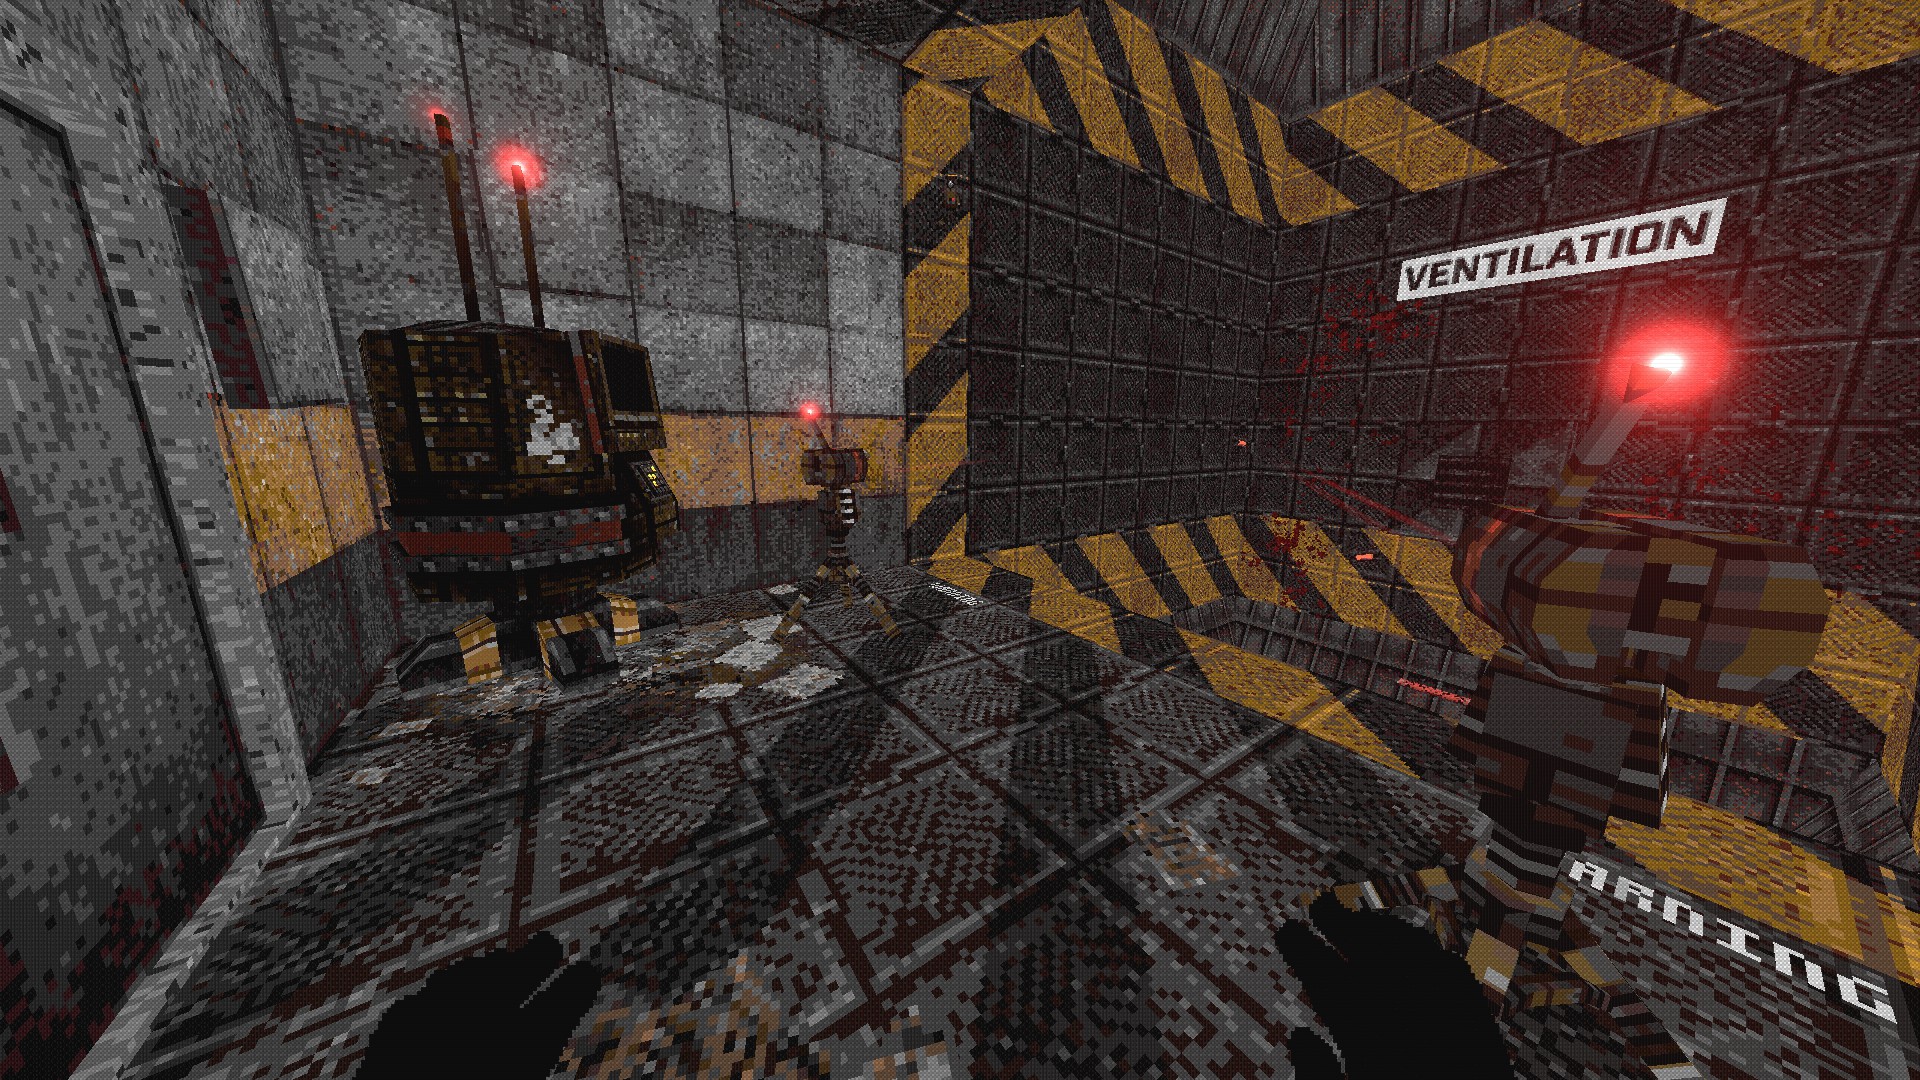
Turrets are scattered all throughout Delta Labs, and Silos if you're in Hard Mode. You might think that the turrets red line of sight thingy is where they are looking. This is only visual, not functional. The turrets see in a 45 degree area of sight, and the red line thingies only show you what that area is. No matter where they are looking, if you get in their 45 degree area of sight they will start shooting after they make 3 very short staccato'd beeps. If you leave their area of sight, they make a sad sounding noise. While the turrets are shooting, they have bad aim, unless you are close up. They do a lot of damage, so avoid being close up in their line of sight. If you get shot, you also fall off of anything you're holding. You might be thinking, how am I supposed to counter this?

Hammer: Quickly falls down.
Brick: Quickly falls down.
Any Rebar: Instakills.
Flare Gun: Instakills.
Your hands: Kills it if head is too close to the ground.

These are the ways to kill the turrets. When they die, they fall over, make a few revenge panic shots, and deactivate forever. But these ways require you be close range, or not be midair, which is pretty hard in the ventilation area of Delta Labs. In the ventilation area or tv room, you can use the computer terminal thingy to deactivate nearby turrets permanently forever. But the most useful thing in ventilation, is this:

IN VENTILATION ONLY, every once in a while, you will hear a sort of "warning" sound is played and constantly repeating. When this repeats the 6th time, a thud sound happens, and all the turrets turn on. After 10 seconds, the turrets turn off, and so do the lights. after 7 seconds from there, the warning happens again, and 3 seconds after it starts, the turrets turn back on and so do the lights. It's a loop of every 10 seconds the turrets turn on and off, and there's 6 warning sounds before they turn back on.

When the turrets are on, you can hear idle tech sounds. When the turrets turn off, there is no repeating warning sound, but there is a thud which may be drowned out by a sort of static sound coming from the turrets turning off. Again, you can check if the lights are on or off. You can also check if you can see their lasers of sight.

In hard mode, turrets spawn more frequently and are more powerful.


That's it for the turrets.


High Security Lasers
Uhm guys

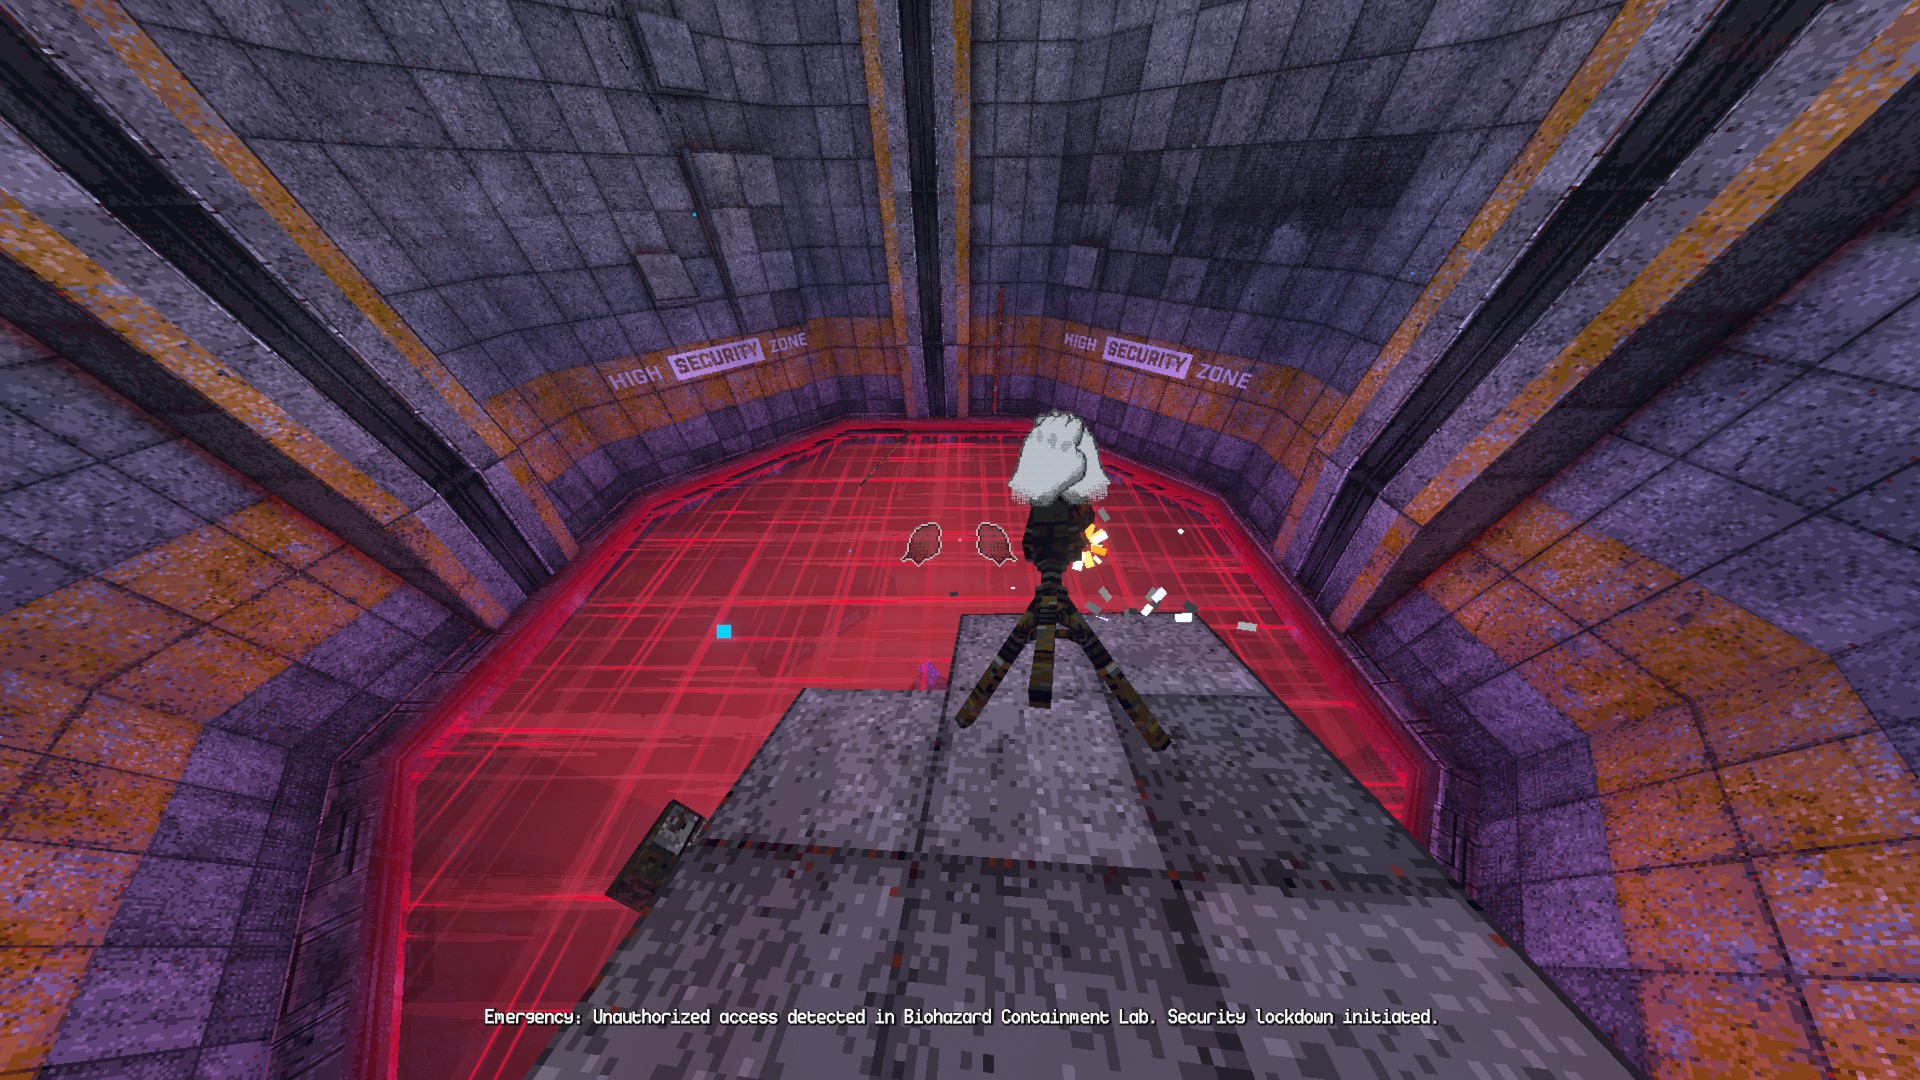
A slow temporary mass.
In the blue low gravity room in Delta Labs, the computer server room, and if you're in hard mode the room with the spinning thing in the center with handholds in Delta Labs, there will be lasers coming up if you go too high. It is very loud and slow, and it really isn't that dangerous. The main danger of this is your panic. Use cheats and study the rooms these lasers are in to find a reliable route, and you'll be good to go. If you touch the laser you will instantly die, and in the room it's in it expands infinitely, touching every corner of the room so the only way is up. It does stop right before it gets to the part with the vent or door though. It never stops making sound when it stops.

You can BLINK through the lasers.

That's it for the lasers.


Delta 19 (TCU)
I warned you.

A minor distraction.
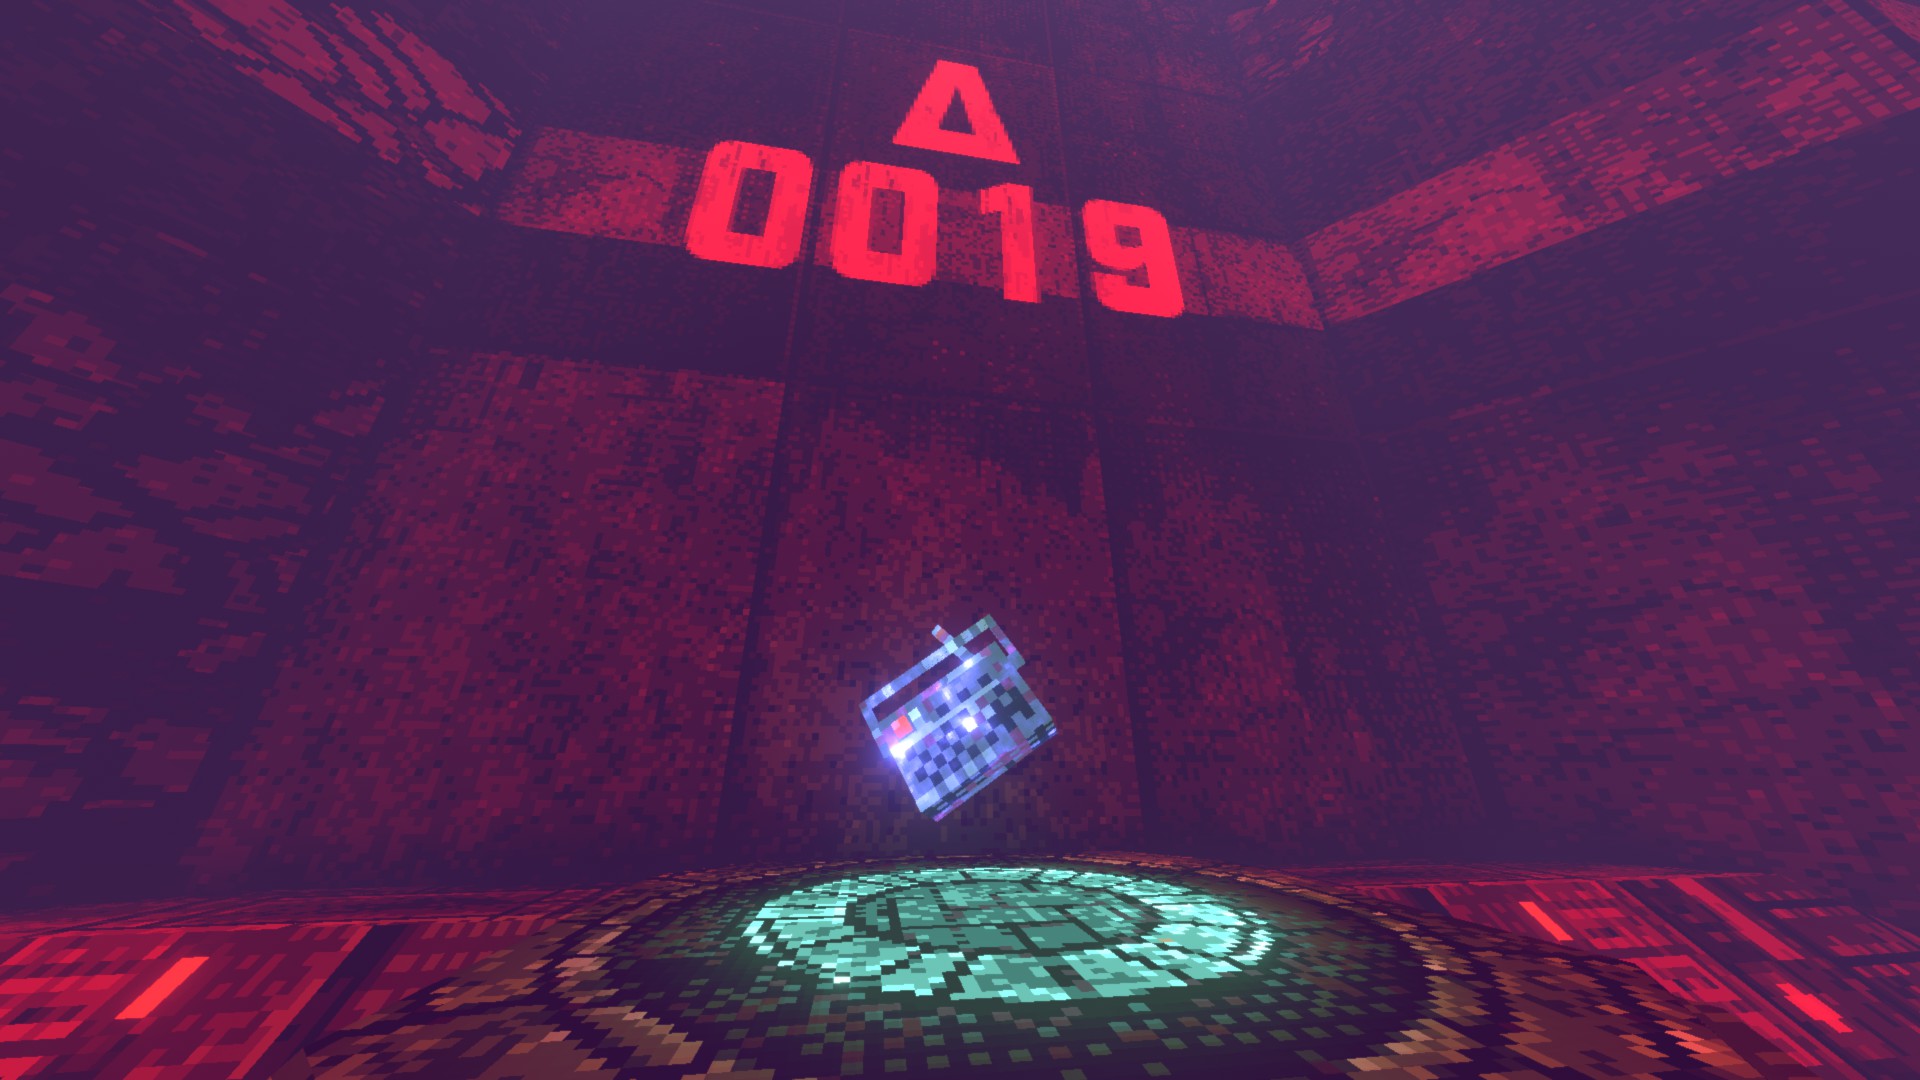
Delta-0019 is a radio that can be found in the 5th level of Delta Labs. It plays only one 5:01 long looping audio file called radio_19_iwarnedyou. It appears to be floating, and it is blue and bright. Standing near it will slowly slightly damage you. Grabbing it out of its floating state will also slightly damage you. It also makes your screen blue when you stand near it. You can counter this by throwing it somewhere, or by turning off the radio. Turning off the radio makes it completely harmless. If you wait long enough and die to Delta-0019 it gives you a very interesting death message. "Twisted out of axis." If you don't know what axis means in this context, mundane things from the real world are axial and things from Peripheries are non-axial. From my understanding, this radio slowly takes us out of the real world.


That's it for Delta 19.


The Eraser (TCU)
Homeslice is literally the sun

The Mass but... circular.
The Eraser is exclusive to the Shuttered Rift challenge. At the end of Shuttered Rift, there is a machine with a button. Clicking that button dispenses the Floppy Disk you need for the challenge, but it also activates The Eraser. Your goal is to get back to where you started. The Eraser expands and grows outwards in a ball, erasing everything that it touches. If you touch it you will instantly die. It makes a lot of scary sounds, so turning your volume off and listening to music may help you concentrate.


That's it for The Eraser.


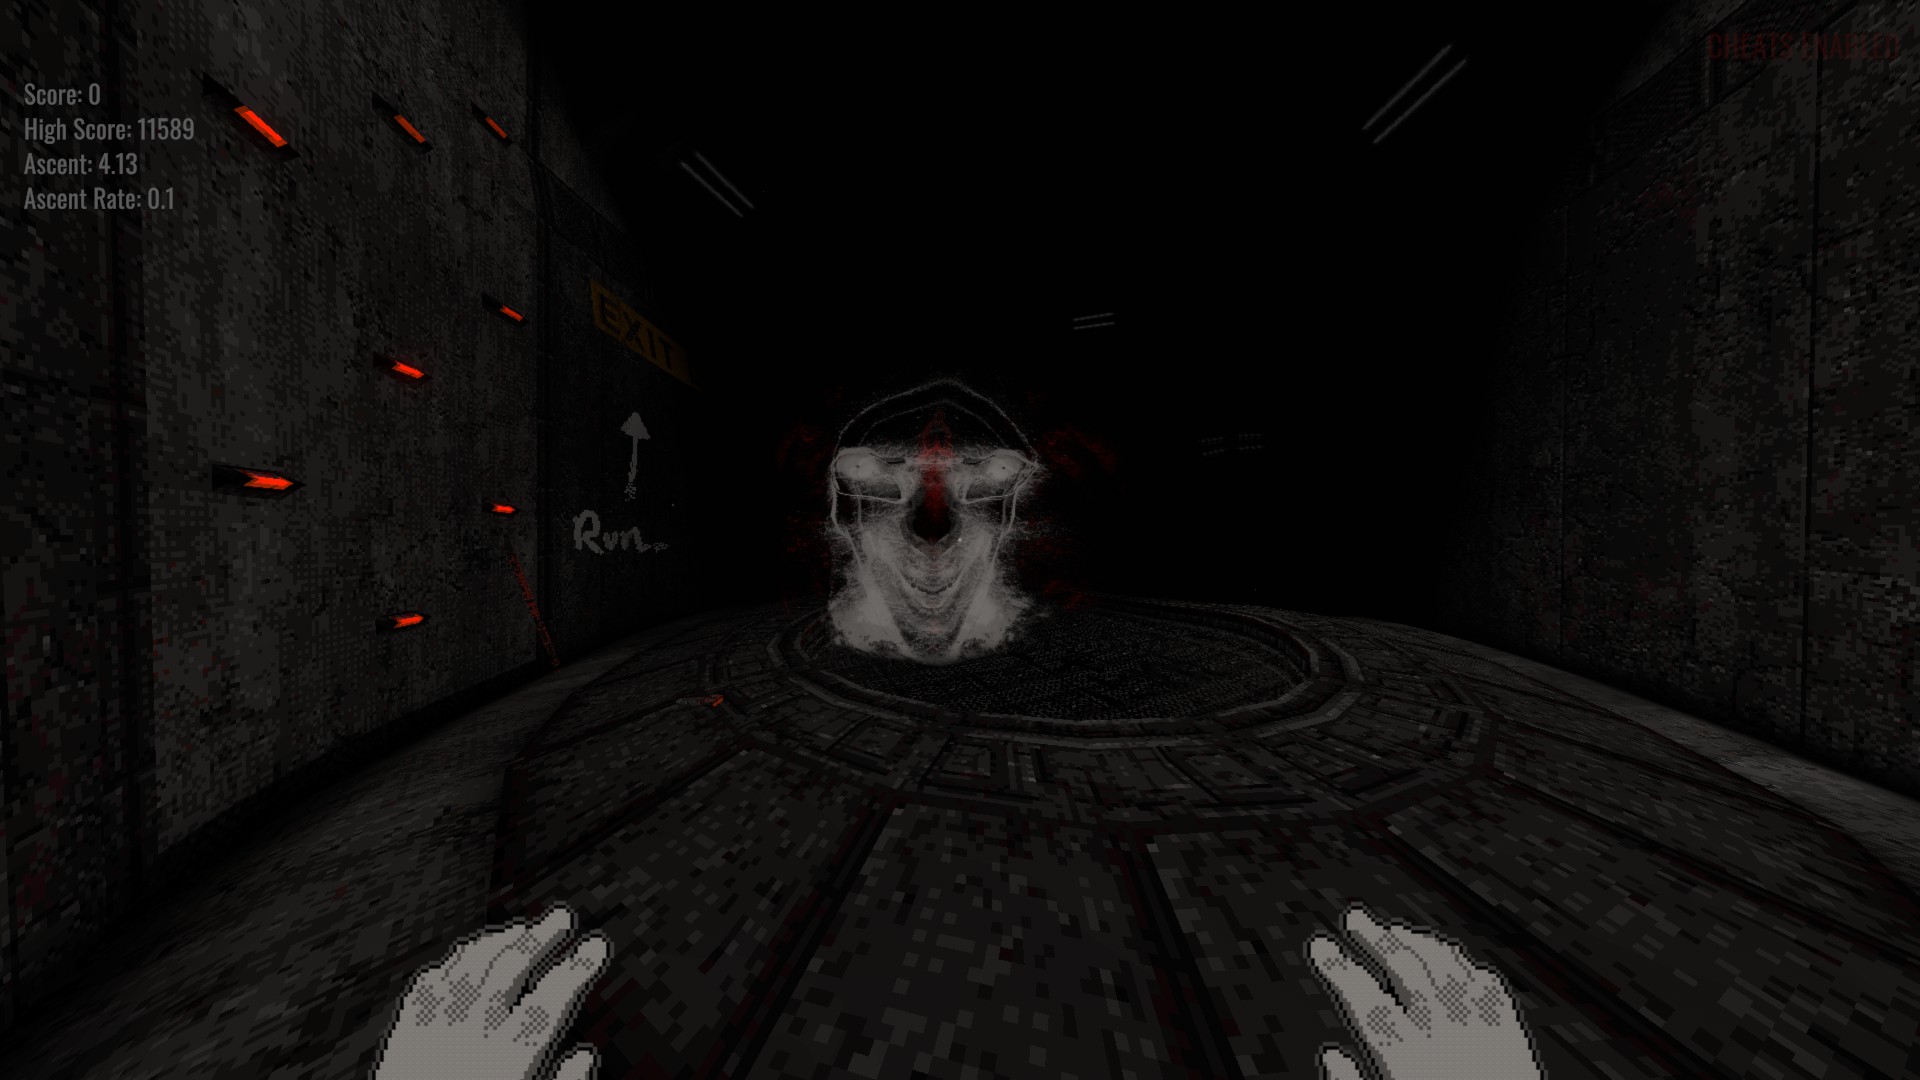
Nightmare
Nightmare viewed from the intro without vision fog.

You're not alone in The Ladder.
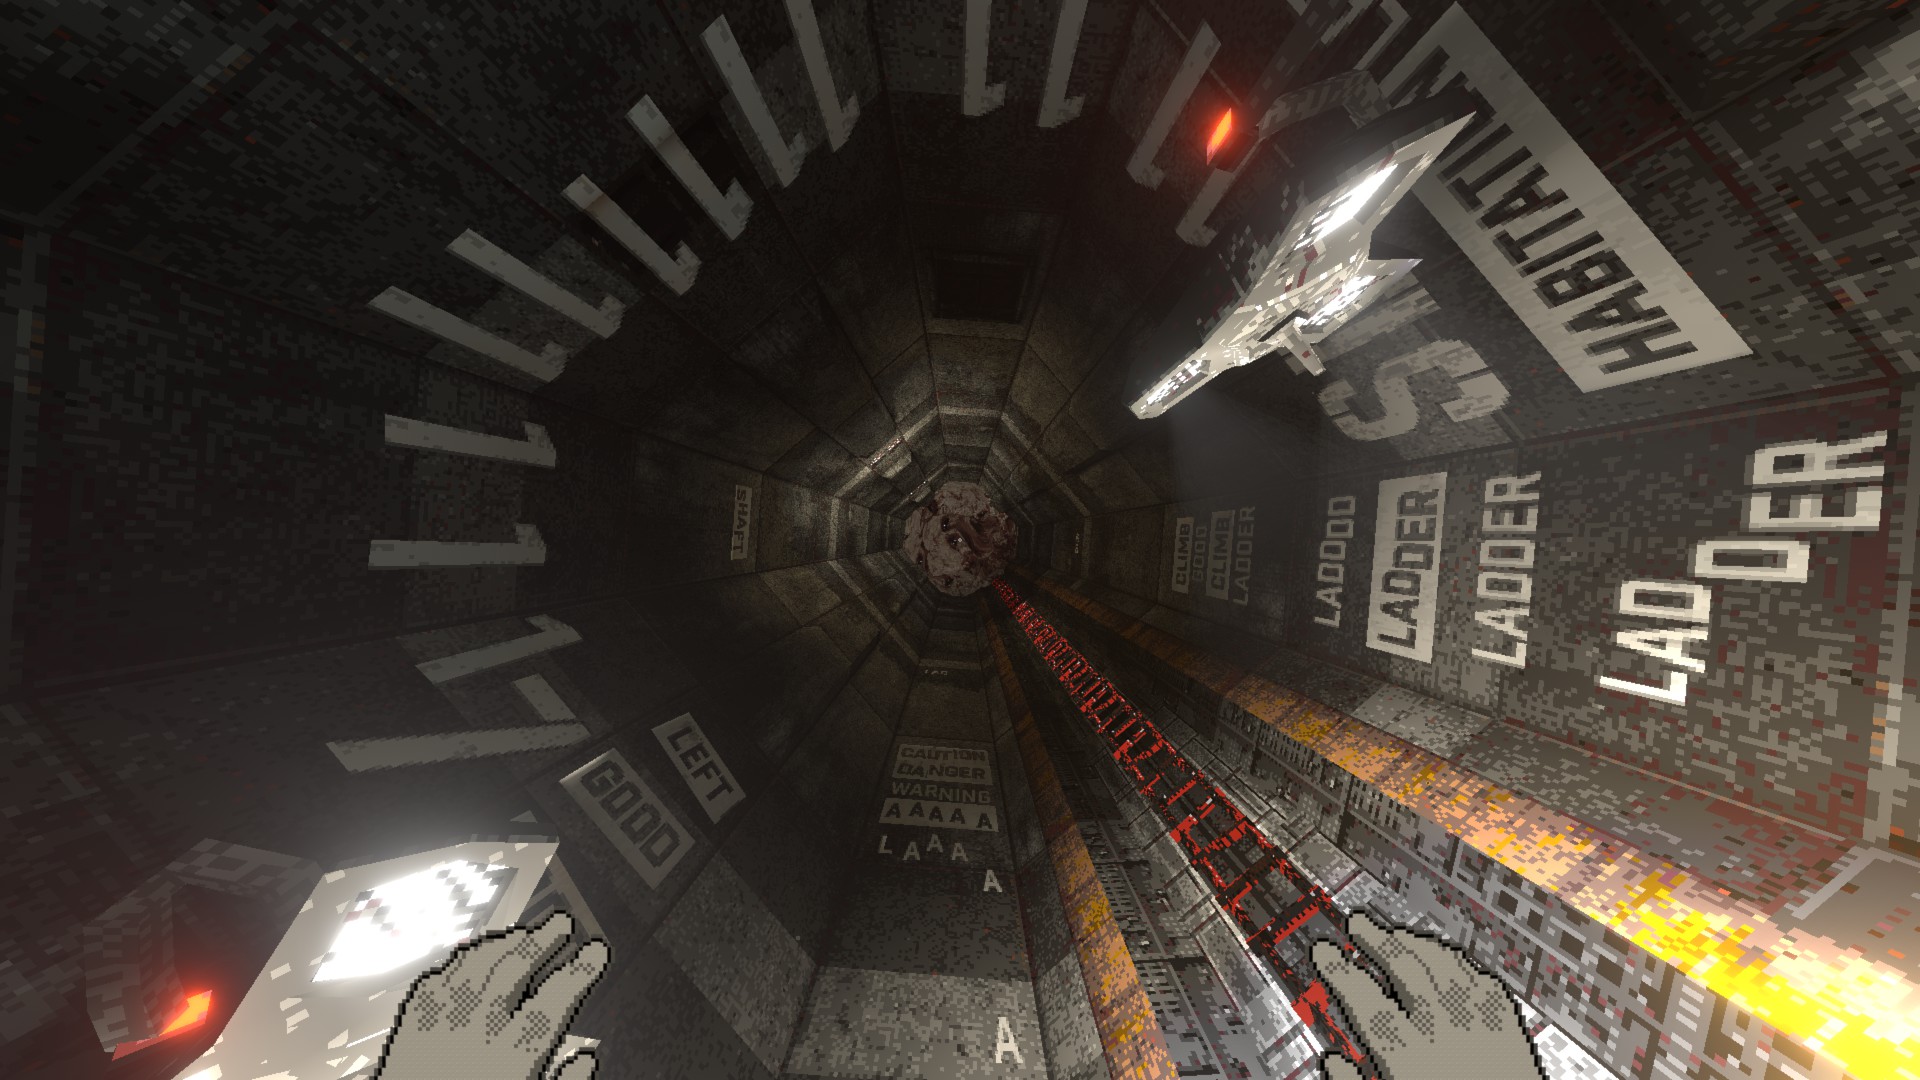
While in The Ladder, there is a weird amalgamation ahead of you for the entire game. It is incredibly hard to see in region 1 and 2, but on region 3 where it gets really dark, you can see it VERY clearly. When you get close to it, it goes upwards. It does absolutely nothing in the first 3 regions.

However, in the 4th region called the void which is the region where there is no walls is where the Nightmare can attack you. If you fall 25 meters while in the void, it will make an audio cue, and charge at you, instantly killing you. That's basically the whole gimmick. It's just there to scare you, but if you fall 25 meters in the void, it will kill you.


That's it for Nightmare.


Jack
Friend.

......
In the cheatrooms, Jack will decide to kill you after a while. It takes around 15 minutes of waiting for him to kill you. He follows you and kills you on contact. After you die, you will unlock a new cheat command, the punishme command. The punishme command allows you to spawn him in any gamemode at varying difficulties. He can only move through walls at difficulty 3 or higher, or when he does not have line of sight with you. Read my cheat console guide to learn more about the command you get from dying to him.

If you don't know how to yet, to get to the cheatrooms you have to go to the ladder and use a cheat. You can easily get to the cheatrooms by simply loading the intro level and using a cheat. Type this command: loadlevels m3_habitation_ladderwarp_intro

Pressing F5 twice will allow you to see Jack through walls. When you press F5, there is 3 lines that appear. The top one says "Mood: Pissed Off." the middle one says "Using F5 to spy is cringe." and the bottom one shows its speed.


That's it for Jack.


63 Comments
PixelDemise 15 Jul @ 12:24pm 
Alright, good to know that's what I had seen. Describing it as "static" made me think of like, TV static. To me it just looked like the colors turned monochrome for a while, so I thought it might have been a different unrecorded event instead. And I figured the sound was just that, compared to all the other areas, it was so impossible to not notice that I figured it might be worth mentioning, since the Ghostly Events seems to be cataloging "not actually a danger, just a brief spook" type events.
<i><mark><b><#FF0><u>Qwergin  [author] 15 Jul @ 11:28am 
The black and white and vision warping is the static that I was referring to in the ghostly events section.

The growling and roaring is most likely Striders, or ambience. There is a lot of ambience in this game meant to scare you
PixelDemise 15 Jul @ 10:56am 
I came across another Ghostly event. Didn't get a screenshot, but suddenly in the Pipewords my screen turned black and white and my vision was warping, despite being in the middle of those twisting narrow tubes rather than near an end. Hasn't happened elsewhere so far, and didn't see any text on screen. It went away on its own after a little bit.

Plus, not sure if it should count, but usually once a run I hear something growling and roaring in pipeworks, as though it's just a bit behind me. Nothing ever comes, but it gave me a spook the first few times. Another "just meant to scare you" events it seems.
<i><mark><b><#FF0><u>Qwergin  [author] 14 Jul @ 11:15am 
It is in the Shuttered Rift challenge.
Lisentia 14 Jul @ 9:00am 
Hello! Got a question after watching a video about the game. There's this shot of a portal from a projector in which you can enter, but I'm not sure if this object (delta) is in the game? Also thank you so much for making the guide and answering the questions! Here's link to the video with a time stamp https://youtu.be/7yeMLw0dDGs?si=OIEn9-kVjEXT0Kbu&t=1299
<i><mark><b><#FF0><u>Qwergin  [author] 11 Jul @ 11:15am 
Yes they have very similar AI to bloodbugs
Crocalu 11 Jul @ 11:03am 
in silos the drones can be sitting inside those circular vents that sometimes contain an item, line of sight seems to trigger their AI because I climbed all over a vent to check inside it for any loot and a drone came flying out right when I reached the little nook. But they can also spawn in areas like Ventilation where theres no vents to sit in
<i><mark><b><#FF0><u>Qwergin  [author] 3 Jul @ 8:05am 
I know, that's in the "drone" section
NegativeZero 2 Jul @ 2:53pm 
You can grab the drones, rendering them basically a non-threat (while you hold them) grabbing them lets you hammer them really easily.