Fuego!
Not enough ratings
Fuego! - The Field Manual & Level Guide!
By LVX_AGENT
Welcome to: Fuego! The Field Manual & Level Guide!

Are you having troubles in puzzle mode, or online? Stuck on one pesky level? Want tips to improve performance? Well if you'd like to improve, advance, or just learn more about Fuego, then this guide is for you!

I made this level guide because I couldn't find one anywhere. I've beaten all the levels personally, if anyone needs more in-depth help. Feel free to request/suggest additions to the guide, wether it be alternate level solutions, tips, news, etc.

Hope this helps! Enjoy.
   
Award
Favorite
Favorited
Unfavorite
*NOTICE*
Please refrain from reading this guide unless you absolutely cannot figure out the solution for a level, this is a walkthrough, and it will show how to complete each level in case you get hung up. We strongly recommend you try your hardest before resorting to the guide, that way you can save yourself more of the experience Fuego! has to offer.

As a side note, for whatever reason, at least for me, when viewing this guide it seems to overlay the text onto the images a lot. I've found that simply reloading the page resolves the issue. I'm not sure if anyone else has this issue, and I'm not sure what the cause could be..

Now... Continue onward my friends!
The Basics of Fuego!
Now, onto Fuego! Here we'll break down the basic mechanics of the game to get newcomers started off fairly easily.
The main idea of the game is to get the most cash by robbing the most banks. Cash is stored in each bank (the buildings with the U$D symbol,) and you have to shoot them to rob them. When playing, you place little creatures in sombreros known as "Banditos" on the battlefield. You place them with the left mouse button, and you can aim them by holding the left mouse button and moving the mouse. You'd usually want to start by aiming for a bank, or a location you think your opponent might place one of their Banditos. Both players, whether PvP, or PvAI, get the same set of four Banditos and place them simultaneously one by one on the battlefeild, but neither's Bandito location is revealed until it's time to place the next one. You can both lose a Bandito if you placed them close enough to be considered in the same spot on the map. The Banditos with the least amount of guns fire first. You can steal the cash from an enemy Bandito by shooting them, but remember, Banditos with the least amount of guns shoot first. If you just plan to take out the enemy Banditos, you may not be left with any cash, and if you just plan to take out the banks, you might not make it out alive. This genre isn't considered strategy for nothing. Once you've both placed your first Bandito, it's crucial you prepare to take out the enemies' Banditos as well as all the banks you need to.
Strategize.
You may not need to take out all of the enemies, or all of the banks to win, you just have to take out the right ones.

Now that you know the basics behind Fuego! you should be playing like a pro in no time!
SPOILER ALERT(S!)
PROCEED AT YOUR OWN RISK! THIS IS A WALKTHROUGH AND IT WILL SPOIL THE FUN OF THE GAME, BUT IF YOU CANNOT FIGURE OUT THE PUZZLES, WE'RE HERE FOR YOU.


YOU HAVE BEEN WARNED.
Chapter 1: The Ones Who Remained
Chapter 1: Level 1

This first chapter most likely doesn't need to be included in this, but we gotta do it anyway.
I mean, if you can't figure out how to beat the first level by yourself, good luck, lel.
I'm fairly certain you could have solved this level by yourself, I am greatly dissapointed that you needed a guide for such straightforward level! You dishonor your family!

If you needed the guide for the last level, may god be with you on this next one!

Chapter 1: Level 2

I mean, 2 Banks, 2 Banditos, impossibru!
All of the levels in Chapter 1 can honestly be done from just about any angle, so if you couldn't find the right one, you weren't looking.

Chapter 1: Level 3

This one may throw you if you still aren't using your head. The key is distancing, baby!
You gotta know how to play before you can win.


Chapter 1: Level 4

Even my grandmother didn't need a guide for this level!
I think your cataracts must be worse than hers!

Chapter 1: Level 5


Did you make it this far all by yourself?! Of course not, you needed the guide for the first four levels! I'll make it easy for ya..


I would think you've had enough practice do do this on your own by now, am I gonna have to walk you through this whole game?!


I guess I will have to. Then continue on to Chapter 2: Justified
Chapter 2: Justified
So, you managed to tough out the first chapter when no one thought you could! They said you'd never make it, but now they always say congratulations! Chapter 2 is where the game really starts, and it's still fairly simple, so unless you're scatterbrained, partaking in certain 'legal' recreational activities, or are just tryting to go too fast, you probably won't need this section of the guide either, but rules are rules; we can't just have a partial guide!

Chapter 2: Level 1

This is another straightforward level that shouldn't stress you...


Chapter 2: Level 2


This level still follows basic geometry; even if you have no background with maths, I'm sure this level is simple enough to follow, even for a dunce.


Chapter 2: Level 3


Yet another simple case of point & shoot on this one, granted, now you have more than one variable,


so you know, that's probably difficult for you, I mean, you've needed the guide for every level so far...


Chapter 2: Level 4


Now we're finally starting to get somewhere with the level complicity. Even though it's still fairly simplistic, now you might have to start using your head.


Chapter 2: Level 5


The key to this one is to kill chickens. You've now graduated from "Chicken Chaser" to "Chicken Slayer."


Chapter 2: Level 6


This level is the first that's given me any real challenge, and it can be done a couple of different ways (like most of these levels.)


The main thing you have to worry about here is the order of your Banditos.

Chapter 2: Level 7

So here I guess we take a nostalgia trip back to the simplicity in the beginning of this game? This is just a random level, especially since Fuego! is starting to get harder. The only requirement here is you DON'T shoot the chicken, the bullet needs to pass closely to the chicken to scare it.


Chapter 2: Level 8


This one may seem a bit complicated. I'll admit it took me a few tried before getting the right positioning, but when you pay close attention, it becomes easy.


Chapter 2: Level 9


Initially, I thought I was placing my Banditos wrong because one of them has 4 guns, well, just because a Bandito carries 4 pistols doesn't mean you'll have to hit someone/something with every bullet.


Chapter 2: Level 10


This one is a bit tricky. It requires precision.


There's not much room for error here.


Chapter 2: Level 11


The ricochet levels can be a nuisance. The ricochet mechanism isn't quite perfect, and can make for some irritations. This one I did on the first try like it was nothing, but when I was replaying for the guide, I forgot what exactly I did, and it was kind of hard to get it lined up just right.


With Chapter 3 completed, you should also unlock:
Tequila.

Chapter 3: The Dead, The Dying
Chapter 3 is where it gets interesting. Now there are npc's in effect.

Chapter 3: Level 1


So now, you're not necessarily going for the Banks, but you are still going for gold. This time, you'll have to pay attention to Bandito order along with who will be shooting which Banks. Since my Bandito has 3 guns, and the enemy's have 1 each, they will go first.


Chapter 3: Level 2


In Chapter 3, the Bandito order, the direction of fire, and distancing are probably the most crucial details to pay attention to.


Chapter 3: Level 3


First you scare chickens, then you chase chickens, then you kick them, then you murder them, then you save their lives....


I think chickens may trigger your bipolarity... Your relationship with Gallus gallus domesticus is quite an odd one.


Chapter 3: Level 4


So for this one, you'll want to take care of the two Banks that the enemy Banditos won't hit by using your two gun Bandito, and take out the two closest enemies with your 'up/down-firing' Bandito, as the two closest to the Banks will be the ones to shoot the Banks.


Chapter 3: Level 5


This one is pretty simple.


Chapter 3: Level 6


In this level, all but 1 of the enemy Banditos will end up killing eachother, and in the process they will leave one Bank behind, so you have to take out the extra Bandito/Bank.


Chapter 3: Level 7

This level is the first I've personally been stuck on.


It was really hard to get just the right distance comboed with the right angles. I tried taking this level from a whole different perspective than how I did when I beat it, and I was still REALLY close to completing it, like millimeters away. So this one takes some real precision and thought to complete. No shame in getting stuck on a level like this.


Chapter 3: Level 8


So this one, I tried a few different ways, one with my extra Bandito ready to take out the one enemy, just in case he killed my guy (which would only help you in getting revenge, not with winning the level, lel,) and one time with him getting one of the banks already covered by my other guy..


But realistically, you just need the one Bandito, the other is useless here, unless you did it differently. But precision is still a necessity for this level.

Chapter 3: Level 9

To complete this level, you'll have to sacrifice your own life... for a chicken.


With your previous ways in mind, I would never have pictured you so.. altruistic.

Chapter 3: Level 10

We're back to stealing all of the gold, so determine who is shooting what/when, and counter-act.


So here, I positioned myself to be sacrificed in the name of gold, while also killing the other enemy Bandito. This allowed me to shoot all of the banks with my second Bandito.


Mission successful.


Chapter 3: Level 11


This one was too easy!


It should be fairly easy to figure out where to setup hhere, just make sure you have the right distances.


Chapter 3: Level 12

Another selfless act to save a couple of eggs and a few hunks of deli meat...


Too bad breakfast is off the table for you!


Chapter 3: Level 13


I feel like diffuculty is real hit and miss with the levels so far. Most of them have been pretty easy lately.


Another one bites the dust at your hands!


Chapter 3: Level 14


This one was honesltly the hardest one of these last few levels, and it still didn't take long to figure out.


Chapter 3: Level 15

I expected a lot more from the last level of Ch3, but I solved it on the first try. It was actually quite a breeze.


It only gets worse from here on out though..


After beating Chapter 3, you should also unlock:
Squirt

Chapter 4: Reflection - Part 1
Chapter 4.....

This is where $ℎ̶͎̲̈́͜͠͝ #t hits the fan.

Chapter 4: Level 1

This one is pretty easy, but the levels get harder and harder as you've no clear depiction of where your bullets are going to be going.. It's like playing a game of pool, irl, or at least like a digital pool, but with the visual help turned off.


You'll be firing blind if you're not sure where you're firing. It's also very easy to miscalculate on these levels, so prepare to stick around Chapter 4 for some time.


Chapter 4: Level 2


This one required a lot of fine tuning, but mostly because of the angles I was taking at first.


Chapter 4: Level 3


This particular level got me pretty annoyed after a while. I tried it from all sorts of different angles, and I'm not even sure if I did this level properly; not sure if I can say that for a lot of these levels, but if this was the only way to complete it (which it probably isn't,) then it would be one helluva small window for error.


It took a lot of fine tuning on this level too, and it seems like it's gonna be that way for a lot of Chapter 4.


Chapter 4: Level 4


I didn't have much trouble on this one to be honest.


Chapter 4: Level 5


Or on this one...


Chapter 4: Level 6


I feel like the last two levels, and this one are all a step backwards in difficulty.


But that's about to change.

Chapter 4: Level 7

This level took some fine tuning, which we'll end up doing a lot more here soon..


Chapter 4 is where Fuego! adds a lot of trial and error to your to-do-list


But, practice makes perfect.


Chapter 4: Level 8

Ch4:L8 Adds yet another decrease in difficulty, but the more I progress, the more I like these small breaks from the hellish torment some levels in particular can cause you.


Whether you're just not finding the right angles, or if you're stuck fine tuning the same level's solution multiple times, Fuego! can be fairly punishing at times, so these easy levels thrown in here and there can help with stress relief, and your morale.


Chapter 4: Level 9

Ch4:L9..... One of my first hated levels in Fuego!


First off, I tried doing this level from so many different angles, and none of them had successful outcome. They were all just off from being winners though! But none of my near-solutions panned out except for this one, and I'm honestly not even sure if this was the dev's intended positioning because it was so hard to get any of my attempts to land a hit on every Bank, and this is the only solution I could get to pan out.


Be prepared to redo this level a lot!


Chapter 4: Level 10


Ch4:L10 Also drove my patience for quite some time, but in the end of the day, we robbed those suckers blind!.


Yet another tinkerfest overhere.. Might take some time to get it right.


..Sweet victory! Nobody can take it from me, sweet victory!


Chapter 4: Level 11

To be completely honest, I thought I'd be stuck on this one for a while as well, but I solved it on the first go! Made me proud of myself after such a bout with the last level, lel.


Don't mess with my Banditos! They'll blow you up like overcooked burritos! First try, no reloads! Beast mode! This a 5am freestyle that I bestowed! Going ham like my Banditos! And it draws you in like I was Magneto! Super power flow so clean, yet it's SO cochino! Bout to be rich off of it like we hit the bank in Reno! Won the lotto on my lyrics, I can't lie tho, though my skill is empiric, that means I work at what I do, which reminds me, I gotta get back to this guide, oh yes I do!


Chapter 4: Level 12

And then....? Well, I was back to damn near tearin my hair out again. It was just like Ch:L9, "I tried doing this level from so many different angles, and none of them had successful outcome,"
Only this time, it felt I was stuck for twice as long.


I was about to give up and take a break, and I half-randomly placed it in one last ditch effort of finding a solution I thought might work, and then it hit me like the Great Piano Drop of 1968. MotherFREAKIN derp! I felt so stupid because of how quickly I realized what I was doing wrong the whole time, but I also felt very accomplished. I think that I just overthought it until I couldn't anymore. Twas a very puzzling.. puzzle, she was. I don't think I've had a harder time in this game so far.


Hey. Well hello there, beautiful! What a delicious surprise! This must be my lucky day! You see that up there? You know what that is? That, ↑ is sweet, sweet victory, baby!
Chapter 4: Reflection - Part 2
Sorry about the cut, but I ended up with too many characters for one section, so here's the last two levels in Chapter 4!


Chapter 4: Level 13


After the brutality of some of these levels, I was certain the final levels of this chapter would be the death of me.


It's mostly the fine tuning that makes it take forever and sucks the life out of you, but some of these puzzles had me going for some time.


But I managed to solve this one without sticking around too long. It was nicely set up though.


Chapter 4: Level 14

I still expected the finale to be horrendous, but it actually took me a lot less time than I imagined it would.


I did have help though..
Blue Wizard
had shared a solution for it in the comment section, but I wanted to try it on my own first.


I was pretty lost for a while, but I started getting pretty close, real close, but I couldn't get it down, so I followed his solution. I had a similar idea, but it didn't work well enough, so you can thank him for the help on this one!


I.. Am... FLAMINGO!


After beating Chapter 4, you should also unlock:
Hightail

Chapter 5: Before The Devil Knows
Sorry for the long wait... I know the guide for the final chapter has been wanted for quite some time now, and it's finally being completed and written up, so stay tuned!

Chapter 5: Level 1

Yet again, Fuego! manages to lower it's difficulty; significantly.


2Ezm8. Block the one enemy, and your other Bandito will do all the work!


Chapter 5: Level 2


I was thoroughly underwhelmed by the early levels of Chapter 5... I was expecting a much more hellish chapter this time around.


The solution for this level was very similar; block the enemy on the right, while killing the enemy on the left, let your other Bandito do all rest of the work.

Chapter 5: Level 3


For this one, you'll just need to take out the middle Bank so your other bandito can yet again do all the work for you.


I did mention the severe drop in difficulty, right?

Chapter 5: Level 4

Another super simple "puzzle" in the last chapter of the game!


Block the enemy on the left, kill the two enemies on the right, let your other Bandito do all of the work for you, again


Chapter 5: Level 5


Shoot the left bank, and kill the bottom Bandito. Make sure to avoid line of fire, and you'll be good.


Chapter 5: Level 6

This was the first level of Chapter 5 to throw me any sort of challenge, and it was still pretty easy to complete.


Simply shoot the two gun Bandito and block the chicken to complete this one. I was really looking foward to, and dreading the final chapter, but so far it's just too lax on challenge for being the final chapter in Fuego!


Chapter 5: Level 7


This one was also just too easy. The only thing about it that gives any challenge is all the fine tuning you might have to do.


Chapter 5: Level 8

If this chapter is doing anything correctly, it would be deception. To be honest, the final chapter has done a decent job of making me overthink the solutions, but in the long run, there's been virtually no difficulty in this chapter so far.


I'm really hoping, and fearing that the last levels of Chapter 5 will be terribly hard, but if the first 9 levels of the chapter are any indication, they won't be.

Chapter 5: Level 9

This level made me go through a few different positions and angles, but it was also incredibly simple.


For levels like this, it's good practice to just place your Banditos out of the way, and try a test run to see who will be left with the gold, and who shoots who, etc.


Chapter 5: Level 10

Chapter 5 is actually fairly tricky, even though mostly simple so far. It definitely knows how to mess with your train of thought as far as how you think things will pan out.


This was actually a decent challenge too. Just block the Bandito and shoot the Banks pictured to complete the level.


Chapter 5: Level 11

This one was also fairly deceptive at first, but it was easily seen through.


Shoot the top Bandito and the two Bell Towers at the right angles to complete.


Chapter 5: Level 12


Another fairly simple one. This chapter just wants you to think it's hard, when in reality, you just have to think a bit outside of the box. You will most likely expect one outcome, and be granted one slightly different.


Chapter 5: Level 13


Take out the left most Bank, and the Bandito on the right.


Level complete.

Chapter 5: Level 14

This level was perhaps the most challenging, and the most deceptive. At first it seemed impossible, but soon I began to see my errors. I then found nearly the right spot after just a bit of tinkering, and almost gave up when I couldn't complete it, as I was just barely missing the enemy Bandito to finish off the level.


The tipoff on the completion requirement was in part to the 'title/objective' of the level, and the visual effects. At first I noticed when you had all of the loot, you had the pentagram surrounding you, so I tried to get the enemy Bandito to take all of the gold...


Once I tried that, I soon came to learn that him having all of the gold wasn't enough, so I used the title/objective to help me figure out the rest of the puzzle... I thought, since it says "one more bullet for the devil," he had to be shot as well, so I realigned my Bandito, and took him out after he collected all of the gold, and it worked.


Chapter 5: Level 15

The final level just seems unnecessary, as level 14 was really the last level.


It says, "this one's on you." so maybe it's supposed to signify that you are the real enemy? Not sure if it's trying to say something like that, but if it doesn't have some sort of meaning behind it, it shouldn't even really be there.


However, if you made it this far with, or without the guide, CONGRAGULATIONS!

After beating the final chapter, you should also unlock:
Urcu & Lyra


Thanks for taking the time to view my guide! I hope it helps people who are stuck! I hope you enjoyed the read, as I tried to make it at least somewhat entertaining. If you liked it, rate/like it, or share it with someone who needs the help!
~ICE
Help improve this guide! *Suggestion Box*
Feel free to offer any and all suggestions you might have for improving this guide! Whether it be tips for new players, alternate level solutions, design layouts, text formatting, etc.


We may also eventually go more in depth with the level solutions if people feel it necessary.
We'd probably start by adding more detailed walkthroughs for levels people request first, rather than just do it for all of the levels, as most of them require a lot of tinkering to complete, even knowing the proper placement location(s.) But, we're not ruling out explaining all of the levels in greater detail.. eventually.

13 Comments
LVX_AGENT  [author] 11 Dec, 2022 @ 2:27pm 
@dynastystar

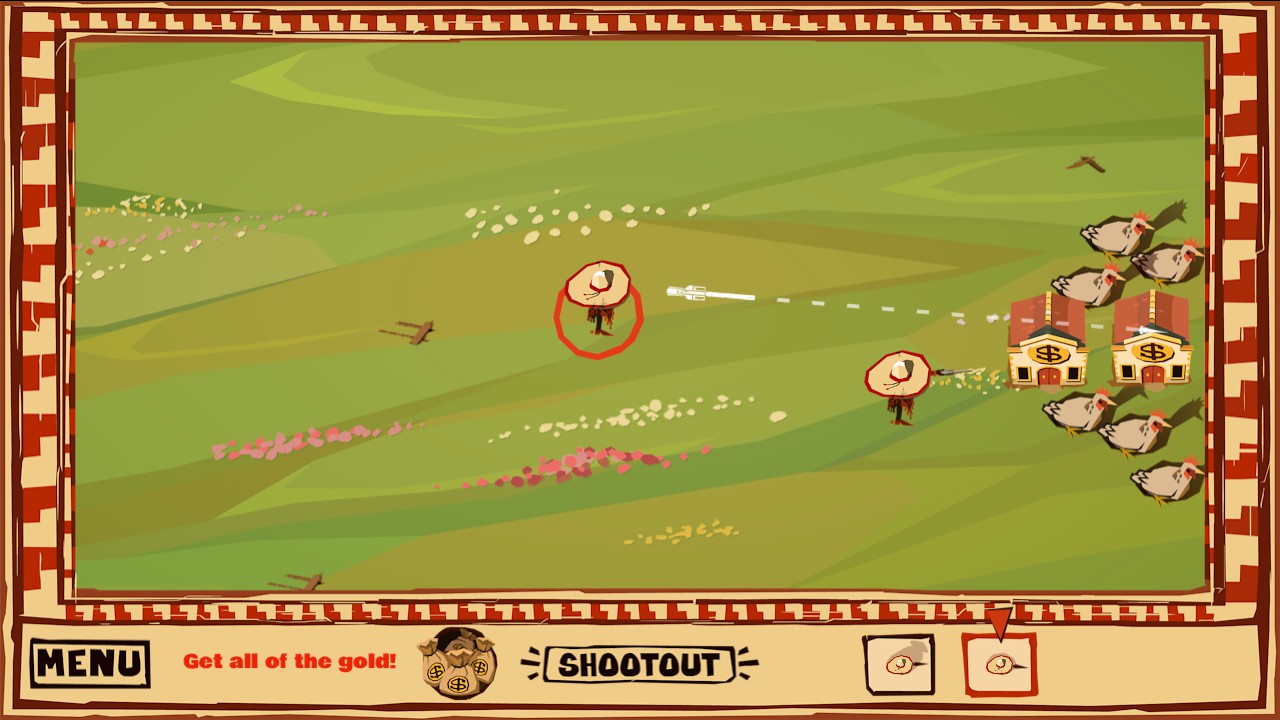
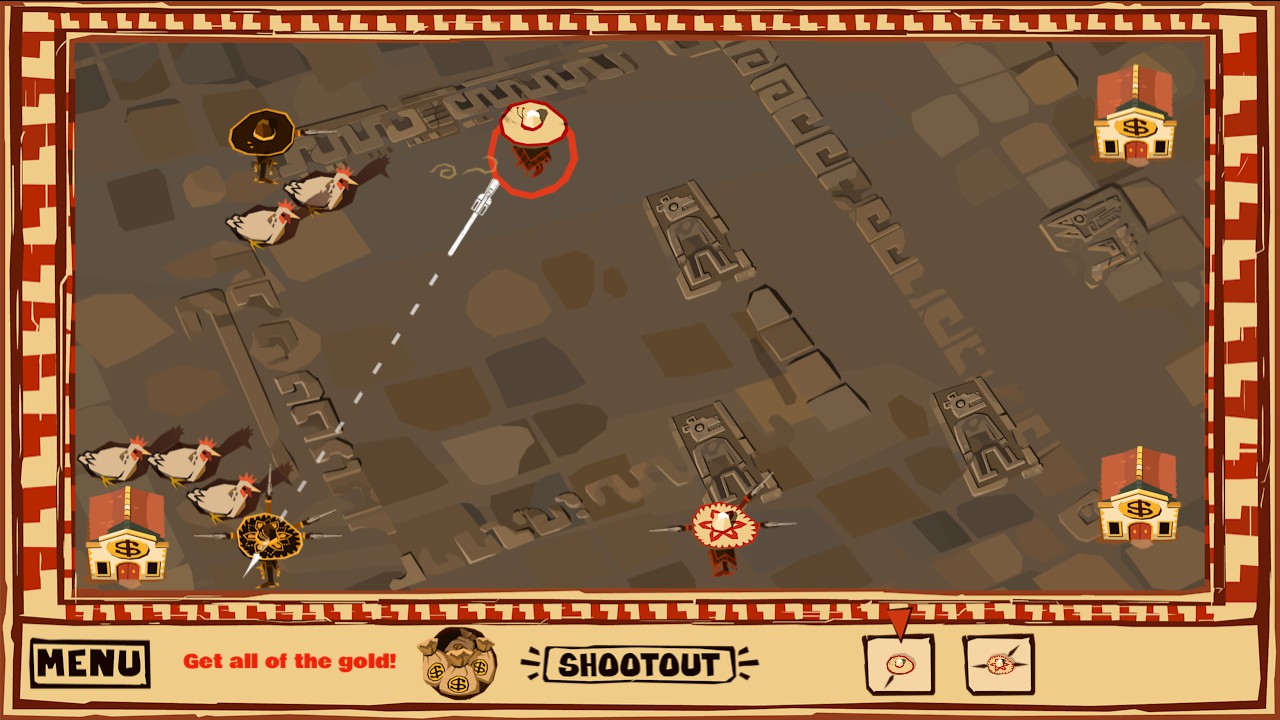
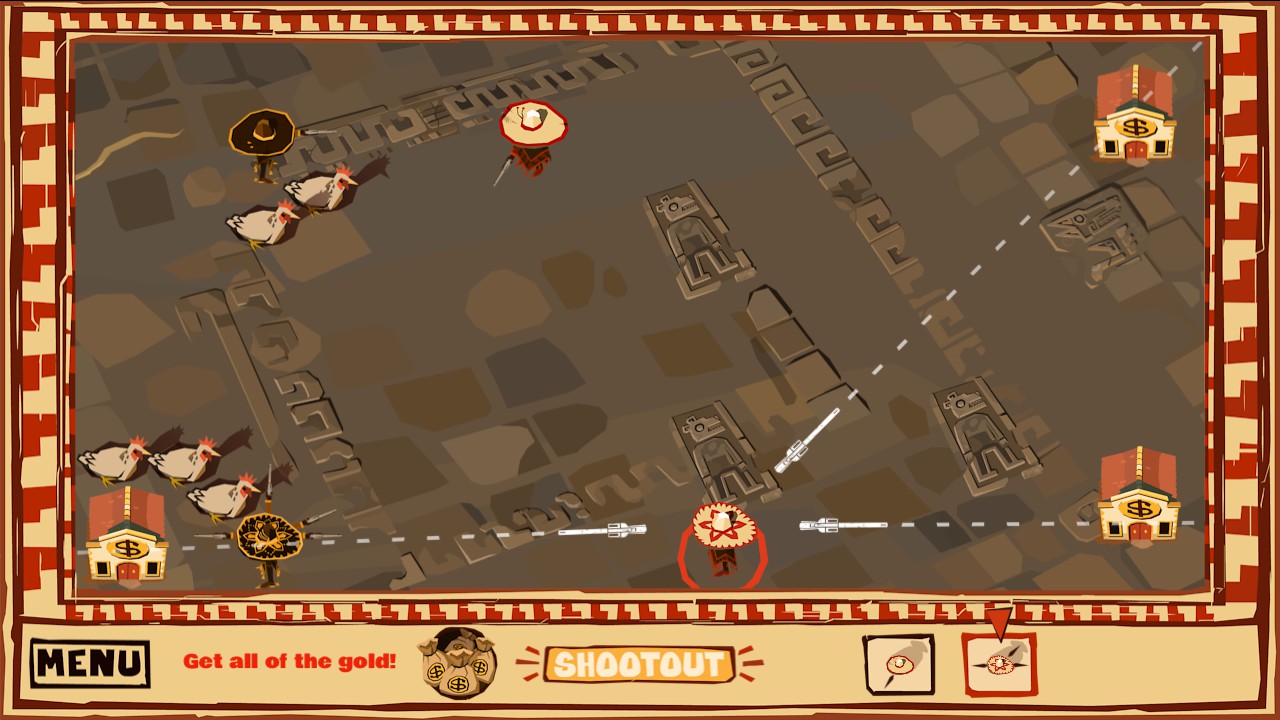
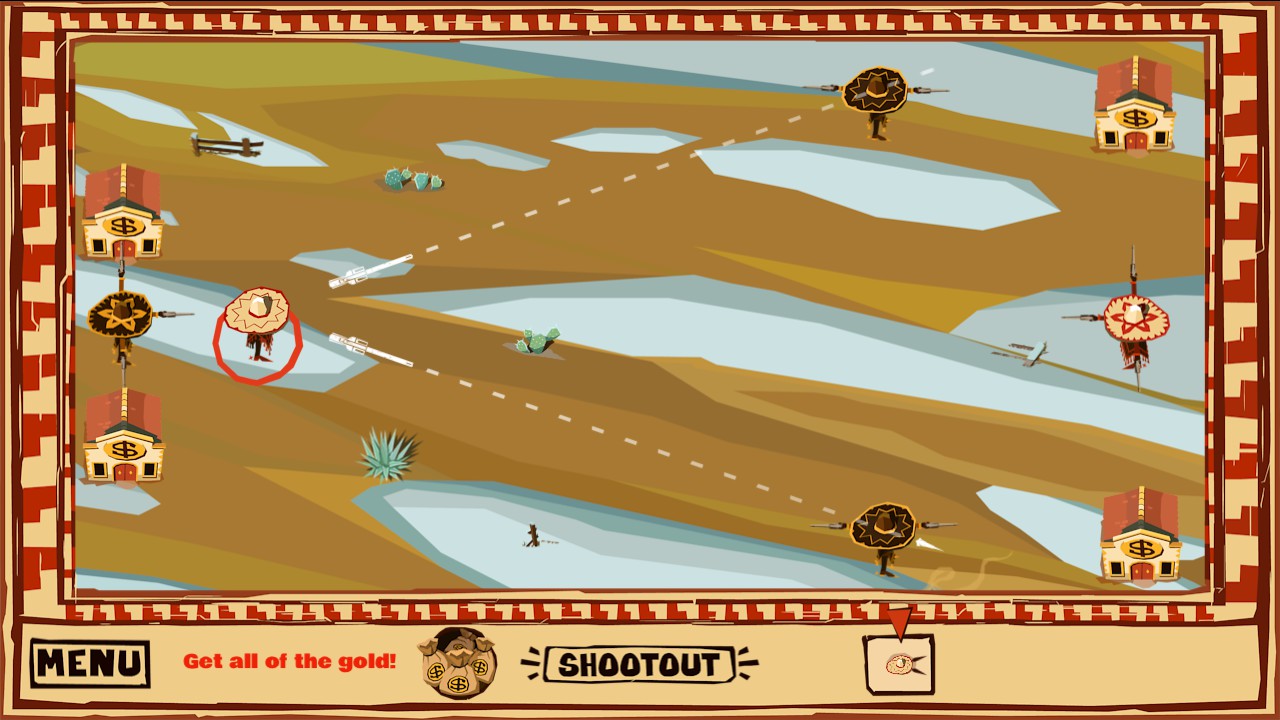
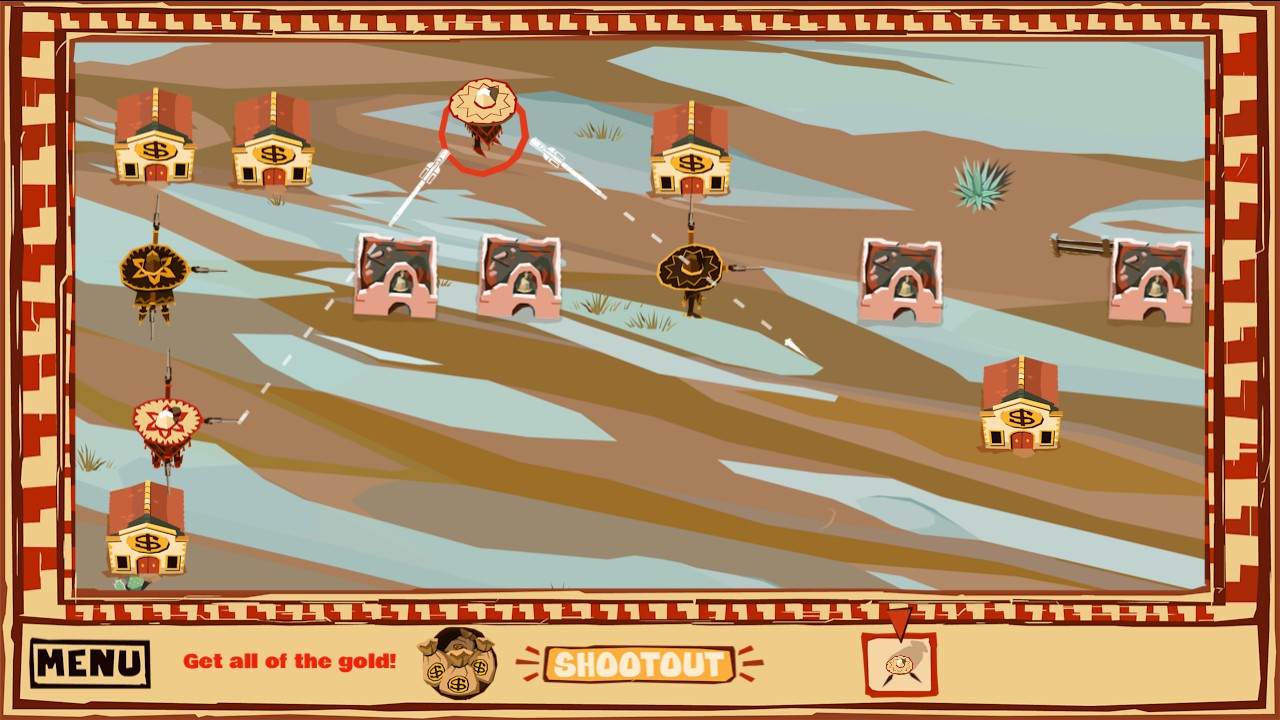
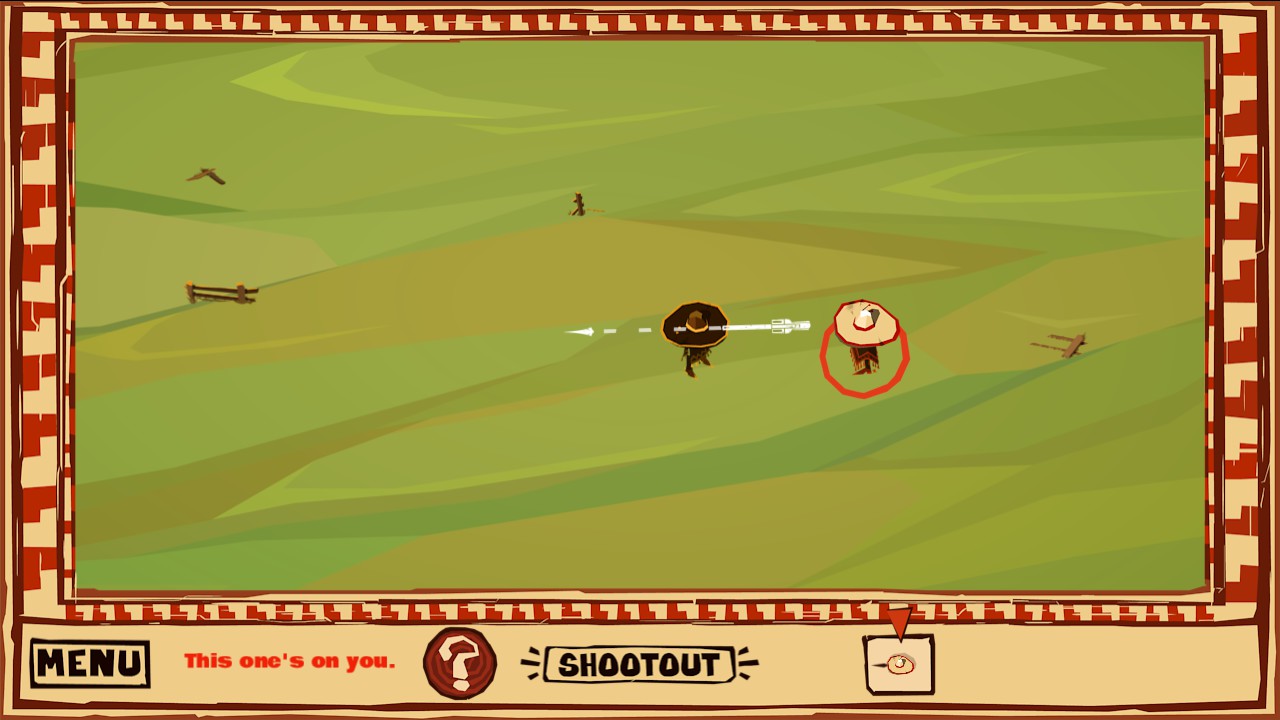
Triggernometry requires you to shoot an enemy bandito with a bullet that has been richocheted twice.

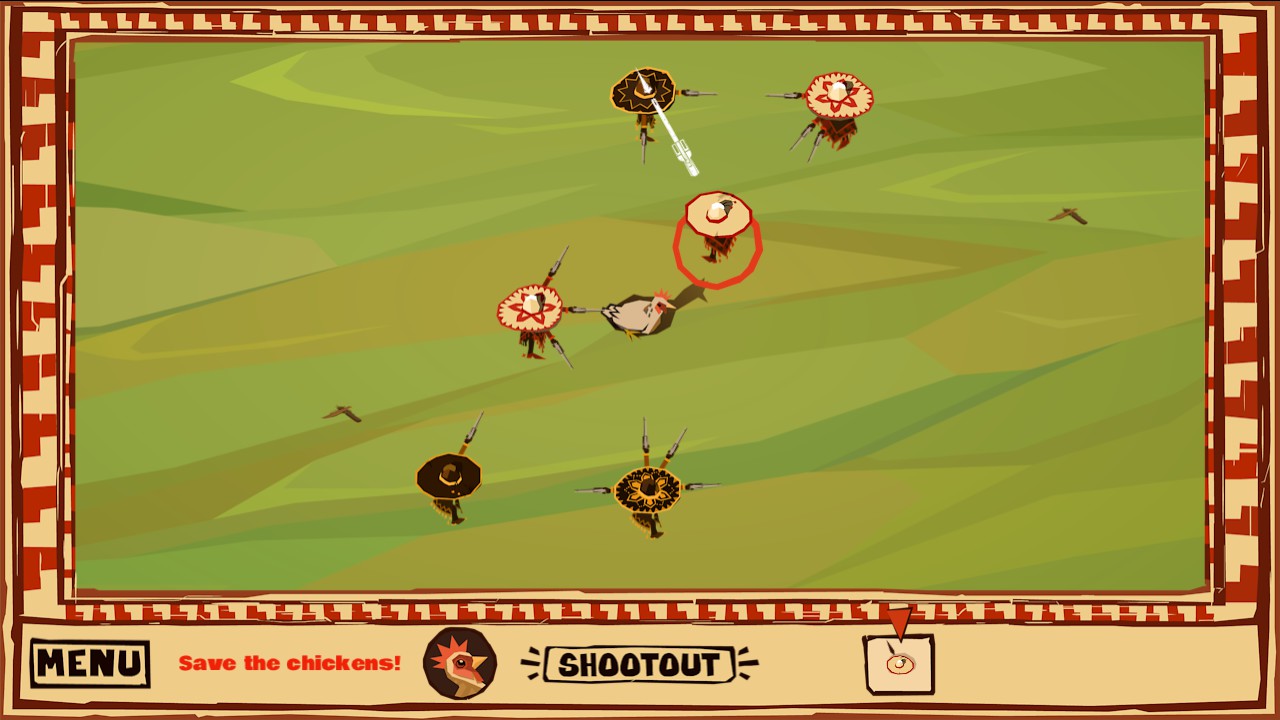
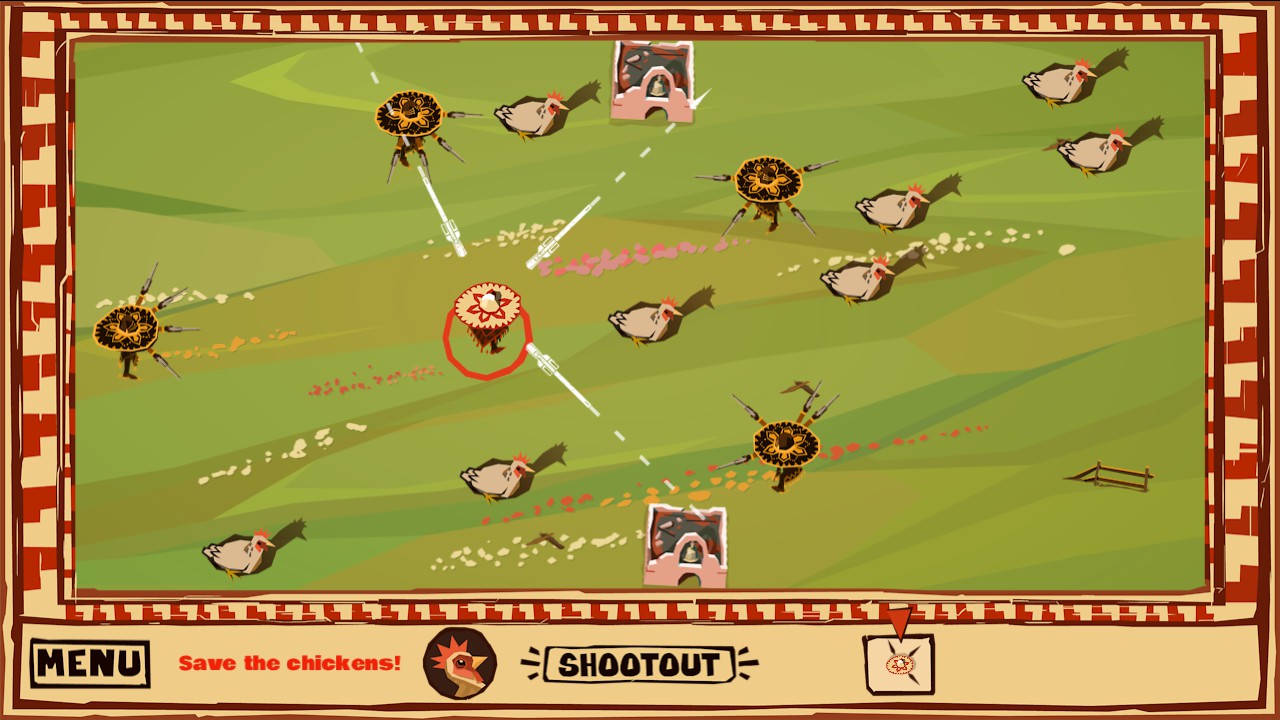
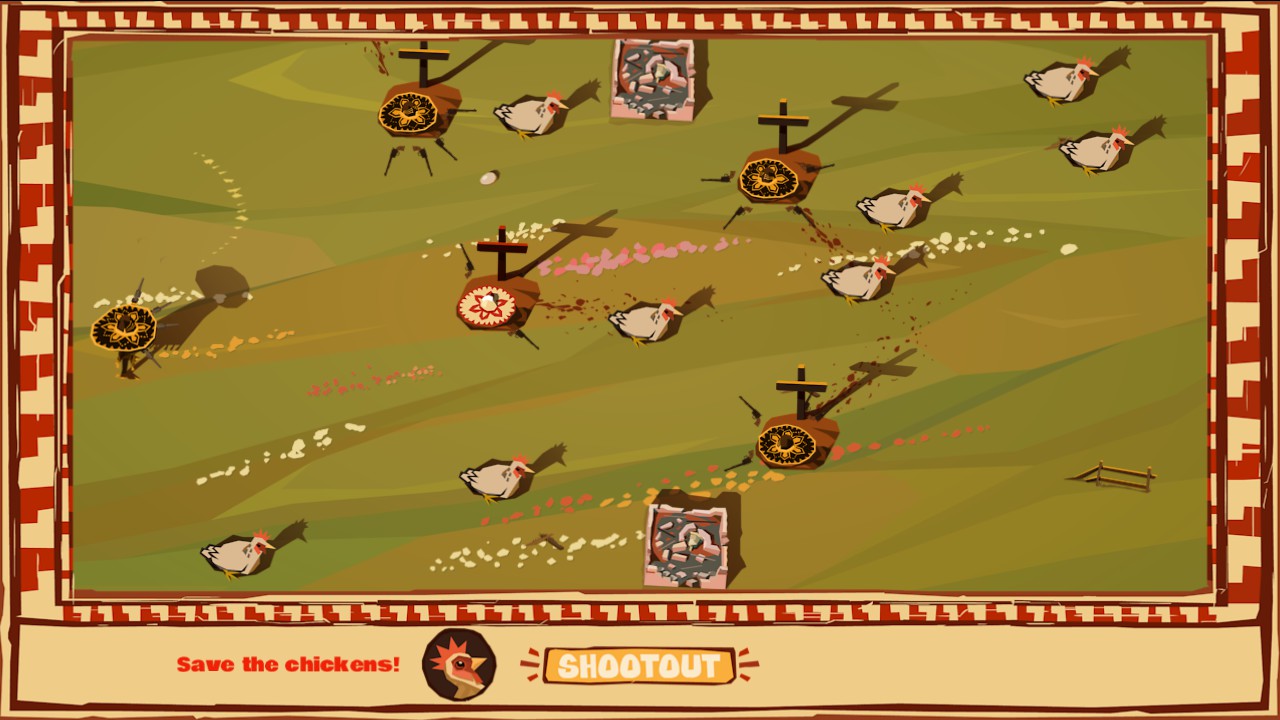
No Good Deed requires one of your banditos to be a bullet shield for another one of your banditos.

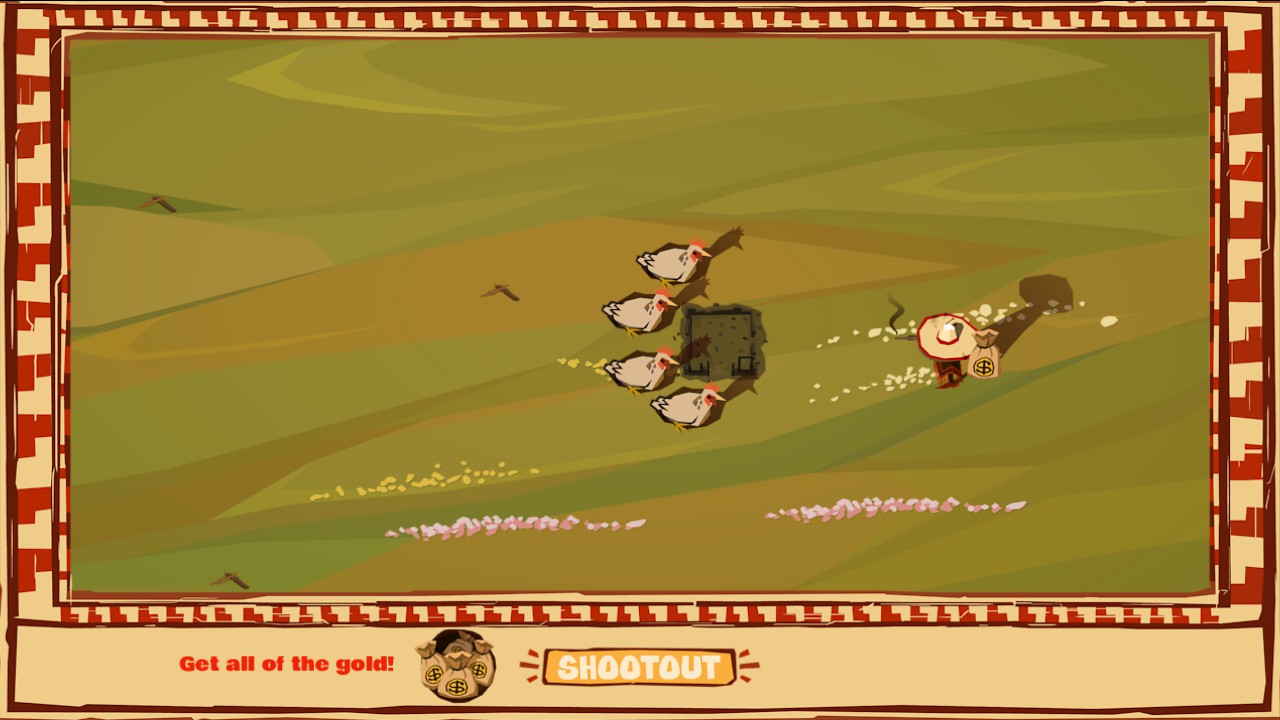
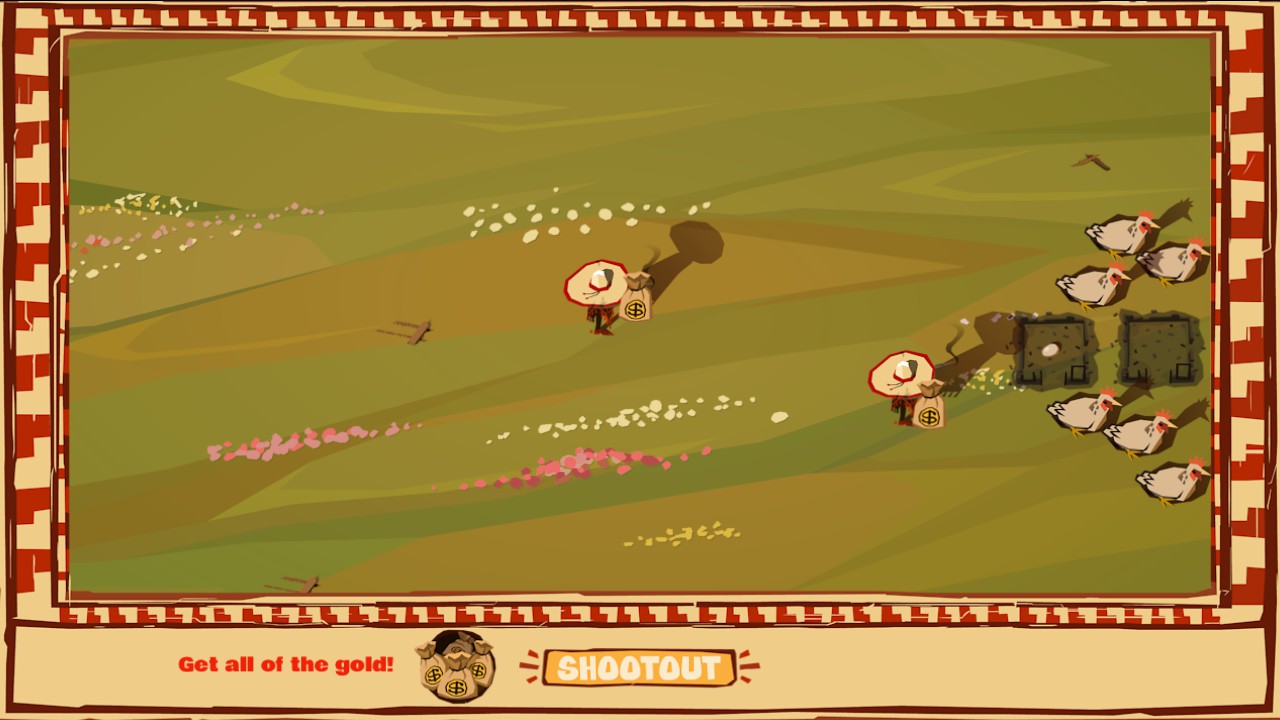
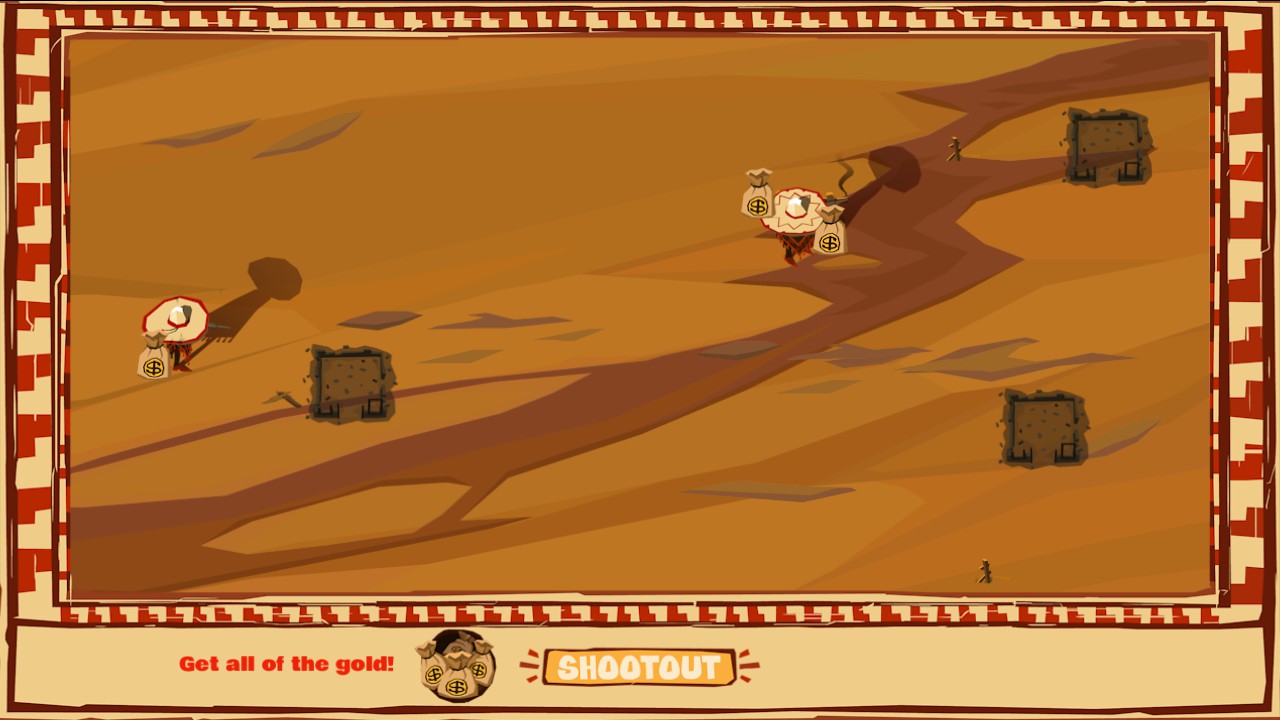
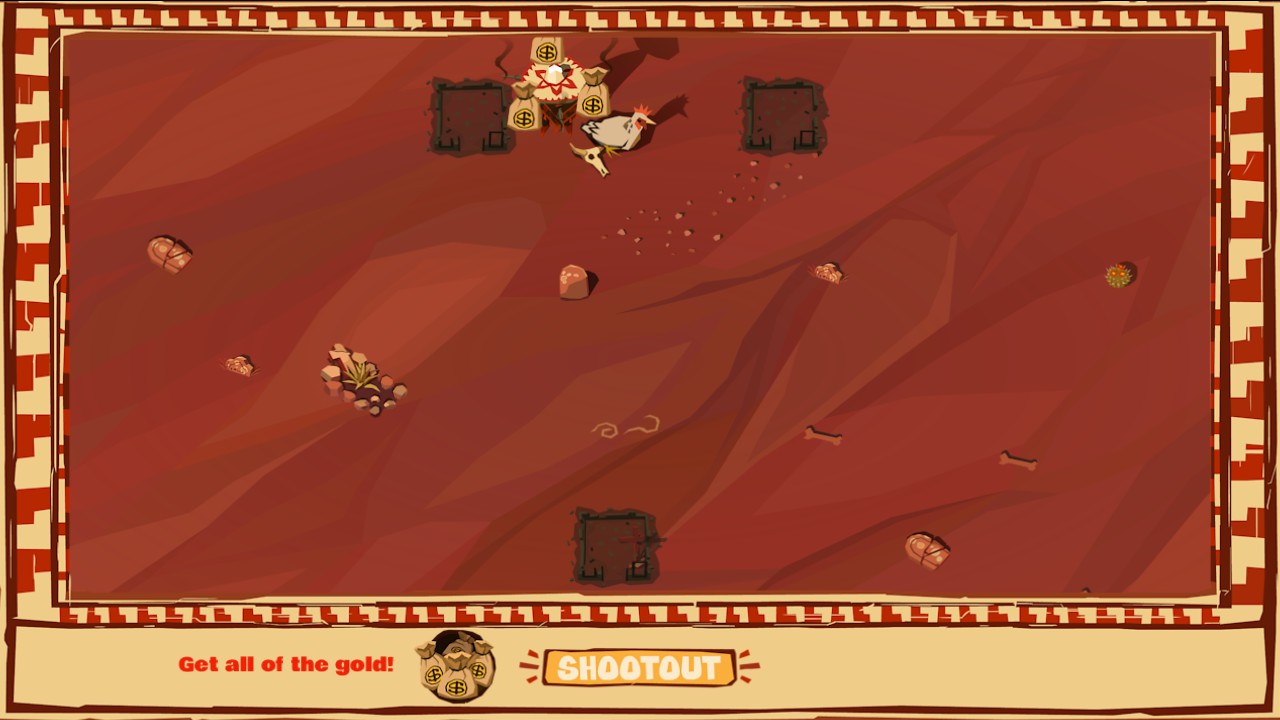
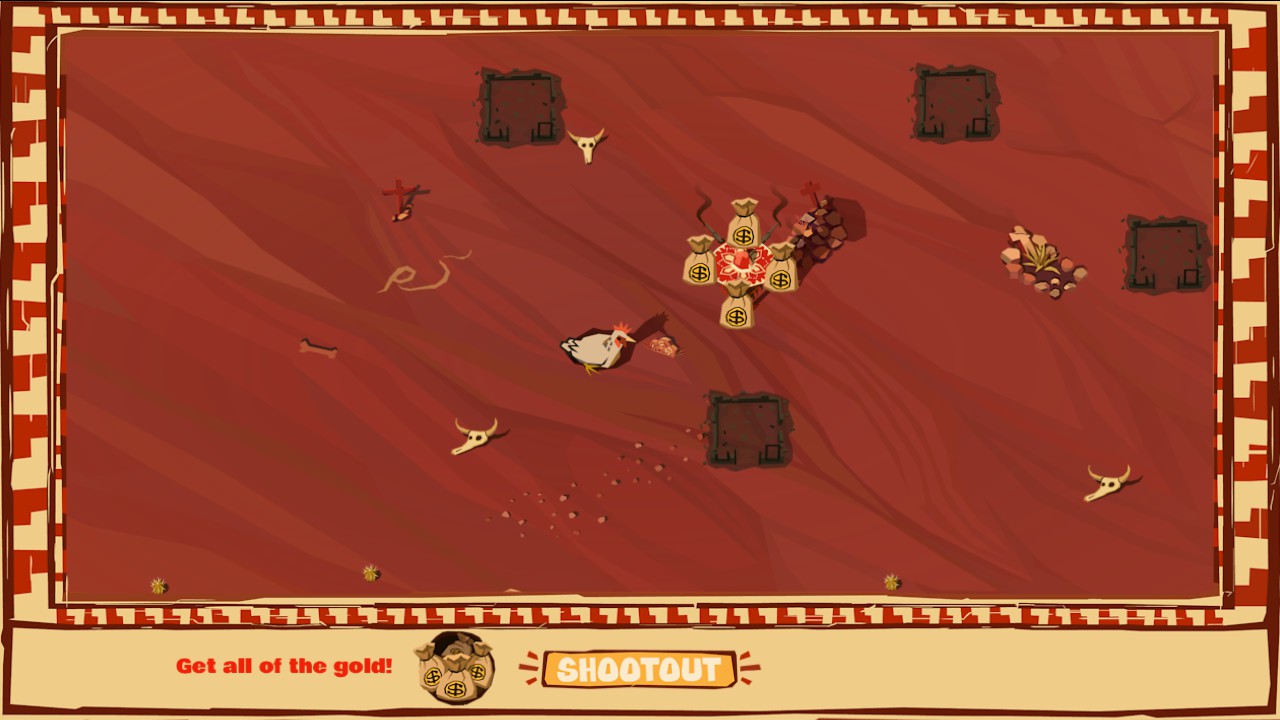
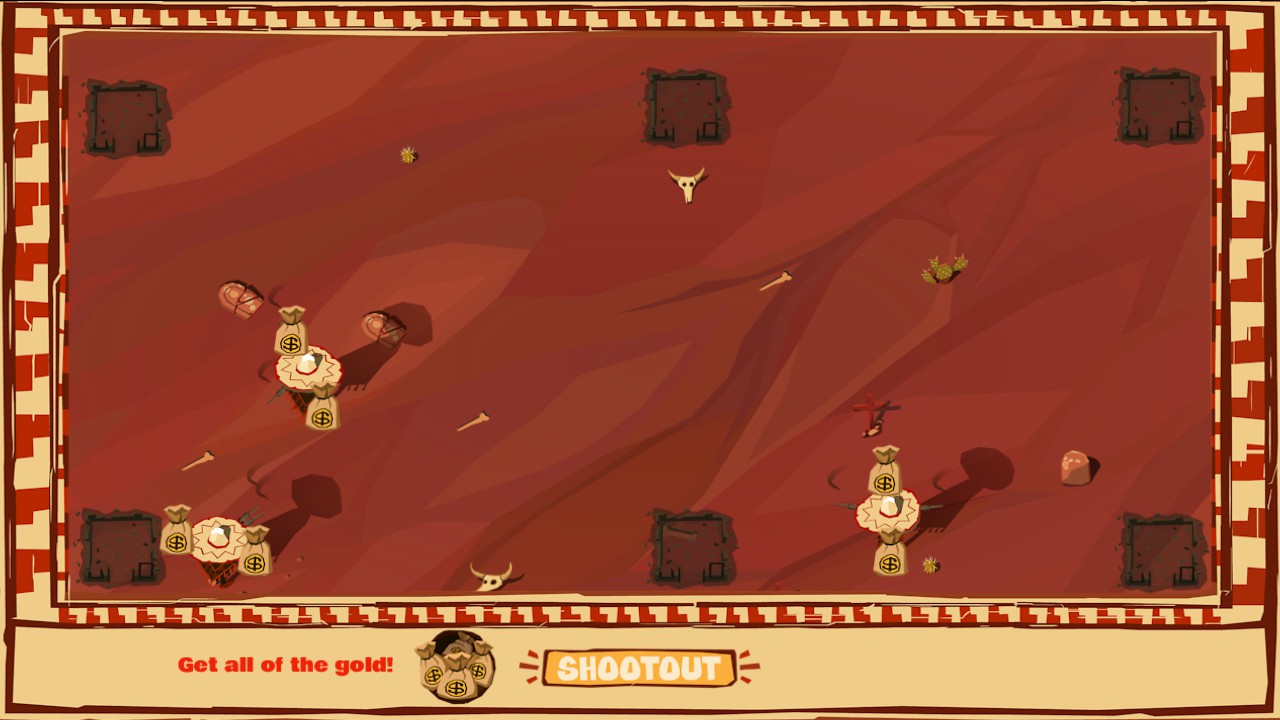
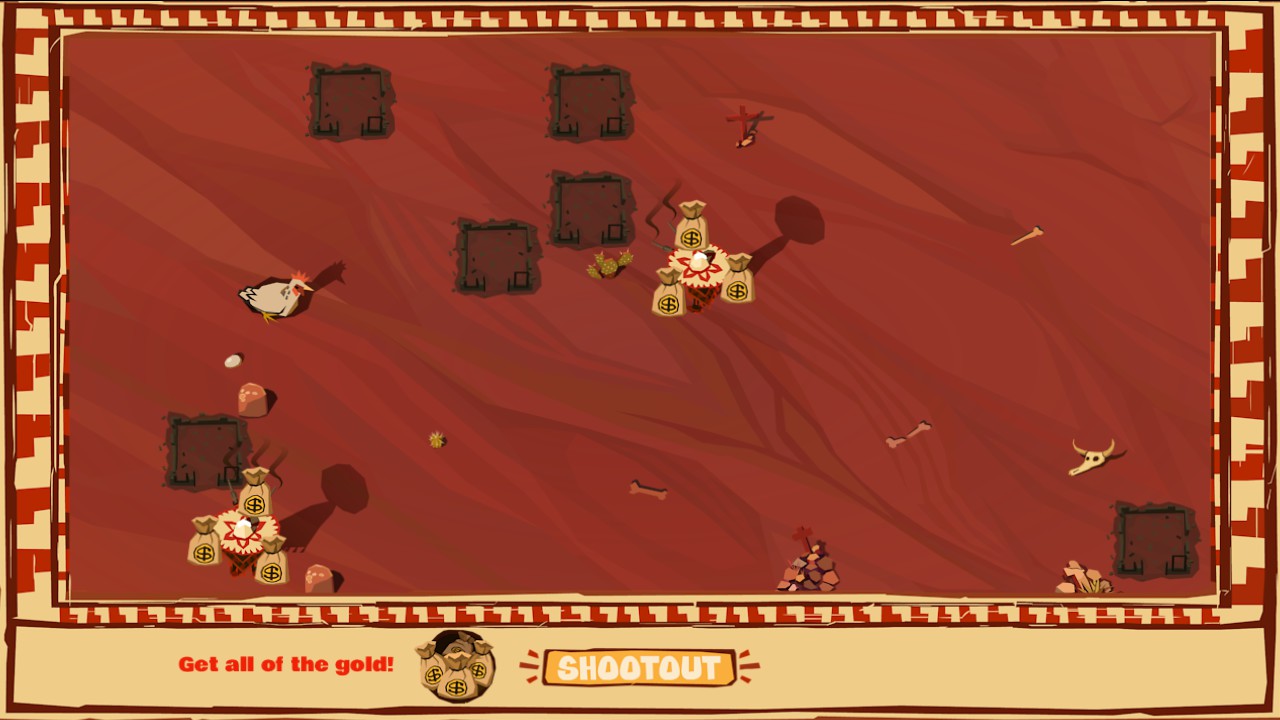
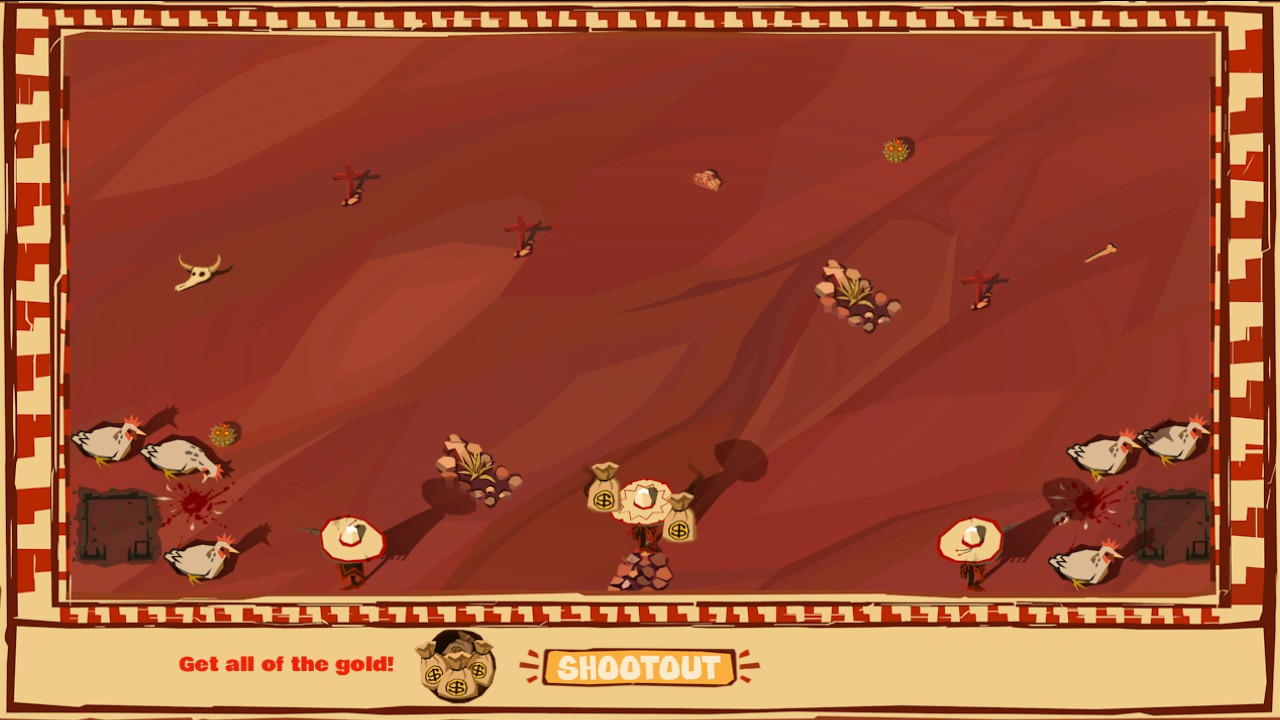
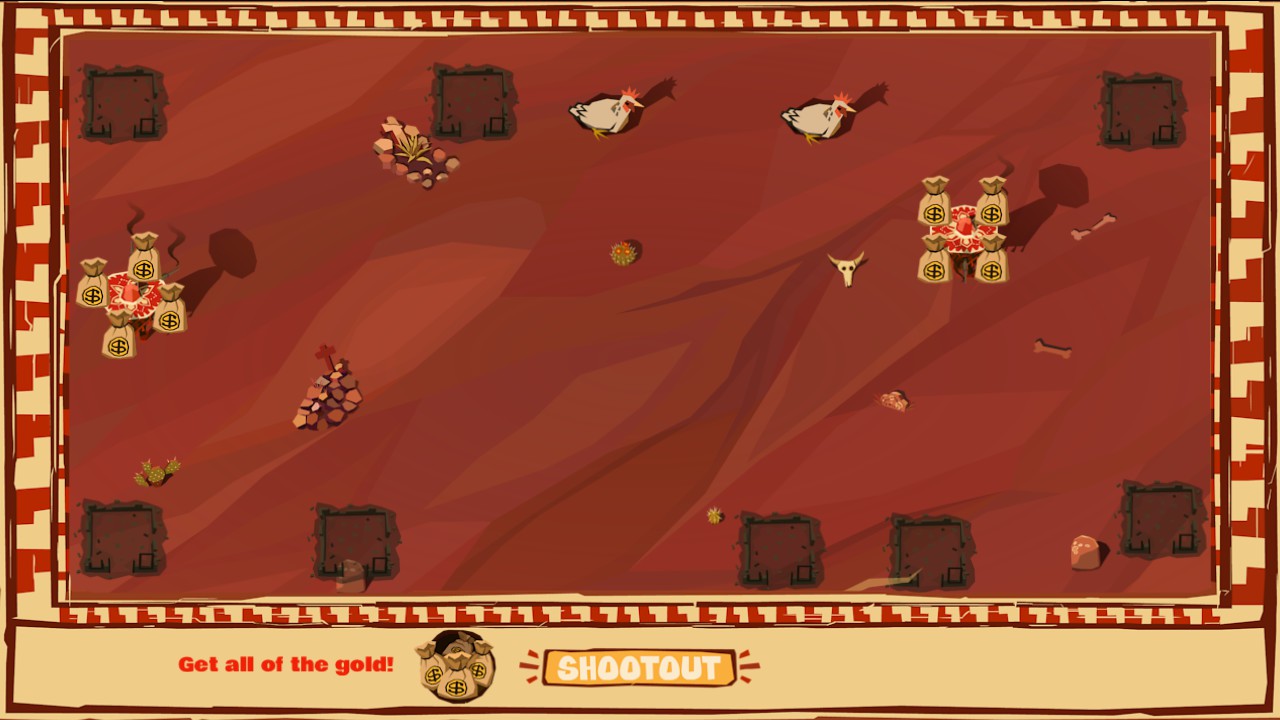
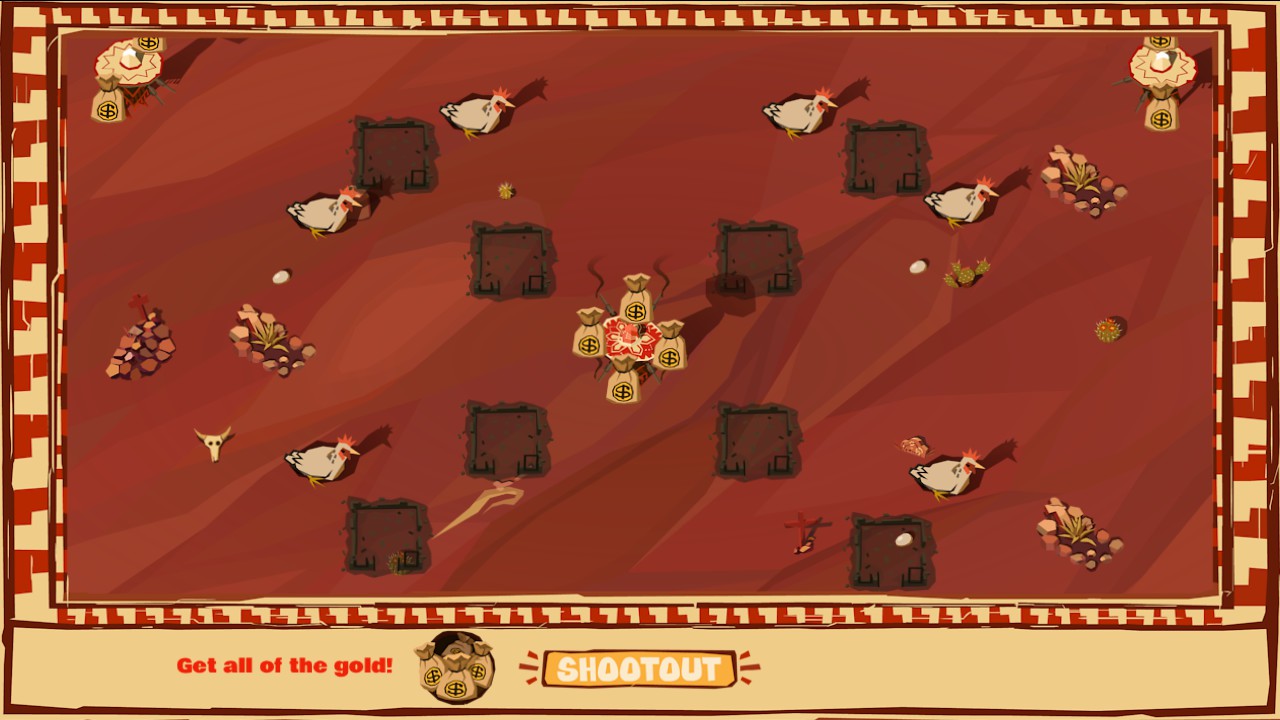
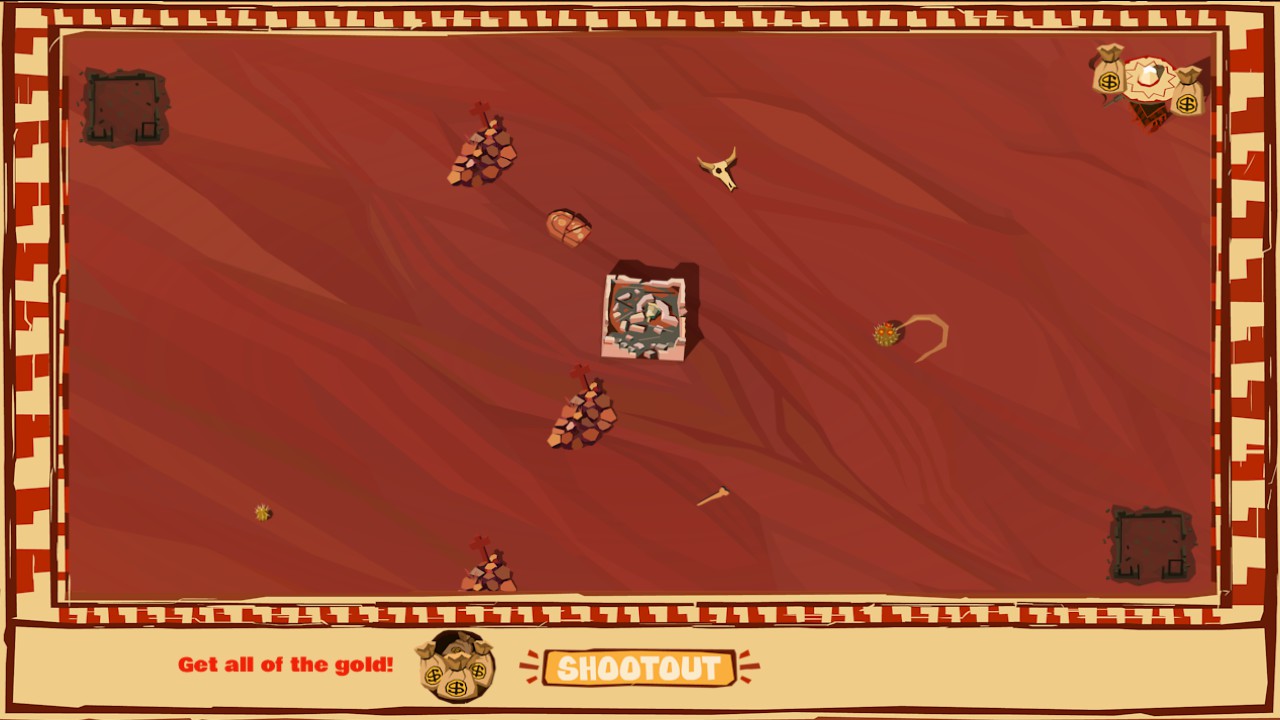
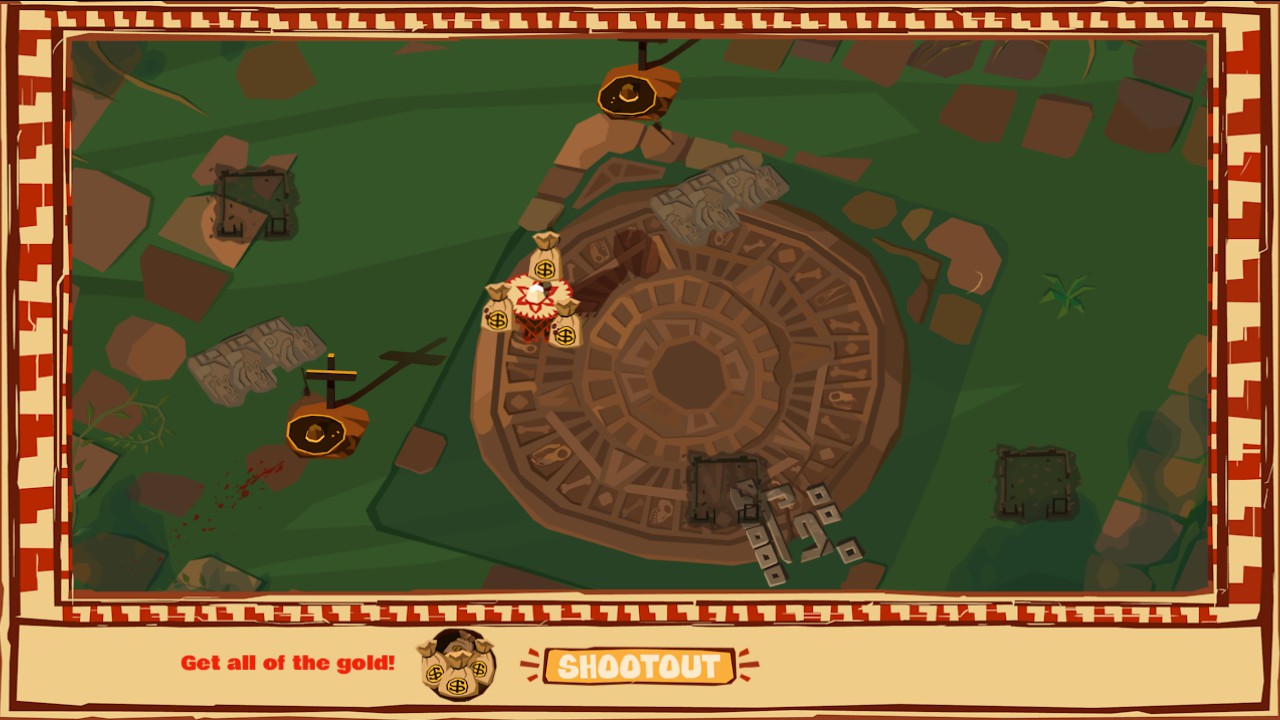
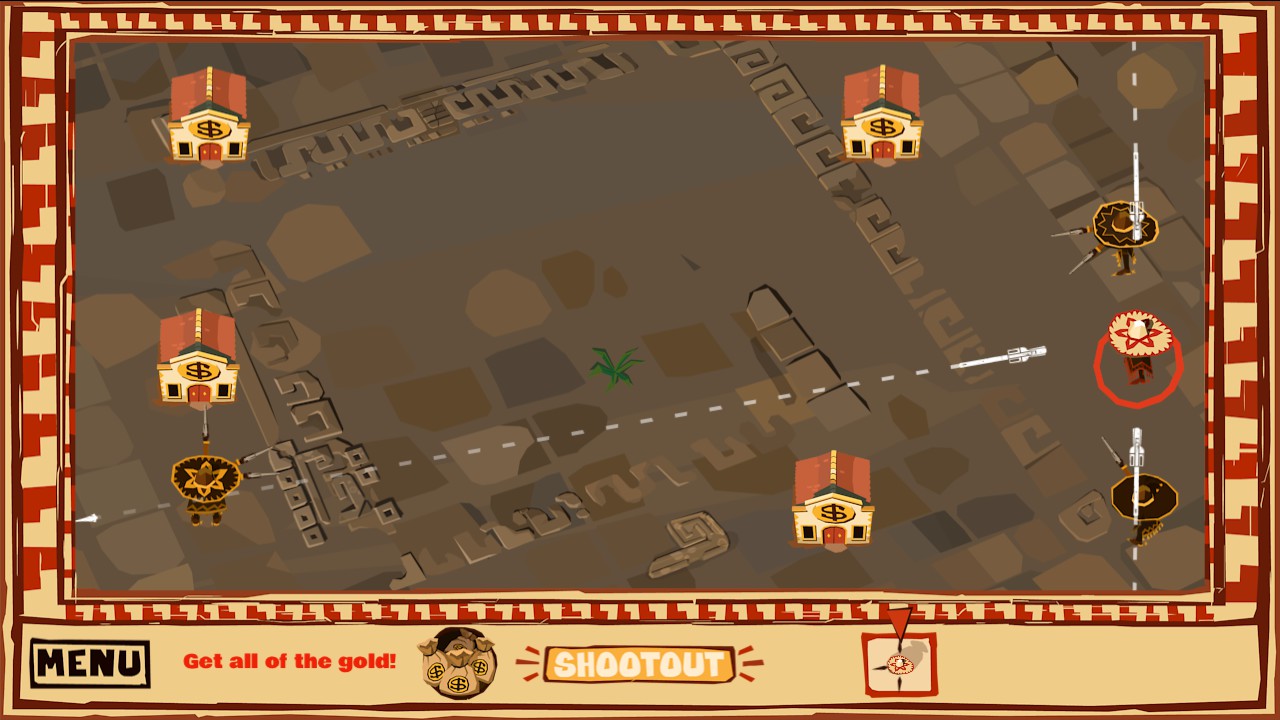
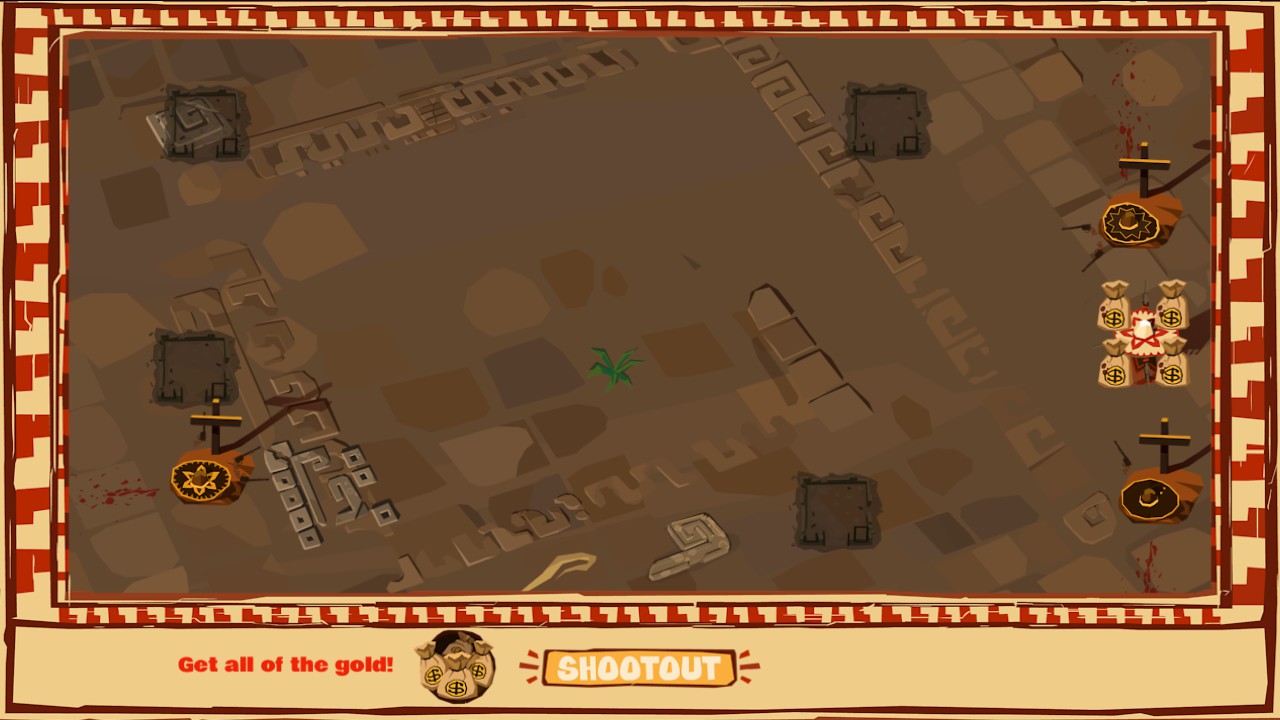
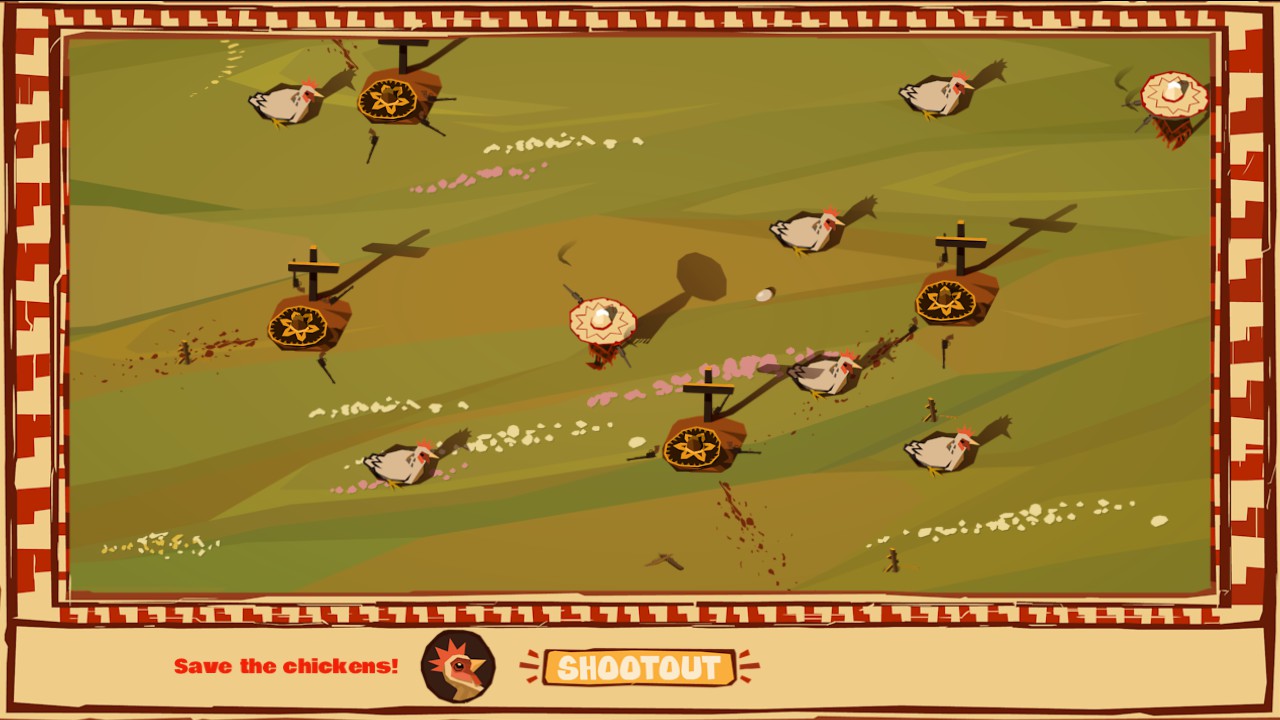
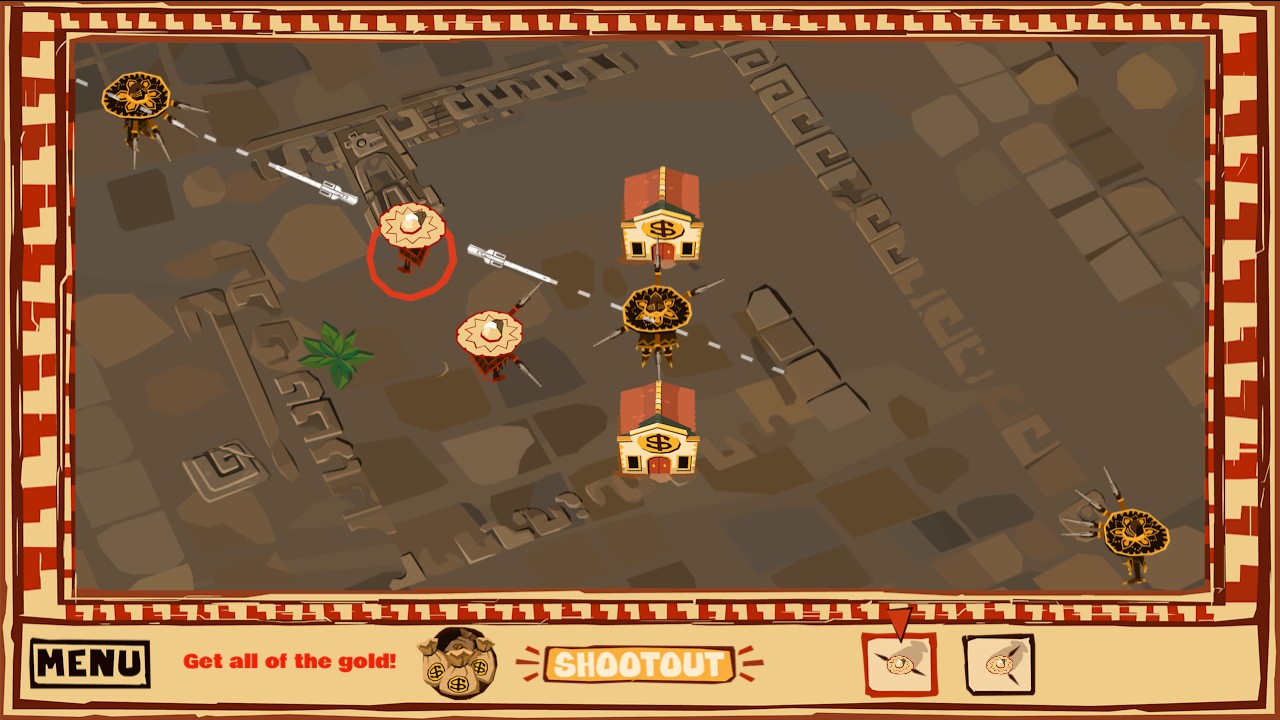
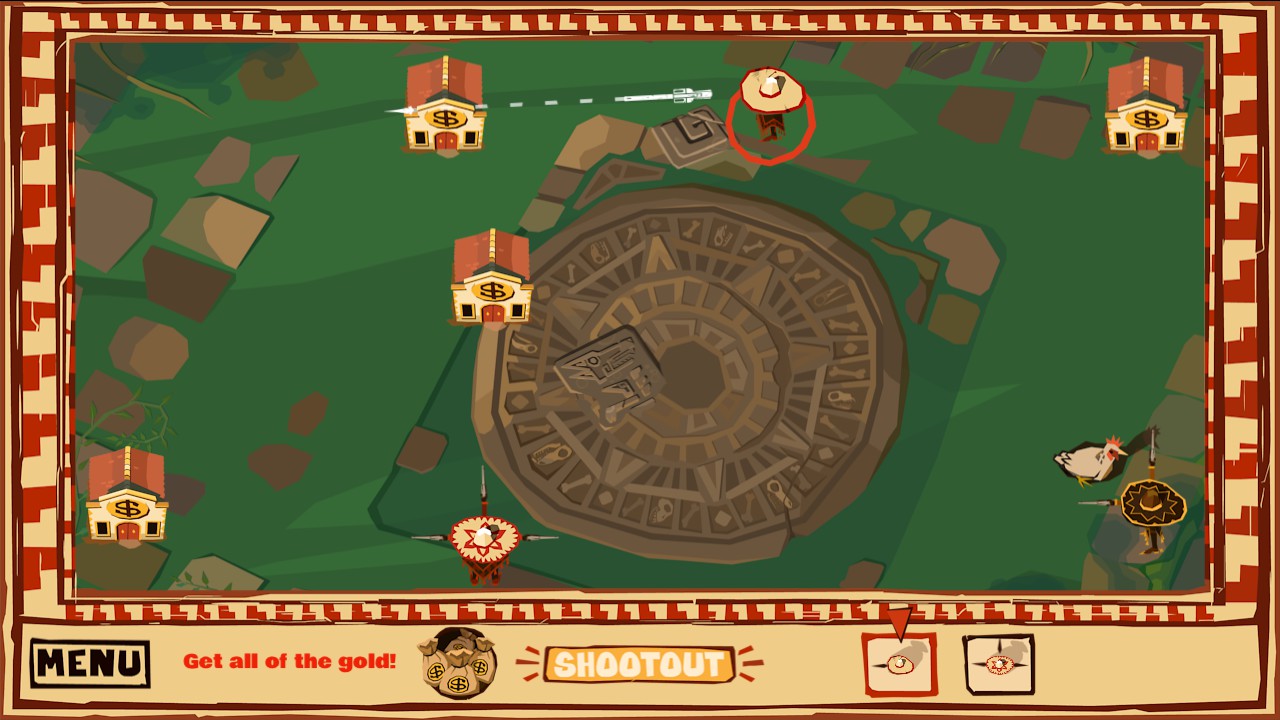
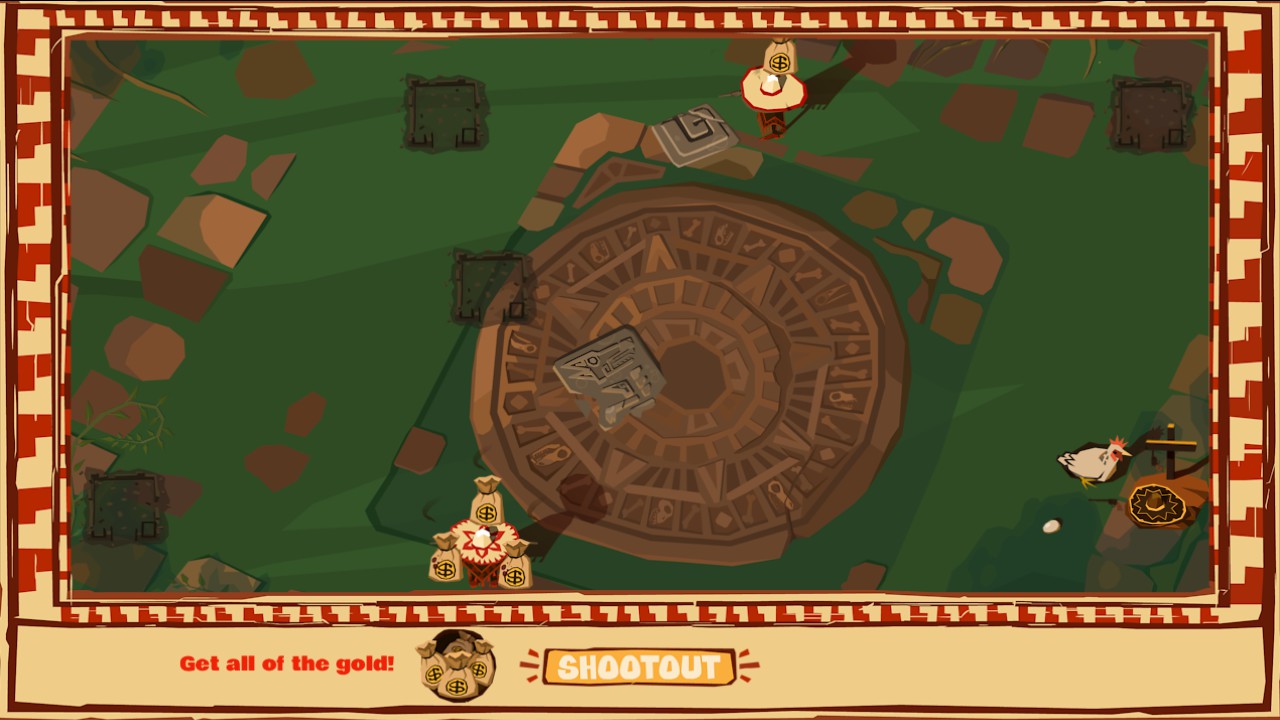
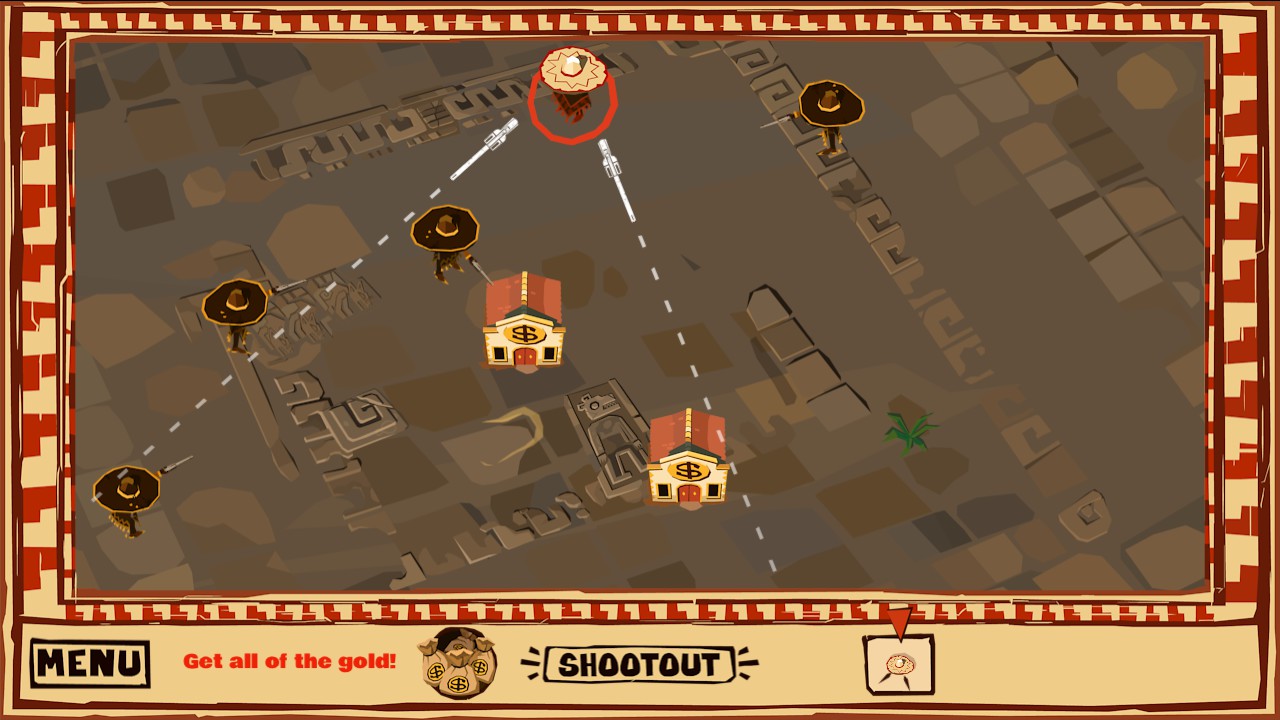
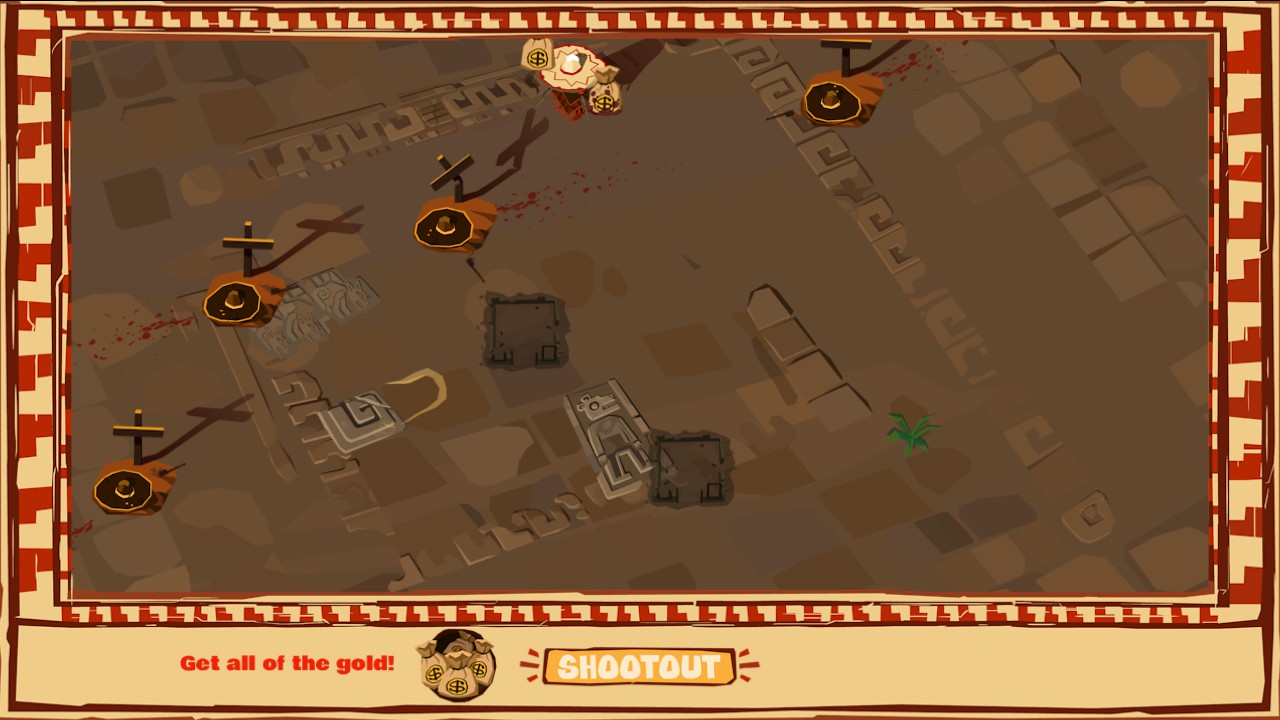
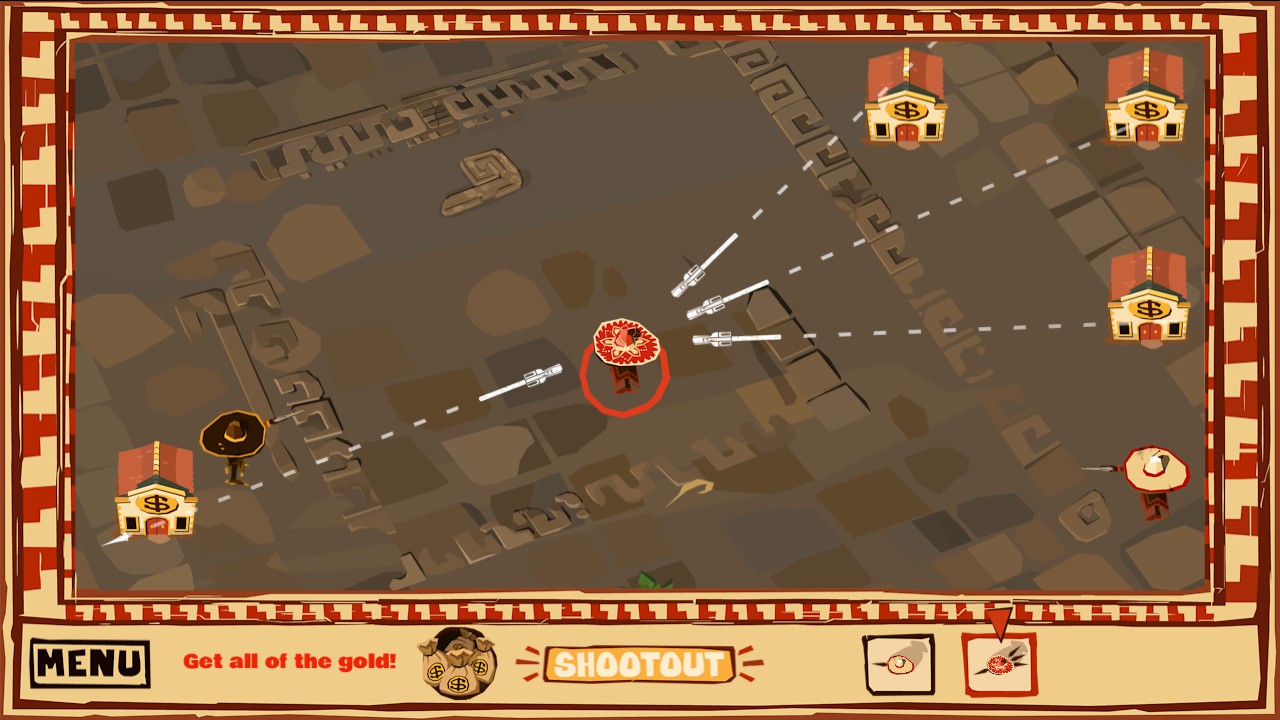
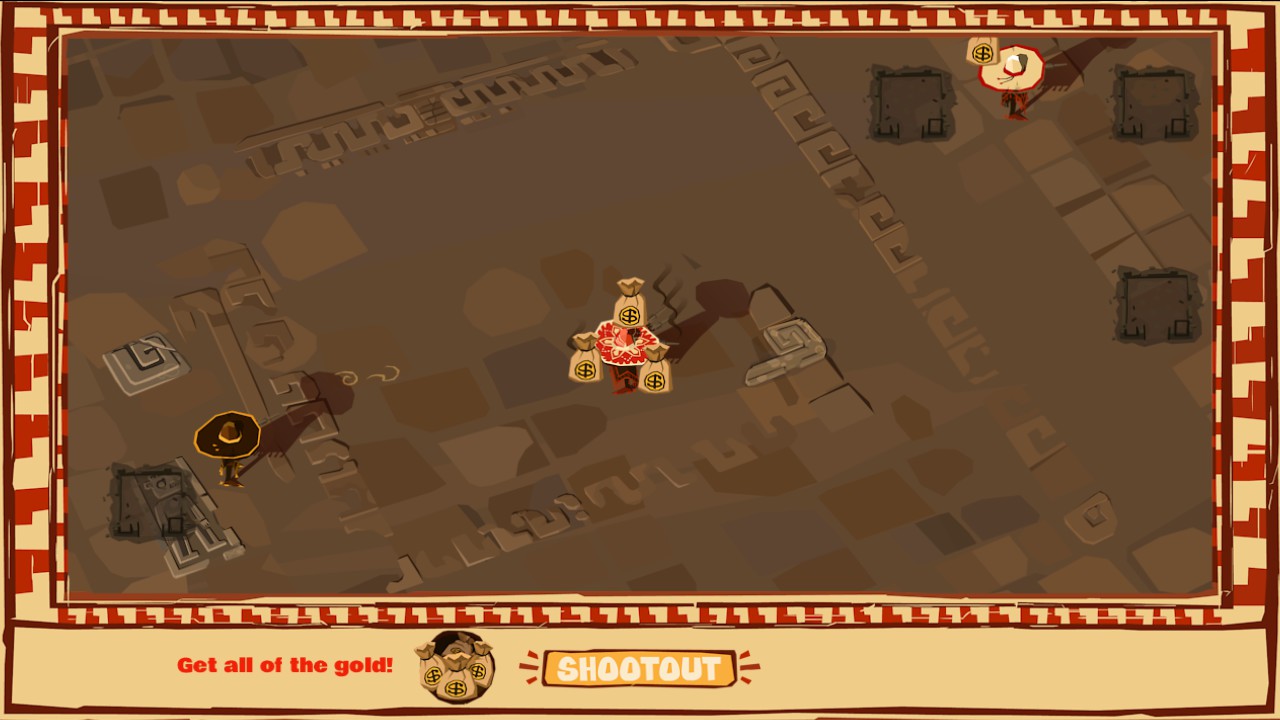
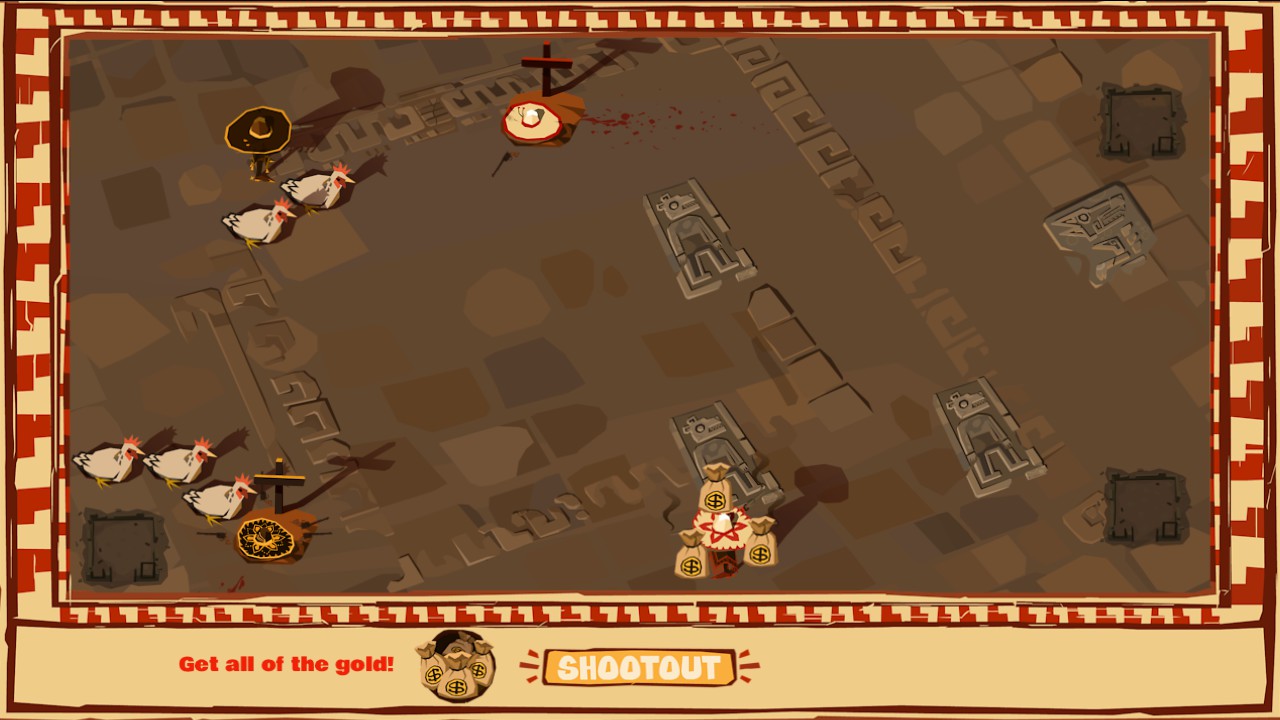
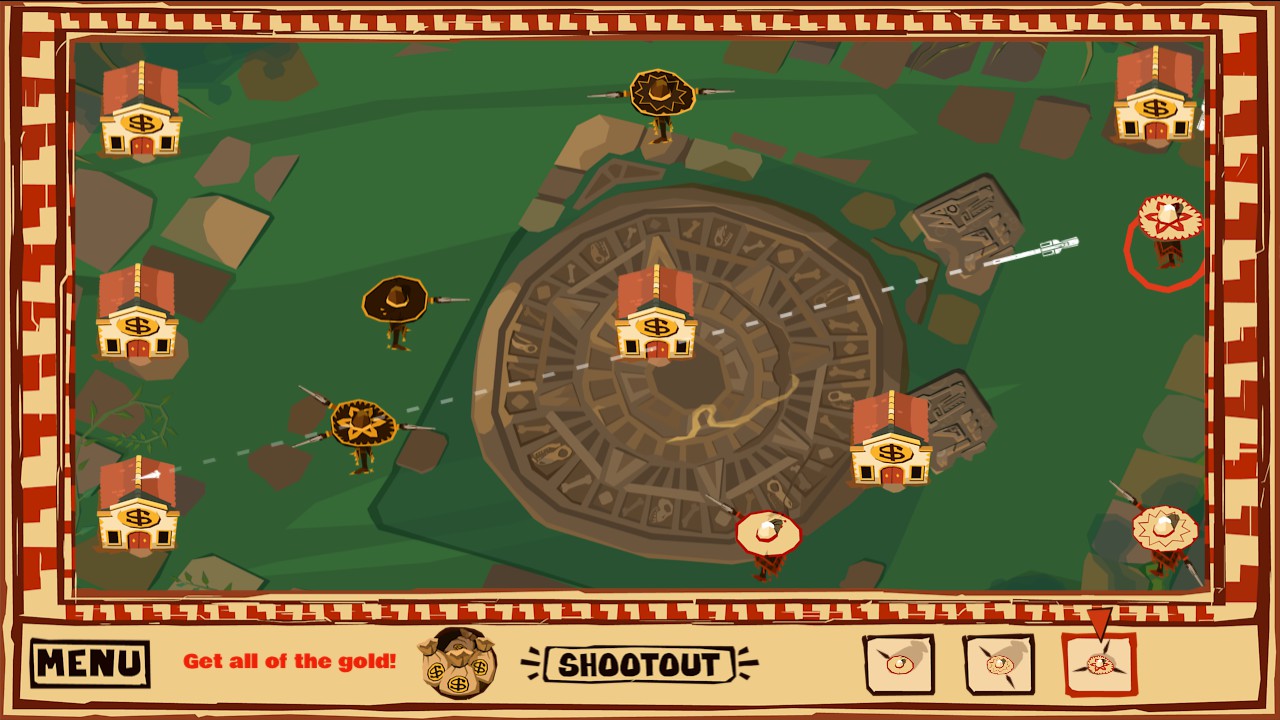
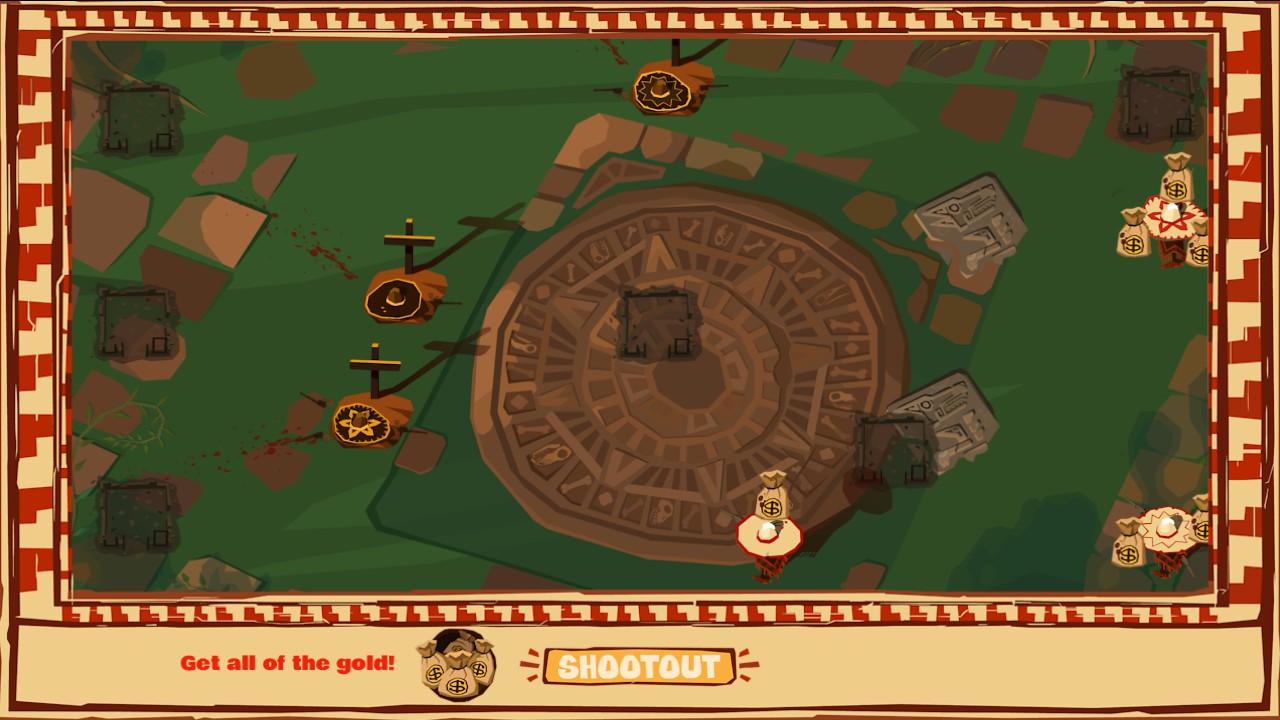
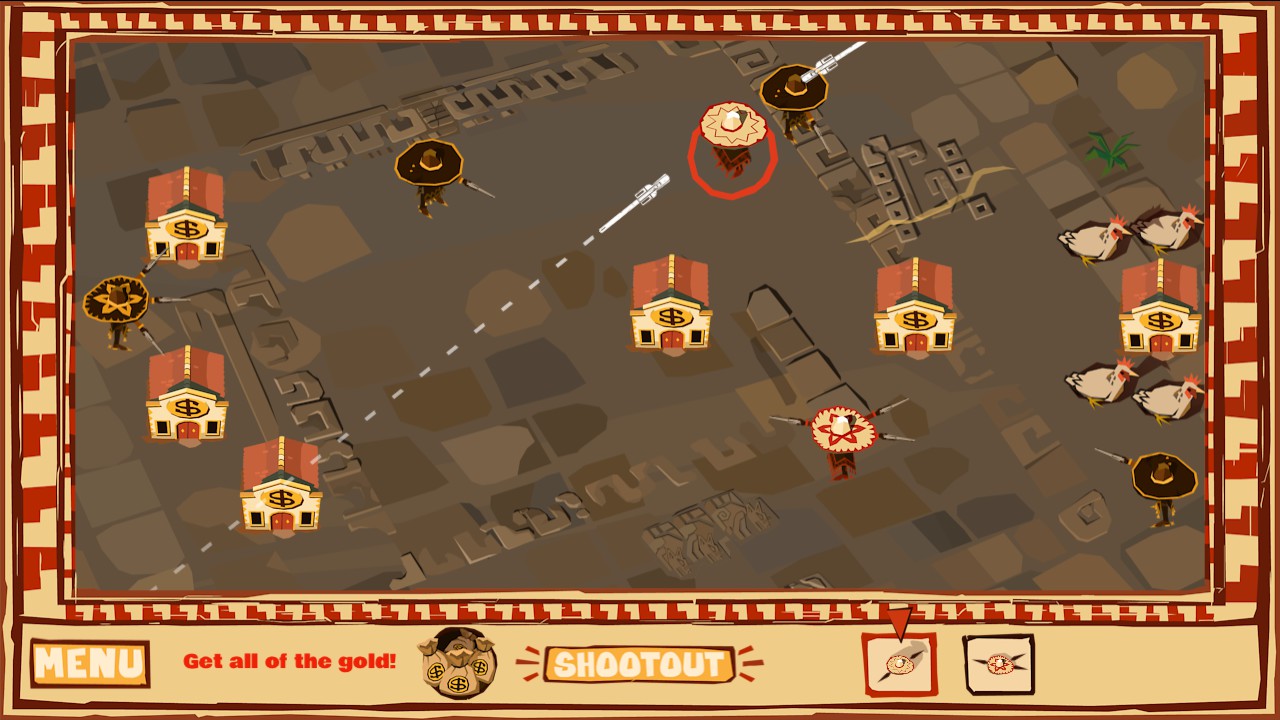
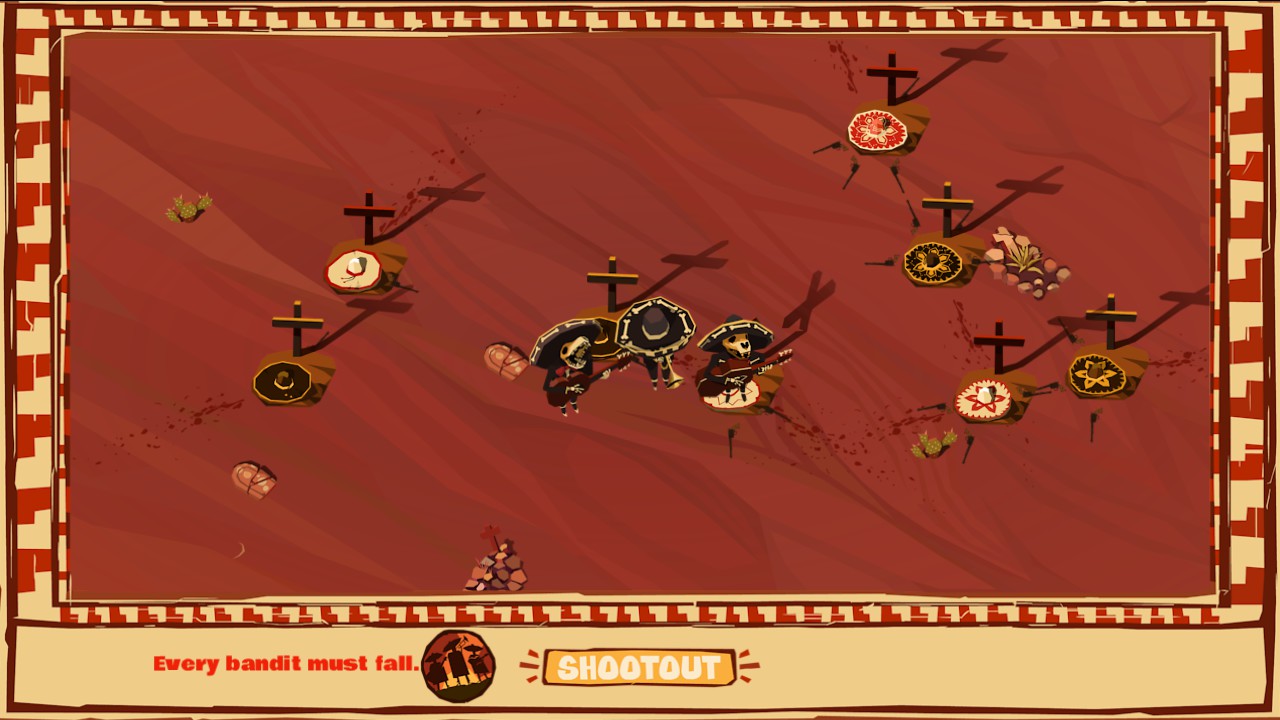
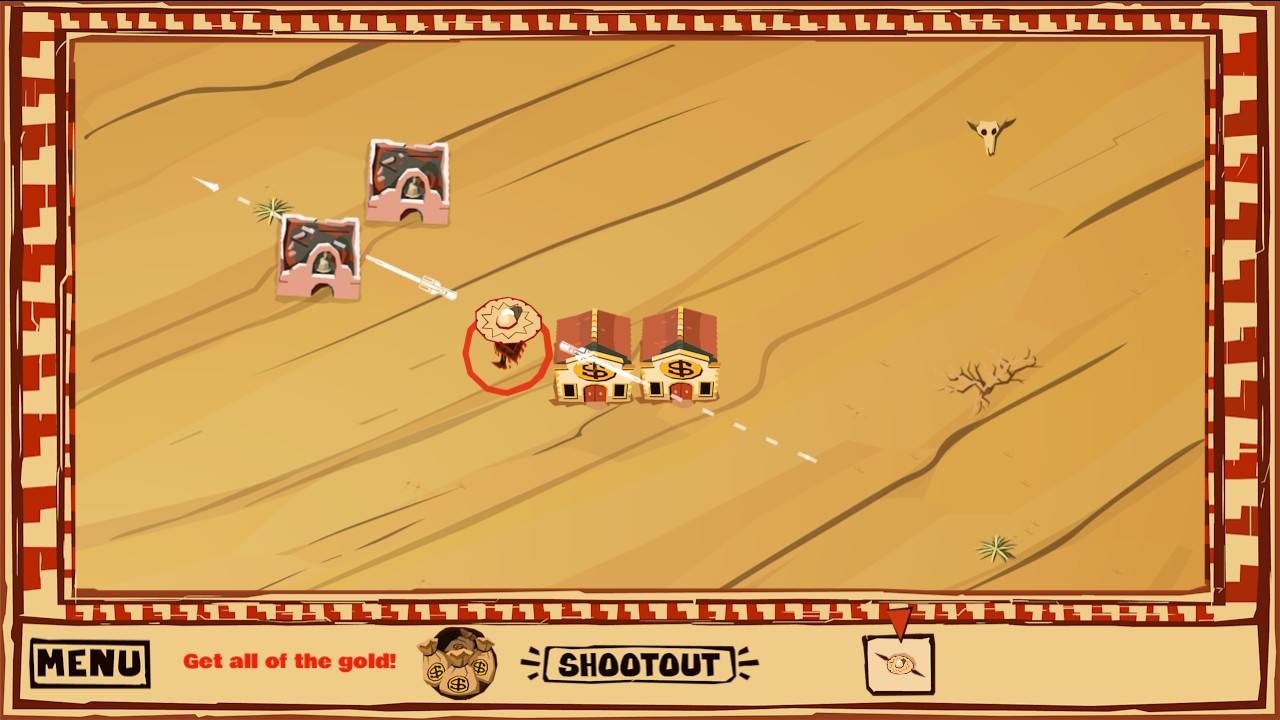
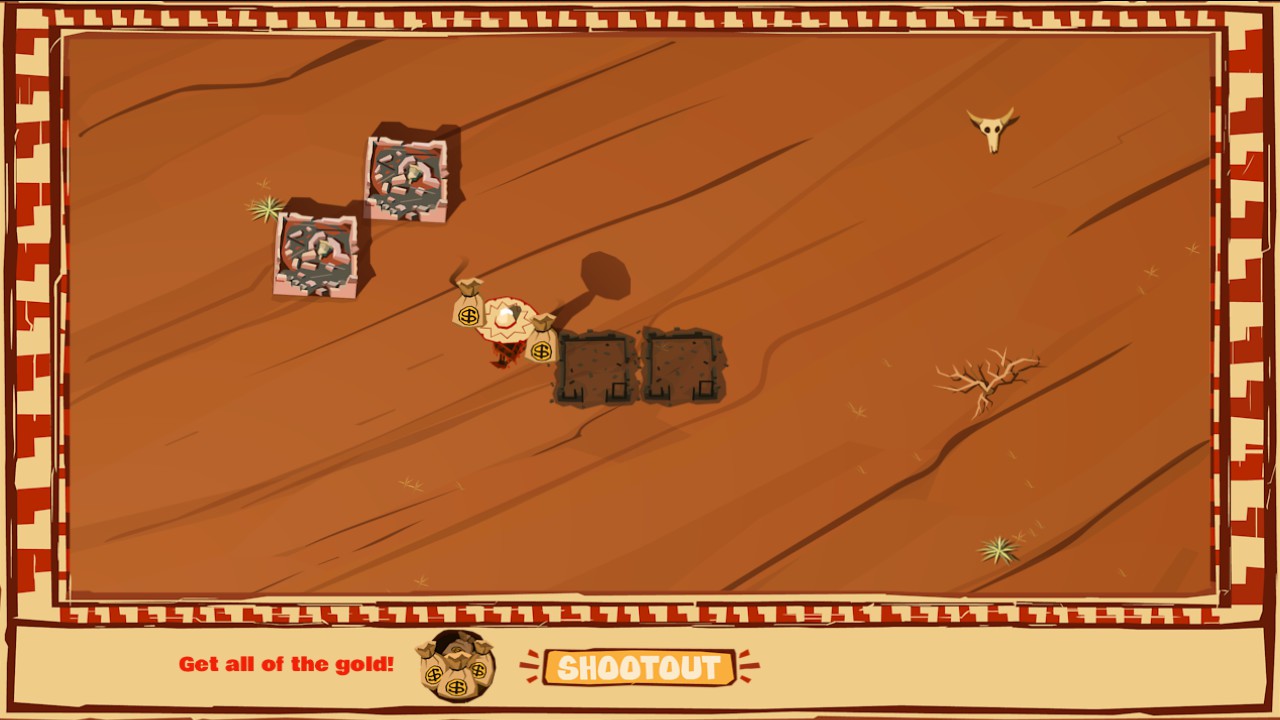
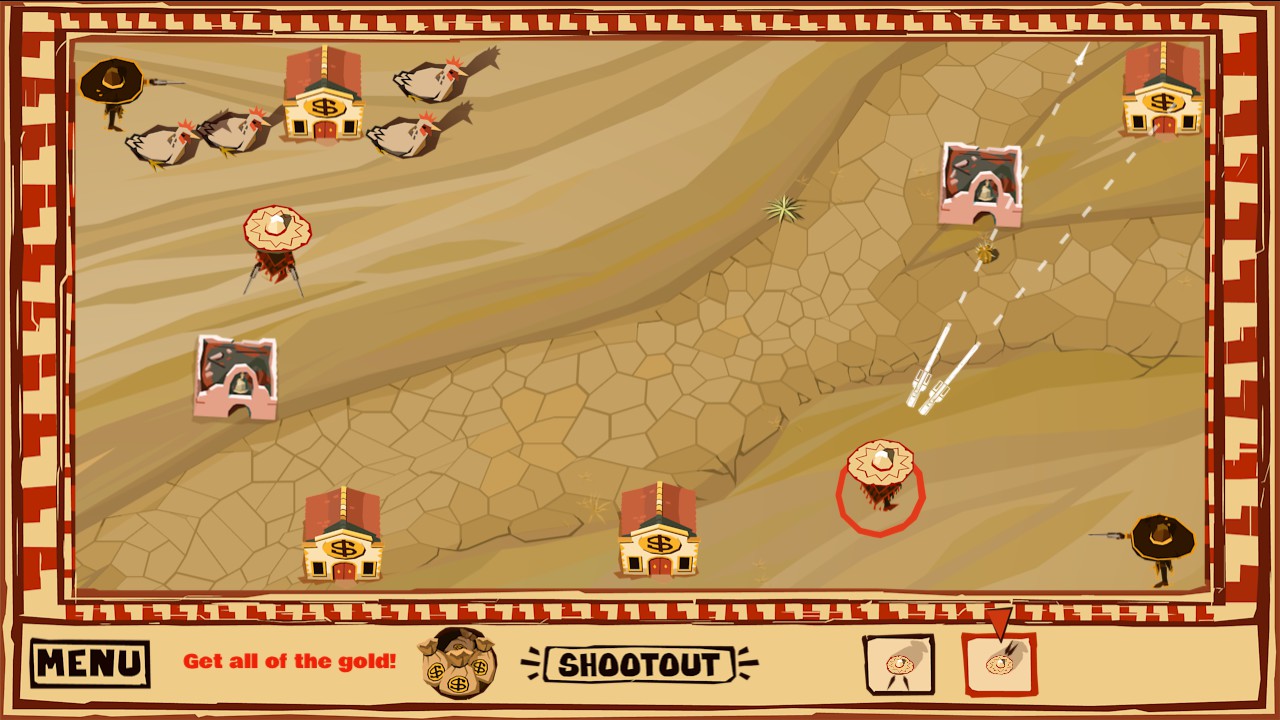
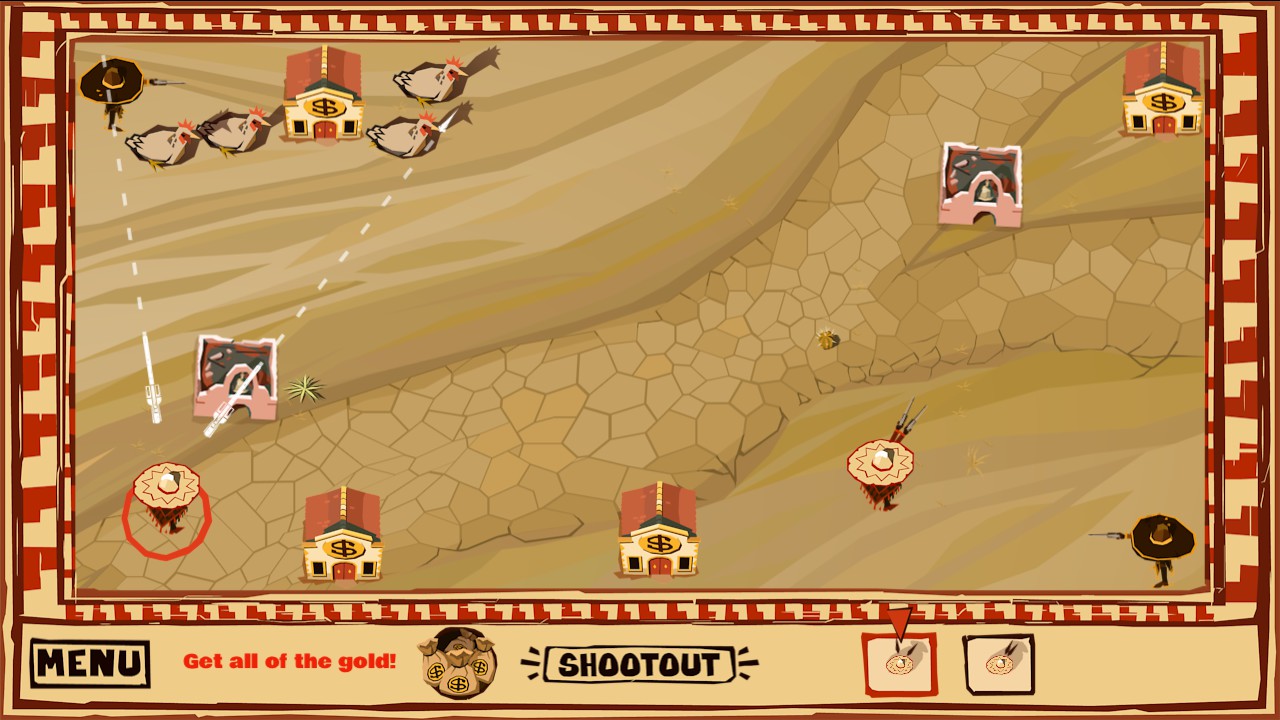
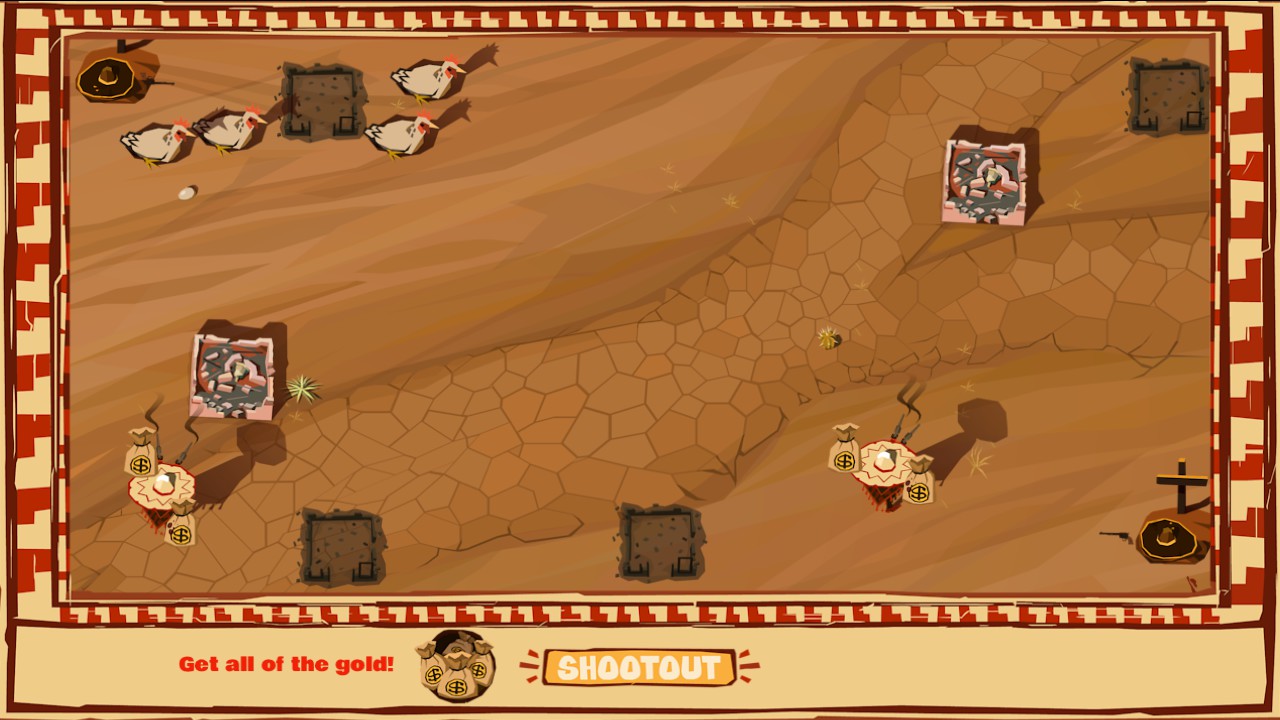
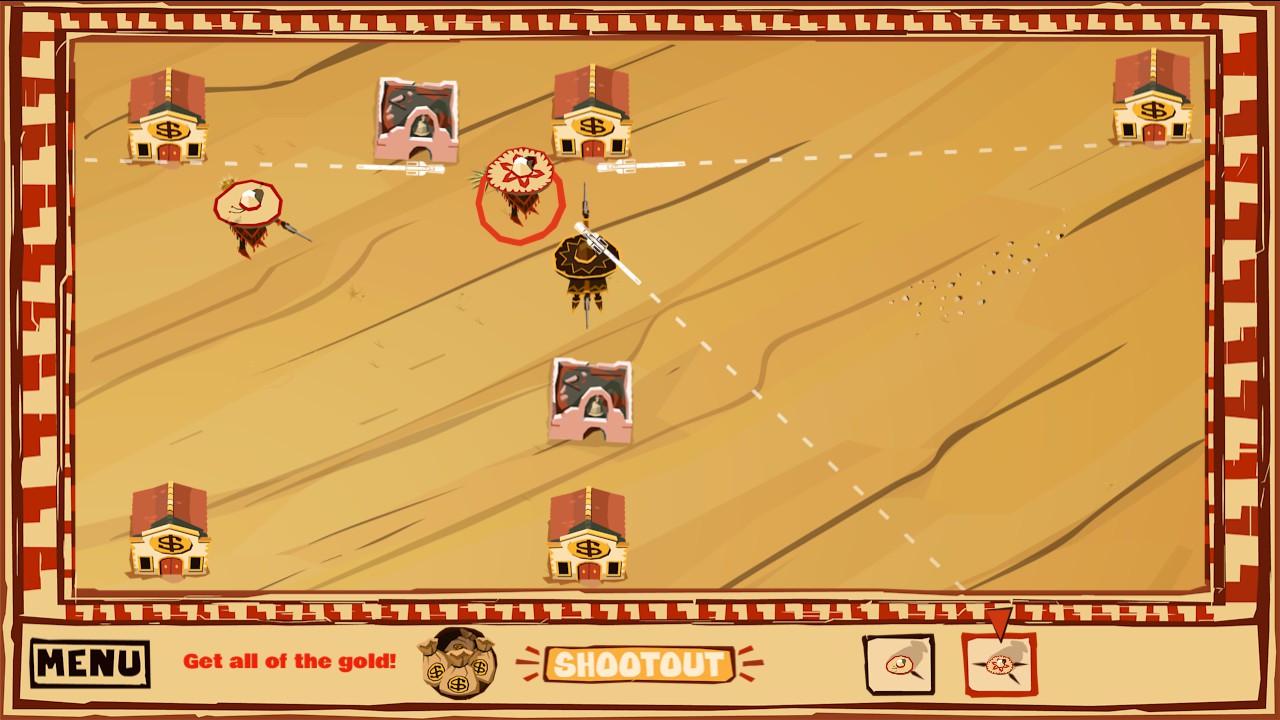
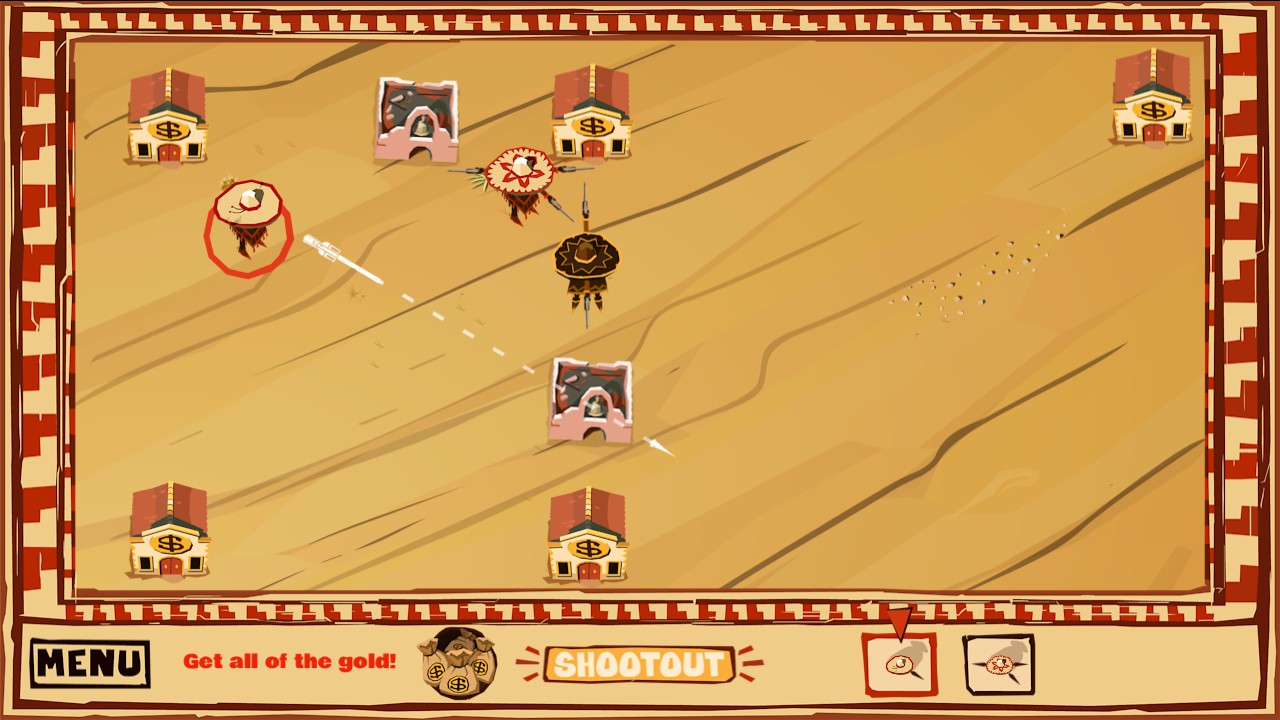
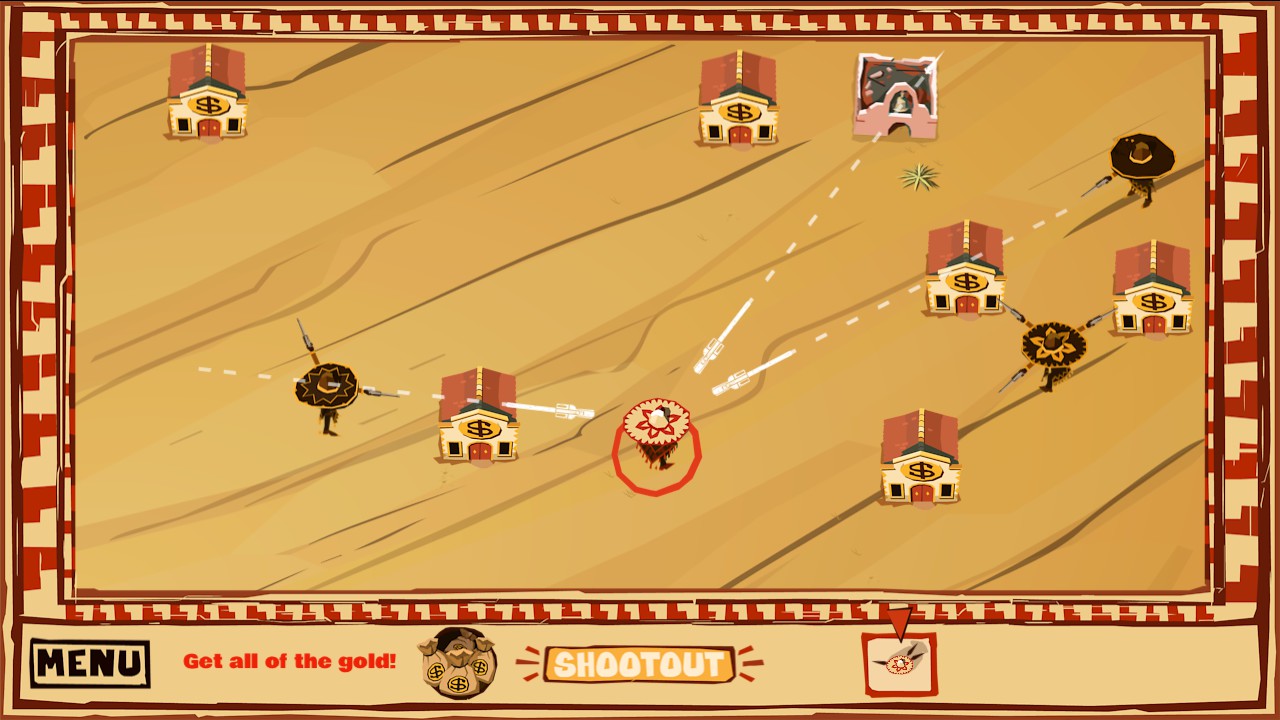
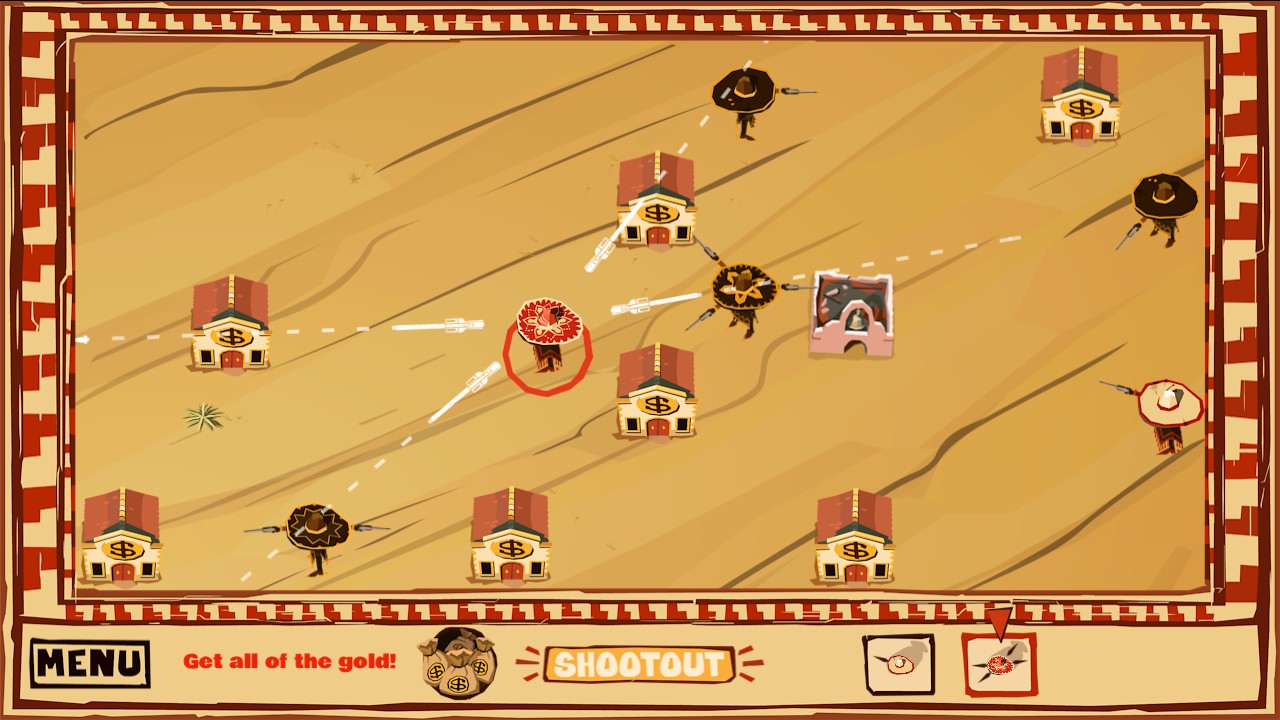
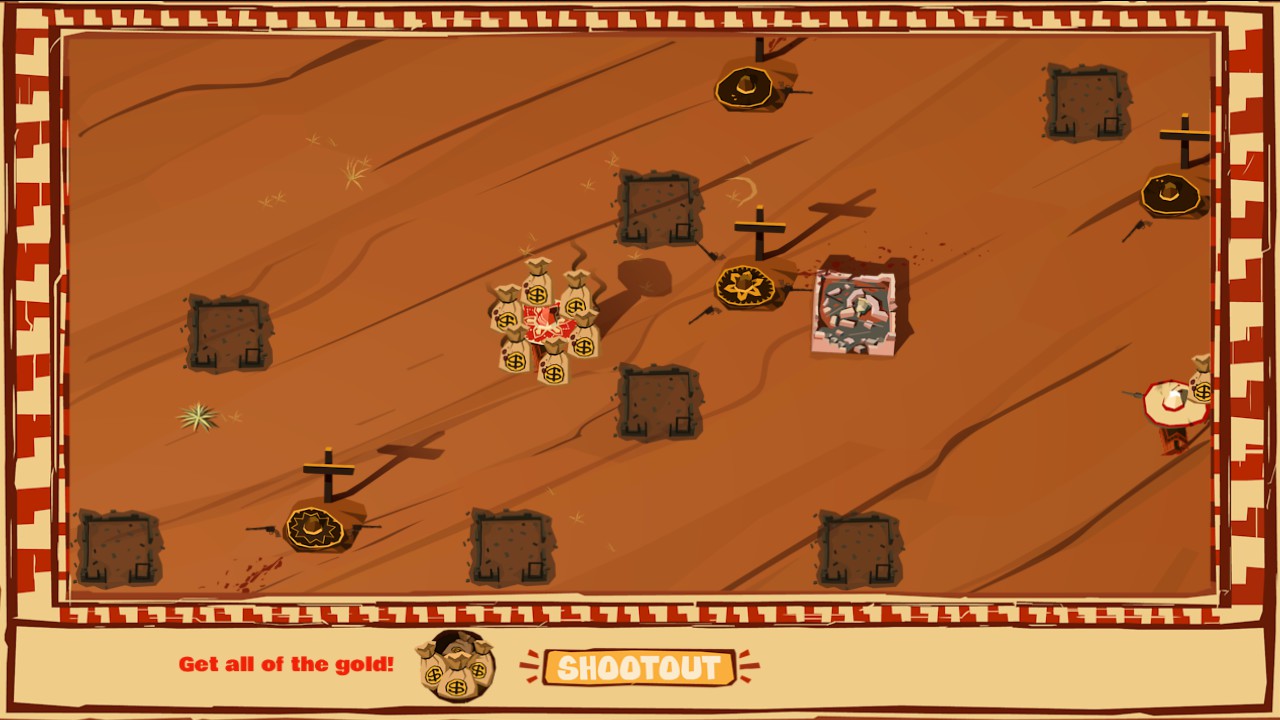
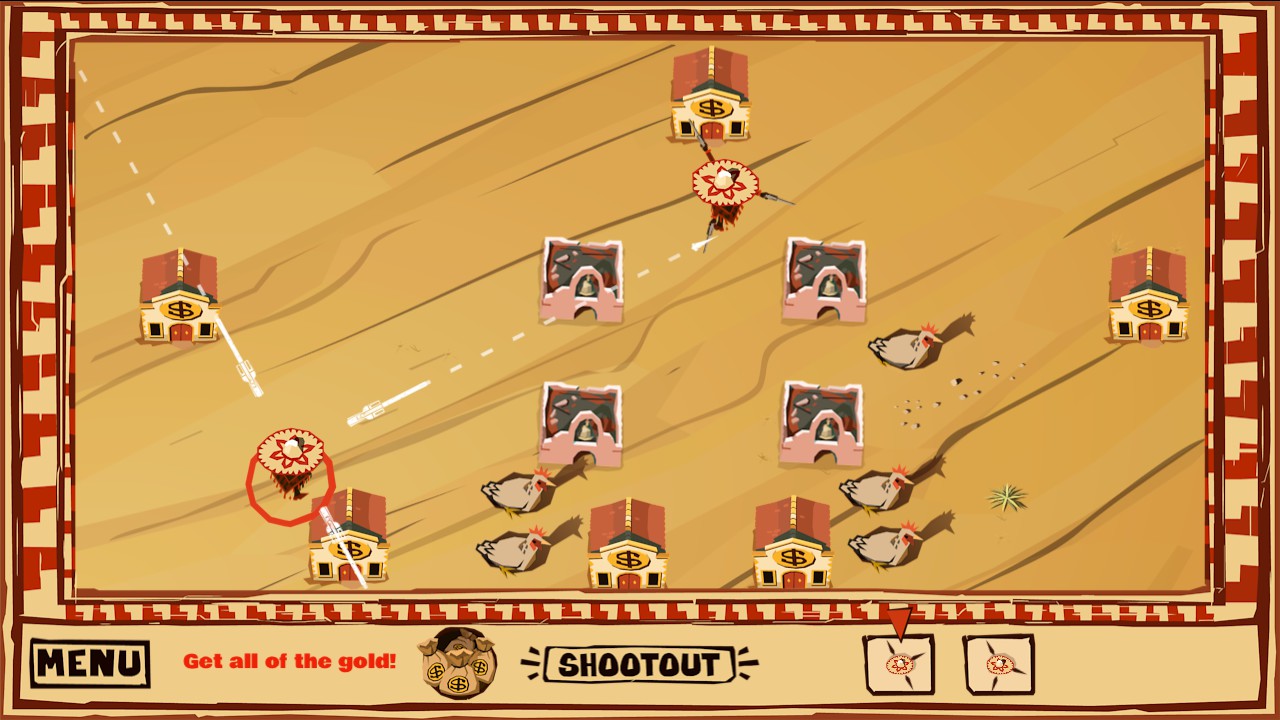
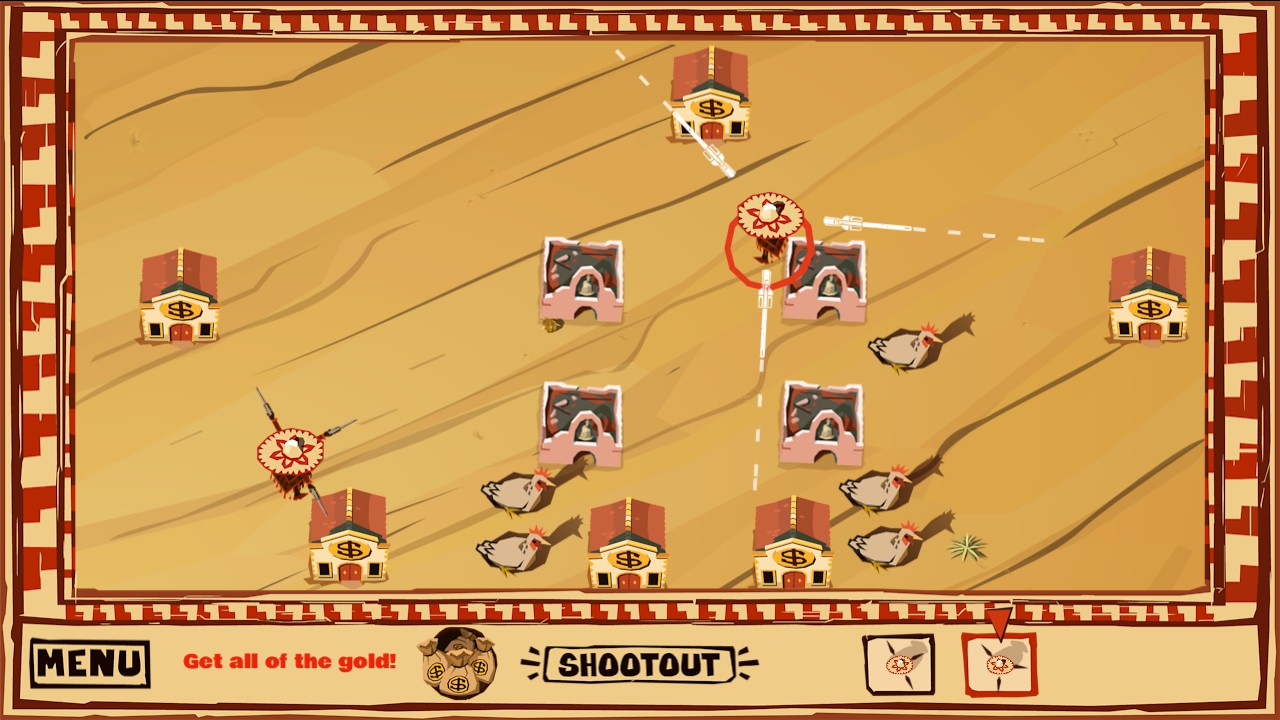
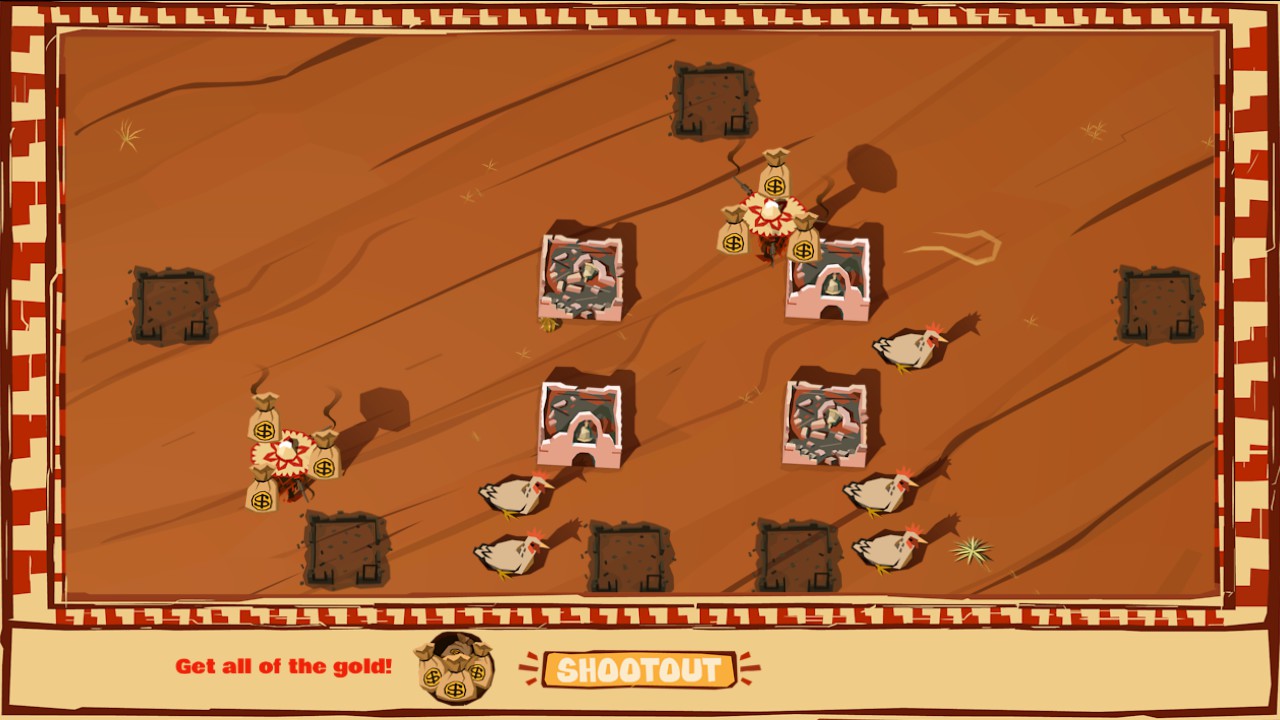
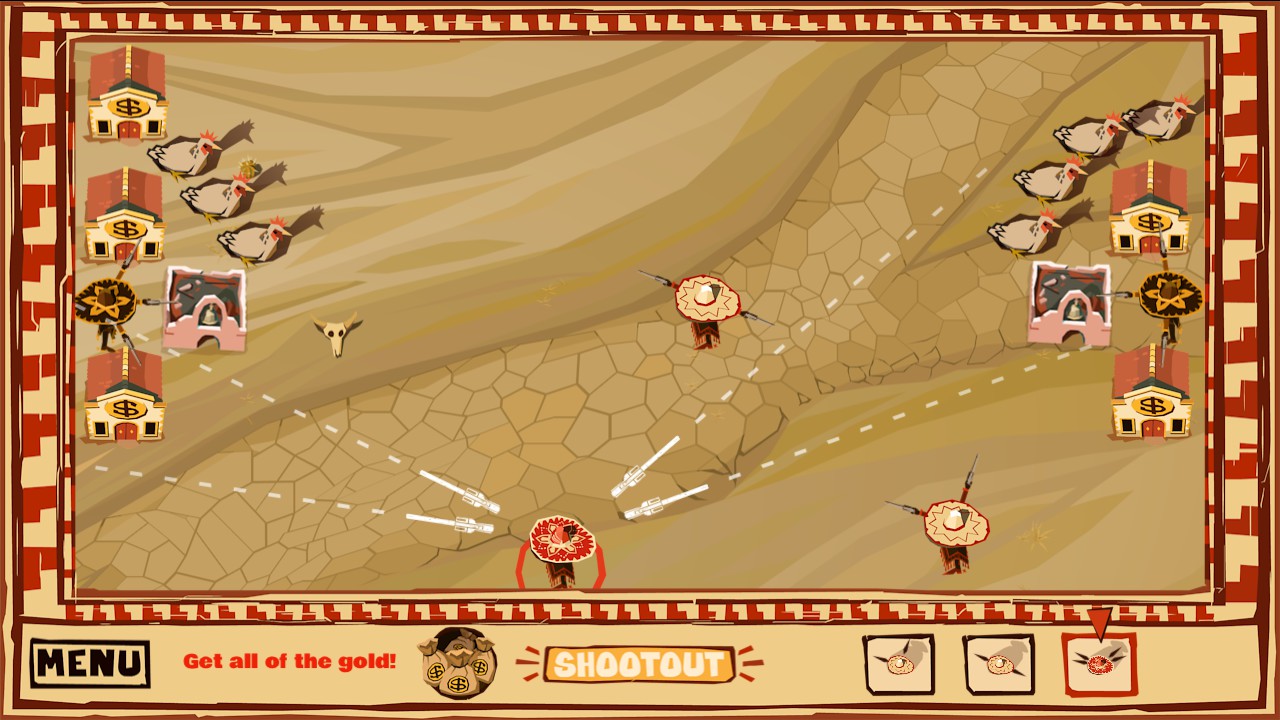
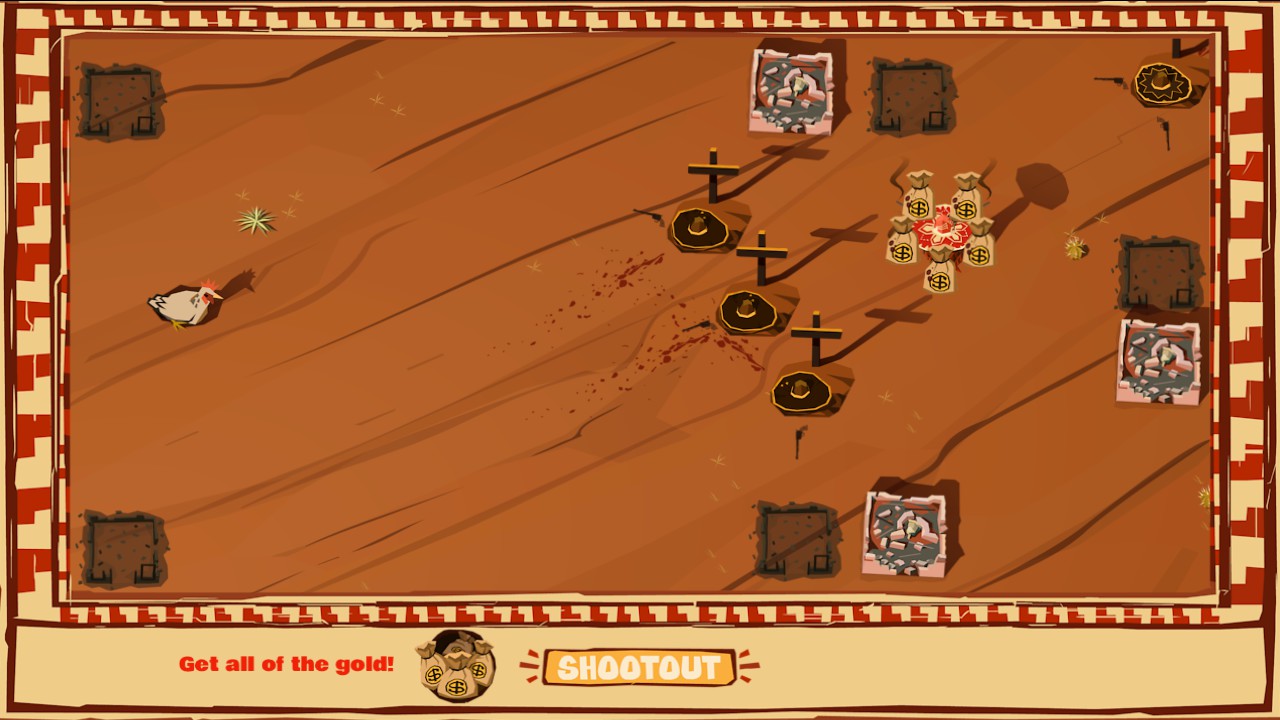
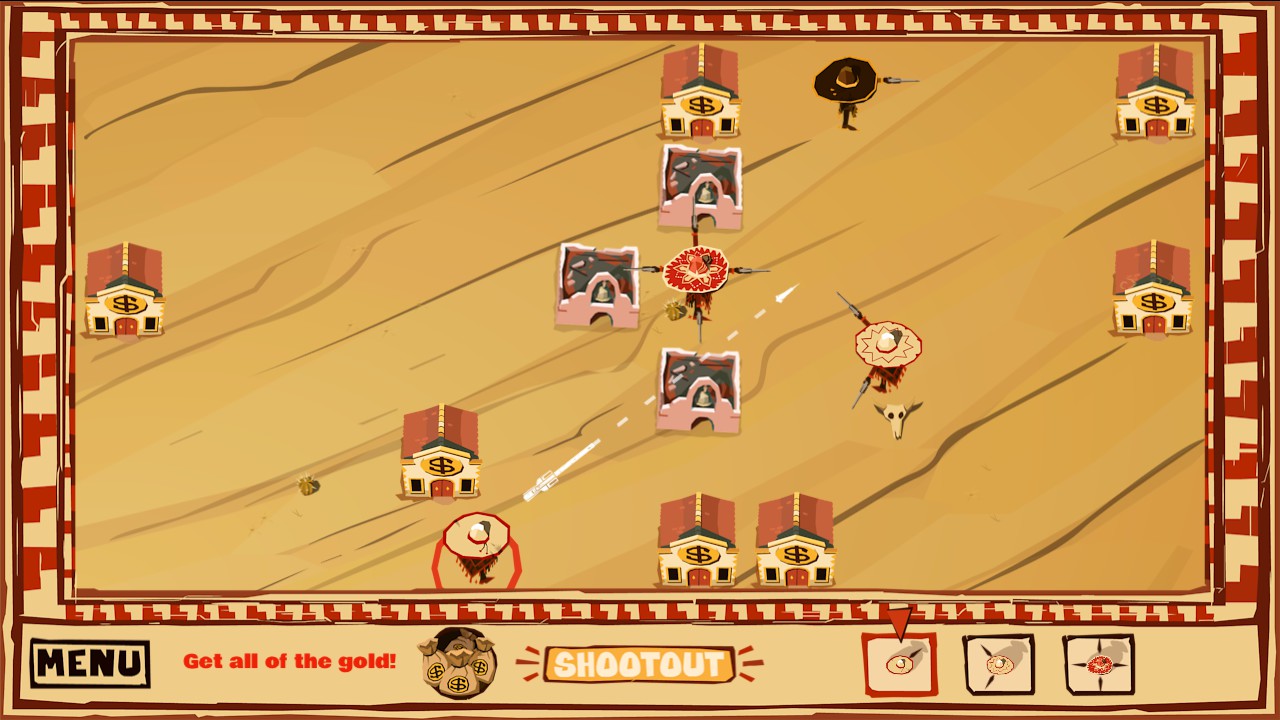
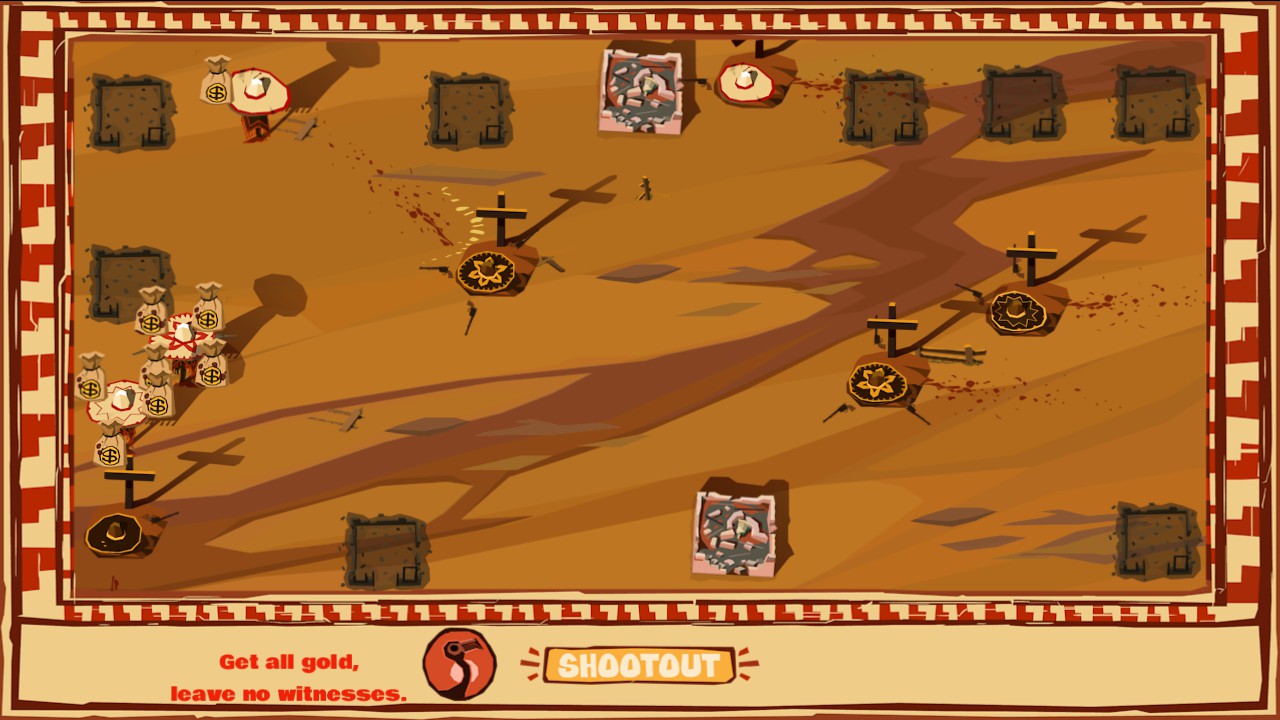
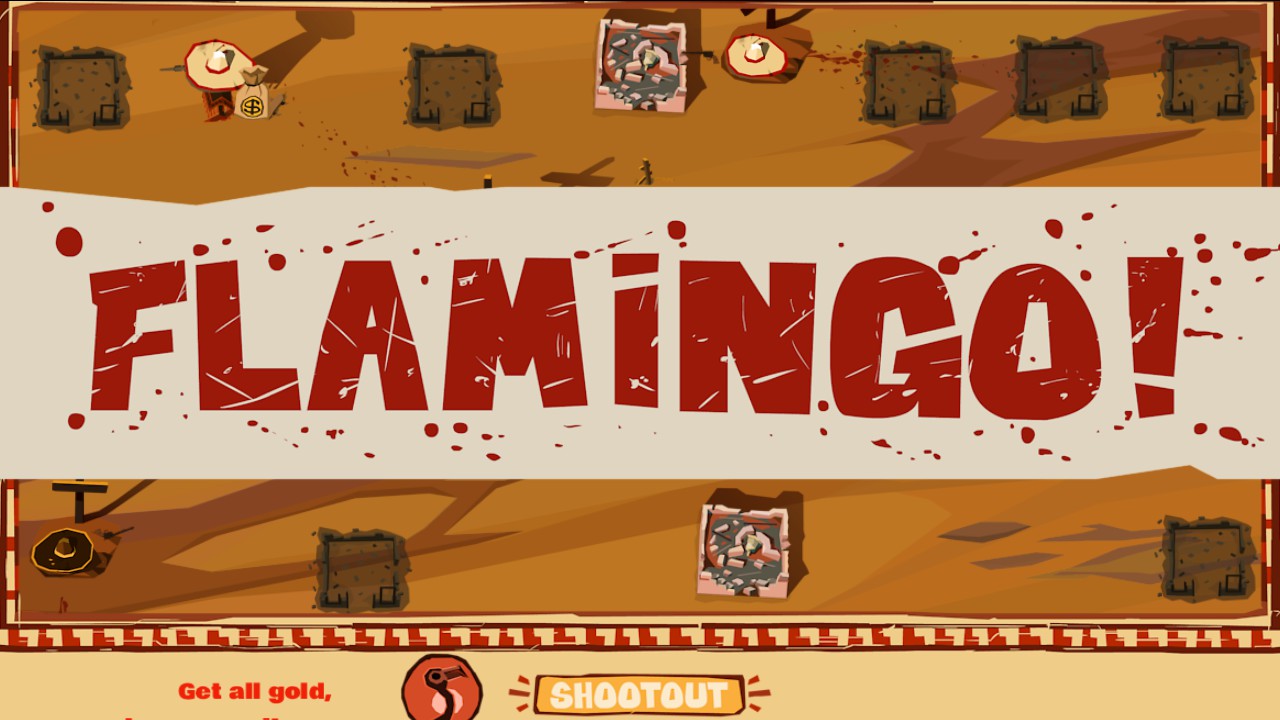
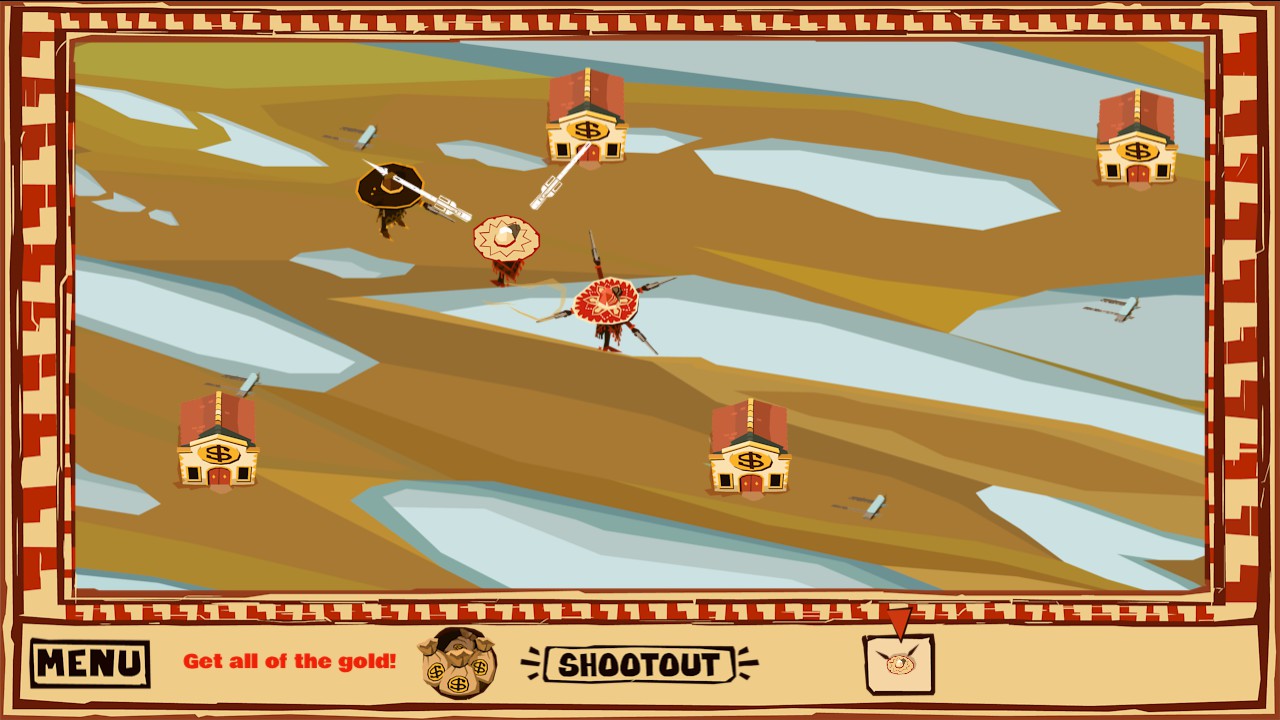
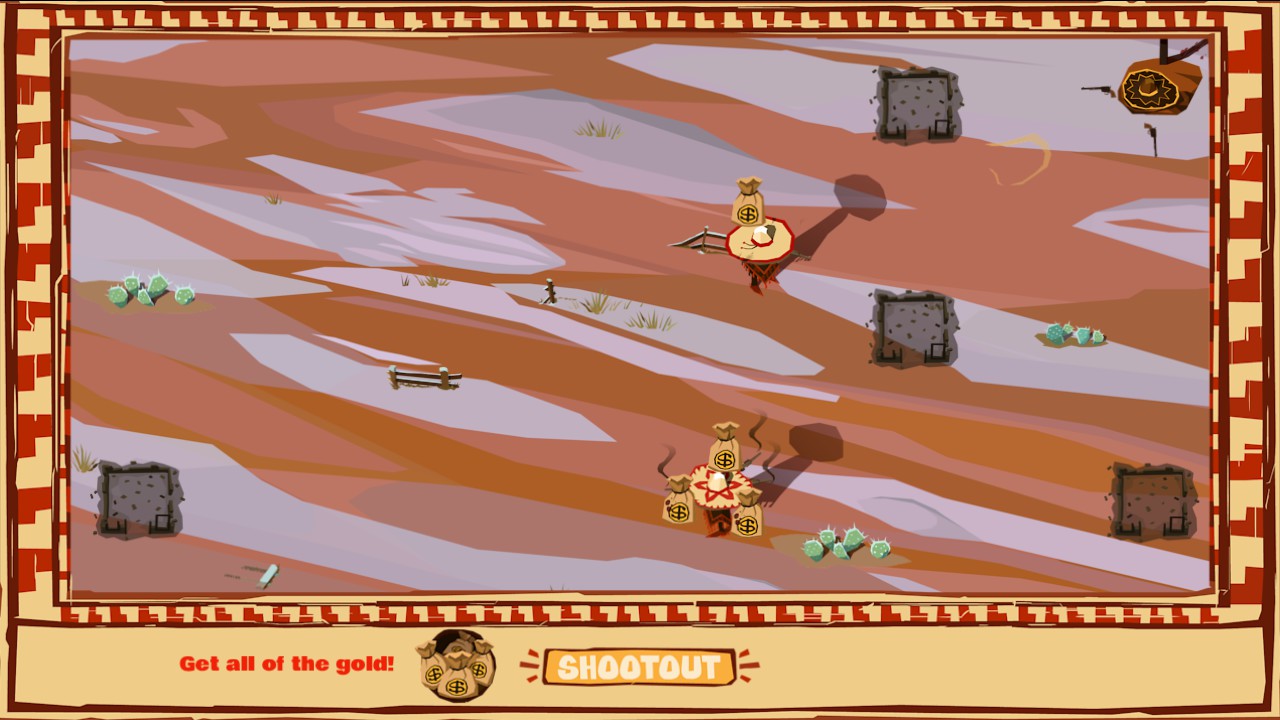
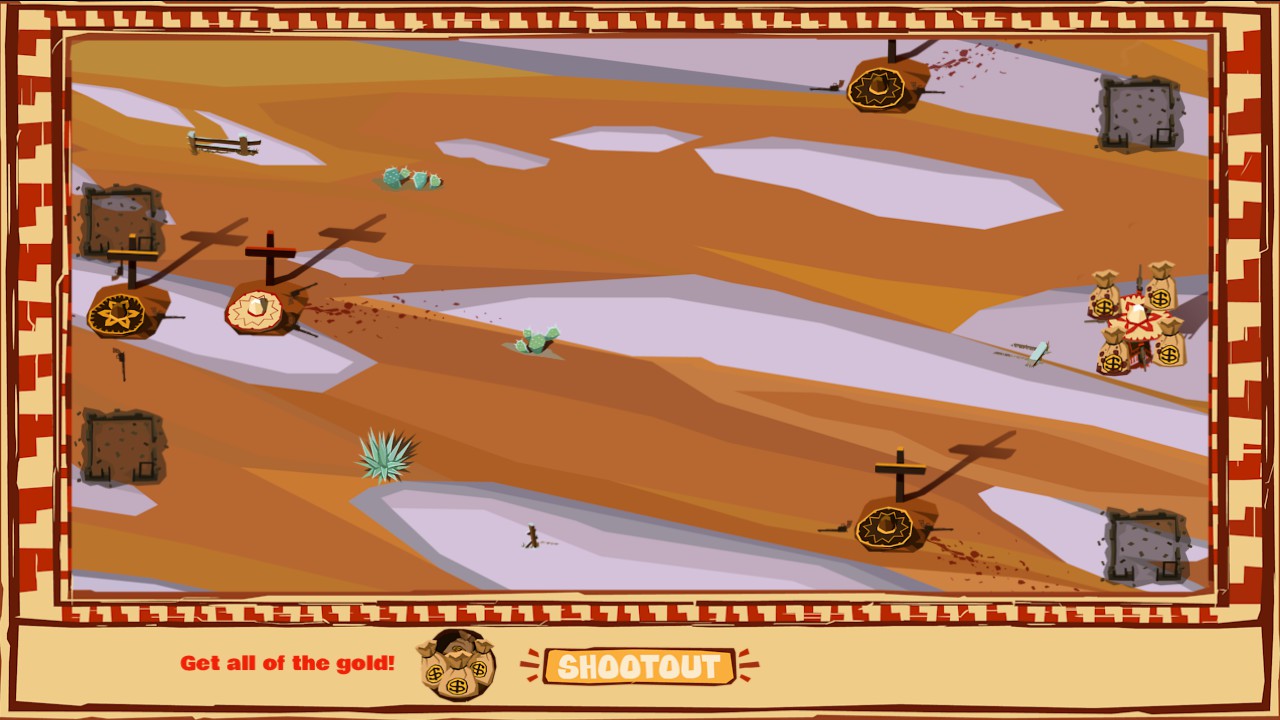
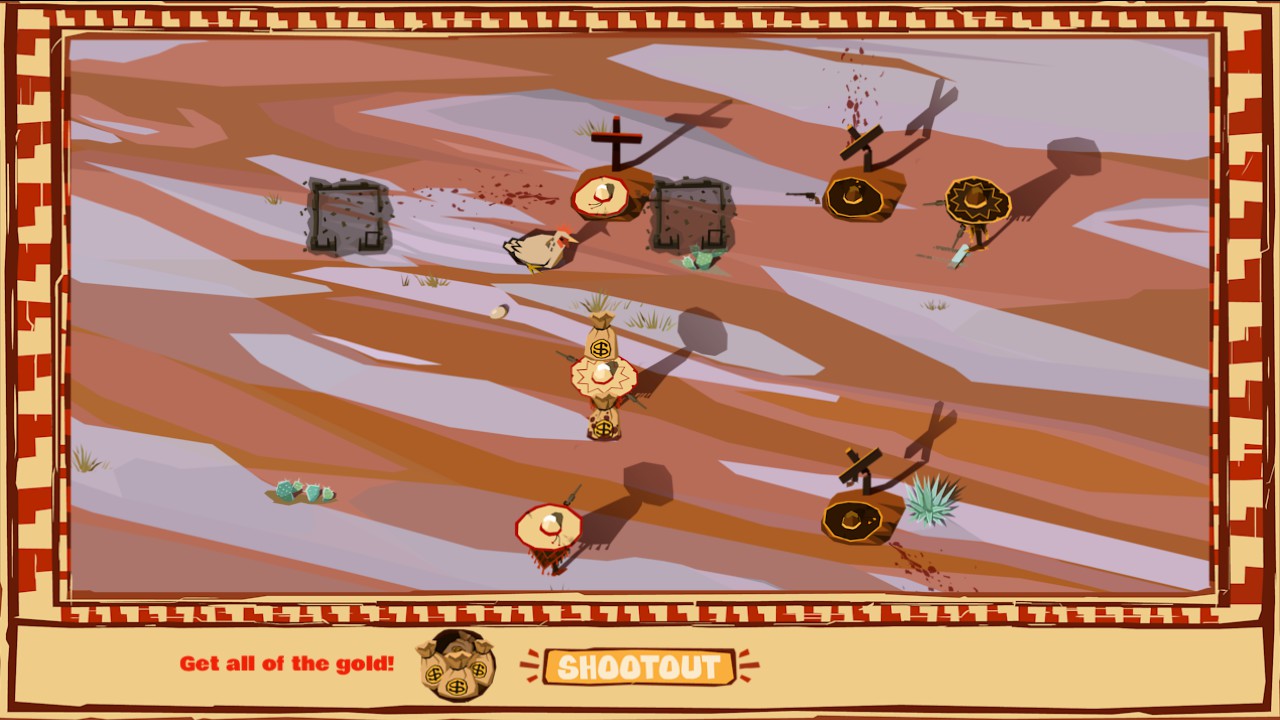
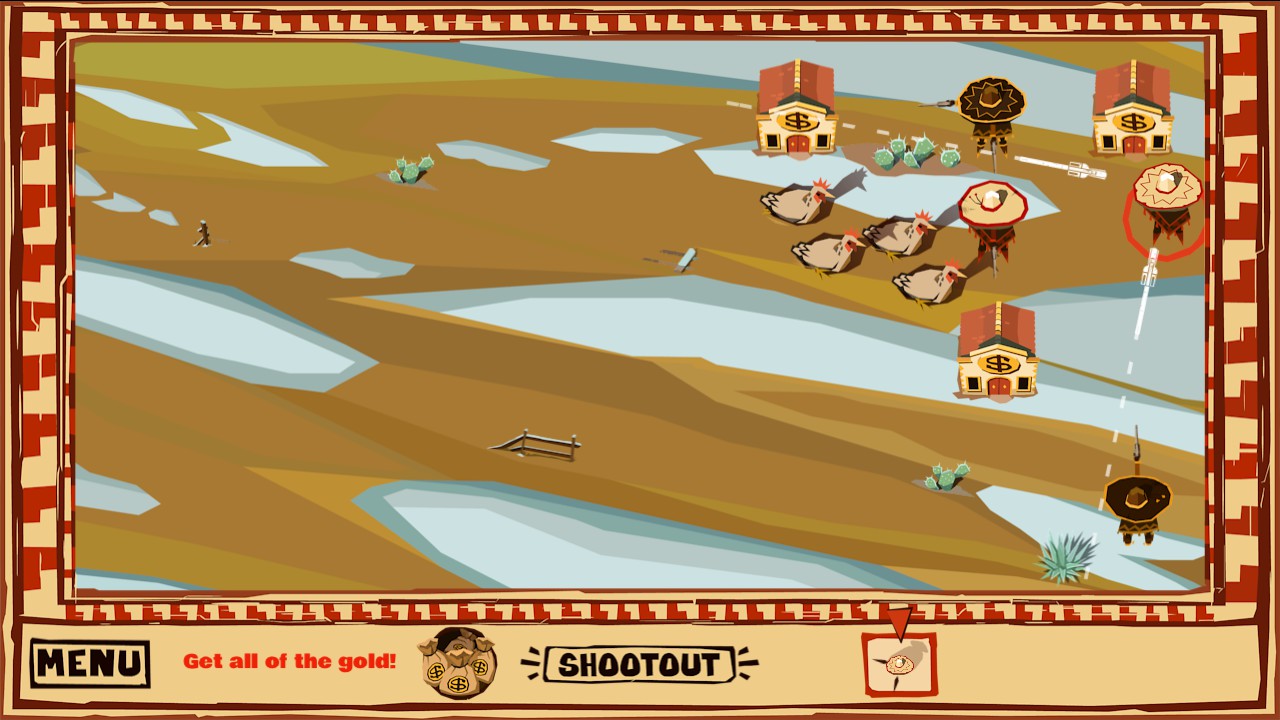
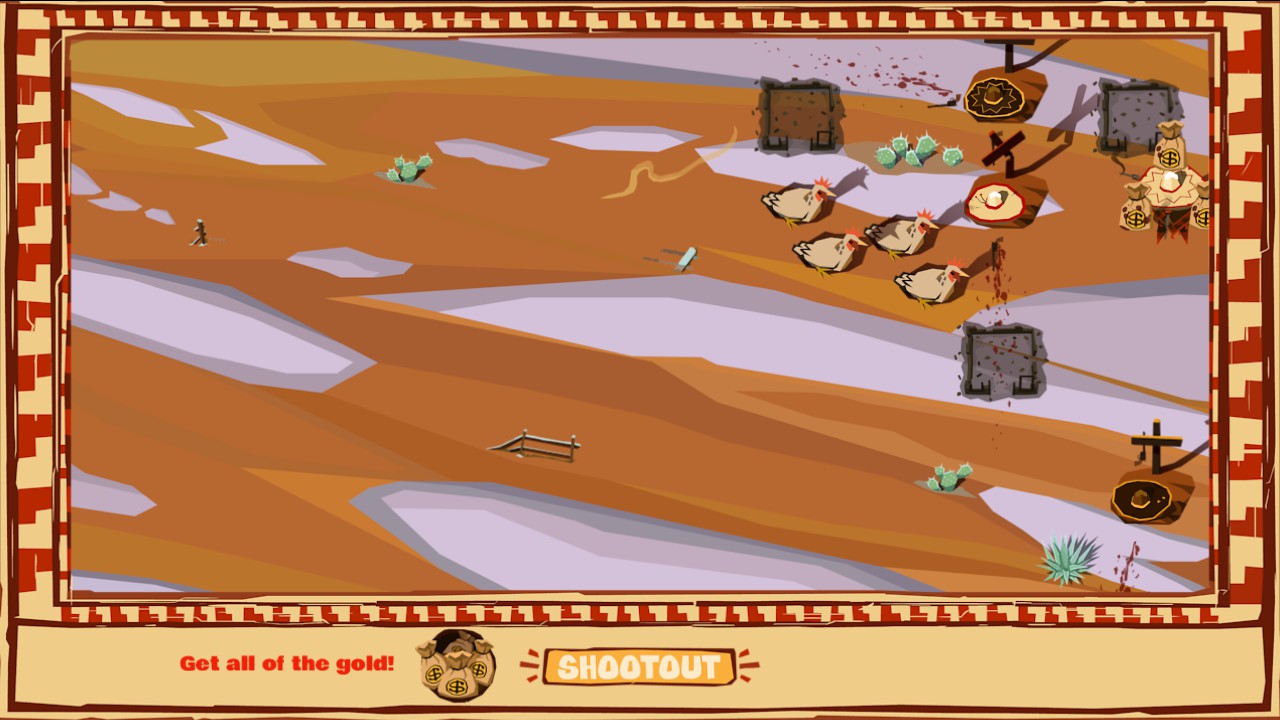
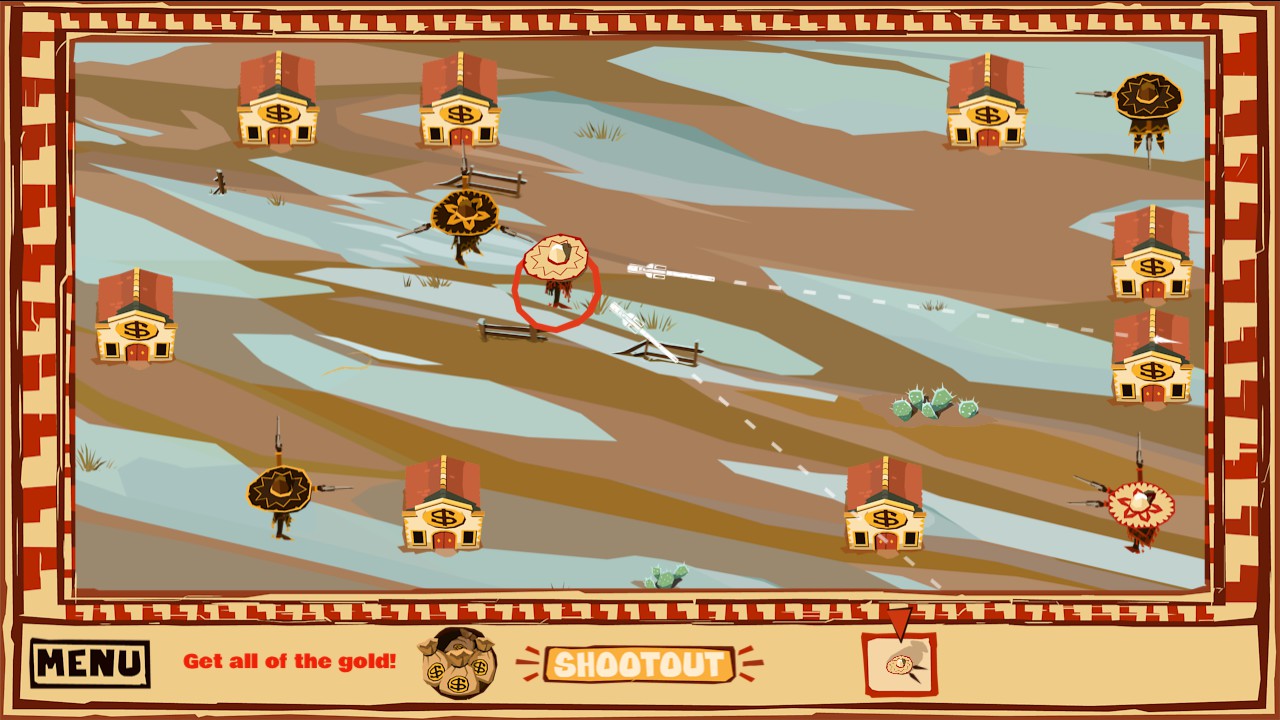
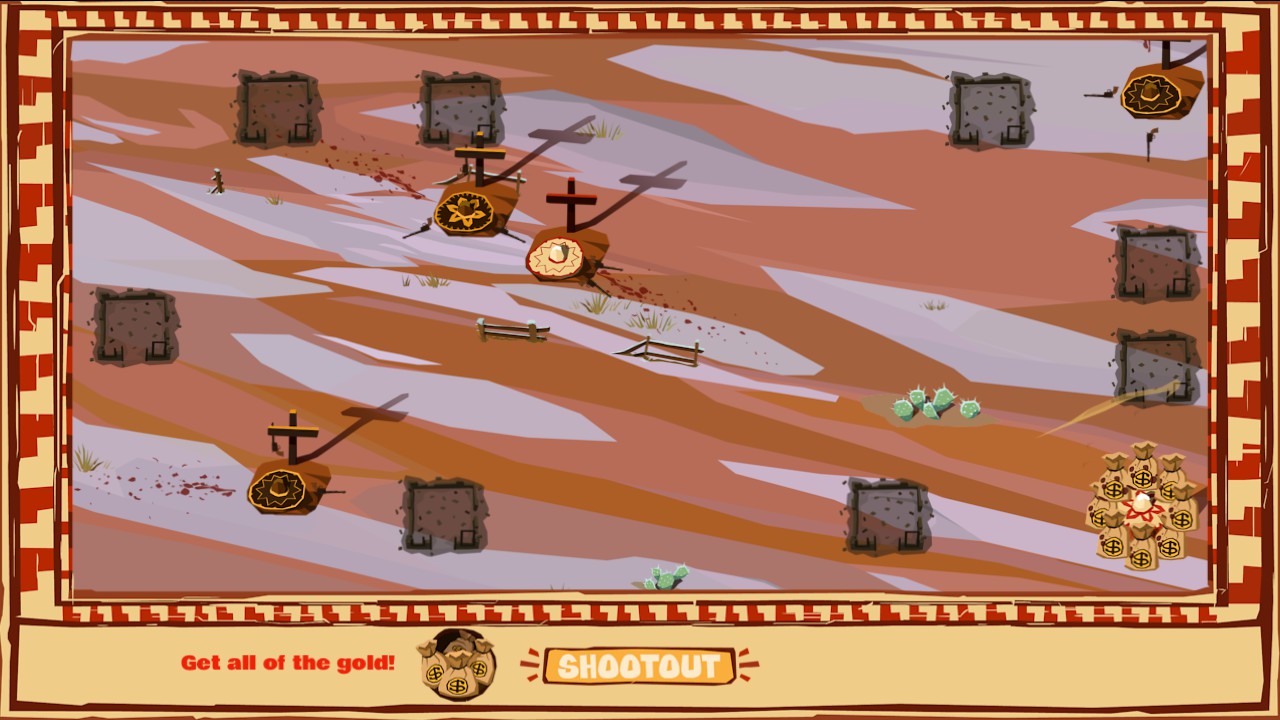
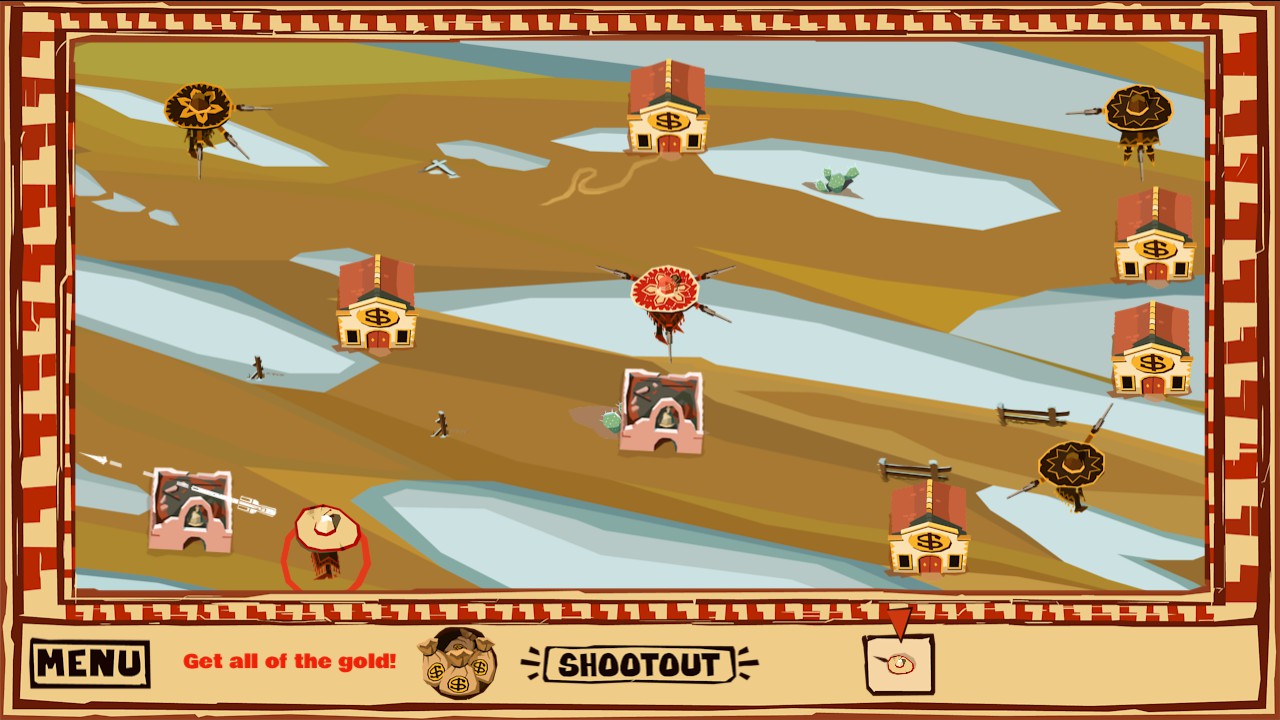
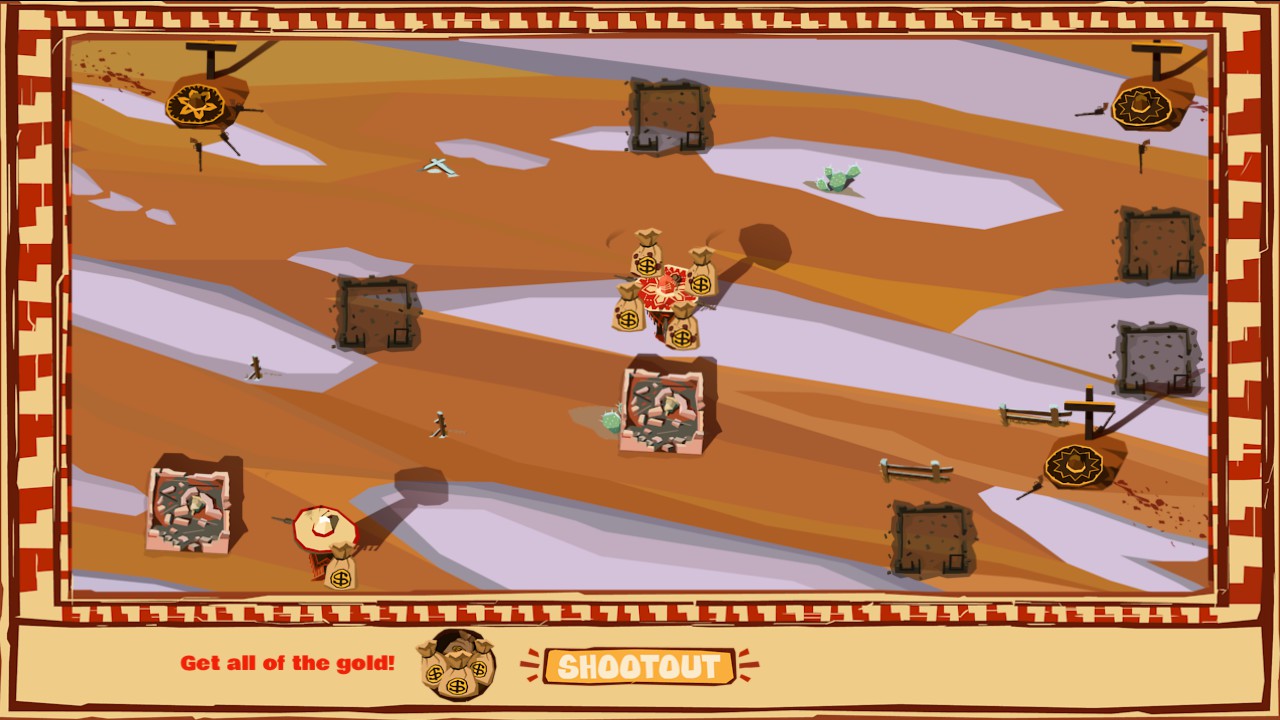
Flamingo! requires you to kill all enemy banditos AND get every piece of gold.

I had to spend a few hours by myself planning and getting lucky to get the achievements but it is conceivable that you can find a friend willing to help you out which would remove all the guesswork. Hope that helps!
LVX_AGENT  [author] 11 Dec, 2022 @ 2:27pm 
@dynastystar

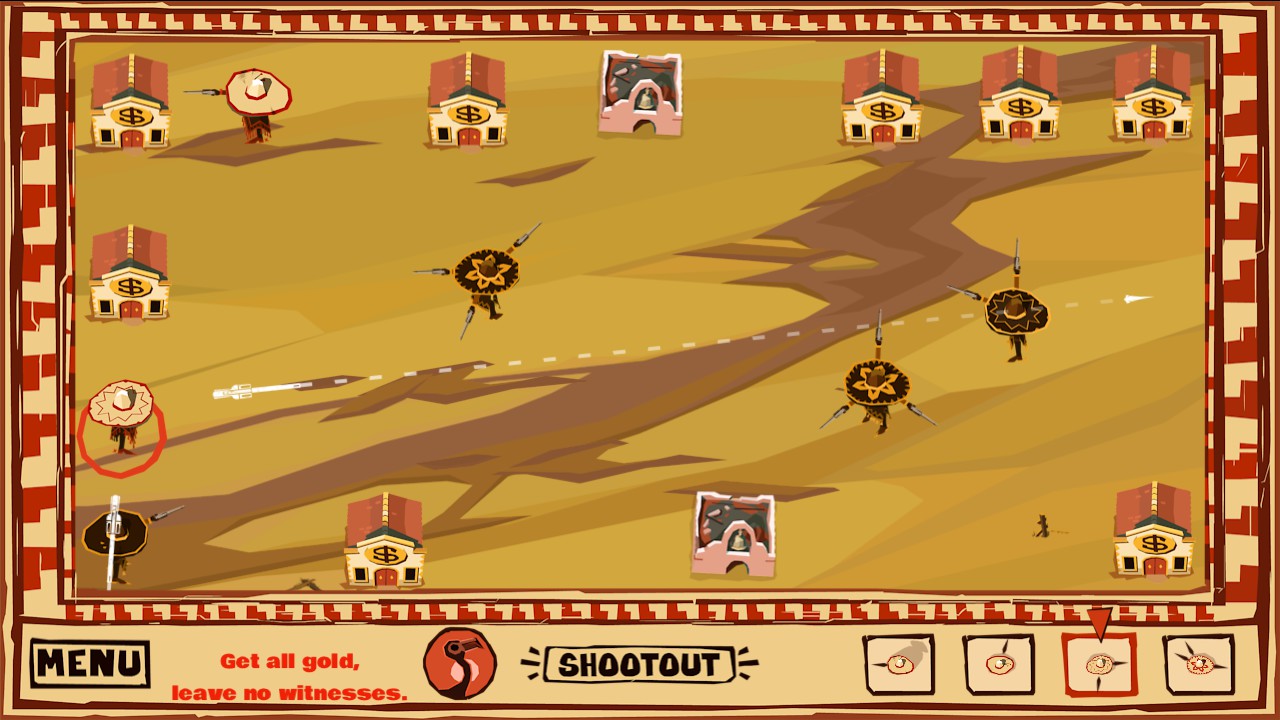
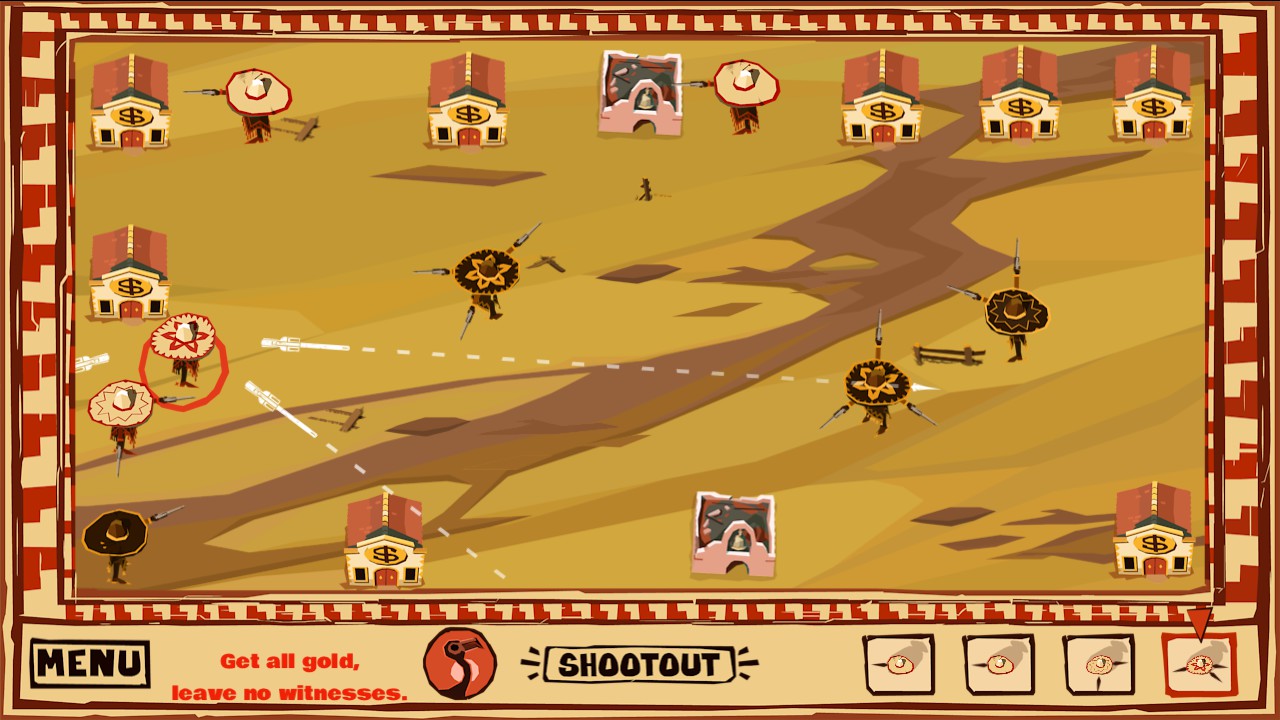
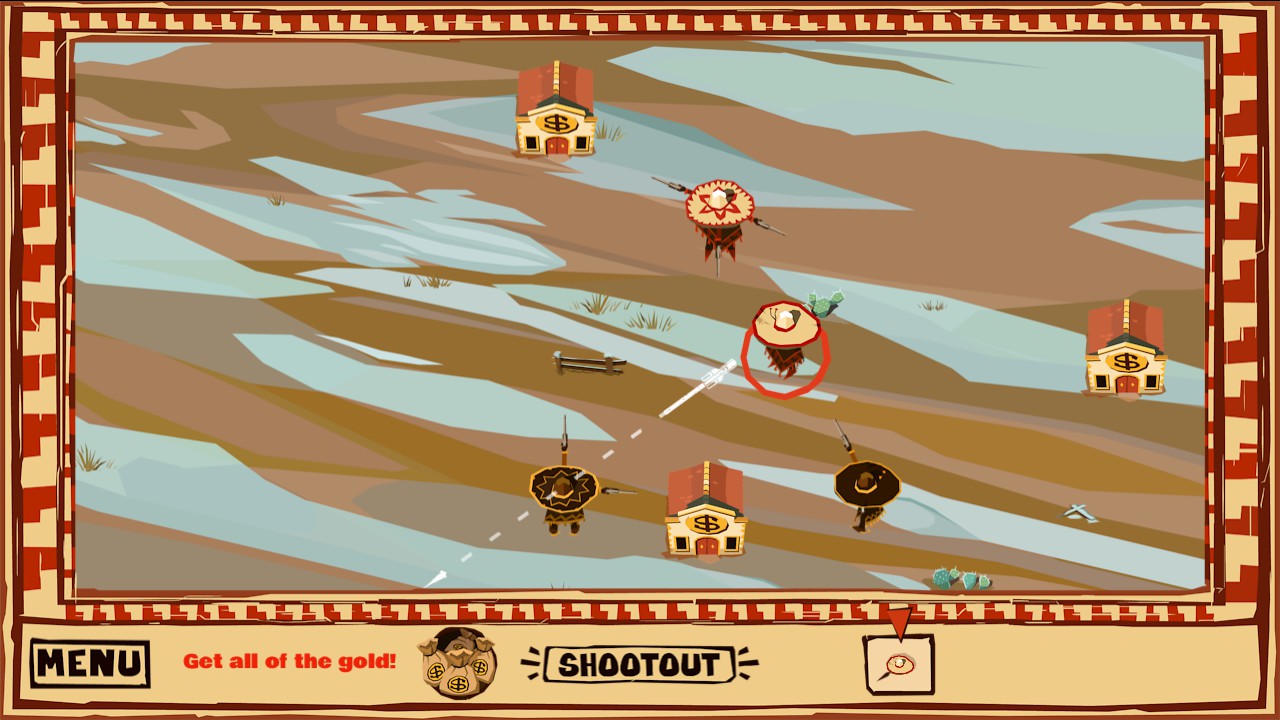
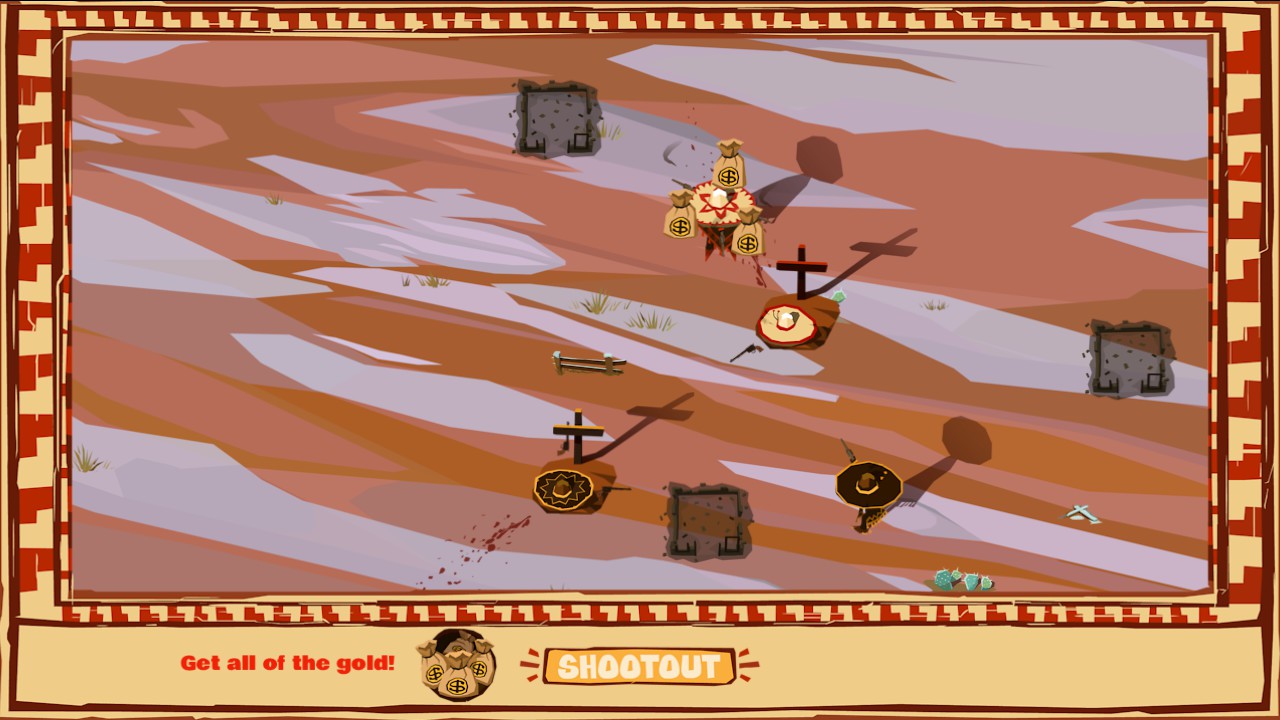
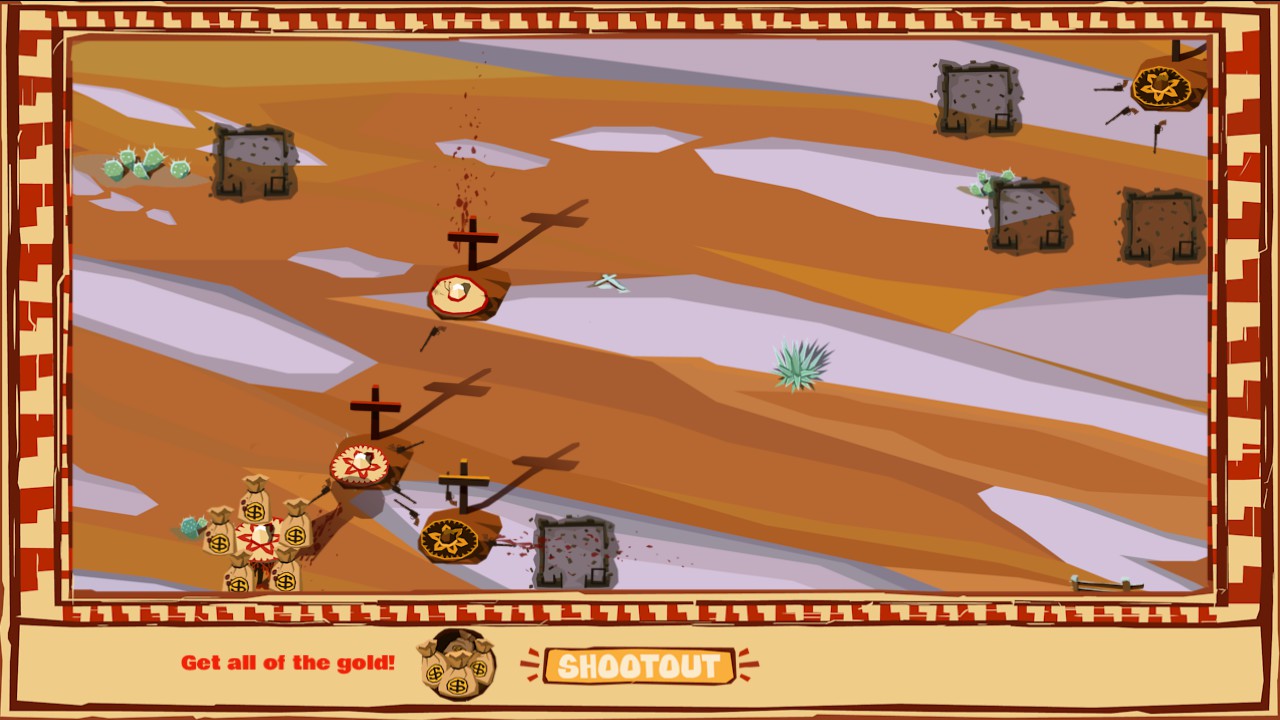
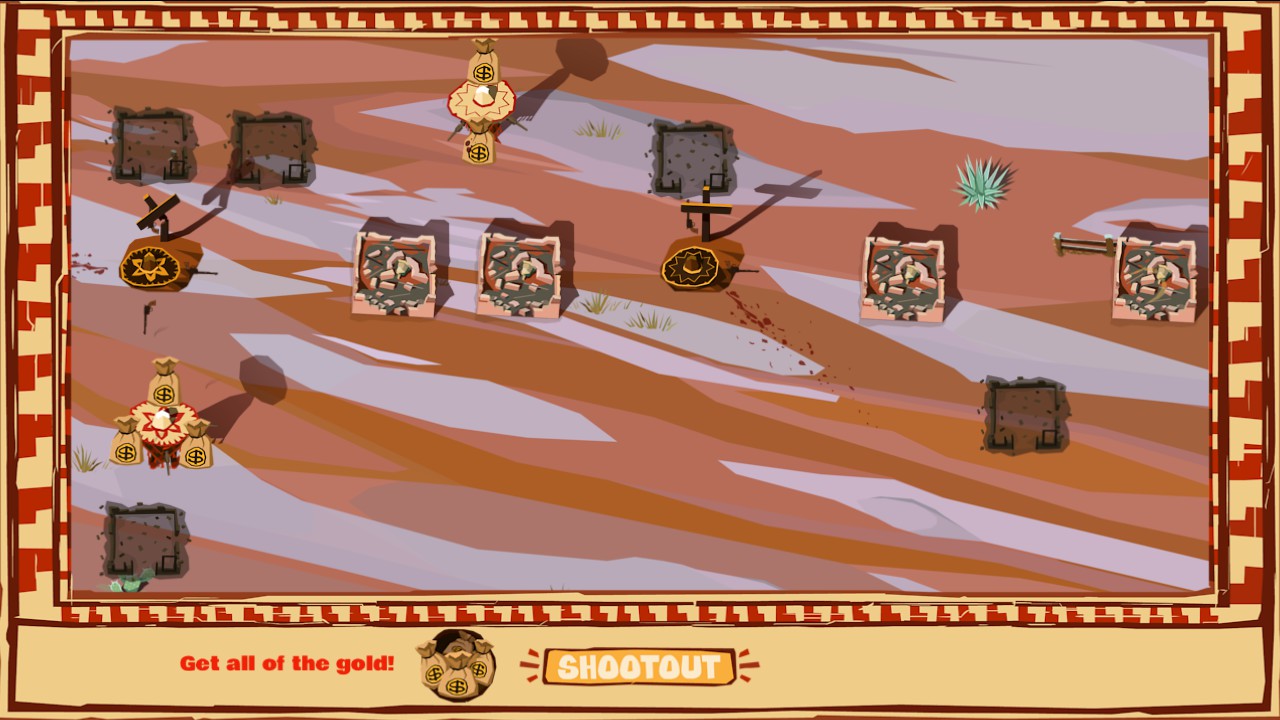
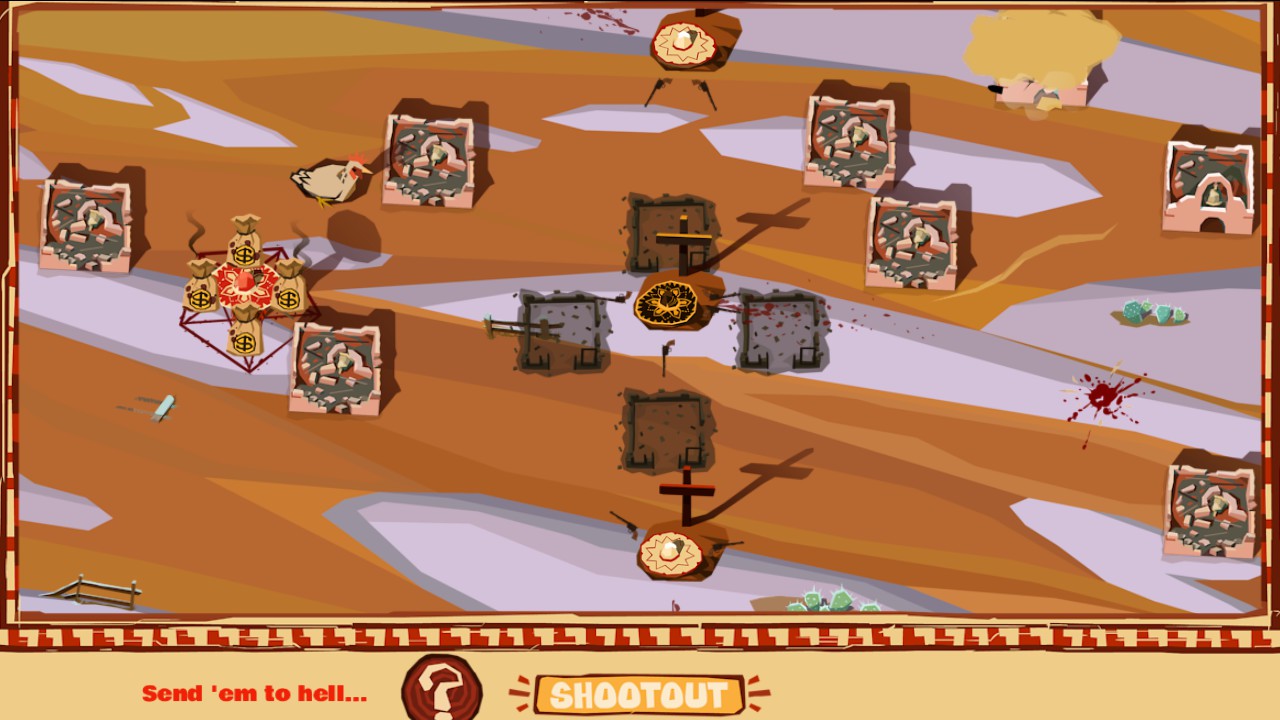
To The Lost requires that all banditos on both sides do not survive, so to get it the last two banditos of both teams need to shoot eachother.

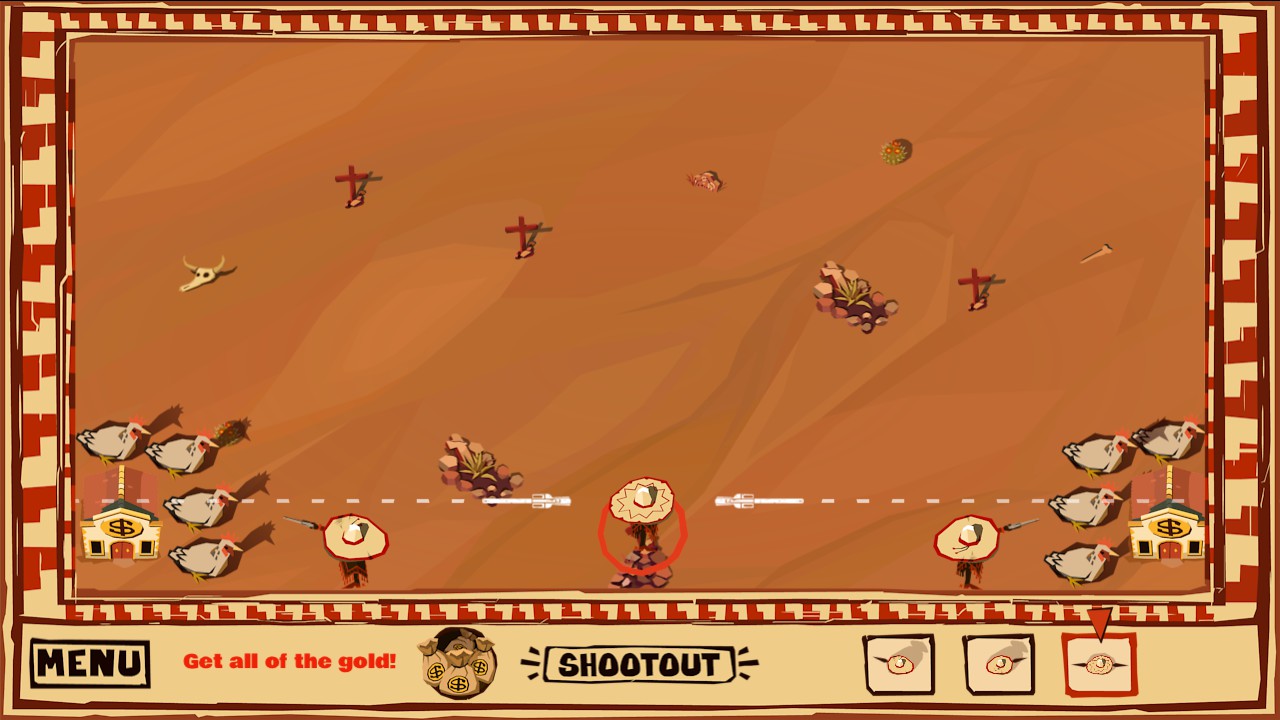
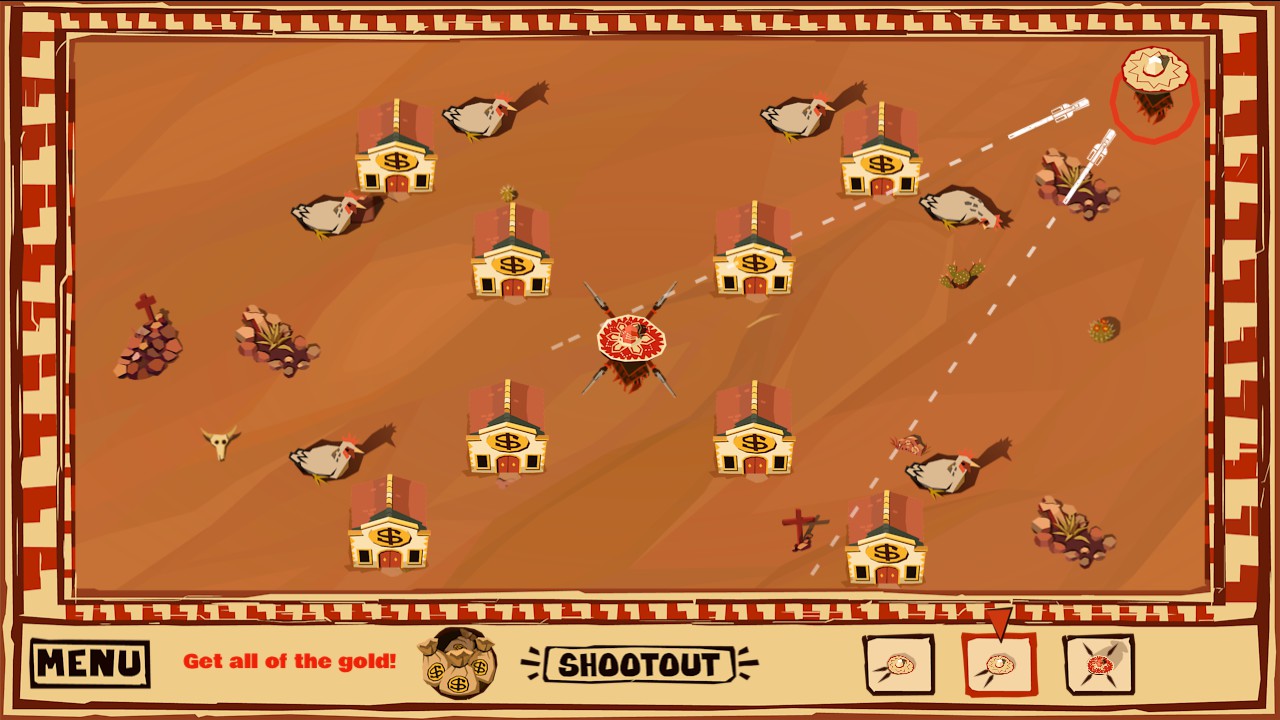
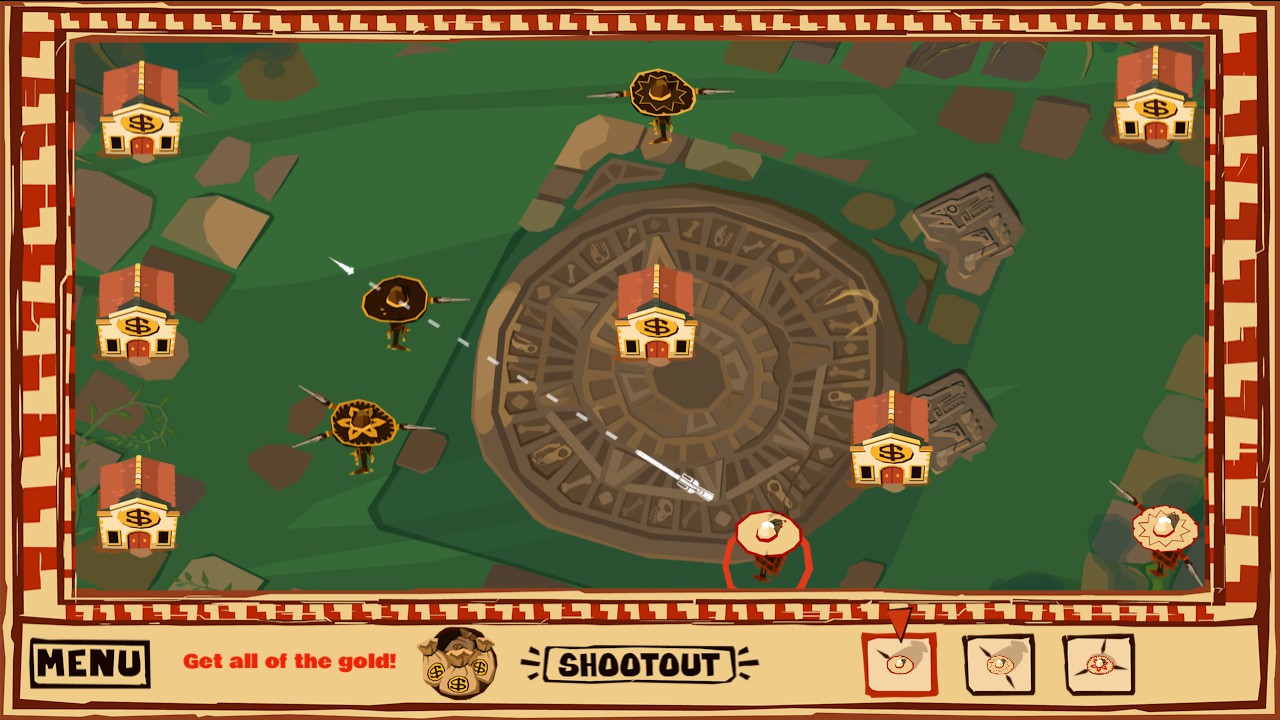
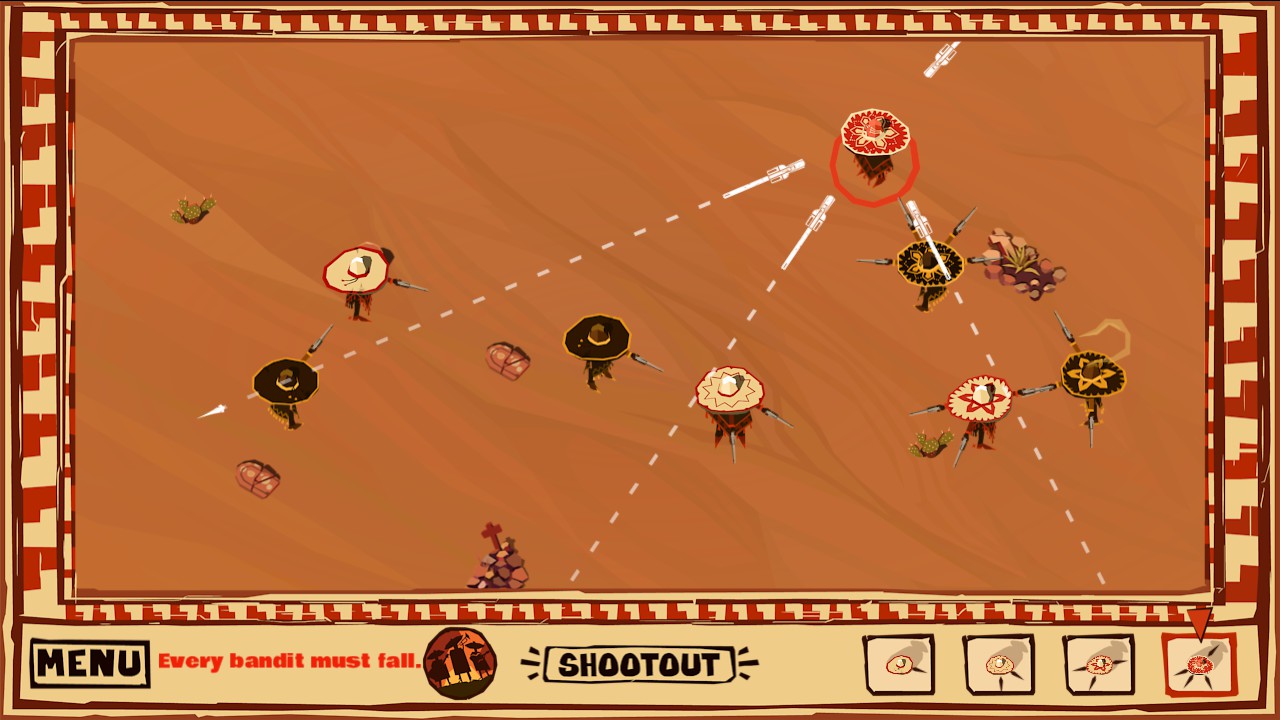
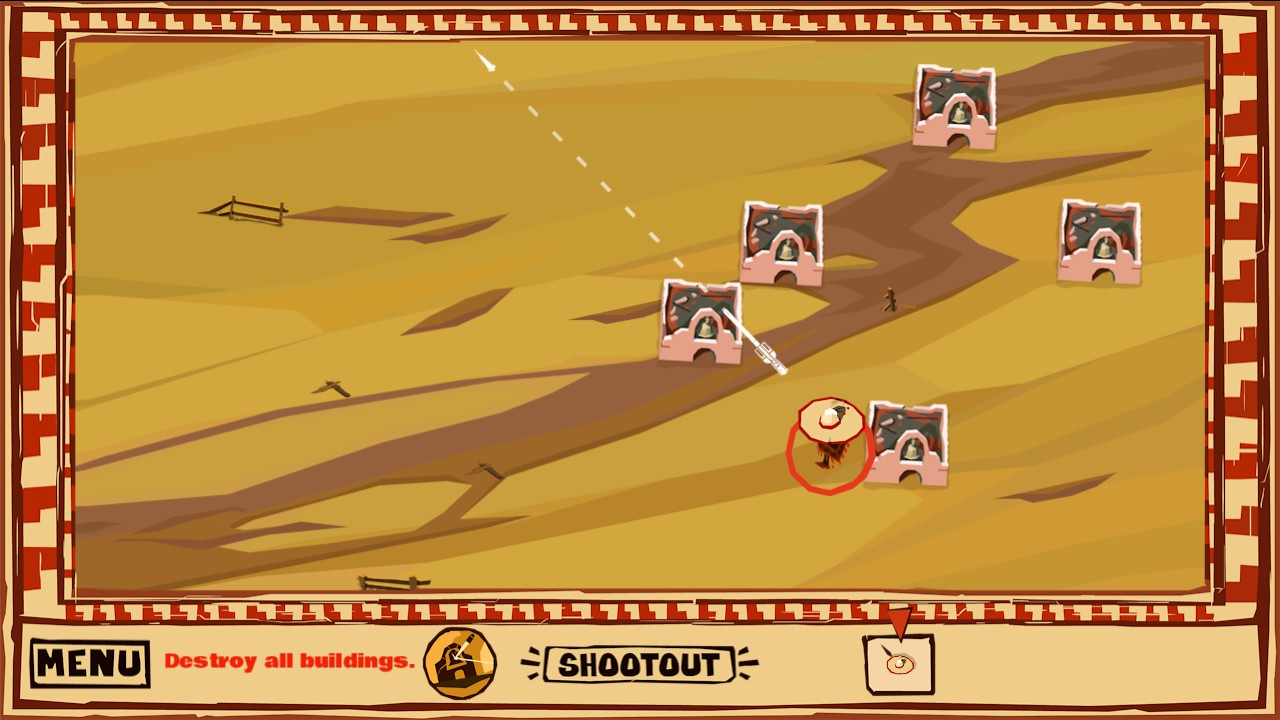
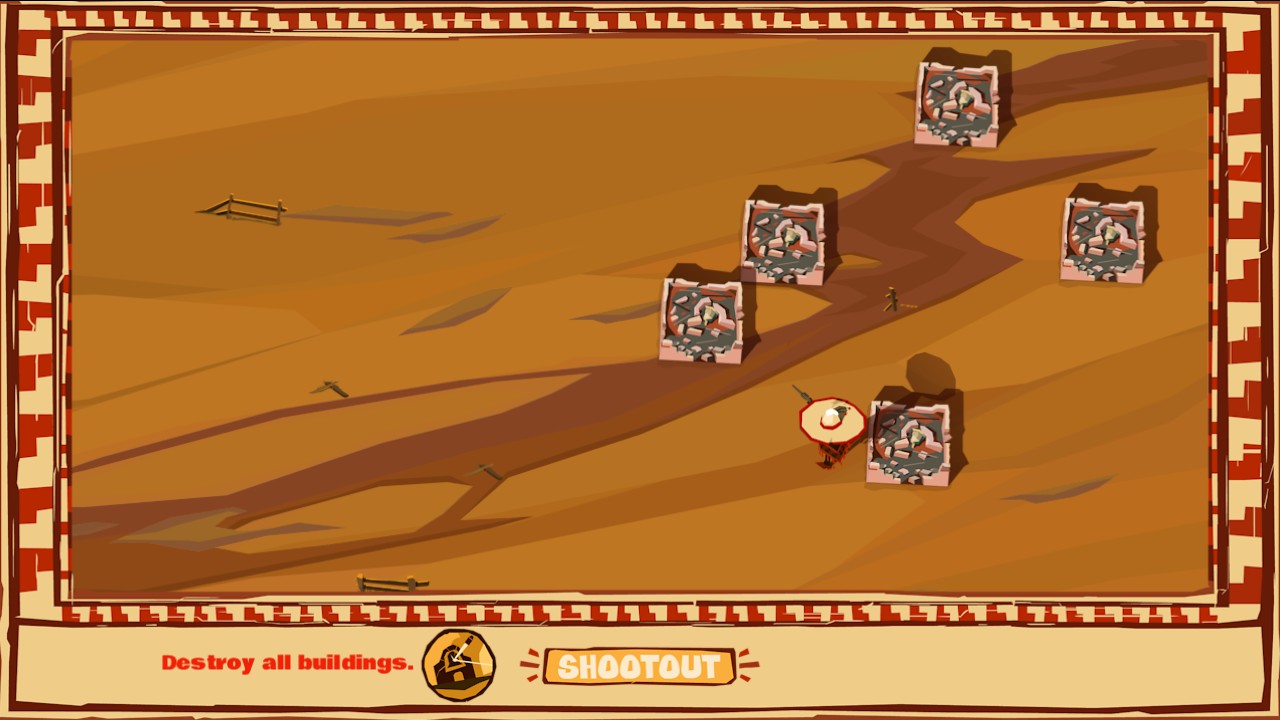
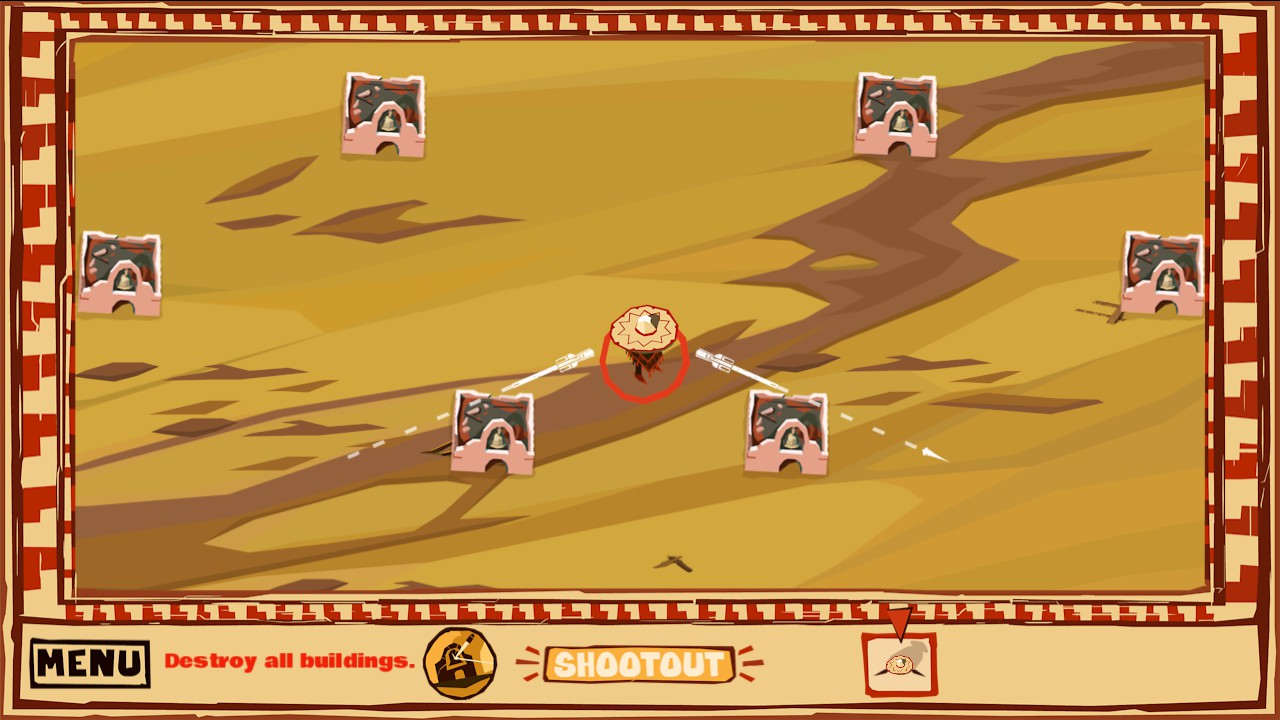
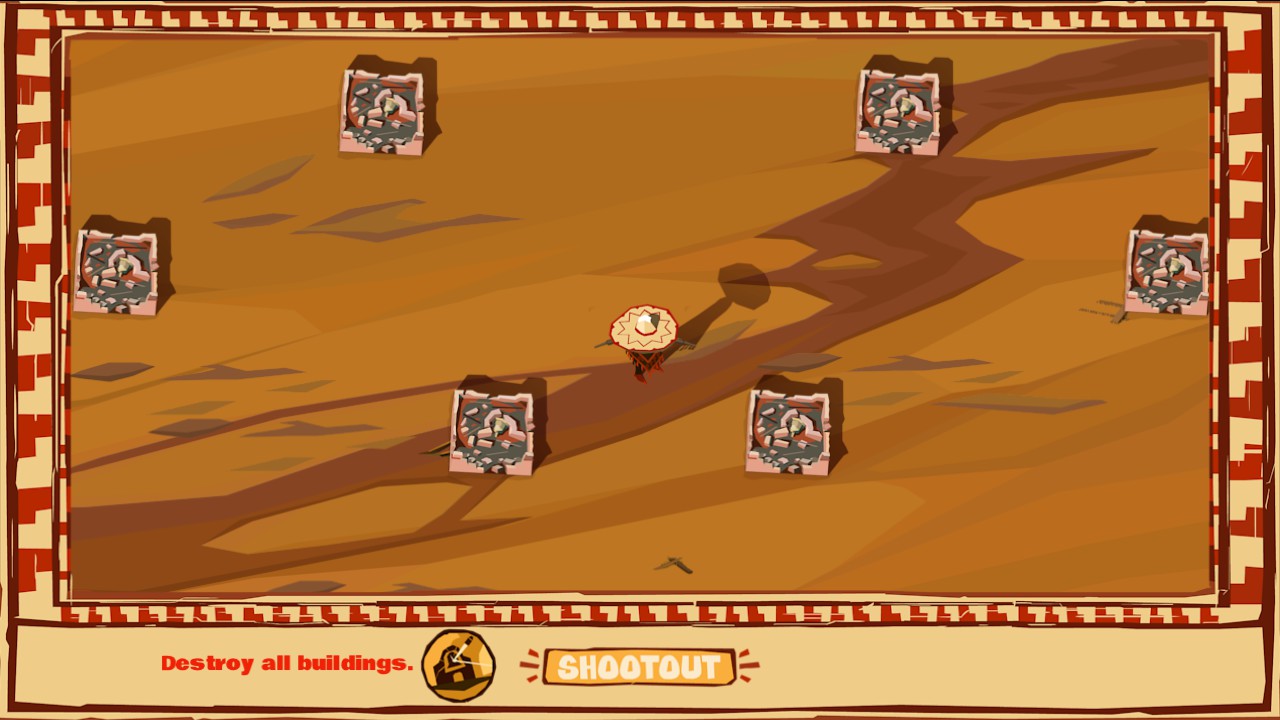
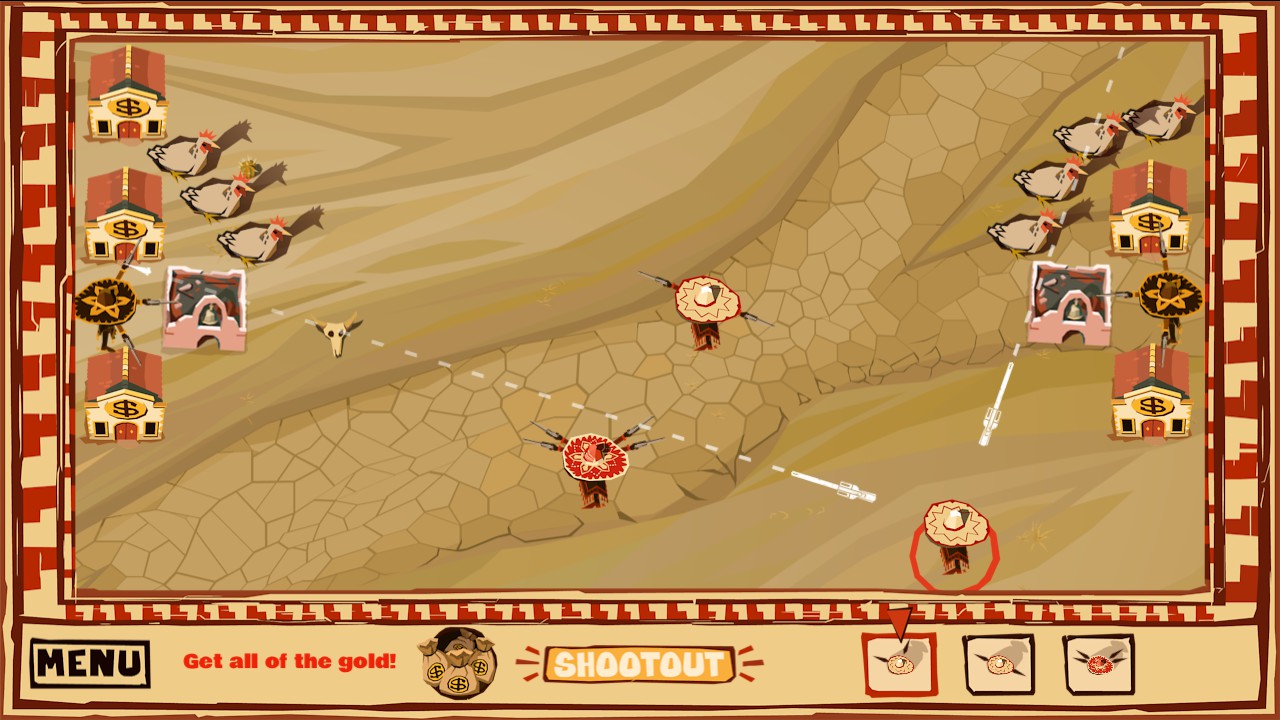
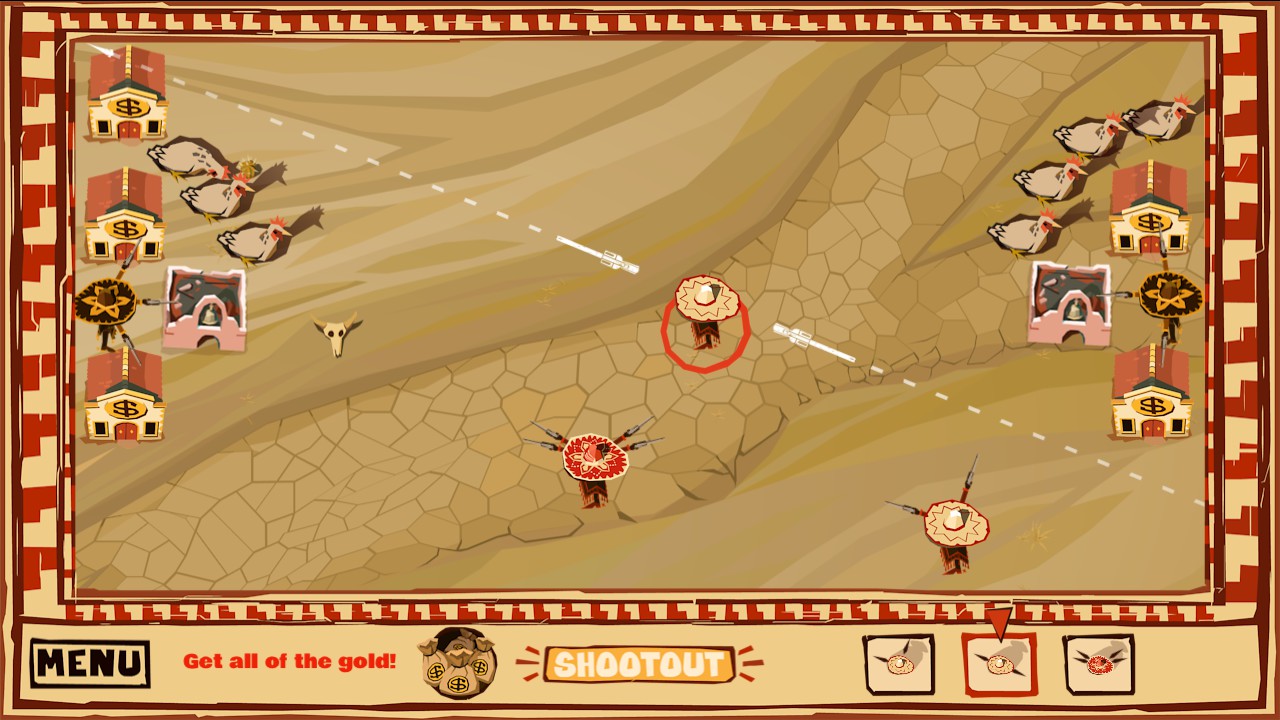
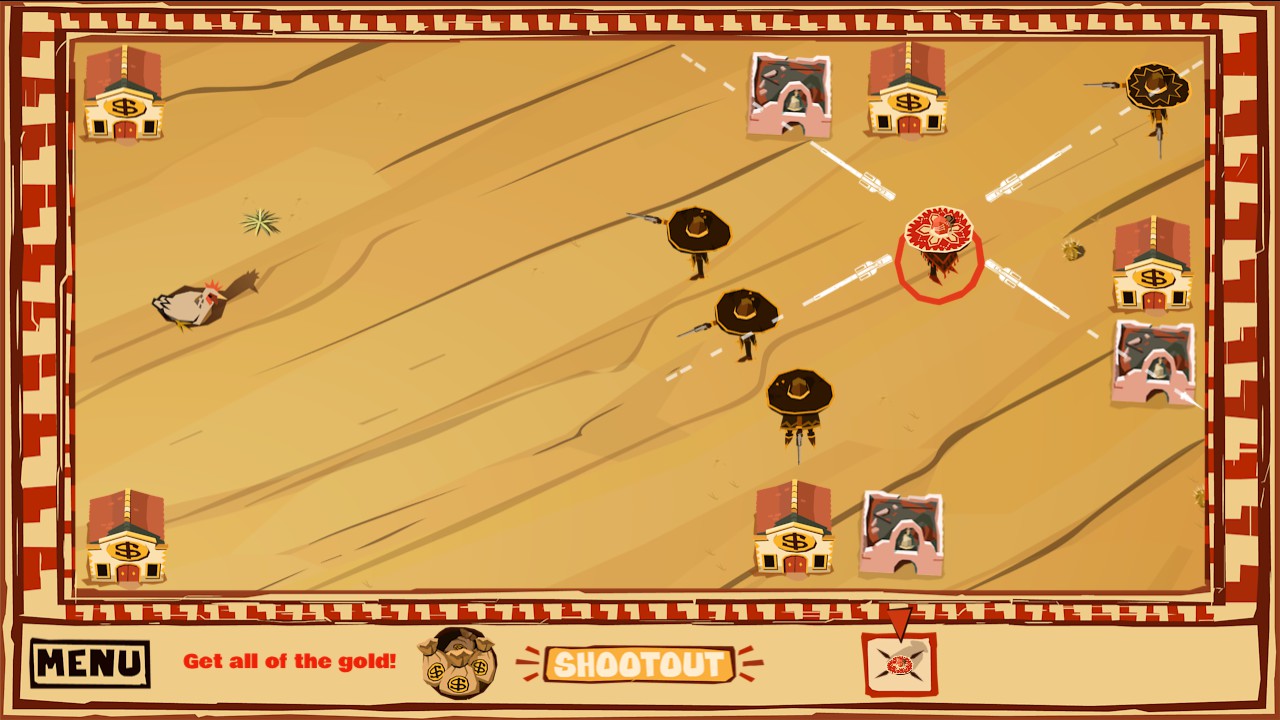
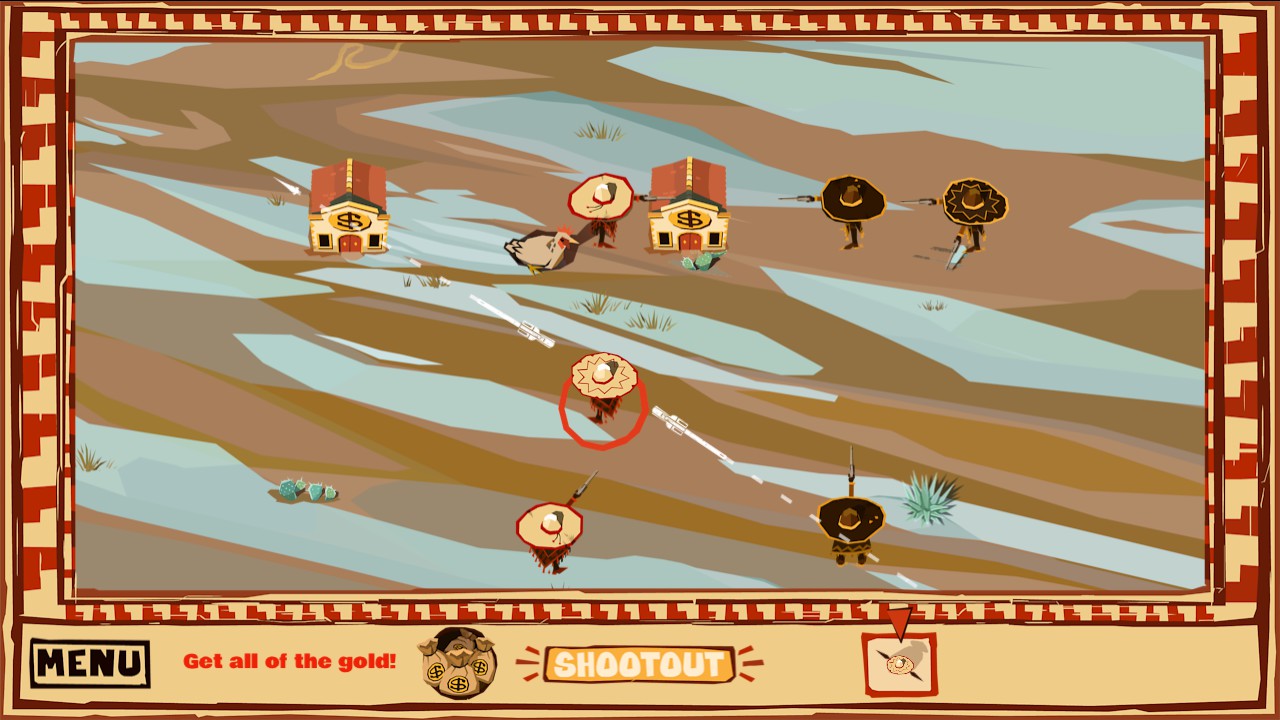
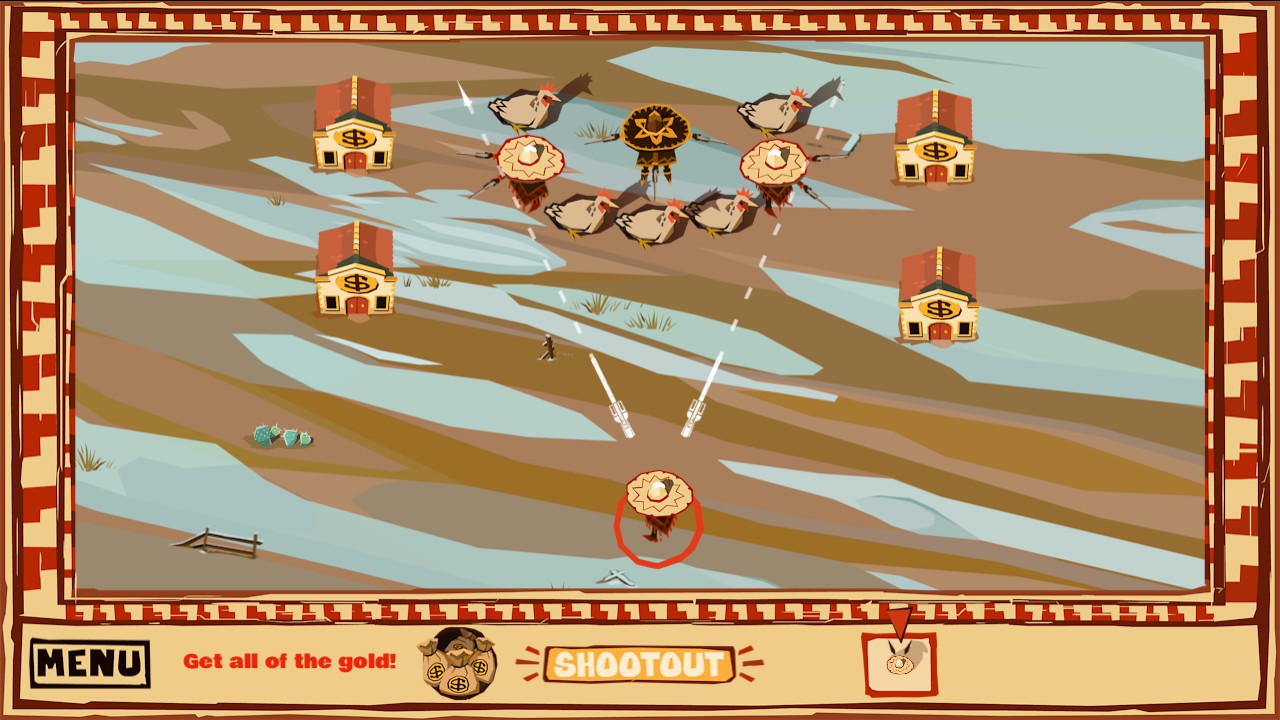
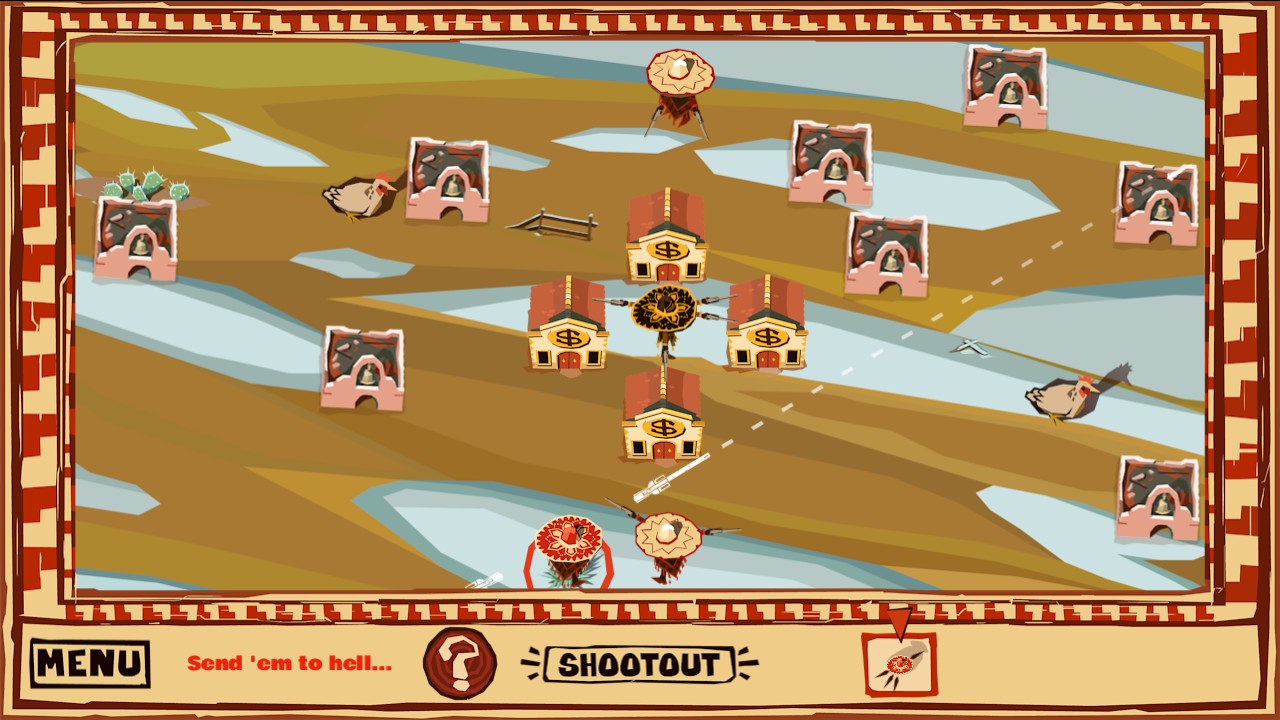
Bringing Guns To A Fistfight requires every bandito on both sides to brawl, which means you have to place all of your banditos in the same spot as the enemy.

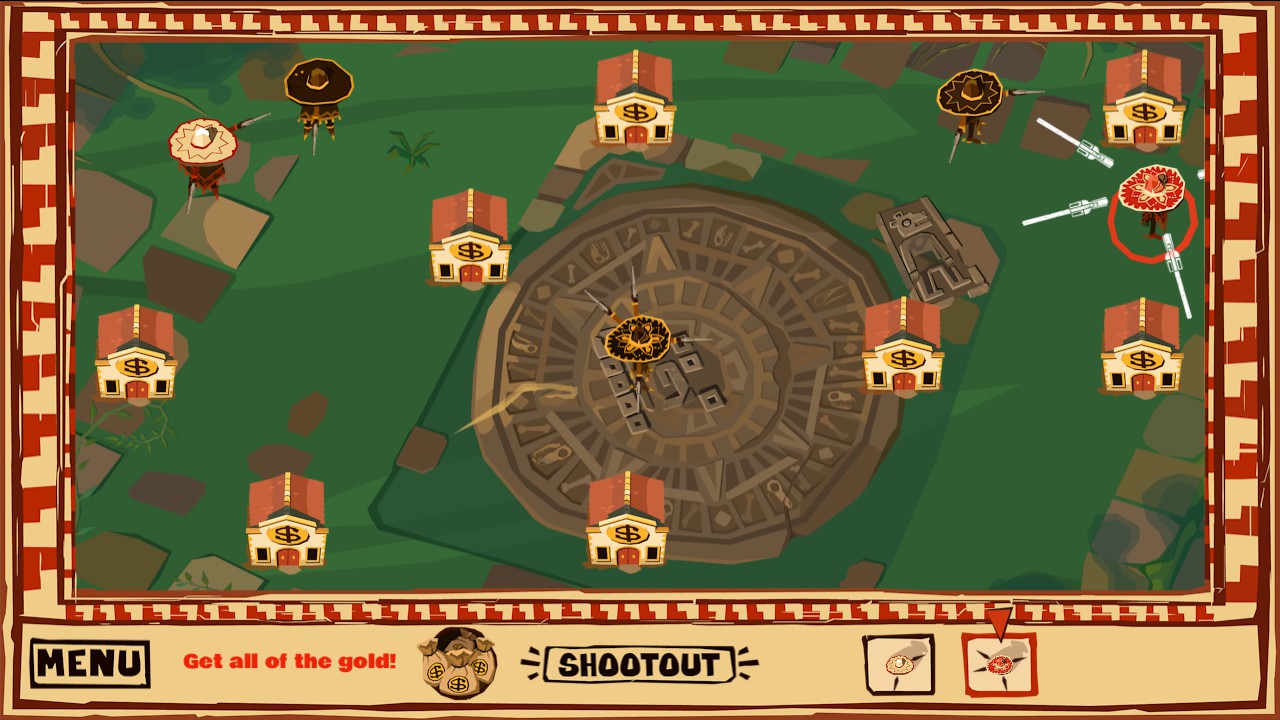
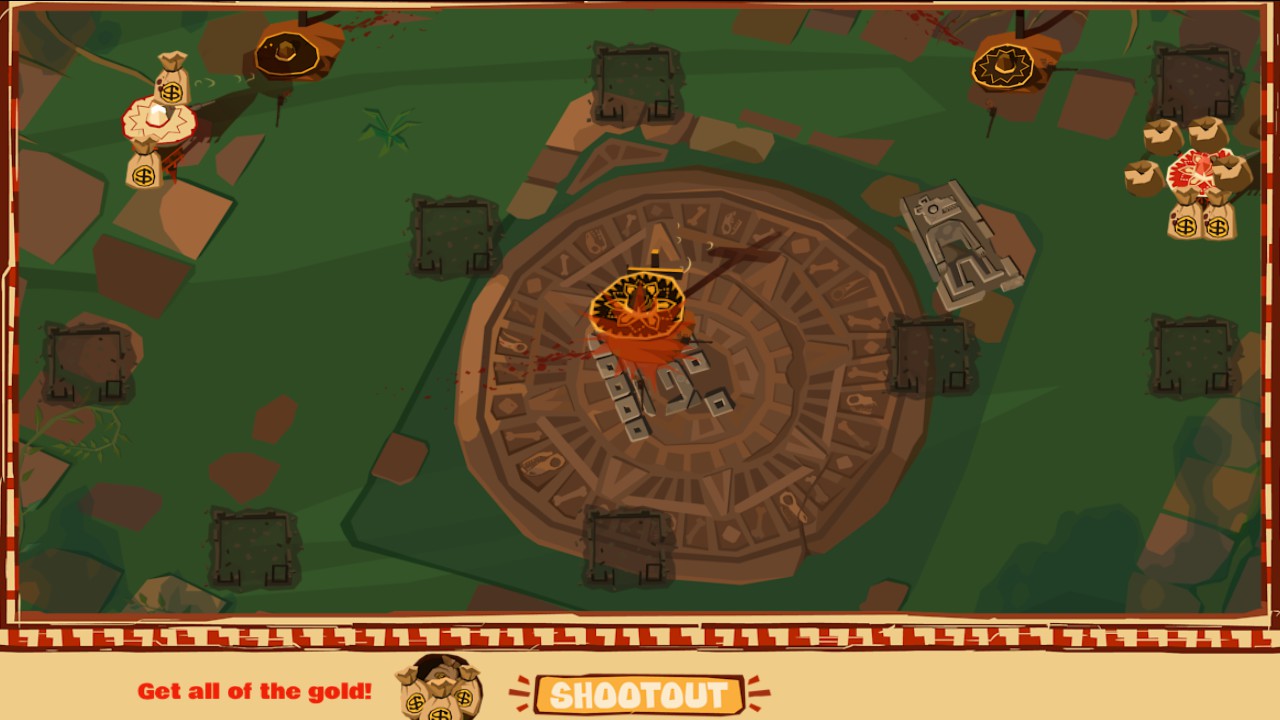
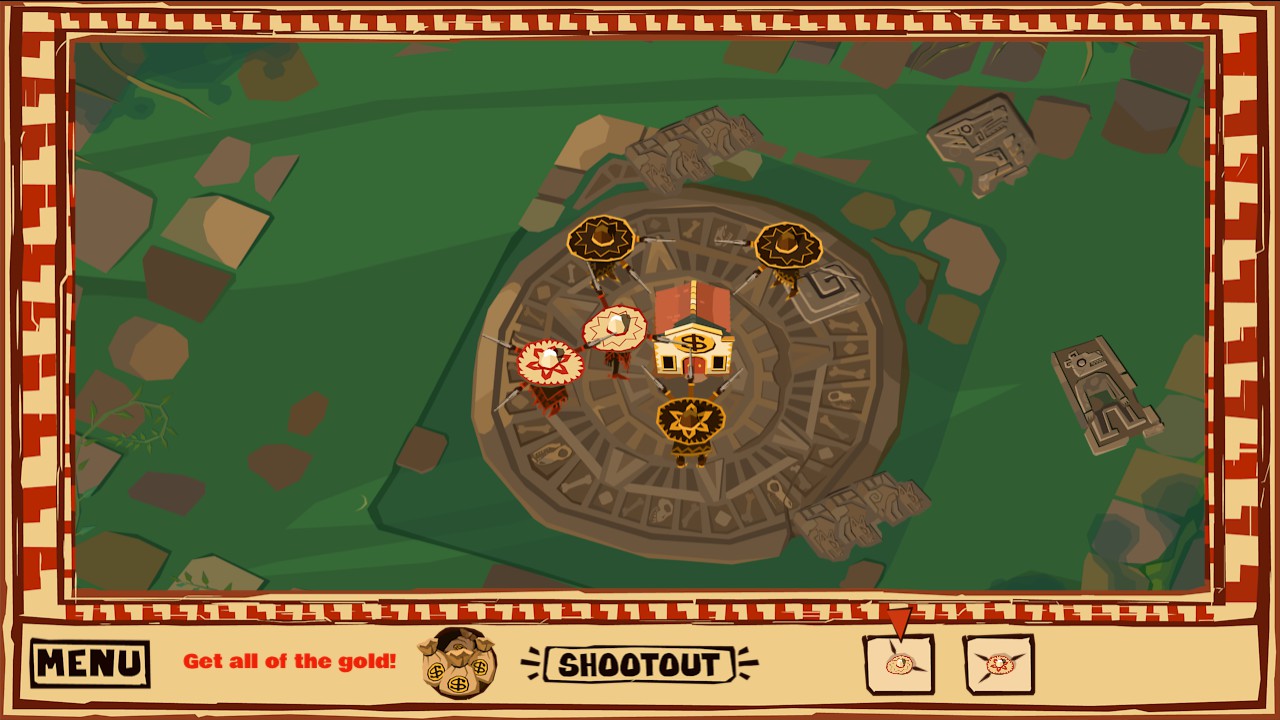
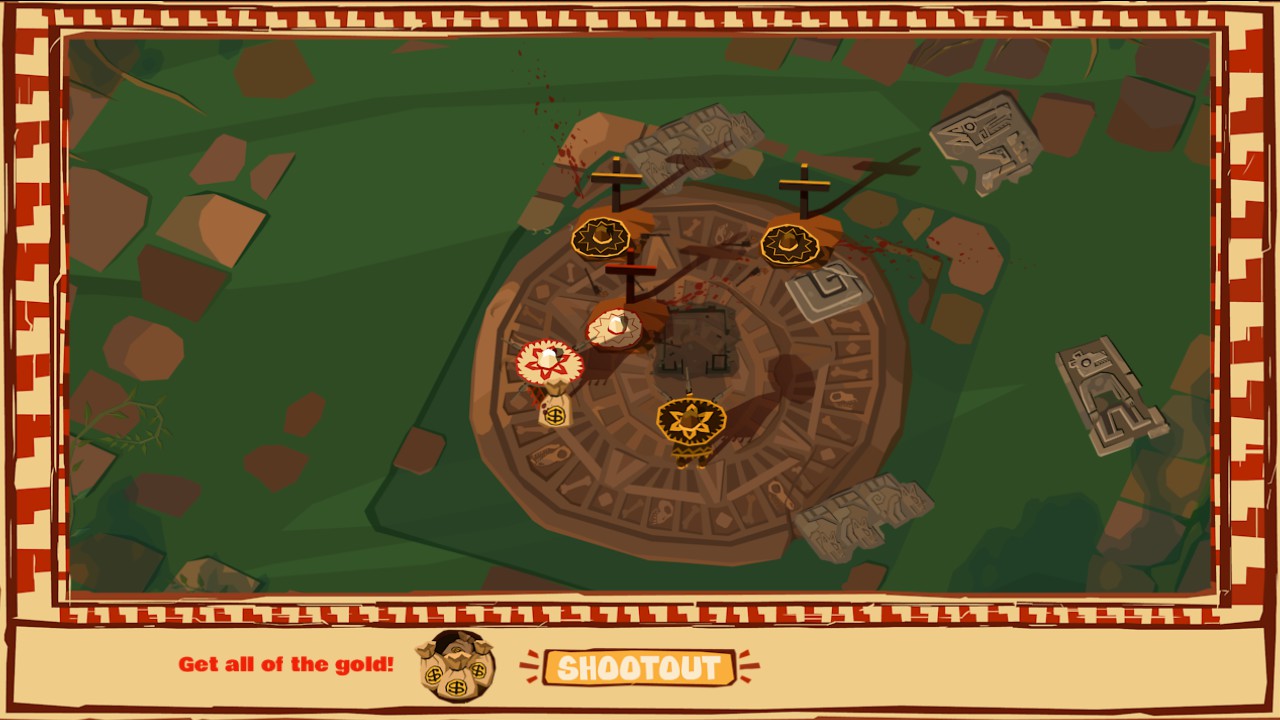
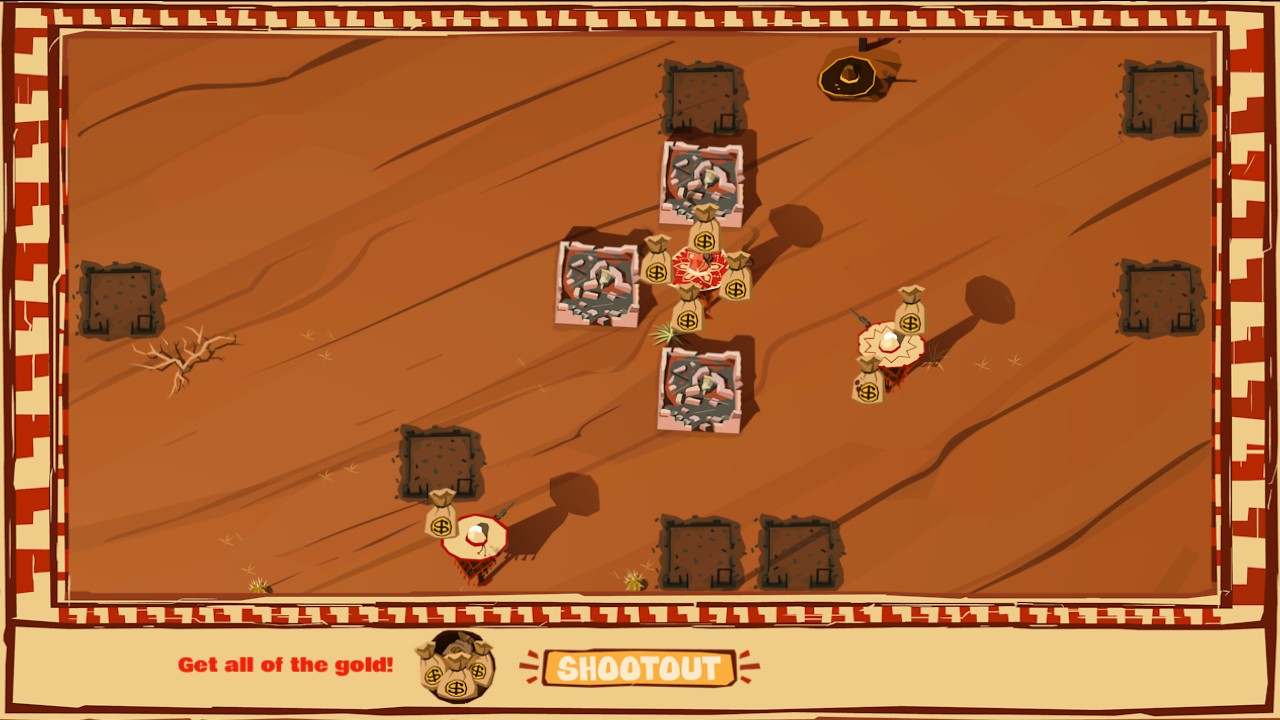
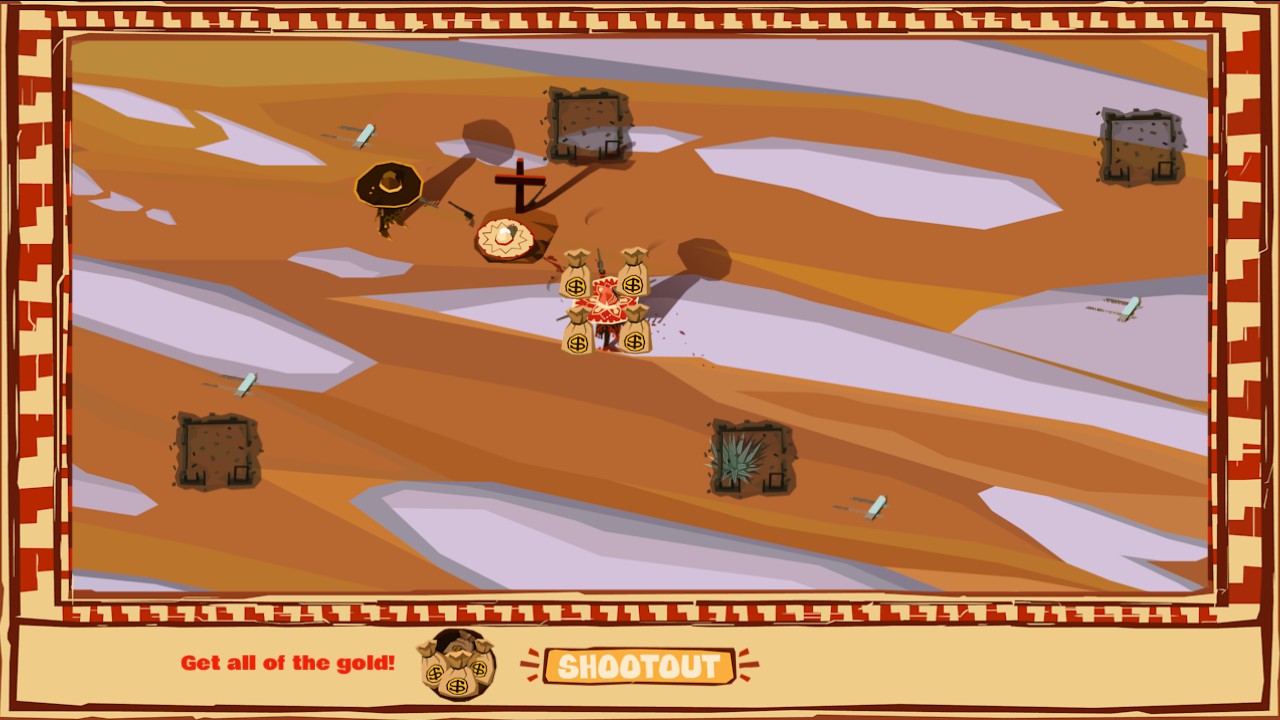
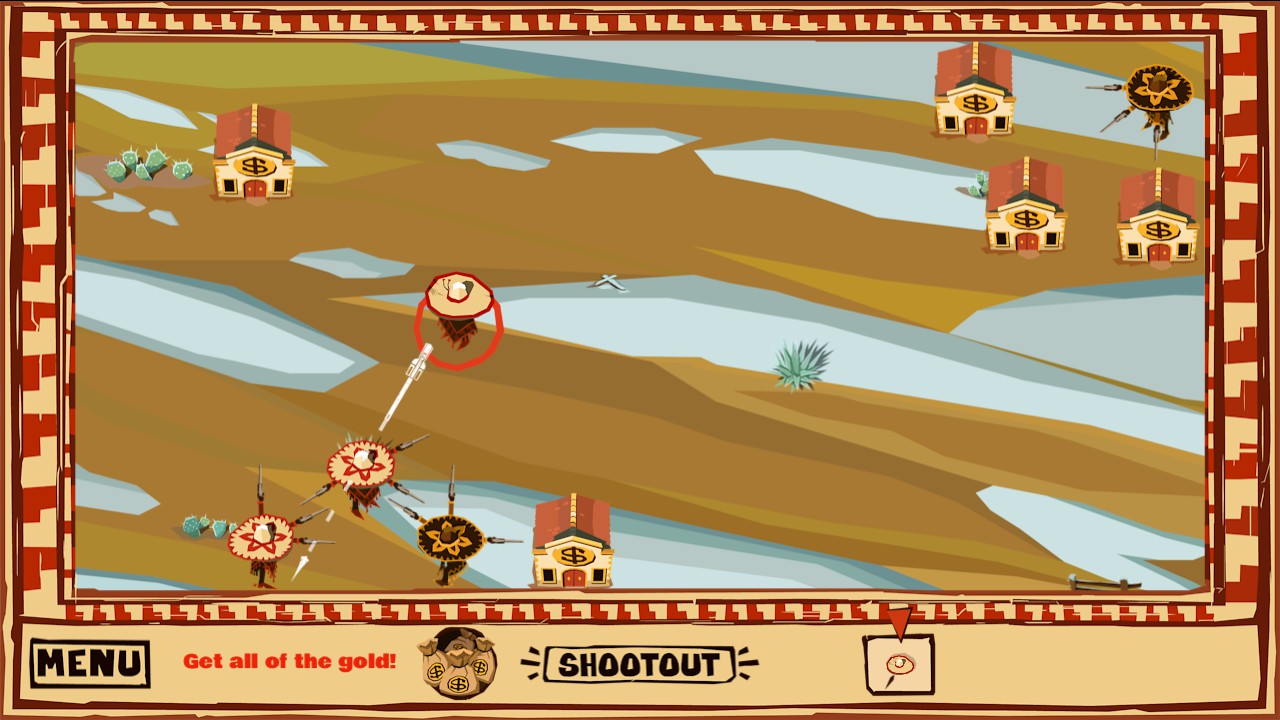
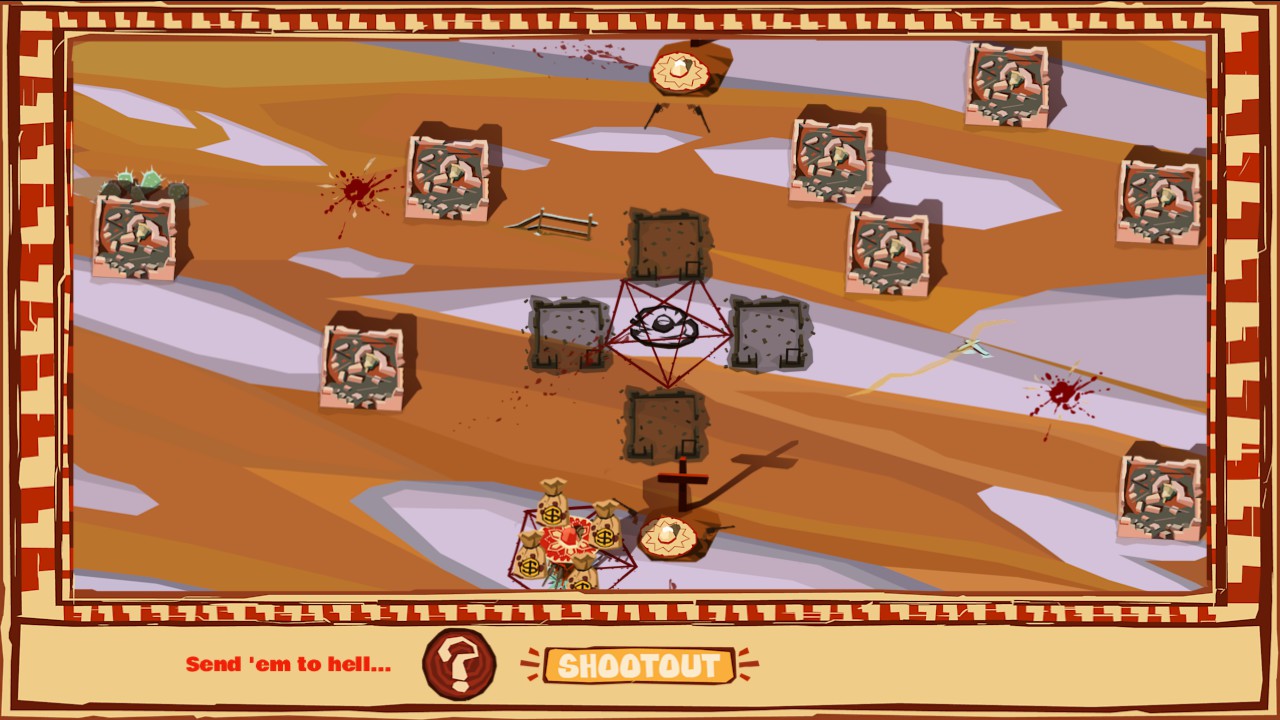
The Devil's Pact II requires you to kill a condemned bandito, and to condemn a bandito you or the enemy have to essentially shoot around the same bandito in the form of a pentagram, so for the second part you need to find a way to condemn a bandito and then kill him.
dynastystar 10 Dec, 2022 @ 11:18pm 
To The Lost, Triggernometry, No Good Deed,
Bringing Guns To A Fistfight, Devil's Pact II and
Flamingo! Some of those(or at least one that I can think of) I should've already gotten when I was going for the achievements against the AI like No Good Deed, but I don't even know what a "Condemned Bandit" means. Does that mean that their grave is destroyed, does it mean that they WERE the one who destroyed a grave or what? Most of the other ones just looked too hard to set up without advice on the matter.
LVX_AGENT  [author] 29 Nov, 2022 @ 1:02pm 
@dynastystar what achievements specifically?
dynastystar 27 Nov, 2022 @ 10:56pm 
Do you have any advice for the achievements? you're the only guide on the Steam Forums
LVX_AGENT  [author] 29 Aug, 2017 @ 9:43pm 
PSA: The guide is complete! I hope you all enjoyed it! If anyone needs more in-depth help on specific levels, ask for clarification! Feel free to offer any and all suggestions you might have for improving this guide! Whether it be tips for new players, alternate level solutions, design layouts, text formatting, etc.
Stormwarrior 27 Aug, 2017 @ 12:07pm 
Good guide.

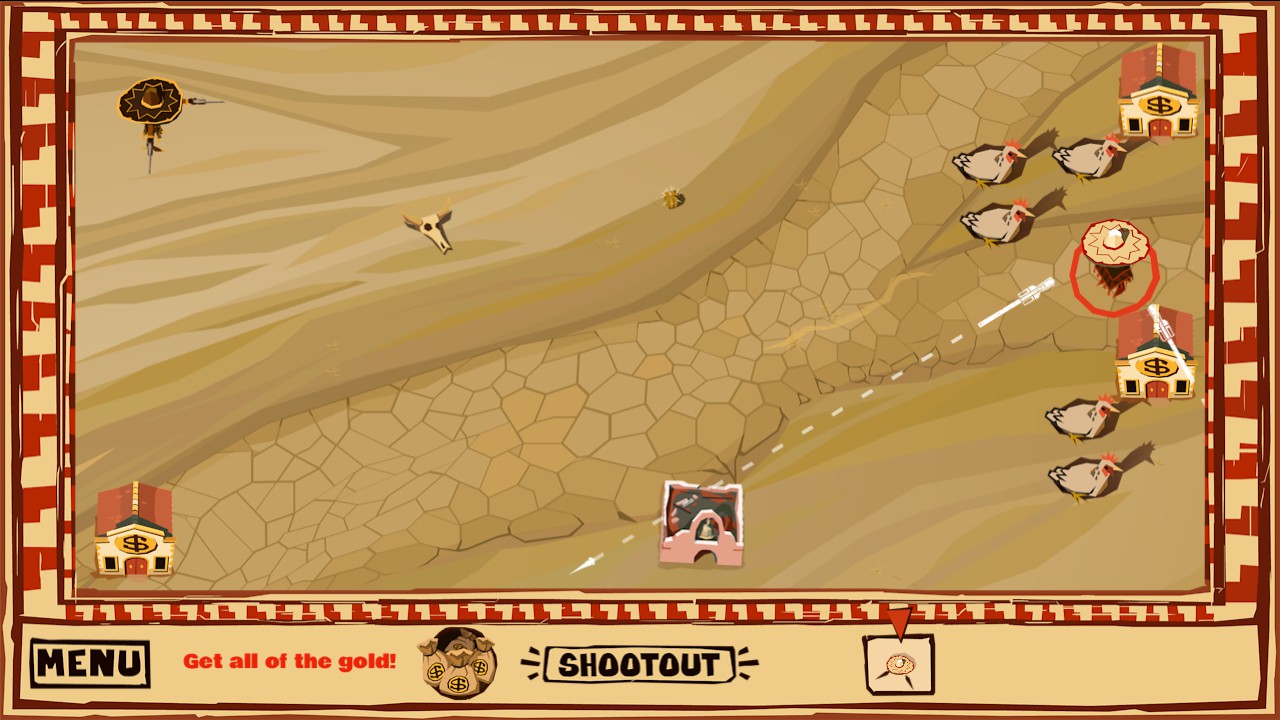
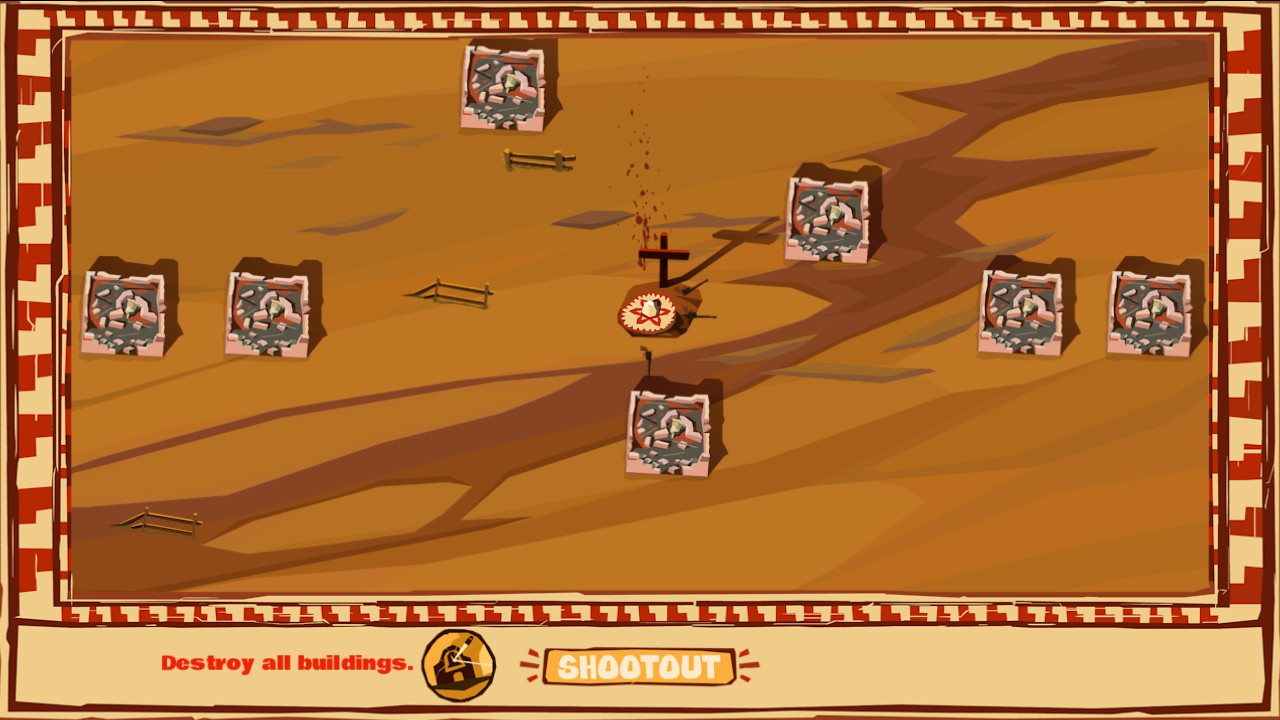
I am stuck at level 14 from chapter 5...

The problem is that I don´t know what to do...
Jack A. Lope 7 Jul, 2017 @ 9:26pm 
thankies for the guide lol, I couldn't get the last one on chapter 4, was always missing at least one of the gold or a death, drove me nuts, but now i'm stuck on level 13 of chapter 5 lol, just gonna take some wiggling around to figure this out.
LVX_AGENT  [author] 7 Jul, 2017 @ 8:19am 
Glad I could help! Took me a while myself! Probably one of the hardest levels so far, at least for me.
Caesar 7 Jul, 2017 @ 8:10am 
Thank you for notifying me. What a creative solution!