Into the Radius 2

Into the Radius 2

34 ratings
The Explorers Guide to The Perchorsk Radius
By Decrypt and 1 collaborators
A quick and simple guide to the creatures and anomalies of the Perchorsk Exclusion Zone.
2
2
   
Award
Favorite
Favorited
Unfavorite
A Quick Introduction.
Greetings! I am Explorer #55, and I am here to tell you all about the wonderful creatures of The Perchorsk Exclusion Zone, and what the UNPSC doesn't want you to know!

Overhaul Update! Now meets the most recent full early access release.
- The Spawn (Creeps)
The Spawn are some of the strangest creatures encountered within the radius. Previously, there was only one spawn, now they have evolved into two separate spawn types.

- The Spiders
The spiders are the most common. They looks like ribbons sliding and tumbling around. they are easily dispatched, but are fast and hard to hit. I advise you to wait for them to attack, then dodge, then shoot them twice with any weapon to ensure a quick kill. Spiders come in packs of about 2-3, so be on the lookout.

- The Tumbleweeds
When you first see these, you just might overlook them. Bigger, stronger and faster than the spiders, the Tumbleweeds have evolved to look like their namesake. Because of their natural camoflauge, they are exceptionally hard to see. Unlike spiders, Tumbleweeds are often alone, and will attempt to sneak up on you while you are fighting. Same as the spiders, 2 clean shots after a stun is the easiest way to dispatch this foe.
Artistic recreation.

- The Hunters
Hunters are more intelligent version of the spider, about the same size, but with grey ribbons. they move fast, and circle their target before quickly lunging at them. Very deadly in groups.
- The Mimics
Mimics, a classic and formidable entity. Often considered the radius's deadliest entity, they take the roles of various armed civilians. This Includes Police, Hunters, Snipers, and even the military! Their attempt to mimic humans even goes down to their warped, twisted guns (e.g, the RPD of the Mimic gunner's bipod and foregrip being in the wildest places)

- The Police
The most common kind. These ones wear a police uniform with no armour. They are armed with a PM Makarov. They have low damage, but can easily drain your health in numbers. To dispatch, aim for the head for a quick kill, or a few shots to the body should suffice.

- The Hunters
Hunters are the second most common. These mimics wear a general civilian outfit with a Ushanka on their head. they are armed with a double-barrel IZH shotgun. To dispatch, aim for the head, and only attack AFTER you have heard them fire twice. If at close range, either attempt to gain distance or eliminate quickly.

- The Military
You caught me! This type of mimic isn't a single entity, but rather multiple similar entities. These mimics wear military uniforms and are armed with automatic weaponry. Usually, they have a helmet and a basic vest. Some have camouflage which allows them to stay hidden at range. Aim for the head!

- The Sniper
One of the two rarest mimics in the Exclusion Zone, the Sniper is the most damaging. One shot can halve your health, and two will put you under. They are easily identifiable by the sound of their gun, but their ghillie suit proves to be effective in camouflaging them from Explorers. To dispatch, you must counter-snipe them from cover. Pushing other mimics while this guy is alive is a death sentence.

- The Machine-Gunner
The rarest mimic, the machine-gunner doesn't let up. In wake of recent changes to the Radius, these formidable mimics are the biggest threat to explorers as of late. They are easily spotted with their full-body armour and ALTYN helmet. It carries an RPD, a mag-fed machine gun capable of killing you in seconds. To dispatch, you must kill him before he can kill you. If he is firing, you MUST take cover. Aim for the body to be able to do damage, as the UNPSC has yet to give us armour piercing rounds to deal with the helmet.
- The Fragments
Type 1 - Standard
A Fragment. Resembles their older radius look, but instead made of stone. On top of this, they now move choppily, in comparison to the fluid movement of the old version.

Dealing with them is the same as their predecessor - Shoot the chest, then shoot the core. Notably, once the core begins the revival process, you cannot destroy it. You'll have to shatter the fragment again.

Type 2 - Phantom / Core-less Fragment
Similar to the first type, these are similar to the phantoms of old, except they are still easily visible. Their only notable difference is that some explorers have stated that they move faster than the first type.

Type 3 - Boomer
Same as the first type of fragment, except their core is pure orange and comprised of multiple spheres intersecting. Upon breaking the core, it emits a high-yield explosive wave, likely shooting its fragment pieces right at you. Can easily kill you without armour or on low health.

Deal with these guys from range if you don't want to die.
- The Anomalies [Type A]
The anomalies of the Perchorsk Radius are classified in two types:
A) Any radius-altered or created object or field that can cause damage to an individual.
B) Any radius-altered or created object or field that cannot cause damage to an individual.
Anomalies are also classified differently from entities, as they are typically bound to a single location or fixed path.

- The Reflector
The Reflector (or as I like to call it; "Hell's Bells") is an anomaly that emits a repulsive wave from a central point, flinging away and damaging anything that comes into contact with them. They are easily identified by the look of their bells of the ground, or the sound of ringing bells.

- Lightning Anomaly
These anomalies look like a cube made of small discs, emitting a bright blue light from the middle. They periodically go invisible. Upon getting too close, they will emit a medium-damage lightning wave which will damage you and your gear. Grenades aren't in the supply depot yet, but when they are added, these guys will likely set them off like their precursors. In Forest, these are quite common and move around.

- The "Hedgehog"
These anomalies resemble an exploded chair, table or tree. They have several spikes pointing outwards from a central point. Upon getting close, they will slightly jut out and damage you. Every few seconds (or when agitated by a probe hitting the centre) it will withdraw the spikes into the nexus, shake, then blast them all out a medium distance, doing high damage to you if you're caught in it.

- The Blood River
This anomaly is incredibly large, and takes up the majority of the water in the Perchorsk Radius. Upon coming into contact with it, it will quickly begin to eat away at the skin and damage you, as well as slow you down to a crawl. Avoid falling in at all costs.

- The Distortion Zones
The distortion zones take the appearance of a large dark-ish veil with the inside being painted a shade of orange or red. In order to access the inside of these without near-immediate death, you must acquire a Distortion Mask from the Supply Depot or the UNPSC's mission rewards.
Once inside, you have roughly 150 seconds (2 + 1/2 Minutes) to do whatever and get out. Your mask will immediately regenerate after leaving the zone.

- The Mirrors
The Mirror is an artefact anomaly - It surrounds an artefact. Upon light being shone on it for multiple seconds, it will proceed to explode and deal damage in a small radius, and then allow you to grab the artefact contained inside.
Maintain your distance with this one.

- The "Overseer"
The newest anomaly resides in the new Perchorsk Outskirts zone. It resembles a large cube floating mysteriously above the ground, following a patrol path. It emits a low rumbling sound. Upon seeing you, it will emit a beam over the positiion you are standing in, and then, a few seconds later, will fire several explosive charges onto that spot. Firing at this anomaly from a distance will cause it to give chase.
- The Anomalies [Type B]
- The Portals
By far the most useful Anomaly. This anomaly looks like a floating-fragmented doorway. Upon approaching, it will take shape with a white field in the middle. Upon stepping in, you will teleport to a pre-determined spot. There are many other useful guides which document their locations and destinations, so I won't bother trying to catalogue them here.

- The Jar
The Jar Anomaly. It is a radius-altered Jar which surround an artefact. To get the artefact, simply shoot it.

- The Web
The Web is a small, Web-Like structure with an artefact in the centre. You can simply grab the artefact and rip it out without any issue.
- The Radius
The radius itself is the most deadly entity that you will find.
The Radius has the power to create entities, make space-bending anomalies and wash away all your progress at will.
You cannot kill the radius, only survive it.
To survive, pay attention to the tide-meter, be careful around anomalies and most of all, have fun!
Closing Notes
Be sure to tell me what you think of this guide! I will be venturing out soon to gather pictures for this guide, so stay tuned!

Sure has been a while, Explorers! The Radius is a rapidly evolving and changing environment. I originally created this guide to help inform Explorers of the Radius's various entities and oddities. Since then, this guide has been unmaintained and has become deprecated. I'm working to update this guide with new and relevant information as it reaches me. (Update: Working on this soon. Expect information on the new location anomalies.
-Explorer #55


Update! This guide is now complete to the newest version. Woo! Now I know why the UNPSC paid so much money for the Paparazzi Missions. I hope this guide can help you! Next guide update will come with the full release of the next main update. May also include a gear guide.
-Explorer #55
12 Comments
Decrypt  [author] 2 May @ 4:08am 
Those are distortion zones. Basically radiation zones or the gas from the first game. You need to progress further in order to get a gas mask and enter them.
Escrotopeta Obrera 2 May @ 12:12am 
there's some places like, covered with a black coat and all red inside, been struggling on how to get inside without dying, any thoughts? pretty complete info btw, thx!
Decrypt  [author] 25 Apr @ 6:36am 
Information added on a new creep variant.
Decrypt  [author] 13 Apr @ 9:54am 
Alex, those are artifacts. They are closer to anomalies, which aren't in this guide yet.
Solutra  [author] 12 Apr @ 12:37am 
in case you haven't realised, mr. alex, this guide hasn't been updated since last year, and it will be updated once the game is out of beta
Alex 11 Apr @ 11:37am 
There's these weird crystal looking things that when near explode outwards with a blue blast. One of my mission objectives is basically inside the radius of one and I don't know how to get to it, when I try to reach for it I get blasted out.

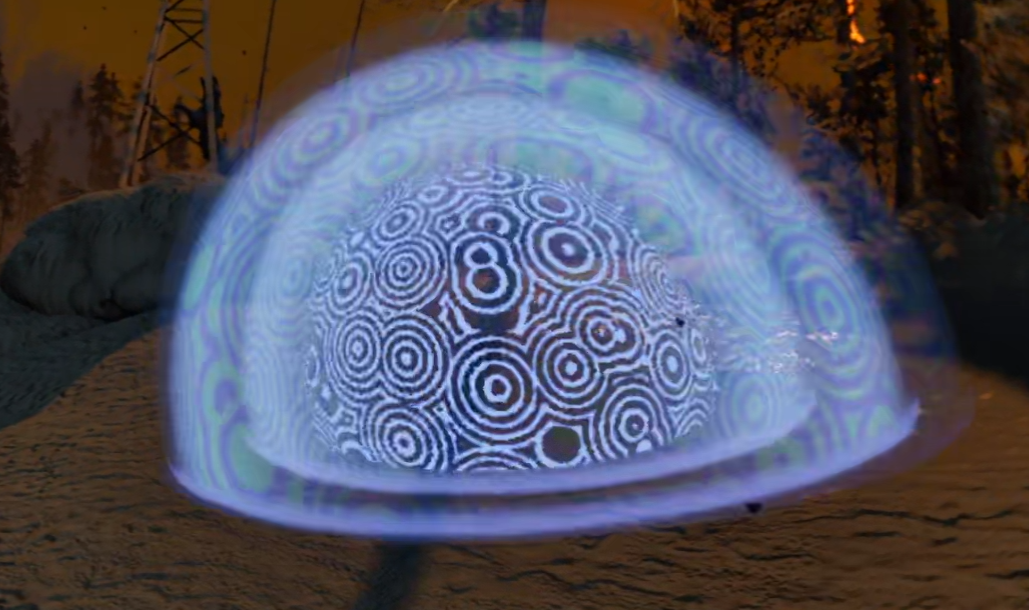
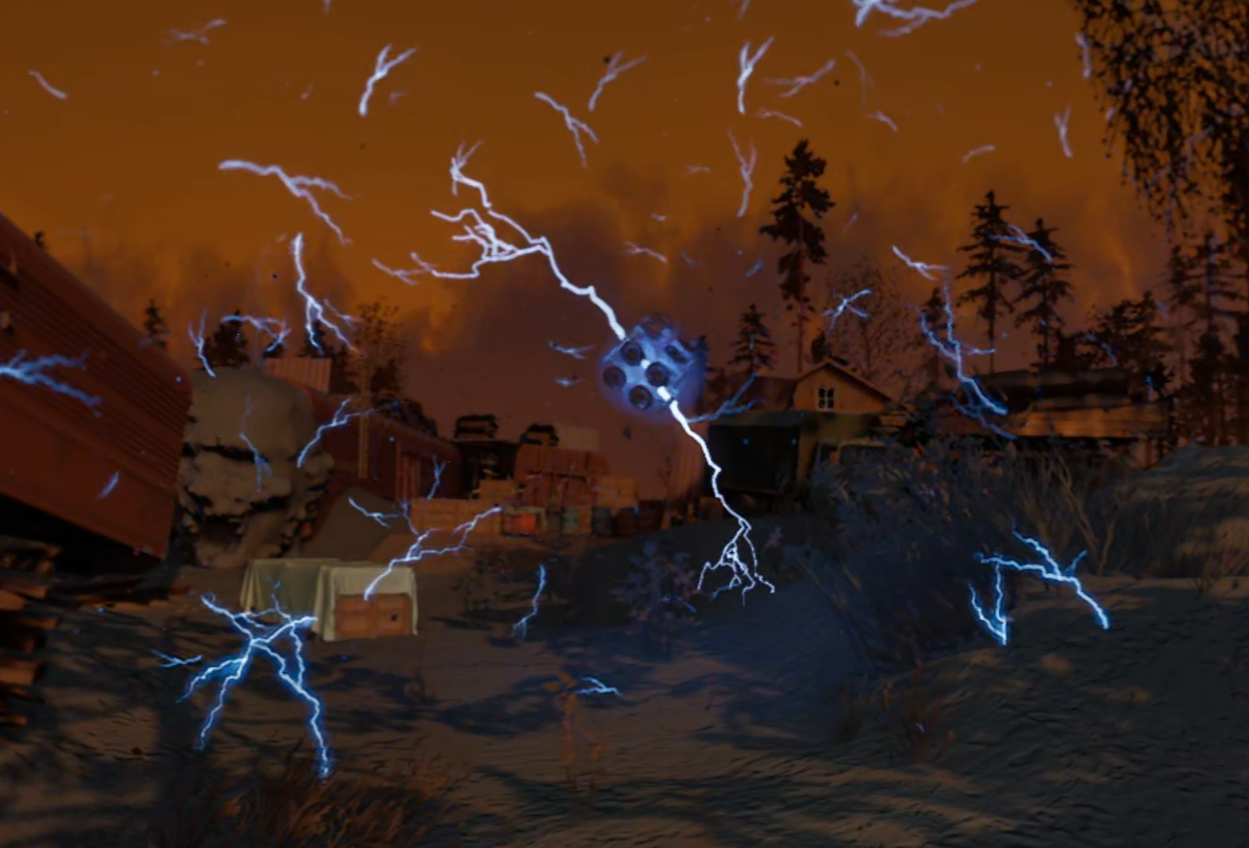
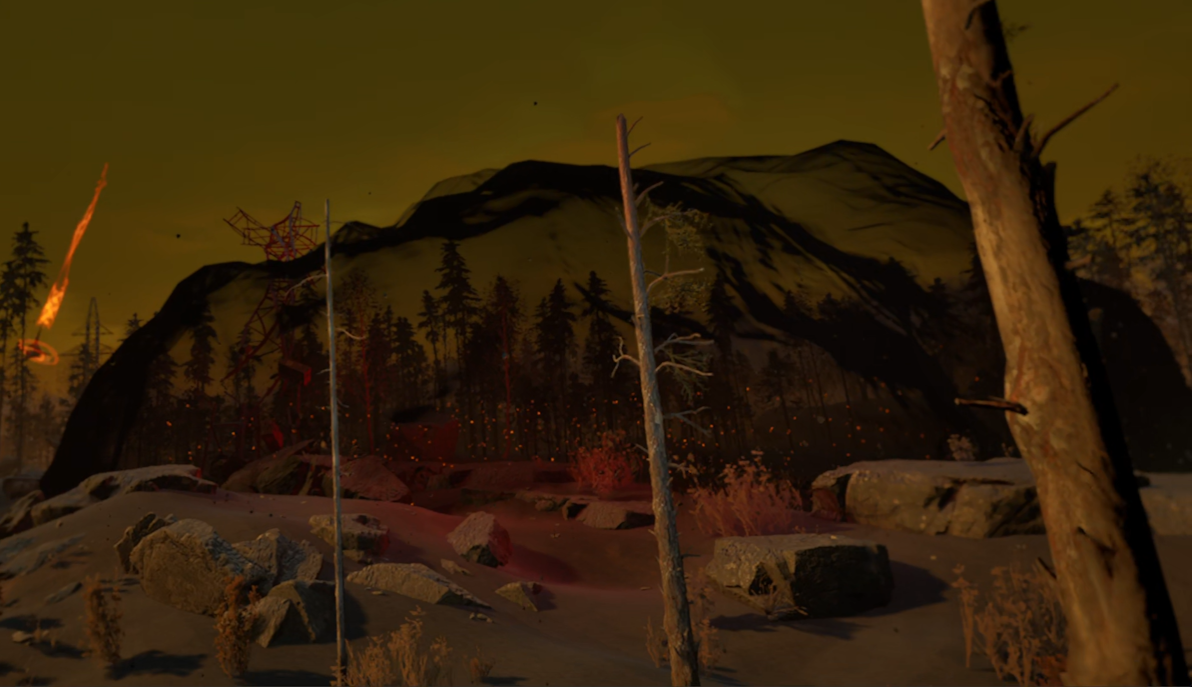
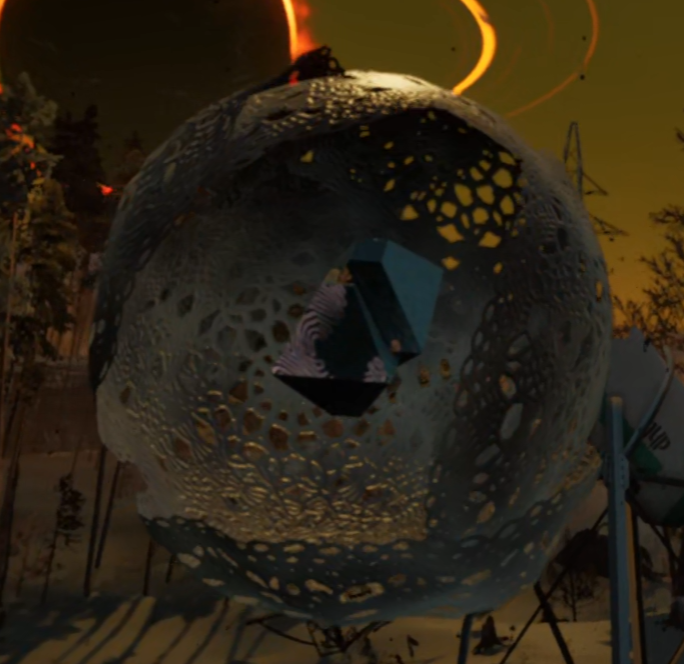
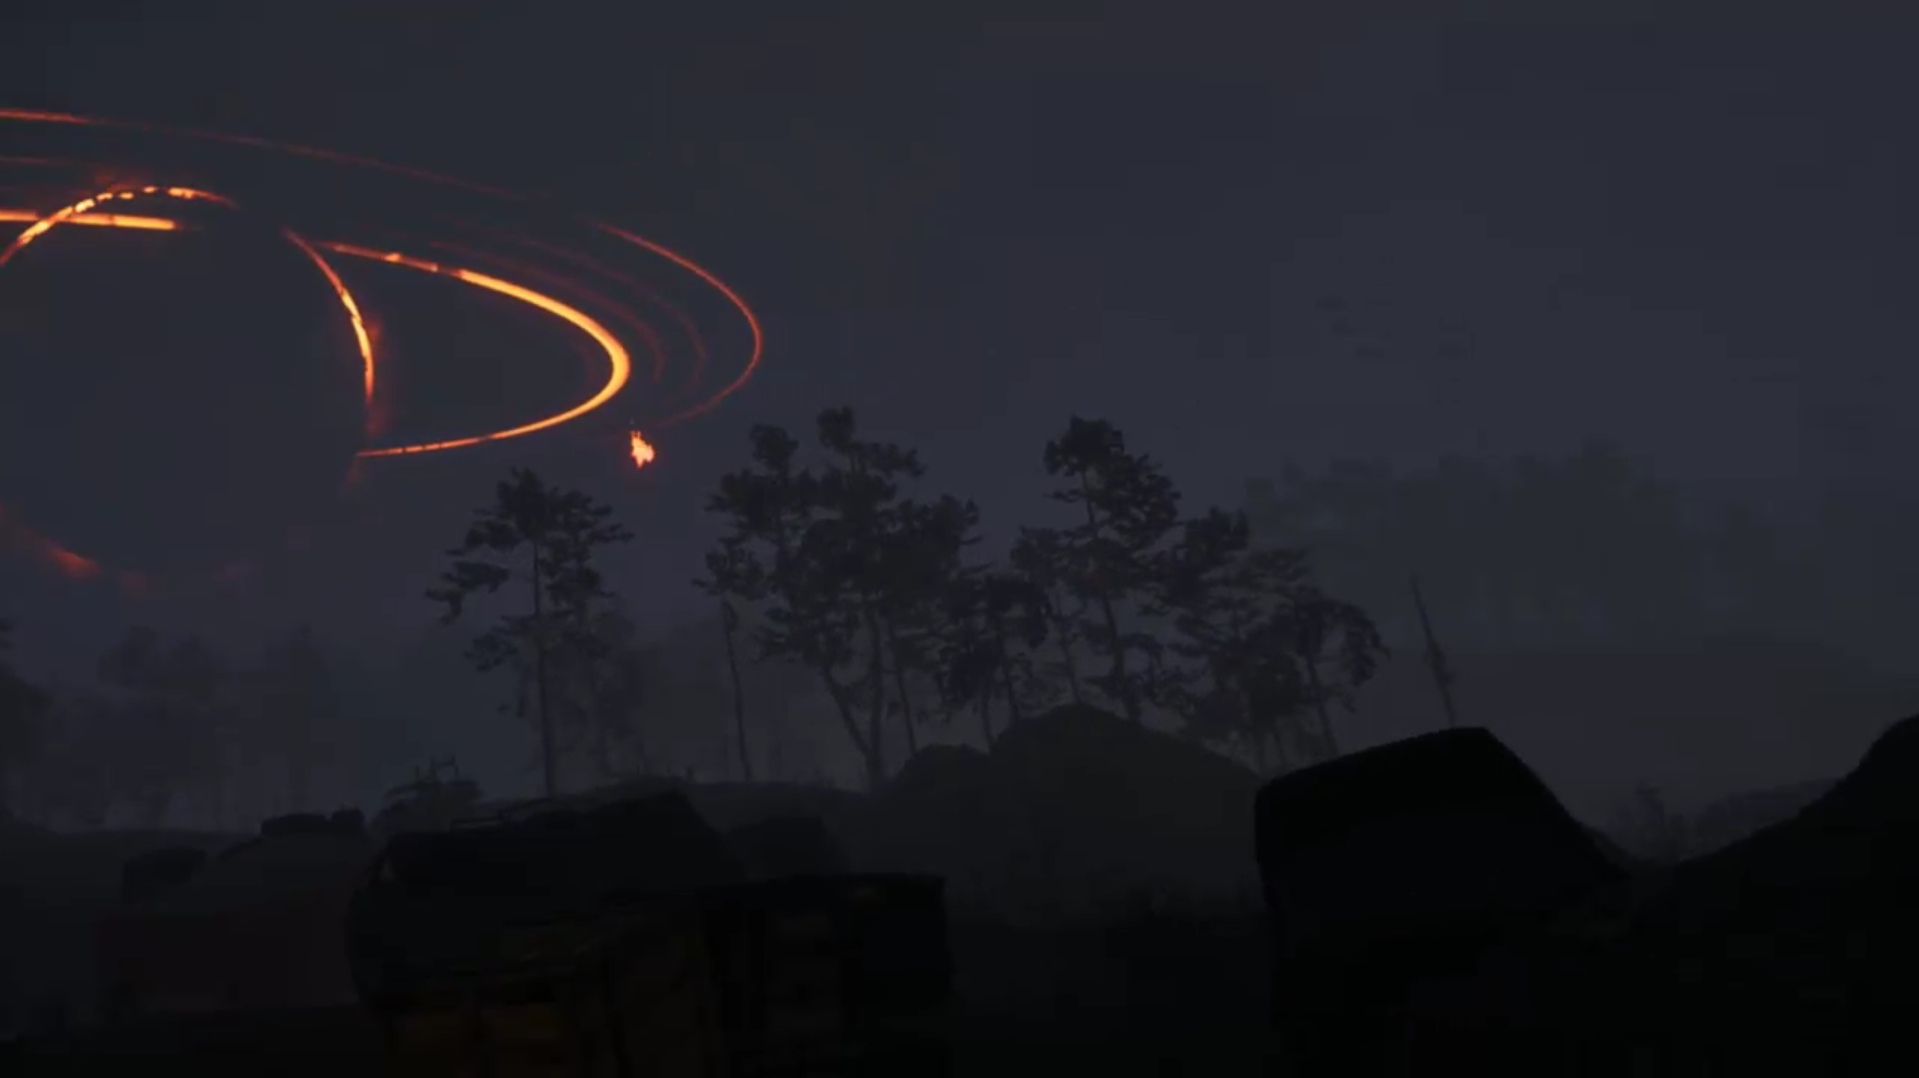
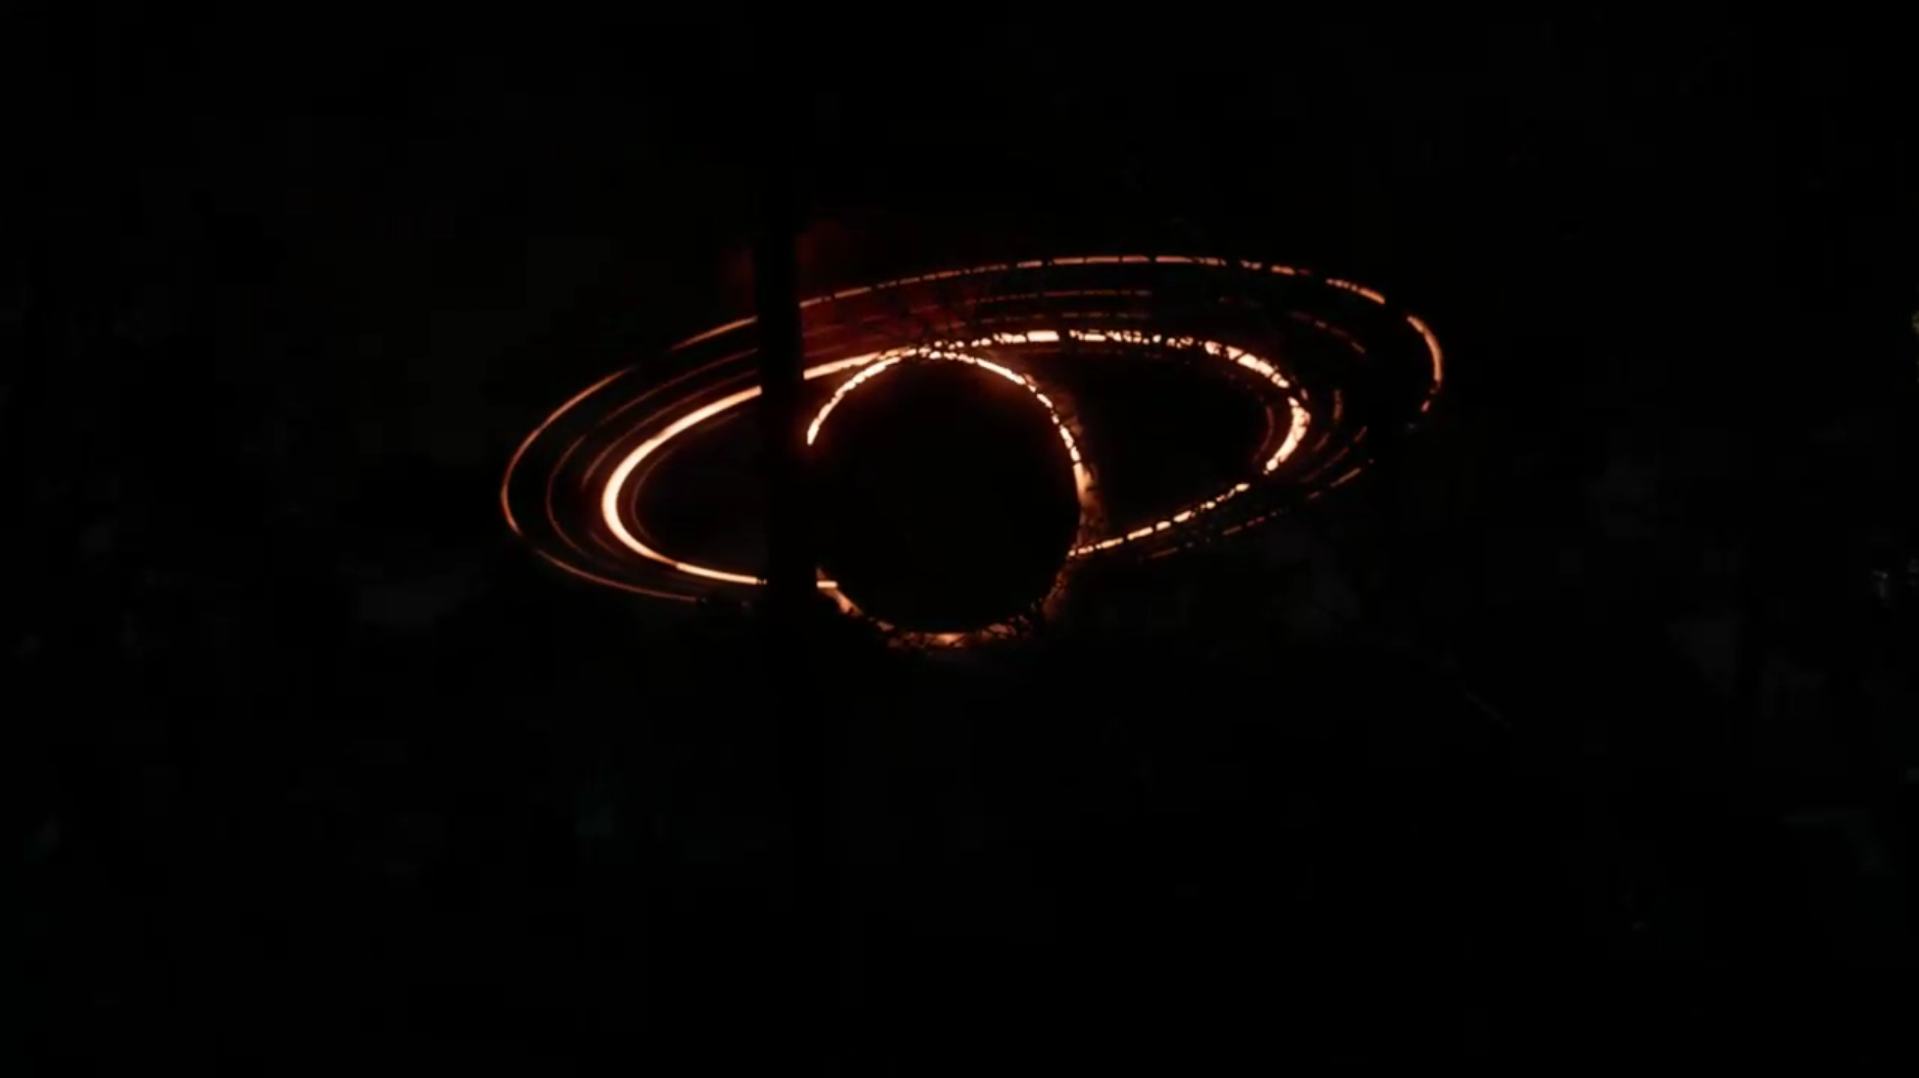
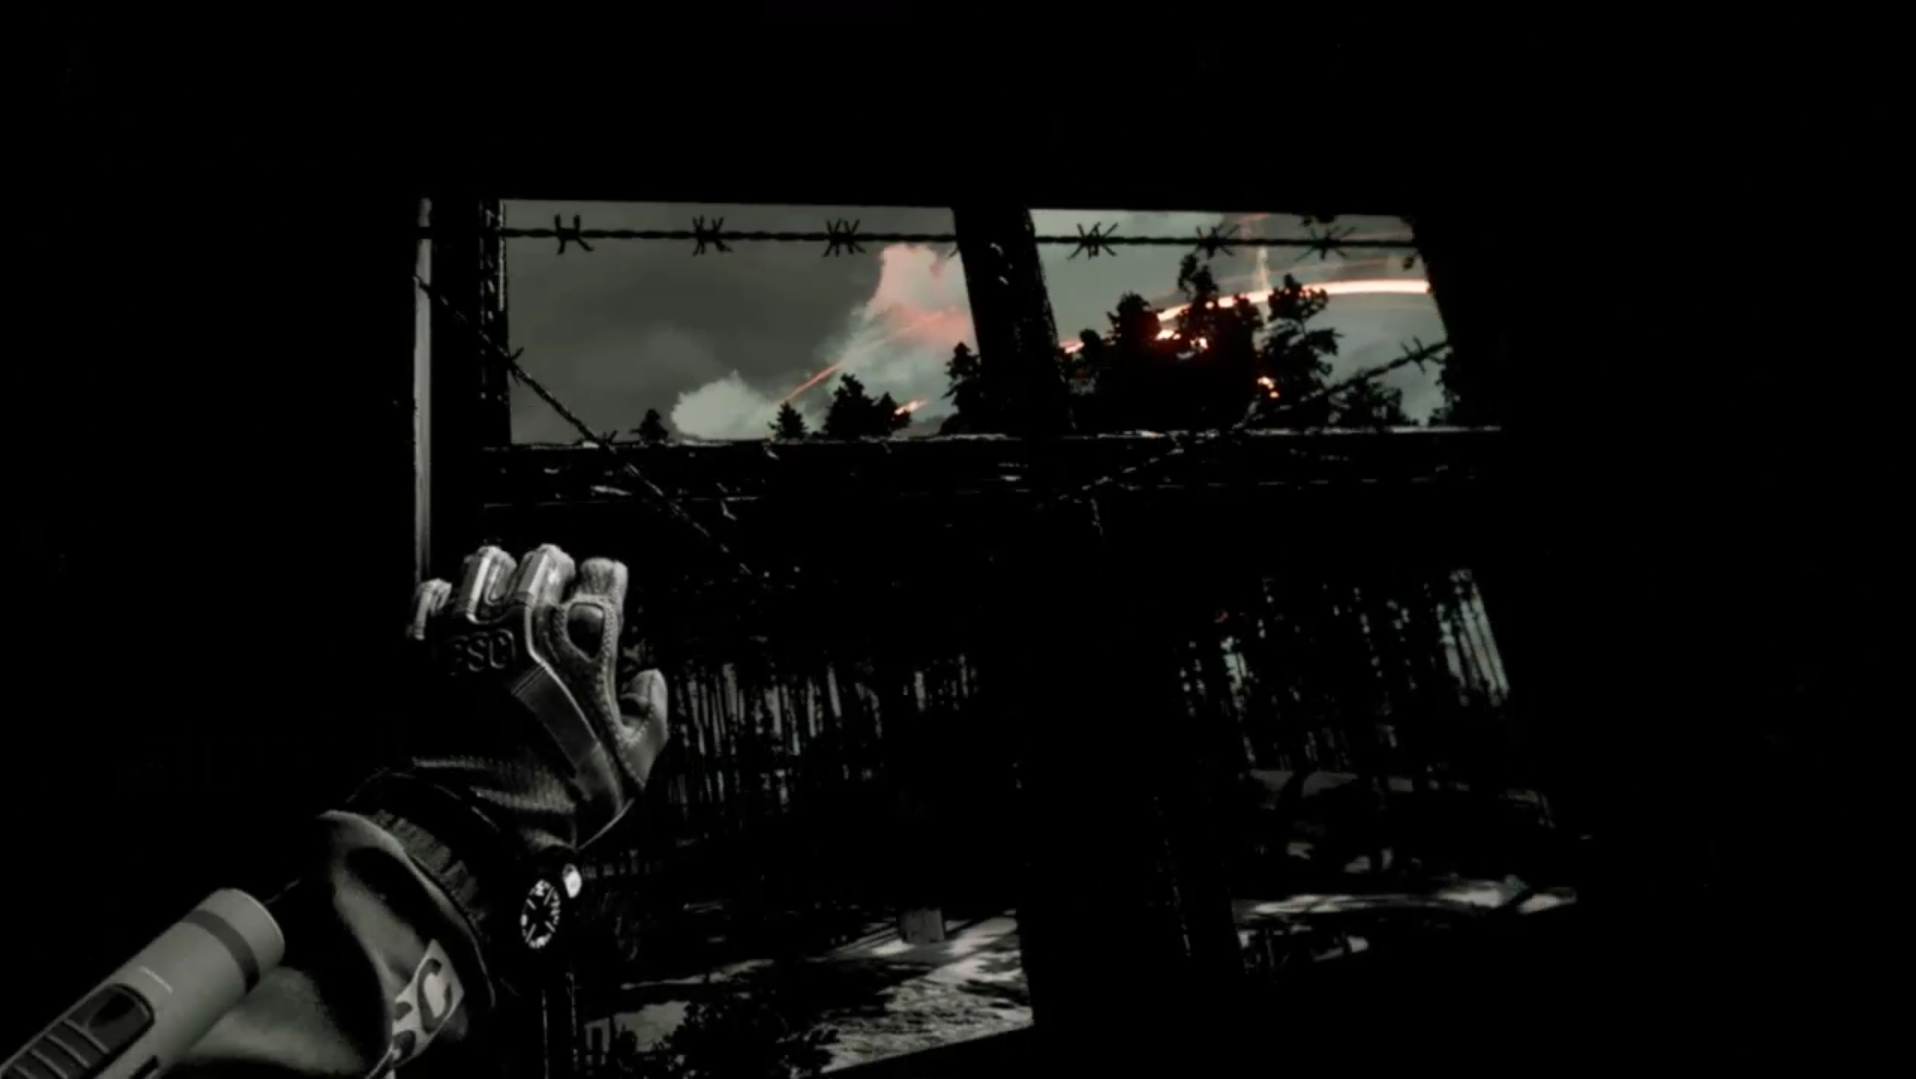
There's also these big dark gray cloudy spheres with a lot of glowing orange ash effects inside. Again, my mission objectives are in these areas but I don't know how to enter without taking damage.
Decrypt  [author] 28 Mar @ 11:13am 
@Harms thanks for commenting on this. forgot i wrote this guide lol
I'll update it to the most recent version after the beta fully releases.
Harms 28 Mar @ 9:47am 
@Lazagne

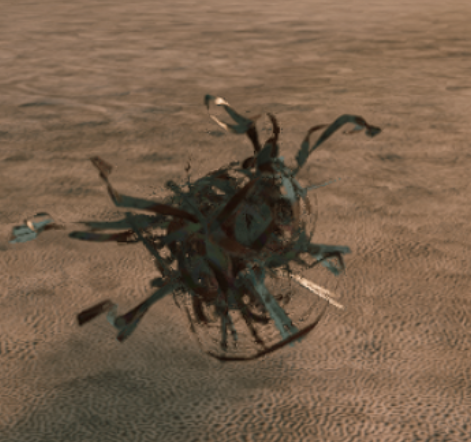
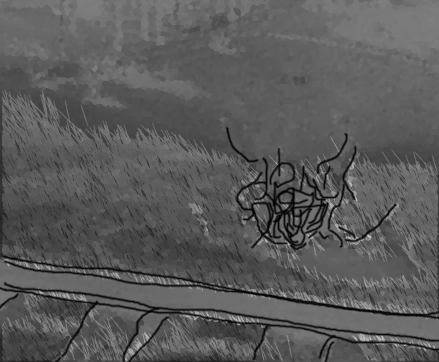
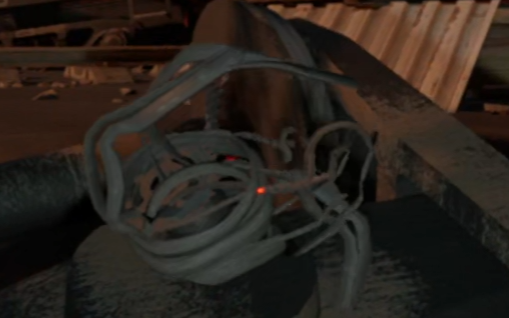
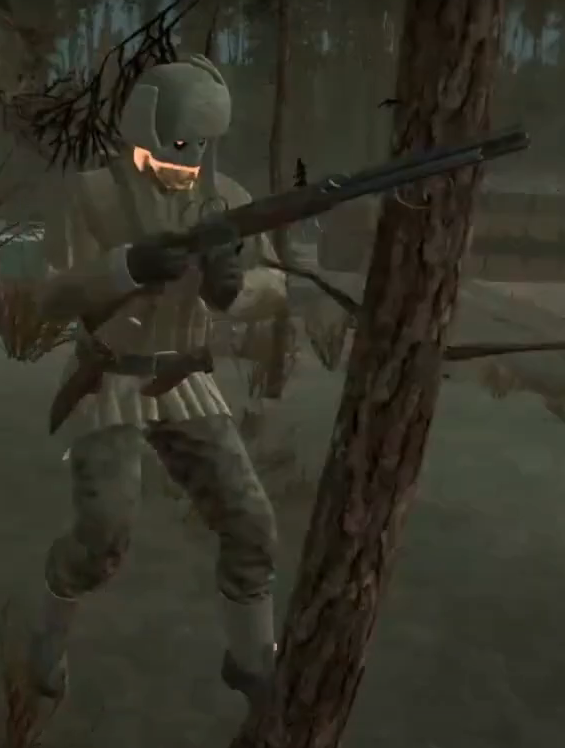
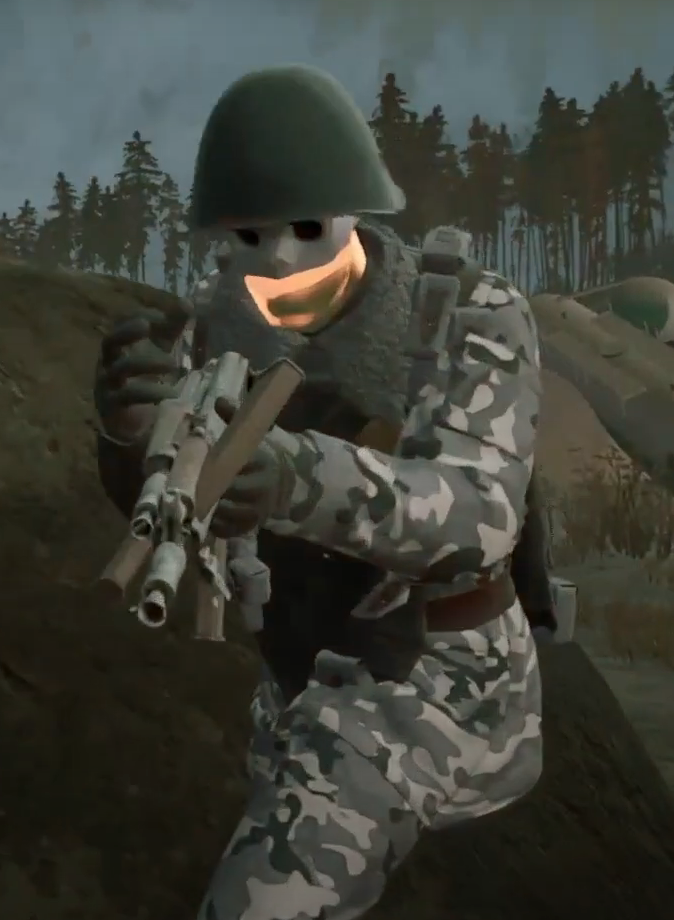
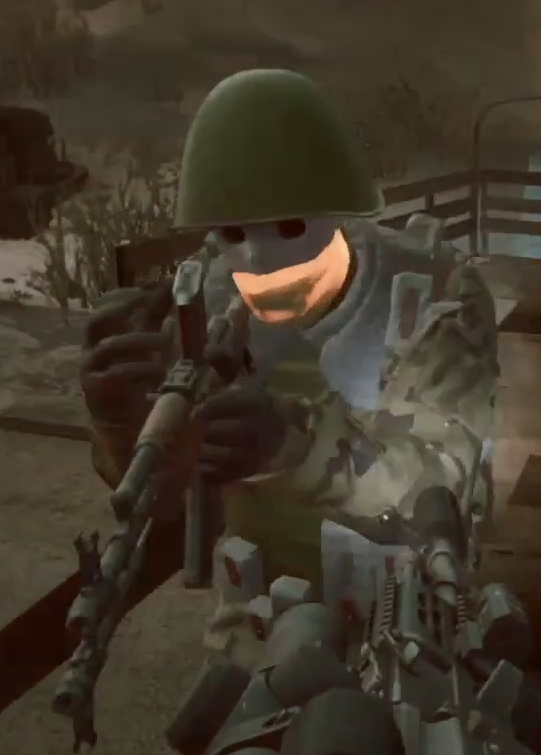
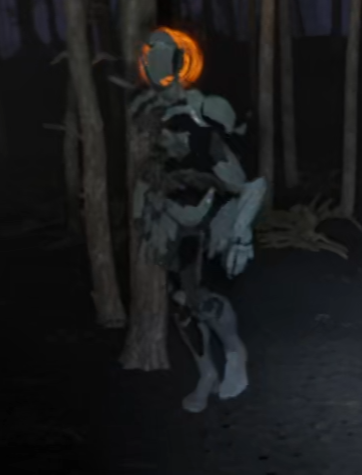
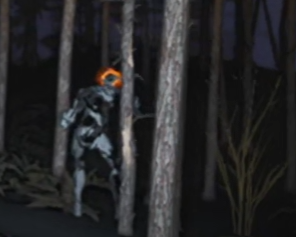
To dodge spawns, get behind an obstacle, like a tree or a fence, when they jump at you, they will get stuck on the obstacle and sit still for a couple of seconds - this is where you empty your AK mag right in their spaghetti!
Whiskey 11 Oct, 2024 @ 11:17am 
@Lazagne I found a decent method is to rush them with a weapon drawn. They stop just before they leap at you, which gives you a few seconds to put them down
Lazagne 3 Aug, 2024 @ 1:24pm 
How to you dodge spawns ? I had no trouble with them in ITR1, i cant seem to dodge them in ITR2 at all