
Install Steam
login
|
language
简体中文 (Simplified Chinese)
繁體中文 (Traditional Chinese)
日本語 (Japanese)
한국어 (Korean)
ไทย (Thai)
Български (Bulgarian)
Čeština (Czech)
Dansk (Danish)
Deutsch (German)
Español - España (Spanish - Spain)
Español - Latinoamérica (Spanish - Latin America)
Ελληνικά (Greek)
Français (French)
Italiano (Italian)
Bahasa Indonesia (Indonesian)
Magyar (Hungarian)
Nederlands (Dutch)
Norsk (Norwegian)
Polski (Polish)
Português (Portuguese - Portugal)
Português - Brasil (Portuguese - Brazil)
Română (Romanian)
Русский (Russian)
Suomi (Finnish)
Svenska (Swedish)
Türkçe (Turkish)
Tiếng Việt (Vietnamese)
Українська (Ukrainian)
Report a translation problem


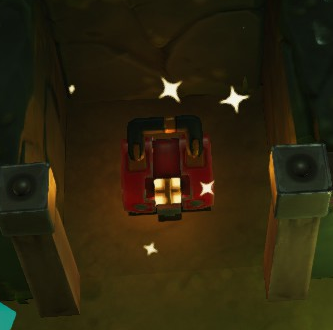


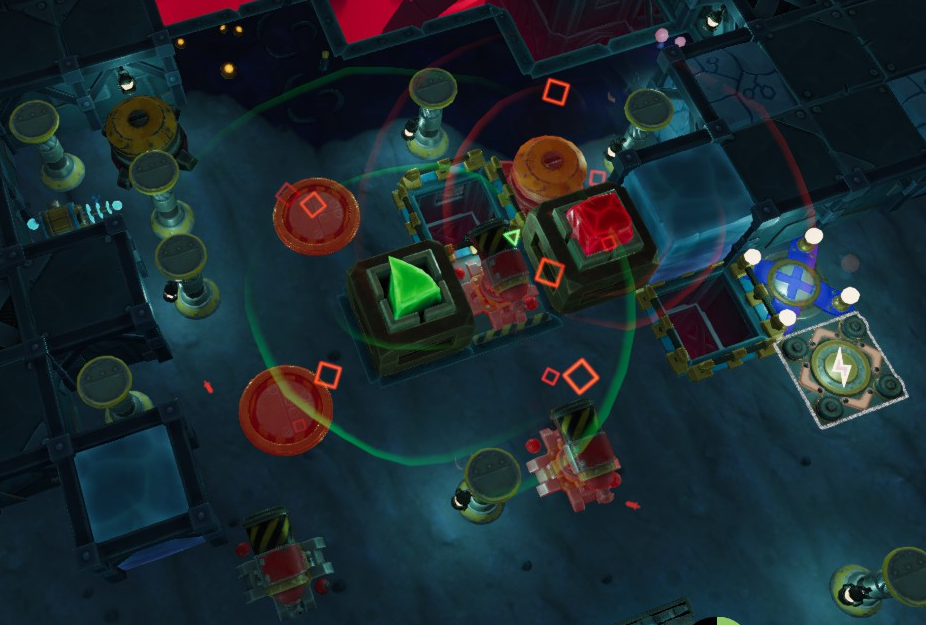


With pillars in the way your ranged guards will be able to shoot from safe distance. Also, the enemies will not just walk past everything to hit on something more useful. So get a whole bunch of Guards, like a lot of them. And use the pillars to ensure that enemies are concentrated and not breaching the line.
(character limit s****)
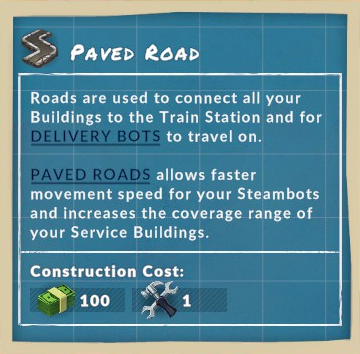
The confusing part is that you can place multiple Construction Sites and the game will "queue" them and will build them in order of placement, even if you have enough resources for the latest buildings, but not for the ones before them.