Starship Theory

Starship Theory

49 ratings
*Updated* How to Survive the Early Game, Step-by-Step
By Catbert7
*Updated 04/07/22*
A detailed How-To for surviving the early game chaos, at any level of difficulty. It will take you from Escape Pod to sustainability (food, water, safety), guaranteed.

Half the fun of these games is trying, failing, and learning so I encourage you to only use this guide as a last resort. If you are past the point of wanting to figure things out on your own and just want help to get a good start, this guide should suffice. Use as little or much of it as you feel you need. I've put the cliff notes in bullet points, for those who are impatient ;) Let's begin!
   
Award
Favorite
Favorited
Unfavorite
Intro
So, you have been foisted into the void, on a woefully inequipped dingy, with a questionable crew. Asteroids, hostile ships, and your own ineptitude collude upon your demise. Whose stapler did you steal to end up here and how will you survive?

Grab your towel and keep reading, that's how!
Crew Selection
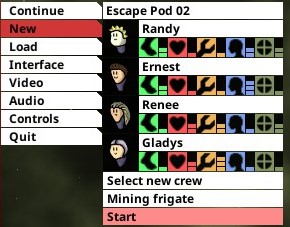
Right after you hit "New Game" (and choose Hard, cause you live for danger) you will be asked to select your crew. What you really want is one crew with 3 skill in Engineering (orange) and a different crew with 3 skill in Intelligence (blue).
You will always want a good engineer on hand, to build and maintain your craft, and you will need at least one strong scientist to grow food fast enough to keep the crew alive.

Beyond that, Speed (green) is always helpful, mostly for engineers. Ideally, the other 2 crew should have 2+ skill in either engineering or science, but it's not a deal-breaker.
    TLDR;
  • Get one crew with 3 Intellect and another with 3 Engineering
To the Ship! Prepping for Asteroids!
Now we are ready to start tricking out our sweet ride!
  • STEP 1: PAUSE! (Space) We need to get things sorted before the chaos begins and there's not a second to lose!

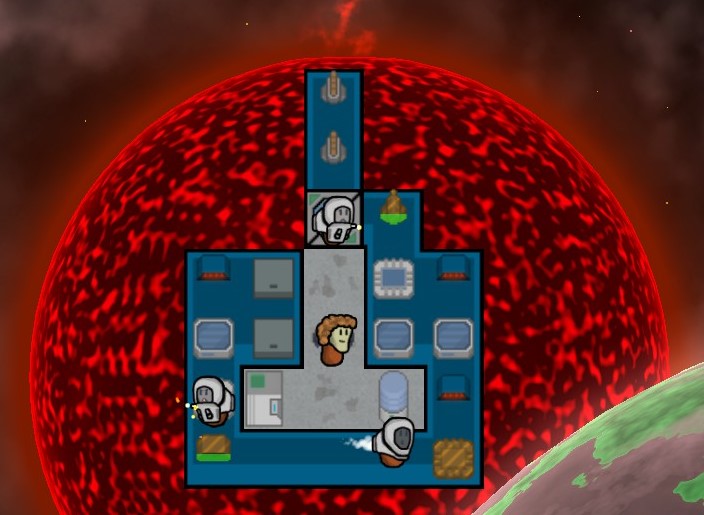
  • STEP 2: We're trapped! (if on Hard) We can't do any of the things we need to do from inside this death-trap. We need out, which means we need an Airlock. On easier settings, you'll start with one. On Hard, you need to make your own way.

      TLDR;
    • Build an Airlock (Plan, Engineering, Airlock)


  • STEP 3: We're defenseless! (on Hard) We can't survive without more resources and we can't get those without a Mining Laser. One problem: We don't have enough Silicon to get, and operate, a Mining Laser! (on Hard) We're gonna have to get scrappy. Specifically, we're gonna have to scrap our Engine.

    "A ship without an Engine isn't even a ship! It's a coffin! Are you nuts!?"
    I hear ya, but trust me, it'll work out! Fortunately, the dev abides by the laws of physics, so our ship will keep moving even without an Engine.

    So, we need to Remove the Engine, but observant crewmates might notice we have no place to store more resources. Thus, we first need a 2nd Cargo Hatch. We'll also need the hatch to make sure an unlucky asteroid doesn't destroy all our storage; that's game over, man! Finally, we need a place for our Laser, and some more space for further expansion.

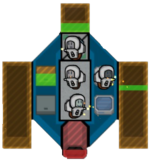
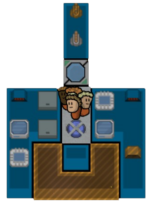
    So, altogether now, Build a Hull (Plan -> Engineering) spot out front for our Laser, Build a Cargo Hatch (Plan -> Utility), Remove the Engine (Plan), and throw down about 6 Hull on the sides. Easy!

      TLDR;
    • 1 Hull (Plan -> Engineering -> Hull) on front
    • Cargo Hatch (Plan -> Utility -> Cargo Hatch)
    • Remove Engine (Plan -> Remove -> Click Engine)
    • 6 more Hull on sides

  • STEP 4: We're finally ready to unpause! ...Almost.

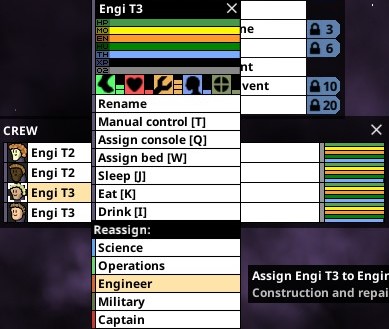
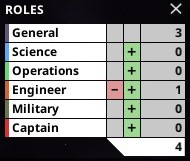
    First, we need someone to build all that ish! We also need to make sure our most efficient builder is on the Airlock job. If Dawdling Dennis grabs it, we're all doomed! So, go to the Crew panel, right click your best Engineer, and assign them the Engineer role.

    Now, *big breath* UNPAUSE THE GAME! =O

    After your panic attack dies down, you'll notice not much is happening, aside from some welding on an Airlock. I advise speeding the game up (top left).

    Now, we need more meat-machines. Go to your Roles Panel and click the + button next to Engineer until everyone is an Engi.

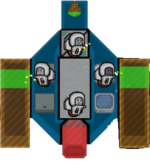
    Once the Airlock finishes, Pause again. Assign your best Engi to the front Hull piece (left-click Engi, right-click the job) so we can get our Laser down pronto. Assign your 2nd and 3rd best Engis to the Cargo Hatch and Engine, and your worst to an out-of-the-way Hull piece, where his incompetence can't hurt anyone (sorry Jerry).

    When the front Hull finishes, Build a Mining Laser (Plan -> Utility) on it and assign the top Engi to it. We like it up front so it can reach the threats before they reach us. But you'll find that if you try to use the Laser, it tends to immediately e'splode your ship. That's because Mining Lasers generate Heat (about 2/s, when impacting an Asteroid; bit more on Resources) and Heat lights up your dreams like a kindling effigy of Captain Kirk. Before we can use it, we need a way to remove Heat.

    Enter the Heat Vent! When the next 2 Hulls finish, Build a Small Heat Vent (Plan -> Engineering) on each and assign your best Engis to them. These dissipate 1 Heat per second.

    Once your Laser and Vents are ALL finished, you're ready to tackle the 1st Asteroid Field!

    If you use it before then, you'll probably start a fire in front of your Airlock and trap everyone outside the ship, doomed to helplessly watch as it burns to ash beneath them. Fun! =D

      TLDR;
    • Unpause
    • Once Airlock is started, Assign everyone to Engineer (Roles Panel)
    • When Airlock is done, Assign best Engi to front Hull (right-click) and next best to Hatch/Engine
    • When front Hull is done, Build Mining Laser; Assign best Engi to it
    • As Hulls finish, Build 2 Small Heat Vents; Assign best Engis to them

Your First Asteroid Field!
If you've done it right, you should have everything ready by the time the Asteroids arrive for supper. You can now fire your laser constantly, without overheating (mostly). But don't get high on your supply, we can't yet take on everything and this may be a rocky ride (puns are the price you pay for needing help).

There are 2 threats to be conscious of in the Asteroid Field: Asteroids (surprise!) and Stars.

Stars are jerks, but they aren't as scary as they once were (used to start lots of fires, guaranteed, and Crew didn't mind burning alive). Stars will increase your Heat generation, which can destroy your Lasers and set fire to your ship, so take it easy on the blasting and watch your Heat meter (upper left) while passing by. If you do overheat, Fires may start in the cabin but shouldn't destroy anything IF you have someone inside to put them out. The best solution is prevention, with Vents and moderation.

Also, I lied. There's a 3rd danger, which is overheating from mining too much ore consecutively. Your crew will alert you if you're overheating. Heed their warnings. ...Or burn in hellfire. Your choice. More on Stars and Firefighting in the Events section.

Don't forget to pay respects on the way by ->


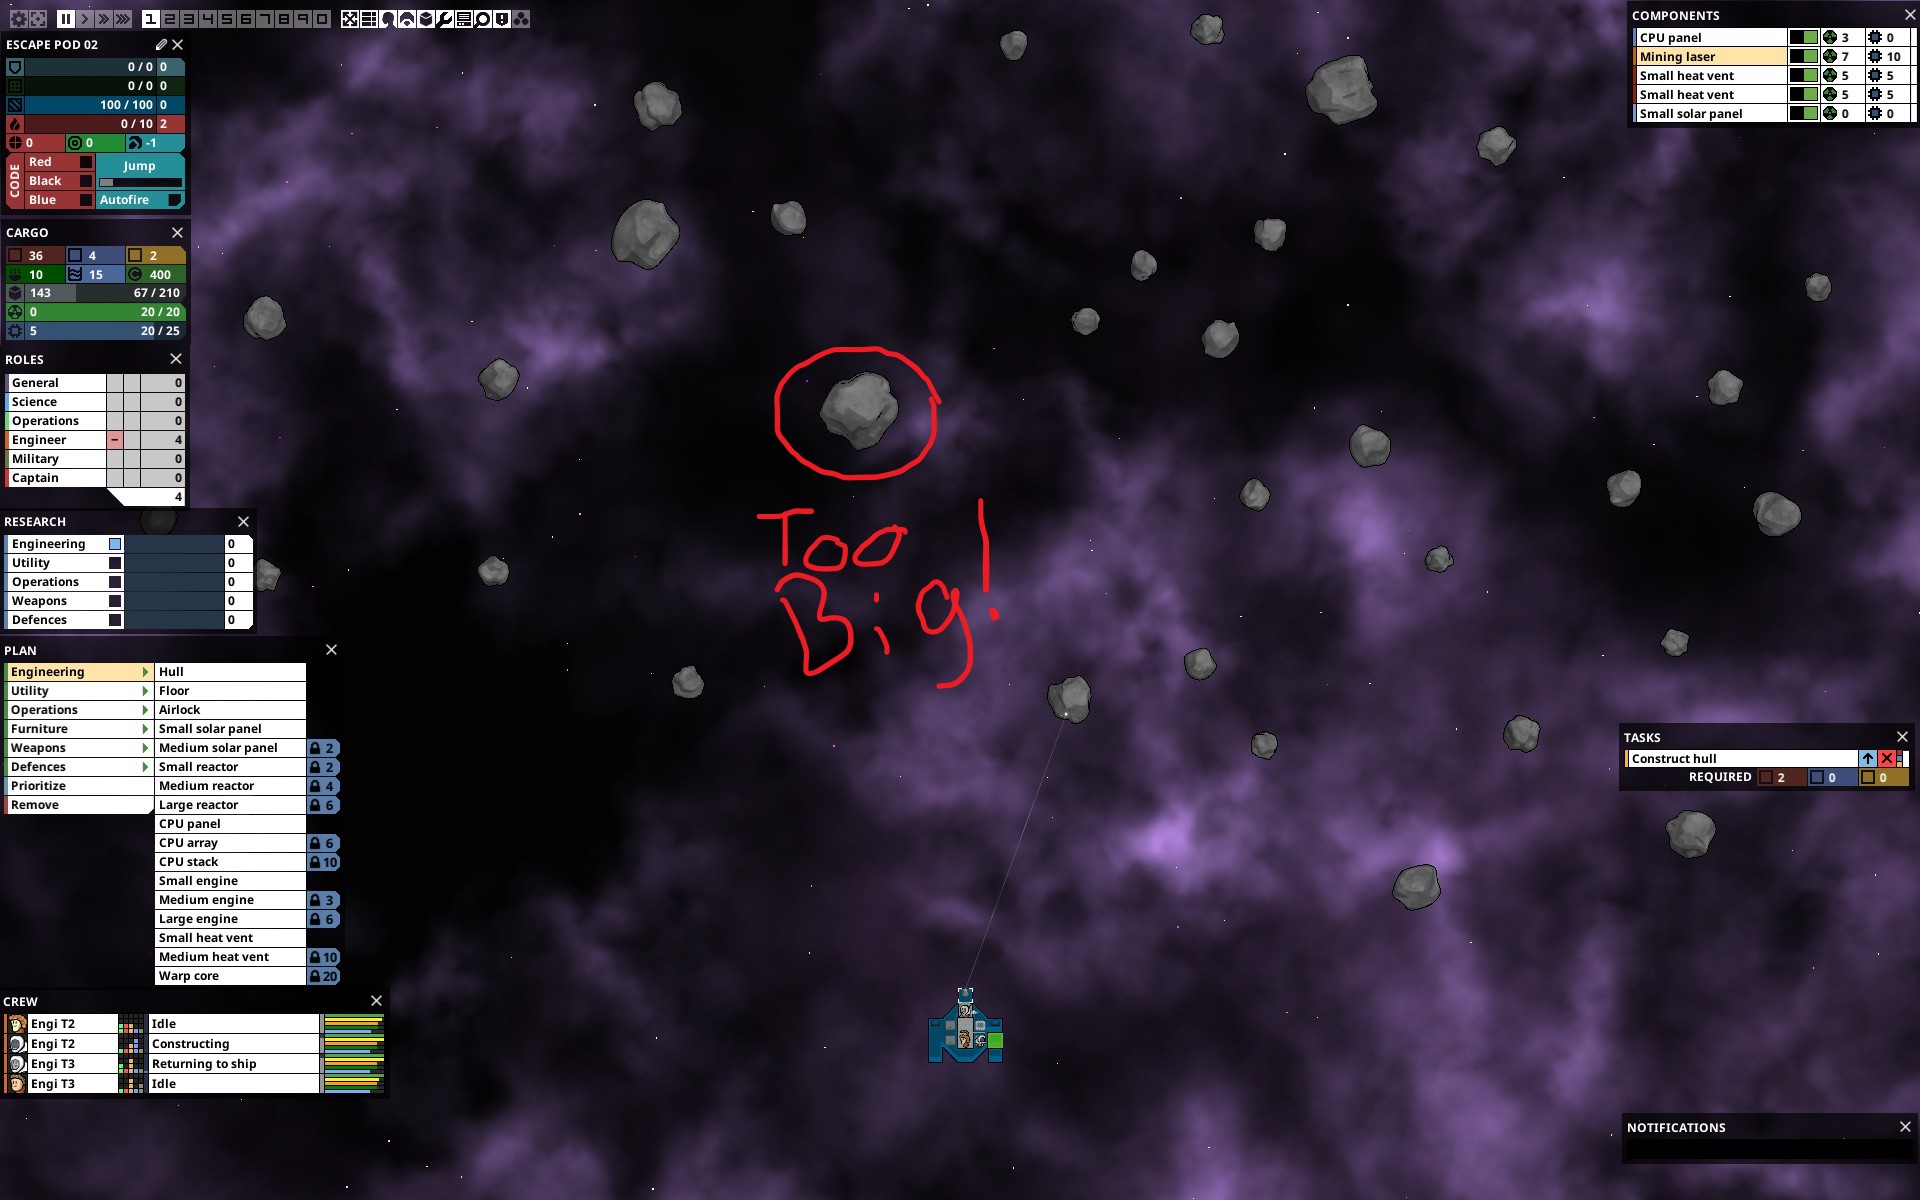
Asteroids come in a few sizes. With 1 laser, you should be able to handle all but the girthiest of heffers. You'll come to recognize these in time. You can't stop them before they reach your ship, so don't waste your time trying. You also should ignore the smallest chunks that come out of blowed-up Asteroids, as they have no resources. Otherwise, clear a path, prioritize Silicon and Metal, and try not to die.
When Asteroids hit, they do damage proportional to their size. The largest can one-shot your weakest components, like Solar and CPU Panels. You might lose something, despite due diligence. This is usually recoverable. If it's a Vent, tone down your lasering. If it's Power/CPU, turn off a Vent in the Components Panel and rebuild it ASAP. This is pretty rare now, though. Asteroids were much more dense in past versions.

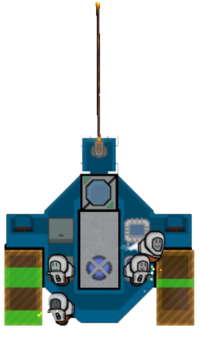
But first, demote your worst Engi to the General role, so you'll have someone inside if a Fire should occur (shame on you). And, since we don't like being bullied by inanimate objects, it's time to prepare for our next Mining Laser. Add a Hull spot for it, Recycle the useless corner Hulls, Build a 2nd Small Solar Panel (Plan -> Engineering) and a 2nd CPU Panel (ditto).

Hotkey your Laser to control group 1 (select Laser, Control + 1), zoom out, and have a blast!

    TLDR;
  • Set worst Engi to General role
  • Build a Hull for next Laser
  • Remove useless corner Hulls
  • Build a Solar Panel, Small Heat Vent, and CPU Panel (all Plan -> Engineering).
  • Hotkey Laser to group 1 (control + 1)
  • Ignore largest and smallest Asteroids
  • Prioritize others in path
  • Prioritize Silicon (blue), then Metal (brown), then Gold (gold)
  • Clench buttocks
I'm Alive! Who's that?
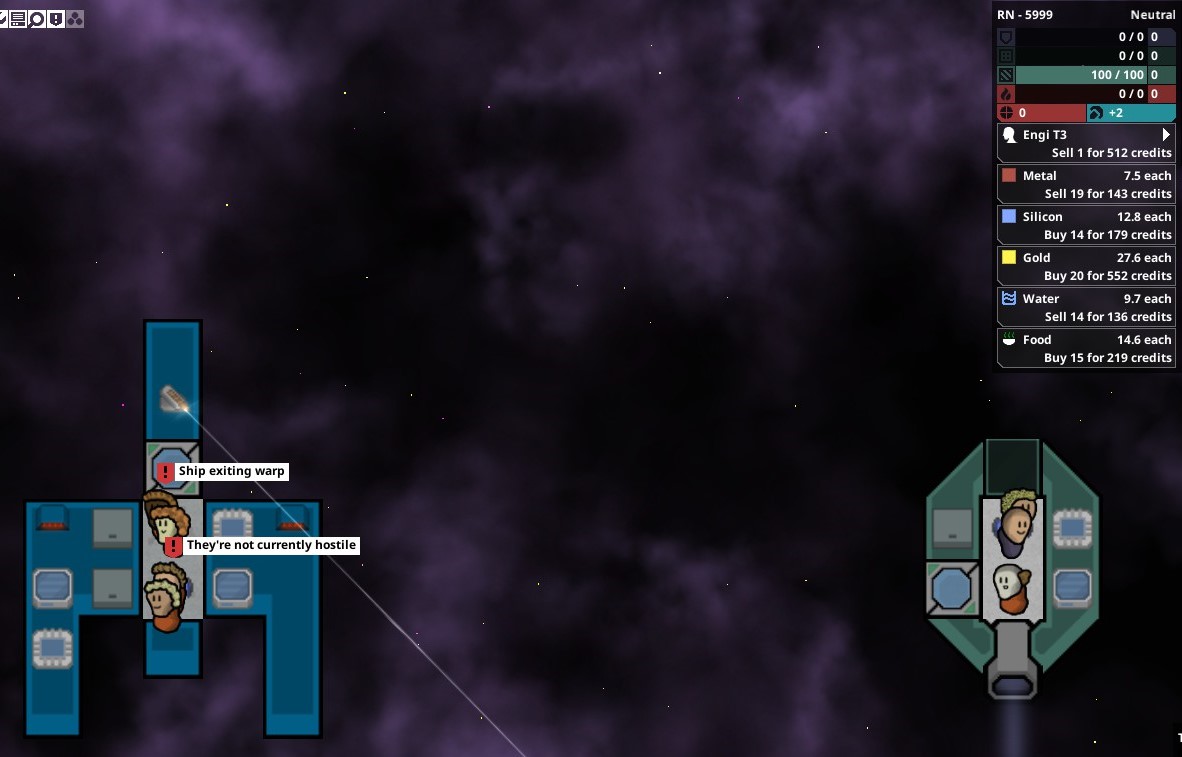
At this point, you've survived your first foray into the Field (I hope). You've probably also noticed some visitors, in a crummy little Escape Pod you wouldn't be caught dead in! Your first encounter with another ship will always be friendly (enjoy it while it lasts). They will usually offer to sell you Silicon and Metal (if they offer you weed, don't trust it). It's a good idea to take whichever of these you're short on. If you got a bunch of Water, and they want to Buy it, that's fine too. More on this in the Events section.

The visitors are not mine-able. I tried...
What resources you have now will depend on your performance, what the Asteroids chose to cough up as they died, and what the Traders brought to the table, so the following priorities are to be completed as resources become available.

As soon as possible, Build a 2nd Mining Laser and 3rd Heat Vent. We'll need them to stay safe from Asteroids and collect resources faster. Follow it up with a 3rd Solar and 4th Vent. This will allow us to use the Lasers without fiery death.

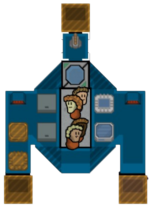
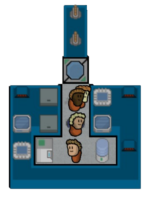
If you got Metal, but no Silicon, take this time to build out a 3x2 Hull section around the ghost of your Engine, enough to put a row of 3 Floor (Plan -> Engineering; built on top of fully enclosed Hull) spots in. Or, if you're short on Metal, move whatever components are on the Hull to either side of your Core and turn those into Floor (efficiency!).

This will allow us to situate our Water Cooler and Food Distributor. Your crew will be starting to die of thirst by now and... well, we need their slave labor. Dead meat-machines are terrible workers. Trust me, I've tried. If you built any components on your southern facade, you may need to move them (Remove them and rebuild them). This costs nothing but time; Removing grants a full refund. Experiment! Go wild!
    TLDR;
  • Trade
  • Build 2nd Mining Laser
  • Build 4th Heat Vent
  • Build 3x2 Hull and 3 Floor
I'm Starving!
This step is pretty obvious. Build the Water Cooler and Food Dispenser (both Plans -> Utility) in the Floor spots you built for them. What's NOT obvious is that, while the Water Cooler can be accessed from any side, the Food Dispenser can only be approached from its "front." This has dismayed many a traveler, after they built it the wrong-way-round in a cubby (and by "dismayed" I mean they starved to death).

What is also not obvious is that you can rotate the Food Dispenser, and other items, with the 3rd Mouse key. This can be rebound in the settings, of course. Face your Dispenser to the hallway. Your meatbags will thank you.

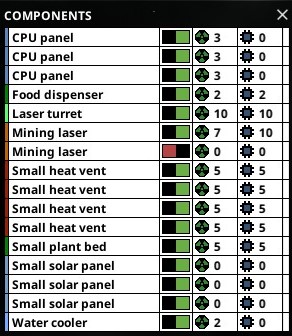
You may, now and other times, find yourself short on Power or CPU. Until you can Build more, you can use the Components Panel (or right-click components) to disable non-essential systems, freeing up that Power/CPU for other use. Your Crew will not be happy if they die of thirst or hunger because you can't figure out how to turn on the kitchen appliances.
    TLDR;
  • Build Water Cooler and (rotated) Food Dispenser (Plans -> Utility)
  • Allocate Power/CPU, if necessary
Events!
Neutral Ships
Does EVERYONE have a spaceship??
These encounters can be very beneficial but are, of course, based on luck. You may or may not be offered what you need. In general: Sell Water unless you have immediate need of it. It's plentiful, and money is good. Buy Silicon or Metal (whichever you're short on), if you can afford it, they're the limiting factor on your growth rate. If you want to be extra careful, save your last couple hundred credits for bribes (this was a much bigger concern in past, harder versions of the game). In the early game, sell Gold if you will have more than around 15 left. Gold is relatively rare but we also won't use a lot of it, until much later. Buy crew when you can afford to. More crew isn't essential but is very helpful, for faster building and repairs and for manning targeting and, later, shielding stations.

If you have 3+ Lasers, or Plasma, and the enemy ship has 1-2 basic lasers, or no weapons at all, you may want to Threaten them, after you finish trading (if you revel in douchebaggery). 1-2 basic lasers doesn't have enough DPS to outpace your repairs, so they shouldn't be able to hurt you, if they take offense. Though, it will put a hold on further building until you disable their weapons.
    TLDR;
  • Sell Water and Metal if you don't need them immediately
  • Buy Silicon if you can afford it
  • Sell Gold if you will have more than 15 afterward
  • Buy crew only if you have 1000 credits or more
  • Do not let your credits go below 200, except when bribing
  • Ships with only 1 or 2 basic lasers are not a threat if you put people on Engineering
  • Threaten after trading if they can't hurt you

Hostile Ships
Some space people just can't get along.
Again, if you have 3+ Lasers, or Plasma Turrets, and if they only have 1 Laser, kill them.
If your firepower is lacking, ignore them; they can only annoy you and slow down construction.
If they're a real threat, Jump away, if you have enough Engines for positive Evasion.
Otherwise, Bribe them to go away.
If you can't do either, you screwed up somewhere :p
    TLDR;
  • If 3+ Lasers or Plasma, Kill
  • If scary, Jump
  • If no Jump, Bribe

Stars
Flamin' balls of fire, it's gettin' hot in here! Probably should fire the navigator for flying recklessly close to this hazard. We don't have a navigator? We don't even have engines? Oh...

Stars aren't as scary as they once were (used to start lots of fires, guaranteed, and Crew didn't mind burning alive). They now only really start fires if you overheat. They do amplify your heat generation, so you need to carefully monitor your use of weapons and mining. If you do overheat, your weapons will take damage, and can be destroyed. Fires will start in the cabin but shouldn't destroy anything, IF you have someone inside to put them out.

The best solution is prevention, with lots of Heat Vents and/or measured usage. When that fails, Set all crew to Engineers (Roles Panel) and put the ship on Red Alert (Player/Ship Panel). Everyone should focus on fires and repairs. You can also take control of crew members, by selecting them and pressing the T key (or right clicking them), to put out fires much more efficiently (as soon as the fire disappears you can move on, you don't have to wait for them to finish the extinguisher animation). Remember to press R afterward to return control to the AI.

In the worst situations you may have to choose between letting an asteroid hit you or overheating. If you can destroy the asteroid without overheating too much, go for it; It'll just damage your lasers a bit (DON'T LET THEM EXPLODE). Remember to remove the Red Alert and reset the crew roles when the star has passed.
    TLDR;
  • Be responsible; limit your Heat
  • If you're a failure, set crew to Engineers and activate Red Alert
  • Manually control (T key) people to put out fires efficiently
  • Watch your heat, don't use the guns while overheated
21 Comments
theloonylizard 10 Apr, 2024 @ 7:47pm 
I've always found that you need at least 3 starting crew with Engineering of 2+, just to make sure you can build fast enough to get room for water, food, power, CPU, cooling, and mining to not starve, dehydrate, burn up, or get pulverized by space rocks.
Catbert7  [author] 30 Aug, 2022 @ 10:23pm 
@jv Tell me about it! We've all been there. If you're actually asking for help, you'll need to be more specific.

@Orm I hear ya. Lot of potential lost. This could have been expanded so much. Rimworld in space. There's another dev trying to make a very similar game. Hope it goes well.

@sf Thanks! We'll keep an eye out for spare fuses ;p
sfebtyler 3 Aug, 2022 @ 7:22am 
Nice guide! Also just so more people are aware there is a bug where your stuff starts randomly shutting off once you get a lot of devices. If you build more ship cores it stops.
Ormányos Tokmány 2 May, 2022 @ 11:49am 
I will never understand why the dev not let others take over and continue, this could've been the next FTL
JVA 23 Mar, 2022 @ 2:38pm 
evry time i play the game my ship sets fire and i die
Catbert7  [author] 28 Dec, 2017 @ 12:08am 
Thanks to everyone who has posted feedback! It's good to know that the guide has been helpful :) I plan to keep the guide up to date with every major update of the game (as I see them). Unfortunately, haven't seen anything substantial in the news since I made it :/ Hopefully that means something big is coming! I'll keep checking now and then.
Sanginius 2 Oct, 2017 @ 11:11am 
Have deleted my previous comment as it is no longer needed, i resolved the issues shortly affteer i had posted the query by watching you tube lets plays.
celem 2 Oct, 2017 @ 3:40am 
Layout is the same, his suggestion for second hatch in step 1 was edited in after images, you can see it in his pics from step 5. For the ship shape at the front, deconstruct the two angle blocks during stage 1, this will not decompress the ship, add one full block back to give you a spot to add a component.

Nothing you really *need* to run away from appears early, you can outrepair the early attackers, or fit a couple of lasers yourself and wreck them.
Rayvon69 26 Jul, 2017 @ 3:16am 
Sweet really helped me get started...died a fews times before reading this :) Cheers
DON'T YOU WANT IT 24 Jul, 2017 @ 8:54pm 
Nice guide.