Bloody Boobs

Bloody Boobs

116 ratings
Bloody Boobs - Single Player Guide
By Sunburn
A simple guide to Bloody Boob's Single Player mode.
Helping you with controls, gameplay and objectives.
   
Award
Favorite
Favorited
Unfavorite
Intro


This is a short guide to help you play the single player mode in Bloody Boobs. This game can be a bit bewildering to begin with, so hopefully this will help you understand it better. Enjoy!

There are currently six sections, I plan to write more if anything new is added.

(Everything written here is derived from experience playing the game. I could be very wrong about the names of things and future updates may cause this to become outdated.)
1. Controls


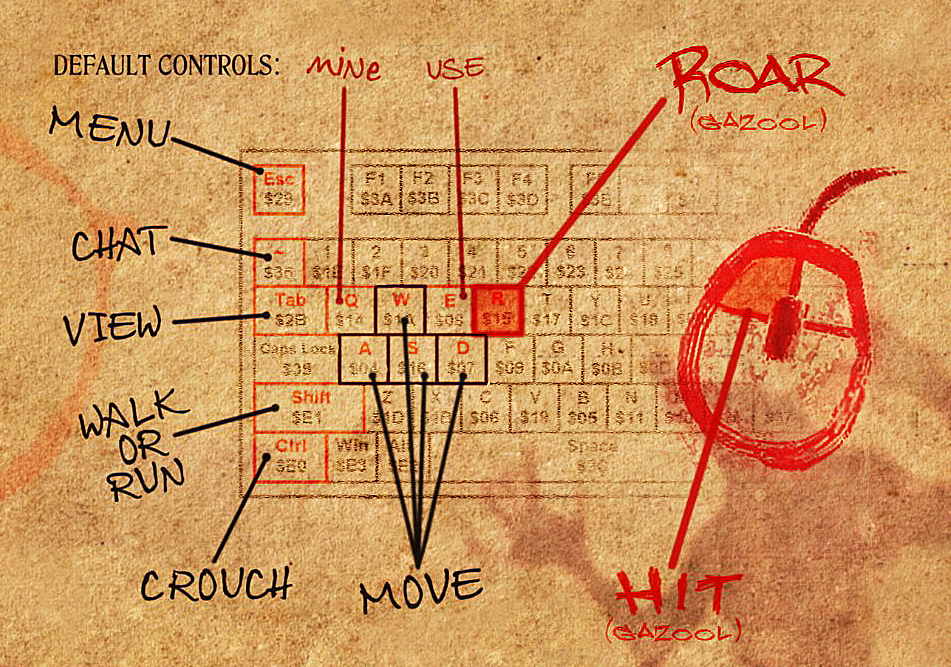
This screen flashes up on launch for a few seconds, you can easily miss it.
(A couple of these controls are editable in the settings menu.)


Camera Control

Your camera is controlled by your mouse, move it around to look around your character and their environment.

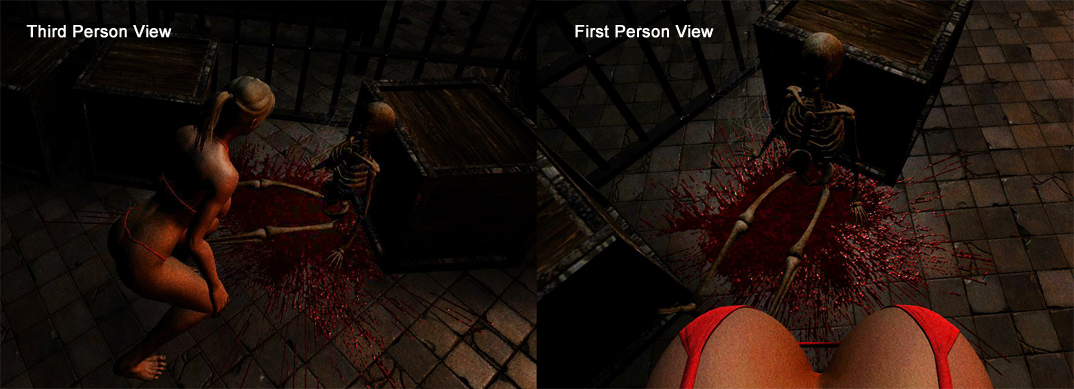
The view button switches you between Third Person and First Person perspectives.


- In Third Person mode, the character will move in the direction keyed and can face toward or away from the camera.

- In First Person mode, the character will always face the same direction as the camera and can strafe left and right with the A and D keys.

(If you find that your camera isn't working, try pausing with the 'Esc' button, locating your cursor and placing it back in the center of the screen before resuming play.)


Movement

You can move your character around using the 'WASD' buttons, pushing W will make your character move forward into the direction the camera is pointing. Shift will toggle you between running and walking. 'Ctrl' will toggle you between crouching and standing postures.


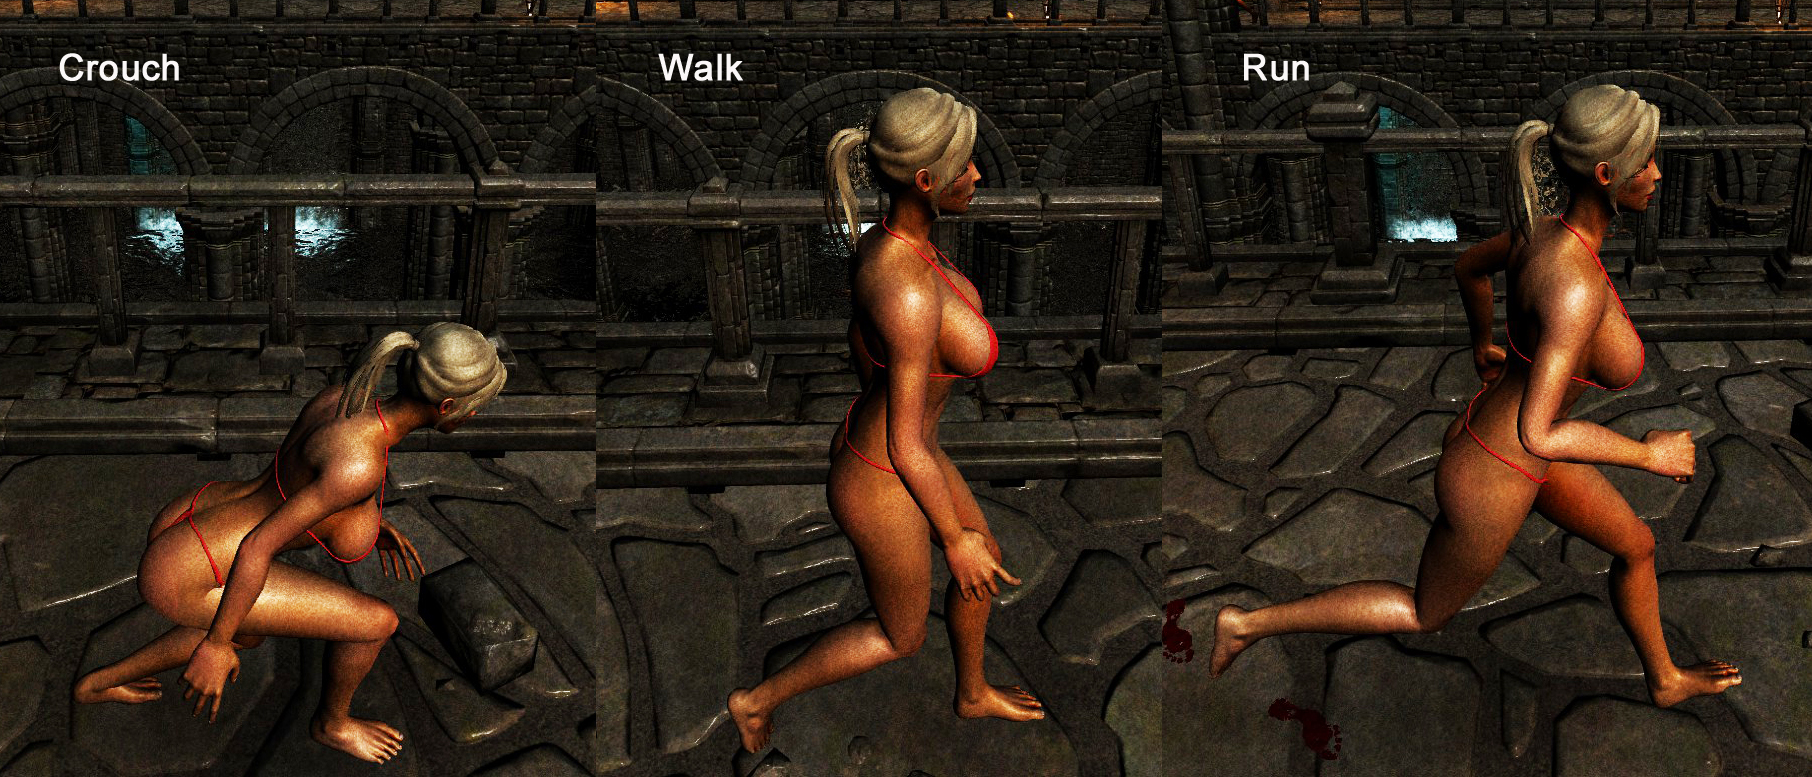
Toggling between the three postures allows you to move at different speeds.

Crouching - Your character will move slowly, keeping low to the ground. You don't cover ground very fast, but it's good for hiding from the Gazools.

Walking - Standing upright lets you move around at a steady pace, though it's more subtle than running around, standing up makes you easier to see by the Gazools.

Running - To get places fast, you can sprint. If you're being chased, running as quickly as you can is your only chance to escape. However, it does make a lot of noise and is easily noticed by prowling Gazools.


Interaction

This symbol will appear when you find something to interact with.

Hold the key down to complete longer actions.

If you pick up a mine, press Q to place it. (Then run away)


Other Stuff

Salute

If you want to show your disapproval of something, press right mouse button.

2. Objectives
In single player, your objective is to find the 4 altars spread around the labyrinth, pray to each one in order to open the portal, then escape through the open portal.


Starting Out

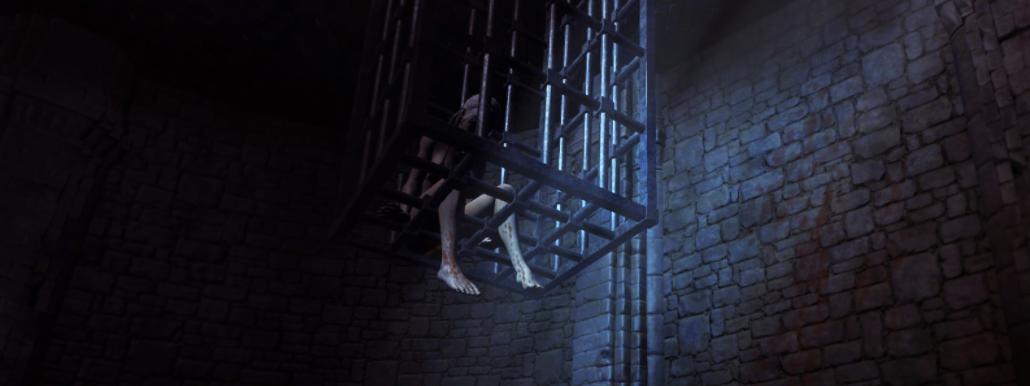
Your character wakes up in a prison cell deep inside a grim, spooky labyrinth full of monsters called Gazools. Once the cell door opens, you are free to explore your surroundings. The labyrinth map will randomize slightly each time you play, and your character will wake up in different cell, in a different quadrant of the map.

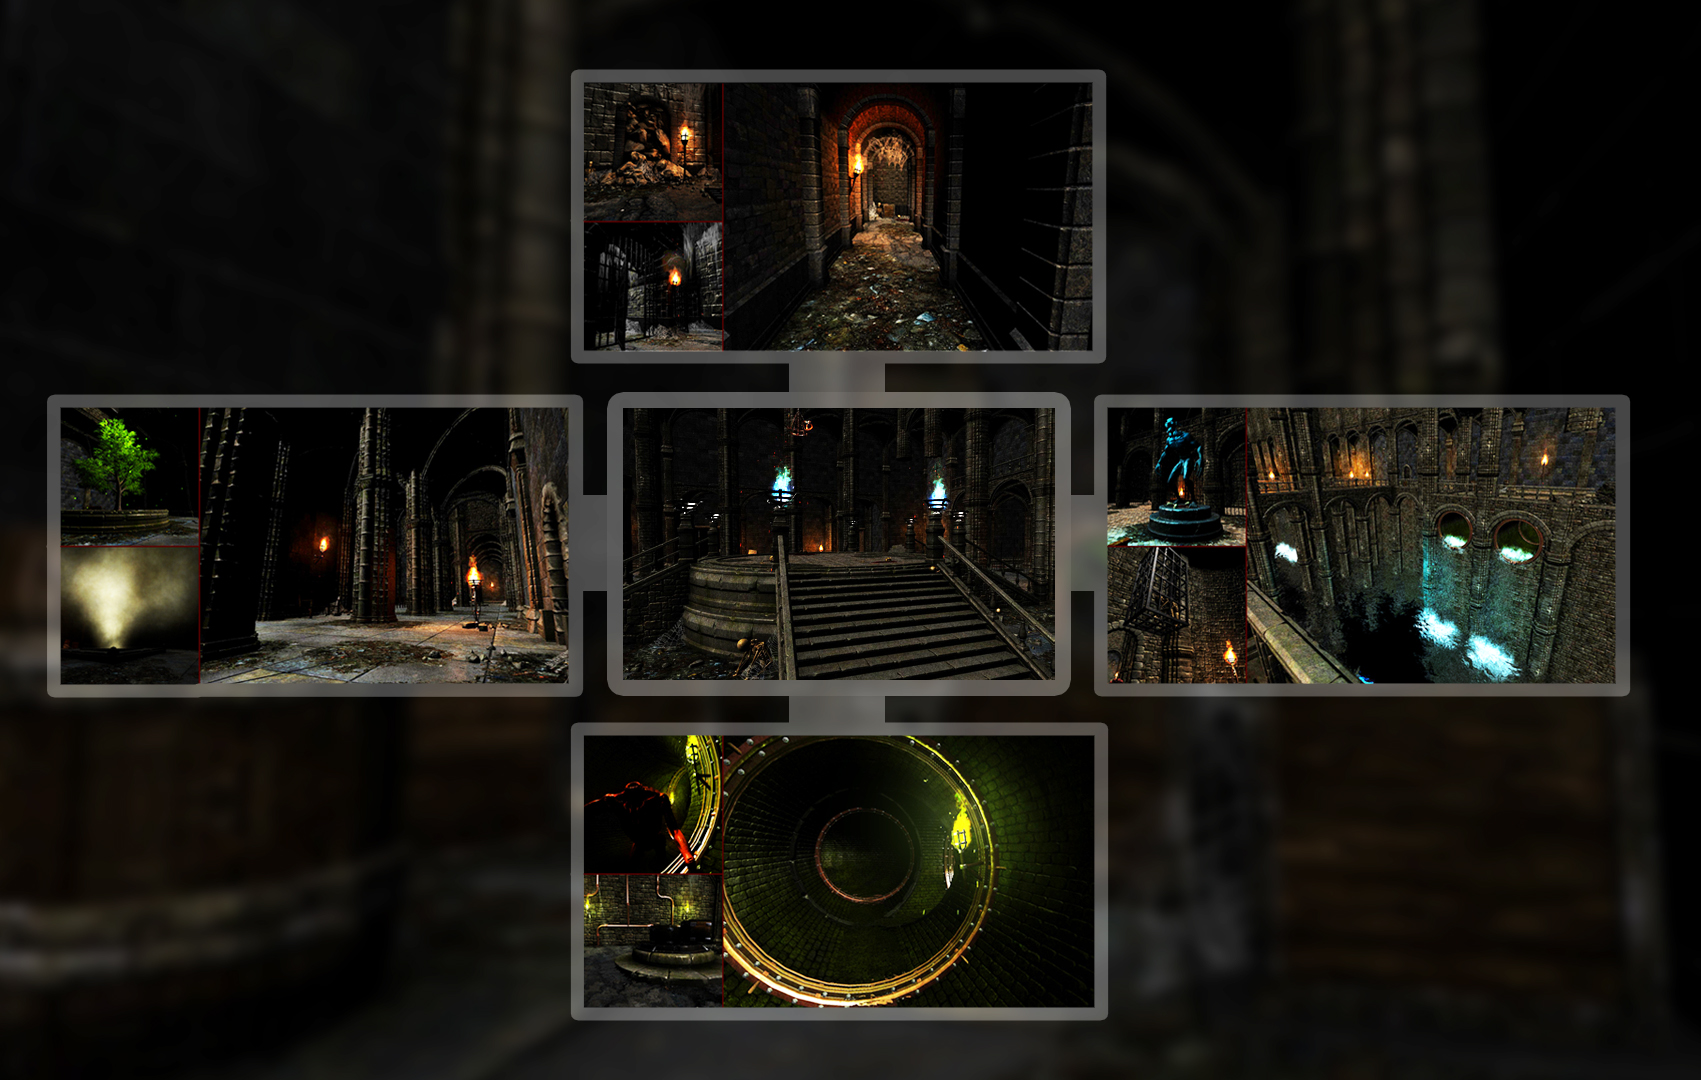
The map is split into 4 areas with a central hub connecting them all.


In each of these 4 outlaying areas, there is an altar you need to pray to. Search each area for its altar, then press the E key to pray to it once you've found it.


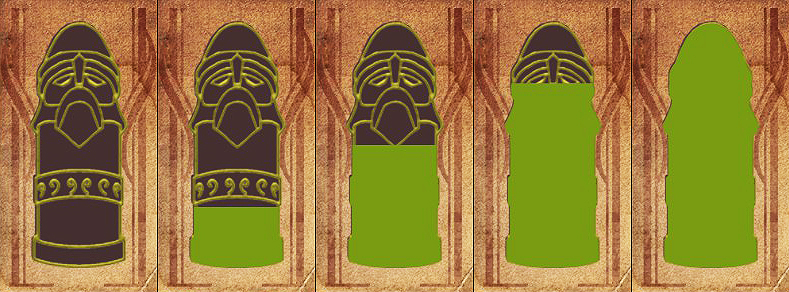
There is no particular order in which in the altars have to be prayed to. Once you have prayed to an alter, it will light up and will fill the progress bar in the top right of the screen.

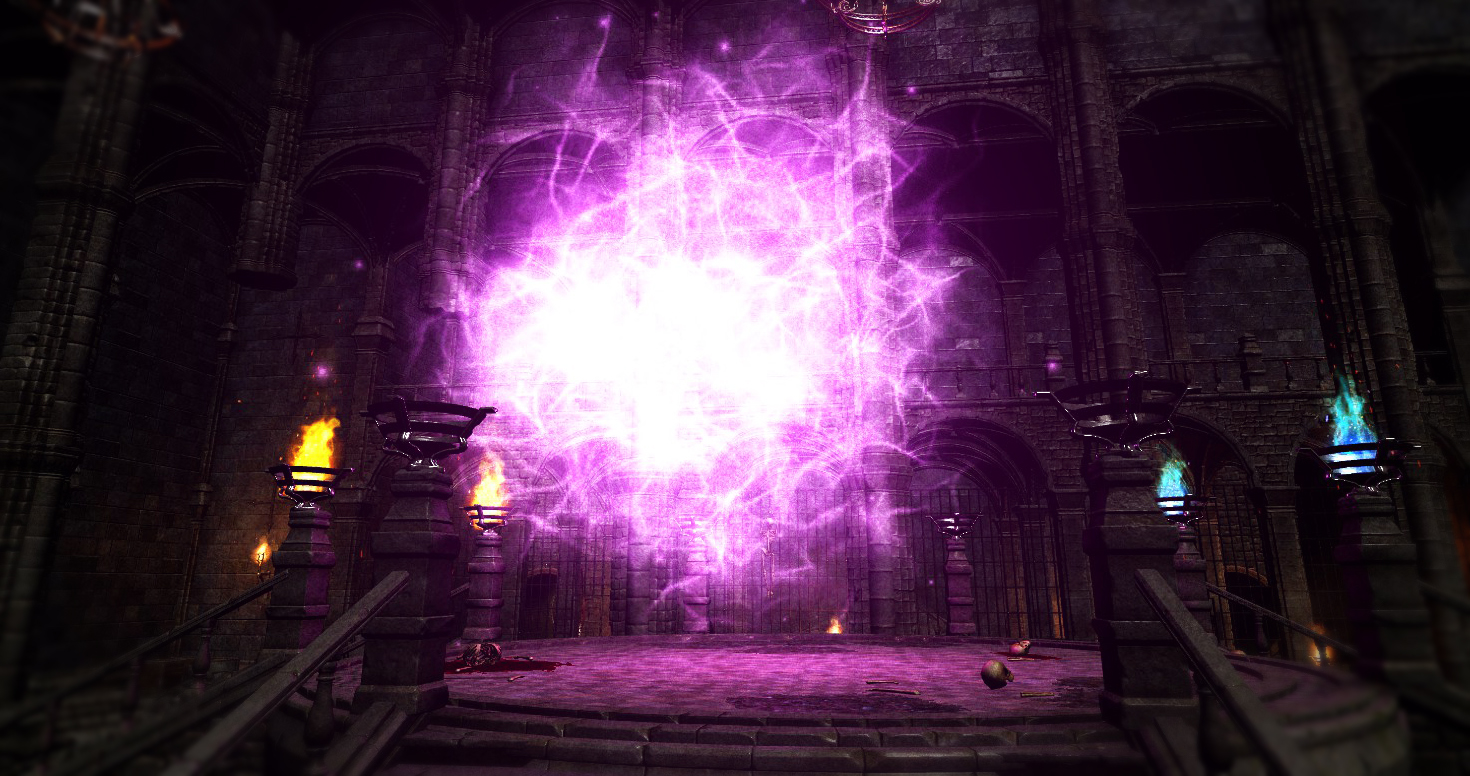
Once you have prayed to all four altars, a portal will open up in the middle of the map.


Run into the portal to escape.
3. The Labyrinth


The Labyrinth is split into 4 areas connected by a central hub. Each area is patrolled by gazools and contains an altar you must find. Each of them present their own challenges.

(Note: None of the names below are official in any way, they're just simple name's I've devised to help describe the various areas.)

The 'Main Hub'


Once you've escaped your cell and the area you start in, you'll find yourself in the central zone of the map. On all four sides there are doorways to the other four areas and in the center, you'll find a big circular staircase. This main room is patrolled by a particularly large gazool, if it finds you, you're as good as dead. This is where the portal will appear once you have activated all four altars.

The 'Corridor Maze'


This area is a tight, dark labyrinth of square corridors, with two chambers found somewhere inside. Beware of a prowling gazool, listen for the scratching sounds it makes and check corners before running around them.


The 'Reservoir'


Much bigger and more open than the other areas, you'll immediately recognize this area by the high ceiling and water shimmering below the various bridges. Central bridges connect to a small chamber in the middle while two rooms lie on either side. A set of cells is situated on the opposite side from the entrance. Lookout for the various gazools patrolling the bridges, they can spot you at a surprising distance if you don't hide yourself. Use the fallen pillars to sneak behind.


The 'Green Tunnels'


Once in this sewer-like area, you'll find yourself lost inside an intricate web of tube shaped tunnels, slick with water and lit by green torches. There are a couple of rooms hidden inside this green catacomb and it's patrolled by another gazool. Go slowly and try to remember which way you turn as you move through each dungeon, it's easy to get lost.


The 'Halls'


In this large, church like area, you'll find a statue of a gazool with a set of pews before it. Various rooms flank the main hall. One room contains a lush green tree, while another is filled with a large plume of steam. At the far end, you'll find rooms full of shelves as well as another set of cells. One gazool patrols the main hall, the wide open areas making it easy for it to spot you. Moving from room to room is easier than running straight through the main hall.
4. The Altars


The altar's positions randomize. Usually, they can be found within smaller rooms, though they can appear out in the open and hidden in corners. If you're struggling to find one in an area, try methodically sweeping it, moving from room to room and tracing your steps.

When you find an altar, you will need to spend a few seconds praying to it. Be careful while performing the prayer, as gazools can sneak up on you whilst your knelt down, facing the altar. It's wise to wait for any prowling gazools to clear the area before you approach the altar.

Once you've prayed enough to the altar, it will light up and your completion bar in the top right will fill slightly.


Once the completion bar is full, the portal will open in the main room and you can escape.
5. The Gazools


Prowling the labyrinth are various deadly monsters called gazools. If one spots you, it will let out a bloodcurdling scream before chasing after you. If one catches you, it'll quickly slash and bite away at your character, depleting their health with no way for you to fight back.


There are 3 types of Gazool.

(Once again, nothing official about these names, just my interpretations.)

- Walking Gazool
These demonic, dog like monstrosities prowl around, their thumping footsteps announcing their approach. If you can hear what sounds like a side of beef being punched by a pile hammer, then one of these are probably nearby.

- Giant Walking Gazool
Similar to its smaller siblings, this hulking beast patrols the main room, waiting to catch you between areas or block your escape. It makes a similar sound to the other walking Gazools.

- Scratching Gazool
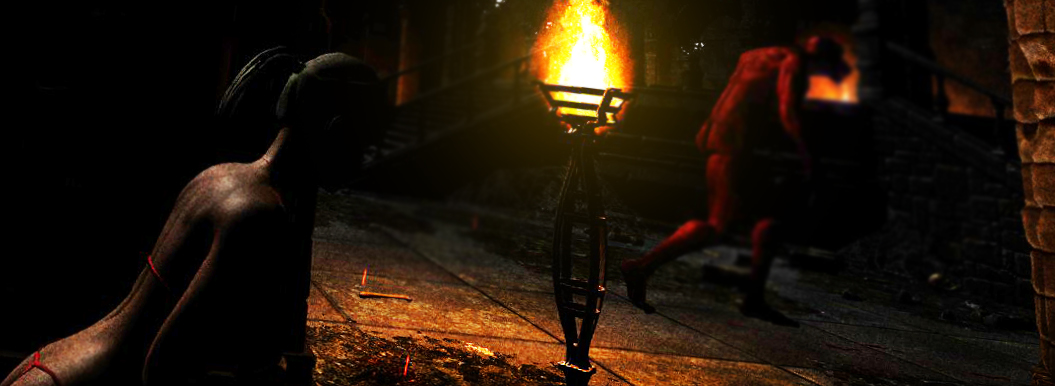
Headless abominations that shuffle around, slurping and scratching around like drunken crabs. Almost every zone has one of these vicious monsters in it. If they catch you, they'll swipe away at you with their spiky appendages.

Sneaking around and avoiding gazools is an essential skill. The best tactic for avoidance is to crawl around, moving from cover to cover and listening closely to hear them coming. As soon as you spot one, take note of it's movement. If one is facing you, it will see you. Noisily running around behind them will also catch their attention. Use walls, pillars, boxes and rubble to hide yourself and make sure you no where to monsters are before you make your move.


If you're spotted, you have to act fast. When it sees you, the gazool will screech and the music will suddenly kick in. You can't outrun them. Your only chance is to quickly hide, putting something between you and it. If one finds you, don't wait around. Change your position before they eat away any more of your health.


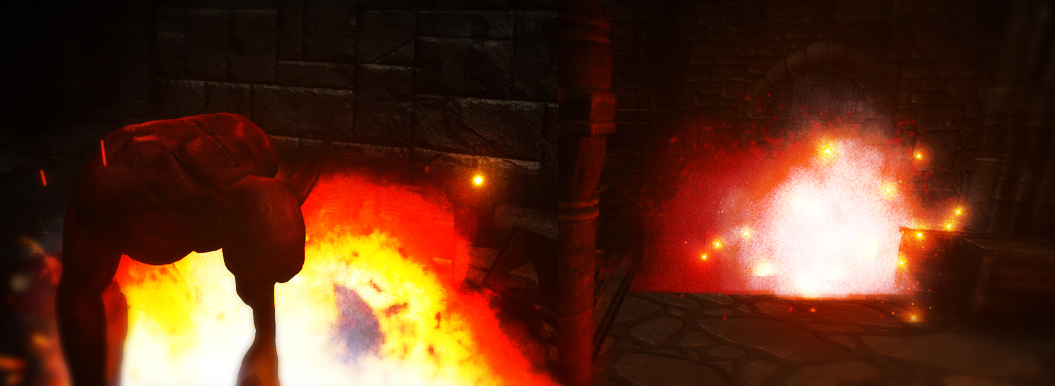
The only other defense against these labyrinth prowling beasts, are landmines. If you're lucky enough to find some mines, place them down in the patrolling path of a gazool you want to be rid of. Once the mine is armed, any gazool (or character) stepping on it will be treated to a lethal explosion. The effectiveness of mines while being chased is limited. If you think the mine has time to arm before the monster arrives, then it can be used to defeat an attacking gazool.


Most areas have only one gazool, though they're liable to chase you from one zone to another. It's easier than you think to be snuck up on, your best tool for defense is your ears. Listen for the scratching or plodding sounds of roaming beasts. If they're getting closer, make yourself scarce.

6. Landmines


Aside from your wits, there is only one weapon you can use to defeat a Gazool. Trusty old landmines. Search around your starting cell and you're bound to find one lying around. To pick up a landmine, press E. Once you have one, place it by pressing Q.

These are proximity detonated mines. Place one on the floor, then run away. 5 seconds after being placed, the green light on top of the mine will turn red, this means the mine is now armed and will detonate if anything comes near it.


Beware, this proximity fuse function does not discriminate between gazools and your character. If you step on a mine after it has armed, you can expect the same explosive fate as your intended target.


Remember where you placed your mines, or your character will be a smoking heap of wreckage, rather than the gazool.
Conclusion
(It appears) this game is no longer supported by the developers or the Steam store. Trading cards are locked and you can no longer access the store page.


RIP Bloody Boobs.

The developers have since gone on to make at least two other games in a similar vein:

Boobs Saga
https://store.steampowered.com/app/726360/BOOBS_SAGA_Prepare_To_Hentai_Edition/

Sex with the Devil
https://store.steampowered.com/app/1202690/Sex_with_the_Devil/
18 Comments
wayne_and 27 Dec, 2021 @ 5:05pm 
put this game into my library a long time ago, but never played it !!
after reading through this, I have decided i'll delete this rubbish game !!!
BusinessArcanine<3 4 Jun, 2019 @ 9:27am 
many thanks!
Nobody’s Home 9 Jan, 2019 @ 12:09pm 
Needful guide. Thanks. :2017catheart:
But there is no info about controlling monster... :Investigate_ESO:
JimDeadlock 1 Jul, 2018 @ 12:03pm 
Congrats, it's amazing that anyone would invest so much effort into writing a guide for this game. I ran around for 20 seconds in the pitch black, died and was about to uninstall and forget about it. Now I might have a go at actually playing it.
S.E.C. 17 Jan, 2018 @ 1:03pm 
add any kind of melee weapon and this could be great fun to play, now its just freaky.
Yarott 28 Dec, 2017 @ 9:52am 
This is a great guide and all, but I need to ask something. How do I move past the loading screen?
JESSIKA 07 29 Nov, 2017 @ 11:09am 
my god, thanks! i was thinking my game was not working properly. but dam is it dark! i have to light up my monitor...
秋庭 24 Oct, 2017 @ 9:31am 
thanks. but it really not a good game.
MelkhiorDB 29 Aug, 2017 @ 5:50pm 
Just curious, is there a button to make the girl dance? I though I saw some footage of them dancing.
♥ Lady Kaiser ♥ 14 Aug, 2017 @ 6:37pm 
lol... you're the man! ♥