
Install Steam
login
|
language
简体中文 (Simplified Chinese)
繁體中文 (Traditional Chinese)
日本語 (Japanese)
한국어 (Korean)
ไทย (Thai)
Български (Bulgarian)
Čeština (Czech)
Dansk (Danish)
Deutsch (German)
Español - España (Spanish - Spain)
Español - Latinoamérica (Spanish - Latin America)
Ελληνικά (Greek)
Français (French)
Italiano (Italian)
Bahasa Indonesia (Indonesian)
Magyar (Hungarian)
Nederlands (Dutch)
Norsk (Norwegian)
Polski (Polish)
Português (Portuguese - Portugal)
Português - Brasil (Portuguese - Brazil)
Română (Romanian)
Русский (Russian)
Suomi (Finnish)
Svenska (Swedish)
Türkçe (Turkish)
Tiếng Việt (Vietnamese)
Українська (Ukrainian)
Report a translation problem


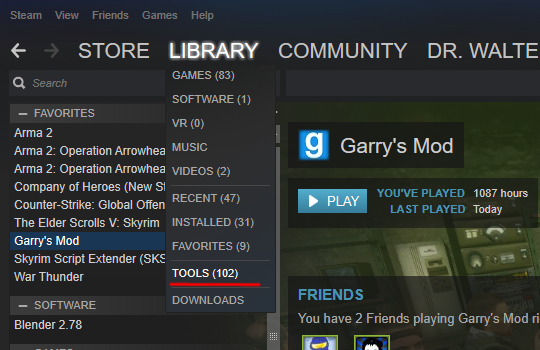
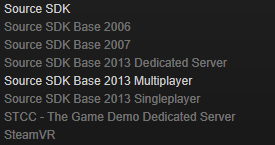
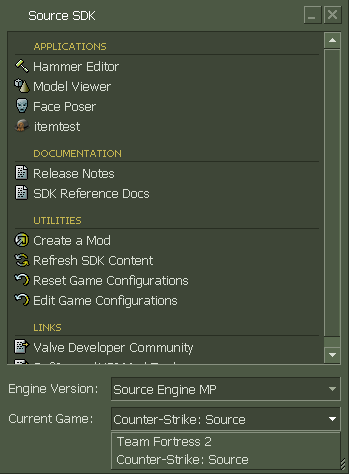
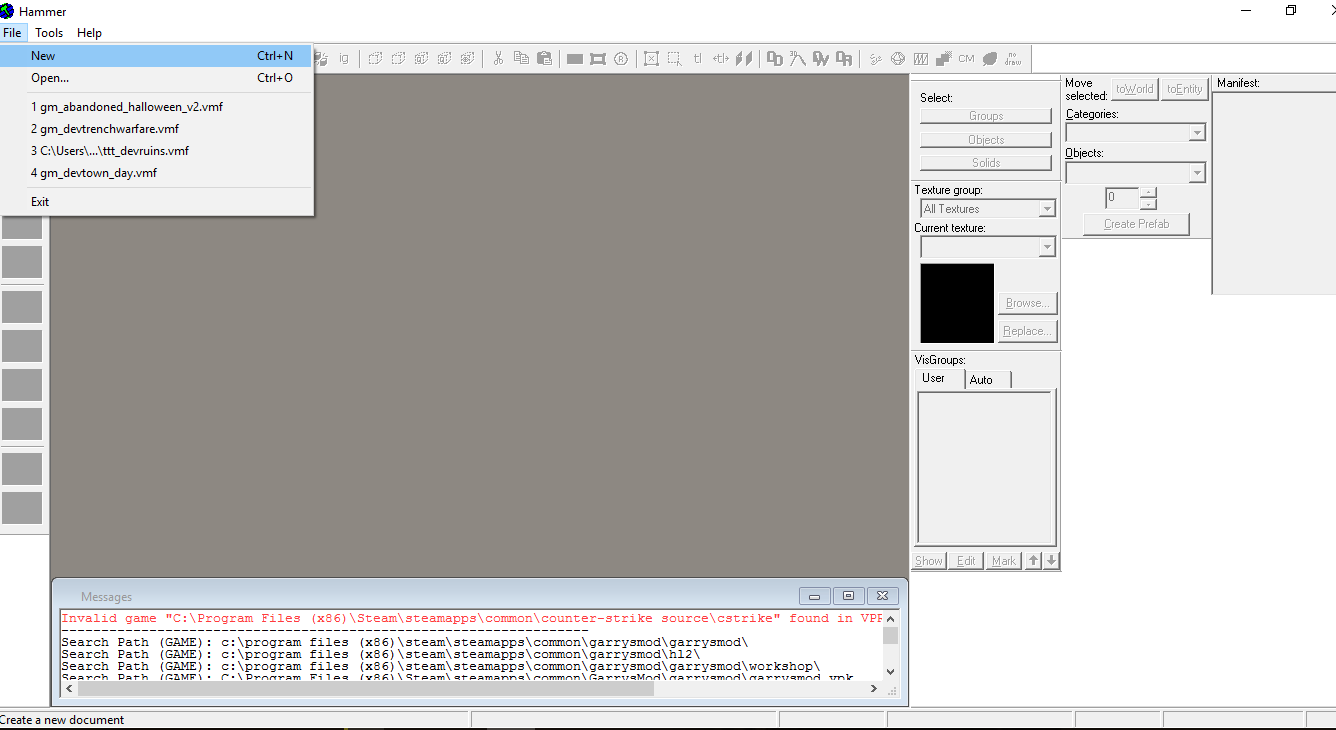
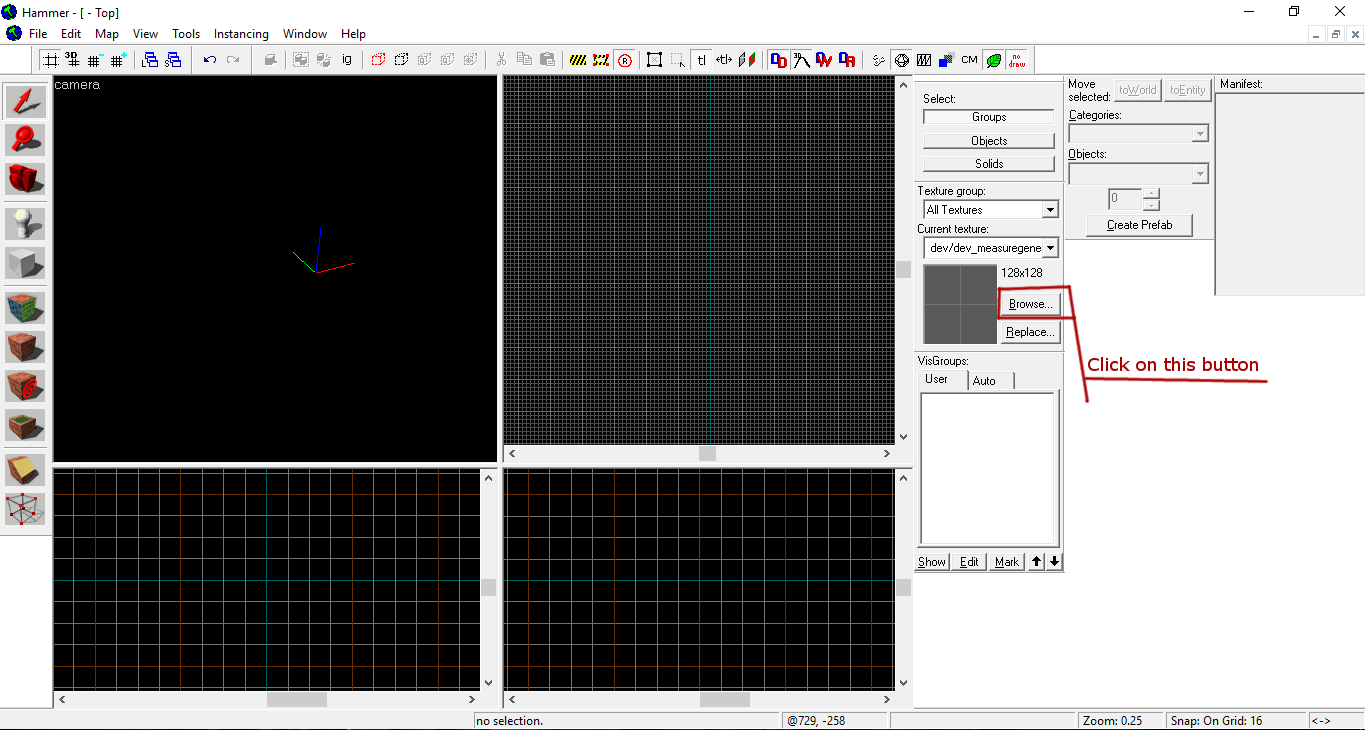
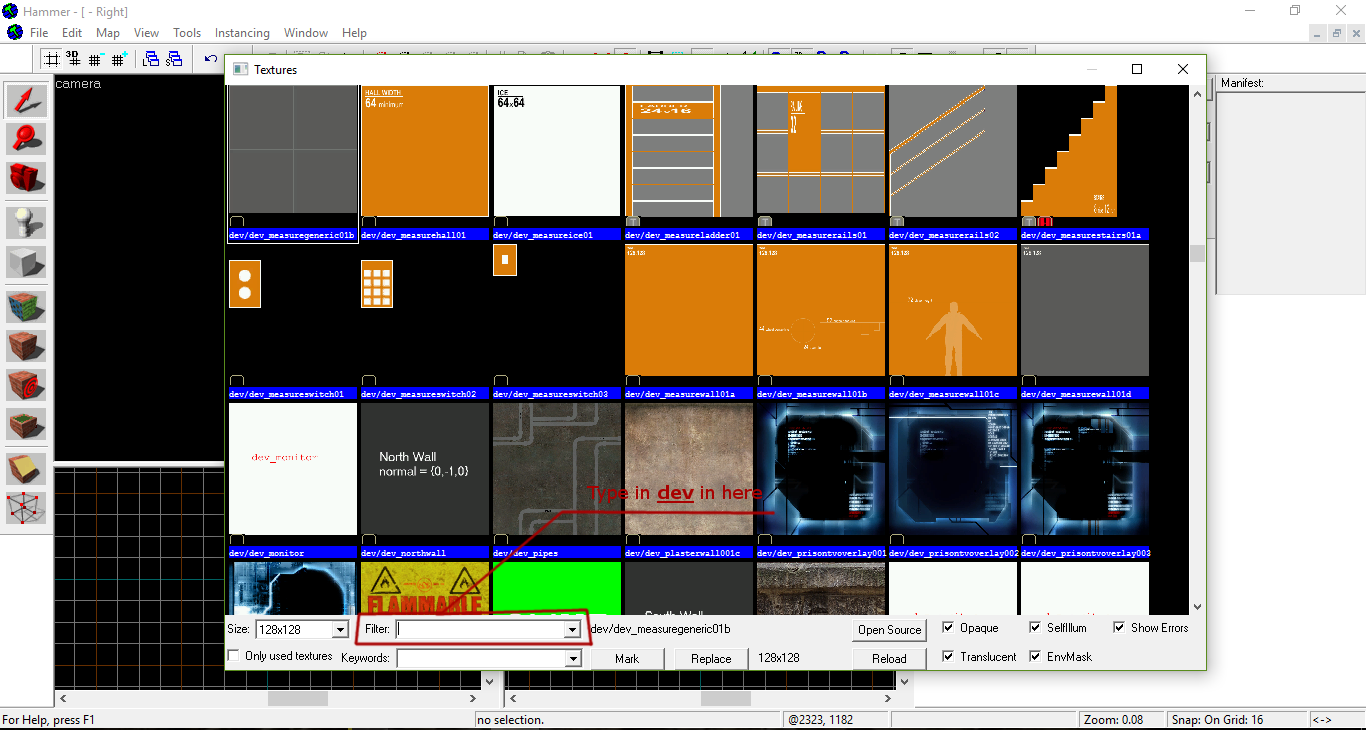

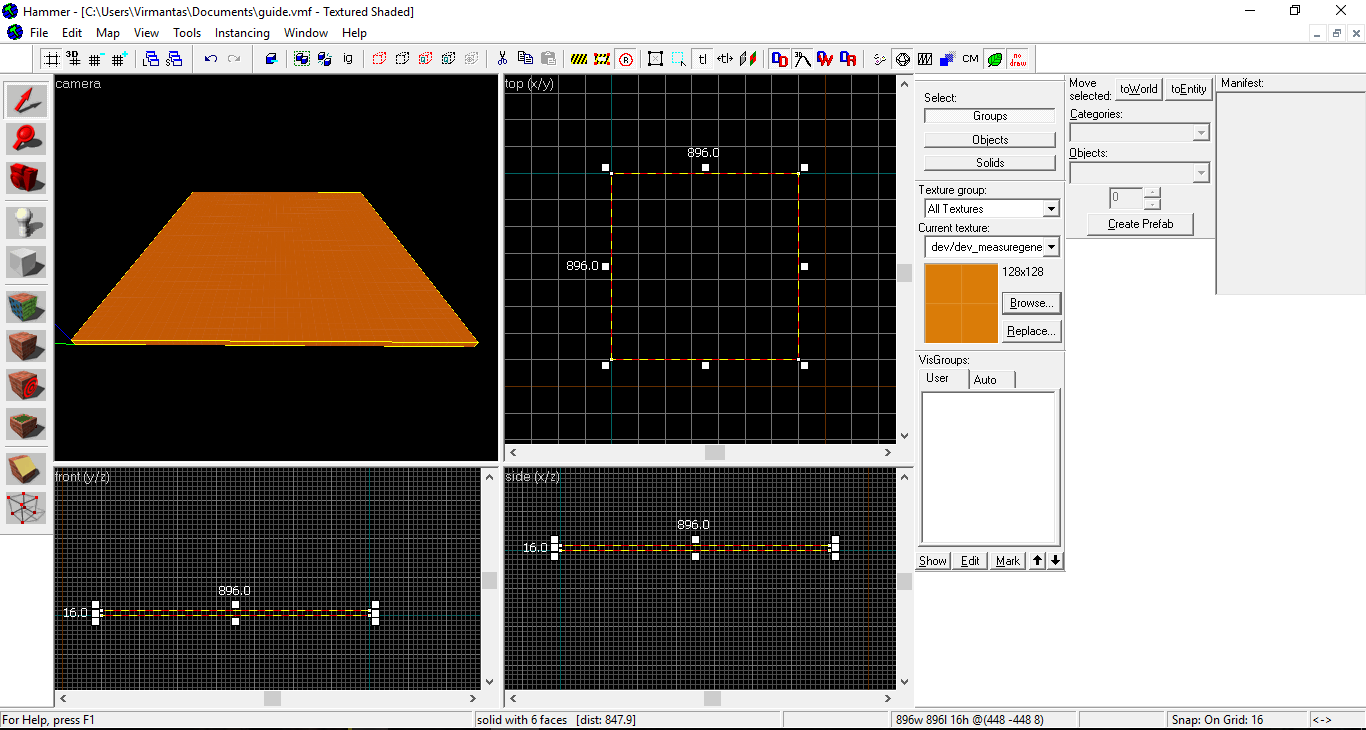


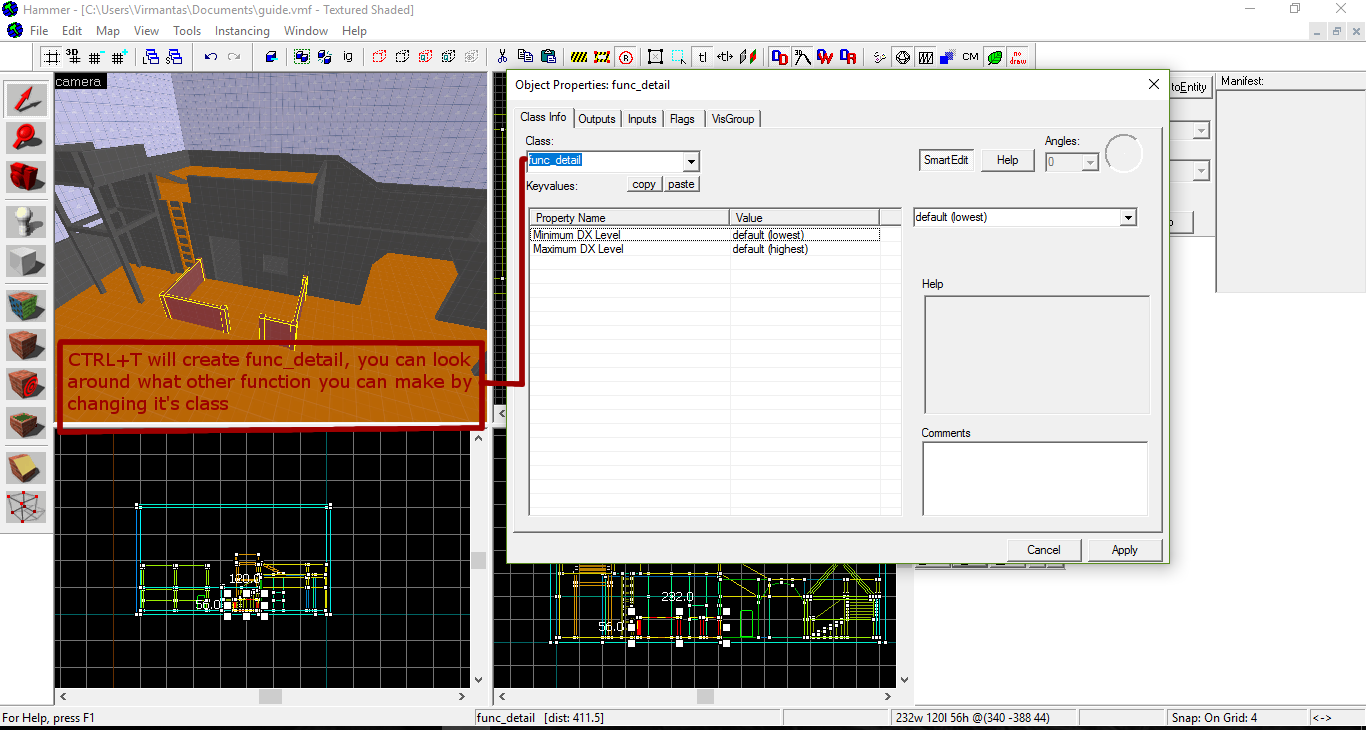

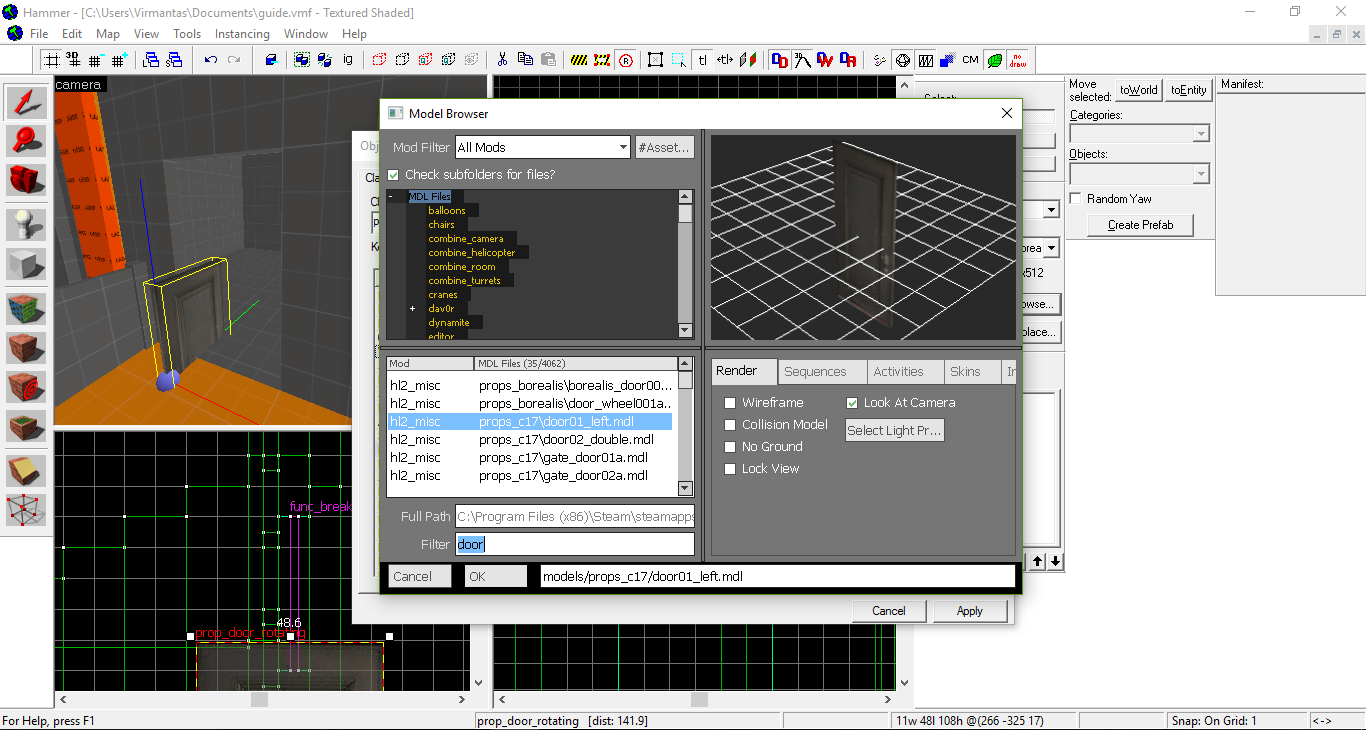
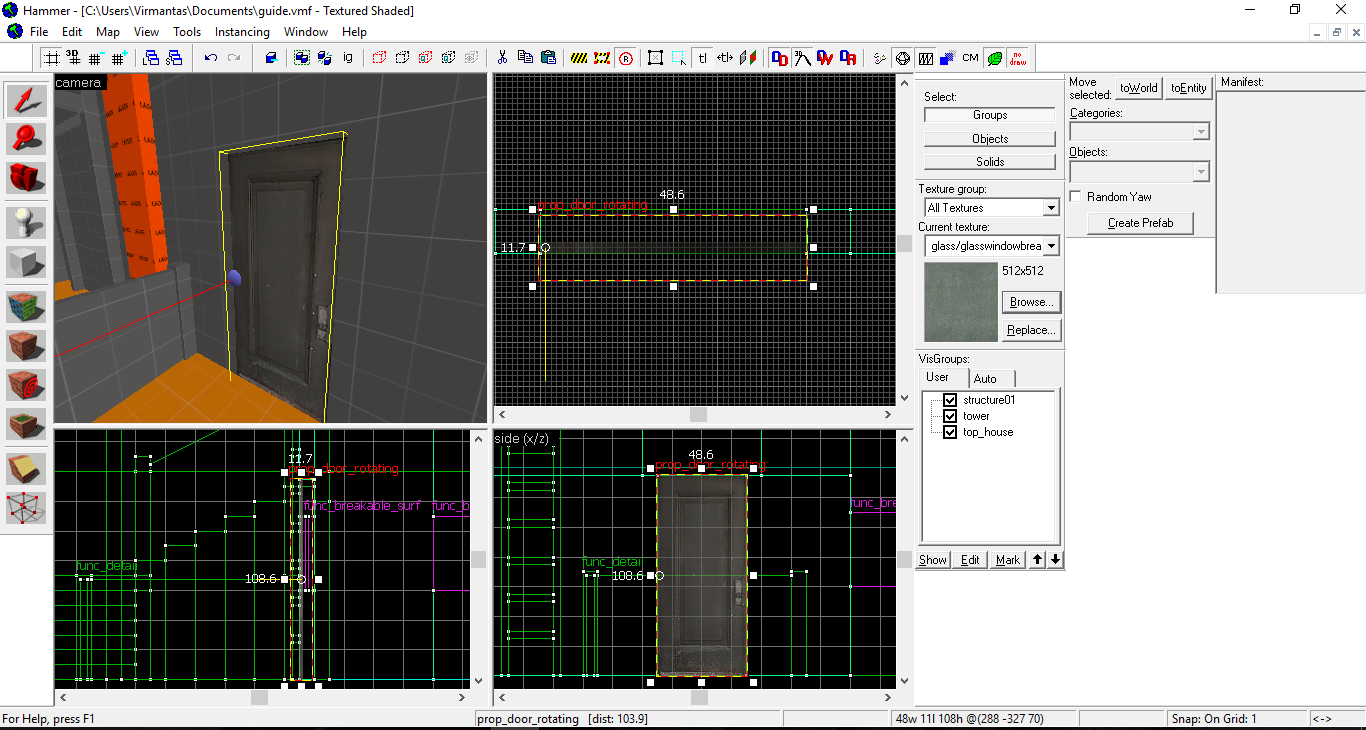


step 1
don't
https://gtm.steamproxy.vip/sharedfiles/filedetails/?id=3473133884
i was on the first pages of comments on this poor guide and i was a LITERAL CHILD LOL
we've both grown up even if i was even less mature, atleast im 20 now pfft-
Also, I am surprised that you are following my guide, since you did declare it is the "least beginner friendly guide to Hammer so far!" which made me think you have found a better guide, but ok.
If you need any assistance, and I still remember how Hammer works, I may be of help.
https://gtm.steamproxy.vip/sharedfiles/filedetails/?id=3472616907
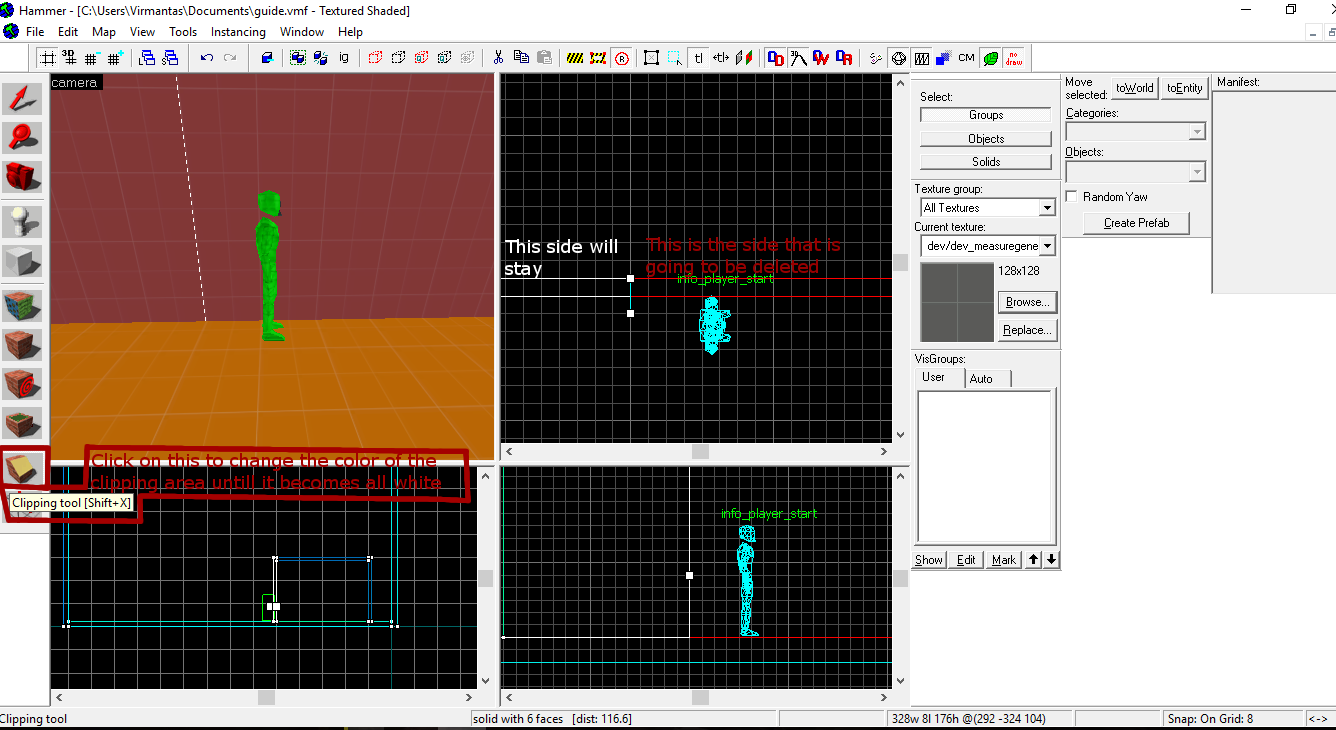
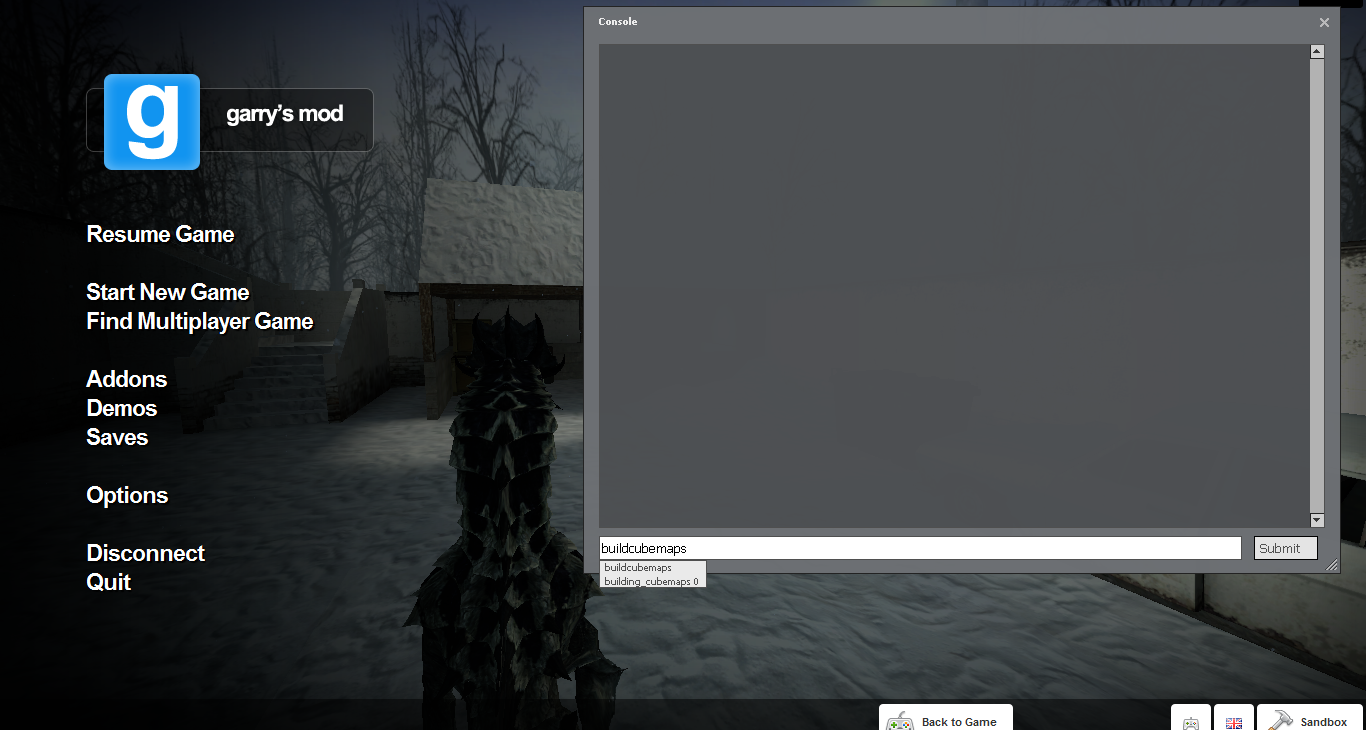
If all fails there is probably the most tedious way:
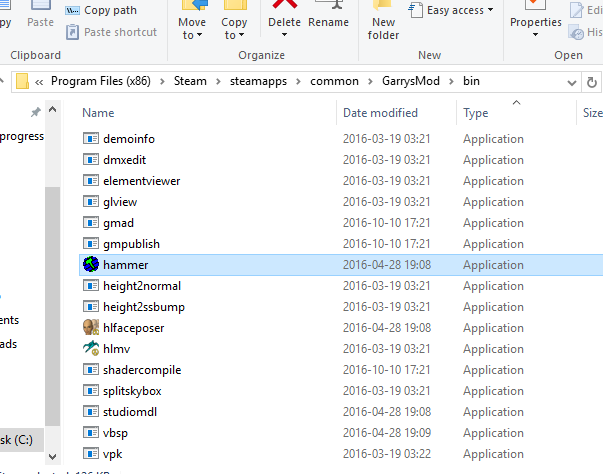
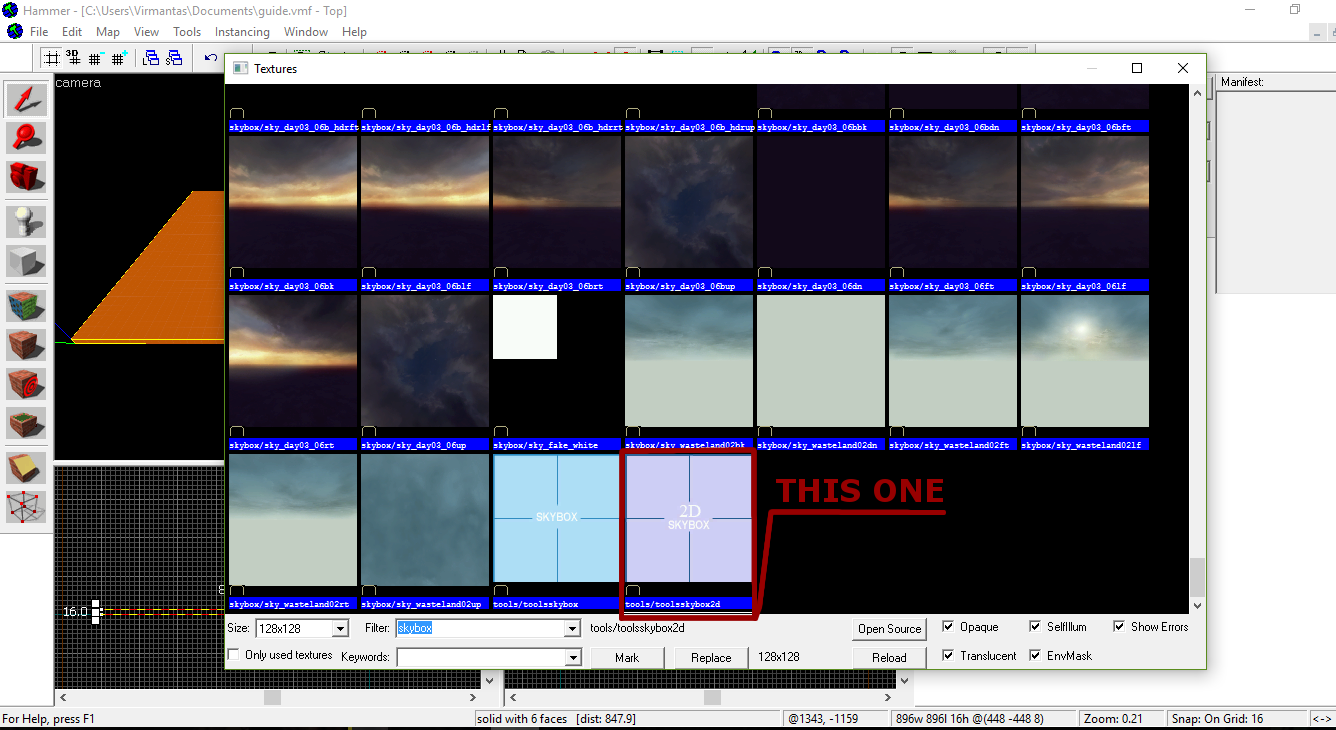
Make a backup of you map, then delete everything in the map, make a simple flat terrain with a skybox and a player spawn and compile, if it changes in game then rejoice, since your map file isn't corrupted.
Next load up your backup and start deleting segments of your map, make sure there is no leak, compile it, see if anything changes, if does reload your backup delete a smaller segment of your map and so on, until you dial in to the problem.
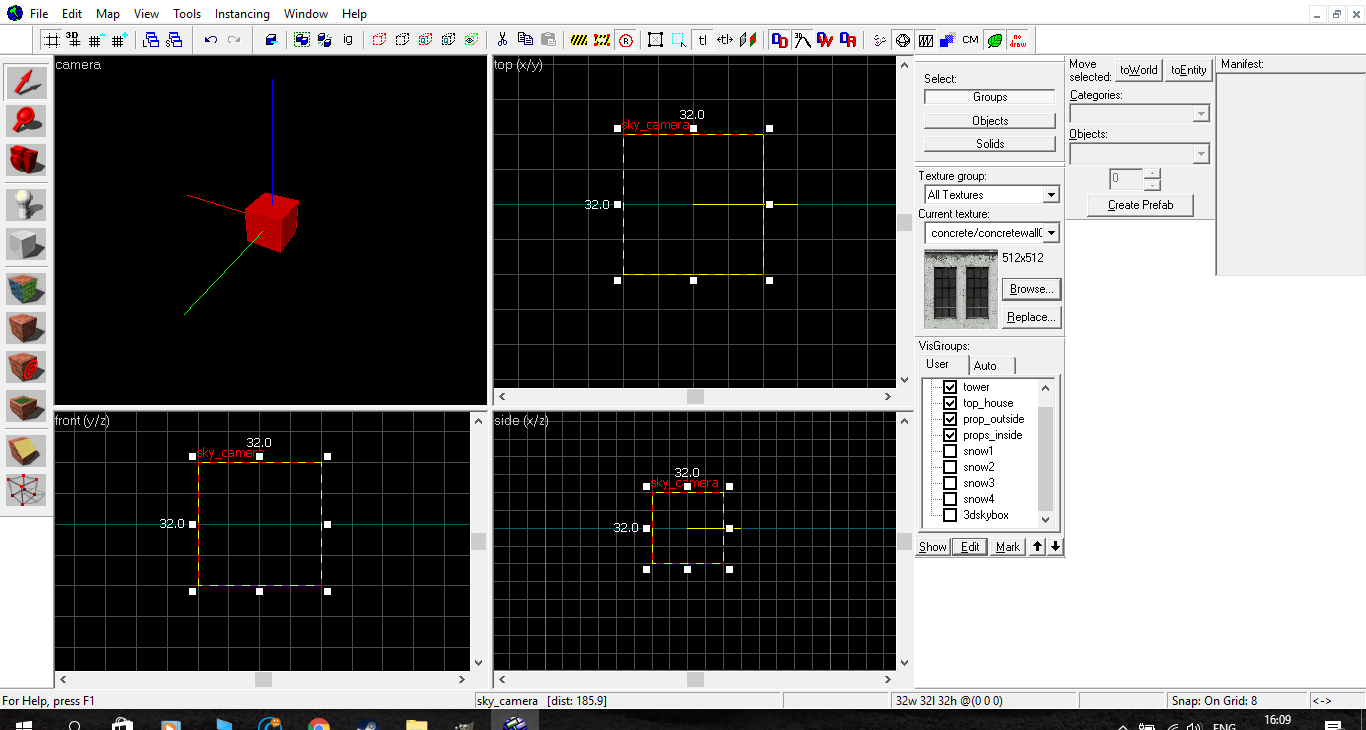
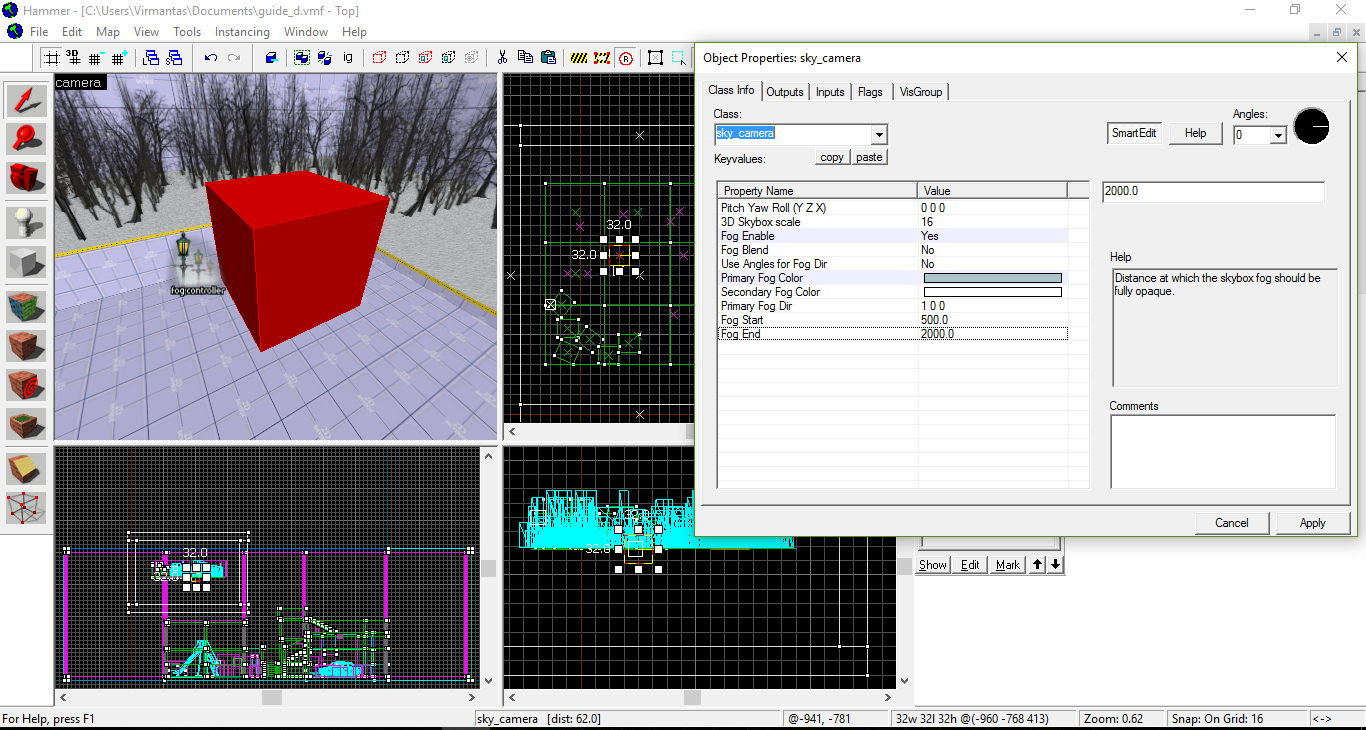
I've also read that this problem may occur, if your sky_camera is stuck in a brush/object.