Fairy Fencer F

Fairy Fencer F

29 ratings
Modding
By Tomix
A guide for Fairy Fencer F modding.
   
Award
Favorite
Favorited
Unfavorite
Introduction
This is a guide for modding the files in Fairy Fencer F. Unlike the Hyperdimension Neptunia games on PC, Fairy Fencer F is much more open in regards to modding.

Before you read any further, it is a good idea to make a backup of your WHOLE Fairy Fencer F game just in case anything goes wrong.

This is also the first guide I've created, so sorry if there are errors!
What can we edit?
Right now, you can easily edit the music, graphics, movies, and (most) sounds. Models are technically editable, however they require knowledge of hex editing. I'm in no way a programmer so if you wish to edit the model textures or models, you'll have to either manually hex edit it or find someone to make a program to edit them. Model swapping is of course possible.
What you will need
Graphics editing:
Some sort of Image editing software that can open and export DDS files. I use Photoshop with Nvidia's Photoshop tools[developer.nvidia.com], but GIMP will probably work as well.

Model/Texture editing:
A Hex editor
Image editing software with the ability to export and import dds files (look above)

Audio editing:
Your favorite audio editing software, I recommend Audacity[audacityteam.org].

Video editing:
Any video editor that can export wmv, I use Vegas, but Windows movie maker will work (not recommended)
Graphics modding
Graphics editing is quite simple.

As an example, I will edit Fang's art found in the menu. His portrait is located in /system/global/body/001.dds.

Simple import the image into photoshop or gimp and it should load fine. Make your edits.


Here is my edited graphic. Now it's time to export.

Since my graphic has an alpha map, we will need to export it with DXT3 compression, and NO mip maps. This is important, as the game will crash if you create mip maps.

How do i know if my texture has an alpha? In photoshop, go to the channels tab and you will see a layer named "Alpha 1".


If you are exporting an image that has an alpha, make sure that "Alpha Channels" are ticked when you save. Otherwise the alphas will not save even if you save it with DXT3 compression.


When this window comes up, change the setting to either DXT1 or DXT3. In my case, I will be using DXT3.


If you are in-game, restart for the changes to take effect.


I know, it's bad, but it was only made to show you it works.
Audio editing
Audio editing is also quite simple, however, not complete. I haven't figured out a way to get oggs to loop correctly.

The in-game battle music will automatically loop itself if you are giving the game input. If you aren't giving the game input, the game will not loop it.

If you are using Audacity, open it up and import the song you want to convert to ogg.

After you have imported your song, go to File -> Export and select ogg in the dropdown box.

At the time of writing this, I haven't completed the game, so my list of oggs may not be accurate to what happens in game. Let me know and I'll fix the names.
Here is the list of what each ogg is:

001.ogg - Title
002.ogg - Normal Battle
003.ogg - Second Battle
004.ogg - Tough Battle
005.ogg - Red Dawn (Don't know where it is in game, haven't played enough to know)
006.ogg - Health low music
007.ogg - Unbreakable king
008.ogg - Boss Mariano
009.ogg - Health low music again
010.ogg - Health low music again
011.ogg - Unknown
012.ogg - Unknown
013.ogg - Health low music again
014.ogg - Transformation music 1
015.ogg - Health low music again
016.ogg - Transformation music 2
017.ogg - World Hub
018.ogg - Town music
019.ogg - God revival
020.ogg - Field music
021.ogg - Valley music
022.ogg - Ice cave music
023.ogg - Lava music
024.ogg - Factory music
025.ogg - Desert(?) Music
026.ogg - Unbreakable
027.ogg - Unknown
028.ogg - Unknown
029.ogg - 時のゆりかご
030.ogg - 女神の追憶
031.ogg - Dorfa music
032.ogg - Event music/Eryn's lessons
033.ogg - Probably event music
034.ogg - Event music/morning
035.ogg - Health low music again
036.ogg - Event music/Lonely Time
037.ogg - Event music/Have Doubts
038.ogg - Health low music again
039.ogg - Health low music again
040.ogg - Event music (?) / Courage
041.ogg - Health low music again
042.ogg - Final boss music
043.ogg - Special Attack music
044.ogg - unknown
045.ogg - Event music/シャルマンのテーマ
046.ogg - Event music (?) / 暗躍する影の者たち
047.ogg - Event Music/ザ•チップチュン/Shenanigans
048.ogg - Event music/ Lola
049.ogg - Shalman's Piano~Air on the G String~
050.ogg - Mariano's Harp~Air on the G String~

Sound effects can be found in Sound/ JINGLE , VOICE, and VOICE_EN. For system sounds, they are in system/sound/se/SystemSE.acb. The file contains all of the oggs uncompressed, so you can easily find them with a hex editor and manually copy them out.
They are even listed in the order they are packed, so it's not too difficult.
Model/Texture editing
Model and texture editing is quite interesting.

Characters are found in:

Game\Model\CHARA\

Each number refers to a perticular character. For example, Fang is 001, Tiara is 011 - 012, and so on. If a character has multiple costumes, they will be the next value up. So for Tiara:

011 = Normal Outfit
012 = Bikini

This can be said for every character.

In the character's folder, there are three folders and two files in it.

MOTION - Animations for said character
SOUND - Sounds the character makes when walking in the overworld. Same exact format as the System sounds .acb, with the oggs being completely uncompressed and easily extractable.
TEXTURE - Texture/Model
002.ism2 - Not sure what this is exactly, since it has development paths inside the file referring to textures
face.anm - The settings and positioning for the character's eyes, mouth, etc

Inside the TEXTURE folder is the cl3 model file.

This is the interesting bit, despite the fact that the 001 folder has dds textures, these are NOT used. The textures that are being used for a model is in the .cl3 model file. There are DXT1 compressed dds files inside the model, and if you're good at hex editing, you can swap the textures. Just make sure it doesn't overflow onto the next texture, or you will have the issue I had:


If you want to swap a model with another, you can do so, just make sure to not do so while the game is running, or else it will crash.
Video editing
Video editing is also quite simple. The game seems to accept any sort of wmv I give it, so go nuts.
Conclusion
As you can see, there's a lot that could be done to fully make Fairy Fencer F moddable. There are several formats I've looked at such as scripts, but they all seem similarly packed to the models, and I'm not a programmer (yet) so I don't know any of that stuff. I'm also actively researching the files and I'll update this guide if I find anything worth noting.

If anyone wants It, i made wmv files that will are blank so there is no intro. You can get that here:
No Movie Mod[puu.sh] Just place the stuff inside "Movie" into your "Movie" folder inside your Fairy Fencer F directory. Make a backup first!

I'm also working on an HD mod that makes all of the HUD/Graphics up-scaled, since some of the graphics in this game desperately need it.

If I made any errors please let me know!
15 Comments
Tomix  [author] 7 Jul, 2017 @ 2:49am 
Interesting, never tried that
Kaizo 4 Jul, 2017 @ 5:38am 
Since I haven't seen it up there, may I add an Texture Update?

The .cl3 Model File in the Texture Folders is the compressed version of the 001 Folder (that much you probably know)
But what you're missing is that if you simply delete the .cl3 File, the game does a fallback onto the folder ---> Screw HexEdits, go directly for the .dds
Shadykku 27 Jun, 2017 @ 6:02pm 
I have no idea how to start texture editing on here.
Raffine52 4 Mar, 2017 @ 8:15pm 
Hey, Are you going to make a Modding Guide for Fairy Fencer F: Advent Dark Force Too? I am trying to import MDNVII's Models and textures into FFF:ASF.
SinisterSlay 20 Nov, 2016 @ 8:27pm 
Ok this is cool. If you copy the char models folders, such as 011 to 012 and 012 to 011 (rename them to each other). You basically get the bikini DLC for free. All the files are there, they just aren't activated.
Raoul[GER] 10 Jan, 2016 @ 9:51am 
hello
Jim 8 Jan, 2016 @ 8:02pm 
Here's a heads-up: The game has a set resolution for the UI graphics. If you make the graphics bigger, it will display in-game bigger and same goes for the contrary. I was messing around with it in the summer and eventually gave up but if you can get upscaled UI to work that would be amazing!
Tomix  [author] 17 Nov, 2015 @ 9:58pm 
Glad you got it working! I like the re-texture by the way!
Enigma_レムナント ⸘ 17 Nov, 2015 @ 5:20am 
I exported the Texture out of the Hex Editor as DDS and then open it Paint-Net.

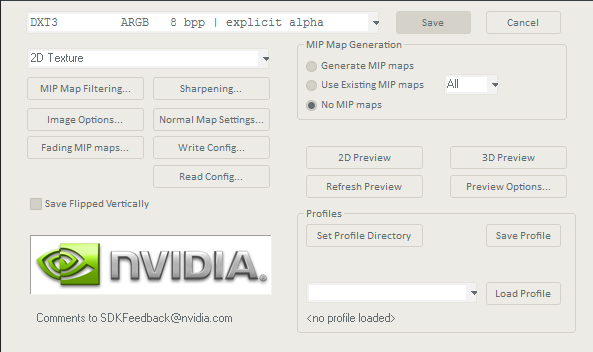
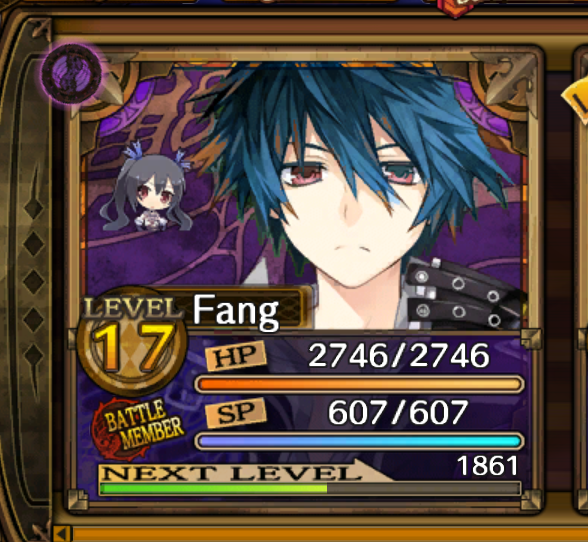
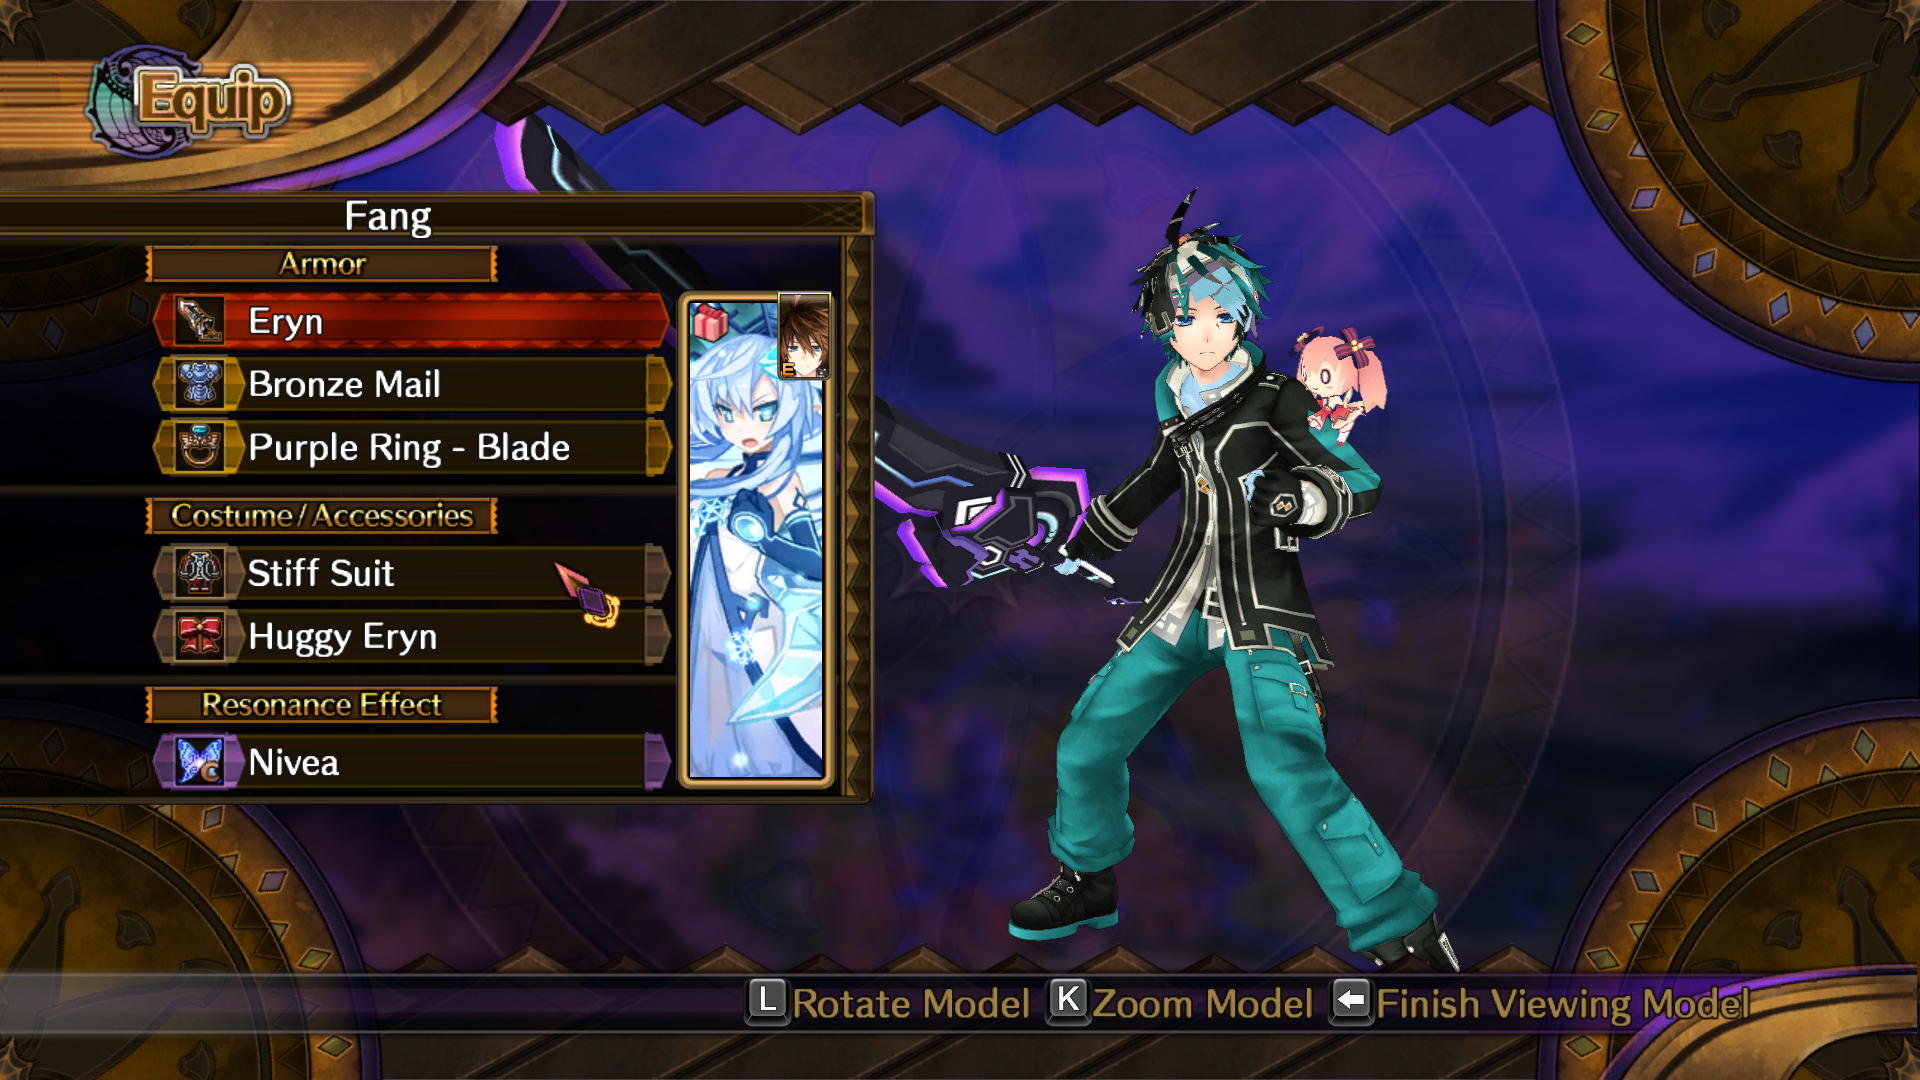
I had a Ethel finish re-texture already prepared, so all I had to do was paste that over the original texture. XD Though apperently I did a mistake on the first try, cause I saved the texture as a DDS at slowest compression without noticeing*facepalm* After this the game crashed when trying to load the texture. http://postimg.org/image/3wycotuf7/ Now I had to do the whole Hex Editor steps all over.

So after doing all this one more time, I finally managed to get this correctly without the Texture being at incorrect compression. So far now it's completed! やった

Here's my finish on the mod: http://postimg.org/image/6g5mzthm9/ http://postimg.org/image/w3bgswwr5/

I been waiting a few months for an actual way on modding the characters textures XD

Thanks a bunch on making this guide!☆ Appreciated the assistance.
Enigma_レムナント ⸘ 17 Nov, 2015 @ 5:19am 
IT WORKS! I followed all the steps just like you said and I managed to get the re-texture working, though I did it for Ethel Model. (She's my favorate character) XD

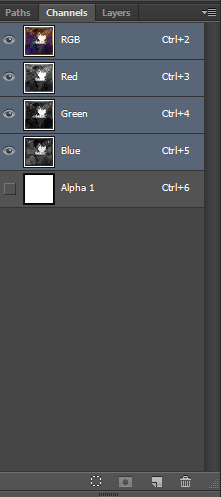
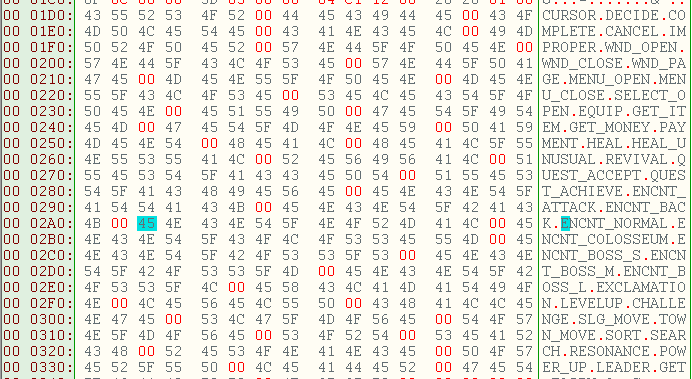
This one seemed I think different from the Fang since it had 3 DXTs.

The First one was at "00000E50", the Second at "0046A70", and the Third at "0008EF0". Though it seems like I had to use the First and Third one since the Second one is perhaps for some other texture? Lol. I used CTRL+F and then pressed "Find Again" to get these on my Hex Editor and made Notes.

so anyways I started to do the highlighting on the Hex Code then copied and pasted that Hex Code to a new file in the Hex Editor and did the stuff you explained, ect. ~ [Continues on Next Comment]