Stonehearth

Stonehearth

190 ratings
Stonehearth: Guide and Reference Manual
By Zelgraz and 1 collaborators
Hello guys and welcome to our Stonehearth Guide. In this guide we will discuss: Building, crafting, survival, mining and farming, stock-piles and the best lay-out for them and a few other things as we improve on this guide, so grab a coffee, sit back and relax… it’s just a game after all :D
2
   
Award
Favorite
Favorited
Unfavorite
Reviews for the Game

You can find reviews for this game on on Steam:

To quote one of the reviews; the rest of which can be found here, http://gtm.steamproxy.vip/app/253250/reviews/ along with many other possitive ones: (of course, i'm not going to lie... like every other game, some people like it, others don't)
*Dude. DUDE. Look at this.
It's an Early Access game... and they're WORKING ON IT.

I've been playing Stonehearth on and off for a while, the interest spikes obviously coinciding with updates, and I am glad to say this game does not have potential. It has promise. Because a promise is something you actually follow through on.

Like everyone else is saying, it is by no means complete. Think about it: it's a sandbox game and they only just put the zombies and water in. How complete is that to you?
*
(Quoted from Low Ceiling's Stonehearth review on Steam)

You can also find reviews on Stonehearths own website and all over the internet (with most of them being possitive :D)
Intro
PLEASE NOTE: If the guide looks far too long for you to read, you can either skip to the specific section you would like to know about, or you can add this to your *favorites* and come back later. Although if you are new to this game, it is recomended that you read through it all (at your own pace)

http://stonehearth.net/

If the video does not auto run and you would like to watch a quick intro, please click the link below.
http://store.steampowered.com/app/253250/
If you do not have Stonehearth yet, and want to buy it, then please click the link above


*Veterans can skip the next few sections of this guide if they want to; however, if this is your first time, we recommend you read to the bottom*

First off, if you are reading this guide then you either have the game and want to know how to survive past day 20 (quite the feat in some circles), or you are looking to buy this game and are wondering what it is all about. So, let’s get started.
First off, Stonehearth is a *survival* game that falls into the realms of similarity with other such games… Such as; Dwarf Fortress, Gnomoria, Craft the World and other similar games.

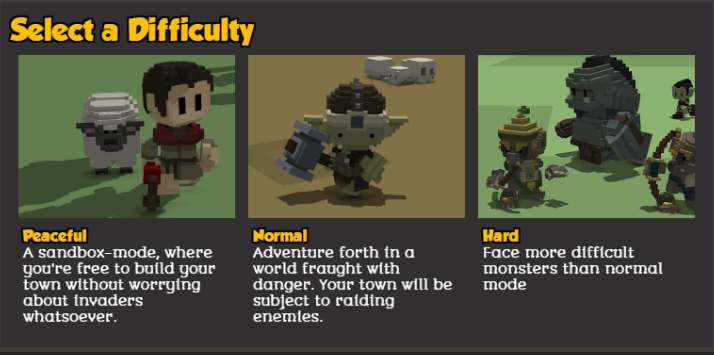
You control a group of villagers called *Hearthlings* (you start the game with 7)… But before we even get that far, we have to create the world we want to play in… So after the titles roll you are presented with the main menu, we are assuming this is your first time playing (other people can use this guide to great effect as well). Click on the *New Game* icon, and then choose if you want to play on *peaceful* (Go ahead then you wimp!), in this mode of game play you will not be attacked by any enemies or wild-life. However, for the braver people reading this there is (currently) only one difficulty mode and that is *CHARRRRRRRGE!!!*. Just kidding it’s actually called *Normal*… it’s not as bad as it sounds, one mode has enemies, the other doesn’t.


Have Fun! but be Safe!


World Generation (to be updated)
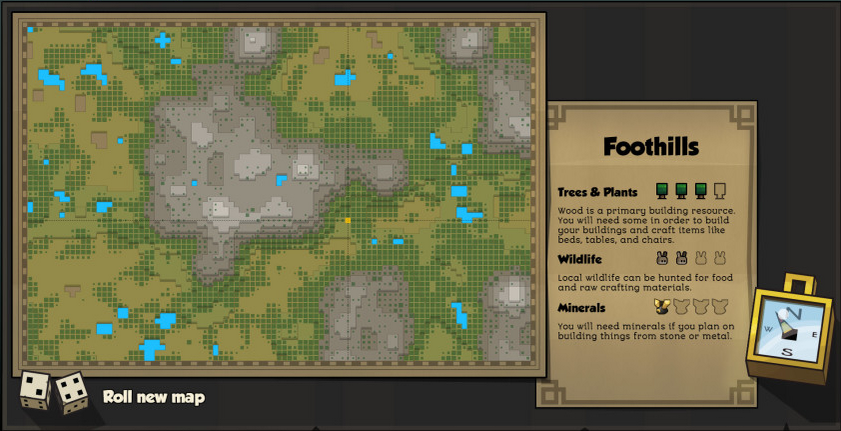
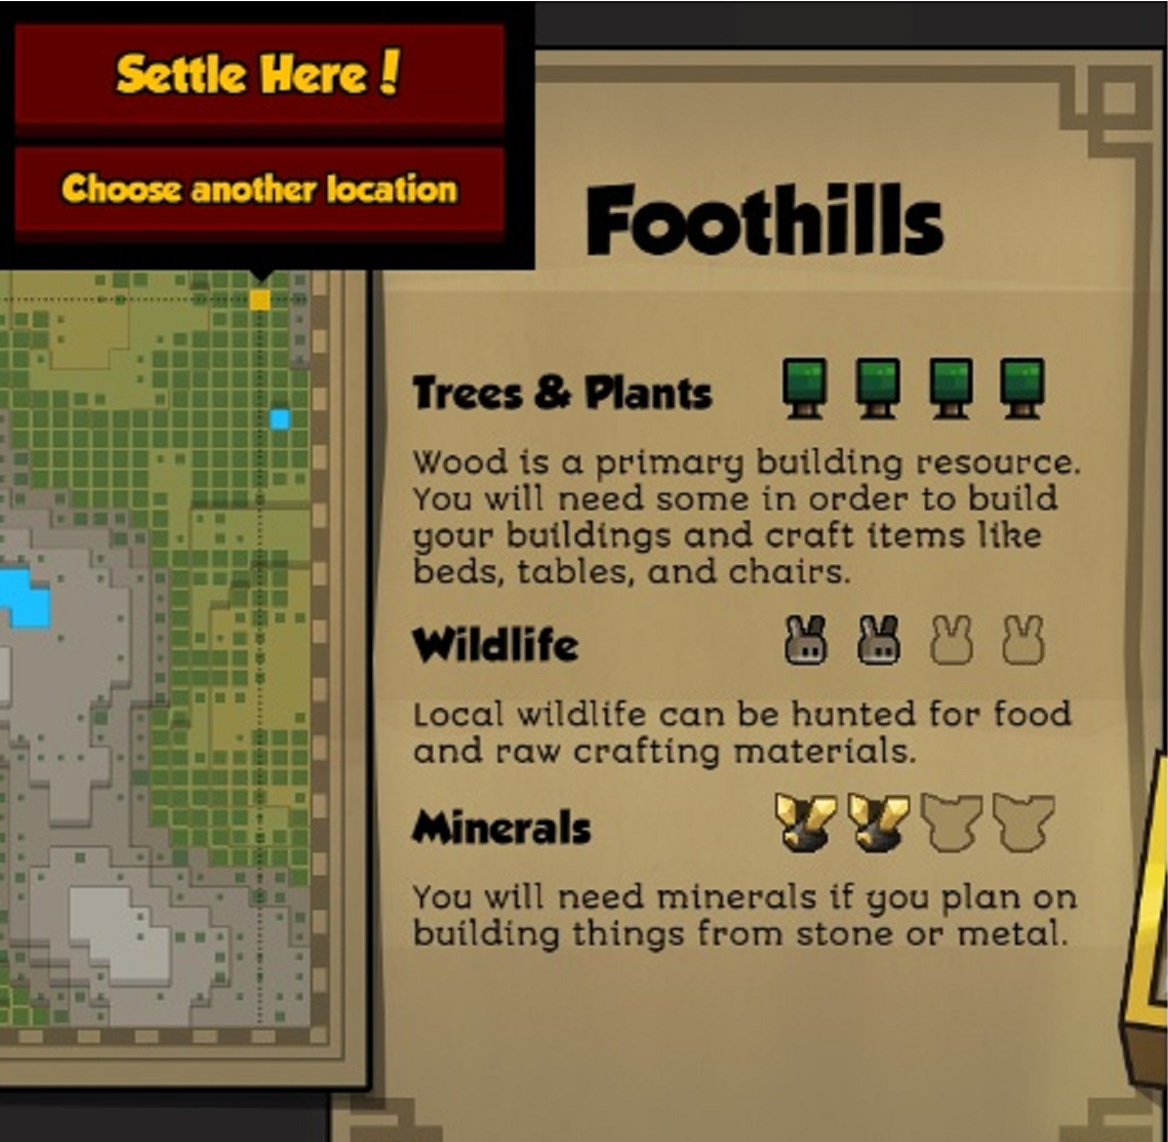
This is the part of the guide where we explain how to create your world; after choosing a game mode you will be presented with a screen, similar to the one below (the map is *procedurally generated* but you can *re-roll* the map if you don’t like the current one). The best place to look for is somewhere near the mountains so you can mine, you also need an amount of plants (*Trees* which can be seen on the right hand side of the screen… as long as you have 2 *live* Trees showing, you should be ok although it is best to have this maxed out), you also need animals (again 2-3 will be fine) and ores (1 minimum). It does not matter (currently) if you start near water or not. But be sure you have chosen what you want, because like most games of this genre, you will only have a small area to work with (not the entire map… YET ;) ). Now all you have to do is click *Settle Here* and you will be launched into the game world that you have chosen.


The picture below shows what level of resources are prefered

Starting out
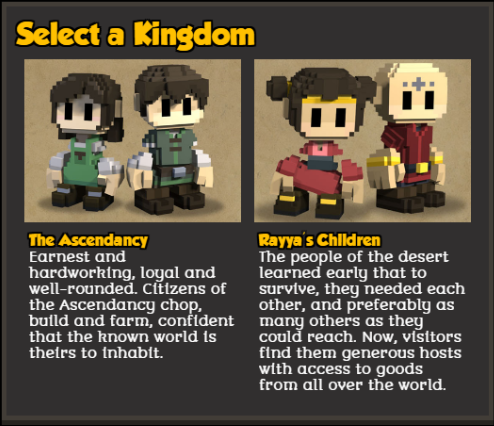
Start By picking a Team!


Ok, here we go… If you have never played this game before (or have recently updated the game) you will be presented with a very short tutorial about how to control the game (that is all you get… now get playing… bye)….
Still here? Good you have a sense of humour, :D. But seriously, as far as *in-game tutorials* go, that is all you get. What you want to do now is choose your starting location (which can be done by clicking the flag at the bottom centre of the screen and placing it where you like).

PLEASE NOTE: The camera tutorial will now only show once (it does not show with every new save anymore)


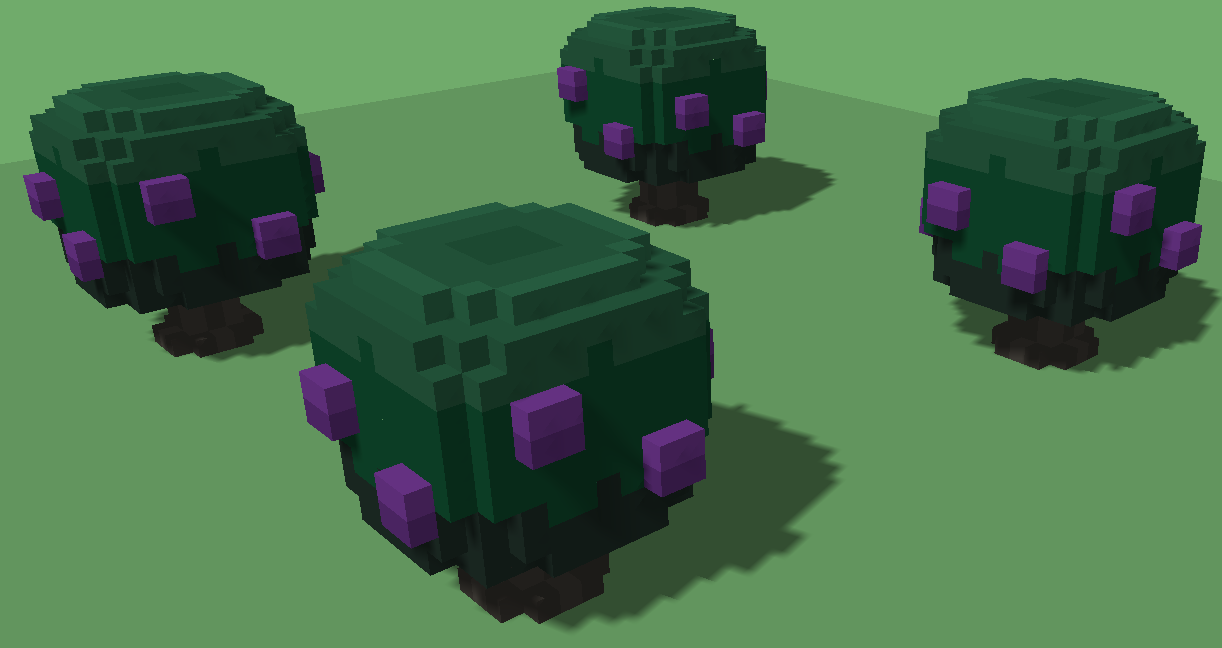
The best places that I have found to start (Super Ninja 81), is not too far from the mountains; make sure you have at least SOME berries (small trees with purple blobs)…


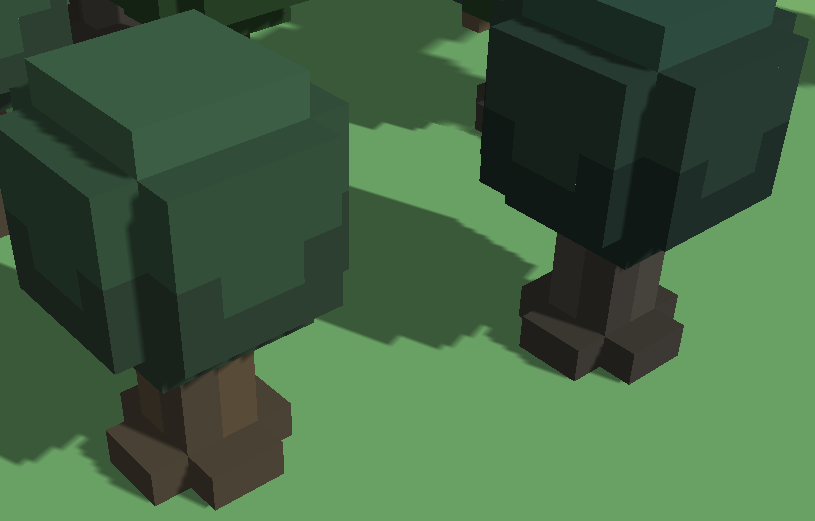
Find an area with at least 6-8 near each other; and trees (those big green things…? Yes, those are trees).

Stockpile and storing loot and crafted items


Now we can get talking about the stock-piles: (your Hearthlings won’t do anything much at all until a stock-pile has been created… they will still fell trees/forage and mine, but there will be nowhere to put anything).
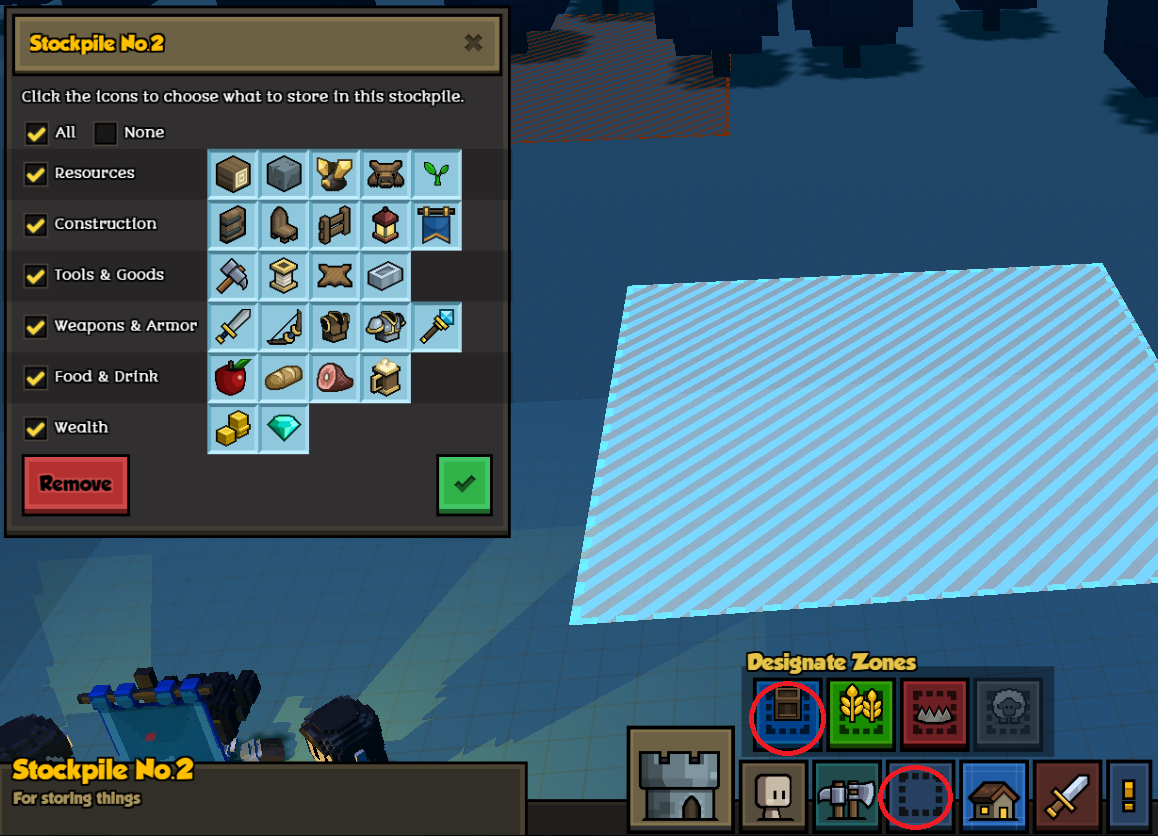
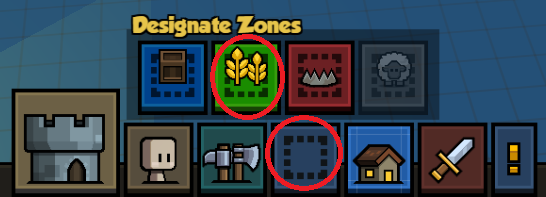
What you need to do is click the middle button at the bottom of the screen *Designate Zones*, you will have some more buttons show (with the *blue* stock-pile option being the only one available, click this button). Now choose a place near your Hearthlings and drag a box so it is 20 x 20 (I find this is the best size for me, you can make it smaller if you like), now deselect everything, then you want the first stock-pile to only accept all of the top row (excluding *Animal Parts*), now click the green button and your first stock-pile is created (it is best to do this in pause mode if it is your first time playing). Now we can create our other stock-piles using the same formulae:
For the second stock-pile you want it to be roughly (if not) the same size, put it right next to the first (with at least a one square gap so you don’t get confused which is which), in this stock-pile you want all of the second row and all of the third row, leaving out *Goods Produced from bits of Animals* on the third row… now click the green tick again.
Doing exactly the same as above, we can move on to our final two stock-piles: In this stock-pile you want to select all *weapons and armour* and all *food and drink*, now click the tick again… In the final stock-pile we now need the *wealth* and the *animal parts* and *Goods produced from bits of Animals*. One last time, click the green tick… you have now made your stock-piles :)
Classes and farming/gathering (to be updated with new classes)
Jobs/Classes


Carpenter


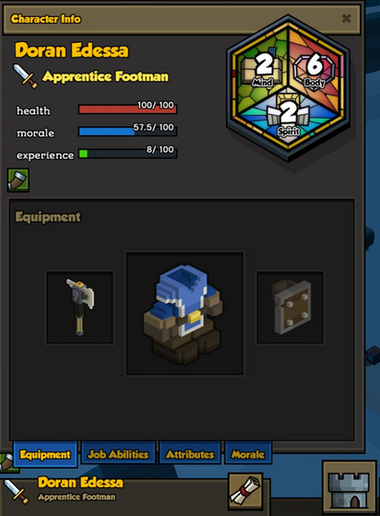
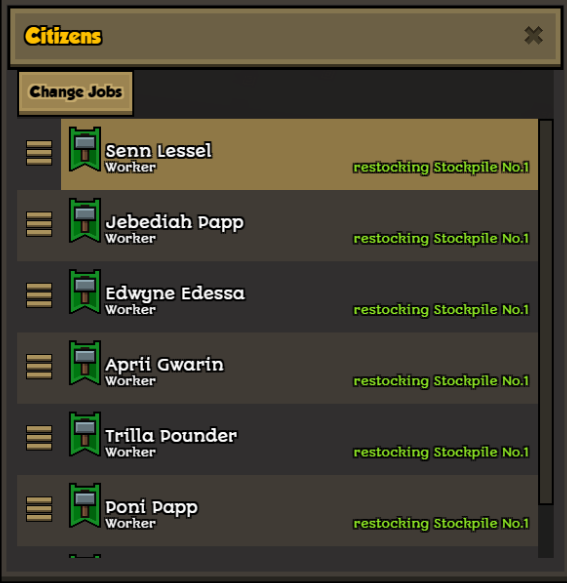
Create a carpenter by opening your *citizens* list, (you want to keep at least 2

Hearthlings with the most *body* skill to be footmen by the way: See picture below.) then click the green hammer icon to check each persons skill set. (anyone with least body will be fine for carpenter)

(this is how a Basic footman's skills should look at the minimum)


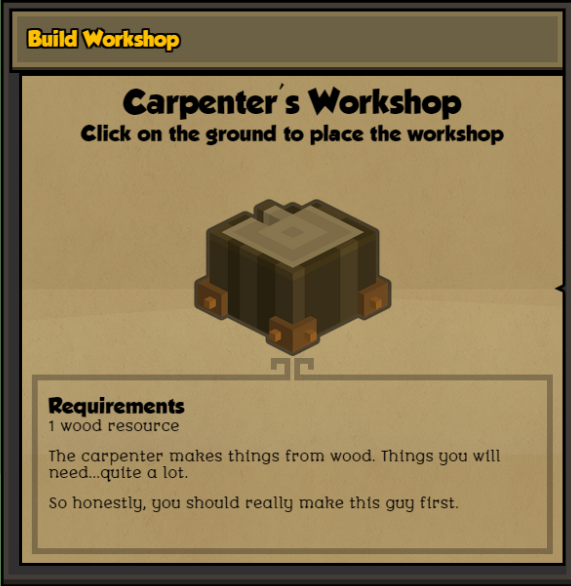
Now create a *Workbench* by going into the citizen menu, click the *=*
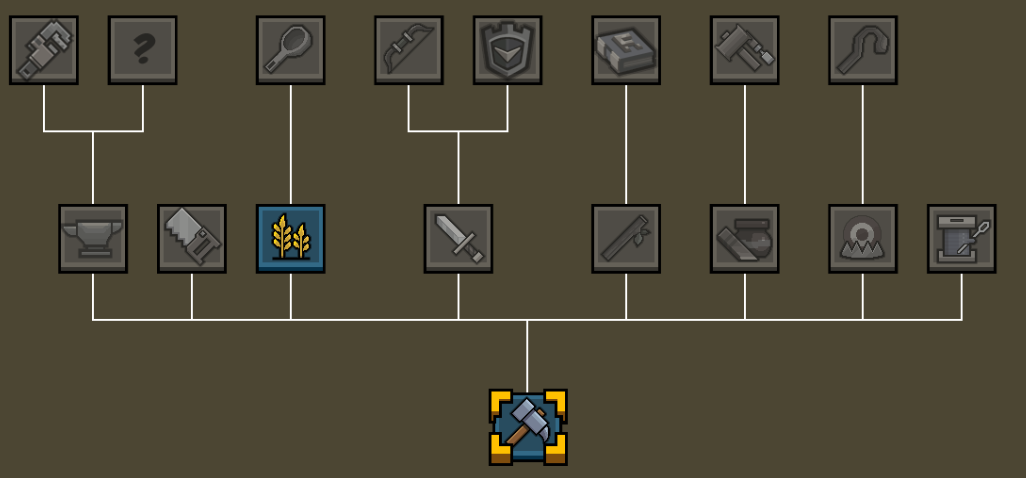
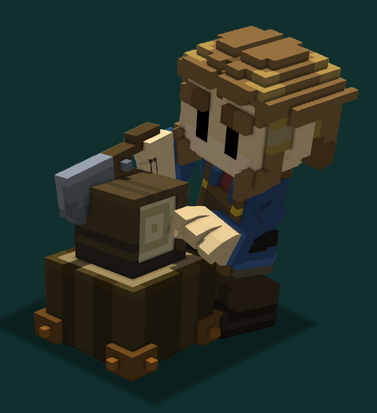
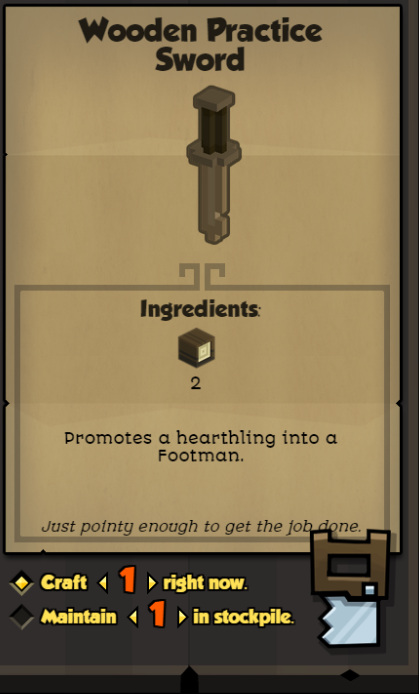
next to the carpenter, and *Build Workshop*, to do this, just click *Build Workshop* as we have said... Now to access it, place it where you want and click on it, to open its *Job List* (now create 2 swords, and one hoe)


PLEASE NOTE: About the Carpenter, if s/he has enough *Mind* they will 1, level up faster and 2, will eventually (after reaching level 4) automatically make random items on their own (this will be of higher qaulity, and they will only do this on items that you cannot buy from shops or loot from enimes (you also cannot currently sell them either)
(Contribution By electrodynamo)


Trapper


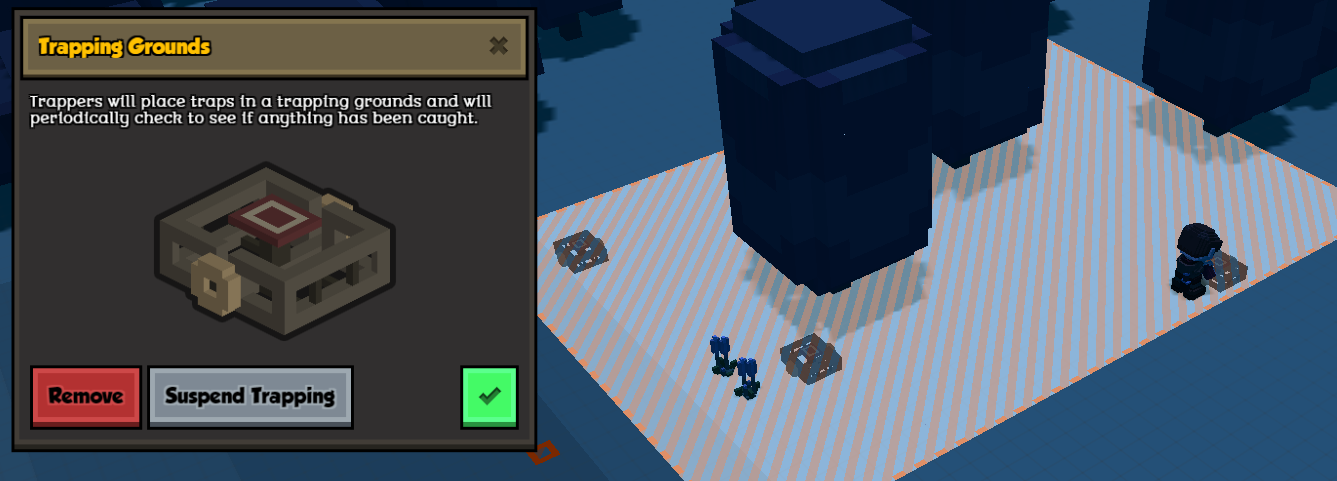
Now create a trapper (let him have some skill in body, at least), create 3 trapping piles (from the Designate Zones menu), make them where and as big as you wish.
Note that the trapper does not need any equipment at this time; also, once your Trapper reaches level 3, you can then turn him into a Shepherd. To do so, have your Carpenter create a Shepherds Crook, once he has done so, you can go back to the Hearthlings Job List and click on the Shepherds Crook, then Approve... Just don't forget to turn someone else into a Level 1 Trapper

Farmer
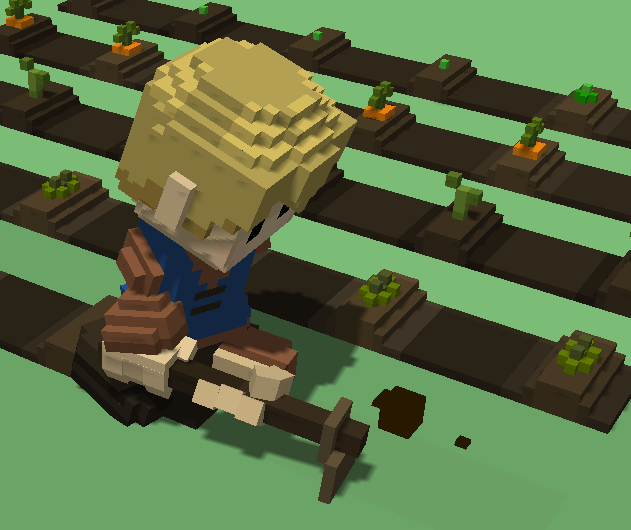
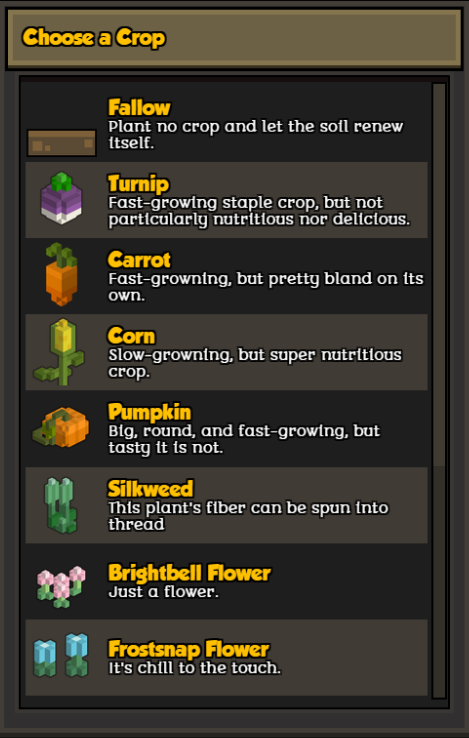
Now create a farmer and make 3 farms (Turnips, Carrots and Corn)
To create one, you will need to make *Farmers Hoe* (see above) and then equip it on who you want that to be.


Footmen.

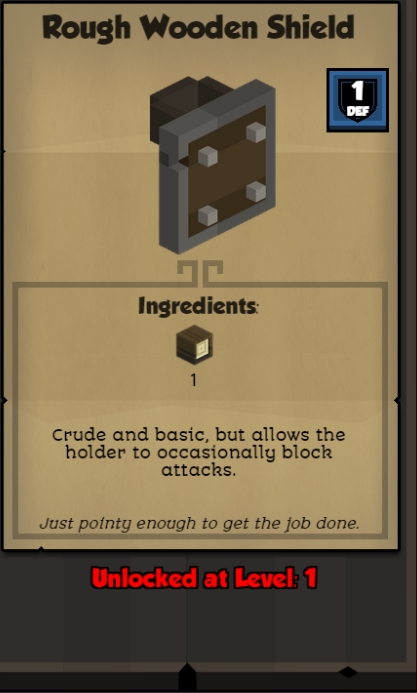
Give your chosen *footmen* the swords you have just crafted, once you Carpenter has leveled up, you can then start making shields for them.


Weaver
Is also created by the carpenter (Note:... the Carpenter is one of (if not) THE most important class in the game, as all other *Specialists* are created from him).

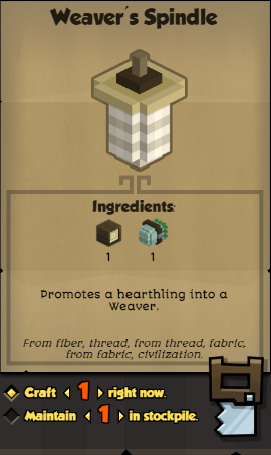
The Weaver can be created once you have crafted his tool (see below) at a Carpenter's Workbench


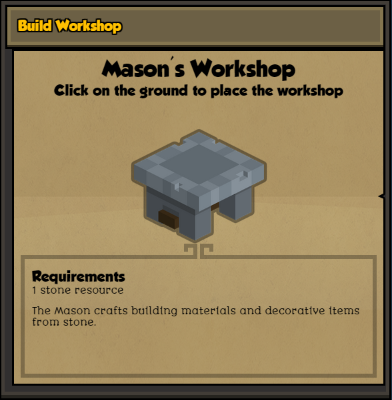
Mason
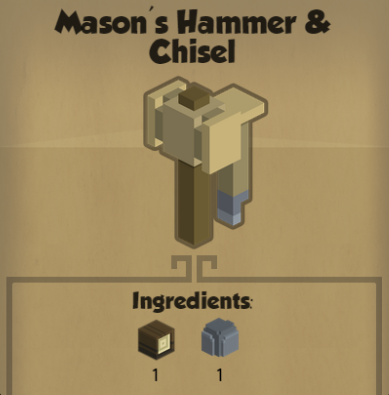
You create the Mason, the same way you do with everyone else (your carpenter needs to build his/her tool first)

Blacksmith
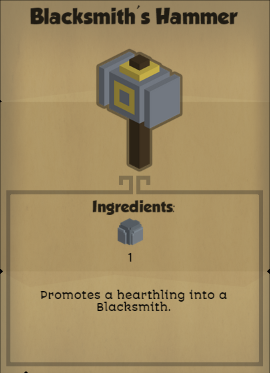
Once you have created a Mason and he has reached a certain level, then you can have him make a Blacksmith's hammer and promote someone to a Blacksmith


Please Note
Your Hearthlings will level up with each job they do (a farmer will get better at farming, a Trapper will be better at trapping, a footman will be better at... umm... err... *Footing*? :P
Daily Update
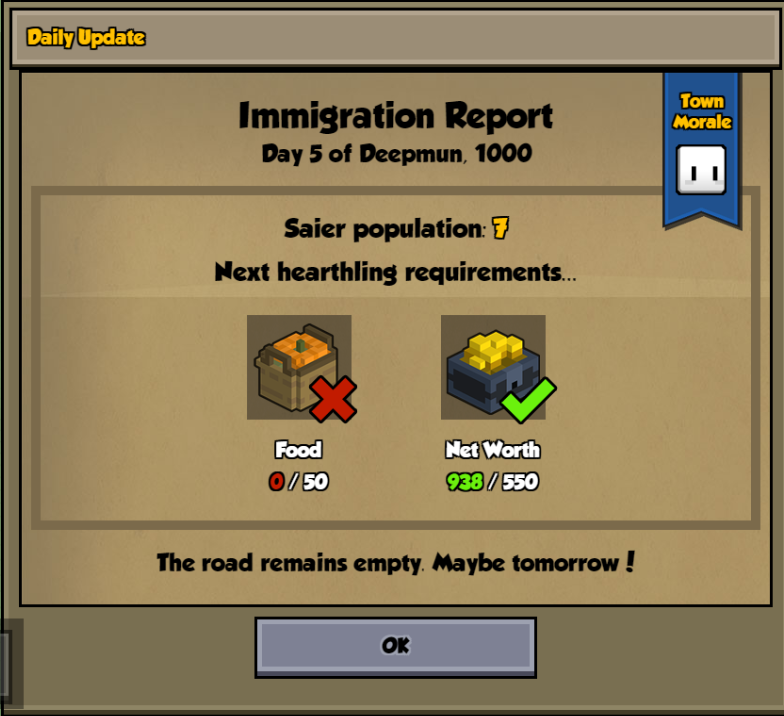
Each day you will get the chance to gain a New Hearthling ( whether you diserve them or not depends on if you can meet the daily requirments:


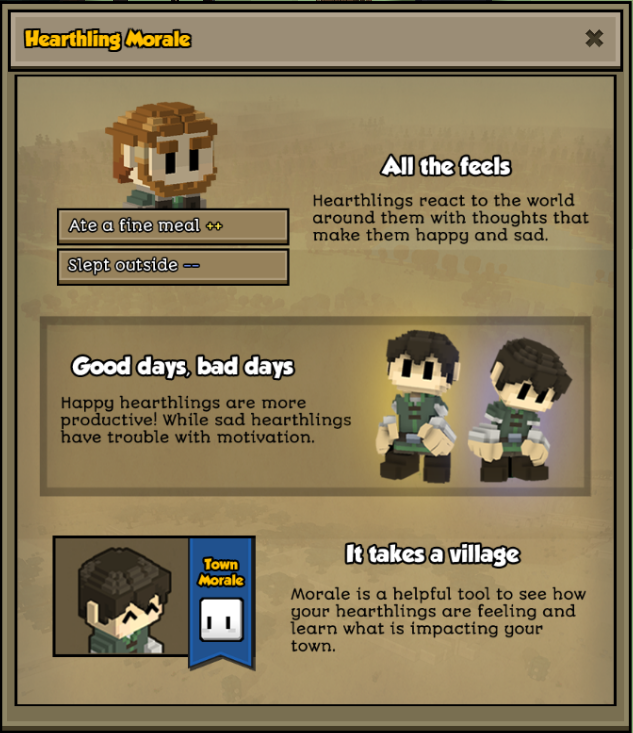
PLEASE NOTE: You only get a chance at one extra Hearthling per day. The criteria you need to meet relies upon Food, Morale and Net Worth. Also Morale is directly influcend by (if not in itself) Happiness (see top image of section)

combat

1. Form Groups
2. Town defence mode
3. Loot

Once you are able to craft with (2 pieces of wood) you will need to craft a sword to make a footman to protect you from attackers (this is explained above), once the carpernter's level has gone up once you will be able to build a shield

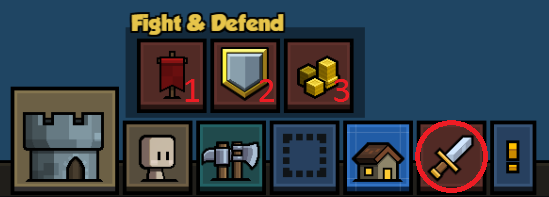
It is also recommended to create Parties (Groups) for your footmen, and put one or two civilians in each, to do this, go to the defence menu (dictated by the button with the red sword/dagger then click the button above (number 1), here you can add/remove members and create multiple Groups or disband them... Once you have created your Group/s and you want them to guard an area or go to an Attack location, go into the Group menu and click the red sword/dagger, then place the banner where it will be most effective. To cancel the order, just click that button again (which has now turned into a Black *X*)


Goblins
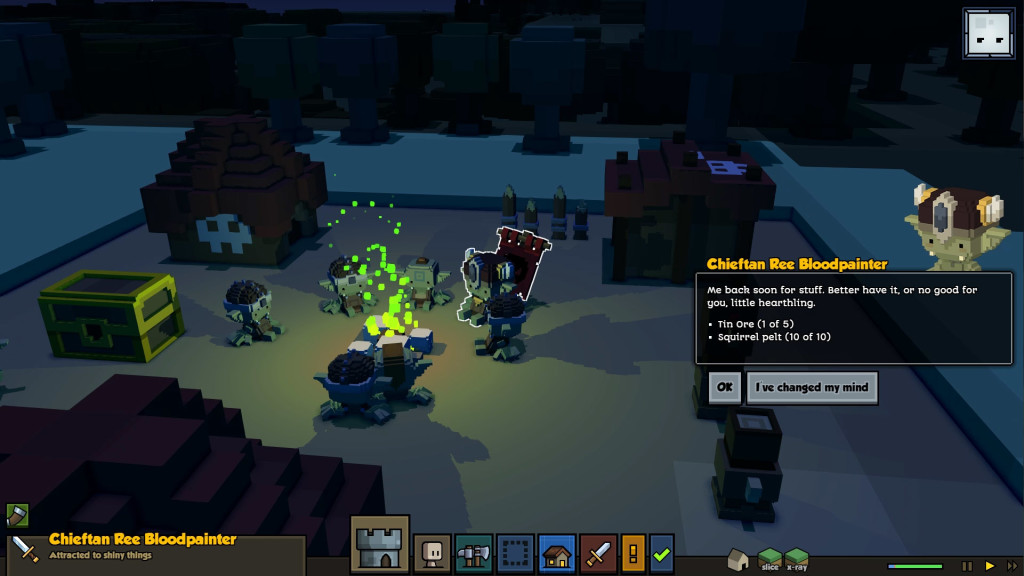
Goblins will demand or steal what they want (and if you can't meet their requests, they will start fighting with you; after a few days have passed... or almost instantly, depending how much you have upset their Chief :D)

They will also build a base and keep attacking and stealing

Make sure you win, because if they do it will be GAME OVER, and you will have to restart an old save or start a new game. Rare loot and items are dropped from goblins on death


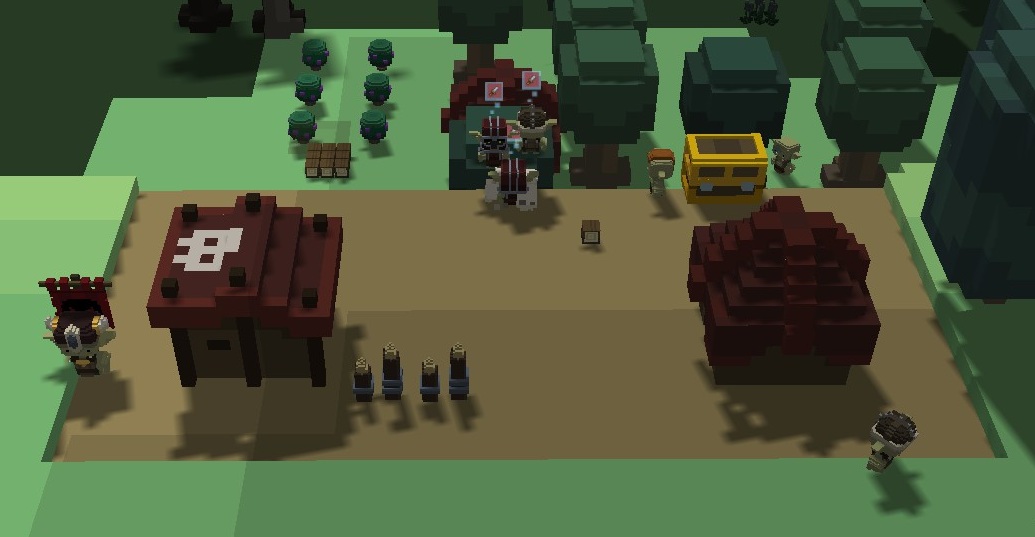
Also Goblin Camps will keep spawning, at the start of the game when they spawn you will get only one or two per camp (Plus the odd *wandering creature* type), at this stage they are easily defeated, and their Fire Pit can be destroyed in just a few hits by the footmen/civilians. The more NW (Net Worth) you have... the stronger the Goblins and their Camps will be... you tend to get Chieftans after you have hit 2.5k NW

If you are brave enough (and have the might to do so) you can even try taking the Chieftan and his minions head on, and destroying them completely. (don't forget to raid their *Loot Chest* in their camp!)
zombies
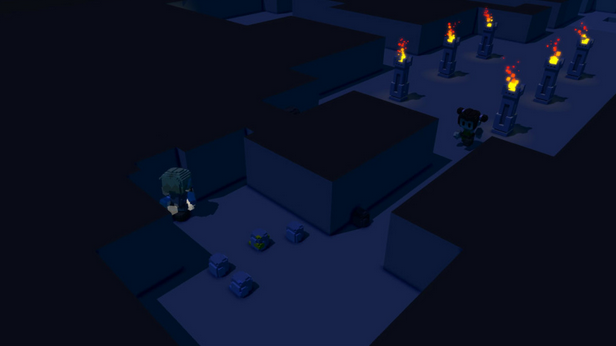
Zombies will attack at night time make sure you have Footmen or use town defence to send everyone to help fight the zombie attackers

Slow but deadly deal with them fast!

Loot dropped on death


*they disappear after the sun rises. This way you can set a defensive perimeter or just avoid them all together when possible. At least thats what happens for me.*

(Credit: ArtofWar)
Wolves and Animals
Wolf Camps: (Shown below) will (currently) only appear once you have defeated the first chieftain. When they do appear, make sure you deal with them fast, as they can hurt you... a lot... if you are not prepaired

Don't panick too much, as you will get a warning when they are about to appear (picture coming soon)

Also, you can get a lot more loot from these camps than normal Chieftain camps. The Wolf camps will keep on spawning at regular intervals, also i was slightly wrong about the footmen's ability in defeating these creatures... You can defeat wolves with a couple of footmen, as long as you have a decent weapon and shield/armor (anything better than a Wooden Practice Sword and the standard Wooden Shield will do... otherwise it will be like attacking them with... a Bath Towel)

DISCLAIMER: Bath Towels are Not Currently in the game!

PLEASE NOTE: you cannot currently tame wolves


The other animals (which are not as vicious as wolves) currently in the game are:

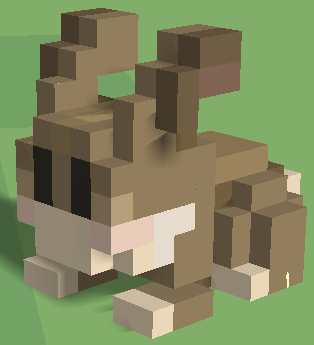
Rabbits

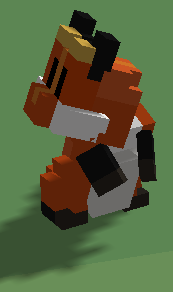
Foxes


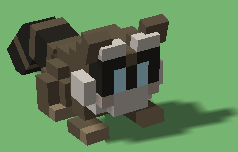
Squirrels/Raccoons


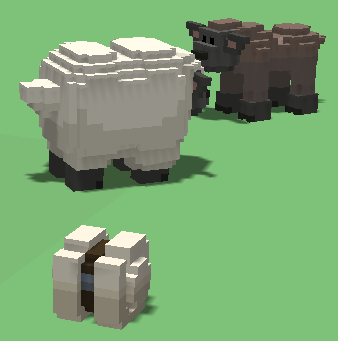
Sheep


Most, if not all animals (friendly critters) can be turned into pets, randomly by the Trapper

(more animals and pictures comming soon,)
shops


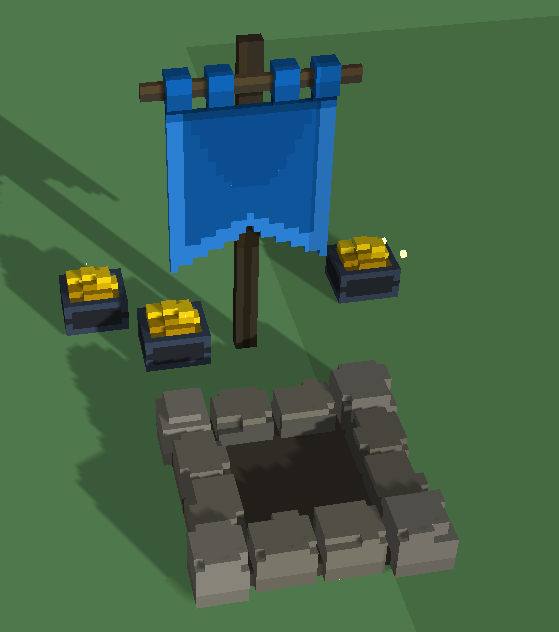
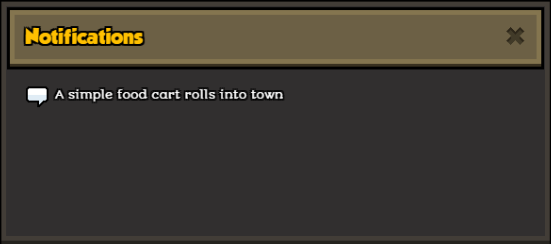
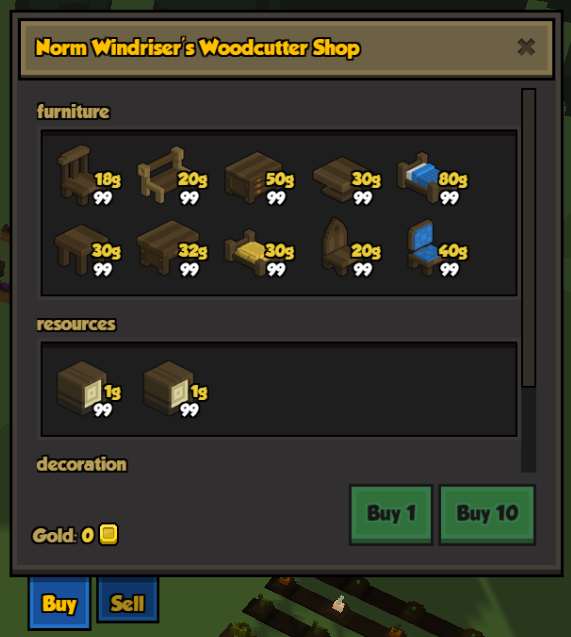
Every so often (every few days) you will have a Banner (like the one above) appear on the right of the screen (this is new information for you, and most of the time it will be a merchant, or some wanderer. Also, if you have missed any notifications, do not worry... they can be found under the *!* button on the bottom right).

They will not need a *stall* built for them (like certain games do), they will instead just turn up and say *Hey you! Buy my stuff!* and show you a list of their wares and how much they sell for.

You can also sell any surplus items to them for *cold, hard Shinys!*

Also, you only earn gold by creating surplus stock and selling it to the merchant.

Building
PLEASE NOTE: You are currently unable to Demolish any buildings once they have started to build them

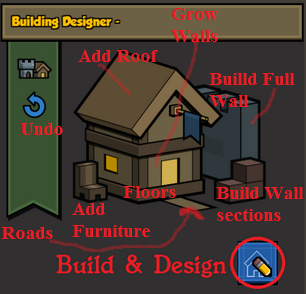
To bring up the *Build* menu, click the Blueprint icon. Here you can find various tools so you can build your own cutstom buildings; you could also use the pre-designed blueprints if you are feeling lazy :D

The image below shows you what the *build* menu looks like..., To build anything at all you need to start with a Floor. To build a Floor, just click the bottom level of the house and mark out where you want it, then you have to build Walls... you can do these individually, but it is far easier to *grow* them instead... to do this, just click on the side of the house icon so it glows green, then click anywhere on the Floor... To build a second layer, just click the top section (just below the roof) and draw out another Floor, then click on the wall of the house again, and place it over the floor (individual Walls will not work here). Once you have your building looking how you want it you can add the Roof, to do so, just click on the Roof section and place it over the Walls. Once you have finished, you now need a door, some windows (if you want them) and any furniture you have built/will build. Once you are happy with it, just click on the *Ghost* you have created, and then *Finalize/Build*

NOTE: Just have a mess around with any design you can think of... What is the limitation of your building??? As limitless as your imagination :D But be WARNED... The bigger and more complex your building/statue is, the more likely it is you will encounter bugs.

You can also build protective walls... or even a castle/fortress using the above formula, so let your brain go mental :D

Also, if you want to build stairs rather than mine them, (see Mining and Ore section below), then just click on the *lower floor* section of the house icon, draw it out as if you were making any floor, once it has been built you can then add your other layers.


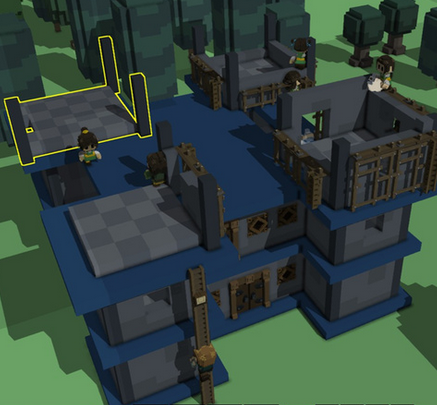
WARNING: Yes... It is possible to build more than 2 stories, to do so, just do it following the previous steps outlined above, however, the taller the building (the more sections it has) the faster the game will crash (officially the game will only allow 2 stories at the moment, but unofficially....? Well, look at the image above ;D
Mining and Ore
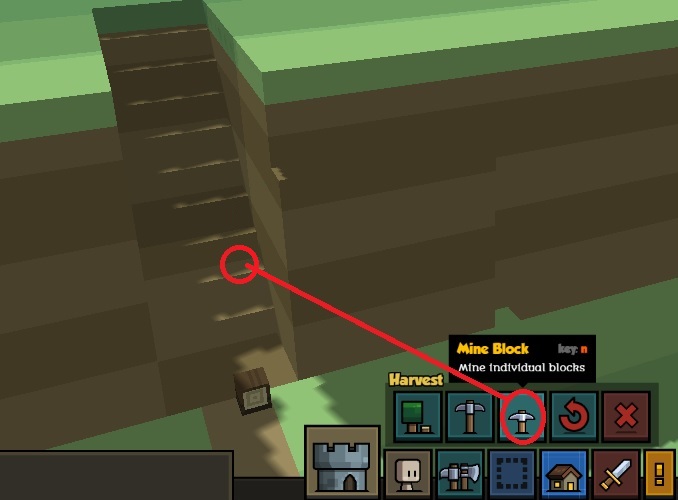
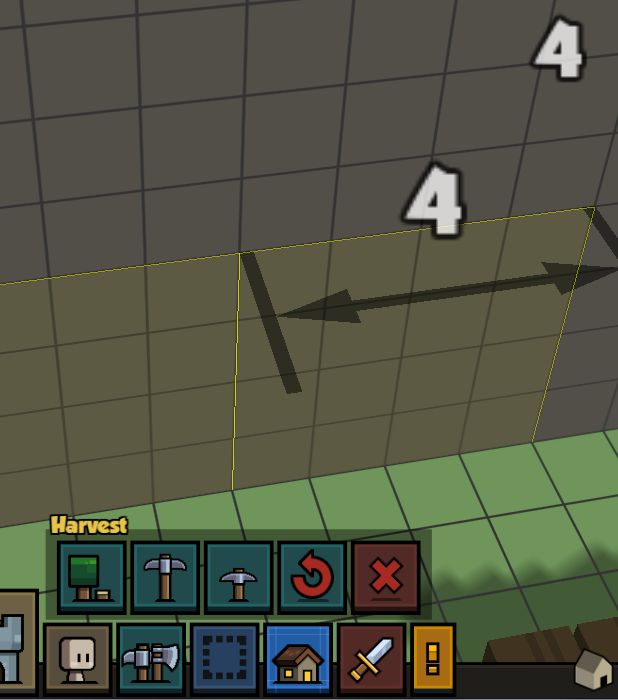
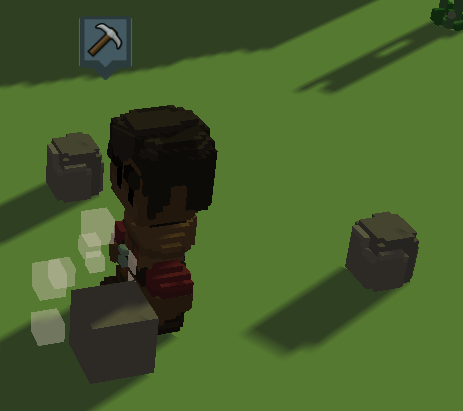
To mine, you just click the *harvest* button, and then the *mine* button, then drag over a patch of land/wall that you want to mine.

If you want to mine individual blocks (or have more control over it) then just press the *N* key... (SHHHH!!!! For more button short-cuts please read the Keyboard Layout section below)

Also, we have noticed it is easier (and less buggy) if you Mine stairs, rather than build them with slabs (unless you are after a certain look... then you can make *Slab* stairs out of stone/wood etc)


WARNING: Do not try and dig too far under the map, as this tends to slow down (and sometimes bug) the game.


Ore Types
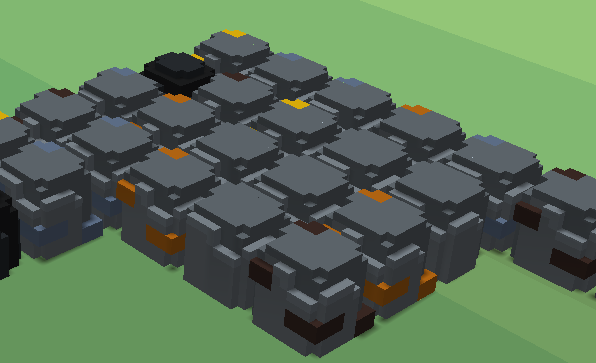
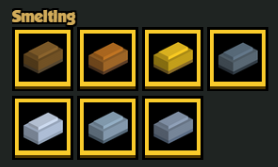
Stone, Coal, Bronze, Iron, Silver and Gold (you can only make Gold Bars to sell, you cannot make coins out of it, but you can use it to create armor)


Beds and Sleep
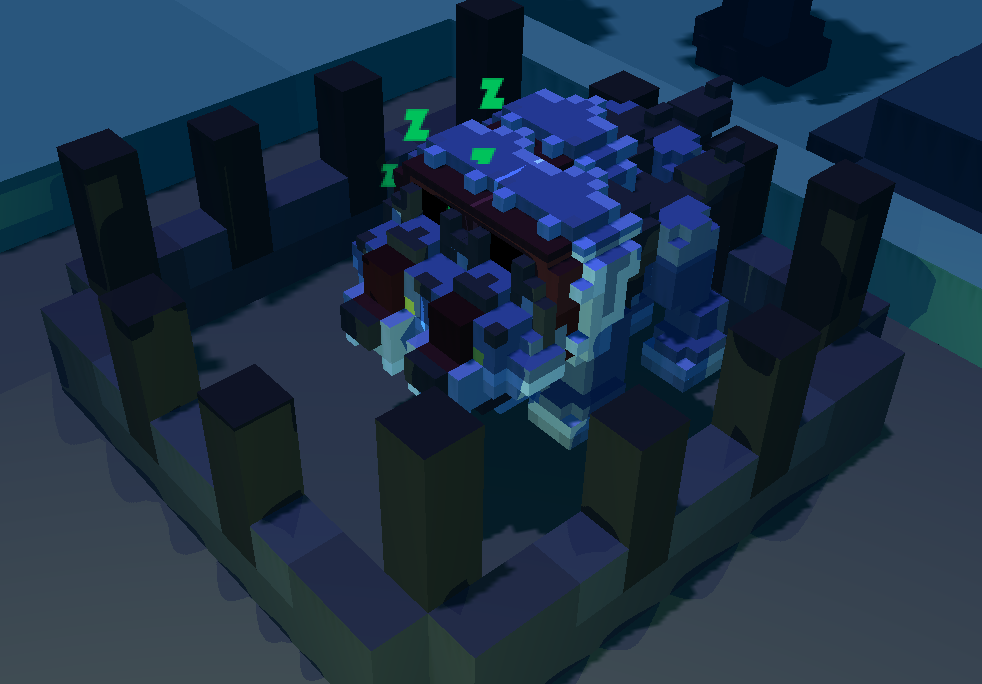
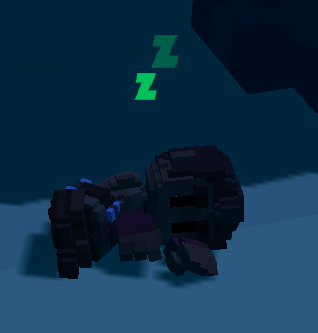
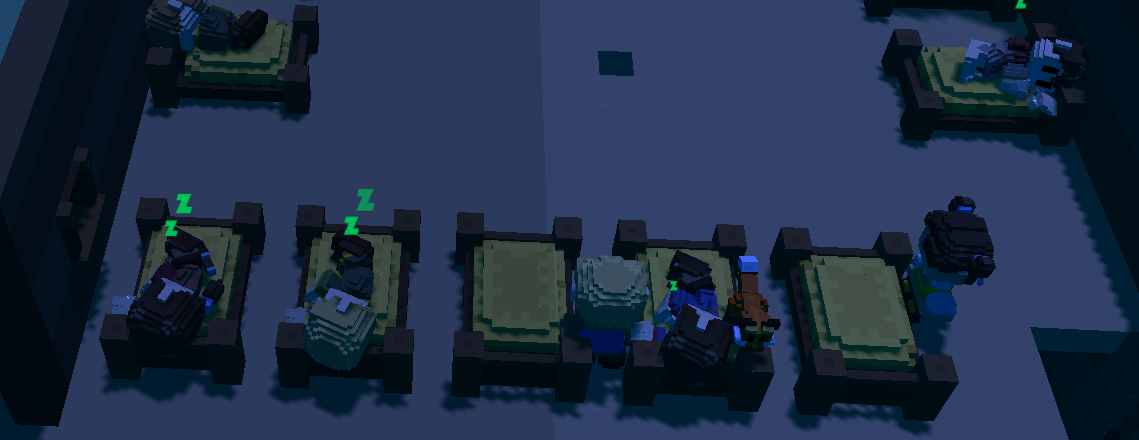
As you can see from the pictures below, it is a lot better to have beds for your Hearthlings to sleep:

They will stay awake longer and work faster and for longer as well.

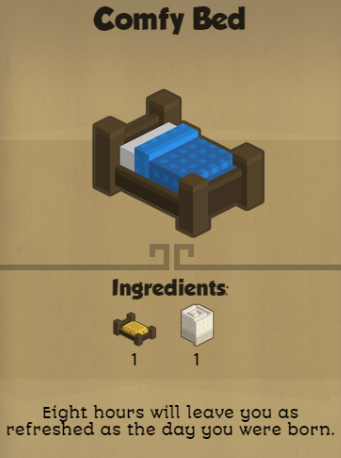
Beds can be built using the carpenter and his workshop.


The more levels your carpenter gains, the better the beds he can build (better beds = better sleep)


Day & Night time
During the Day you can expect to see Goblins and Wolves (they can also appear at night-time as well)


At Night Time you can expect to see Zombies


Days and Nights roughly last about 20 minutes each
Mods
You can find Mods here:

http://discourse.stonehearth.net/

Which change the game in various ways (be careful, a lot of them do not work with (and can bug) the current version, so please do not forget to backup your game files
Keyboard Layouts and Hot keys
*P* Place items: I don't think i like my bed by the window anymore...
*N* Mining tool and helper (selecting single blocks at a time)
*R* Defence: It is better to add Footmen to parties, when the town is on Defence, but normal Hearthlings will defend as well if you click the *Shield* (awww,,, look at those cute, squishy Hearthings.... MEDIIIIC!!!!)
*Z* Zone Tool: To create *stock-piles/Farms* etc
*G* Group: (otherwise known as *parties*... Hey, who forgot the beer?)
*i* Viewing town/village Information
*C* will show the *Citizens* menu
*H* Is for Harvesting
*M* is for Mining a tunnle/cave (in blocks of 4x4)
*O* is for your stock-piles
*F* Is for your farms
*T* Is for your Trapping Grounds
Shift + P is for your sheep pens
*B* is to Place buildings
*Shift + B* is to create a building
*L* is to build a ladder
*Shift + L* is to loot the Goblin chests
*V* Is *build Vision* (shows you different sections of buildings: Once fully built)
*\* is to show specific *Slices* of the land
*X* is X-ray mode
*, and .* is to rotate your items/buildings
*ALT + F4* The infamous *WoW* button (for use when you are at work, or your wife/parents/husband have just come home)... YOU WERE WARNED!

UPDATED HOT KEYS:
+ and - can now control camera zoom
Clicking the middle mouse button and moving it can now control camera panning

(These are currently all the *known* hot-keys in the game)
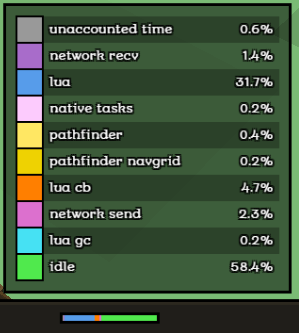
View lua & speed settings
Lua (Which should always be written like this as it is not an abbreviation) is an *embedable Script* program, which is *free and open source* (any one can use it as much as they like).

The main usage of Lua is *memory management* and *data clean-up* (Garbage collection for the *Script* in question), this is the reason, when you encounter a high number (%) of this, you encounter game-breaking lag... This also works (semi) in partnership with the *path-finder* and a lot of the other gaming code..., because it has to manage almost every aspect of *Memory management*

(you can find a more in-depth example here http://www.lua.org/about.html )


The icon below is your Speed Controls and... let's call it the Lua Bar? (Shown above)
The speed controls, (shown below) are very straight forward, from left: The Pause button (freezes the game play), the Play button (plays at normal speed) and the Fast Forward button (plays at 2x speed).

The bar to the left of the Speed Controls is called the Lua Bar and if you click on this section you will have a list of information which can tell you things about the current state of the Game Engine (if there are any issues etc): See image above


Now these buttons below let you see different *view-modes* of the game screen: The House icon on the left will show you different section of your buildings ( this has three options: In normal mode you will see a building with all walls and roof, with the first click you will see the building where a wall section has been cut out so you can see inside, on the final click on the *Wall Mode* is where you can see no walls at all, as if the building has not been completed)

The second button on this row is the Slice button, this allows you to go up or down levels/sections and will change the view accordingly (useful when mining).

The final button is the X-Ray button; this allows you to see everything that you have built/mined as if it is *floating in the sky* (the land and trees etc will disappear), click it once more to go back to the normal view mode.


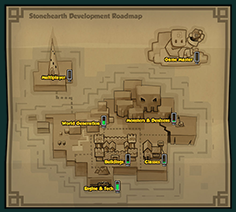
roadmap
What we can all expect to see in the coming updates of the game

http://stonehearth.net/roadmap/

(The current image below is just an example: and might not be up to date, we have come quite a way since the origional road map; the current state of which can be found by following the link above)
Hints and Tips
This section is where you can find hints, tips, and what has worked for other people:

*as far as defending goes, if you do the start up recommendation with 2 footsoldiers, by that time you should have 7 or 8 hearthlings, do you immediately make parties. i tend to put 1 footsoldier in each party and then have the rest of the people join those parties.

> mind affects the 3 attributes of Diligence, curiousity and inventiveness
> body affects muscle, speed and stamina
> spirit affects courage, willpower and compassion
> a good soldier will have a good body and spirit

(Credit: electrodynamo)


At first (if you are new to the game) Try not to get too much NW straight away: The more NW you have, the more Goblin/Zombie raids you will encounter and the stronger they will be. Example: If you have 5k NW and only 10 *Hearthlings* of which only 3 are *Foortmen* then you may as well consider it GAME OVER
(by Super Ninja 81)

If anyone else has any hints or tips they would like to see in this guide then please add it to the comments section, and you might see them added here :)

The early days
Here is where you can watch videos about how it all got started (Please note we are currently in alpha 10.5)
https://www.youtube.com/watch?v=usFbKEIEOqY

https://www.youtube.com/watch?v=uewE6c_Iu1w&feature=youtu.be

https://www.youtube.com/watch?v=lCFjqtj8i6M&feature=youtu.be
Update List
Authors and Contributers
PLEASE NOTE: We have been in no way whatsoever sponsered or endorsed buy Radiant (the company who created Stonehearth), we are doing this entirely for free and for the comunity, so if things are going a bit slow, or there hasn't been an update in a while, please don't panic; because just like you we have families and lives of our own..

If anyone DOES want to contribute to any section within this guide, please get in touch with either Super Ninja 81 (Myself) or ZelGraz-Weht... Or please leave a comment in the comments section :D

Written by ZelGraz-Weht and Super Ninja 81

Owned by ZelGraz-Weht and Super Ninja 81

Contrinbutions by: ArtofWar; electrodynamo;
129 Comments
sergio-_-santos 22 Jun, 2021 @ 4:25pm 
porque em determinado momento o jogo trava depois que ficamos uns 30 minutos parado e nao da para salvar ou diminuir velocidade detalhe so trava com velocidade 3
My Name A Borat 30 Jul, 2020 @ 3:15pm 
I can tell I am extremely late, but healing items will be crafted and used by a herbalist based on need; I think its a <50% health threshold. When this happens, hearthlings will seek a bed to recuperate on, when herbalists will tend to them with healing items. imo, clerics are infinitely better than clerics based on heal ability
Penis Warlock 4 Oct, 2019 @ 10:44pm 
So, how do you use the healing items?
jeanjaz 2 Mar, 2019 @ 8:00am 
Playing as of March 2019, part 4...
Last post for now.
- The Hearthlings have a way for you to "unfreeze" them, and the more population you have the more you will need this.
Click on the stuck person. In the lower left of the screen appears the small info box about that Hearthling. Click on the Blue book looking icon -that brings you to their personal info. You will see a Stargate type of transport icon in the upper right of that window. (You know, the rings that slip over the one being transported like a Slinky.) Click that icon and you will get a little flag to put wherever you want to move your Hearthling to, thus unsticking them. They immediately run off to do what they need to do.
The transport symbol recharges after the Hearthlings midnight so it can be used the next in-world day if your Hearthling is unlucky enough to get stuck again.
jeanjaz 2 Mar, 2019 @ 7:51am 
Playing As of March 2019...
- I did a trade with a Trader, something like 6 doors or comfy beds exchanged for two "Cricket Golems". These are pretty sweet critters. Best I can tell they haul stuff like the Hearthlings, but they carry more, go faster, and they don't eat or have moods. I'm not sure if they sleep.
One of mine got stuck. I could click on it and choose to 'put it away' - they use a word I can't remember. Then deploy it again and, Voila! Unstuck.
- Someone should list the "months" or seasons or whatever they are, explain what is unique about them, and how long they last. In the snowy one (s), the farm plants' growth slows down and pretty much stops. I was NOT ready for that at all.
jeanjaz 2 Mar, 2019 @ 7:27am 
As of March 2019, part 2
I hadn't played StoneHearth for over a year, and had forgotten a lot of details, but when I went looking for answers a lot of things started coming back and I was able to see the difference a little easier than maybe if I'd been playing all along. So these were the things I've seen. I'm only playing on peaceful with the "easy" race and "easy" terrain.
- The start up has been simplified a little, and you only get a group of five Hearthlings (on the easy game I started).
- I hadn't remembered this from the last time I played this game over a year ago, and I'm not sure I knew what it was then, but I think I've figured out that the blue and pink tags on inventory crafted items show they have been made better - crafted by a more skilled Craftsman. They sell for more too.
If I notice more, I'll note them here in another post.
-Jeanjaz
jeanjaz 2 Mar, 2019 @ 7:16am 
As of March 2019...
- It doesn't look like you "promote" your Hearthlings manually - it is done automatically, I can tell.
- You don't need to build up layers to make stairs now. There is actually a "stair" the build menu that you can stretch just like other items. It doesn't seem to be buggy. There is also the ladders - which are not in the build menu btw.
- I don't find ” floors" anymore. Of course they may be there and I didn't see them. You can highlight a rectangle of land and set it to a variety of colors and three materials. You use this same menu to make roads and other surfaces. (Patios, etc.) Unless there is a way to customize the colors, they are all natural earthy colors.
I'll put more in another post.
spectre king 16 Jan, 2019 @ 8:16pm 
any idea when the geomacer job unlocks
aidan 25 Nov, 2018 @ 7:44am 
so ore' mining and godlins r bad guy
aidan 25 Nov, 2018 @ 7:43am 
cool