OFF
32 ratings
Finding the New Boss Content in OFF
By MKCyborg
Are you a long-time OFF fan looking to find the big new content? Or a new player who's curious about what's been added? This guide will help you find those new bosses.
   
Award
Favorite
Favorited
Unfavorite
Intro
One of the biggest changes in the remaster of OFF are a group of new bosses that you can find near the end of the game. They're easily some of the toughest fights in the game and are a big test of how well you can fight with the new battle system. If you're looking to fight them, here's a quick guide to finding all of them.

When's the best time to go looking for them?

I'd say the best time would be around the time you've beaten Zone 3 and have all the Purified Zones available. If they're still a bit tough for you then, it might be a good idea to advance through The Room until right before the fight with The Queen, so you can reach Zacharie and buy his new gear.
Boss #1
Location: Zone 1

Past the block-pushing puzzle at the former metal farm, you'll see the tram path going to the east as well as a much more simple block-pushing puzzle blocking a door to the north. Push your way past those blocks head straight up until you find the boss.


Battle tip: Source's first two moves are to set up some regeneration on itself and then throwing down thorny plants that act similarly to a party-wide Poison. Despite this, they're fairly easy for the time you can first encounter them, so lay on the damage early on before it gets fully set up.
Boss #2
Location: Zone 2

When you enter the main area where you can enter the library, take a left and head back to the theme park area. From there it's a straightforward path to the boss.


Battle tip: Maldiction's main gimmick involves hitting itself and the party with the 'Impure' status. This applies an elemental weakness to the target. You can tell what it is via the message that shows when they're hit (such as "Smoke forms around Maldicion", which means they have a smoke weakness) or by targeting them with an attack/skill, which is the one time the game will tell you what a status effect does.
Boss #3
Location: Zone 3

Progress into the Zone until you reach the part where you jump down the silo. From there, head into the lower room and check the furnace room. This will lead to a secret area with a long ladder. Head down it and you'll find your target.


Battle tip: These lying fish have two big status effect gimmicks and one based on the allies they summon:

Vilified prevents your entire party from using skills (and can't be protected against).

The more important one is Defamed from the move Subterfuge. This will cause one party member to get lots of crits (you can tell by the action bar getting an "energized" look to it, which tells you the next action will be a crit). While you have this up, don't attack with them at all. When it wears off, that party member will be found "guilty" and take a lot of damage based on how much you dealt to the enemy, while the other party members take a portion of that damage. If you go a little too wild, it's entirely possible for your party to get nuked by the damage you take.

Finally, the fish can summon minions to help them. These minions are also crit-based. Two of these fish barely take any damage and will never crit. Ignore those ones and focus on the one that constantly gets crits. That one will take normal damage and kill all three of the minions when it dies.
(Thanks to FauxFrost and Gabe!! for the info!)
Boss #4
Location: The Room

Once you've beaten the previous three bosses, a staircase will appear on the right side of the entrance area. The boss is right down those stairs. (You don't have to complete any Chapters in The Room to access it, but it's probably worth reaching Zacharie for the gear he sells.)

Battle tip: Justus doesn't seem to have any particular gimmicks. Other than using moves known by The Batter and his Add-Ons.
Boss #5
Location: World Map (?)

Once Justus has been killed, if you go back to the world map (?), you'll see a swirling portal in the upper-left part. Go there and you'll be taken to a clifftop where you'll find the next boss.

Battle tip: Carnival switches between using moves known by the previous remaster bosses, but stronger. You can tell which boss its imitating based on the 'Game of X' move it uses. As for the "WINNER!" thing that happens where someone wins a prize after they attack, I'm currently unsure what that does as of this writing.

Update: Whenever someone gets a prize, it boosts their action bar by about 50%. Thanks, Lexie!

Update 2: As well as influencing Carnival's skills, each Game changes what procs prizes:

*The game of Aquarius rewards those who use competencies. this includes non-damaging competencies, but does NOT include items.

* The game of Pisces rewards those who take damage. any time the player deals damage to the boss during this game, the boss's action bar will fill by 25% instead of 50%.

* The game of Cancer rewards those who use element-based attacks. this includes the Batter's "Run With..." and Omega's "Gaussian Blur" competencies and the Inspiration and Expiration items.

* The game of Leo rewards those who heal HP or CP, whether via competencies or items. this does NOT include defending to recover CP.


Thanks, SnoozeCruise!
Boss #6
Location: The Room (Finale)

First off, save before doing this one. It's past the Point of No Return.

Once you've done that, enter the Point of No Return as normal and kill Vader Eloha. After that, head forward as if you're playing as normal. Before entering Hugo's room, you'll notice (assuming you've killed the other five bosses) a staircase to the left. Go down there and head down until you find the end.


Battle tip: Hoo boy, this is the big one. Cob has a simple but deadly pattern:


* Heal about 120 HP
* Hit every party member for about half of their HP
* Watch a party member with great interest
* Vilify the entire party. Worth noting that this version disables competencies and items, unlike the previous versions! It wears off around the time the pattern repeats with Cob's healing.
* Give a boon to the watched party member, healing them for about 30-70 HP
* Cast Ionosphere, nuking that watched party member from orbit for several thousand HP.

Given Cob's healing, you'll want to have Alpha try and Poison them as much as you can (which won't be often due to the Vilify hits) to counteract the healing. Epsilon will want to boost the attack of party members. Defense don't matter much due to the odd damage scaling of the party-wide attack and the 'basically instant death' level of damage from Ionosphere, as long as you make sure to occasionally Save Third Base and throw some Fortune Tickets around.


If you win, make sure to leave the area the way you came to get your ultimate reward: some pillar art of the zodiac-themed bosses!
6 Comments
April068 19 Aug @ 2:02pm 
I spent so long searching Pure Zone 3 and never thought to look in the furnace, lol
SnoozeCruise 18 Aug @ 7:21pm 
adding on to boss #5's strategy:

each game has a unique condition that any combatant can fulfill to earn "prizes." these prizes will fill up the winner's action bar by 50% (except in one condition; see below).

the rules:

*the game of Aquarius rewards those who use competencies. this includes non-damaging competencies, but does NOT include items.

* the game of Pisces rewards those who take damage. any time the player deals damage to the boss during this game, the boss's action bar will fill by 25% instead of 50%.

* the game of Cancer rewards those who use element-based attacks. this includes the Batter's "Run With..." and Omega's "Gaussian Blur" competencies and the Inspiration and Expiration items.

* the game of Leo rewards those who heal HP or CP, whether via competencies or items. this does NOT include defending to recover CP.


this might be better encapsulated in a strategy document, but i hope this helps regardless!
Megsie 16 Aug @ 4:02pm 
To answer your questions on Boss #4, the staircase will show up once 1-3 are beat at the beginning of the Room.

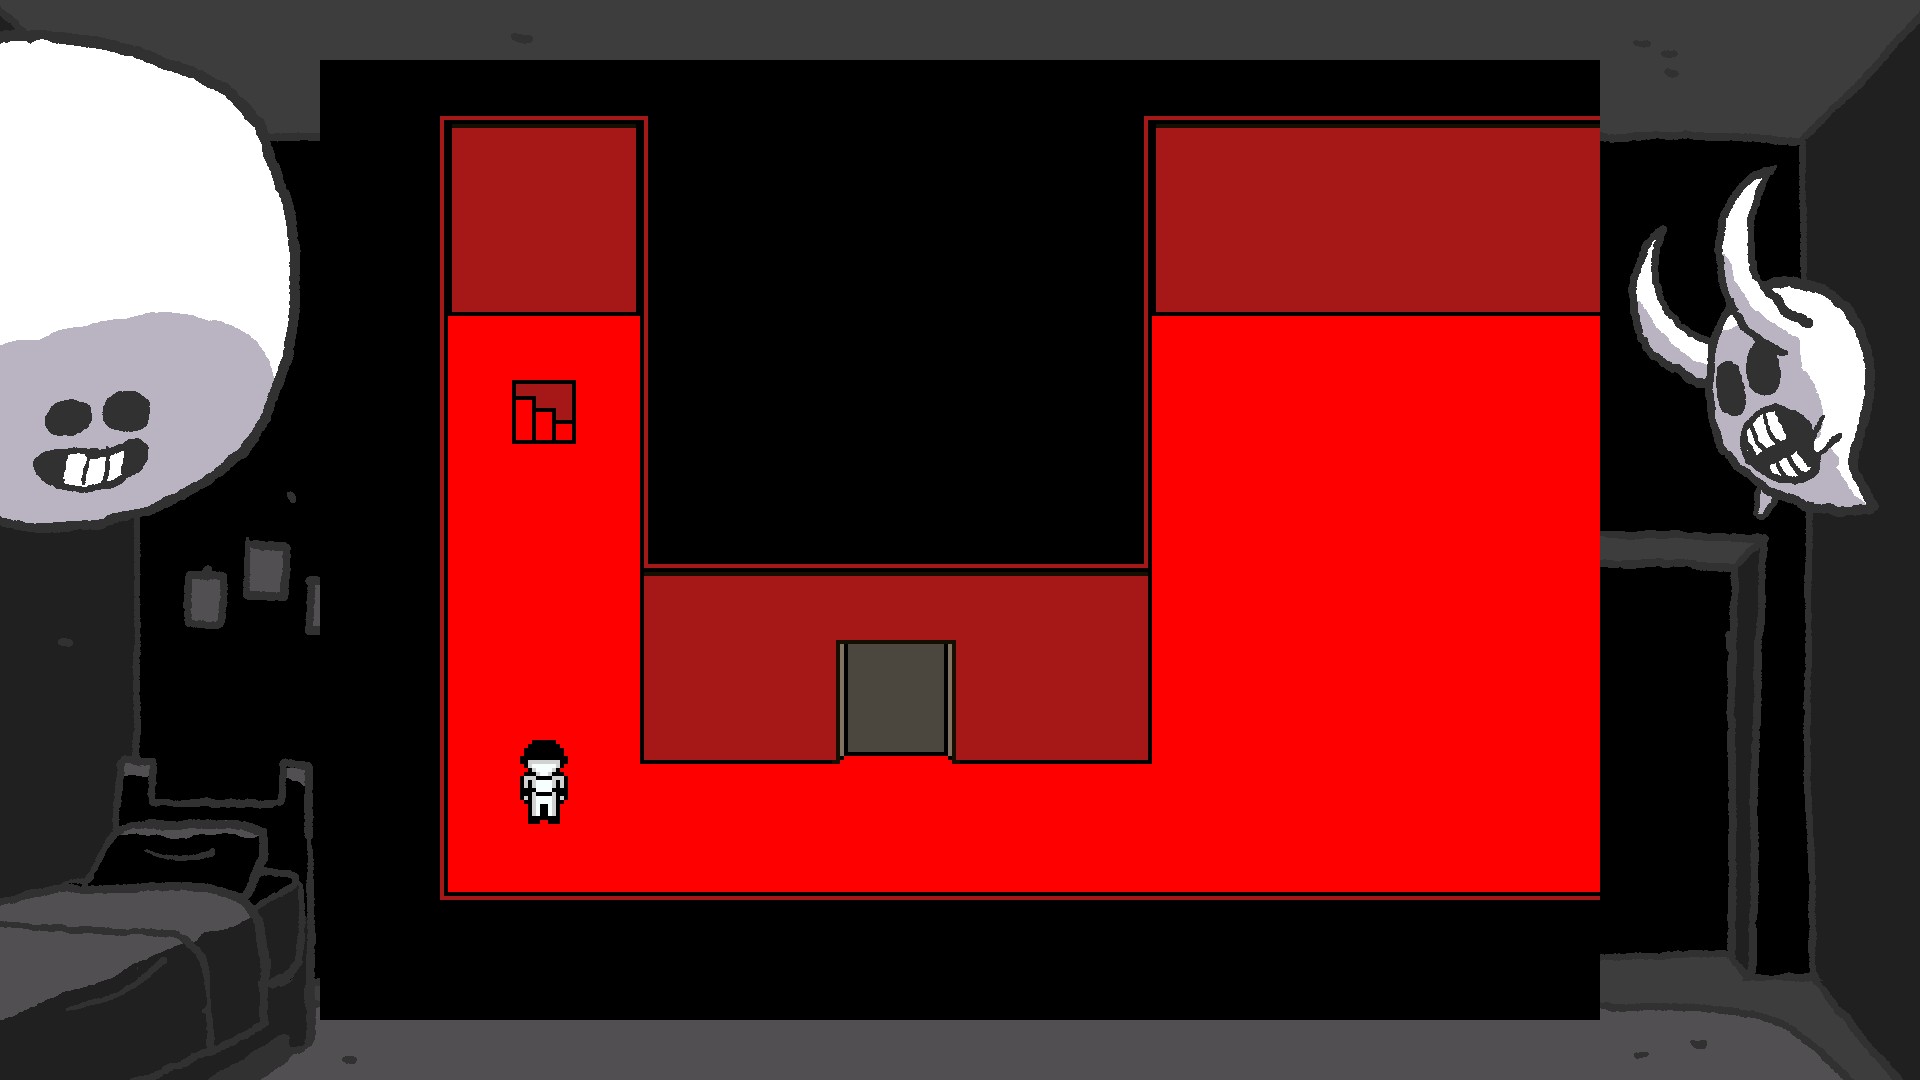
Learned this as I did the walk around first then went to the Room and saw the staircase and went "what is this?"
fauxFrost 16 Aug @ 11:49am 
To add on to Boss 3, the guilty party member will get constant crits. If someone had them before the move was used, look for the one who gets it mid action bar charge. If nobody does, the one who had crits is guilty. The fish that are summoned are also crit based. the two without crits take barely any damage, and don't get rid of the others. The one with constant crits takes normal damage, and gets rid of the others.
Gabe!! 16 Aug @ 11:42am 
The "guilty" party member from Boss 3 gimmick can be determined by them getting constant crits. Using items with them can actually benefit the party as the healing done will be applied to everyone after judgement.
Lexie! 16 Aug @ 11:22am 
Will say what I've seen of this! Boss 5's Gimmick you are currently unsure of will fill the action bar of the respective character by half every time! It chained 3 moves on my run that way, and with each "game" the "winning" action changes