Blue Archive

Blue Archive

67 ratings
A Guide To Raise Your Relationship With Your Student
By Switz
I'll share some tips and tricks with you that I used when I bond 100 Hina.
6
   
Award
Favorite
Favorited
Unfavorite
Introduction
So you want to raise your relationship with your student?

Okay, listen up! I'll share with you all the knowledge I have and my experience about bond leveling.

Just a (not so) quick introduction about who I am. *(feel free to skip to the next section if you're only here for the guide)*.

Who am I?
My name is SwitBitz, or you can call me Switz for short. Back in 2021, I already stopped playing gacha games altogether. But because of my pesky friends telling me to play Blue Archive Global on its launch and bribing me about the game having lolis in it, I gave in. When I first opened Blue Archive back on November 8, 2021. One of the first students I met was Hina. She's a cute petite girl with an intimidating aura (but her cuteness aura is stronger), has white hair and a soothing voice which is my type. There were other students too, like Mutsuki, Aru, Iori, Hoshino, Shiroko, and more. But out of all of them, Hina strikes me the most, so I decided that I want her to be my first student in my BA journey.

After being tired from rerolling on November 8, 2021, I stopped caring about the META students and only cared if Hina showed up.


A few days had passed, and I was casually checking each of the students' info out of boredom. When I saw Hina's student details, it surprised me. She and I share the same birthdate, February 19, which made me like her more on a personal level.


Months had passed, and I didn't bother with anything much. I haven't started my bond grinding around those days, and I casually open the café whenever I need the extra AP (Action Points/Energy). Also, back then, Crafting Chamber still sucks, and no one bothered doing any crafting that much. Fast forward to 2022, crafting became better, and the Japanese players in the JP server were grinding bond levels, which amazed me, and so I tried to do it too. But I lack the knowledge on how to properly do it, so it took me a while to learn the efficient methods for bond grinding. Fast forward to February 19, 2025, I finally bond 100 Hina on our birthday. It wasn't intentional, the timing was just right and I by chance have the right amount of gifts to do it.

Here's a link to a YouTube video for proof that I really did Bond 100 Hina ← click this


Lesson 1 - Relationship Rank


What is Relationship Rank?

First, I'll share with you what the Relationship Rank can do. By raising your relationship with your students, you'll obtain perks like MomoTalk relationship stories, free pyroxenes, Unique Items enhancement, Stat Bonuses, and finally, Emblems. (for bragging rights and proof of your love)
1.1 MomoTalk
MomoTalk offers you additional story content about your students. Raising your relationship rank with them unlocks new stories about them. So, if you want to know more about their personality and what they do outside of the Main Story and Event Stories, raise their relationship rank. Raising it to rank 9 is enough since that will unlock most of their stories in one go.

You'll also receive some pyroxenes if you finish a story. (I hope you do read their stories)


Note: You can access already read stories in the Campaign > Story > Replay > Relationship Stories

1.2 Max Relationship
Before you start raising your students' relationship rank, you must unlock their mystic first in the "Students" menu.


You'll see what max relationship rank will be unlocked after unlocking/raising a student's Mystic.


Table of Max Relationship Rank by Mystic level.

Mystic Level
Max Relationship Rank
★☆☆☆☆
Rank 1 → Rank 10
★★☆☆☆
---
★★★☆☆
Rank 10 → Rank 20
★★★★☆
---
★★★★★
Rank 20 → Rank 100
1.3 Unique Item
Some students have a unique item. Unique item increases a student's stats and upgrade their Basic Skill. Increasing a unique item's level to tier 2 requires a relationship rank 20. Here's a sample of Kaho's unique item.


1.4 Voice Lines
Voice lines can be played in the "Students" menu. You can access them by clicking a student and then clicking the voice button below. Most voice lines are locked by relationship rank. So, to unlock them, you need to raise your student's relationship rank level and reach the rank requirement.


I wanna die just by reading and listening to Hina's voice line. 😔😔😔
1.5 Stat Bonuses
Raising your students' relationship rank grants them bonus stats. Each rank gives a stat increase, and stat types vary with each student. It also shares into their different versions.

You mostly want to raise your student's relationship rank up to Rank 50 since it stops there. Raising it further would be pointless and resource-consuming. Unless...

1.6 Emblems
Emblems or Titles are one of the reasons why we pursue Relationship Rank 100, the ultimate form of showcasing your love to other Senseis. As I said earlier, raising the relationship beyond rank 50 is pointless and resource-consuming, but if you're willing to do for your student, then DO IT, IT'S A MUST.

The grind here will be tedious and long, and only a few dedicated Senseis have the guts to do this. Some quit the game first before reaching bond 100. But if you're at the point of yearning for it, then I can guarantee you won't be leaving Blue Archive any time soon.

Relationship Rank Emblems has 3 tiers depending on your student's relationship rank. To obtain this, you must raise their relationship rank to its respective rank requirement.

Emblem
Rank Required
Rank 20
Rank 50
Rank 100


Once you achieve the rank requirement, a reward pop-up will show that you got it.


You can set the emblem in the "Account Info" menu under "Profile Settings". To access Account Info, click your "Level" in the Lobby/Home Screen.


Now we'll talk about how to get relationship/affection points in-game.
Lesson 2 - Lessons


We'll start with Lessons.
Doing lessons is one of the easiest ways
to get relationship points and growth materials.
2.1 Lesson Tickets

Every day lesson resets and you're given "Lesson Tickets".
For starters, if you're a beginner, the maximum tickets you can get in a single day would be 3, but if you're willing to spend your pyroxenes you can buy more tickets for x30 pyroxene each. The maximum tickets you can purchase per day is 4 (120 pyroxenes in total).

2.2 Max Tickets Per Day
Here's the in-game table on how to obtain more tickets in a day. Just do your daily lessons and level up those locations so you can achieve up to 7 tickets per day, which is currently the maximum you can have as of July 4, 2025.

2.3 Why do lessons?
Each lesson you do with a student earns her relationship points. Relationship points vary depending on the rank of the location where you perform a lesson. Let's say if the location you choose is at the Schale Office and its area rank is 12, each lesson you do with a student in that location can earn them 25 relationship points.


There's also a chance that in a lesson you might trigger a *"Bonus Relationship Points"* which will double the amount of points your students can earn. You will see the word *"BONUS"* if that happens.


Here's a table of relationship points you can earn with each lesson. source[bluearchive.wiki]

Level
Location Rank
Relationship Points
Bonus Relationship Points
Bonus Rate
1
1-3
15
15
10%
2
4-6
15
15
15%
3
7-9
15
15
20%
4
10
15
15
25%
5
11
20
20
25%
6
12
25
25
25%
2.4 Maximizing Ticket Usage
To maximize your ticket's usage efficiency, always choose the student you want to raise a relationship rank with. As for me, that is Hina, and here's a sample of my daily lesson from May 5, 2025. Fun fact, I record them every day.

Locations
Schale Office - Theater Room
Schale Residence Hall - Gymnasium
Gehenna Hub - Closed Gehenna Institute
Abydos Main Building - Abydos Annex Building
Shanhaijing Main Special Zone - Peach Blossom Spring
Haruhabara Electric Town - Haruhabara Electric Street

What if the student I am aiming for is absent?
There will be times when your favorite student isn't available for a lesson. She might be taking a rest day or a holiday (This is mostly my head-canon and not a piece of lore). In my case, back in May 18, 2025, Hina wasn't around, so I used the lesson tickets on tech notes, Blu-ray discs, and to other students that I am also raising a relationship with.

Lesson 3 - Cafe


The Cafe is a good place to gain relationship points
and the place where you can give gifts to your students.
It is also a good source of energy and credits.
3.1 About the Cafe
Cafe Resets
The cafe resets every day at 7 am-UTC and 7 pm-UTC, making each reset have an interval of 12 hours in between. Each time a cafe resets, a set of students will visit the cafe.

How to unlock the cafe?
The first cafe can be unlocked after clearing normal mission 2-1, and the second cafe can be unlocked after clearing normal mission 12-5. These two cafes are vital for managing your cafe invitations if you want to be as efficient as possible in increasing your students' relationship rank.

What are cafe invitations?


Cafe invitation is a feature where you can invite a student who is not present in the cafe.
Invitations have a 20-hour cooldown after use.

Utilizing the invitations
Since we have two cafes and each have their own invitation ticket, and adding that the cafe has two resets every day. To maximize these two features, you can use the invitation on the first cafe once the first reset hits, and use the second invitation on the second reset. That way, if you're focusing on leveling up the student you like, she can be in the cafe for the whole 24 hours of the day.
3.2 Head Pats
Raising affection through head pats/tapping
One of the Cafe's main features is the ability to head pat your students. A head pat gives your student 15 relationship points. It also has a 3-hour cooldown after performing it. Within a day, it is guaranteed to head pat a student 8 times if you sacrifice your sleep and gain 120 affection points, which is equivalent to a purple "Like" gift.

Fun Fact: The maximum head pats you can give to a single student would be 10 IF AND ONLY IF you're LUCKY enough to do that.

A yellow emote indicates that a student is available for head patting.
An animation will play, and a heart emote will pop up after a head pat.

Special Furniture
Some furniture can be interacted with by a student. It is not confirmed (as far as I know) that furniture can increase a student's possibility of visiting the cafe. But based on the years I have played, special furniture can increase the student's chances of visiting.


Maximizing head pats
This is the part where you sacrifice most of your sleep and make head patting your student a daily habit. I still suggest just casually raising your student's affection rather than taking this super seriously. But if you're willing to do it, then welcome to the no-sleep club.

Cafe resets... Yes, we'll begin with resets. Every time a day resets, the cafe also resets. Visit the cafe as early as possible and pat every student who visits. If you're lucky enough, your favorite student might visit your cafe.

If your only plan is to raise affection with a single student. Remember these details:

  • Cafe resets 2 times within a day.
  • The 1st cafe reset is 7 pm-UCT/4 am-JST, while the 2nd cafe reset is 7 am-UCT/4 pm-JST (Japanese Standard Time)
  • Each cafe has an invitation ticket with a cooldown of 20 hours after use.
  • Head pat has a cooldown of 3 hours after performing it.

We'll make two scenarios based on my own experience. I'll use Hina as the example student that I want to raise affection with.

Scenario 1: "Hina didn't show up today in both resets."

Time
Steps
Hina in Cafe 1
Cafe 1 has invite
Hina in Cafe 2
Cafe 2 has invite
Headpatted
Affection earned
7pm-UTC
First Reset
0 xp
7pm-UTC
Invite Hina, Head Pat 1
0 xp
10pm-UTC
Head Pat 2
15 xp
1am-UTC
Head Pat 3
15 xp
4am-UTC
Head Pat 4
15 xp
7am-UTC
Second Reset
0 xp
7am-UTC
Invite Hina, Head Pat 1
15 xp
10am-UTC
Head Pat 2
15 xp
1pm-UTC
Head Pat 3
15 xp
4pm-UTC
Head Pat 4
15 xp

As you can see, this is the maximum *"guaranteed"* head pats you can give to a student within a day. You can earn 120 affection points, which is equivalent to 1 purple "Like" gift or 2 gold "Favorite" gifts. In the next scenario is an example of a "lucky day" where Hina shows up in both resets and didn't visit the cafe that has an invitation.

Scenario 2: "Hina shows up today in both reset."

Time
Steps
Hina in Cafe 1
Cafe 1 has invite
Hina in Cafe 2
Cafe 2 has invite
Headpatted
Affection earned
7pm-UTC
First Reset
15 xp
7pm-UTC
Invite Hina, Head Pat 1
0 xp
10pm-UTC
Head Pat 2
15 xp
1am-UTC
Head Pat 3
15 xp
4am-UTC
Head Pat 4
15 xp
7am-UTC
Second Reset
15 xp
7am-UTC
Invite Hina, Head Pat 1
15 xp
10am-UTC
Head Pat 2
15 xp
1pm-UTC
Head Pat 3
15 xp
4pm-UTC
Head Pat 4
15 xp

This scenario shows that if the favor of probability is with you, you can pat your student 10 times within a day and earn up to 150 affection points.
3.3 Gifting
Gifting is the main way to get affection points. By giving gifts, you can raise and increase your student's bond/affection. Students also have gift preferences that match their personalities and traits.

Where can I see their preferred gifts?
You can visit Schale DB[schaledb.com] and check the student's profile to see their preferred gifts.


Gift Preferences
Gift preferences modifies the amount of affection points a student can earn from a gift. The higher the modifier a gift has the more points a student can earn.

Gift Rarity

Normal

Like

Favorite

Amazed
20 xp
40 xp
60 xp
80 xp
60 xp
120 xp
180 xp
240 xp


If you're only raising a single student or only focusing on raising one, fuse the "Normal" gifts that aren't "Liked" by that student. Because Normal gifts only grant them 20 XP, and if you use 2 of them, it will only grant them 40 XP, which is a waste. But if you fuse the 2 gifts in the Crafting Chamber's Material Fusion, it can become a Gift Choice Box/Gift Selector. You can select the "Favorite" gift of the student you're raising, which will grant them 60 XP instead at the cost of an Advanced Fusion Keystone, which we'll talk about later in the Crafting section.

If you don't understand what I just said on this part. Read the Crafting section about Material Fusion and come back here again and try to understand it.

Also, if you're only raising a single student like me. Feel free to give all of your purple gifts to them, since purple rarity gifts that are "craftable" in the Crafting Chamber have no major demerits. Because all of them are "Liked" by students and will grant them 120 XP by default. It would be nice to save it for your other students, too, if you have multiple students you want to raise a relationship with.

Gift Boxes
Gift boxes has three different types:

Gift Box
Name
Description
Gift Choice Box
A gift box that lets you choose the gift you want.
Gift Box
A gift box that gives you a random gift.
Luxury Gift Box
A gift box that gives you a random "Fine" gift.

Where can I obtain gifts?
You can obtain gifts through Crafting, from Events, and Monthly Raids like Total Assault, Grand Assault, and Final Restriction Release. You can also purchase them at the Pyroxene Shop at the Packs Tab. Sometimes, there are special events where they sell Beautiful Bouquets at the Special Sale tab.
Lesson 4 - Crafting


Crafting is the place where you can craft gifts and gift boxes.
You can access the crafting menu in the Crafting Chamber.

Types of crafting
There are two types of crafting:
  • Material Synthesis
  • Material Fusion
4.1 Material Synthesis
Material synthesis is the normal crafting method of obtaining items like artifacts, tech notes, Blu-ray discs, furniture, and especially gifts.

4.1.1 Keystones
Keystone is a crafting material mainly used in material synthesis. There are two types of keystones:

Keystone

Can be obtained through quests/tasks. You can get 2 of these daily and another 3 of them weekly. In total you can get 17 of this every week if you do your dailies and weeklies.

This is also purchasable in the Pyroxene Shop in the "Packs" tab called "Monthly Furniture Crafting Pack".
Keystone Piece

Obtainable through recruitment. If you perhaps fail to do a mileage/spark in recruitment, or if you intend not to use the recruitment points to begin with. After the recruitment banner changes, those points will be converted into keystone pieces and can be used as a crafting material in the crafting chamber.

Note: You need x10 of this in order to start crafting.
4.1.2 Nodes
Nodes have many different types you can create, but you'll be wanting the gift nodes most of the time since we'll be focusing on raising a student's relationship.

Icon
Name
Type
Description
Flower
Favor
This node can produce gifts.
Shiny
Rarity
This node can produce gold rarity items such as furniture, growth materials, and gifts.
Radiant
Rarity
Same as Shiny but this one produces purple rarity items.
Metal
Copper
Silver
Gold
Platinum
Weapon Parts
Material
These nodes can produce growth materials.


Colorful
Furniture Set
Furniture
These nodes can produce furniture for the cafe.

There are other more nodes, but I don't want to talk about them since they're not related to raising a student's relationship rank.
4.1.3 Sub-nodes
Once you start crafting using a keystone, you will have to choose what type of node you want to craft. Crafting has 3 sub-nodes, and each of them gives different node types.

Priorities

Priority Level
Description
High+
For nodes that are guaranteed to produce a gift but have preferential results.
High
For nodes that are guaranteed to produce a gift.
Medium
For nodes that has a chance to produce a gift.
Low
For nodes that do not produce any gifts but are usable in other parts of the game.

Node 1
In node 1, the only material you need to use is a keystone to start crafting.

Icon
Node
Type
Priority
Tip
Flower
Gift
High
Since our priority is bond leveling, whenever you see this node, do not hesitate to choose this. This will produce a guaranteed gift.
Shiny
Rarity
Medium
If you do not see any Flower nodes, just choose this instead since it has a chance to produce a gift or a different gold rarity item.
Metal
Copper
Silver
Gold
Platinum
Weapon Parts
Material
Low
Choose this if the other nodes above are not present.
These are mainly used for student growth, such as skills and unique weapons.
I personally use growth materials when crafting; it is not advisable, but if you have an abundance of them and you play casually, feel free to use this.


Colorful
Furniture Set
Furniture
Low
Choose this if you want more furniture. It can be used as a crafting material too.
Radiant
Rarity
Low
Choose this if there are no other choices or you want purple rarity items.

Node 2
In node 2, you can choose most of the materials in here to craft, but I suggest NOT using keystones since they are VERY important to start a crafting order, DON'T use gold or purple rarity items too, since they're most likely to be used in node 3. Use white and blue rarity items in here instead. If you don't know what item types you need to use, use the items that you have an abundance of or the items that you least care about.

If you have crafting materials that you bought from the pyroxene shop, I highly suggest you use those instead, since their sole purpose is to be used only in the Crafting Chamber.

Icon
Node
Type
Priority
Tip
Peony
Morning Glory
Rose
Tulip
Cherry Blossom
Daffodil
Zinnia
Dandelion
Lily
Marigold
Bellflower
Magnolia
Azalea Gifts
Jade Blossom
Gift
High+
These types of flower nodes are more specific on what type of gift they can produce.
If you see one, be sure to choose it. You can choose a different gift node if you don't like what gift this will produce.
Flower
Gift
High
Flower node is still the best in general since it can produce all types of gold rarity gifts.
Shiny
Rarity
Medium
Same as before, if you do not see any Flower nodes just choose this instead since it has a chance to produce a gift or a different gold tier item.
Metal
Copper
Silver
Gold
Platinum
Weapon Parts
Material
Low
Choose this if the other nodes above are not present.


Colorful
Furniture Set
Furniture
Low
Choose this if you want more furniture. It can be used as a crafting material too.
Radiant
Rarity
Low
Choose this if there are no other choices or you want a purple rarity item.

Node 3
In node 3, the only materials you can choose here are gold and purple rarity items and the crafting materials I mentioned above. Don't use keystones, please!

Icon
Node
Type
Priority
Tip
Flower
Gift
High
Node 3 is quite different since now Flower nodes can produce purple tier gifts, which are better than gold tier gifts.
Radiant
Rarity
Medium
Same as before, but this can produce purple gifts, which is now better than choosing Shiny.
Shiny
Rarity
Medium
Choose this if Flower or Radiant is not available. This still can produce gifts.
Others
Item
Low
4.2 Material Fusion
Material Fusion is quite different from material synthesis. You can fuse multiple items of the same type to create a material box, secret tech notes, gift boxes, or a trophy cabinet. But in this guide, I will only talk about crafting gift selectors.

4.2.1 Fusion Keystone


Fusion Keystone is a crafting material mainly used in material fusion. There are 4 different rarities, but we'll only talk about the Advance Fusion Keystone since that's used for crafting gift selectors.


Where can I get Advance Fusion Keystones?

You can obtain Advance Fusion Keystones from the Angel 24/Sora's Shop, Final Restriction Release, and Pyroxene Shop.
4.2.2 Gift Selectors


Gift Selector or Gift Choice Box
lets you pick what gold tier gift you want
rather than getting it randomly.


In this image I am selecting Hina's favorite gift, "World's Most Useless Gadget".

Are there more ways to obtain gift choice boxes/gift selectors without crafting?
Yes, you can get them from Monthly Raids like Total Assault, Grand Assault, and Final Restriction Release.
4.2.3 How to use Material Fusion?
When using the material fusion, you need to have a fusion keystone and credits. Gift choice box requires 1 Advance Fusion Keystone, 12,000 credits, and 2 gold-tier gifts of your choice. You can craft up to 5 items within a single slot.

Note: Fuse the gifts that aren't "Like" nor "Favorite" by the student you're raising relationship with.


Here's the total cost of a gift selector per count.

Craft Count
Advance Fusion Keystones
Credits
Gold Tier Gifts
1
1
12,000
2
2
2
23,000
4
3
3
36,000
6
4
4
48,000
8
5
5
60,000
10
Lesson 5 - Raids


Lesson about raids will be a bit short. I'll only tell you about where to get gifts and crafting materials in each raid's content.
5.1 Total Assault
In total assault, you can get 1 gift choice box in the "Total Point Rewards" tab. You need about 310,000,000 points to get the gift choice box. If you can do Insane difficulty consistently, then you're guaranteed to get it.

After the Lunatic difficulty update, they added a 2nd Gift Choice Box for 620,000,000 reward points.

Total Reward Points
Reward
310,000,000 points
x1 Gift Choice Box
620,000,000 points
x1 Gift Choice Box

5.2 Grand Assault
Grand Assault is quite similar to Total Assault, but in terms of rewards, it has a bit more gifts than Total Assault. In terms of difficulty, as long as you can finish Insane for all three armor types, then you're guaranteed to get all of the gift box rewards.

Total Reward Points
Reward
310,000,000 points
x1 Gift Choice Box
420,000,000 points
x2 Gift Choice Box
450,000,000 points
x1 Luxury Gift Box

5.3 Joint Firing Drill


In Joint Firing Drill,
the only rewards you can get are Credit Points
and Joint Firing Drill Coins. You can use the coins in the
Shop to buy Advance Fusion Keystones.


As you can see here, I already bought mine. (Sora's smile here is very cute!)

5.4 Final Restriction Release
Final Restriction is one of the best places to get gift boxes and fusion keystones. Here's a shortened list of all of the gift-related rewards by stage.

I suggest you finish at least stage 60 if you can, since advanced fusion keystones are quite rare to get. If you can finish up to floor 99, that would be better. If you can finish floor 106, then that would be great because beyond floor 100 is very difficult to finish without a proper team. Above floor 110 is quite impossible as of today, I am writing this, maybe in the future, our students could become stronger and defeat floor 100+ with ease.

Floor / Stage
Reward
Stage 19
x2 Gift Choice Box
Stage 39
x2 Gift Choice Box
Stage 49
x1 Luxury Gift Box
Stage 55
x5 Advance Fusion Keystone
Stage 57
x5 Advance Fusion Keystone
Stage 60
x10 Advance Fusion Keystone
Stage 79
x2 Gift Choice Box
Stage 90
x1 Luxury Gift Box
Stage 99
x1 Luxury Gift Box
Stage 105
x2 Gift Choice Box
Stage 106
x1 Luxury Gift Box
Stage 111
x2 Gift Choice Box
Stage 112
x1 Luxury Gift Box
Stage 117
x2 Gift Choice Box
Stage 118
x1 Luxury Gift Box
Stage 123
x2 Gift Choice Box
Stage 124
x1 Luxury Gift Box

Juicy stage 105 and 106 Rewards.

Lesson 6 - Shop


Shops also sell gifts and keystones like the Angel 24, event shops, and the pyroxene shop.
6.1 Angel 24


In Sora's shop, there's only one item that matters when crafting gifts, and it's the Advance Fusion Keystone. You can buy it for 8 JFD coins per piece, and there are 50 pieces of it in total (400 JFD coins). It restocks every 1st day of the month, so be sure to buy them before the monthly reset.


6.2 Event Shops


Event shops nowadays sell gifts. You can buy gifts from the event shops using the tokens from the event. Most of the available gifts are preferred by the students in the current banner. Like right now,
it's Seia and Asuna (Uniform)'s banner is live, so their favorite and like gifts are the ones being sold.


Here are Asuna (Uniform)'s preferred gifts, in contrast to the image above.
(The image below is from SchaleDB[schaledb.com])

6.3 Pyroxene Shop
This part will be Whales 🐳🐳🐳 territory. If you plan on spending real-world money on some virtual gifts for your students, then these are my recommendations.

SPENDING ADVICE: ONLY BUY IF YOU HAVE EXTRA MONEY. DON'T USE YOUR SAVINGS!

Set
Name
Contents
Frequency
Price Range
Suggestion
Monthly Furniture Crafting Pack
  • 784 + 106 Pyroxenes
  • 10 Keystones
  • 15 Lesser Fusion Keystone
  • 15 Normal Fusion Keystone
  • 15 Advance Fusion Keystone
  • 15 Lesser Crafting Materials
  • 10 Normal Crafting Material
  • 5 Advance Crafting Material
  • 1 Furniture Box (3☆)
x1 per month
$12-$13 (Asia Server)
I suggest you to buy this every month since you can craft 15 gifts choice box with it without using any gifts as a fodder/crafting material.

Also, use the crafting materials that are included in the pack.
Monthly Gift Crafting Pack
  • 592 + 68 Pyroxenes
  • 10 Gift Box
  • 5 Gift Choice Box
  • 1 Luxury Gift Box
x1 per month
$10-12 (Asia Server)
I don't recommend this much but if you have money, Go. It's still a gift.
Anniversary Gift Pack
  • 784 + 16 Pyroxenes
  • 5 Gift Choice Box
  • 5 Beautiful Bouquet
x3 per anniversary.
Limited
$12-$13 (Asia Server
If you happen to see this in the shop, buy it since this is a limited offer every anniversary.
Tools, Databases and Calculators
I have set of online tools that I use most of the time when calculating and planning my gifts.
  • SchaleDB[schaledb.com] - A good site to check the students' preferred gifts.
  • arona icu[arona.icu] - Use the "Search Friend" page to track down your relationship exp.
  • arona ai[arona.ai] - I use this when calculating my total gifts. It's a good combination with arona.icu when calculating relationship exp.
  • Simple Relationship Exp Calculator[sensei.lol] - A simple and effective relationship exp calculator.
  • Blue Archive Wikia[bluearchive.fandom.com] - I use this to check preferred gifts before I learn of SchaleDB.
  • Blue Archive Wiki[bluearchive.wiki] - The other wiki site for Blue Archive stuff.
  • Midokuni's Website[hina.loves.midokuni.com] - It has lots of useful tools. It has a more detailed gift calculator combining arona.ai and Simple Relationship Exp Calculator websites.

Dunno if I will make my website in the future that focuses on calculating relationships. Who knows.
Closing Notes and Summary
Well, these are the things I know about student bonding after years of playing this game. I'll just give you a summary of important things to do when bond grinding:
  • ★★★★★ 5 Star your student to unlock Max Relationship Rank 100.
  • Spend your Lesson Tickets on your favorite student/s daily.
  • Rank up your Lesson Area to obtain more relationship points each lesson.
  • There are 2 Cafes. Unlock it!
  • Cafe resets 2 times a day. First at 7 pm UCT and 2nd at 7 am UCT.
  • Head pats have a 3-hour cooldown after performing it.
  • Cafe invitation has a 20-hour cooldown after using it.
  • Fuse the unwanted gifts in the Crafting Chamber's Material Fusion and select the preferred gift in the gift choice box.
  • Finish your dailies and weeklies to gain 17 Keystones a week.
  • Don't use "keystones" as crafting fodder. Use materials you have in abundance.
  • By doing Insane consistently in raids grants you some gifts as a reward.
  • Final Restriction Release has 20 Advance Fusion Keystone if you finish up to floor 60.
  • Do the Joint Firing Drill and gain at least 400 coins a month if you're lazy.
  • Always check the shop and buy the 50 Advance Fusion Keystone every 1st day of the month.
  • Buy all the gifts in the event shop.
  • Only buy packs if you have the money for them. DON'T SPEND YOUR SAVINGS!!

Thank you for taking the time to read this guide, and I hope you max out your relationship with your students in the future. Now go, Sensei, and bond with them.

I think I made a monster of a guide... I hope I didn't.


This is what peak gameplay looks like. Better than the casino's slot machine.


17 Comments
snorlaxxo 28 Jul @ 9:19am 
> I probably didn't explain the Flower+ very well in 4.1.3 that You can choose a different gift node if you don't like what gift this will produce

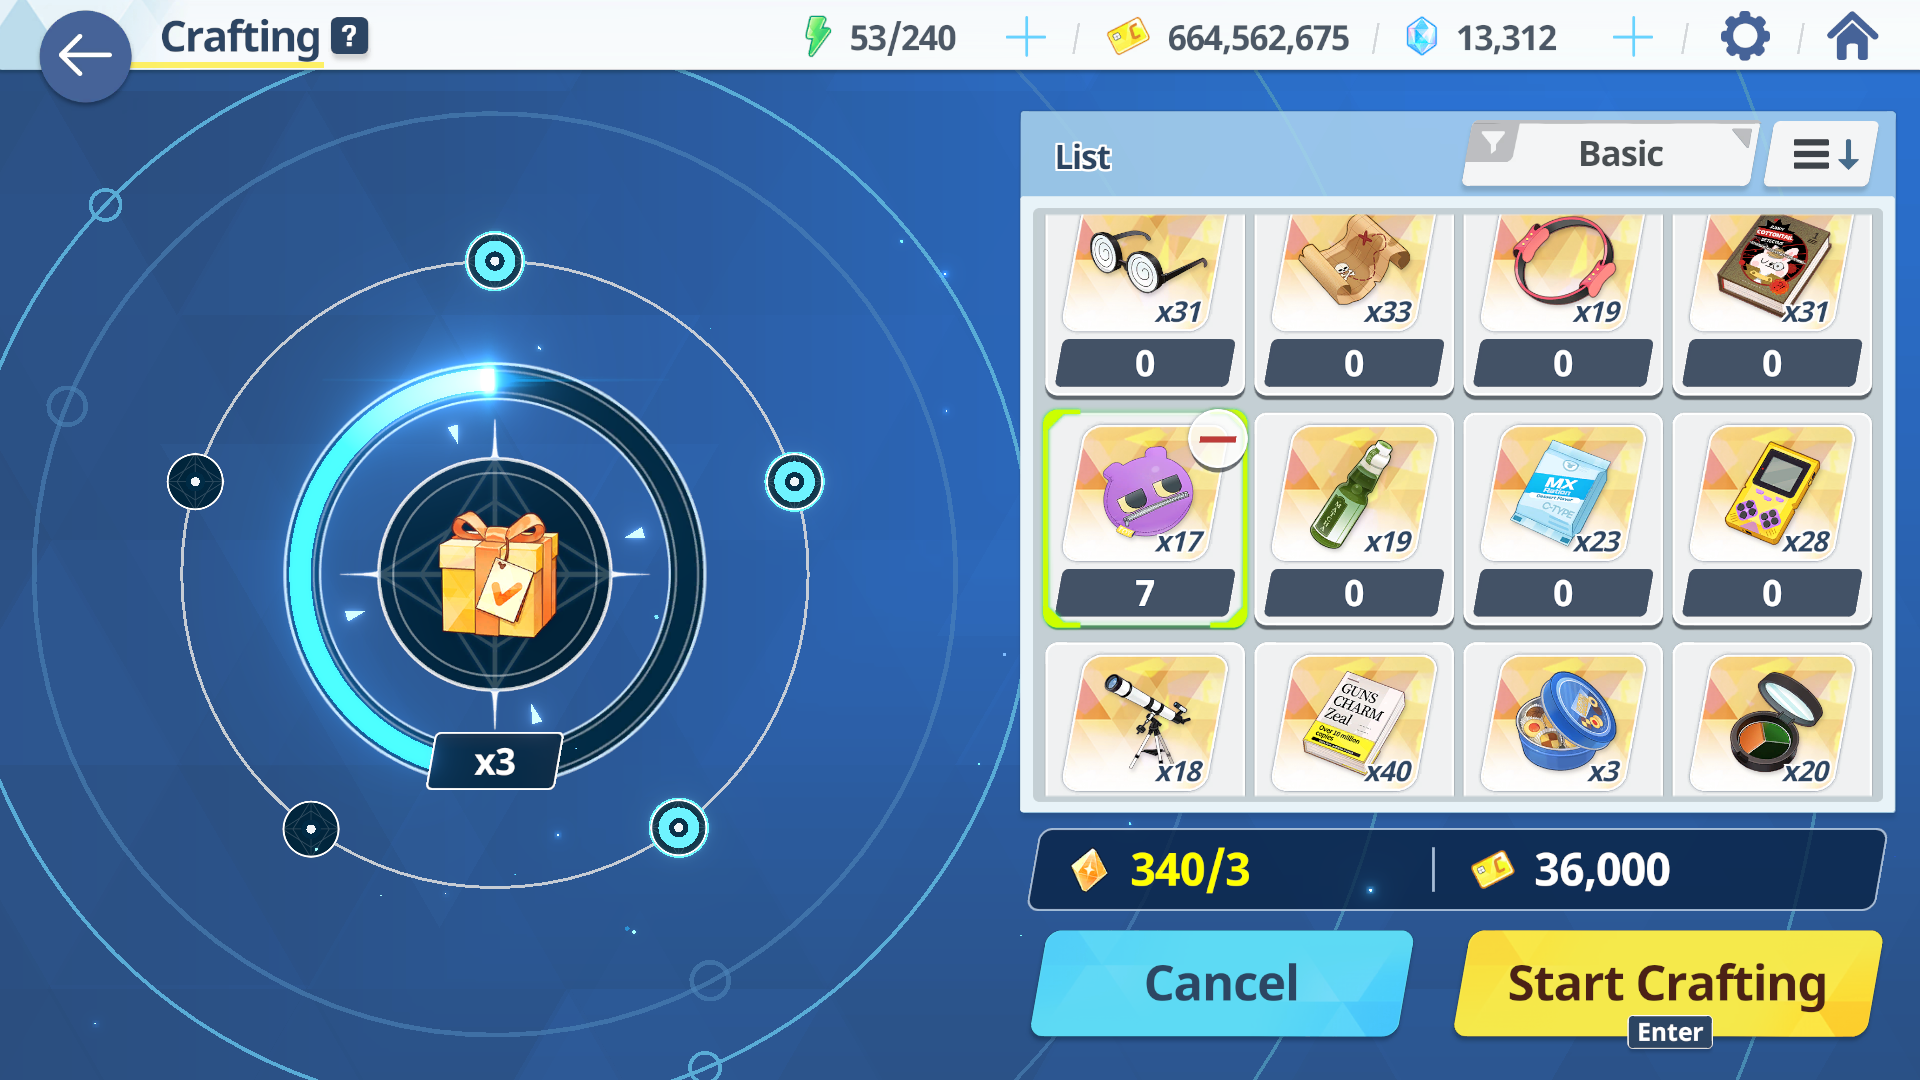
The first part is what's gonna be misleading people, as you first tell them to pick it, and only then say that they can pick the other. Additionally, you never explain which gifts drop from each specific option, which makes it difficult for people to gauge if the node is beneficial to them.


> About the artifacts, maybe yeah.

If you're playing for a longer amount of time it's not that big of a deal, but people who are looking at this guide are probably newer or more casual, so they wouldn't have that big of a stockpile, which could very easily dwindle if you max craft every day, possibly leaving you without resources to prepare units for raids and such.
Switz  [author] 28 Jul @ 8:42am 
2. I probably didn't explain the Flower+ very well in 4.1.3 that You can choose a different gift node if you don't like what gift this will produce. .

I also do the same if any of those Flower+ node doesn't relate to Hina's liked/fave gifts then I just select the normal flower node since it has a chance to drop what she likes. Jade-Blossom is the perfect node for summer students since it only drops 1 gift, the Summer Floaty , which is S.Hina's 2nd favorite gift.

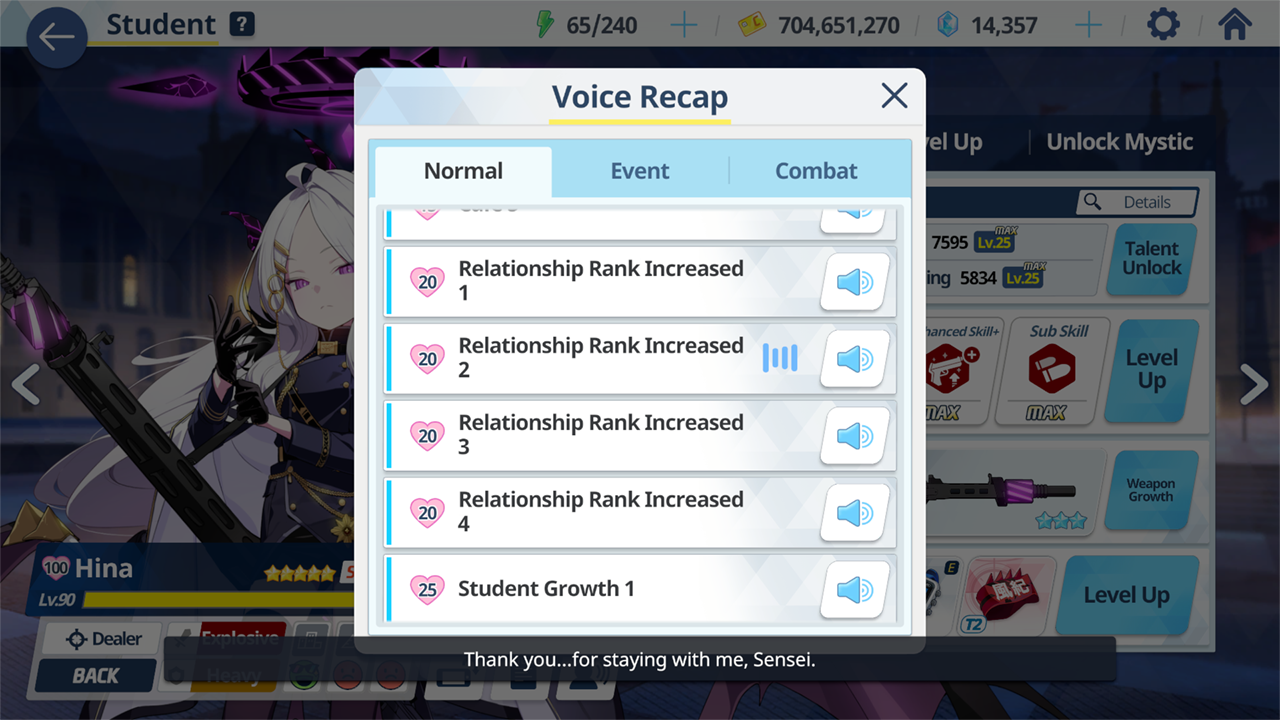
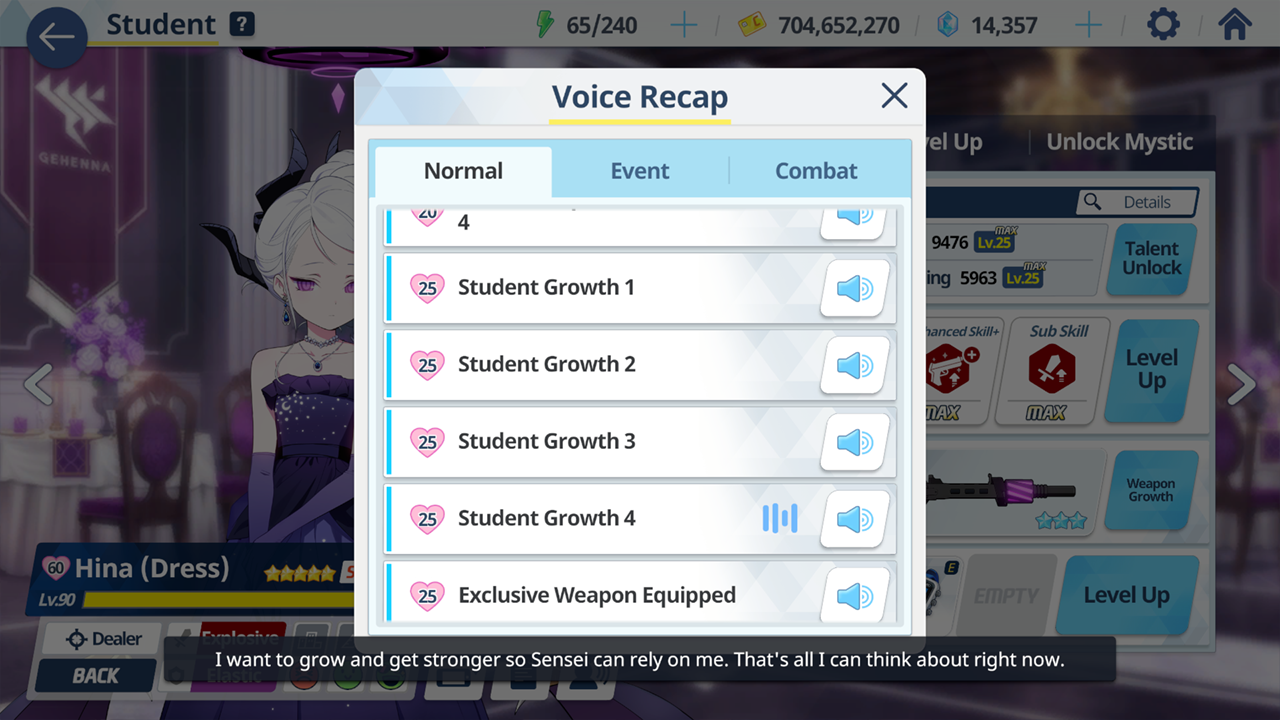
3. Yes, a student can CONSISTENTLY be patted x9 per day with the help of their specific furniture, but in OG Hina's case who DOESN'T have a furniture (FOR THE LOVE OF GOD, NEXON), x8 is the GUARANTEED head pats is all I can get.

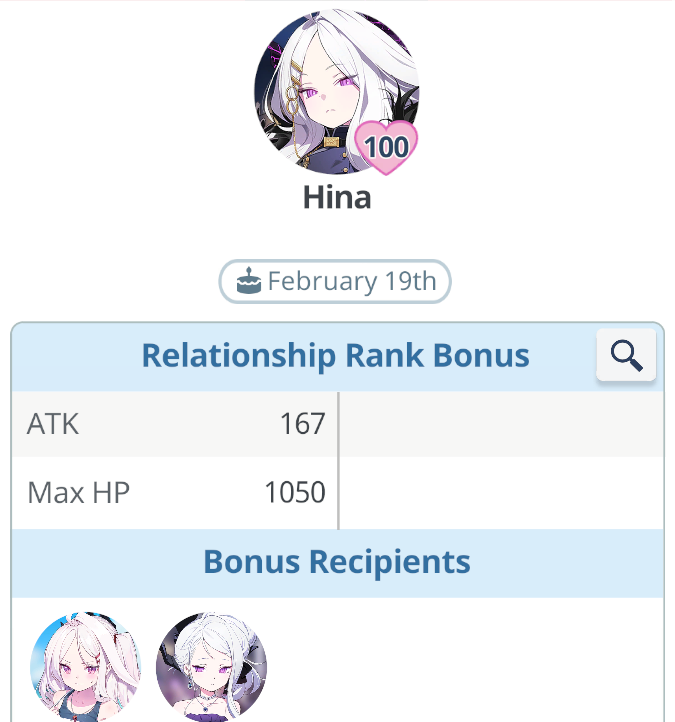
Also, currently, my cafe 1 and 2 has the same furniture preset that's specifically tailored for D.Hina and S.Hina to show up.
Switz  [author] 28 Jul @ 8:42am 
1. About the artifacts, maybe yeah. Just a side note that I mostly do the bare minimum in JFD since I don't fully do that everyday like this week. I just want the 400 coins for the monthly fusion keystone and maybe an extra if I plan to roll for a student who uses JFD artifacts.

1.5. About the resource planner... yeah. But most of my resource planning depends on META students for raids, like right now I'm farming Shupo mats (not included the tech notes and blu-rays) and 4.5 fes mats (tea party summer) since those are my target banners, the rest of the growth mats I usually spend them to crafting.

I also put limits on skill mats I spending that once the artifacts goes below 250 I just stop using them as materials and just use the blu-rays and tech notes that I least use (Valkyrie, Arius, Red Winter etc.).

Most of the students I need for raids are currently stacked and some are maxed out that's why I don't worry about growth materials when using them.
snorlaxxo 28 Jul @ 1:52am 
> On average, you'd be getting 2k-3k points/week to a single student
I've recorded my daily bond xp gain near the end for when I was going for B100 on ui, and over about 6 months, including gifts from all the sources and crafting them into boxes, I averaged 500 bond xp per day. Here's the spreadsheet including said xp gain, including a scuffed xp calc that I used the gifts for.

https://docs.google.com/spreadsheets/d/1x6x6K10uJ3HHp4VDu3NbmyLmweKBZzXlIwFmCUnk-gg/edit?gid=0#gid=0
Sen 27 Jul @ 9:33pm 
Very cool guide, though I'll have to point out that:

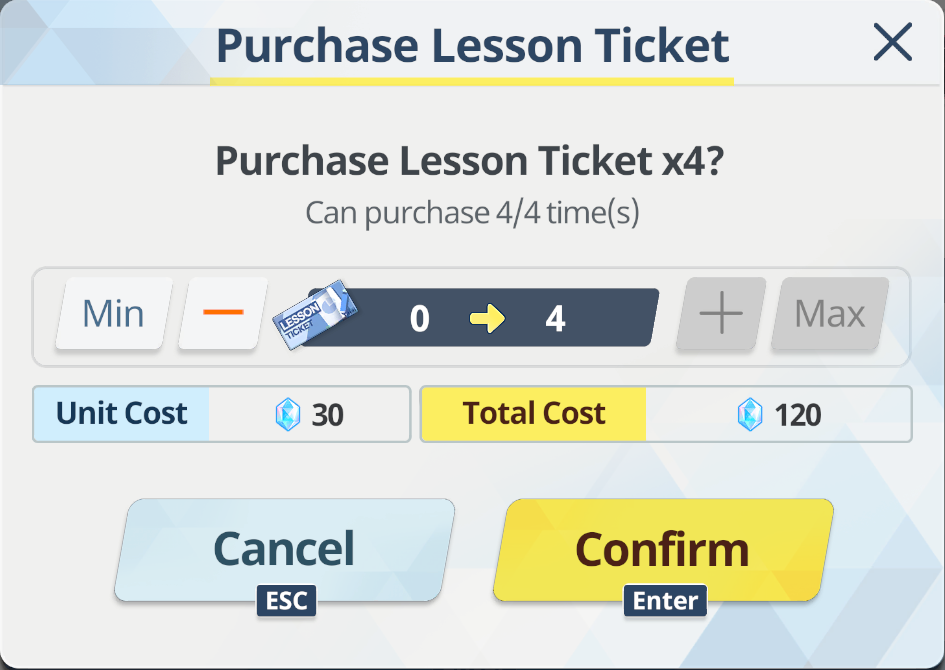
It's possible to get a consistent 9 headpats/day PROVIDED that the student you're going for is present in any of the two cafes and then use the ticket(s) that'll be both available in each cafe 4 hours before the reset. Of course, you can use both for 6 on the first reset but that leaves the second reset to RNG, which is not something you'd really want in an optimized grinding

On that note, the maximum interactive furniture for the highest chance of them appearing is 4/cafe

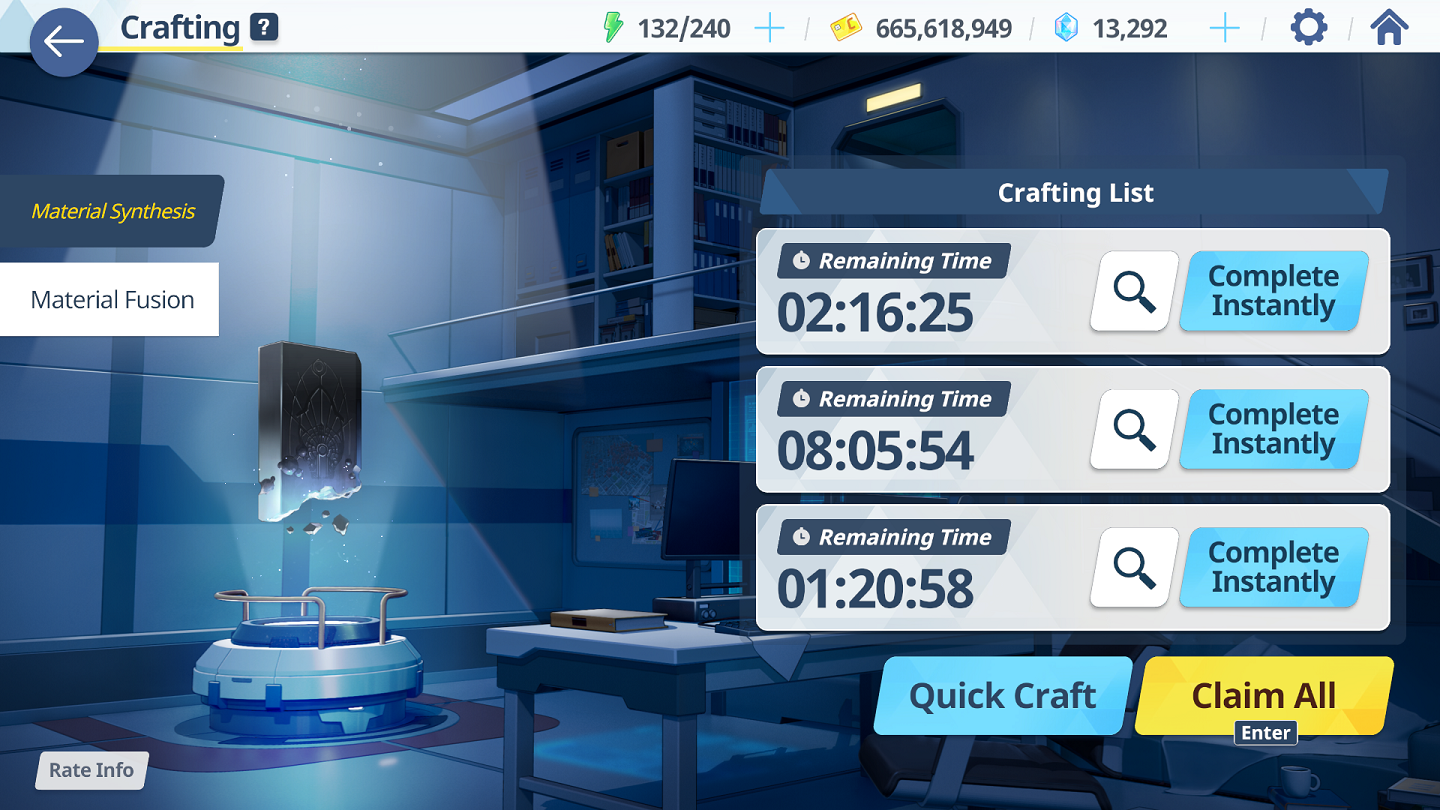
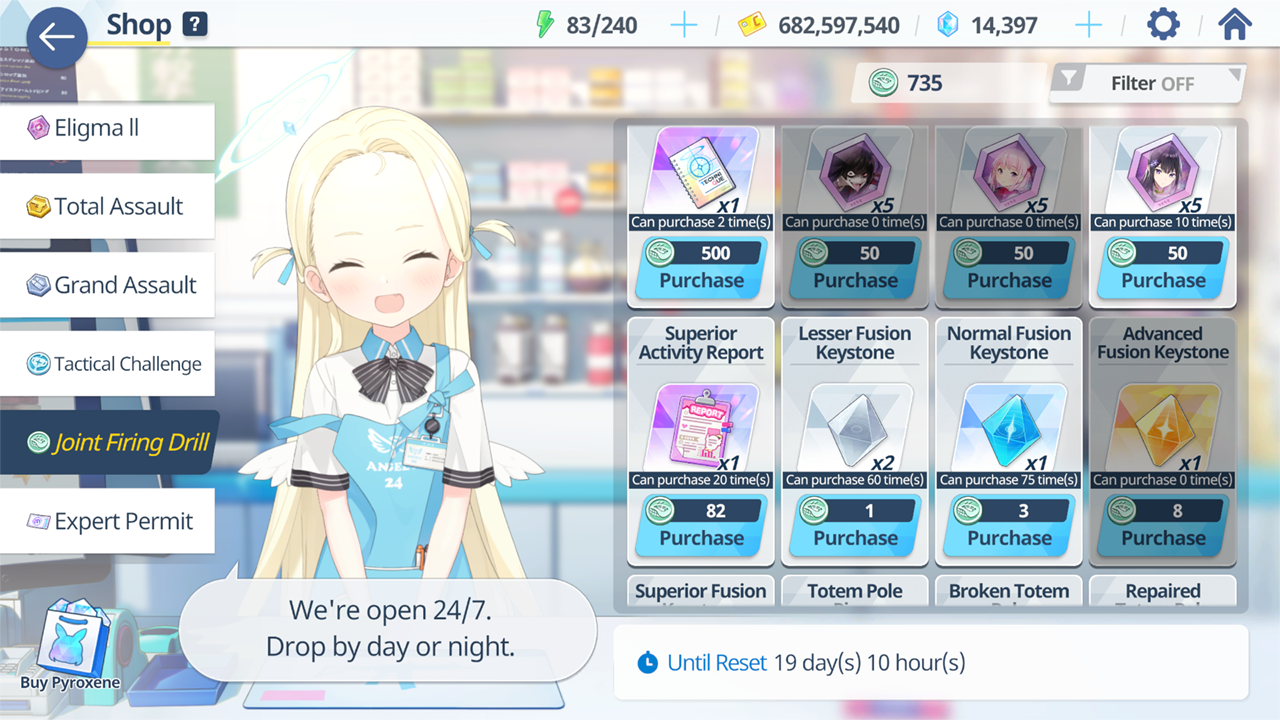
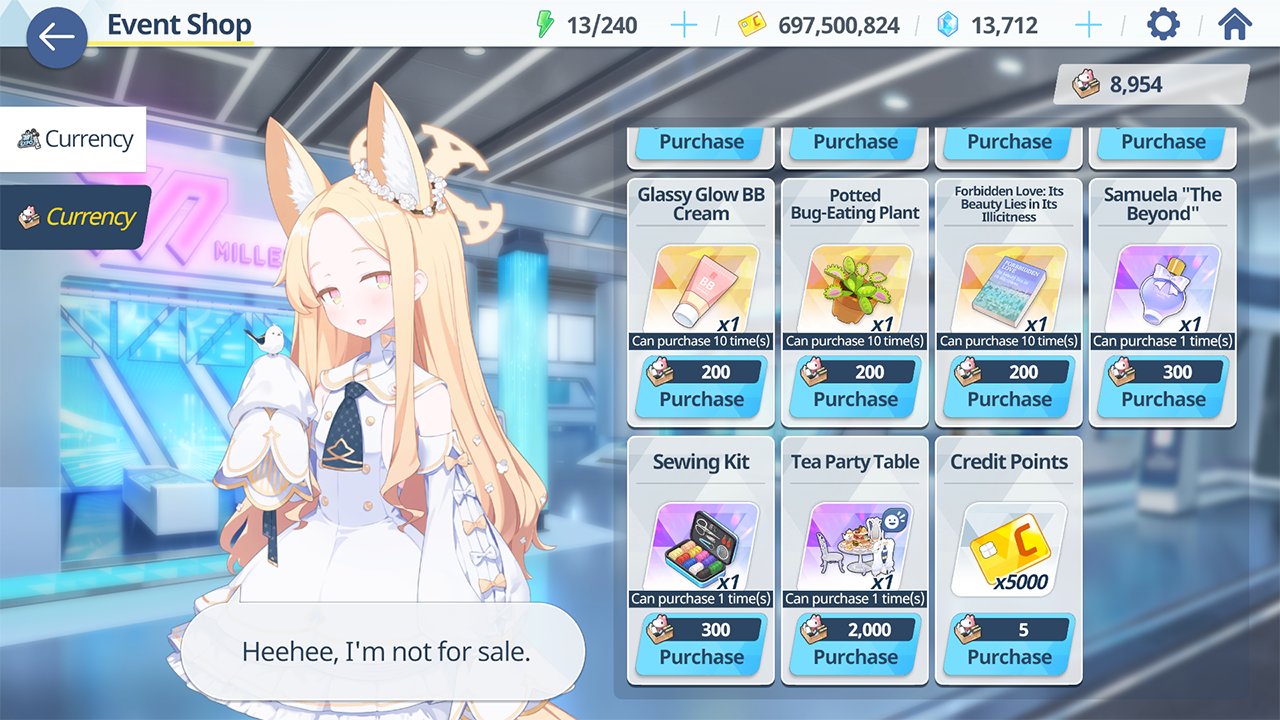
As what the comment stated below, it's a good idea to have a resource plan in mind since doing crafting nodes leaves you very or completely dry, unable to upgrade a student's skills cause you used those for crafting fodders. Suddenly, those artifacts that are available in the JFD or Event shops look very enticing.

On average, you'd be getting 2k-3k points/week to a single student (hard-carried by gifts, pray)
snorlaxxo 27 Jul @ 5:08am 
As a fellow B100 sensei who did their research I feel like there's some issues with crafting part:

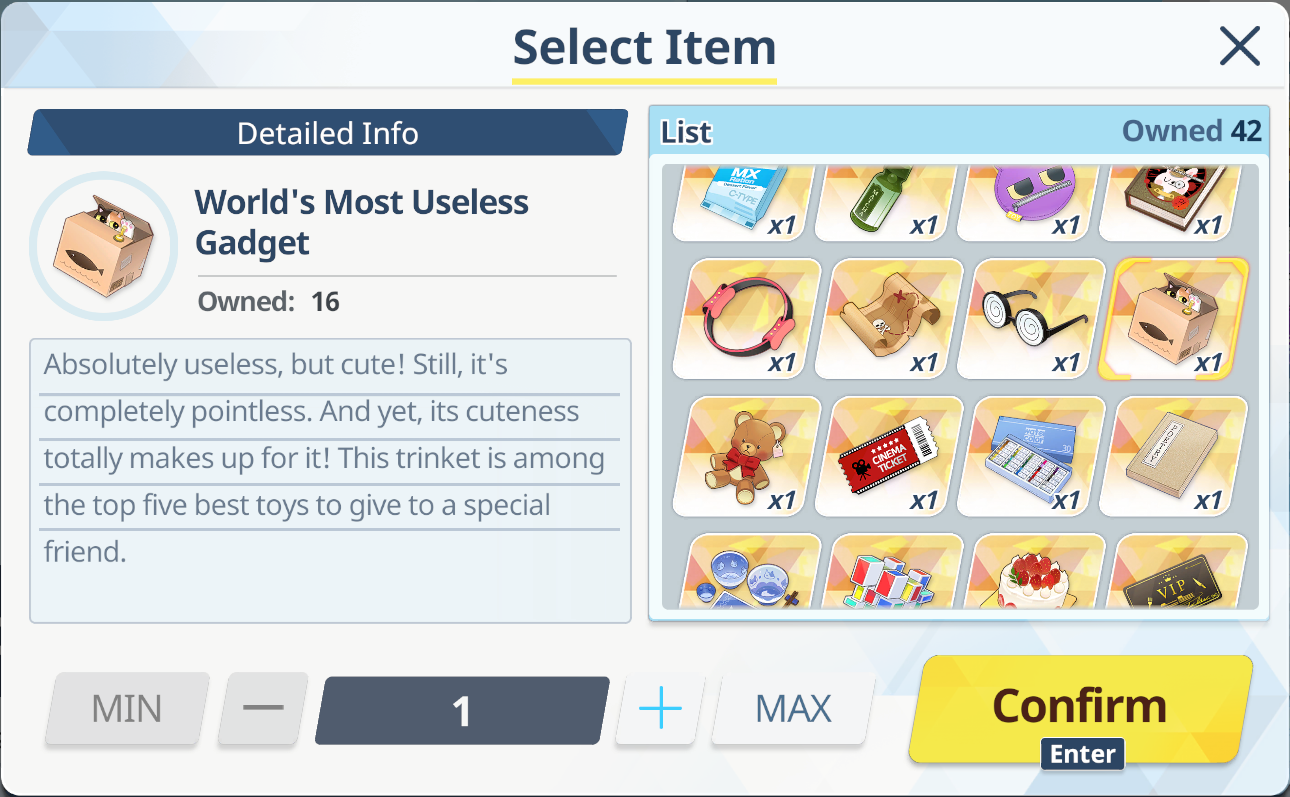
I'd recommend mentioning which resources are good to use with ther renewability for crafting (books, cds, and jfd artifacts), as things like the other artifacts you might have a bunch of at some point, but they're harder to get a decent supply of, and are still in demand in other places.

The specific gift type nodes in 2nd are described as a must-take, but they're very dependent on what student you're going for, and in many cases would be a downgrade over just flower (for example, in my Ui bond grind anything other than tulip was worse than flower)
Sato 🧡 23 Jul @ 5:59pm 
I respect the hustle, you might actually be decent competition for Midokuni in terms of Hina simping lmao.

I'm holding myself back because I refuse to throw away gifts into the crafting chamber. I'm also splitting my focus between both alters.

Even so, without spending or losing my sleep headpatting, I've gotten S.Izuna to 55 and Izuna to 45. Once Izuna reaches 50, I'll focus entirely on S.Izuna and see if we hit bond100 before game EoS ^^
FinalSteed. 21 Jul @ 9:48pm 
Hina Daisuki:nekoheart:
Midokuni 21 Jul @ 7:28am 
This comment is awaiting analysis by our automated content check system. It will be temporarily hidden until we verify that it does not contain harmful content (e.g. links to websites that attempt to steal information).
Midokuni 21 Jul @ 7:15am 
This comment is awaiting analysis by our automated content check system. It will be temporarily hidden until we verify that it does not contain harmful content (e.g. links to websites that attempt to steal information).