
Install Steam
login
|
language
简体中文 (Simplified Chinese)
繁體中文 (Traditional Chinese)
日本語 (Japanese)
한국어 (Korean)
ไทย (Thai)
Български (Bulgarian)
Čeština (Czech)
Dansk (Danish)
Deutsch (German)
Español - España (Spanish - Spain)
Español - Latinoamérica (Spanish - Latin America)
Ελληνικά (Greek)
Français (French)
Italiano (Italian)
Bahasa Indonesia (Indonesian)
Magyar (Hungarian)
Nederlands (Dutch)
Norsk (Norwegian)
Polski (Polish)
Português (Portuguese - Portugal)
Português - Brasil (Portuguese - Brazil)
Română (Romanian)
Русский (Russian)
Suomi (Finnish)
Svenska (Swedish)
Türkçe (Turkish)
Tiếng Việt (Vietnamese)
Українська (Ukrainian)
Report a translation problem


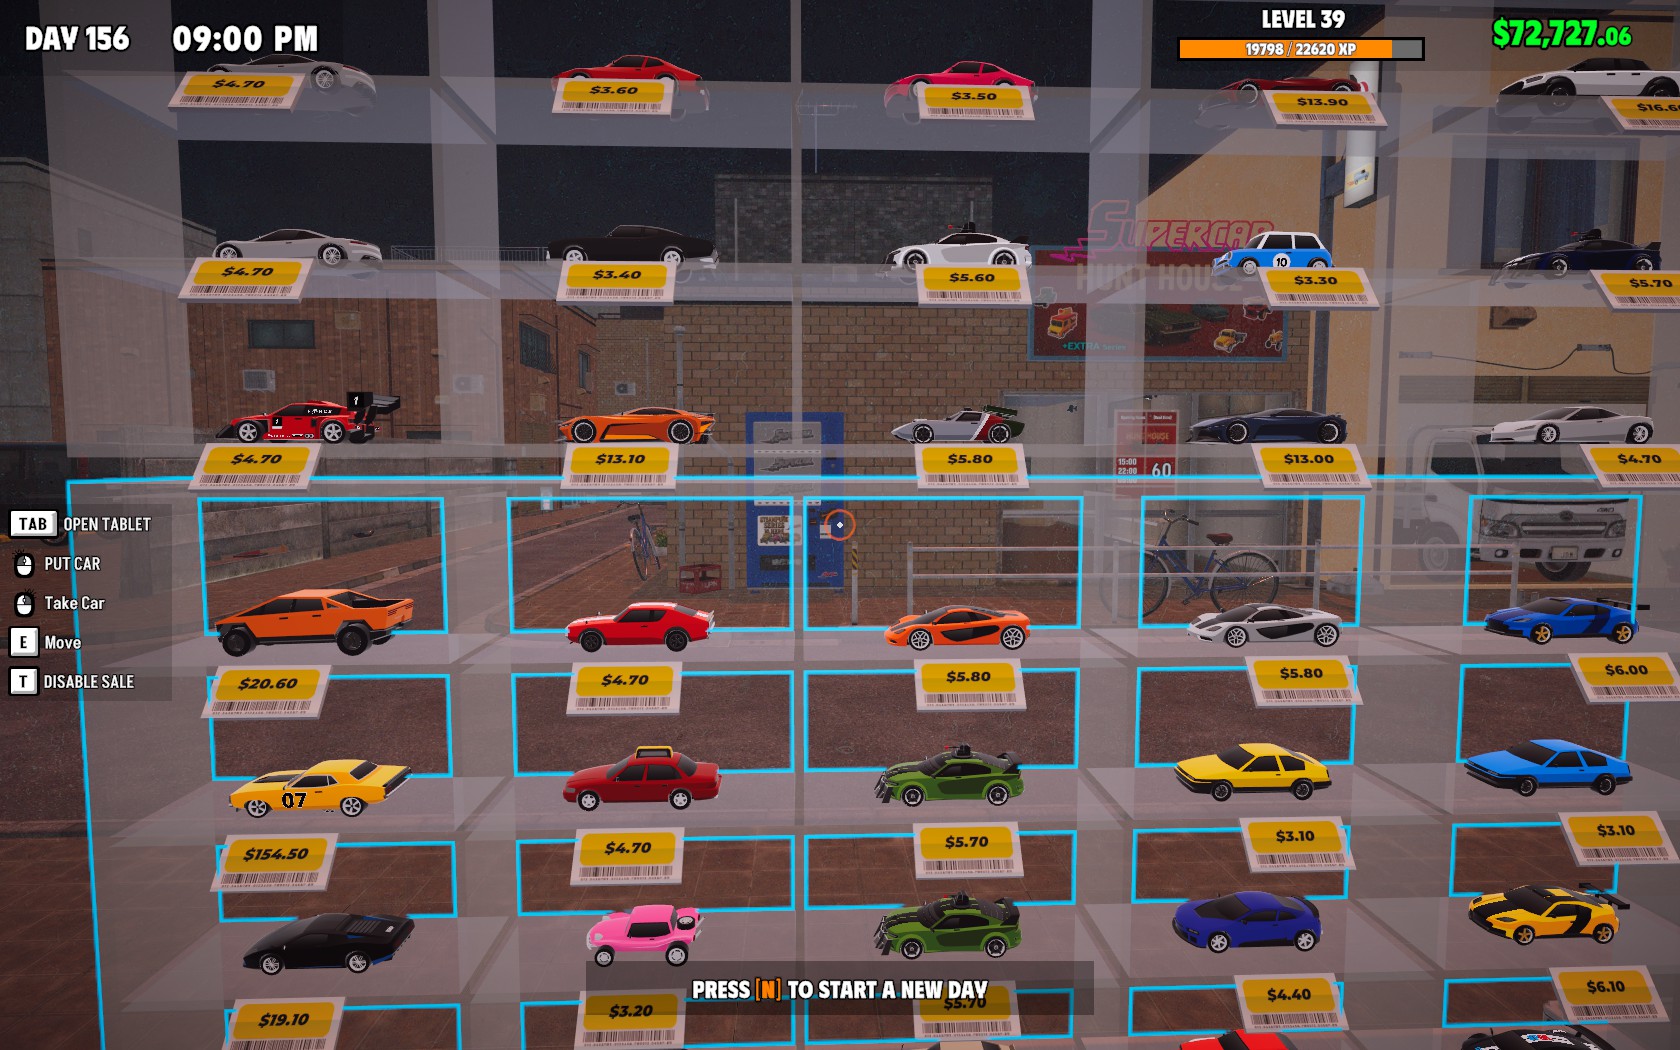


I didn't understand why I was suddenly earning less than half a day, and it was because of the coding, as you say, of having a lot of cars on display as decorations. D:
I used Google Translate for this message.
Thanks.
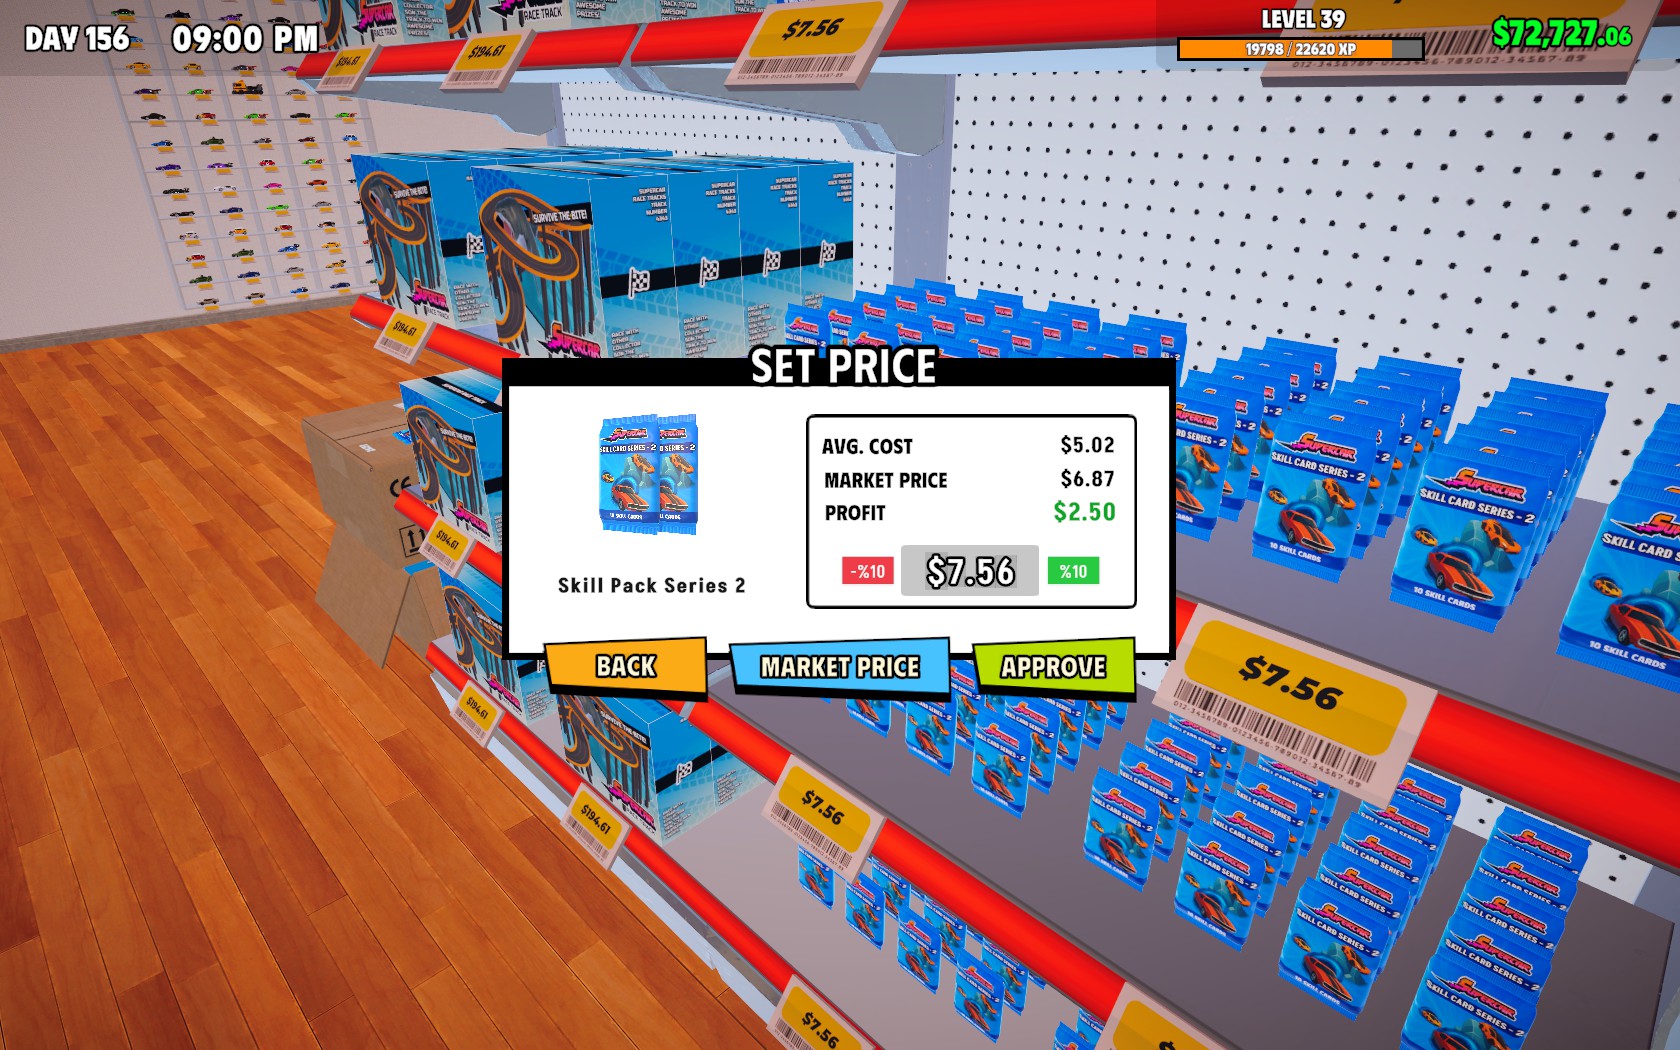
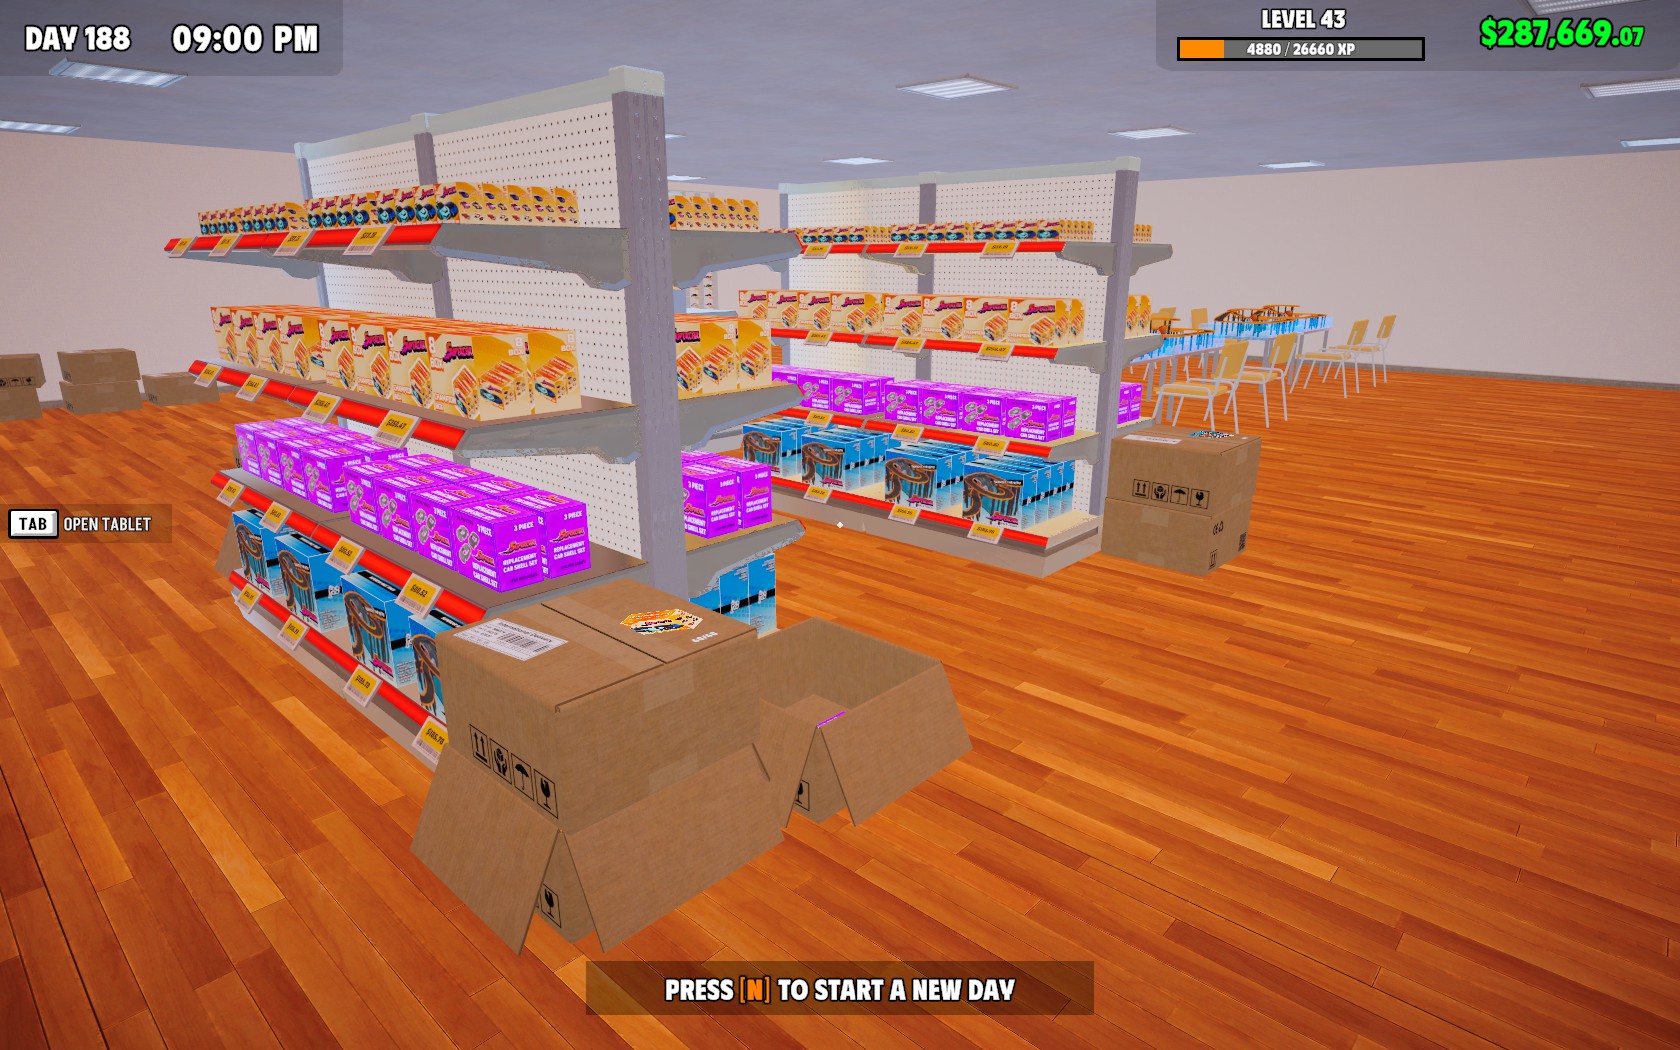
So, pick the most profitable of each, calculated by profit per unit * units/shelf space.
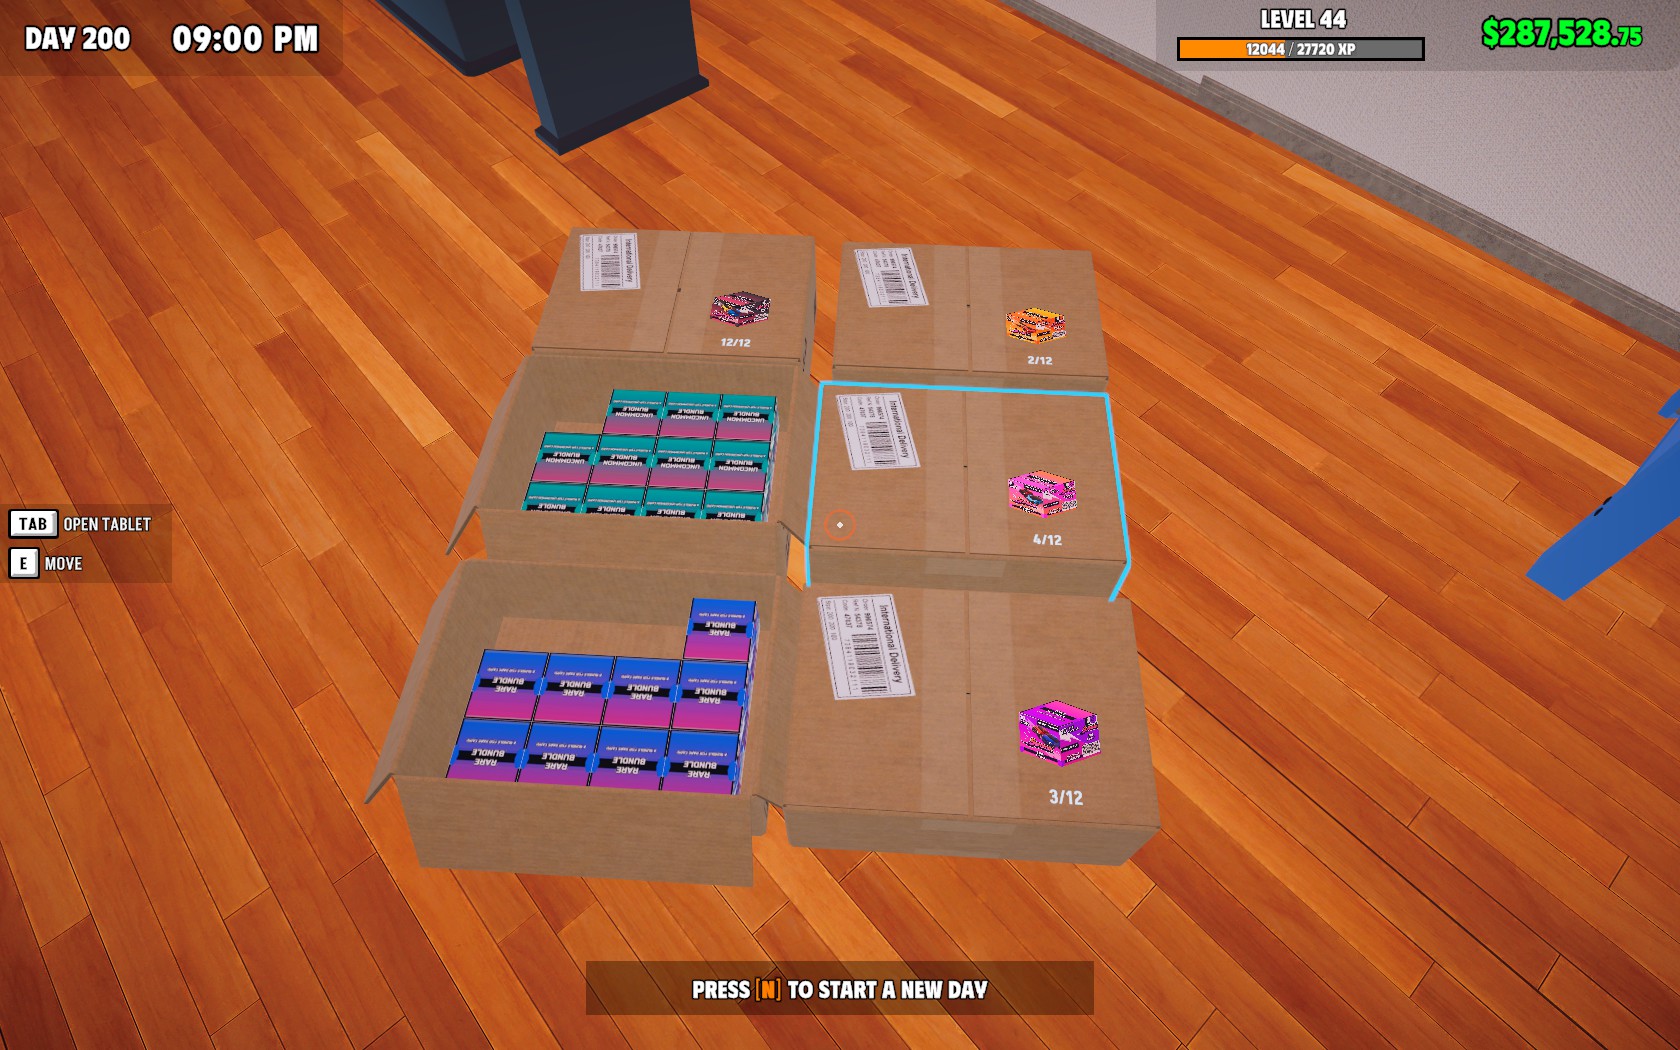
Displayed cars count against the "other" category, so don't sell any that are below your profit per unit of that. End game means you shouldn't sell cars below $40 because the missed sales opportunity means you earn less.
I have not tested whether bundles count against the other category (given my earlier lackluster sales - probably). If they do and given the display cars being able to drag you down substantially, the threshold for packing cars might have to be adjusted.
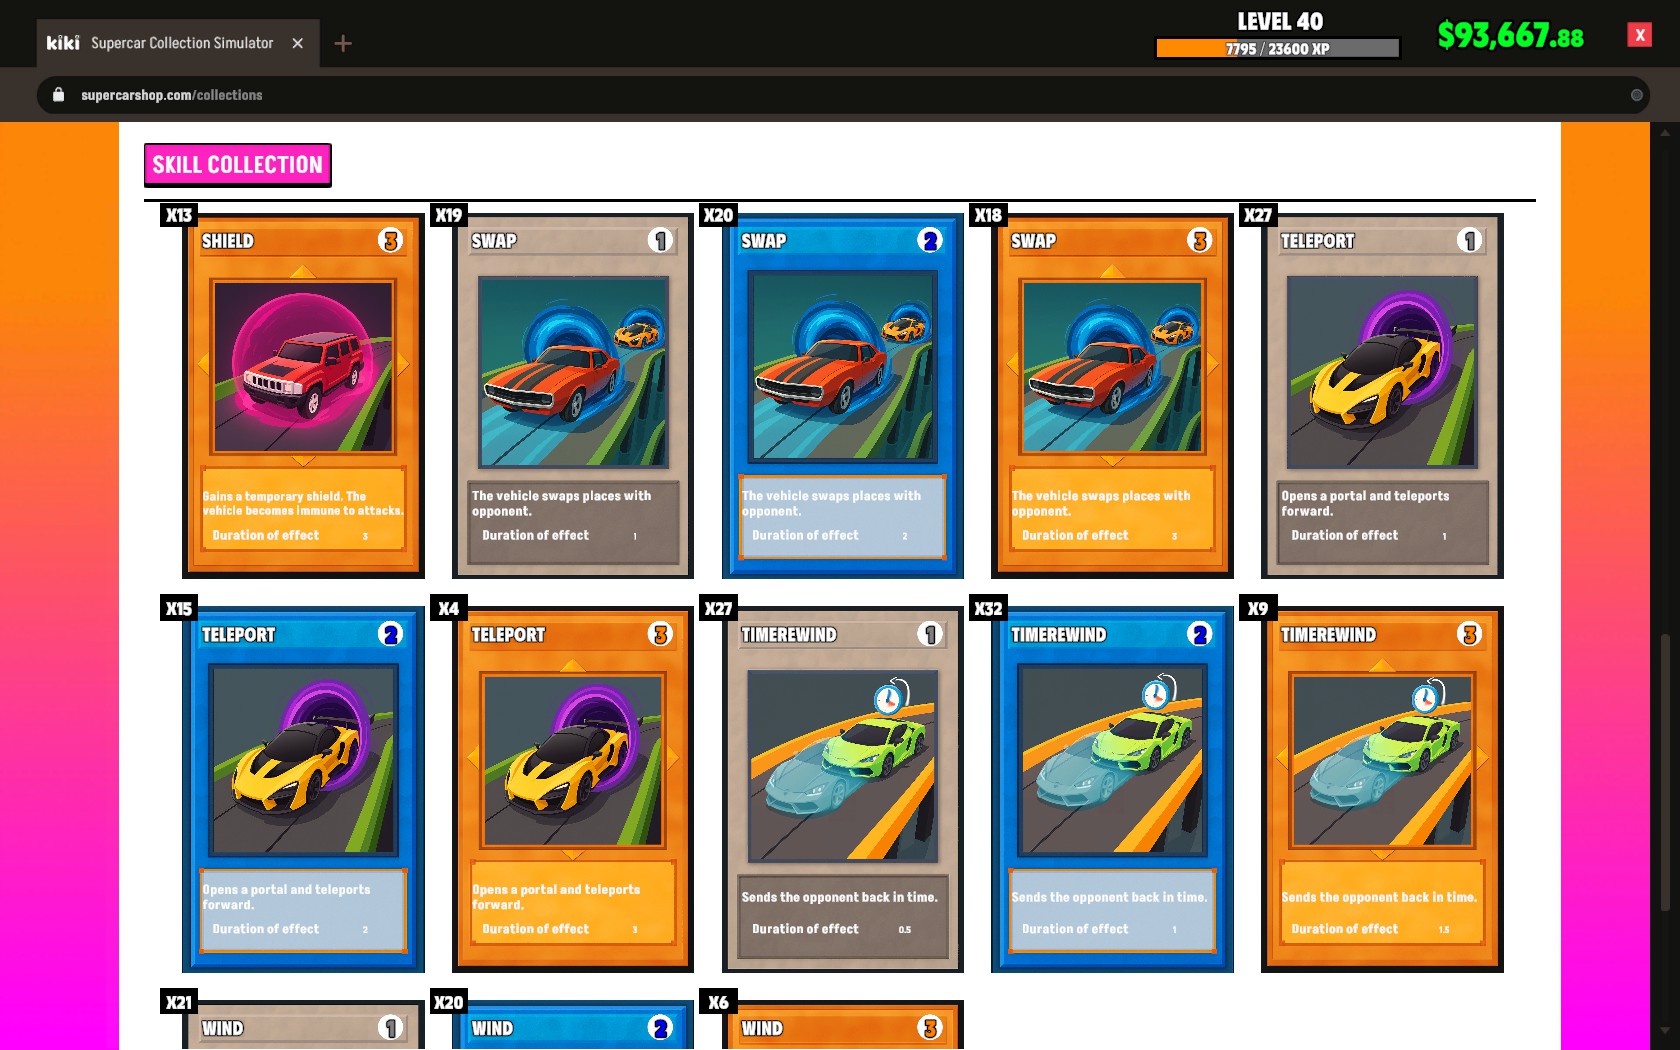
Boost is largely depend on how fast your own car is. On high end cars it gives you another lap. On low end cars it's too pathetic to use.
Wind and Missile have both trouble catching the fastest cars.
All the box packs you can buy are in the same product group. You can just use the largest big box and your profit won't change - but you do have to set fewer prices and buy fewer different products.