
Install Steam
login
|
language
简体中文 (Simplified Chinese)
繁體中文 (Traditional Chinese)
日本語 (Japanese)
한국어 (Korean)
ไทย (Thai)
Български (Bulgarian)
Čeština (Czech)
Dansk (Danish)
Deutsch (German)
Español - España (Spanish - Spain)
Español - Latinoamérica (Spanish - Latin America)
Ελληνικά (Greek)
Français (French)
Italiano (Italian)
Bahasa Indonesia (Indonesian)
Magyar (Hungarian)
Nederlands (Dutch)
Norsk (Norwegian)
Polski (Polish)
Português (Portuguese - Portugal)
Português - Brasil (Portuguese - Brazil)
Română (Romanian)
Русский (Russian)
Suomi (Finnish)
Svenska (Swedish)
Türkçe (Turkish)
Tiếng Việt (Vietnamese)
Українська (Ukrainian)
Report a translation problem


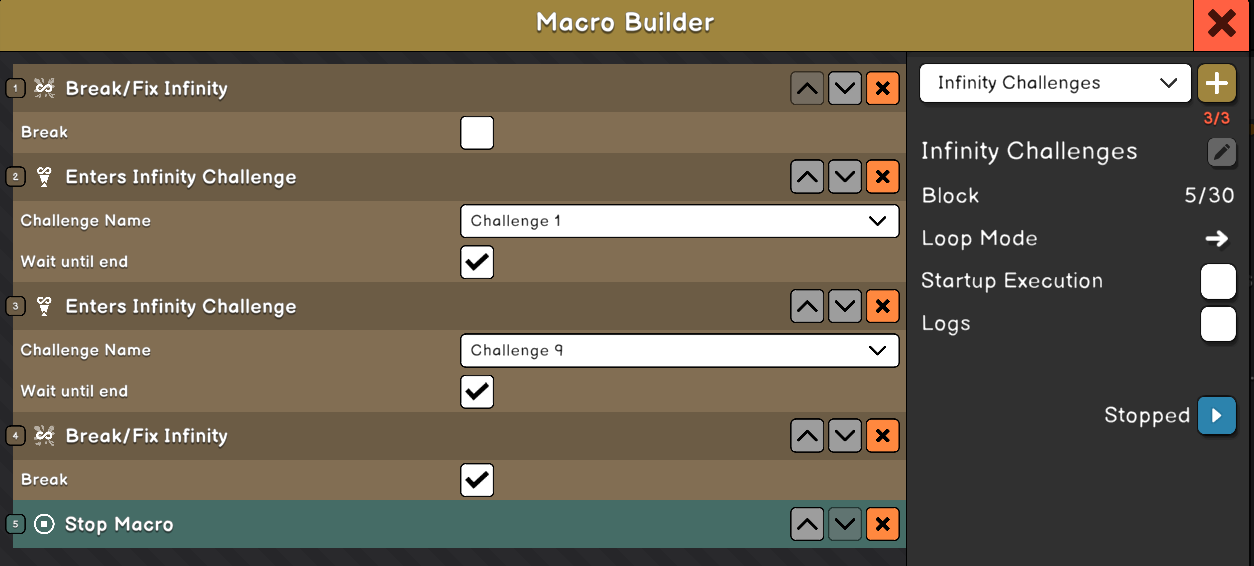


So it's definitely more than plausible to do earlier, it only took like 5 minutes also using the 6 Libra/6 Taurus method.
Thanks!
Dilate(true)
WaitForSeconds(1.0)
Dilate(false)
WaitForSeconds(0.5)
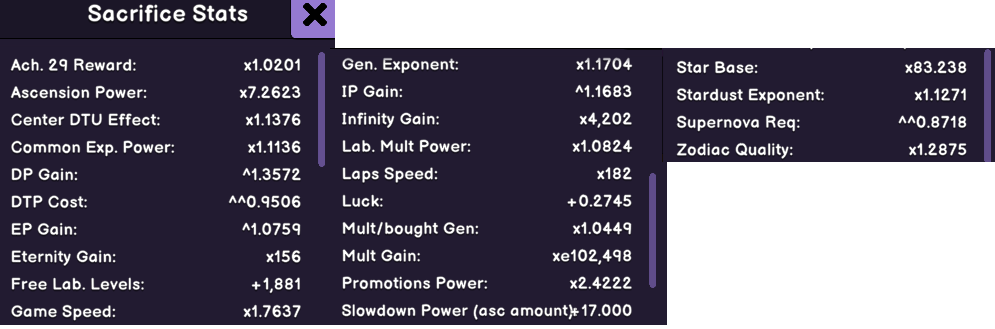
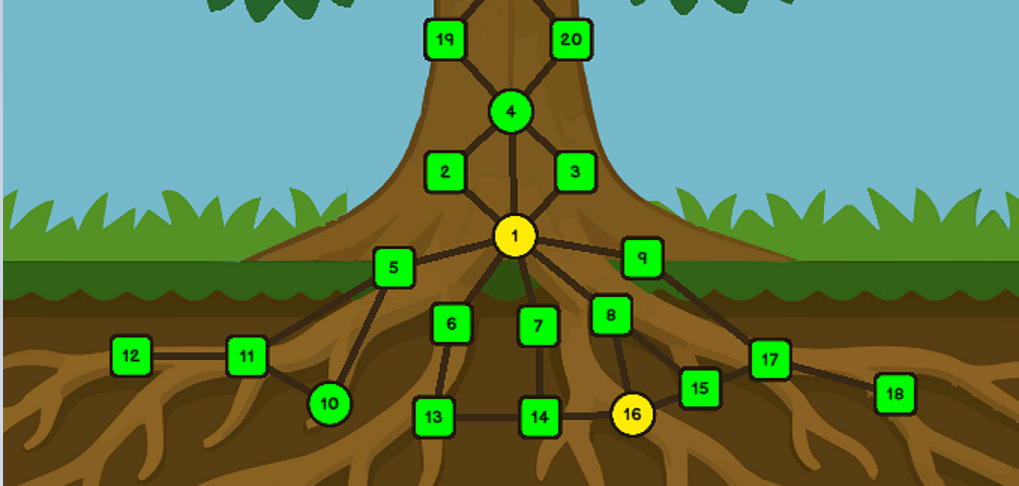
DTU(CENTER, 0, 4)
DTU(MIDDLE, 0, 4)
DTU(MIDDLE, 1, 4)
DTU(MIDDLE, 2, 4)
DTU(MIDDLE, 3, 4)
DTU(BOTTOM, 0, 4)
DTU(BOTTOM, 1, 4)
DTU(BOTTOM, 2, 4)
DTU(BOTTOM, 3, 4)
WaitForSeconds(0.1)
DTU(TOP, 0, 4)
DTU(TOP, 1, 4)
DTU(TOP, 2, 4)
DTU(TOP, 3, 4)
if (DP <= e360000)
Restart()
else
WaitUntil (EP <= 1.00)
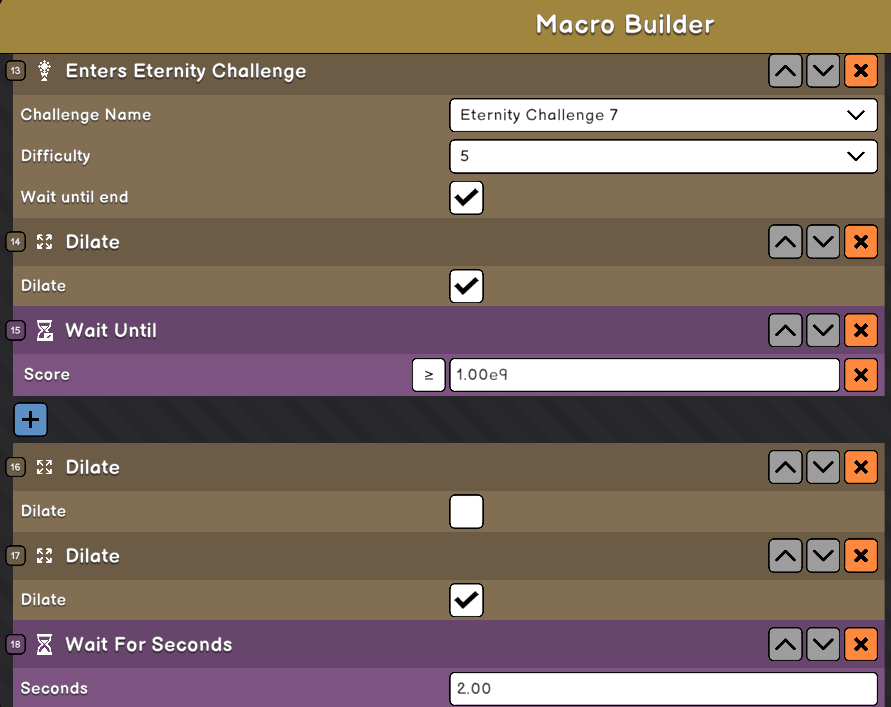
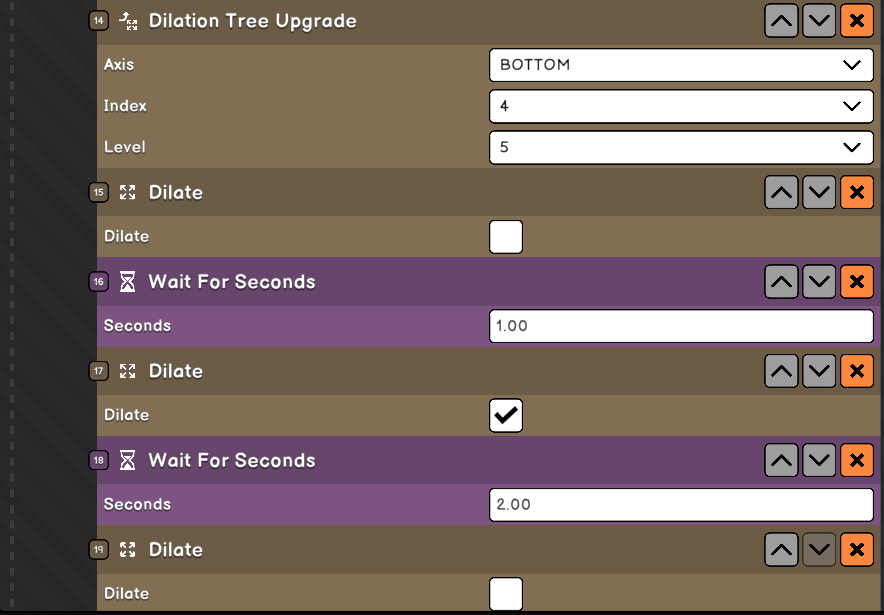
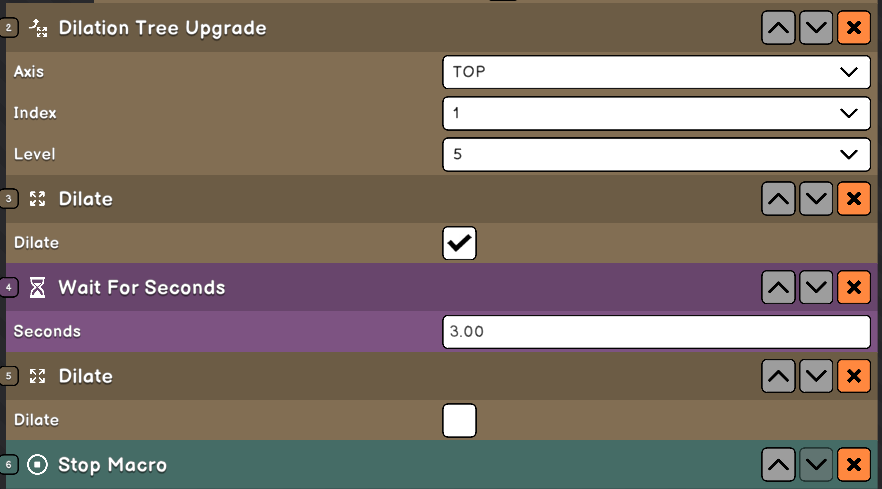
Line 14 ("WaitForSeconds(0.1)") is in there because I only get 62 DTP from the first Dilate, buying 2 Center DTU raises it to 65 DTP. The 0.1s delay gives the calculations time to catch up, so I fill the entire tree in the first cycle.
And you might have to adjust the DP value in line 19, pick a value a little lower than the DP you get after 2 dilations with a completed tree.
Apologies.
If I remember correctly at that point, farming AP (or Eternities) for a little while was the best option since AP gives big boosts to Dilation.
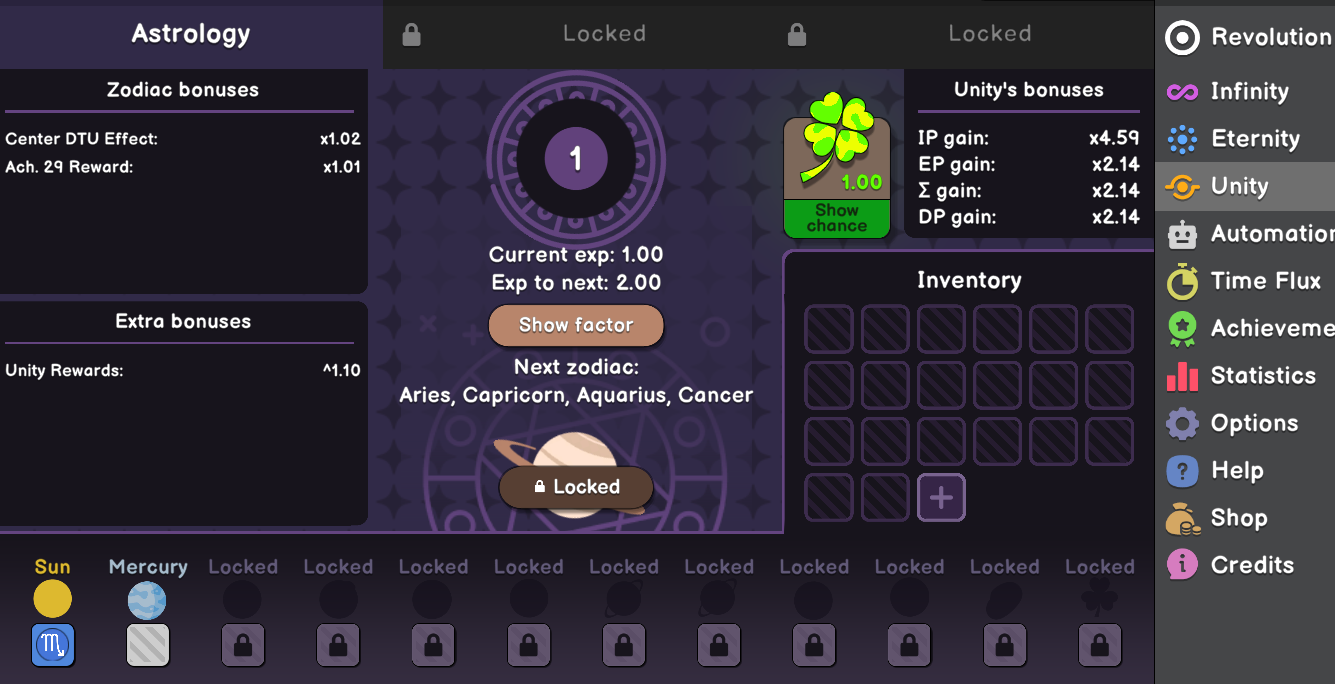
Which zodiac signs should I choose to go through?