
Install Steam
login
|
language
简体中文 (Simplified Chinese)
繁體中文 (Traditional Chinese)
日本語 (Japanese)
한국어 (Korean)
ไทย (Thai)
Български (Bulgarian)
Čeština (Czech)
Dansk (Danish)
Deutsch (German)
Español - España (Spanish - Spain)
Español - Latinoamérica (Spanish - Latin America)
Ελληνικά (Greek)
Français (French)
Italiano (Italian)
Bahasa Indonesia (Indonesian)
Magyar (Hungarian)
Nederlands (Dutch)
Norsk (Norwegian)
Polski (Polish)
Português (Portuguese - Portugal)
Português - Brasil (Portuguese - Brazil)
Română (Romanian)
Русский (Russian)
Suomi (Finnish)
Svenska (Swedish)
Türkçe (Turkish)
Tiếng Việt (Vietnamese)
Українська (Ukrainian)
Report a translation problem


Druids can have some real strong build with the Last Sarkorian DLC and some of the Mythic Feats's combination - Master Shapeshifter and Brutality Incarnate turns it into a melee fighter, with Natural Spell it can cast spells as an animal too.
Hunter - pet-heavy builds, extra meat-shield while you can slay from afar with your ranged weapons.
Ranger - less practical, but has some useful Archetype for potential dips.
Shifter - new Archetype with the Last Sarkorian DLC, a shapeshifting fighter. You never will be weaponless.
Witch - Full Spellcaster, mainly Int, but some version can get a pet (with a DLC - don't remember which one), or a brutal close-combat fighter with powerful Hexes. Those spell-like abilities can cause hard fights into cakewalks, properly chosen, with a bit of luck.
@Team Aqua Grunt
I am still chipping away it semi regularly even though I don't have the time I had when I started. Luckily next act is short and there wont be that much left to do (other than hardcore builds and relic section I need to complete.)
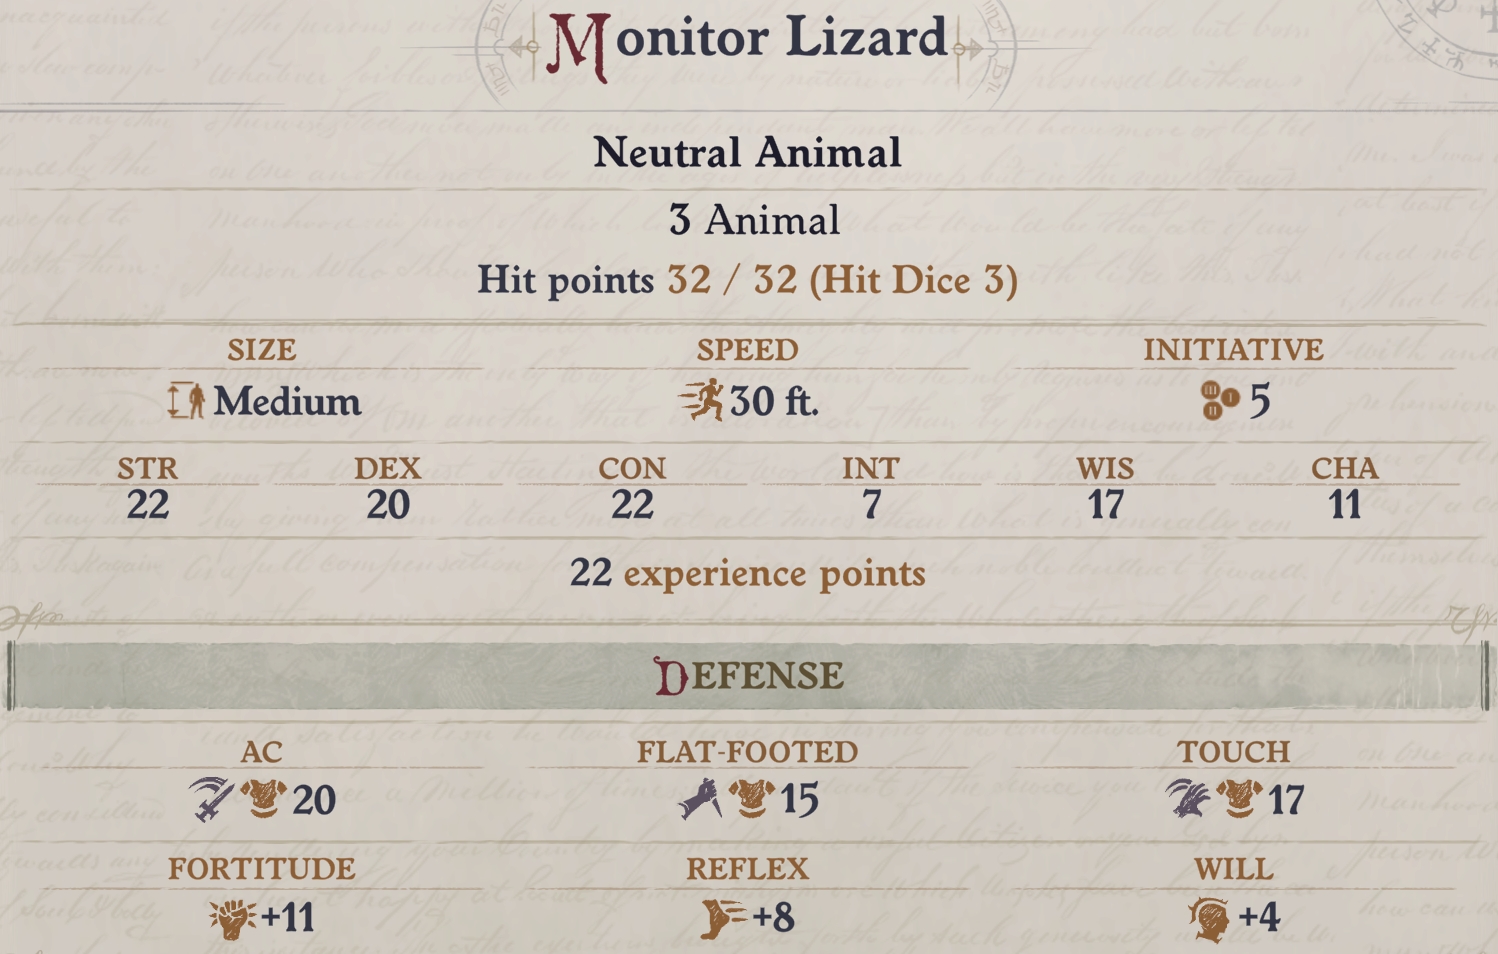
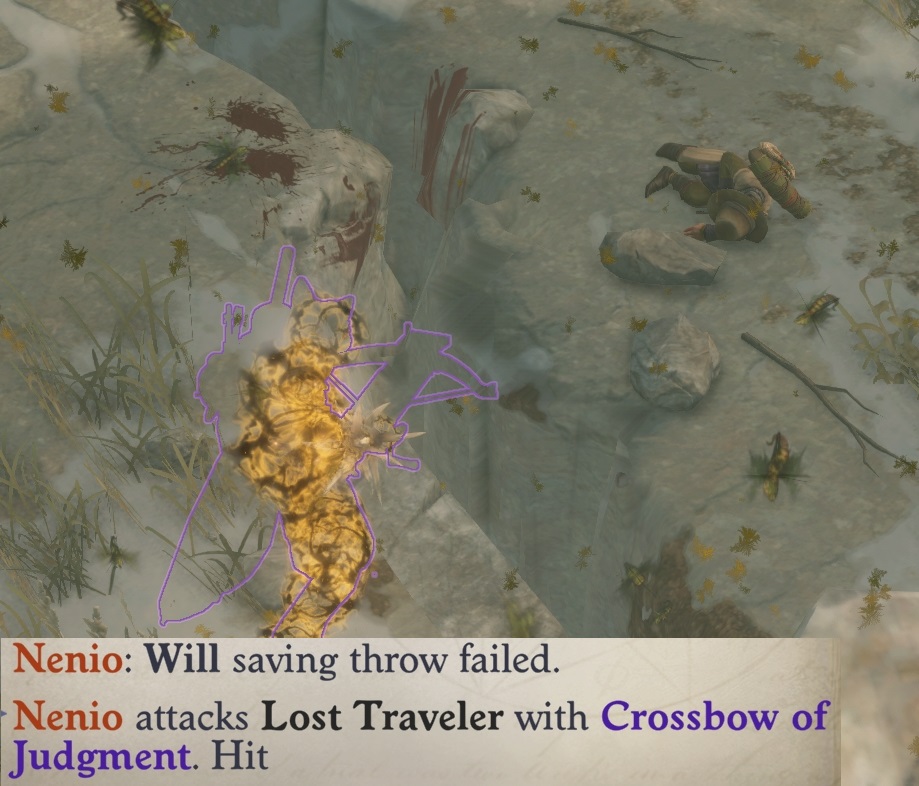
Thanks for the tip! I need to test Polymorph on those two on my next run.
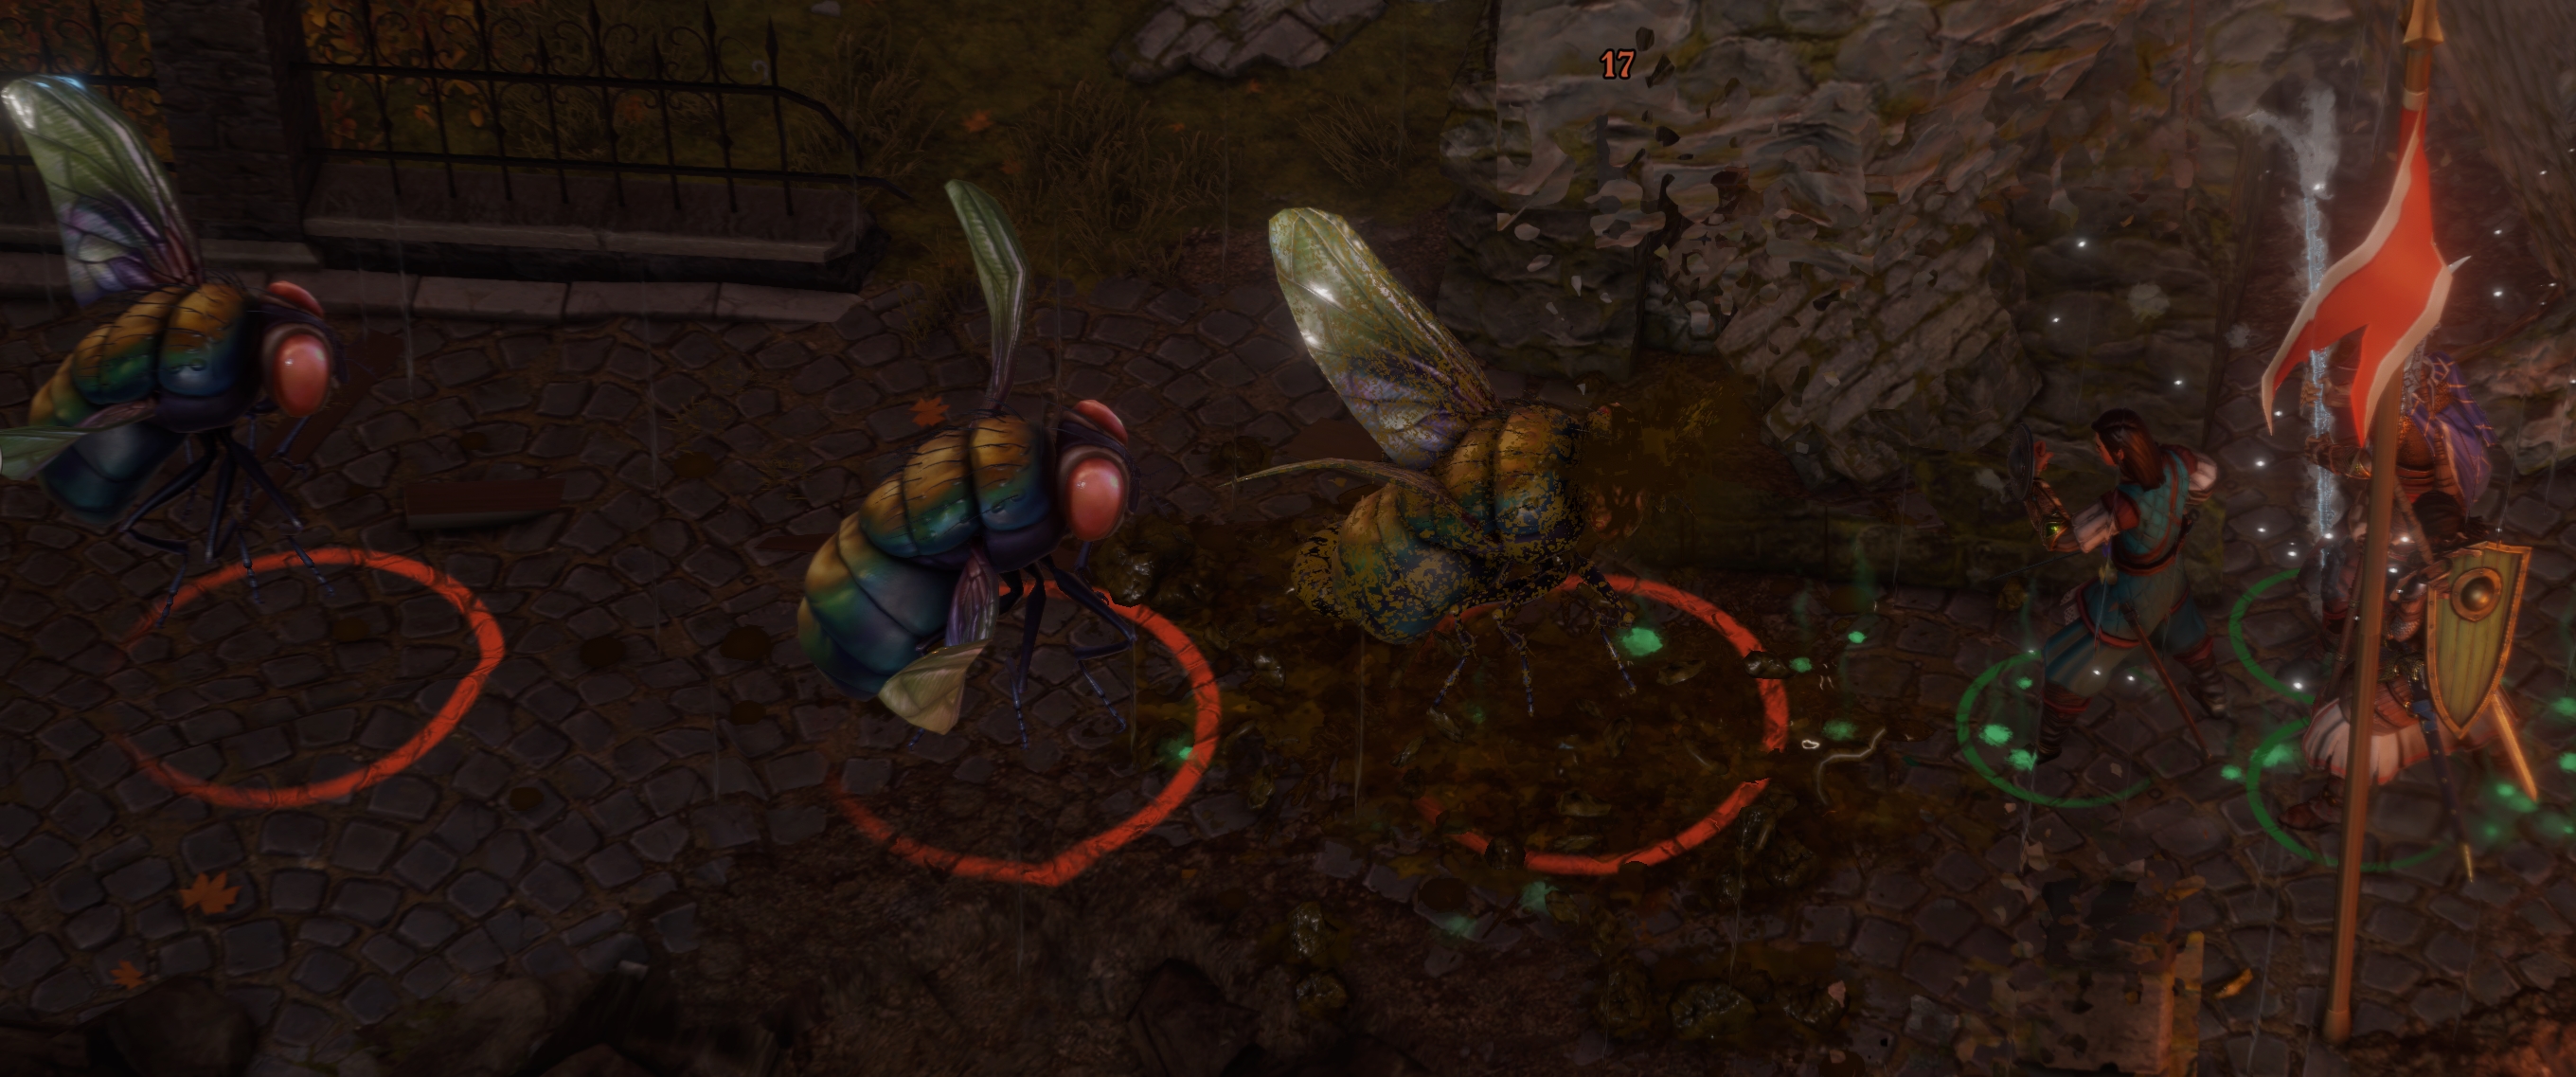
small aside, idk if this is a difficulty thing, but both Pale Marrowgnaw and Pale Rotwhisper weren't immune to polymorph, so baneful polymorph quite literally oneshot them both lmao
Just wanted to say that this guide is miles better because of the Unfair difficulty approach, and all the great tips you share along the way!