From Glory To Goo

From Glory To Goo

Not enough ratings
Basics for From Glory to Goo
By Meister Mogul
Guide and video for how to play From Glory to Goo.

1) Initial steps for setting up a successful base
2) Tips for managing and expanding the base
3) Information on Resources, Terrain, and Enemy Types
4) Ship Management and Captain Management
5) Key Early Game Research Goals
5) Gameplay through first wave
2
   
Award
Favorite
Favorited
Unfavorite
Overview of Guide Information
This Guide and associated video will take you through the following information.

1) Initial steps for setting up a successful base
2) Tips for managing and expanding the base
3) Information on Resources, Terrain, and Enemy Types
4) Ship Management and Captain Management
5) Key Early Game Research Goals

Initial steps for setting up a successful base
First, pause the game and get a lay of the land. Look for three key things:

1) Water, Energy, and Hab Placement Areas - These are Grasslands/Lush Terrain to place wells on as well as free Dirt/Rocky Terrain to place at least 2x2 solar panels or 3x3 habs with a space left in the middle of the habs for Robotics (Effort Multiplier Building that comes later after research is unlocked).

2) Mountains and Rivers to scope out potential choke points to place defensive structures around as well as to determine enemy entry points for when the first waves arrive. The Fog of War must be cleared to find ideal places to setup later; however, early game it's more important to secure the immediate vicinity of your base.

3) Setup attack move orders around your base that is still within the goo free zone (Areas inside the highlighted yellow/red tiles. Clearing out the vicinity and peeling off troops to cover the perimeter of your base will prevent goop outbreaks later as well as ease future expansion.
Information on Resource Types
There are four (4) main resources in From Glory to Goop.


1. Effort - Supplied by the workers, professionals, and experts you start out with and accumulate through hab structures on planet and industry sections of your star ship. *Be warned that buildings also take up workers, professionals, and experts; thus, as you build, you will need to continue expanding hab infrastructure to maintain your effort income each cycle.

2. Crystals - Supplied by Mining Hubs in range of Crystal Fields. Crystals are necessary for planet based upgrades, structures, and troop production as well as ship repair/building. Crystals should be sought out and exploited as soon as possible to maximize use out of your ship as all ship upgrades require crystals.


3. Ore - Supplied by Ore Rigs in range of Ore Fields. Unlike Crystals, units can pass through Ore Fields making them more dangerous in regard to securing base defenses. However, Ores, like Crystals, are necessary for higher end planet based upgrades, structures, and troop production and higher end ship upgrades/constructions. Ore should be exploited after Crystal Income is secure.


4. Isotopes - Supplied most easily by the Recycler (Researched building that converts one resource into another). Isotopes are used in the most advanced planet based upgrades, structures, and troop production and ship upgrades/constructions. These are a late game resource that is useful for upgrading ship modules to their Tier-3 level.

Information on Terrain Types

There are four (4) Main Terrain Types to consider when placing structures. There are also a few special Terrain Types.

1. Lush - Provides High amount of water for water pumps.
2. Grassy - Provides medium amount of water for water pumps.
3. Dirt - Provides low amount of water for water pumps.
4. Rocky - No water from water pumps. Goop will not spawn from Rocky Terrain even without a Thumper present.

Not Pictured Impassible Terrain

1. Mountains
2. Water
3. Pit*

*Traversable with bridges.

Special Terrain Types

1. Geyser - Mid-Game High Water location with geyser pumps unlocked through research.
2. Underwater Ruins - Generates Research with the approprate building.
3. Desert - Goop unburrows at a higher rate in this terrain when being traveled on.

**Special Thanks to KaiesV for helping add information to this part of the guide.
Information on Enemy Types
There are a variety of enemy types in the game; however, I will only go over the few I have come across and will expand on this section as I encounter more.

1. Hopper - Basic Enemy type that is most common throughout the map. Not particularly deadly if not in large groups. Low Health and Low Attack Melee.

2. Popper - Basic Enemy type that explodes on death. Harmful to melee units and defensive structures. Is produced by Popper nests that setup outside of base vision during later waves.

3. Thrasher - Most Common Enemy type in waves and throughout the map. More Health the hopper and same attack. Moderate Health and Low Attack Melee.

4. Flapper - Flying enemy melee type. Usually arrives at base before major waves and appears sporadically throughout the map. Flappers can bypass any terrain type and thus require players to defend base perimeter even on mountain/river blocked sides. Moderate Health and Low Attack Melee.

5. Goop Launcher - Dangerous artillery unit that deals high damage at range. Will spawn in later waves and is present throughout the map. Launched goop lands after a short delay, so move groups of units out of the way before they land.

6. Goop Nests - Spawns Hoppers if attacked. Usually present around resource crates other useful resources.

7. Biters - High Health splash damage melee units. Will spawn in later waves and is present throughout the map

8. Mutant Trooper - Ranged Goo unit. Not particularly hardy, but dangerous to air units.

9. Tainted - Mutant unit. Appears when hab structures are destroyed.

10. Breeders - Mobile spawns that comes with larger waves. Sits just outside of wall line of sight and spawns poppers. Use ship artillery bombardments or flank with flying units to destroy.

11. Impeders - Goo unit that arrives with large waves. This unit disrupts the Thumper building and allows Goo to spawn in previously cleared zones.

12. Tunnelers - Goo unit that remains continuously burrowed until revealed by a Thumper building.

13. Watcher - Ranged goop unit. High Damage and high health. Immediate concern when spotted as it can easily dispatch most targets if not focused down. Usually spawn on map near important resources and will come with later waves.

14. Goliath - Extremely high health and damage. Priority target as these will tear through fortifications.

**Special Thanks to KaiesV for helping add information to this part of the guide.
Ship and Captain Management
The Ship you choose will determine your play-style

Broadly speaking, ships can either be damage dealing artillery support, resource generators, or somewhere in-between. Whatever you decide to do, ships will require much of your crystal and ore production to come online.

Whenever possible, repair modules, build new modules, or upgrade modules on your ship. This will ensure you do not waste potential production on full stockpiles.

Ensure your ship has adequate Thrust, Crew, and Power.

Thrust - Counteracts how heavy your ship is and reduces the frequency of boarding parties. When the ship is boarded, you cannot interact or benefit from ship resources at all.

Crew - Crew determines how efficiently your ship is run. Keep Crew in the green and your ship will function adequately.

Power - Power ensures your shipboard devices are actually working. Keep power generation high if you plan on using artillery as artillery reduces the ship's stored power for each use and must recoop before firing again.

The Captain you choose will also determine your play-style.

Generally speaking, Captains should be used for clearly away goop as you expand as to ensure the Captain receives as much Experience as possible. Captain bonuses can be game changing and the unit itself is powerful.
Key Early Game Research Goals
Tier 1: Research Robotics to enhance Hab Effort Production.

Tier 2: Research Factory to double production of all mined resources.

5 Comments
LurkingUrGrue 1 Apr @ 2:50pm 
Factory doesn't need to be next to habs. The Robotics facility does however. Like the below post said, its best to put the Robotics facility in the center of a ring of habs.
Jahn 14 Dec, 2024 @ 3:28pm 
factory has to be next to Habs to benefit from additional effort production. It's best to have 8 habs in a square, with an open tile in the center to place the factory for max benefit
Apophis 21 Jul, 2024 @ 3:56am 
Factory doesnt seem to do anything
Meister Mogul  [author] 20 May, 2024 @ 5:24pm 
Thank you for your help in contributing to this guide! I have not yet encountered and recorded those enemy types and terrains!
LowrollHater 20 May, 2024 @ 1:14am 
There were things you forgot to add.

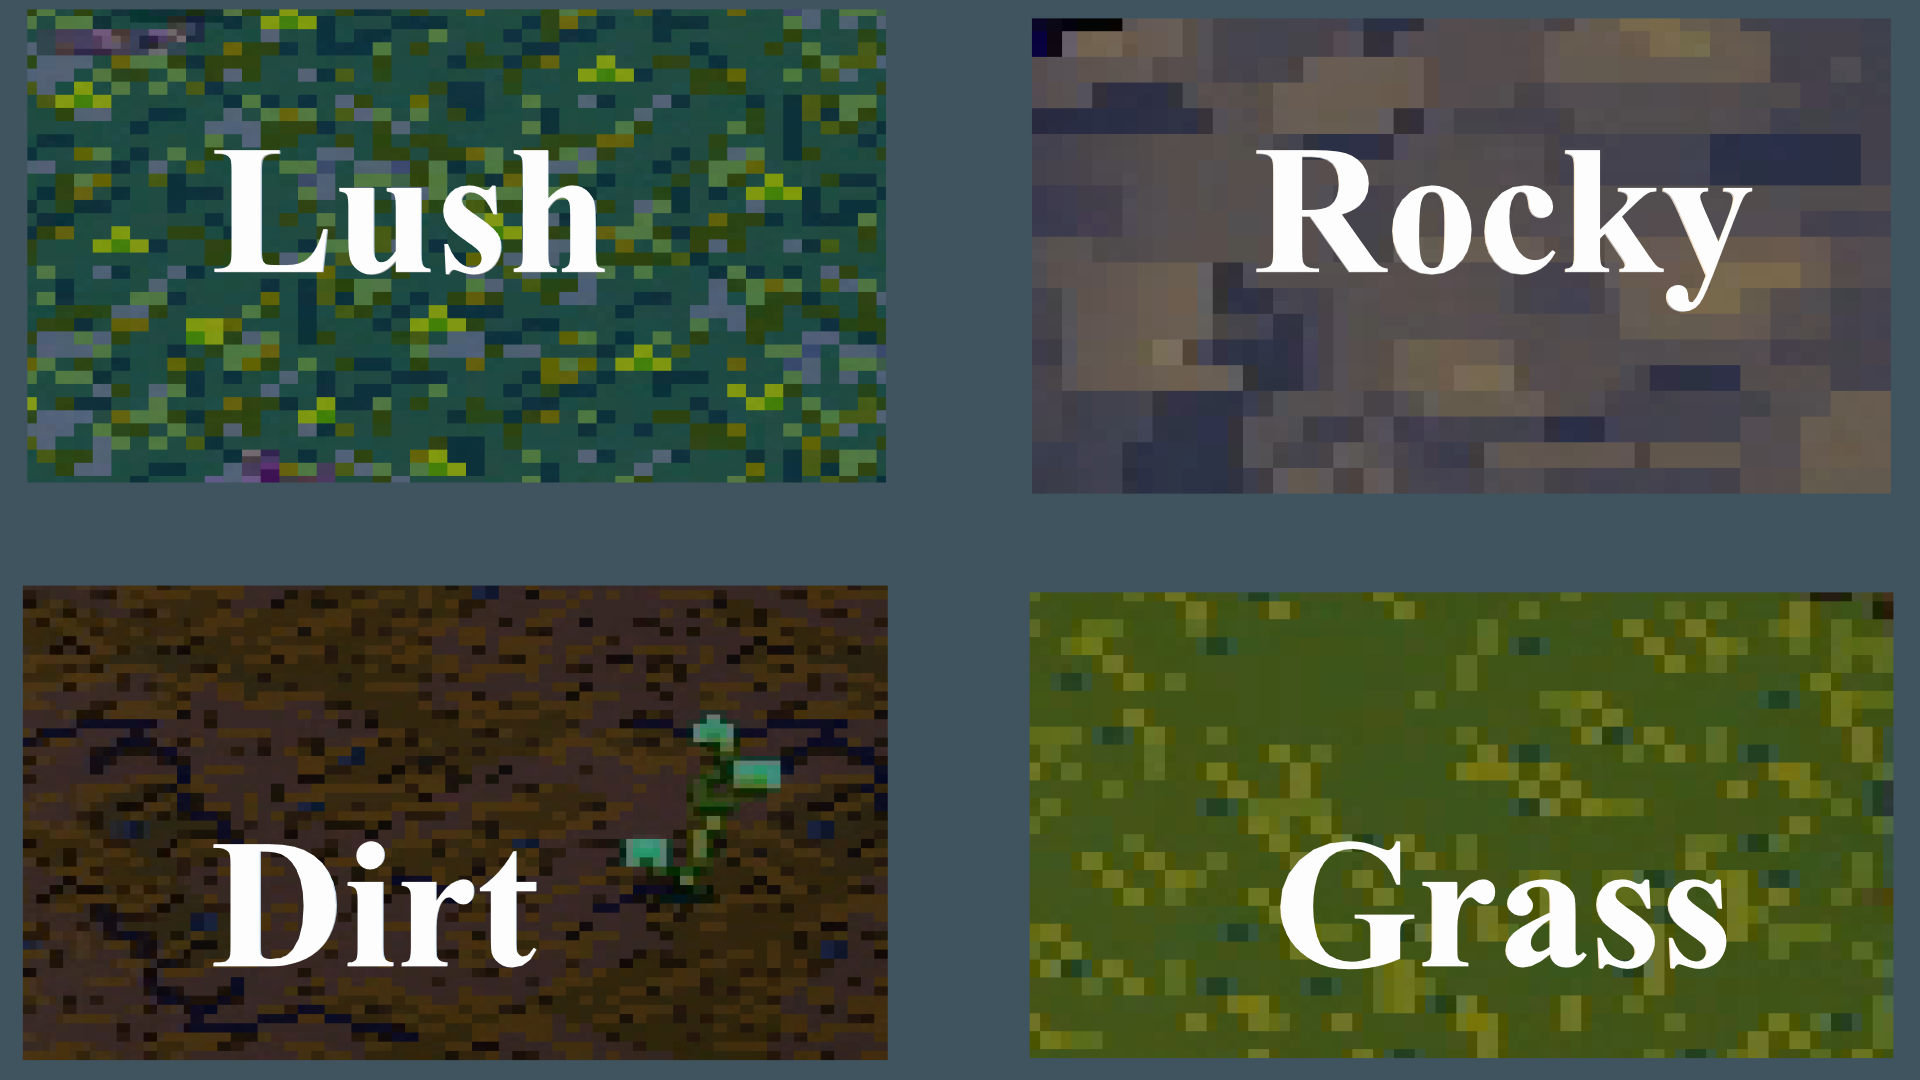
On terrains types you missed Deserts and Pits :
Deserts - Terrain where Goos have higher frequency of appearing
Pits : Terrain where no unit can pass through except aerial units. Pits can be walk through with the help of Bridges.

On enemy types you missed Tainted, Impeders, Breeders and Tunnelers :
Tainted - A mutant unit that'll appear when the Goo destroy a populated structure.
Impeders - A Goo which had the ability to get other Goos to unburrow on Thumped territory.
Breeders - A mobile Goo nest which can spawn Poppers.
Tunnelers - A Goo that always burrows on the ground, they can be targeted on Thumped territory