
Install Steam
login
|
language
简体中文 (Simplified Chinese)
繁體中文 (Traditional Chinese)
日本語 (Japanese)
한국어 (Korean)
ไทย (Thai)
Български (Bulgarian)
Čeština (Czech)
Dansk (Danish)
Deutsch (German)
Español - España (Spanish - Spain)
Español - Latinoamérica (Spanish - Latin America)
Ελληνικά (Greek)
Français (French)
Italiano (Italian)
Bahasa Indonesia (Indonesian)
Magyar (Hungarian)
Nederlands (Dutch)
Norsk (Norwegian)
Polski (Polish)
Português (Portuguese - Portugal)
Português - Brasil (Portuguese - Brazil)
Română (Romanian)
Русский (Russian)
Suomi (Finnish)
Svenska (Swedish)
Türkçe (Turkish)
Tiếng Việt (Vietnamese)
Українська (Ukrainian)
Report a translation problem


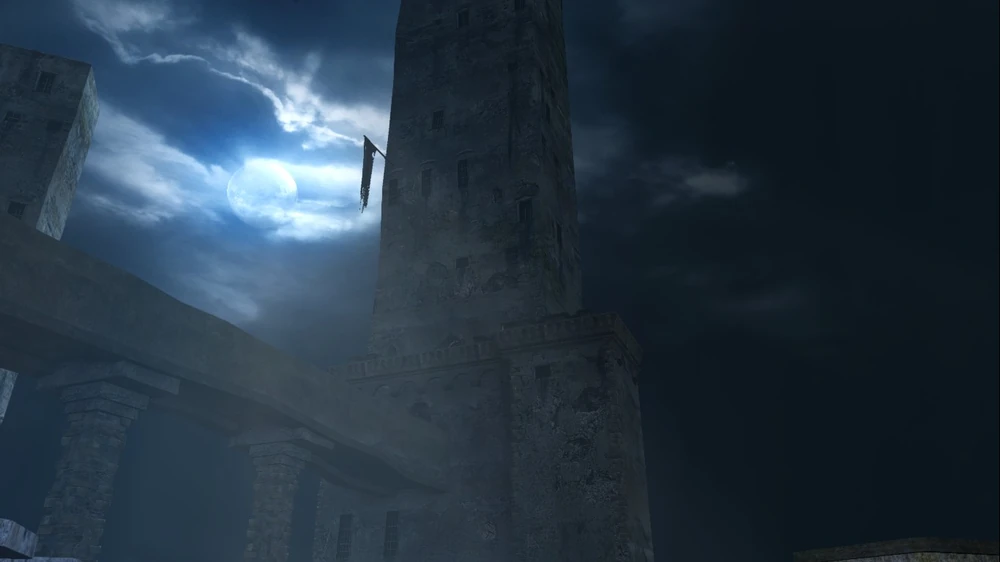


Out past the bonfire at the foot of the first stone stairs, if you turn right you will see a narrow path and a gap between the buildings.
The gap is passable and loops back around to the frozen fountain in the first village area.
I’m a bit late to the party, but thanks for the great guide. Just what I needed for a chill play through.
Using the Tseldora Set and the white snake ring, it'll drop about 300.000 souls per kill. That's what, a million souls every 10 minutes?
Also, burning ascetics on the bonfire will be pretty much harmless, as the overall affected area is small and isolated from the rest of the game (you won't be frequently passing through buffed mobs), and the Boss will remain weak even at its ng+6 cap. Sure, it can 1hit kill a lvl 1 character, but it is just so slow, you can easily get flawless victories after getting to know its moveset.
I felt stupid wasting hours farming souls at Shulva and Dragon Shrine, when The Rotten can be downed so easily (specially if you're using the rapier from this guide's build).