Teardown

Teardown

Not enough ratings
Making a heist, all info you need (will be more)
By Le lance Flamer
This tutorial will help you go through making a heist in Teardown without any difficulties. Any questions? Ask in the comments!
There are images explaining and of course tons of text explaining!

Get into Teardown heisting now!
Made by Le lance Flamer; everything made in this guide (except the map & the assets in it) are made by Le lance Flamer, including images.
   
Award
Favorite
Favorited
Unfavorite
Before starting
Before you begin making your heist for Teardown, make sure that when you place anything, vox, voxbox, etc. inside a [body], set their Prop property to false.

Another important thing is to ensure that the origin point within the [body] is correctly aligned, as this is where the interactive text will be displayed. Press "o" to align it to the center, then use CTRL and drag the X, Y and Z arrows where you want the interaction text to be displayed at.


Now, let's dive into the details!
Simple target
Starting with the most basic target type: Simple targets.

  1. Begin by adding an Alarm box as a [script] instance. Set the File property to alarmbox.lua.

  2. Within this [script], include a [vox] / [voxbox] for the alarmbox (when its rope is detached, it will trigger the alarm), tag this object as alarmbox. Additionally, place a light inside the alarm box (no need to add a tag).

  3. Parent a [rope] to the [script]. Ensure that the first [location] in the rope is connected to the alarm box, and the second one is attached to the object you intend to steal. No need to put inside the alarmbox, just put inside the [script].

  4. Now, create a new [body] (that is preferably placed outside the alarmbox lua script's scope), make sure to tag this [body] with target and unbreakable to make it resistant to any kind of destruction, such as explosions, sledge hammer hits etc. Set the [body]'s dynamic property to true.

  5. To provide information on the heist map, go to the desc property of the same [body]. Add text in the following format: Name ; Location ; [Description]. If you want to make the target optional, simply insert an optional tag within the [body].

For further reference, check out the image below:


Remember to adhere to the instructions from the beginning for everything to work correctly.
Alarm lights
Exploring Alarm Lights

Before diving into more intricate setups, let's take a closer look at alarm lights, which come in 4 different types:

  1. Type 1: Slow flickering with approximately a 0.25-second pause.
  2. Type 2: Fast flickering with around a 0.1-second pause, followed by a 0.5-second pause after multiple flickers.
  3. Type 3: Very fast flickering with roughly a 0.05-second pause, featuring sound effects. No pause occurs after multiple flickers.
  4. Type 4: A spinning light that revolves around.

Type 1
To set up Type 1, create a new instance of [script], with the File property set to alarmlight.lua. In the parameters, specify type=1. Parent an unbreakable object (tagged as unbreakable) for the alarm [light]. Within this object, add a [light], which will serve as the alarm light, and tag it as alarm.

Type 2
For Type 2, follow the same steps as for Type 1, but this time, set the type parameter to type=2.

Type 3
For Type 3, the process mirrors that of Type 1, but instead of type=1, use type=3.

Type 4
Now, for the spinning light of Type 4, follow these steps: Add the alarmlight.lua script, place a vox(box) as a Prop by setting the Prop property to true. Add a [joint] and tag it as joint, setting its type property to hinge (note: ensure the yellow point faces downward). As for the light, tag it as alarm, and the developers have set its type property to cone.

To see each type in action, check the video below:


For additional details, refer to the image below:


Please ensure you follow all the instructions from the earlier sections to ensure the correct functioning of your heist.
Hack target
Adding Hackable Targets

Ready to add some hacking challenges? Let's get started!

Begin by adding a new [script], with the file set to hacktarget.lua.

Parent a [body] within the same [script]. This [body] should be tagged as target=custom to prevent the game from recognizing it as a target to pick up. Configure this [body] just as you would with a simple target; you can refer to the Simple target section or images for guidance.

Inside that [body], include a [vox(box)], and attach the unbreakable and hack tags. Finally, add a [light] and tag it as light.

Additional Information:
The script accepts 3 parameters:

message: The message displayed during the hacking process.
duration: The time it takes to successfully hack the target.
sound: The looping sound that accompanies the hacking.
The default values for these parameters are as follows:
  • message: Hacking
  • duration: 2.0
  • sound: transmission.ogg

This means you have the flexibility to customize the message displayed while hacking, set a unique duration for hacking, and choose a specific sound to loop during the hacking process.

For further reference, check out the image below:
Demolish
Demolishing Targets for Some Real Fun

Let's dive into the exciting world of destroying targets!

Start by adding a [script], with the File property set to demolish.lua.

Place a trigger within the [script]'s scope and tag it as "demolish." Configure its type as box, set the size, and ensure it's centered. Make certain that no other objects come into contact with this trigger. If you want your target to be considered "destroyed" at a specific height, adjust the target's position in height accordingly. Do not allow the trigger to touch the floor, as this can cause game lag.

Add a [body] inside the [script] and set the tags property to target=custom. Also, set the desc as you would with any target's [body].

Parameters
The script accommodates 4 parameters, all related to the sprite. If you don't need a sprite for the demolition, you can ignore these parameters:

  • sprite: A sprite to draw around the [body] (if necessary).
  • spritex: The X size of the sprite.
  • spritey: The height of the sprite (note: there was an error in the image).
  • special: Determines whether the sprite should be almost transparent (alpha=0.02).

For additional information, consult the image below:

Dump in water
This is also a fun thing to do: dumping targets in water.

It is simple:
- Create a [script] and sets its file to dumpinwater.lua.
- Parent a [body] inside and tag it target and do what you do with simple targets.
- Put your actual objective inside that [body].

Parameters:
- depth: At what depth the (center) of the [body] should be considered as in the water. Default is 0.8
- robot: If the target inside the [body] is a robot, and one of its tag is "disabled", then the game will consider that the robot has been dumped in water.
Escape vehicle
Exiting the Heist with Style

To successfully leave the heist after stealing everything, follow these steps carefully:

Add a [script] and name it escape.lua.

Inside this script, include a [body] and tag it as escapevehicle and unbreakable. Do not set this [body] as dynamic.

Next, add the escape vehicle as a [vox]. Do not mark this [vox] as a prop.

Within this [vox], insert a [location] and tag it as arrow. Place this location directly above the vehicle; it serves as the arrow that appears after completing the heist.

Finally, parent another [location] and tag it as escapecamera. Ensure that this location is oriented toward the vehicle. It will follow the vehicle but will not move the camera.

For additional information and details, stay tuned for updates!

Chopper
I don't have time to write but I made an image tutorial. For now, check the image.

Hope you will understand!

More scripts
If you want to have more options for your heist, then you are welcome here!

The additional scripts are:
- customhacktarget.lua: it's the same as the hacktarget.lua script but you can make the alarm triggered when the target is hacked, and also the light isn't required.

They are here: heist-making on GitHub[github.com]

If you have followed the tutorial (except if it's some scripts that are more advanced), there won't be a tutorial, as it is pretty straight forward if you understood.

Need help? Ask in the comments!
7 Comments
Le lance Flamer  [author] 7 Jan, 2024 @ 2:05am 
Updated the 2 first sections.
Le lance Flamer  [author] 7 Jan, 2024 @ 1:58am 
My guide is missing quite a lot details due to the fact I shouldn't have used ChatGPT. For now, look at images to understand, I'll update the text.
Le lance Flamer  [author] 7 Jan, 2024 @ 1:31am 
I kind of gave that up, but I MAY update it some day
Le lance Flamer  [author] 7 Nov, 2023 @ 10:33am 
Ok, updated the explanations, got 75% helped of Chat GPT, other 25% was me fixing mistakes etc

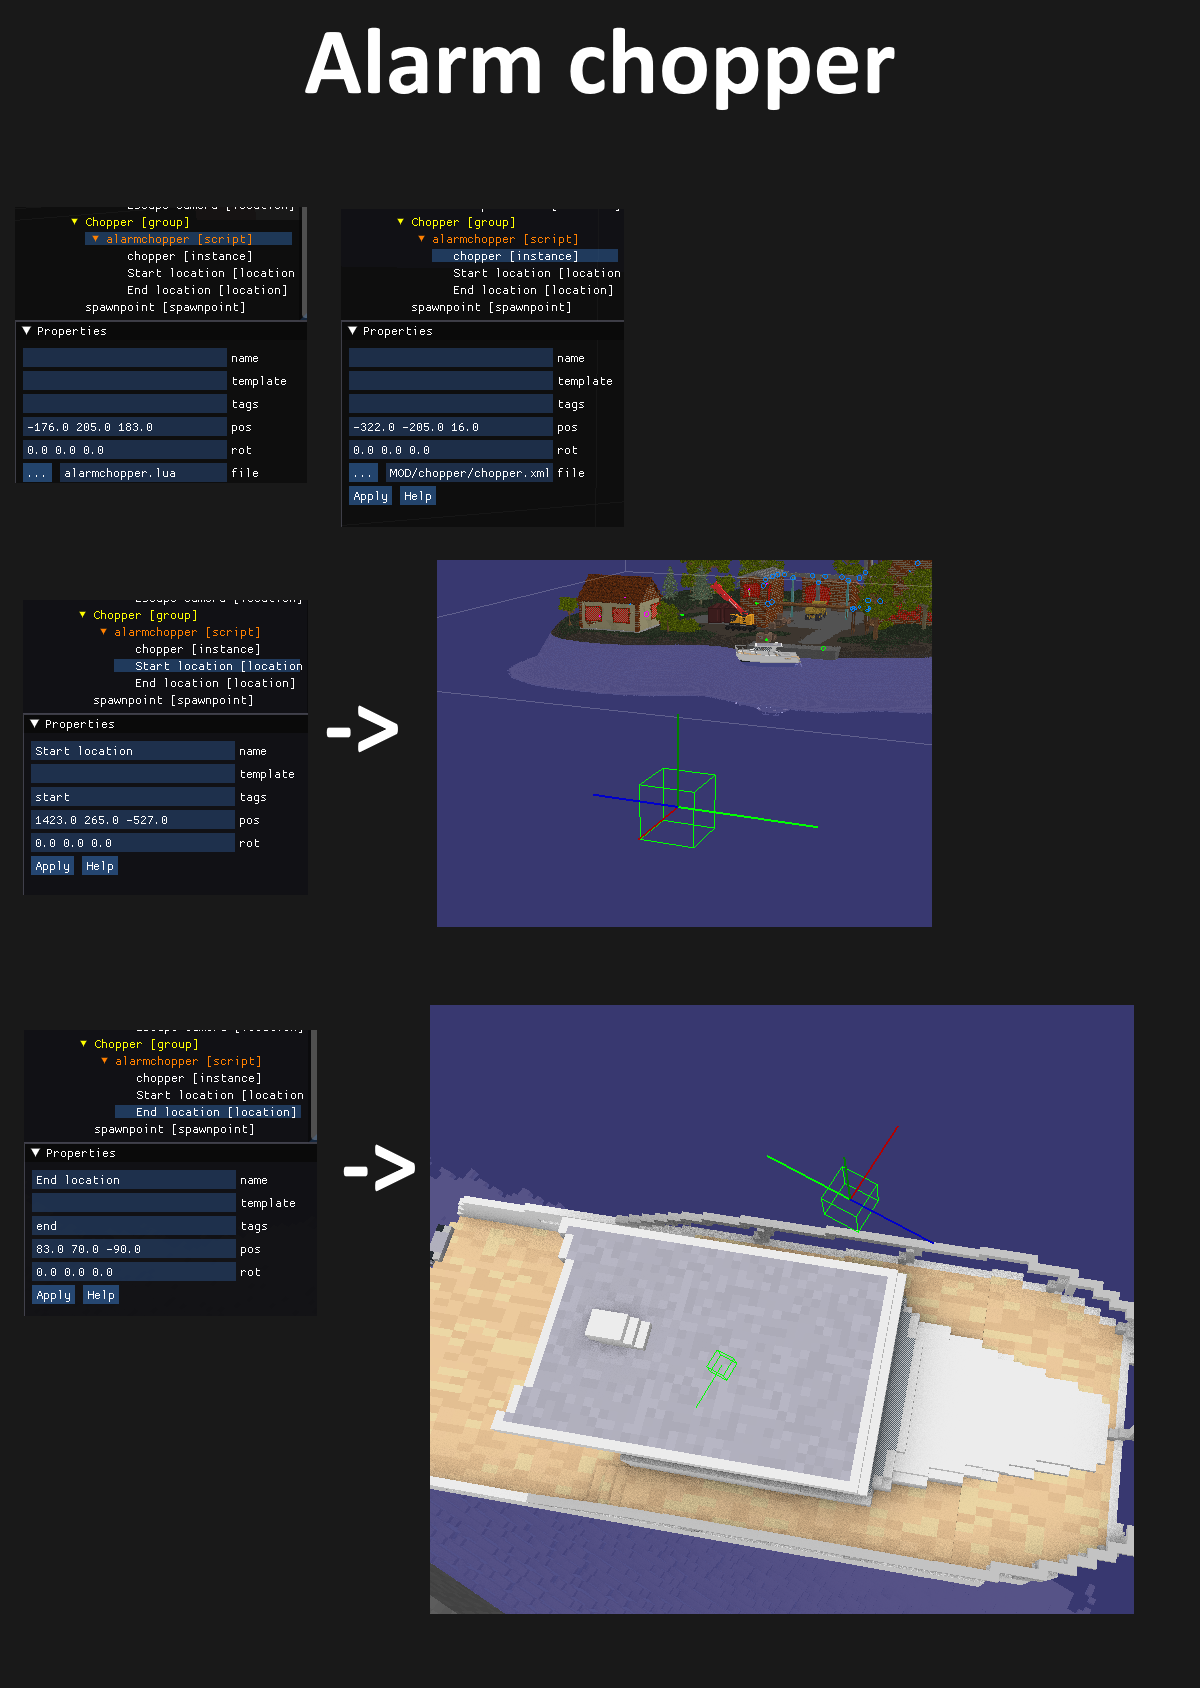
Next is chopper section getting text
Le lance Flamer  [author] 5 Nov, 2023 @ 2:42pm 
@evanloohaklm Tomorrow or after tomorrow, I also found something interesting about it.

Also, I'll remake most of the explanations because it's not that good currently.
evanloohaklm 5 Nov, 2023 @ 12:17pm 
@Le lance Flamer
When is the "chopper" section going to get text?
Le lance Flamer  [author] 3 Nov, 2023 @ 12:36pm 
Added "Demolish" section, I'll document Chopper then I would be done for today and start working on my map again ;)
There will still be update here and there though.