Invisible, Inc.

Invisible, Inc.

57 ratings
The Core Essentials of InvisInc.
By [Knght] HolySmokesBatman
An in-depth explanation of the mechanics of the game, along with tips on how to master them.

   
Award
Favorite
Favorited
Unfavorite
Introduction
This guide elaborates on the mechanics introduced in the tutorial and provides various tips aimed towards new and intermediate players. I hope you find it helpful; any feedback is welcome.

Edited March 2017 to better reflect the current state of the game.

Line of Sight, Cover, and Guard Overwatch
Sight

All basic guards have a 90 degree line of sight cone extending diagonally from the tile they are standing on. The area they can see is divded into two parts: watched tiles and noticed tiles.

Noticed tiles are shaded red; passing through a guard's noticed tiles does not cause him to react on your turn, but generates a point of interest at wherever he last noticed you. On the enemy turn, the guard will move to this point of interest and investigate. If a patrolling guard's noticed tiles pass over an agent outside of cover, it will create a point of interest and he will use his remaining action points to move towards them and investigate.

The watched tiles are solid red and are directly in sight of the guard. Entering one will cause a guard to enter overwatch mode, which is covered shortly. Usually, you will be unable to move an agent through more than 1 consecutive watched tile without getting shot, and they are best avoided whenever possible.


A point of interest yet to be investigated.

When guards reach a point of interest, as marked by a ! or ? over a tile, they will investigate or look around, which is capable of spotting and all non-hidden units in a 180 degree radius instead of the guard's normal 90. In certain situations, this may also generate a point of interest on an agent if they are only hiding one diagonal tile away from the guard.

Taking cover behind objects protects you from sight in each direction makred with a shield. Note that regardless of which direction your agent leans, this is cosmetic, and you have cover from all intended angles. You can move between any two tiles without notice as long as they are both hidden from all enemies.


Overwatch

When guards outright spot an agent, they aim their weapon and prepare to shoot the intruder. If this occurs on the agent's turn, movement is interrupted and all nearby guards will be summoned to investigate. If it was on the guards' turn, nearby guards with remaining AP will immediately react and may also overwatch the agent. The next one-tile movement that this agent takes must break line of sight with all engaging guards, or they will be shot. Closing a door to break line of sight also works.

Any guards that are alerted by the sight of an agent spend the rest of the mission in "hunting" mode. They will leave doors open behind them and begin to investigate semi-random locations near your agents.


Tips

-Cover is fully effective in the direction it faces; even if a guard walks directly past an agent, they will not notice them if the cover is facing the direction they approach from. An agent hiding beisde a doorframe will not be discovered if the guard walks out of the door perfectly straight. Be cautious of diagonal patrol routes, however, as these poses a greater risk of invalidating cover.

-Guards will notice a door opening if one of the two tiles it connects is considered watched, noticed, or hidden.

-If you find a room to be covered with watched tiles, there is likely a camera covering that area. If you have not yet spotted it, you can open the door and peek again. Note that if this door also lies in sight of a guard, he will investigate the door from the side it was opened from (hiding beside the doorframe will not work). It is best to stand beside doors you open so as to avoid unexpected overwatches.

-An agent may not re-enter the watched tiles of a particular guard twice on the same turn - they will immediately be shot on their second appearance.

-Guards on overwatch will track an agent, adjusting their line of sight to point directly at the first tile they take cover behind. Upon breaking contact, guards will be summoned to the tile where an agent was last seen.

-If multiple agents are spotted by a particular guard, only one will be tracked at a given time. However, moving a previously unseen agent into the watched tiles of an already overwatched guard will cause them to be shot immediately.

-There is no limit to the number of attacks a guard has per turn.
Items
This guide will not contain a comprehensive list of items, but this section provides information that applies to them in general.

Nanofab vestibules are stores that can be found at random in any level; after being hacked, they can be interacted with for zero AP. Items can only be sold by the agent carrying them, and that agent will recieve any items bought. Overloading an agent will take away one AP for each item over their capacity, which also prevents sprinting.

Pay close attention to the tier of any item you buy (e.g. Cloaking Rig 1, 2, or 3). Many items require a certain level of a stat, and these increase with the level of the item (though agents can carry items even if they cannot use them). Items' effectiveness can vary hugely between tiers; Cloaking Rig 1 provides a mere four tiles of discrete movement, while Cloaking Rig 3 lasts two entire turns and decloaks at the start of the third.

Special missions related to nanofab vestibules provide a single nanofab with a full stock of four augments, four weapons, and eight items. Normal nanofabs have significantly narrower selections.
Alarm Level, Reinforcements, and Daemon Programs
Alarm Levels

The alarm level adds a time pressure to the game. At the end of each agency turn, one block will be added to the indicator in the upper right. If all blocks are filled, the alarm level raises, with the results coming into effect at the start of the next agents' turn. The consequences of each alarm level is as follows:

Level One - More security cameras which are previously visible but inactive turn on. You have one turn before they activate.
Level Two - Every firewall is increased in strength by one. That means Lockpick needs another 2 PWR per object.
Level Three - One additional guard is called in at a random elevator. This is usually another normal guard, which will walk to a random location and begin a standard patrol.
Level Four - An Enforcer is called in at a random elevator. These guards investigate with a thrown scanner that detects agents behind cover within a certain range, generating points of interest on them.
Level Five - Another two Enforcers are called in at random elevators.
Level Six - Yet another two Enforcers arrive at random elevators.

Reinforcing guards will arrive via guard elevators - they are marked by red double doors, and there are always two in every level. On the first turn a guard is called in, you will be able to see what type of guard he is and where he spawned.


Daemons

Daemon programs reside on mainframe objects in more heavily guarded level and cause a negative effect for several turns when their respective items are hacked. Daemon-hosting objects have an additional graphic around the firewall indicator and the presence of a daemon will be listed when the object is moused over in Incognita. By default, the identity of a daemon is unknown; they can be discovered by hacking a daemon database on the level, using certain programs, or using Decker's augmentation. Some examples of daemons include:

Validate - Spawns an additional Enforcer in a random elevator.
Paradox - Disables Incognita from hacking for several turns.
Rubiks - Raises all firewalls.
Fractal - Spawns a daemon on two already-discovered objects that did not previously have any.
Blowfish - Adds 2-3 blocks to the alarm tracker
Siphon - Drains 3-5 PWR.
Labyrinth - Drains 2 AP per turn from an agent.


An example of a device with a daemon on it.


Tips

-Daemons do not start on cameras, but can posses any other form of hackable item.

-Incognita has a small chance of "reversing" any triggered daemon, averting its effects and awarding a random buff for several turns instead.

-High alarm levels don't doom you; a huge amount of power lies with your agents being able to avoid being directly spotted. Good movement, planning, improvisation, combat, and teamwork can take care of any other problems.

-Approach daemon-hosting objects as a risk-reward assessment. They should not be triggered haphazardly, but the effects of a single daemon are never impossible to handle and may be worth whatever item it protects.

-Killing guards with heart monitors instantly adds 2 blocks to the alarm level, in addition to the one-per-turn rule. This can be bypassed with special augments or by disabling the heart monitors with EMP immediately before shooting them.
Corporations
Each mission is associated with a particular corporation; the corporation that owns a facility has a tangible effect on the kinds of threats you can expect to face. This section details the unique traits of each corp. See also this wiki page:
http://invisibleinc.wikia.com/wiki/Enemies

Sankaku:
Obake Drone Mk. I & II - This drone has a lethal weapon, and the Mk. II version has a point of armor. Like all drones, they are immune to KO damage and investigate with a scanner that glimpses agents through cover.
Akuma Drone - This drone is very slow but boasts a 180-degree cone of watched tiles (this cone is imperfect and will not detect agents directly beside the drone. As always, be wary of diagonal movement.
Null Drone - This drone blocks the hacking of any other device within four tiles and is also armed.
Sound Bugs - To compensate for the deafness of all drones, Sankaku facilities are teeming with sound bugs, which alert one guard and raise the alarm one bar if any unit makes noise near them (this includes the gunfire of hacked drones).

K&O:
Armored Guards - Many guards will have at least one point of armor and may also be KO Resistant, lowering their down time by one turn.
Spec Ops - This unit has 180 degrees of watched tiles; unlike the Akuma drone, this cone is perfect and will spot agents beside doorframes, etc.
Turrets - Cameras but with guns. Turrets and their power supplies are seperate hackable items. Hacking the power turns off the turret, while hacking the turret causes it to kill enemy units in its line of sight.

Plastech:
Modded Mk. I - This guard has a normal patrol route but will automatically recapture one nearby mainframe device per turn, re-establishing a single firewall. If KO'd, it will spawn a daemon on a discovered object. Triggering this daemon causes it to re-appear on another device (killing this daemon will kill the guard as well).

FTM:
Support Guard - This guard throws flash grenades that explode one turn later, stunning nearby agents.
Scanning AMPs - These mainframe devices generate a point of interest at one random agent's location each time the alarm level increases (every 5 turns). More heavily guarded facilities may contain more of them.
Sound Bugs - FTM facilities may also contain several sound bugs.

Misc. Tips
-Diagonal movement alternates between costing 1 and 2 AP. Hence, it may take different amounts of AP to travel a certain distance and back again in the same turn. Some map features, including doorways and corners, cannot be moved past on a diagonal and will always cost 2 AP.

-Movement never autopaths around dangerous areas. When in doubt, manually pick each tile.

-Opening a door and walking through it are considered seperate actions, even if the 'open' command is not used. Guards patrolling through a door will overwatch on agents before walking through the doorframe, and agents cannot dodge cameras by "dashing" through the door into an adjacent hidden tile if the tile outside the door is watched.

-Stationary guards blocking important areas may be best circumvented by distracting them. Opening a door, sprinting nearby, or entering a noticed tile will all draw him from his post.

-Dragging a body or ending your turn while pinning one will prevent their KO timer from ticking down. You can hold 2 guards at once by dragging one and holding him over the other. However, you cannot close doors while dragging bodies.

-Only one attack can be used per agent for every set of turns. If you attack on the agent activity turn, you won't be able to use any other weapon that turn and cannot go on overwatch for any weapon until next turn. Certain items, such as stim 3's, bypass this restriction.

-Do not assume a room is clear just because a guard already came out of it or you have not heard movement. If you don't have time to peek, cloak or find a different path.

-Close doors behind you! Shorter sight lines for guards usually mean less bullets for agents.

-Moving a few tiles at a time can give you more AP to react to unexpected discoveries.

-You can sometimes steal weapons or other items off of guards, either through lootng or stealing (anarchy 2 or higher).

-Performing actions such as opening safes or stealing will not break a cloak (Xu's EMP counts as an attack and will disrupt cloak).

-Cloaks do not allow agents to slip through laser grids undetected.

-Any beam/laser wall will deactivate as a guard passes through. If a guard is knocked out while standing in one, it will remain deactivated for as long as he is kept there.

-Drones can be disabled by EMP items and augments; while rebooting, they can be pinned but not dragged. Camera drones will permanently die to any EMP damage, incurring 50 credits in cleanup costs.

-Make sure to carefully check what you are hacking; crowded areas can be conufsing. Also be sure to set priorities and try to keep PWR in reserve for emergencies.

Afterword
Thank you for reading; again, any feedback is welcome.

Credit is due to all who commented and helped supply pictures for this guide in its earliest days. The item list has since been excluded to tighten the focus of the guide, but I still appreciate those who took a moment to help out.

29 Comments
bnbl 9 Feb, 2015 @ 4:22am 
Useful guide, but when will you update this?
incandenzak 20 Sep, 2014 @ 12:49pm 
awesome, but spoilery. maybe hide item descriptions?
[Knght] HolySmokesBatman  [author] 6 Sep, 2014 @ 2:52pm 
Alright, thanks.
Nevan 6 Sep, 2014 @ 2:27pm 
"Neural Disruptors do not work if the guard is facing your agent." Wrong. Takedown do not work in that case, but you can click ND in inventory and taze the target (only works with mkII and mkIII, probably bug).
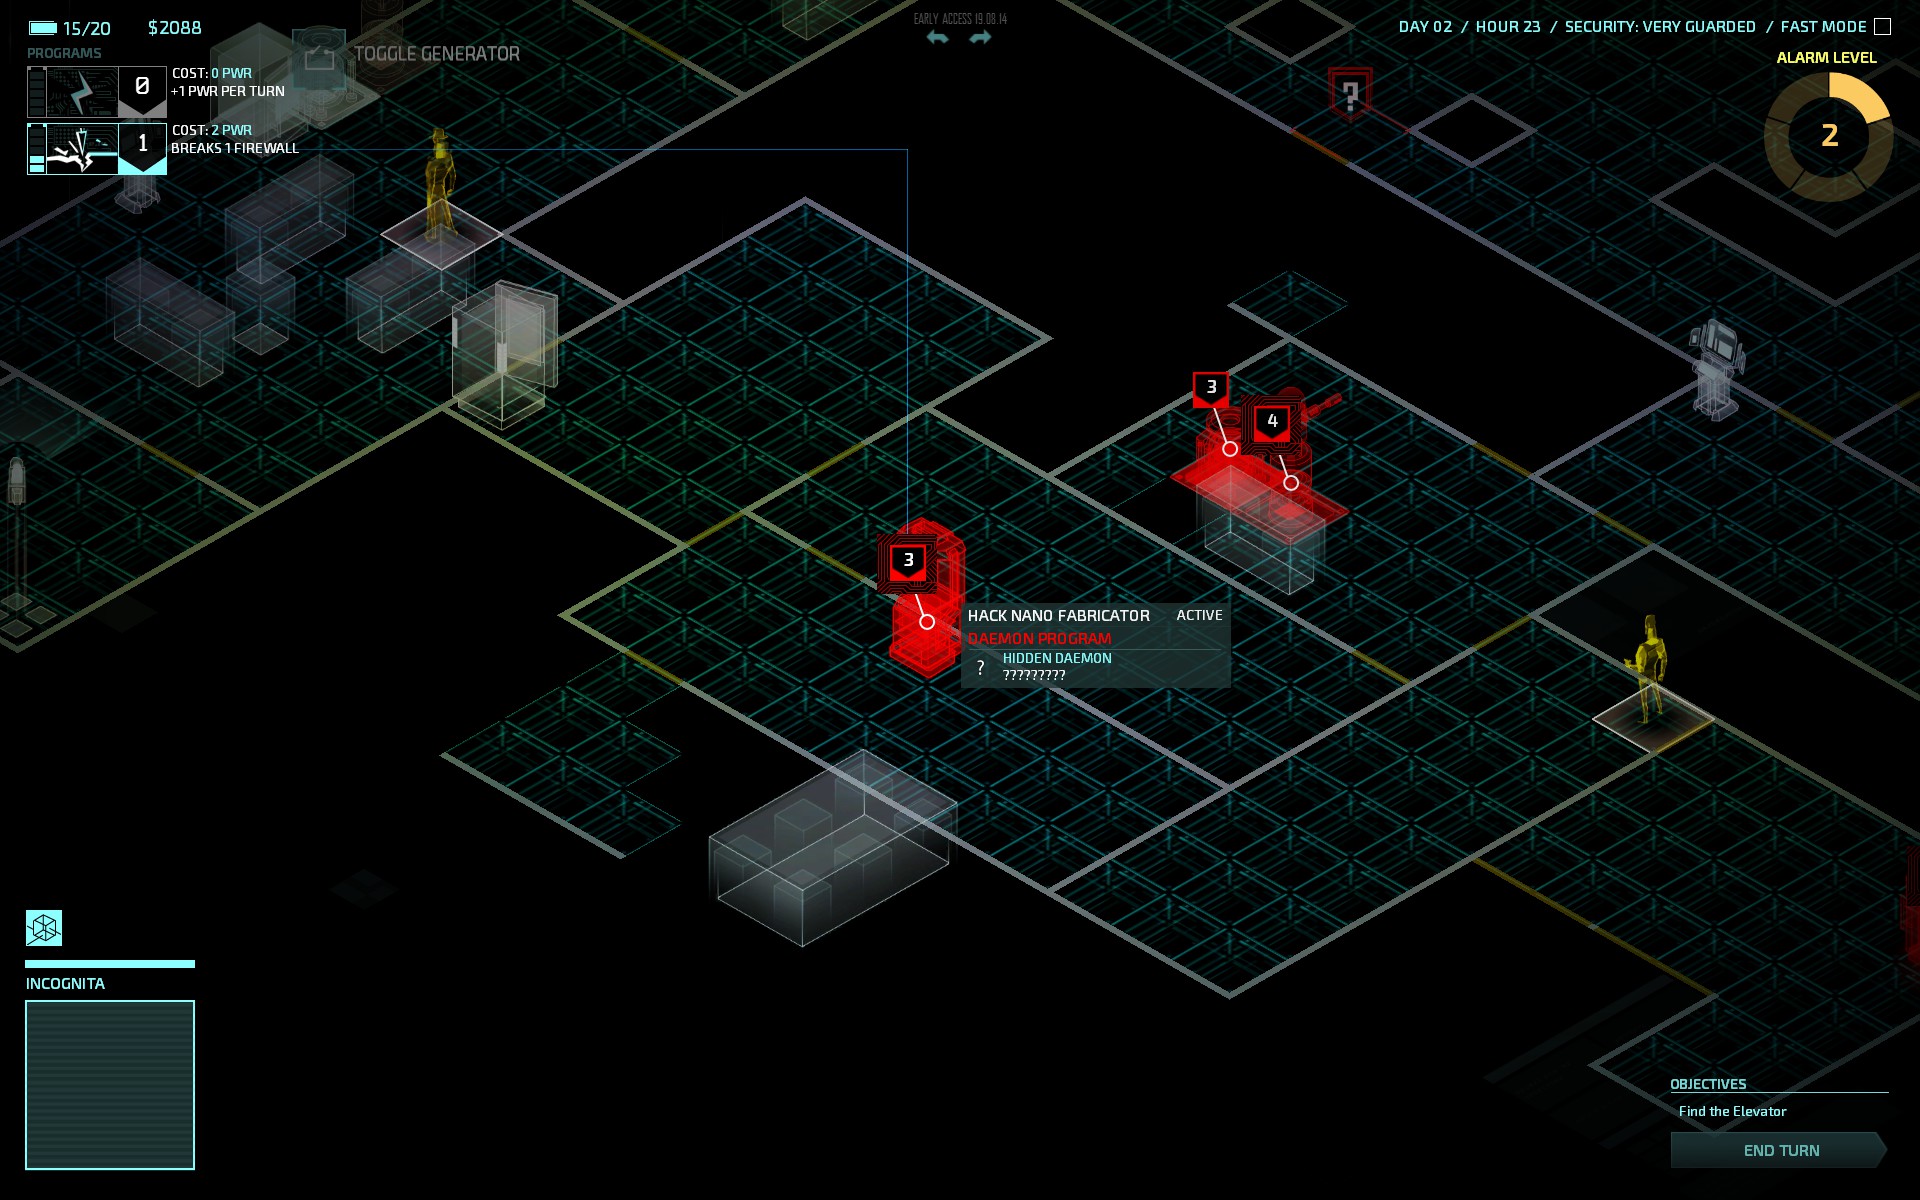
"Daemons do not occur on cameras" They does in case of triggering Fracture daemon.
Bird 6 Sep, 2014 @ 1:25am 
Item: Cloaking rig tier 3 - Stealth 4 req, gives all units (agents) in small area invis as well.
Bird 6 Sep, 2014 @ 1:24am 
Hey, new Aug found! Net Downlink gives 2 AP. Also, torque injectors Gives 3 ap when using inventory item. Not counting using weaponry i bet (melee at least)
Inkar 5 Sep, 2014 @ 12:42pm 
Bird 5 Sep, 2014 @ 12:09pm 
LoL, we have like 21 comments of adding things to the guide. That's the community i want to be part of.
[Knght] HolySmokesBatman  [author] 4 Sep, 2014 @ 4:21pm 
Okay, adding soon.
LootZ 4 Sep, 2014 @ 3:22pm 
The new program for Incognita is "Hunter", 5 PWR to take down a Daemon, 3 turns cool down.
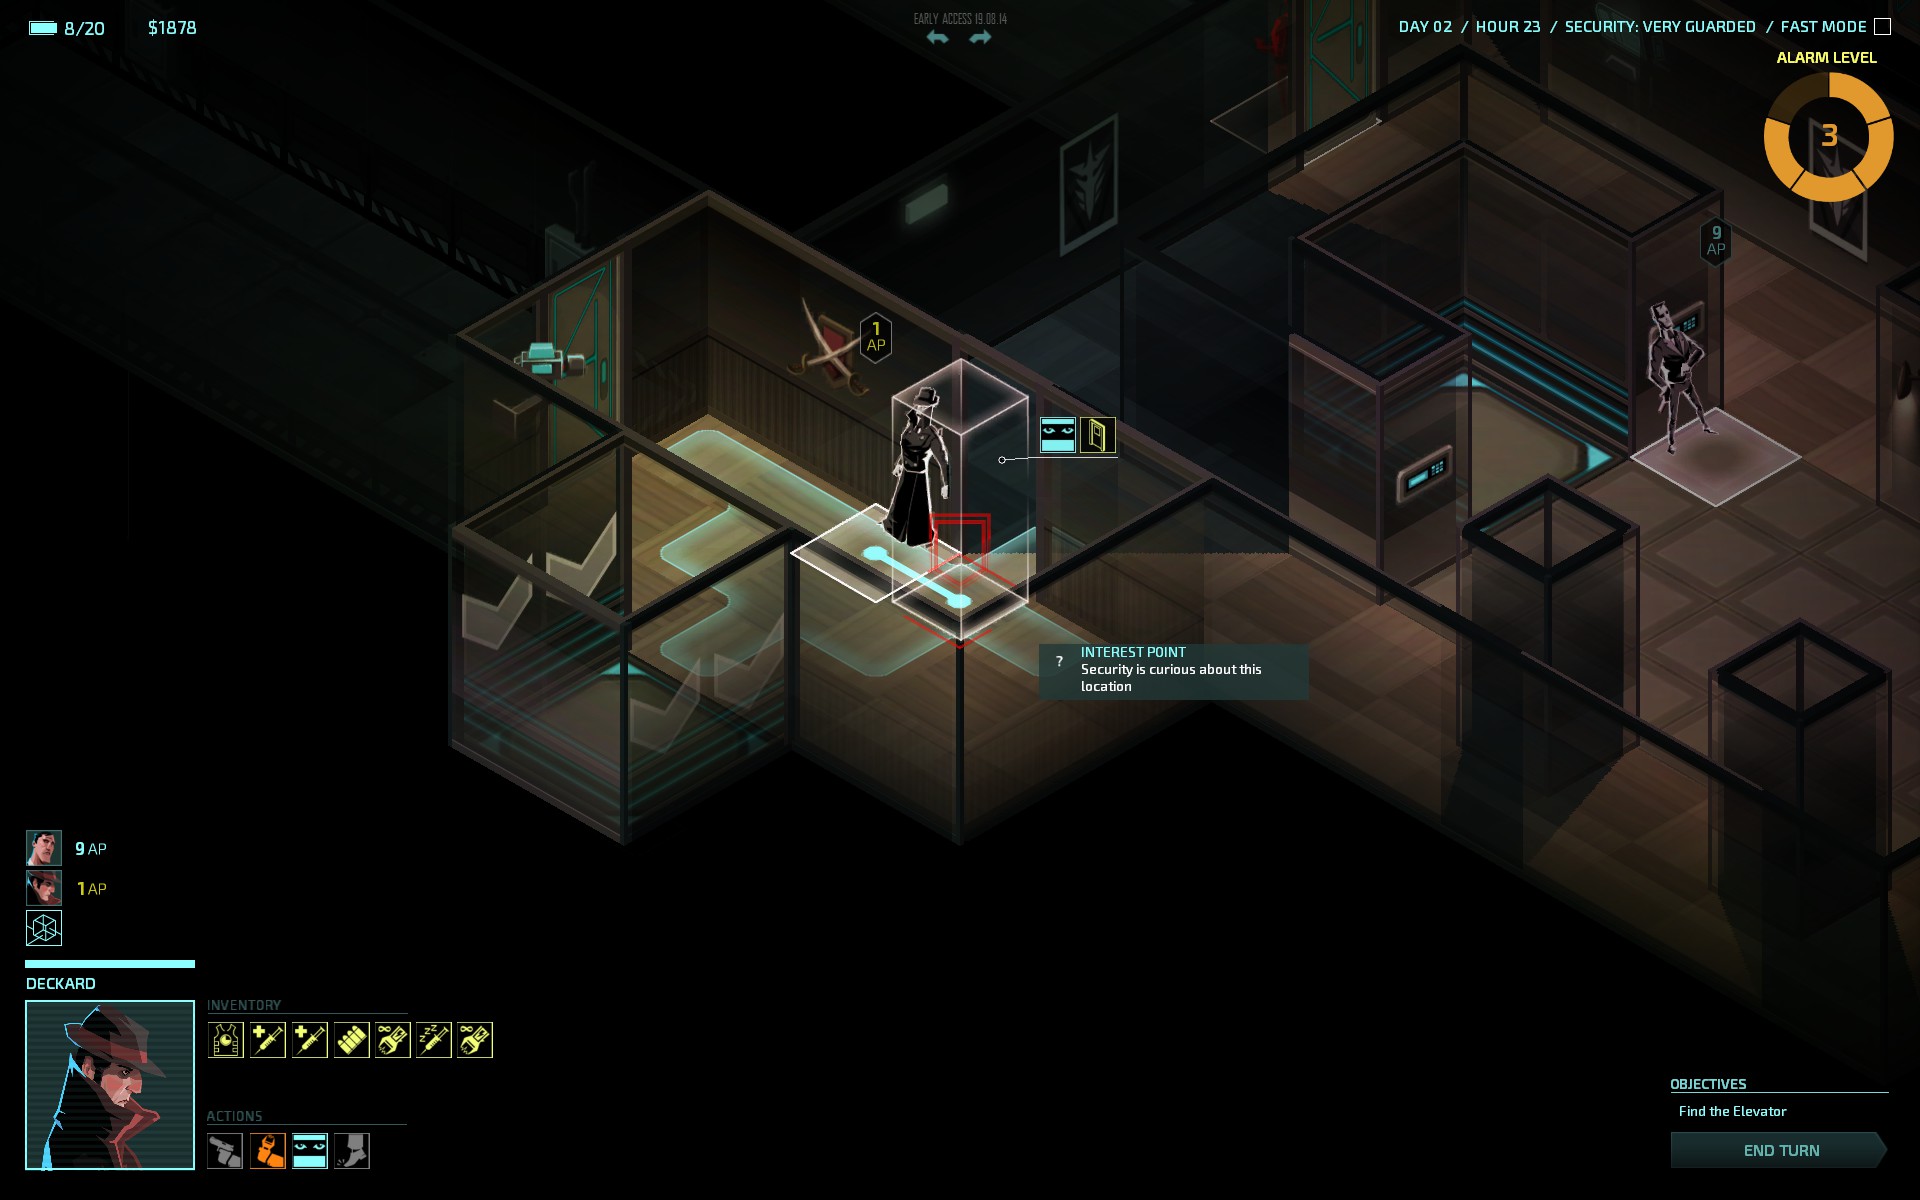
The new mission (I guess you already saw it but still): Name Code: A friendly conversation, you have to find a mole disguised as a guard that became hostile, knock him out, then stay around (almost only on his tile) for 6 turns then go back to the elevator. One thing tho, if you knock him out by melee overwatch, that wont work and you'll have to wait for him to wake up to knock him out again start the 6 turns countdown, if you kill him before getting the intel, the elevator will be stuck closed and it's over.