Occupy Mars: The Game

Occupy Mars: The Game

74 ratings
From touch down to powering your base overnight and basic tips
By Skorpn
A comprehensive guide through, the first few days on mars. From basic crafting to running your power through the night and everything in between.
4
4
4
2
4
   
Award
Favorite
Favorited
Unfavorite
Introduction
Thank you for checking this out and I hope it helps you with your basic tasks and the confusion on the way the power works, or if you just want to get a clearer understanding.
I will be breaking down what you should do from the moment you take your harness off (seatbelt) and explain the power grid that you need to operate overnight so your plants don't die (Not too worried about your death). I will cover the basics to get you up and running and what to do when your power goes out when your alone in the dark.

Cue music (Play while you read)

A quick thing before we dive in. This will get remedied, but until then retain this and do it if you have troubles.
- If you do not find a tablet in a base and you've searched to your hearts content, save the game, esc key back and load your last save. Use your Z key and do a quick search around.
Pod - Touch Down
So to start off I will explain from the view of landing on the planet with just what's in your pod.

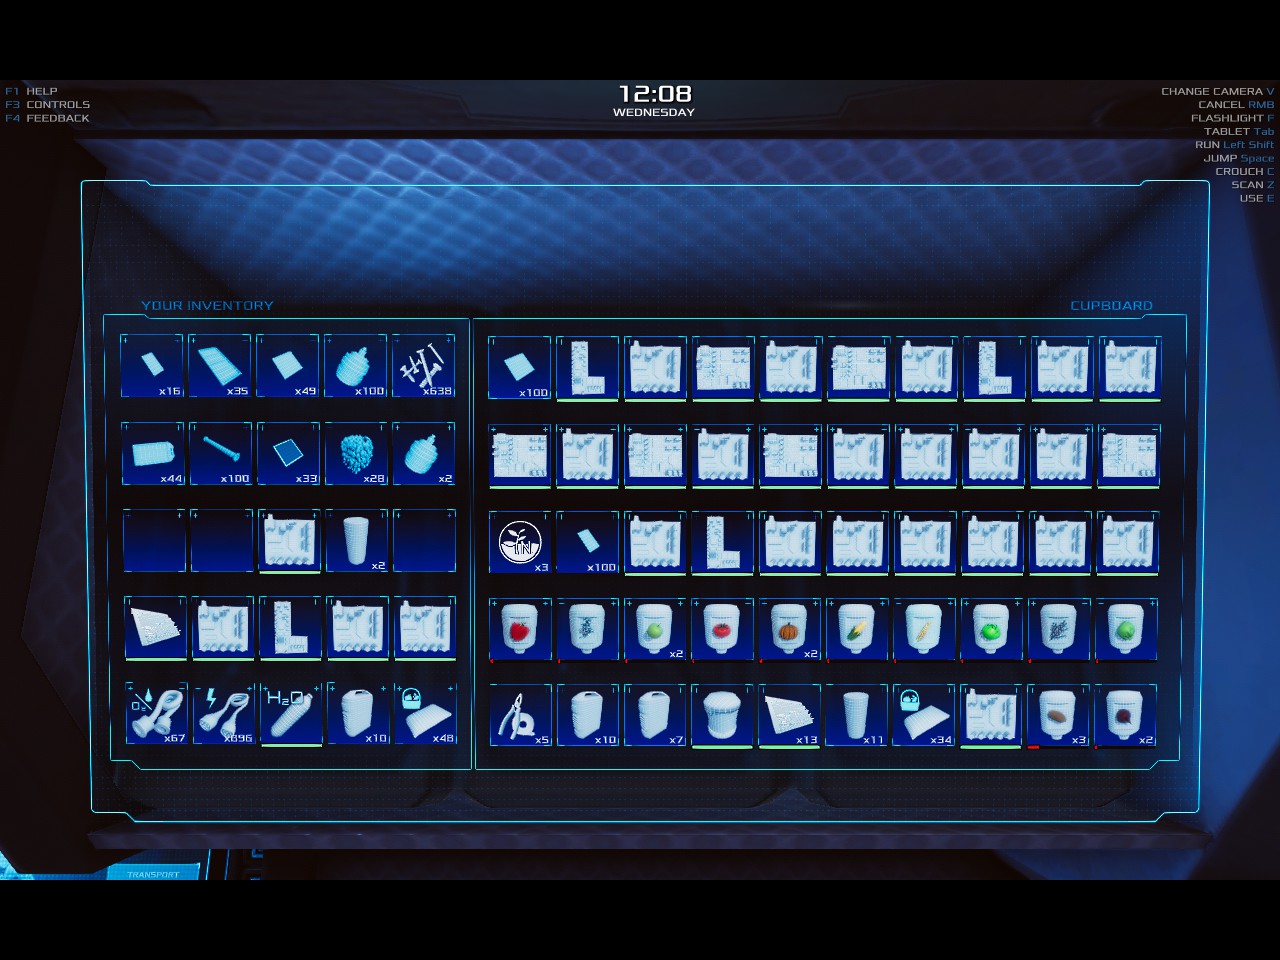
Collect everything in your pod, open up every compartment and take everything you see (up to you, but you use it all within 15 sols). Any excess you can put in the pod printer storage (I save 4 slots for ores).

So before you exit your Pod, you need to set up your hot-bar with 6 items. Madman Note: In madman you start off with a Jackhammer and Spectral Detector, which means you need to make a Torch before you can build a well.

My setup is as follows, you choose yours.
  1. Jackhammer
  2. Grinder
  3. Blow Torch
  4. Spectral Detector
  5. Hose
  6. Electrical Cable

Last 2 are optional. I usually use hotkey 5 as the key for swapping stuff

The pod will be your go to for printing, unless you don't like running and enjoy wasting power before you have enough.
Tools - Love 'em or Hate 'em, You Still Need Them
There are a vast variety of tools, but for now I will touch down on 4 tools that will help you and what each stage does.

Jackhammer
The jackhammer has one function with 3 stage. it's objective is to cause carnage on Rocks! The 3 stages increase speed and durability.

Grinder
The grinder is your nemesis when you first start grinding. Try to level this up pretty quick, examine your tree for this. The 3 stages in this change drastically ultimately giving you full base break down.
  • Stage 1 is your basic grinder. You can grind basic things such as scrap metal, and most objects inside a base, which is how you get a lot of materials.
  • Stage 2 is noticeably much better with a higher durability. You can now grind installations such as wells, solar panels, (Yay!) and containers.
  • Stage 3 is your godsend, with this you can demolish bases. I know you just want to destroy bases, but the objective still is to gain as much material as necessary. So still do what you did in stage 1, but you do have to be more careful, because 1 to many slips will destroy everything.

Spectral Detector
The spectral detector is not used as often as it should be. This tool helps you locate water sources as well as classify rock contents. As of now, I only have stage 2. I'll update further soon
  • Stage 1 is used to locate water sources
  • Stage 2 is used to identify rocks and collectable (posters, cups, chairs, etc.)
  • Stage 3 I am unsure as of now

Blowtorch
The blowtorch is generally used for building and repair. The 3 stages just increase the speed at which something is built or repaired.


Other Tools

I will touch base on this a little later when I get them
Ore Collecting & Grinding - Your First (or Second) Steps on Mars
So, if you don't have the resources you need to break out your trusty jackhammer to claim some ores. There are 5 ores so far.
  • Aluminum
  • Calcium
  • Iron
  • Silicon
  • Uranium

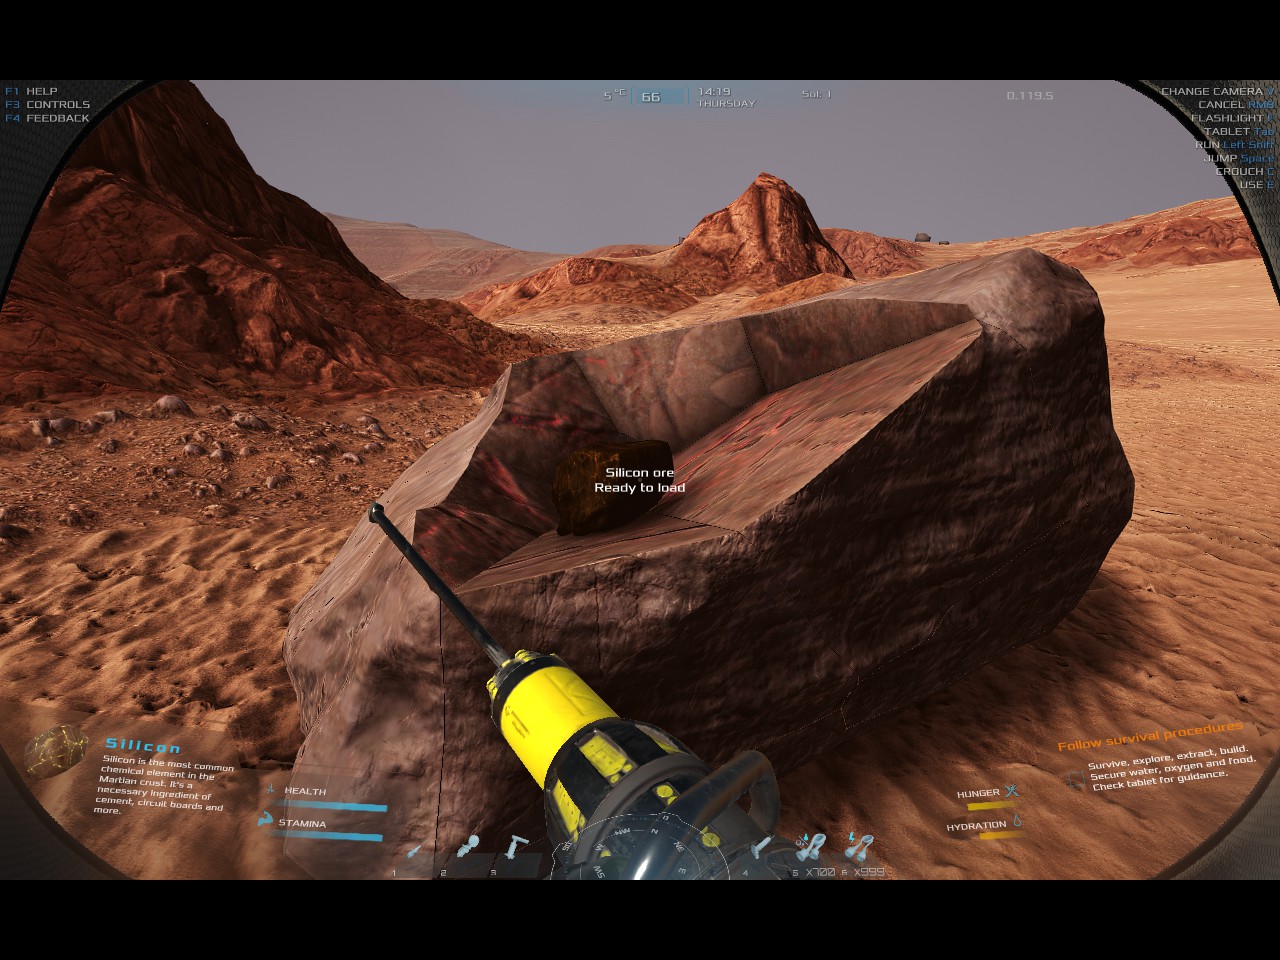
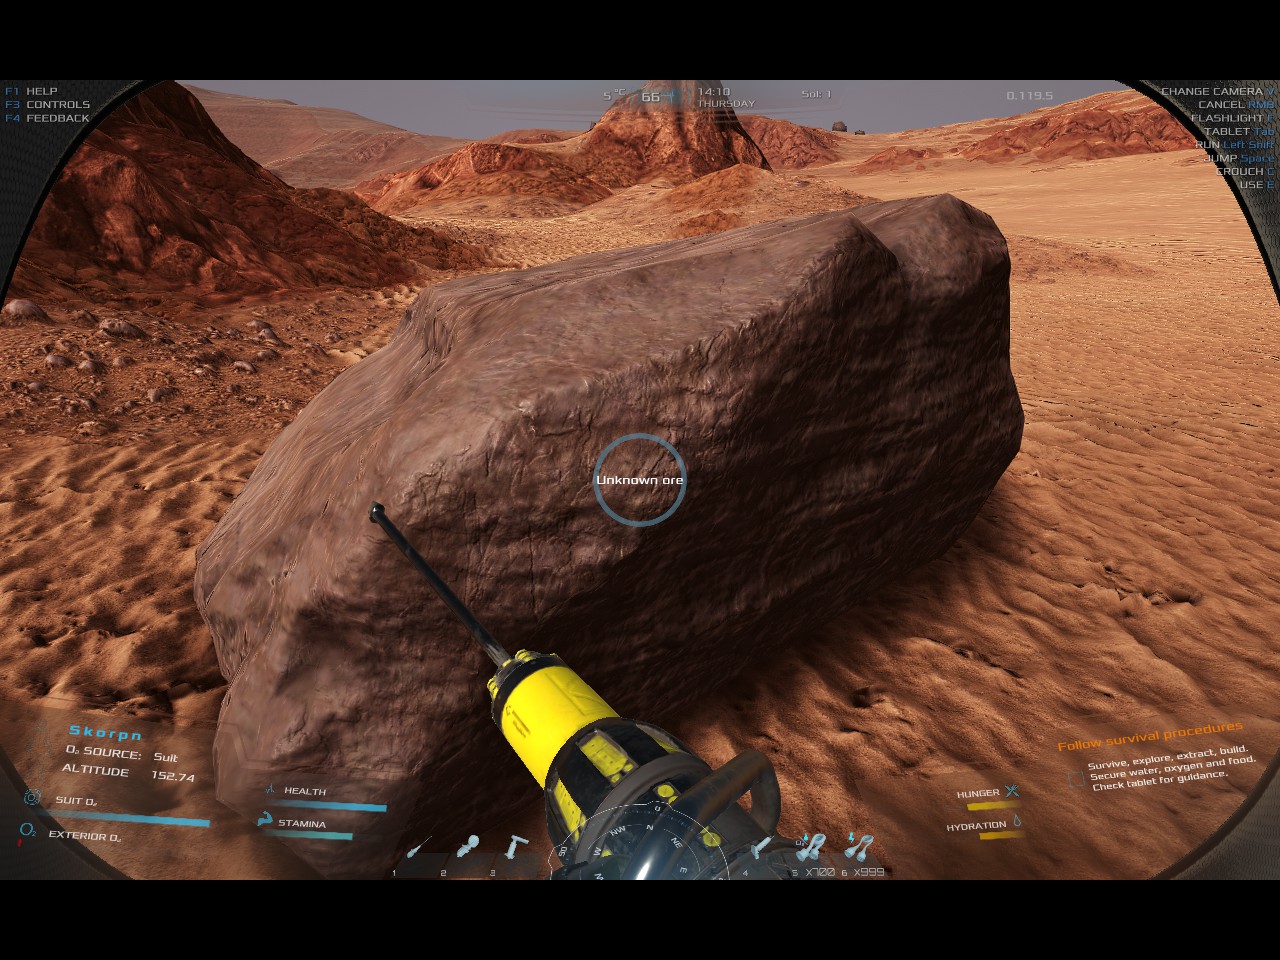
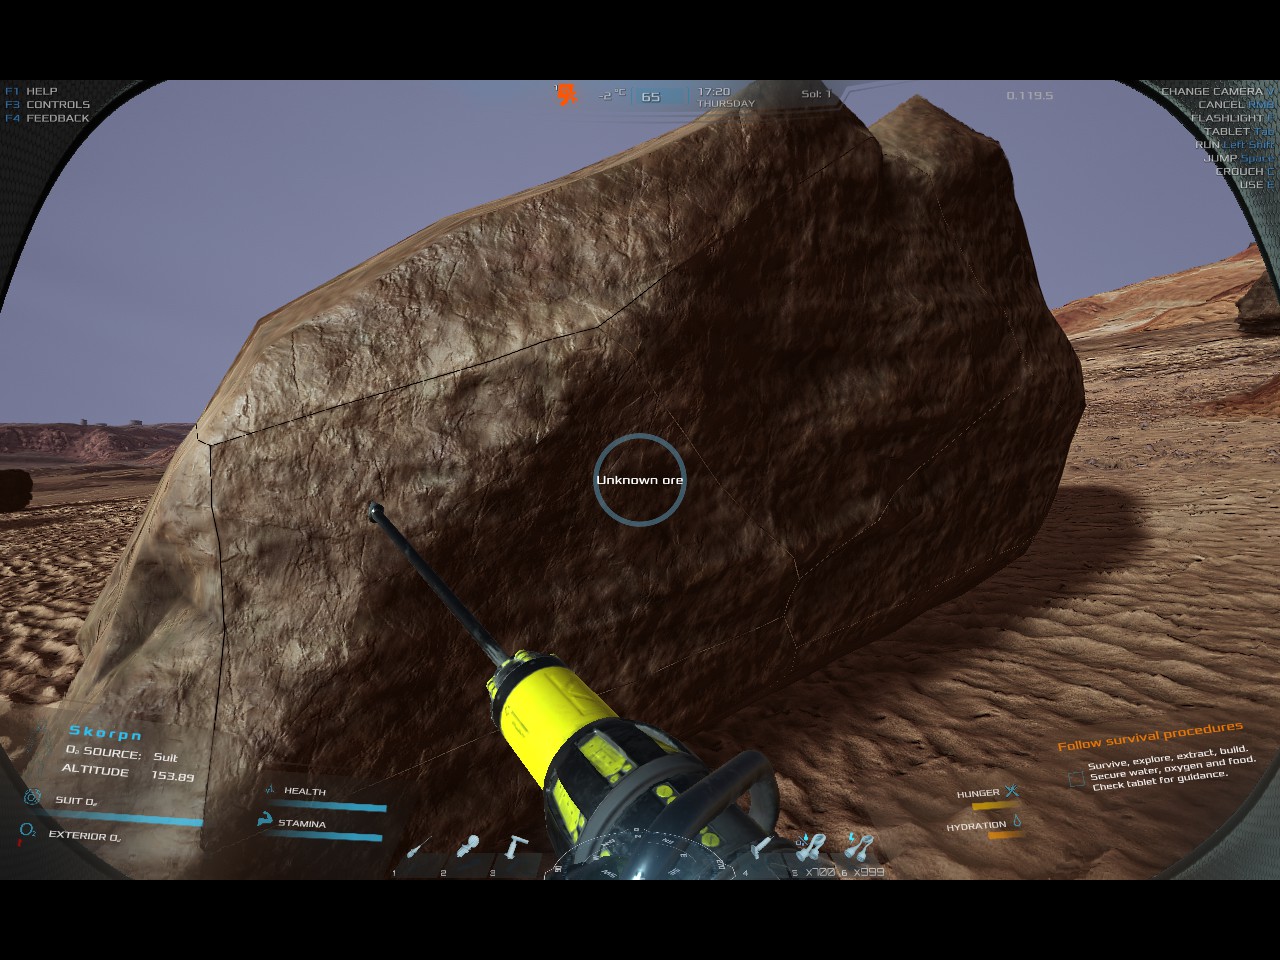
From my discoveries I have found, and perhaps you have too, that the amount varies depending on the rocks you choose to break down. Two types are, for lack of a better term, browns and greys. The Brown ones have a lot of unnecessary hammering. Another observation you may have noticed was your chosen rock starts to glow. This glowing is an indication of weak spots in your resource and will consume less wear on your jackhammer.

Grey's

Brown's

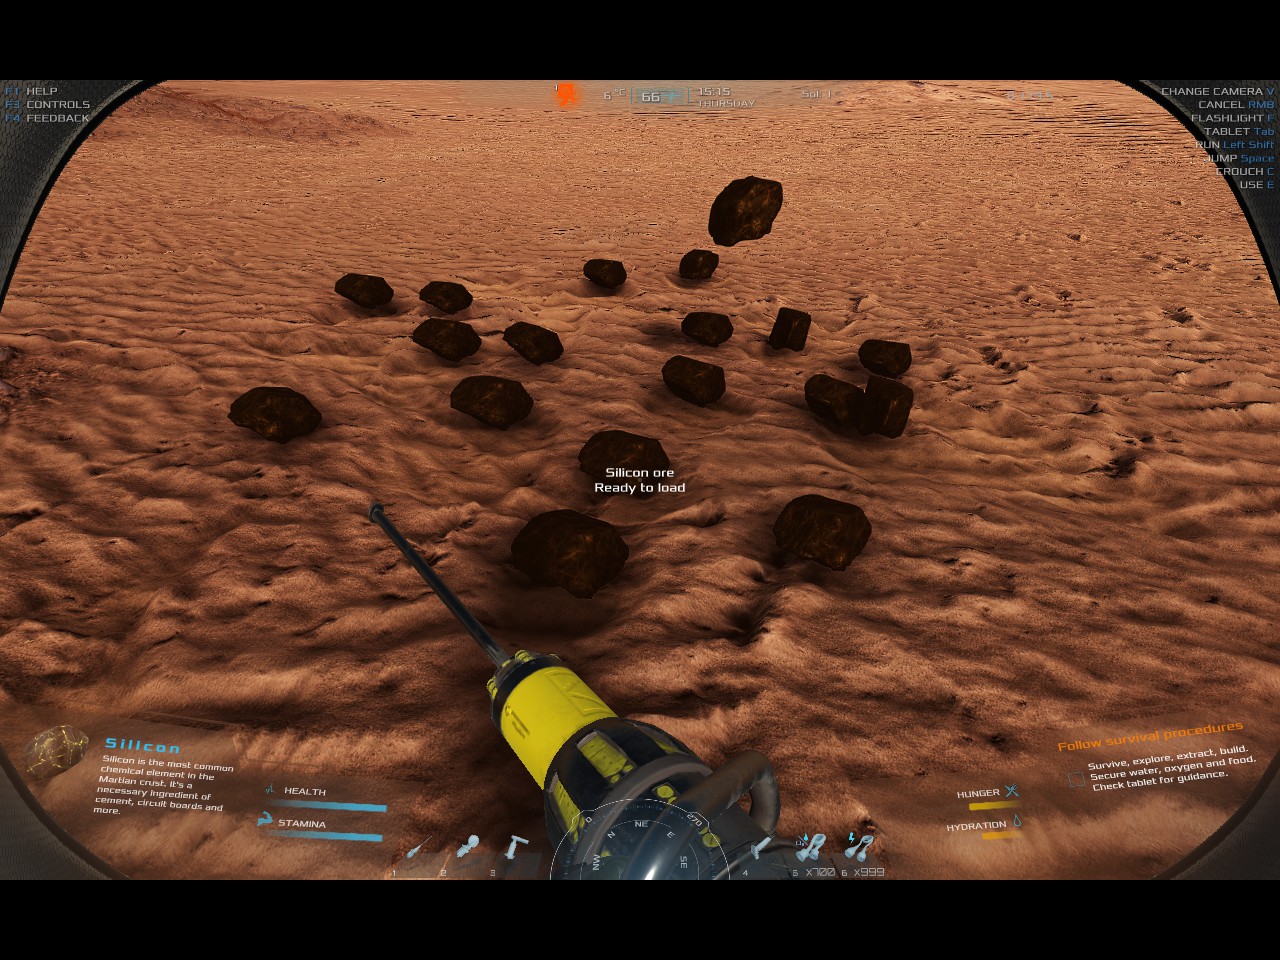
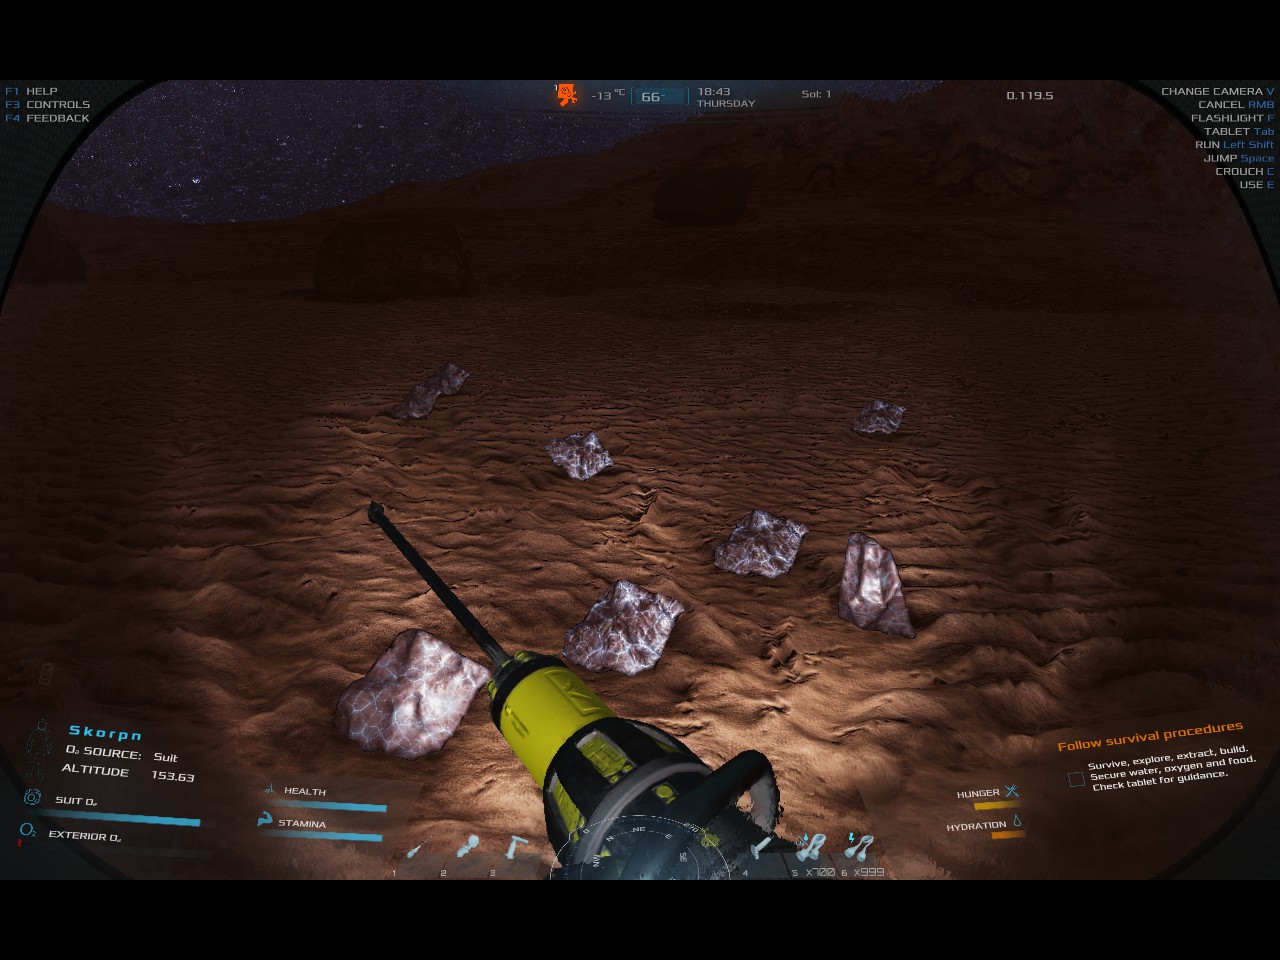
The Grey's, each one is an ore that has broken off and hammered once more for good measure. The grey rocks do have all ore types, but it is more rare to have aluminum or iron. (more testing to be observed) The Brown's seem like rocks with minerals compressed within them. You usually don’t get much resources out of these, but if you're in a pinch…

In conclusion, the Grey's will give you more resources as well as more Mechanical Points (As you get one for each piece).

Grinding

Grinding will drive you up the wall some times. It's natural don't you worry. This is an integral part of the game with the removal of derelict bases scattered throughout Mars' landscape.
In order to gain enough materials for your first base setup you need to nickel and dime every base you see. With that can-do attitude you will have enough materials to create your first base equipped with 4 or more solar panels, 2 batteries, a transformers, 2 airlocks and a ramp, albeit, still bare bones. It does give you time to charge up your battery or 2 if you had enough materials.

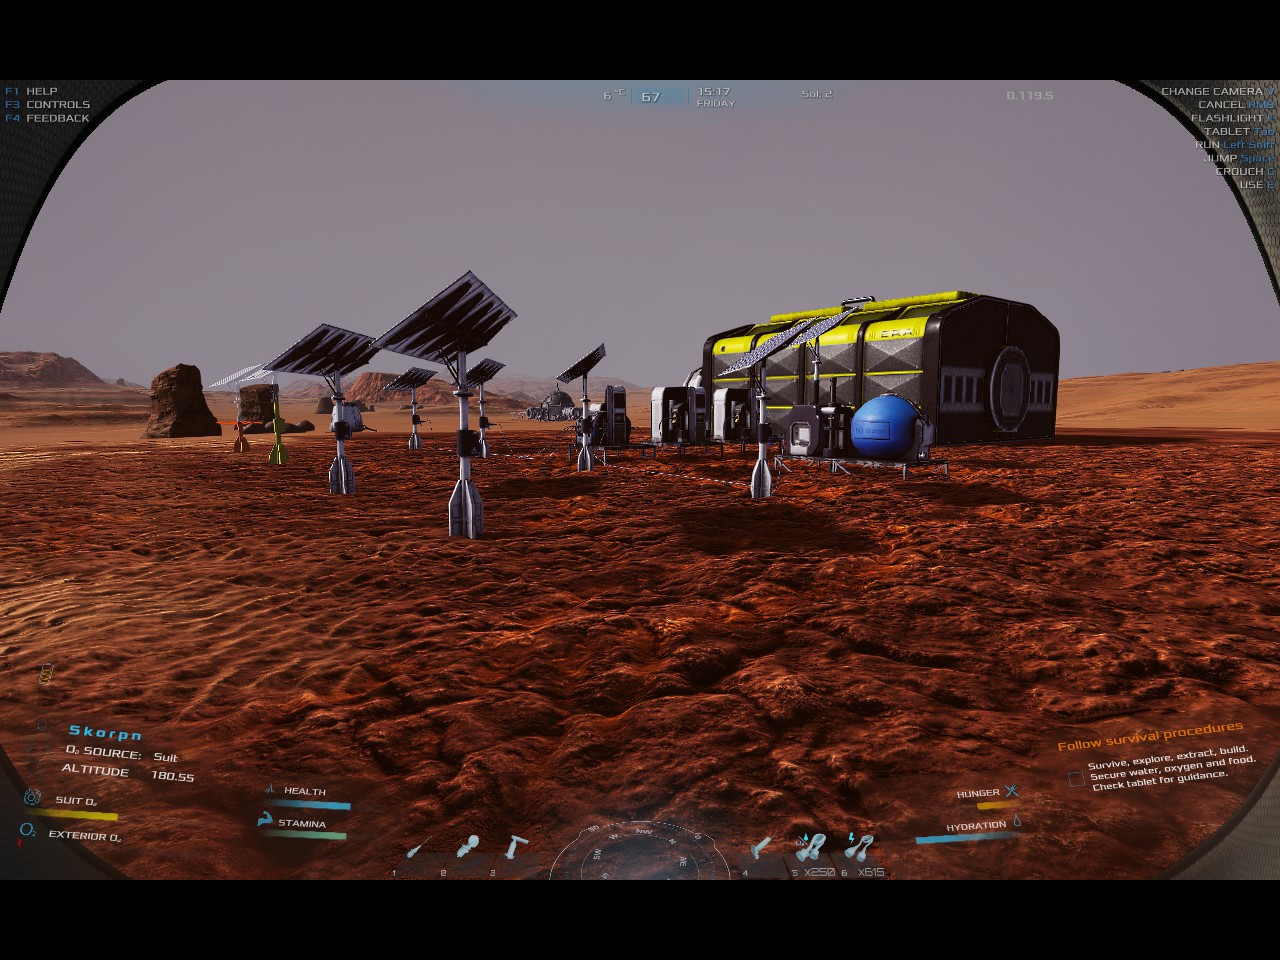
Grinding just the west base from the pod, allowed me to build everything you see in Bases - Your First Home Photos

*Note Something worth remembering is if you grind an item with a collectable item on or inside it. I will dissapear in most cases.
** Note Those glowing parts you see are similar to using the jackhammer. Grind on those and they glow and disappear making your grinding quicker. As well, when one glow disappears, another usually pops up somewhere else.
Bases - Your First Home
Your first will always be special, spruce it up and make lots of mistakes!!

So, first things first. Pull out your spectral detector and find a water source. You can hold the spectral detector while your running to the location, or if its far you can push Y key and it will be added to your map. Please check the how to use Maps section.

When your at your spot, hit the B key to bring up your build menu. From here choose Well under the resources tab. You may have the resources to build it right away, unless your in Campaign or on COLONIST or MADMAN in freeplay mode.

So you'll mainly need to collect Aluminum, Iron and Silicon ores or grind other bases for materials to get ready to build your first base of operations. You will need to unlock a few things in your tech tree to start, but visit a few bases and you'll get what you need within a few days.
  • 1 Well
  • 1 Workshop
  • 2 Airlocks
  • 1 Ramp
  • 8 Solar Panels
  • 1 Transformer ECU w/transformer upgrade or 2 Transformers
  • 1 Battery Pack w/battery pack upgrade or 2 Battery Packs

If you go 2 transformers and 2 battery packs, you will need 4 small boards. (You can find the few boards you need at the 2 bases, one to the west of you and one to the east. Check Tips & Trickery for info on highlighting your surroundings easier)
It doesn't take long to get the battery upgrade, just keep building what you need for setup and by the time your ready to run power you'll have it.
When you do get the upgrades for either or both, you can eliminate the second transformer or battery pack. (Don't forget to pull the small board first)

This is a basic setup that has 2 batteries and 1 transformer. The power has 6 Solar panels which is only enough to power the base bare bones
Maps, huh? I don’t believe in them. That’s why I got lost!Source - Reservoir Dogs
So in this explanation I'll show you guys and gals how I use the map and what markings I do. For myself they are efficient, but perhaps you'll find your own way.My way is the best though =)

So like in every PC game, the M key will bring up your tablet map. This can only be used while you are standing (I wish I can use it while I was riding, but alas). If you are on or in a vehicle, you have to get off or stand up (in the case of the rover).

I'm not going to explain how to scroll, but… nm… no!

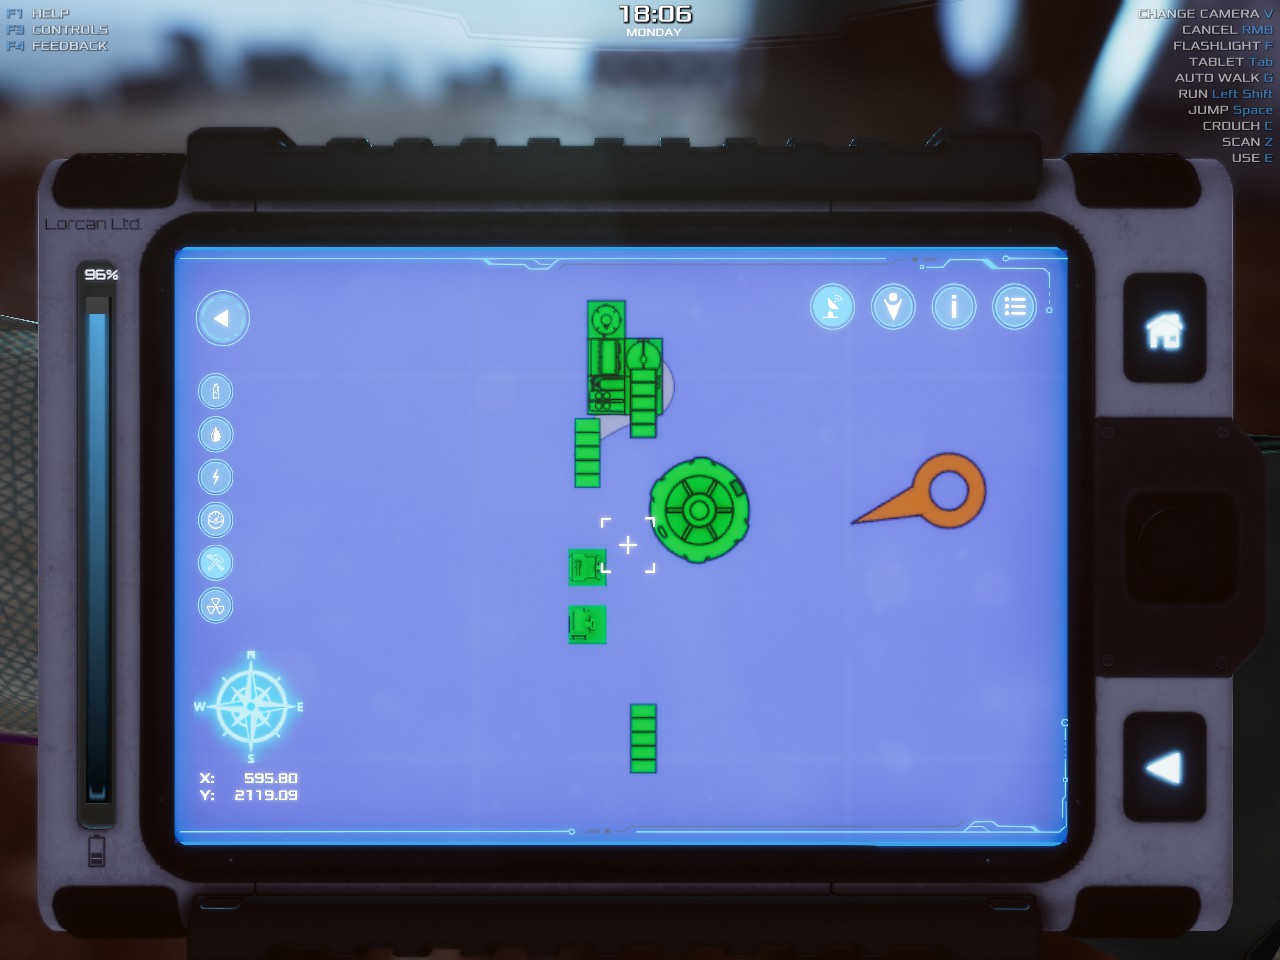
What you do is find a spot on the map which looks like a dark grey circle and use your square crosshairs to centre it and then zoom in. From here, what I like to do is right click to the right of the building and push the track option from the drop down menu. Any colour will do, but I use red and yellow for my next navigations. I use the green one for my entry pod or when ready to transfer everything over I use it as my main base or BOO… lol (Base of Operations).

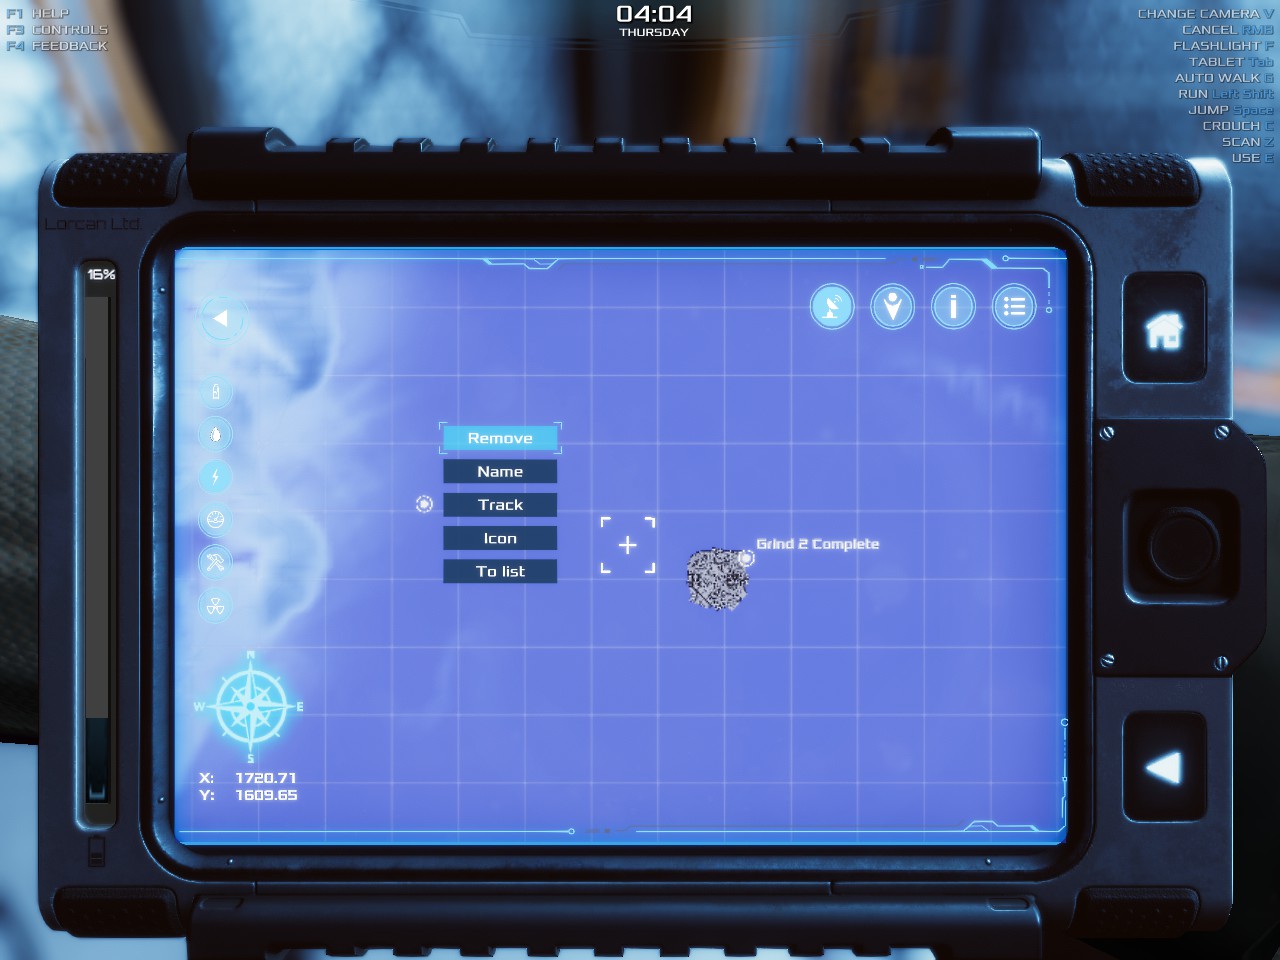
The drop down menu I will explain to you now. There are 5 options; remove, name, track, icon & to list. (Picture at bottom of this section)
  • Remove - remove points you've made
  • Name - allows you to name your intended target
  • Track - Gives you 3 colours to choose from in which it will give your distance to each of those targets you have coloured, the colours are white, yellow, red and green. White does not track distance
  • Icon - will allow you to choose a picture to associate your discovery with
  • To List - This is important a bit later on when you start making outpost, refueling stations, rest stops, emergency layover, etc. This essentially saves that marker you put down into a list you can pull up easy to find the nearest… errm… destination.


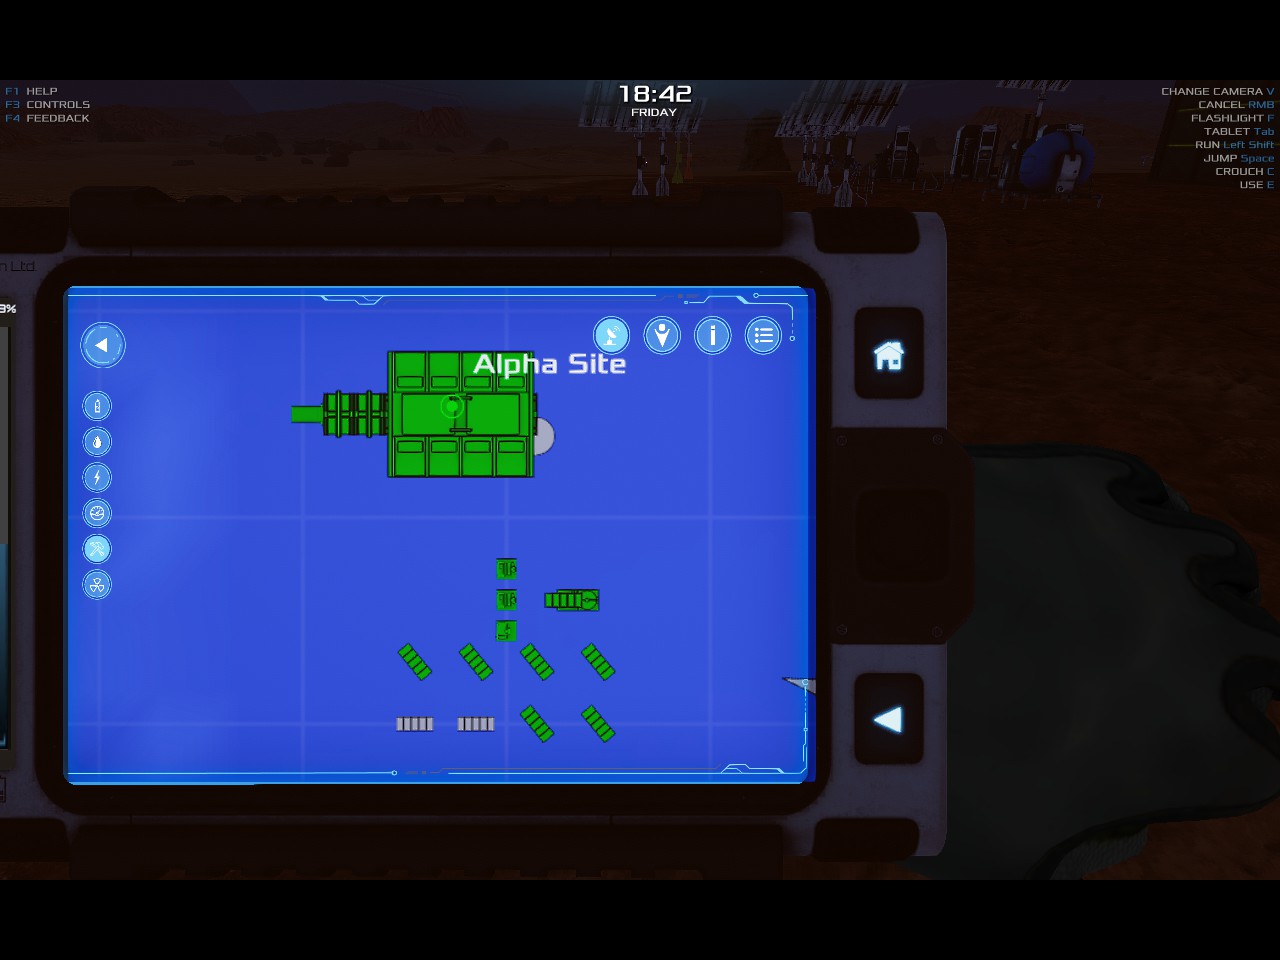
So looking at the map above, all the icons I will break down for you. Starting on the left and going down, they are;
  • Back Key
  • Oxygen
  • Water
  • Power
  • Structures (yours only)
  • Electricity Usage
  • Radiation
Red colour pretty much means unpowered.
Orange means source has energy output & storage (AKA Batteries)
Green colour means the source, path and what is supplied with said utility.

Starting on the right top 4 icons;
  • Radar towers and their coverage
  • Your location
  • Information on how to use the map (I'm doing this now)
  • Your locations list (Your "To List" list) ?¿?¿

The bottom left of the map is your Compass (which doesn’t move, to my knowledge) and your Longitude and Latitude Co-ordinates

So a few tidbits of information I'm going to throw at you is. Eg. If you click on the power icon and click on the solar panel, battery or other things. It will tell you the input and output of your selection.

So down to my way of labelling maps. Since there are only 3 markers, I label everywhere I went and what was done. By this I mean, I'll go to a base with my tier 1, 2 or 3 grinder and tear down what I can (mostly early game, it helps greatly). So finishing my tier 1 grind, I will right click to the right side of the structure and name it "Grind 1 Complete". This way I know I have been there, got the tablet most importantly and ground down what I was able to with my tier 1. Same idea for tier 2, just label Grind 2 complete.


Advanced map usage coming soon to a screen near you!
Electricity - In Depth and Personal
So you need power. Your base is almost set to go but don't rush. Try to get your battery upgrade unlocked first so you can save some energy for those long nights. The energy starts flowing at 6:30 until 18:30 which gives you 12 hours to work with. Which also means 12 hours of darkness. So if there aren't any fluctuations like our planet has, it is a 1:1 Ratio.

The power from the 4 Solar Panels you installed will equal 20kW. The workshop and 2 airlocks runs at 15kW means that you have 5 spare kw. So that spare 5kW can be stored by the batteries.
Now, herein lies the issue. The is roughly 12 hours of solar charging (Day) and 12 hours of kw drain (Night). Now if your not putting anything in your base (workshop) it'd be great. But, I am assuming you would like breathable air and a stable temperature to start planting right away. You will need to create a few more things to accomplish that.

• CO2 Scribber - 32kW to 100kW working range (I got 91.01 temp.)
• Plant Incubator - power will vary with seed type
• Hydroponics Table - power will vary with seed type

So the CO2 scrubber parameters (that I have)
• 11.82 l/h Oxygen
• 91.01 Temperature
• 7.11 kW

This increases my power by 7.11 (you can adjust, I havent played with minimum values yet) to a total of 22.11kW, with my current 4 solar panel 20 KW setup it is not even going to start up. But if I adjust the battery output that extra 2.2kW, it certainly won't take long to drain the battery when the sun goes down.

Now your question is, how can I make it so I survive the night?
So some math, complex for some and simple for others. But I'll break it down so you don't have an anyeurysm or rage quit like some posts suggest.

Over night I need 265.32kW in battery storage to last 12 hours. During the day I need to produce 265.32kW over 12 hours as well. The 265.32kW comes from the 22.11 that I need to power the base.
Fomula
- 22.11 x 12 = 265.32kW - Night time kW needed from storage
- 22.11 x 12 = 265.32kW - Day time kW usage
- 265.32 + 265.32 = 530.64kW - Overall kWs needed to keep everything running smooth day and night
- 530.64 \ 12 = 44.22kw/h - Overall kW per hour that you need to produce

So by this statement, you need 44.22kW per hour to run throughout the night without any hiccups. With 44.3kW (rounded up) of power needed, I need a minimum of 9 solar panels at 5kW's each. That will leave me with 0.7kW per hour over 12 daylight hours giving me an extra 8.4kW per day that goes into storage. Kinda scary if anything happens. This is without planting anything yet, this is just for running the CO2 scrubber.

With potato seeds being grown in the workshop (The Greenhouse will have different effects), the current power drain with 1 seed or full is 0.7kW in the incubator and 1.3kW in the hydroponics table. Totalling 2kW if you'll be using them simultaneously.
So you would add 2kW to 22.11kW which totals 24.11kW. The formula is where the adjustments need to be done. The hours are fine, the kWs for day and night need to be changed.
I hope you can do it, the answer is 48.22kW
Now, how many small solar panels do you need? Each small solar panel produces 5kW.
48.22 / 5 = 9.644
Now we don't have 9.644 solar panels. So we'll round up to 10 Solar panels. This energy produced will leave an excess of 1.78kW/h or 21.36kW per day that will be added to your battery storage each day.

The idea and conclusion here is as follows. Your power input should be minimum twice that of your output in order to maintain full-time power.
This may be different in other hemisphere's of Mars, I have to check that out.

*Note: Each seed will have it's own values it needs, this may not work for beets or any other.
Botany - How to Grow your Flora
So when you first think of laying down some roots, literally, the way to do it is with your seeds. I'm going to help you out so you don't overload your grid with this by giving you more information on what seed types have effects on water and power drains.

Seed
Machine
1 seed kW Usage
1 seed Water Usage
Full Machine kW Usage
Full Machine Water Usage
Potato
Incubator
0.7 kWh
0.1 l/h
0.7kWh
2 l/h
Potato
Hydroponic Shelf
1.3 kWh
0.3 l/h
1.3 kWh
3.6 l/h

In the workshop both the incubator and hydroponic shelf increased my base power usage by 2kWh and water consumption by 5.6l/h.

Your Seeds

So you may not know as of yet, or you may. All the seeds you collect have tiers, and there are 4.
    Tier 1 seeds (50%) are Potato & Beetroot
    Tier 2 seeds (33%) are Cabbage, Corn, Lettuce & Tomato
    Tier 3 seeds (16.5%) are Apple, Pepper, & Pumpkin
    Tier 4 seeds (16.5%) are Trees - Oxygen, Poplar & Spruce

Each of these Tiers can be started in the Plant Incubator. Each tier will last from 50% down to 16.5% in the Incubator. Please see above percentages.
    Tier 1 seeds can mature on the Hydroponic Shelf and higher
    Tier 2 seeds can mature in the Fields and higher
    Tier 3 & 4 seeds can mature only in the Domes


Water Pump

The water pump doesn’t work as intended I believe, but you can figure out how much % you actually need instead of keeping it at 100%
Simple math is to divide what is required by what's coming in.
Eg. 3 wells, producing a total of 17.33 l/h, my needs are 12.2 l/h. Use a calculator and divide 12.2 / 17.33 which totals 0.7039. To get the percent you times it by 100, so 100 x 0.7039 = 70.39% round up to 71%
Feed 29% into your water pump and voila, now you can store water and watch those tanks fill up.

*note: It is more accurate to add up the 3 wells from their screen individually.
**note: Gathering a variety of seeds seems to be more apparent the further from the base you are. I just recently gathered 10 new seed types from a few bases from 8600m to 9700m from my base
***note: During your seed run, it may be best to not reload your game. I have went to 2 bases early on and some items were out of reach (underground). But the further out I went Nothing was out of place and the seeds came in quick. usually 3 each base
****note: You can mix your seeds within each planter. However, these increase a base electricity rate for mix. (I will conduct further tests with the tiers)

Tech Tree - Choosing the Right Things
So as you progress, you kinda locked yourself out of things because you need to get that grind on because the points you had went towards some gummy bears. I'll try to help steer you into the right direction.

After your first few points you wanna get happy and go nuts
https://en.wikipedia.org/wiki/Cloudy_with_a_Chance_of_Meatballs_(film)

Materials

Essentially you need 2 Material points. Check How To Gain Tech Tree Points
The first 2 you get should be Workshop and CO2 Scrubber (If you prefer to live in your habitat quickly. I grow flora and that produces oxygen), after that I recommend getting repair kit, because no one like to have Mars sand rash when you flip your ATV.
After those 3 points are acquired, the next few options are Pump, Sabatier, Small Corridors, Repair Kit and Survival Capsule.

- The pump will open you up to the Sabatier Reactor when you get the blue print.
- The Sabatier Reactor is essential if you are going to journey away from your base for short or long periods.
- The CO2 scrubber is not super important, but if you want O2 in your base go for it
- The Repair kit I think is quite essential while you're using ATV or running and tripping (Lol!) incidents.
- The workshop printer is not necessary for now depending on how far you are from your pod and/or if you want another 8 slots of storage space in your workshop.
- The small corridor is just to open up the Survival Capsule for far journeyed explorations.

Electricity
Don't fret about unlocking the Transformer too much, it is unlocked once you have ground down enough materials to get your workshop.
This tech tree levels up so fast after your base is set up that you will have excess points and no blueprints to unlock. In time though.
First things to acquire in this line is Transformer, Battery Pack, Battery Pack Upgrade, Workbench, Transformer Upgrade, and More Efficient Panels 1.

- The transformers are necessary for you to direct your incoming power
- The batteries store your unused excess for evenings or weather related outages
- The transformer upgrade will allow you to connect an additional 16 receptacles. 8 for incoming power and 8 for outgoing power.
- The battery pack upgrade will increase your unused energy storage capacity by --kw for each extension.
- The workbench allows you to create and upgrade your tools. As well you can fix your circuitry there. The workbench unlocks grinder II and jackhammer II, and quite a few more things, so its not overly important until you get the jackhammer and grinder pretty much.
- The more efficient panels will increase the output of each solar panel you have by 1kw.

Mechanics
This one here is chalked full of blueprint blocks that its a soul crusher, it looks horrible but with your exploration they quickly come undone. This line in my opinion is the hardest to level up early game, but hold up on spending point with this one, your exploration may bring you what you needed right when you need it. That's Deep Bruh!
The mechanics tree line you should try to follow is Blow Torch, ATV, All Terrain Vehicle Crate, Spectral Detector II, Grinder I, Air Compressor, Jackhammer II & III and Grinder II.

- The ATV that you will create will increase your speed by 10 over the used one you may have found by now. It's not a big jump, but you will notice the difference.
- The ATV Crate is useful for those longer expeditions. You will want to make 2 of these when you can.
- All Tools are necessary the Spectral Detector II will allow you to analyze your rock formations. The blow torch and jackhammer just increases the speed in which you build and break down rocks. The Grinder II increases your speed as well as allows you to Grind more things in and out of a derelict base.
The quickest way I level up Mechanics is get the Spectral Detector and analyze the crap out of rocks and generally work up to get Jackhammer II and destroy the "Greys" and the largest rock formations until I get to Grinder II.

Botany
This will have it's burst of points usually when you start repotting or basically anything to do with Botany.
The Botany line to follow would be Fridge, Seed Machine, Genetic Engineering, Small Plant Crate, Slower WIthering, Faster Growth and Food Processing.

- The seed machine gives you a seed modification machine which paired together with genetic engineering will allow you to increase its growth speed and number of seeds you get per flora.
- The small plant crate is for ease of movement from the plant incubator to the hydroponics shelf
- Food Processing converts your fruits/vegetables into processed food packages. Adjustments can be made to the amount of yield or nutritional value.

The food processing is not a big thing I think to worry about, but it depends on you really and your exploration. There is so much processed food packages strewn about that in my opinion it isn't all that necessary early game.

Chemistry
When I know, you'll know!
How To Gain Tech Tree Points
So your in the dark on how to get tech points for each category. I'll break it down for you and have you on your way.

Botany
  • Harvest
  • Process
  • Plant
  • Using Seeder
  • Produce Fertilizer
  • Collect Waste Containers

Chemistry
  • Unknown (Not yet implemented)

Electricity
  • Produce Energy
  • Charging Vehicles
  • Clean Solar Panels and equipment
  • Repair Boards

Materials
  • Build
  • Repair
  • Disassemble (Grind)
  • Print
  • Unload Rover contents into Crusher

Mechanics
  • Split Rocks
  • Check Composition of ores w/Spectral Detector
  • Charge Vehicles
  • Unload Rover contents Into Crusher
  • Using Rovers robotic arm
Travelling from your safe place
So you've decided to leave the nest. Good on ya. I will try to help you survive your extended durations early game that you can pass on into your late game exploration too.

First things first, do not go out far to explore until you have a few things. Main priorities to go after is as follows:

Electical
  • Battery Pack
  • Transformer
Materials
  • Survival Capsule
  • Sabatier & Oxgen Tank (same unlock)

Those will keep you alive while your out in the barren wilds. Other noteworthy things to have would be Spectral Detector II, Grinder II and Jackhammer II. They just help you do things faster and more efficiently.

So early game and no Rover is where this shines with this simple set up which allows you to travel like Saladin's massive roving army. Move from water source to water source. While your riding your busted ass, cracked and backfiring ATV you found. you can stop and look at maps every once and a while, and what your looking for besides bases to acquire new tech and parts, is this little symbol.
*Picture coming soon*

After you find your oasis, I set up like this and it self sufficient and you shouldn't have much issues with charging and getting everything you need but food.

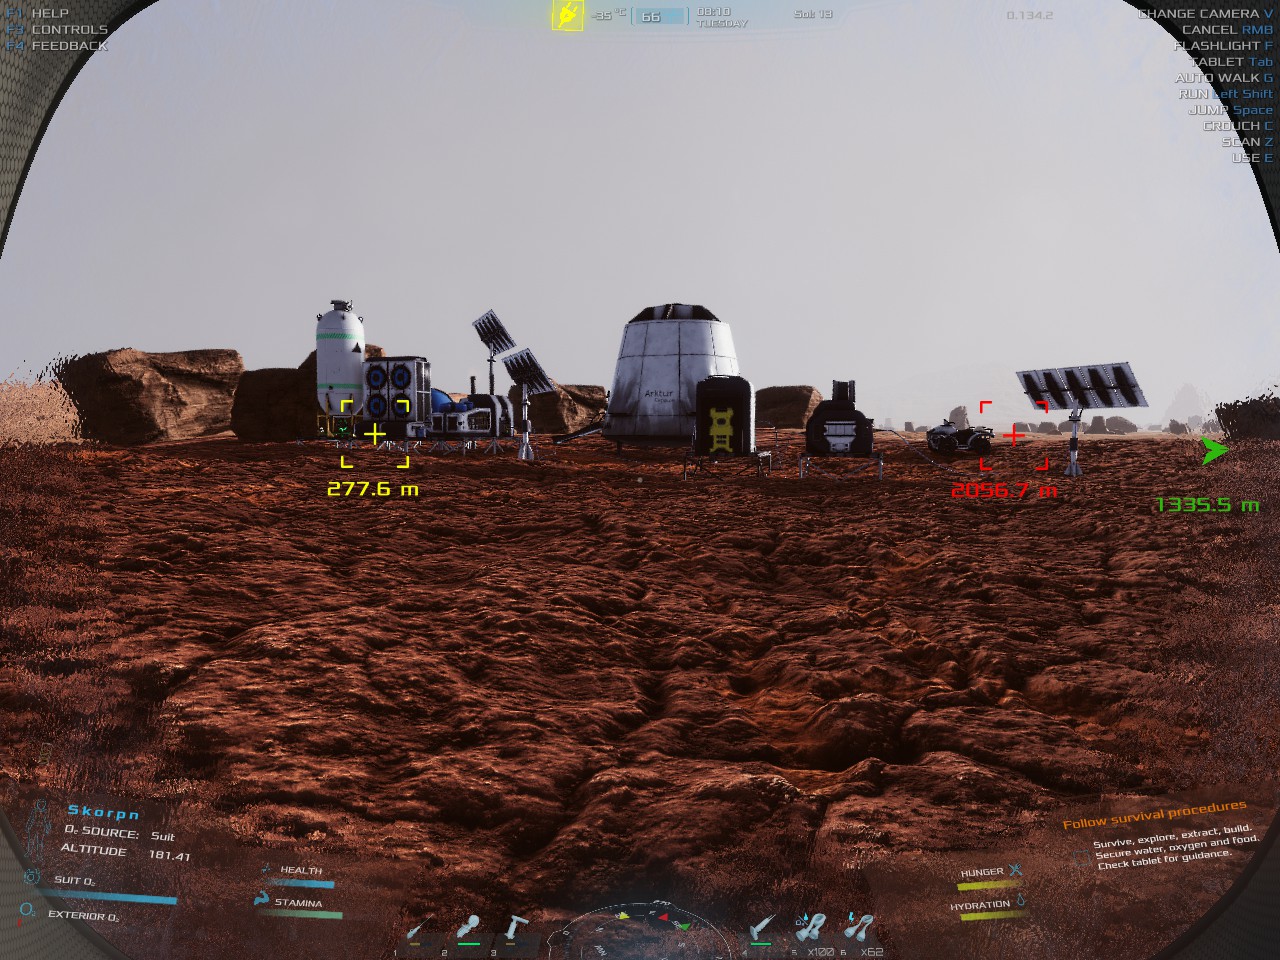
This picture shows a rough picture of what is there. Left to right, Well w/sabatier & oxygen tank, small solar panel, capsule, battery pack, transformer and small solar panel. (Solar panels can be upgraded as you see fit, but this is sufficient with that cable shuffling around.)

This picture shows the layout I have

That overall material cost is: (done in my head so please let me know if there is any errors)
  • Small Pipe - 34
  • Solar Cell - 15
  • Small Engine - 12
  • Pack of Screws - 28
  • Electronics - 17
  • Aluminium Plate - 31
  • Glass Plate - 3
  • Small Circuit Board - 2
  • Steel Plate - 16

So make sure before you wander off to travel that you have at the minimum these materials. But don't fret, that is also why you have a spectral detector and a capsule. You can make your own materials on the go.
Tips & Trickery
This is very important. It seems every base has a tablet, so if you do not find a tablet, you can save your game at that moment and exit to main menu. Hit continue and then start a search again for your tablet.
*hard to find spots are lockers

Grinder Set-up
My grinder set-up. I carry 2 grinders with me. One is a Tier 2 grinder, the other is a Tier 3.
This makes it much easier to tear apart whats inside the bases instead of accidentally destroying the base and all it's contents.


10 Second Rule
No, not the 5 second rule. There is a 10 second interval in which everything is based on, your charging, your electricity, etc. You may have noticed it, but you sure will now.

Highlight your immediate surroundings
Spoiler So, if you want to know if your missing something or unsure you simply push the Z key. This is the key to not forgetting the small boards that everyone is complaining about.
Another option In the game options menu under interface. Go down to the 2 interact-able sections. First is how you want it to show (Always, Key Press (Z) or never). Second is the range, you can slide it where ever you like.

Pin your building requirements
Spoiler In your build menu, right click the recipe you want to build and it will remain up on the right (info section) until you right click the recipe again.

Early ATV (Close)
Campaign Spoiler In campaign mode, the base closest to your pod usually has a damaged ATV. Inside that base you should have a small circuit board, you can use that to get the ATV up and running.

Backpack
Spoiler Your backpack has 4 yellow lights on them that have significance.
In the right picture from left to right.
O2 Capacity -- Stamina -- Hunger -- Hydration


As well in the picture. Your red backpack signifies current danger (temp, weather, etc.). Orange signifies a warning of pending temperature drops or incoming events. Blue signifies some important system information.

Repairs
Spoiler You can repair your equipment by right clicking on it then hit the repair. Please note you should have the required materials to do so. Sometimes it works, and sometimes it doesn't.For those of you who want to do a little cheating that will eventually be patched... fill up your toolbar without the item you want repaired then drop your grinder, torch, jackhammer, battery, or any other tool.. when you pick up the item again it should displace what's in slot 6 and give you a repaired item

Jackhammer There are 2 colours you will notice when you are hitting your resource. White and Red-ish. The 2 colours help you early on (pre-spectral detector II) to choose what you need. Red is Iron and Silicon, while white is aluminum and calcium.

Grinder Those glowing spots are awesome right?? So quick tip, just keep grinding and move around the object, it will be that much quicker instead of looking for another spot to grind (same goes with the jackhammer)
Other Super Useful Information
This is an Excel Spreadsheet of the nutritional value of food combinations as of update v0.122.2.

Food Nutritional Value [cdn.discordapp.com] Dead Link, I will attempt to find another[/b]

This information was brought to you by r00t, a fellow Martian
Guide updates
So, for the time being I believe I have given you a good look at the basics of the game. Please if you have any questions or suggestions I am open to them and will do my best to accommodate requests. Until then I'm gonna do like Baymax and chase the butterflies.


https://en.wikipedia.org/wiki/Big_Hero_6_(film)

Thanks for your support and I hope I've helped you out

Check back soon for updates


Revisions
Notes
* anything underlined means it was edited with the lastest date

05-04-25
  • Ore Collecting & Grinding
  • Botany - Your Seeds & Notes
  • Tips & Trickery - Using the jackhammer
  • Tips & Trickery - Grinding
  • Tools - Spectral Detector
  • Tools - Grinding
  • Other Super Useful Information

13-09-23
  • Maps, huh? I don’t believe in them. That’s why I got lost!
  • Other super useful Information
  • Tips & Trickery - Grinder set-up
09-09-23
  • Travelling from your safe place
04-09-23
  • Pod - Touchdown
  • Tech Tree - Mechanics
03-09-23
  • Tips & Trickery - Repair & 10 Second Rule
17-06-23
  • Added references to GIFs (2)
09-06-23
  • Campaign Guide
30-05-23
  • Botany
29-05-23
  • Content - Anti-Meteoryte Defense Guide
23-05-23
  • Introduction, Ore Collecting
22-05-23
  • Tech Tree (Electricity & Materials)
20-05-23
  • Ore Collecting & Grinding
19-05-23
  • * Botany
  • Electricity
  • * Tools
  • Tips


I will give permission to someone who wishes to translate this into their language, send me a discord message @ Skorpn#0296 or place a comment
32 Comments
theOldFart75.OdL 12 Sep, 2024 @ 3:07am 
Stage 3 Detector has AoE effect and tells you if there are scannable objects.
Skorpn  [author] 1 Feb, 2024 @ 5:44pm 
@ LilDreadnaught To my recollection the wells worked by how many you had on. I think I had 6 on one well and the seventh one I put up was barely pumping anything. But what you need to look at is the refresh rate of the spawn itself. If the well say the rate it can pump out is lets say 20L/hr then you can only put 3 wells which would leave 2 hrs remaining. If you put 4, then what would happen is you would run the well dry and struggle to keep up with your demand.
I had to find another well and run a pipe all the way back to my water pump at the main base.
LilDreadnaught 22 Jan, 2024 @ 5:37pm 
How does the Pump Station work? It looks like it should milk the well for more water, but I end up getting nothing more than a fancy machine.
Knife Grinder 21 Jan, 2024 @ 2:47am 
so far nothing has disappeared, even after the truck was wasted by a tornado outside my base. even the ATV reappeared after I fixed it, with cargo intact
Skorpn  [author] 15 Jan, 2024 @ 12:21pm 
@knifegrinder the bonnet is the only place for storage. Use at your own risk though, unsure if they fixed the issue but there was a big before where stuff would dissappear. Lost my circuit boards. The truck bed is for the "ready to load" rocks, similar to with the rover loading. Then you drive over the rock grinder and poof, all gone.
I haven't played in a little while, but ill jump on after the next update amd try to add a vehicles section.
Knife Grinder 15 Jan, 2024 @ 6:35am 
have you done much with the vehicles? I have just made the mars truck, and was wondering if there was any kind of storage space on it other than the screen under the bonnet? the description says "has decent storage", but I currently have the beat up quad in the back with a couple of ATV crates on as boot space
KING FROG 7 Jan, 2024 @ 10:31am 
ok, ty
Skorpn  [author] 7 Jan, 2024 @ 6:53am 
@Kingfrog You can get them through tech tree points in mechanics.
KING FROG 4 Jan, 2024 @ 4:00am 
How do you get Phase 2 in the Detector and Grinder?
infra-dan-accelerator unit 84725 6 Oct, 2023 @ 10:27am 
2 GRINDERS ARE COOL I NEVER THOGHT OF DAT DUDE