The Great War: Western Front™

The Great War: Western Front™

Not enough ratings
Elite Difficulty Guide [Field Command Battle]
By RainbowPig
Got tired of sweeping the battlefield every time and decided to hop into elite, then found that it was a completely different ball game? Well then is this the guide for you good sir, your country needs you to find a way to take those command points and get those sweeps against an enemy whose army is staffed with steroid-hopped chads and loads their artillery with enough explosive power to hear the blasts across the channel.

By the end of this guide you are going to be the reason the Geneva Convention was created, because to beat the elite you will refine your ability to orchestrate industrial slaughter to the point that even the incredibly strong opposition cannot compete. This guide will not cover how to win the campaign in the shortest amount of turns but how to win the battles.

This guide also assumes you can already achieve sweeps with near 100% consistency on at least soldier difficulty, and thus already know the general idea of how to apply this guide.
   
Award
Favorite
Favorited
Unfavorite
What Does Elite Difficulty Change
Purely looking at the changes from the perspective of a field battle the changes are quite simple.

Enemy soldier is harder
Enemy artillery hurt harder

In melee your men are outmatched by their "equals" and are about 50% as effective as they are on soldier difficulty. A unit of dastardly conscripts has a good chance to win against the standard infantryman, if not winning then at least reducing your own unit to a point beyond any practical use other than as artillery bait. Likewise standard infantry goes 1:1 against your elites, and the enemy elite trounces your men into the dirt while only losing half their own number. Your specialist infantry goes 1:1 against their elite, the balance bar in combat doesn't look like it but by the end of combat the enemy units will be near completely eliminated.

Note: While I did say your units are about 50% as effective, in practice they seem to be 49% as effective; in comparable 1:1 fights where my superior unit has faced an inferior (both with 100% morale and health) the enemy always seems to win the melee with a pixel left on their morale. This may just be observation bias on my part though.

Enemy artillery shreds your men into chowder. Light arty will easily knock +20% off of an entrenched standard infantry unit. Upgraded firing trenches mitigate this and thus finally have a reason to be used at all, but they do still cost a pretty penny in supplies. They also had/have reduced cooldowns between firing... with the recent patch though this cooldown seems to have been nerfed or the a.i behaviour changed to make this less extreme.

These two changes make them trench clearing monsters, which is annoying on the defence and what makes them near impossible to clear out on the attack.
We need boots on the ground and a whole lot of explosives
Core Techs
The Infantry and Artillery tech tree are your bread and butter, everything else is garnish to enhance the sweet aftertaste of victory.

From infantry we want all the techs leading up to the flamethrower, and we're also going to want the light artillery cooldown to keep those guns firing indefinitely when the time comes to depend on it.

Secondary Techs
Volunteers: Another corp to add to your attack means more supply and more specialist infantry.
Medical Tent: It's still a war of attrition, and saving funds gives you all the more to play with, mainly it serves to just give you a little bit more endgame score if you're bothered about it.
Increased Funding Techs: 200 gold extra every turn is nothing to turn your nose up at, if anything it pays off the cost of the one-time Cocaine and PTSD events which give bonus score at the end of the game for not taking the money.

Tertiary Techs
Consider the following techs for defensive battles only.
Upgraded Firing Trench: Taking less artillery damage can be the difference between keeping a unit good for one more wave/melee or having to withdraw it/losing the melee.
Barbed Wire: It's expensive but the greatest threat the a.i has to us is in melee, so anything that slows them down and makes them that much less likely to reach the trench is our silver bullet.
Canteen: If there is a hex that is reliably attacked by the a.i, often twice a turn, then the morale buff makes a slither of a difference on repeated defence. At this point though you might consider almost any other tech.

Your Attacking Force
Better men than me can probably make this work with 10 corps, so until you're a certified pro take 12+ corps into battle. This is an easily achievable number of corps to consolidate while still leaving 3-4 corps on every other hex especially after the timed recruitment events and any extra you've amassed from volunteers. Of course I would be remiss to mention that the defence of a hex is still absolutely possible with merely 2 corps per hex, and it would be entirely feasible to conjure up a 20+ corp stack or two 10+ corp stacks for your attacks.

With the power of your nations flavour of flamethrowers and raiders and light artillery spam we shall sweep our opposition with time enough to make it back for Tiffin at six.
Defence
Second verse, same as the first
Assuming you are already capable of warding off the a.i attacks on lower difficulties you will find that the same principles of defence apply to Elite difficulty. The greatest adjustment you have to make is to the artillery that now rains down on your hapless men, and avoiding a trench melee scrum where the vastly superior enemy will beat your equivalently tiered men 2:1

To connect or disconnect?
The two differing approaches to defence go as such:
- Use trenches more like foxholes, spaced out and rarely connecting to more than 3 other trenches
- Connect all your trenches together, and/or pack them tightly together to maximise firepower

Foxhole Approach
A sparse and unconnected network of trenches has two advantages; firstly they prevent the front under assault from becoming entirely suppressed, while one key section is suppressed another trench significantly further back or to the side can still fire. The drawback is that these 'foxhole' trenches are isolated from reinforcements and have nowhere to reposition when under artillery fire. This is very much the entire point of the unconnected network however; a small morsel of land is offered up to the a.i to devote time, resources and manpower into. The loss of that land is of no consequence as the second advantage is that the a.i still has to cross another gambit to take a point... however; some control points are however awkwardly positioned next to forests or close to the edge of no mans land and in this case your second line is going to be behind the control point but still close enough to have your men within its radius.

With the sparse defence any land that is lost cannot be taken back without an unreasonable investment of your own (probably limited) supply and manpower, and the a.i may chip away at your defence just enough to take a point. This is likely not enough to tilt the score into its favour though.

Closing Note: The foxhole defence has drawbacks, but it's cheap and cheerful on the supplies; an excellent choice for an undermanned hex. Some sneaky use of communication trenches can mitigate the isolation drawbacks.

The Condensed Defence

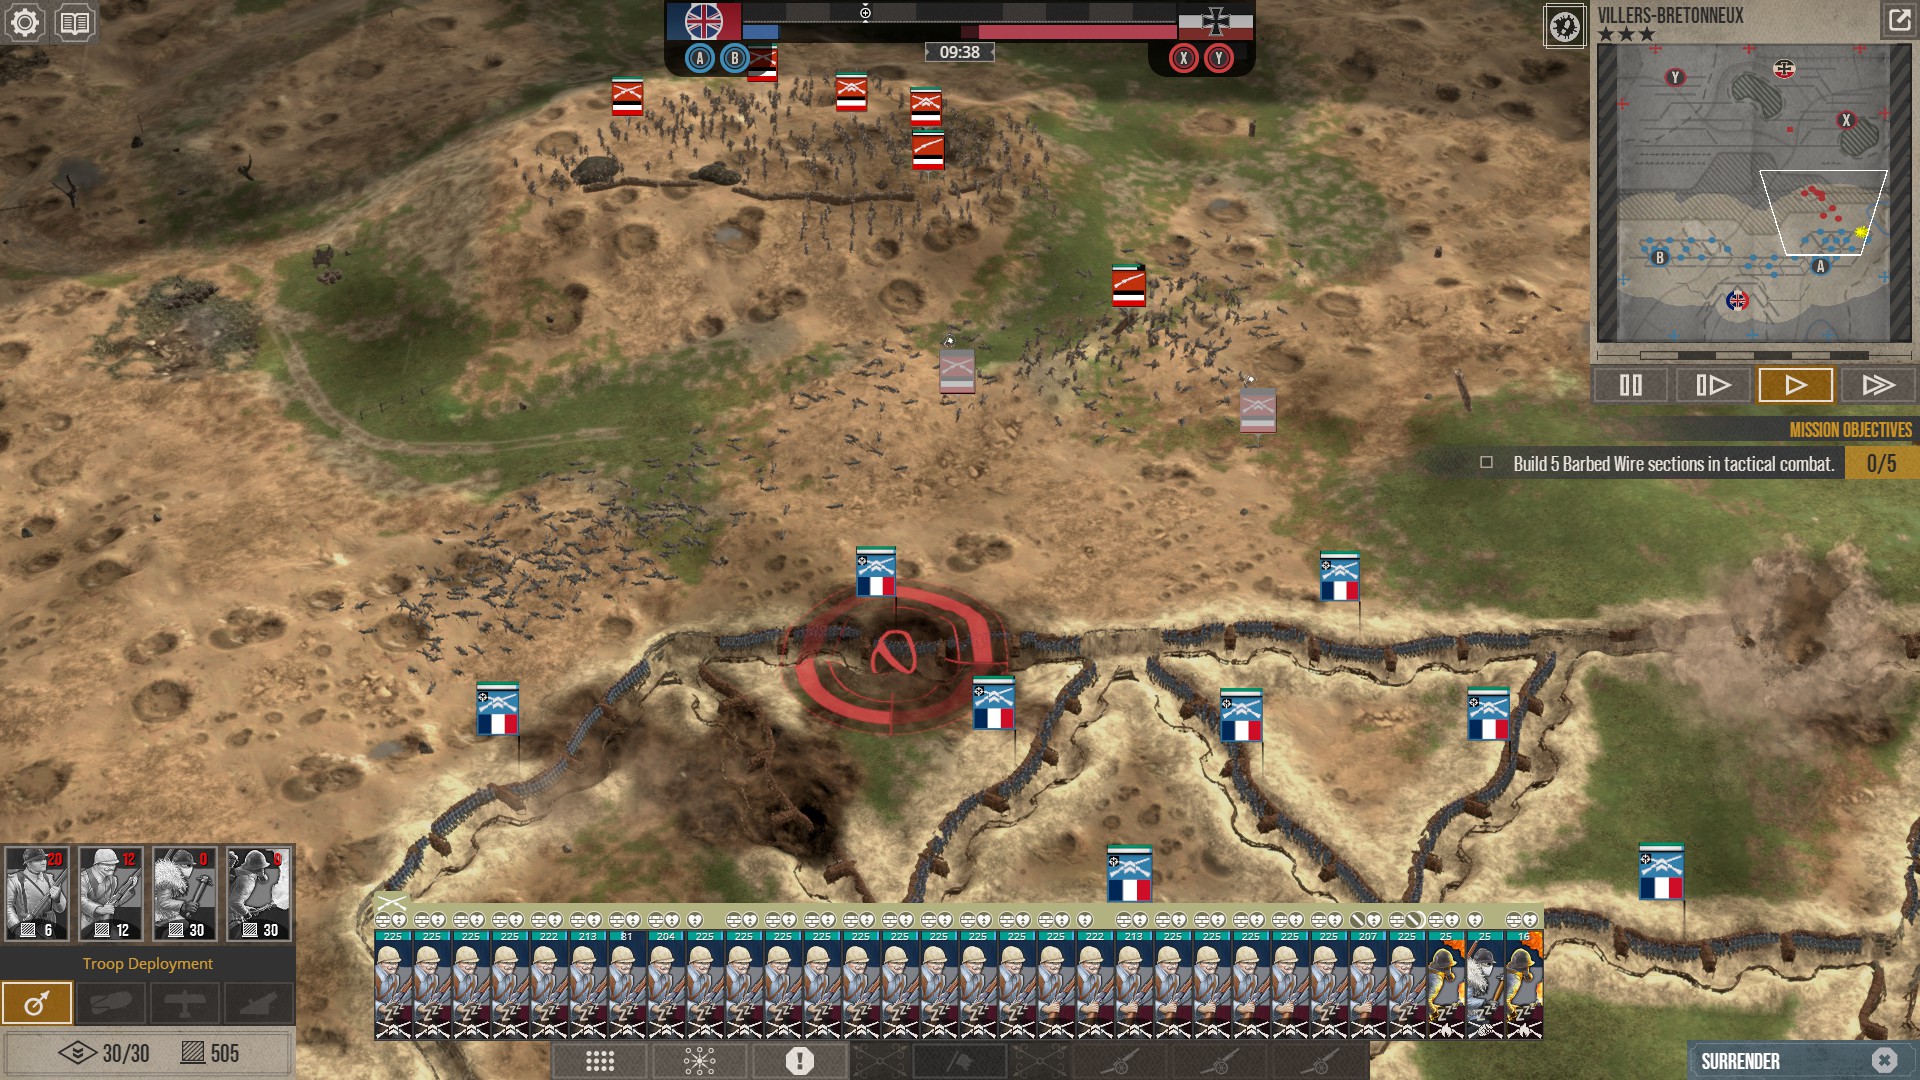
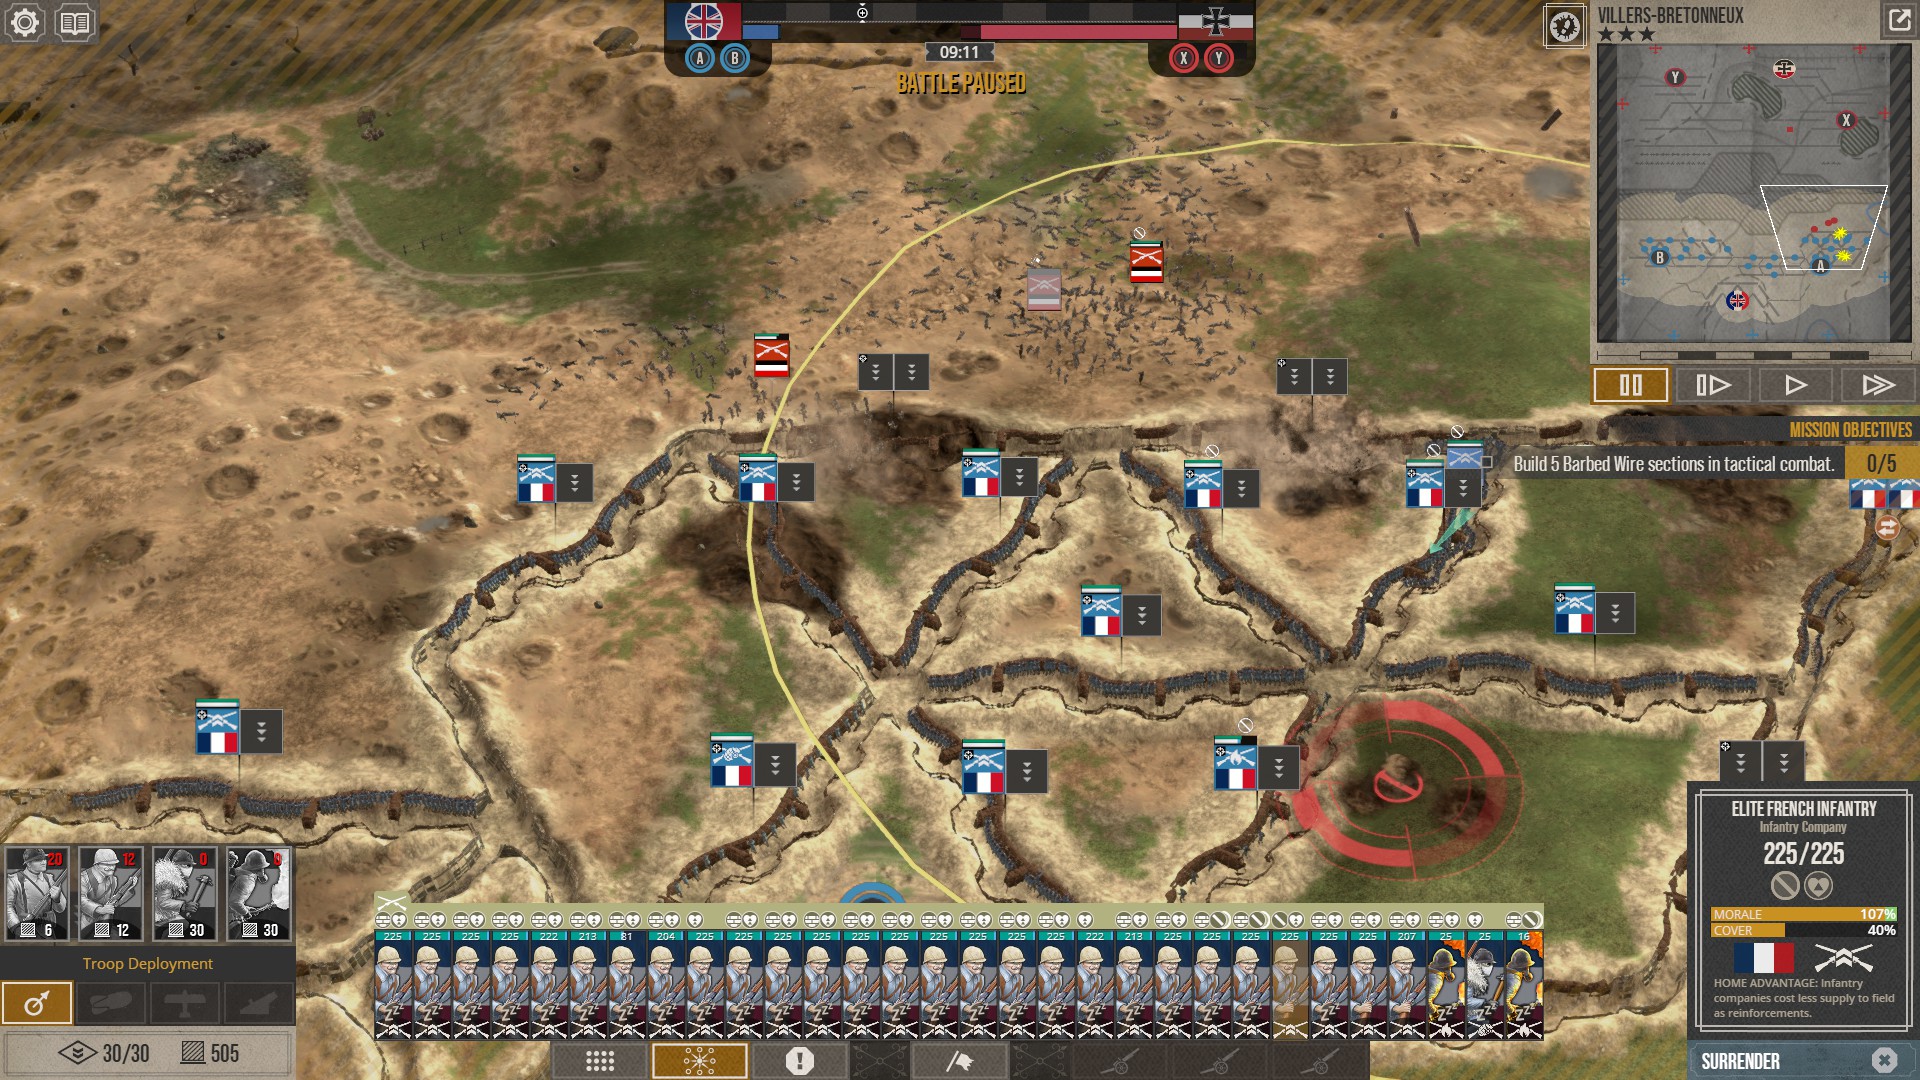
Before and After

Above is roughly textbook example of a condensed defence. Trenchworks are constructed in the triangular manner and not in series of horizontal lines. The flat 'bottom' of the triangle faces the frontline with the two connecting sides facing inwards (or towards the front.) This gives the triangle the exact same amount of of frontward firepower as three horizontal lines but when built in to a series of interconnected triangles, like shown above, the triangle also has supporting fire from its nearby trenches and the back lines in the very probable event of suppression occurring.

The condensed defence has become much more viable with the radius reduction of light artillery and the related nerfs to suppression. With 3-5 corps and/or some global supply this defence is still cheap as chips and leaves enough supply spare to rally a tidal wave of reinforcements should something go terribly wrong.

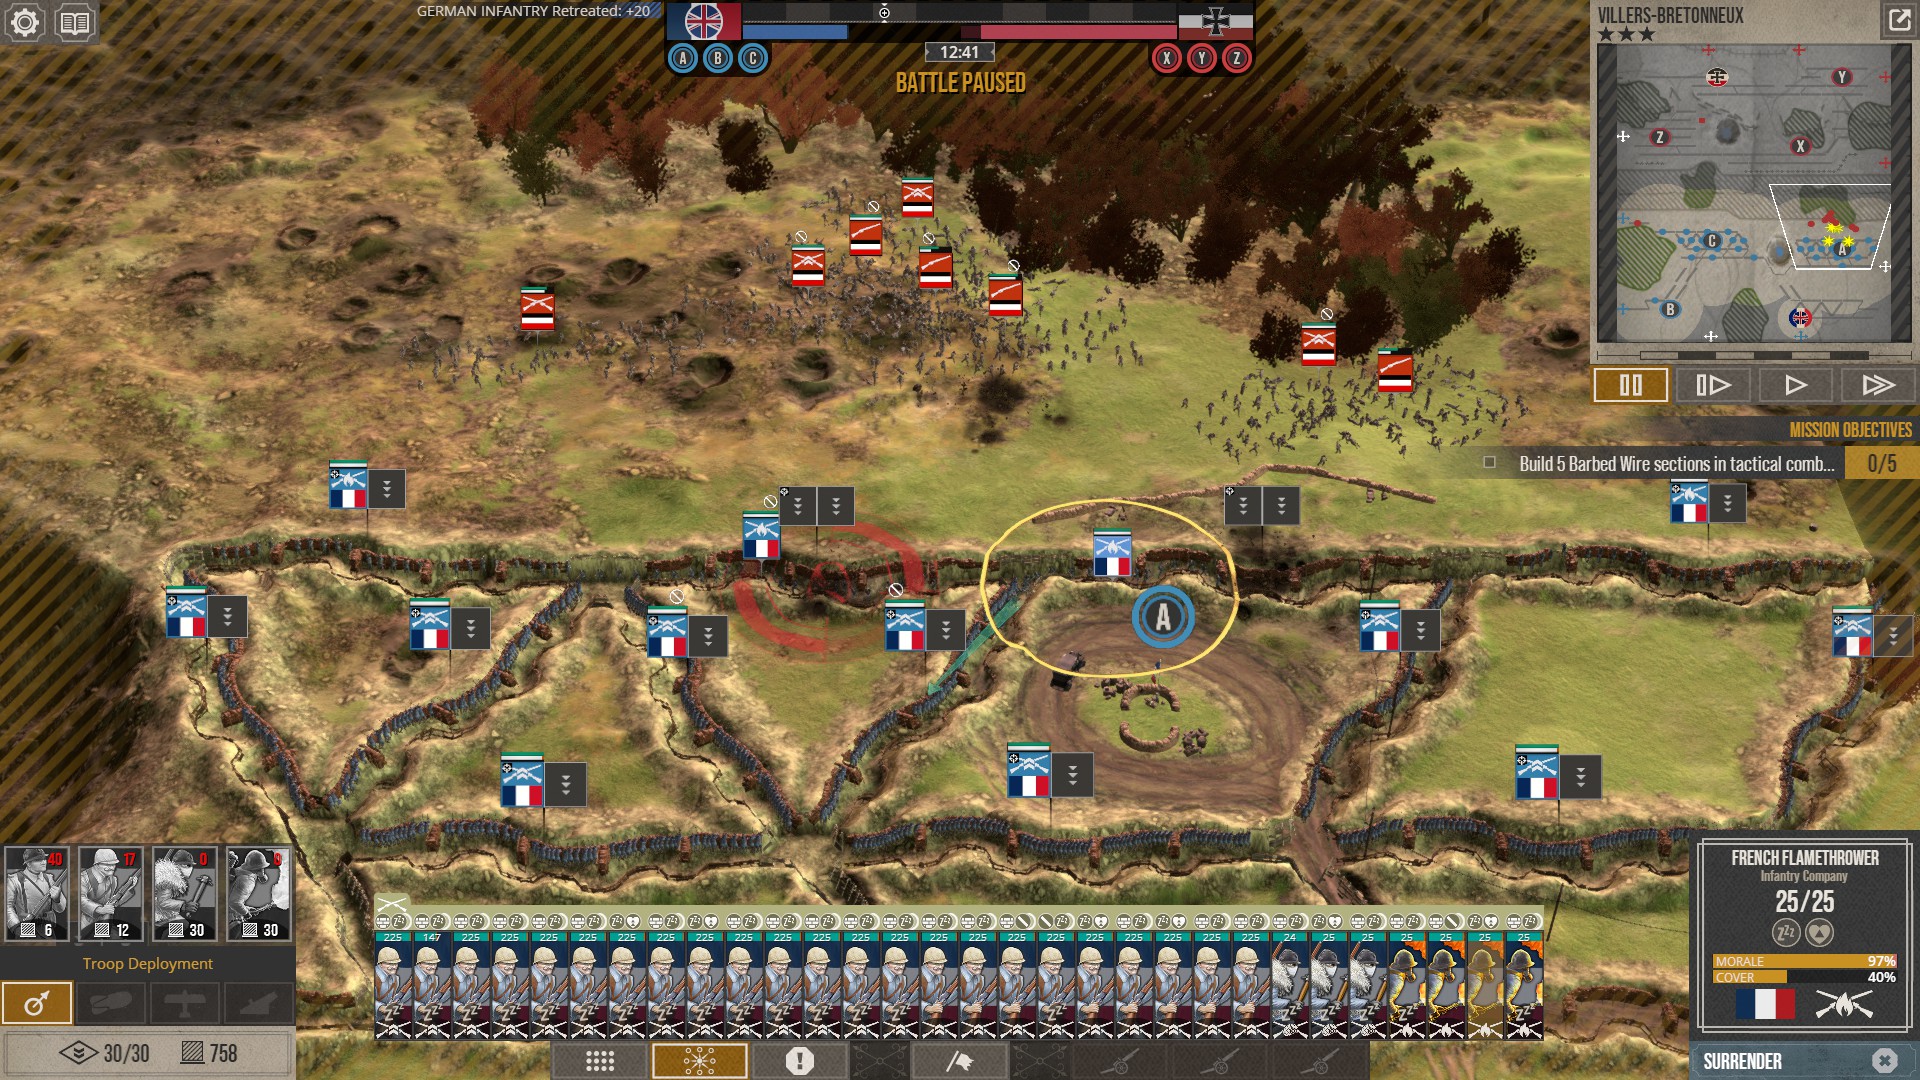
Lets take a quick look at another example, another before and after.
For those who noticed, yes this is the same hex being defended as in the images above, but being attacked from a different hex and so the map is different

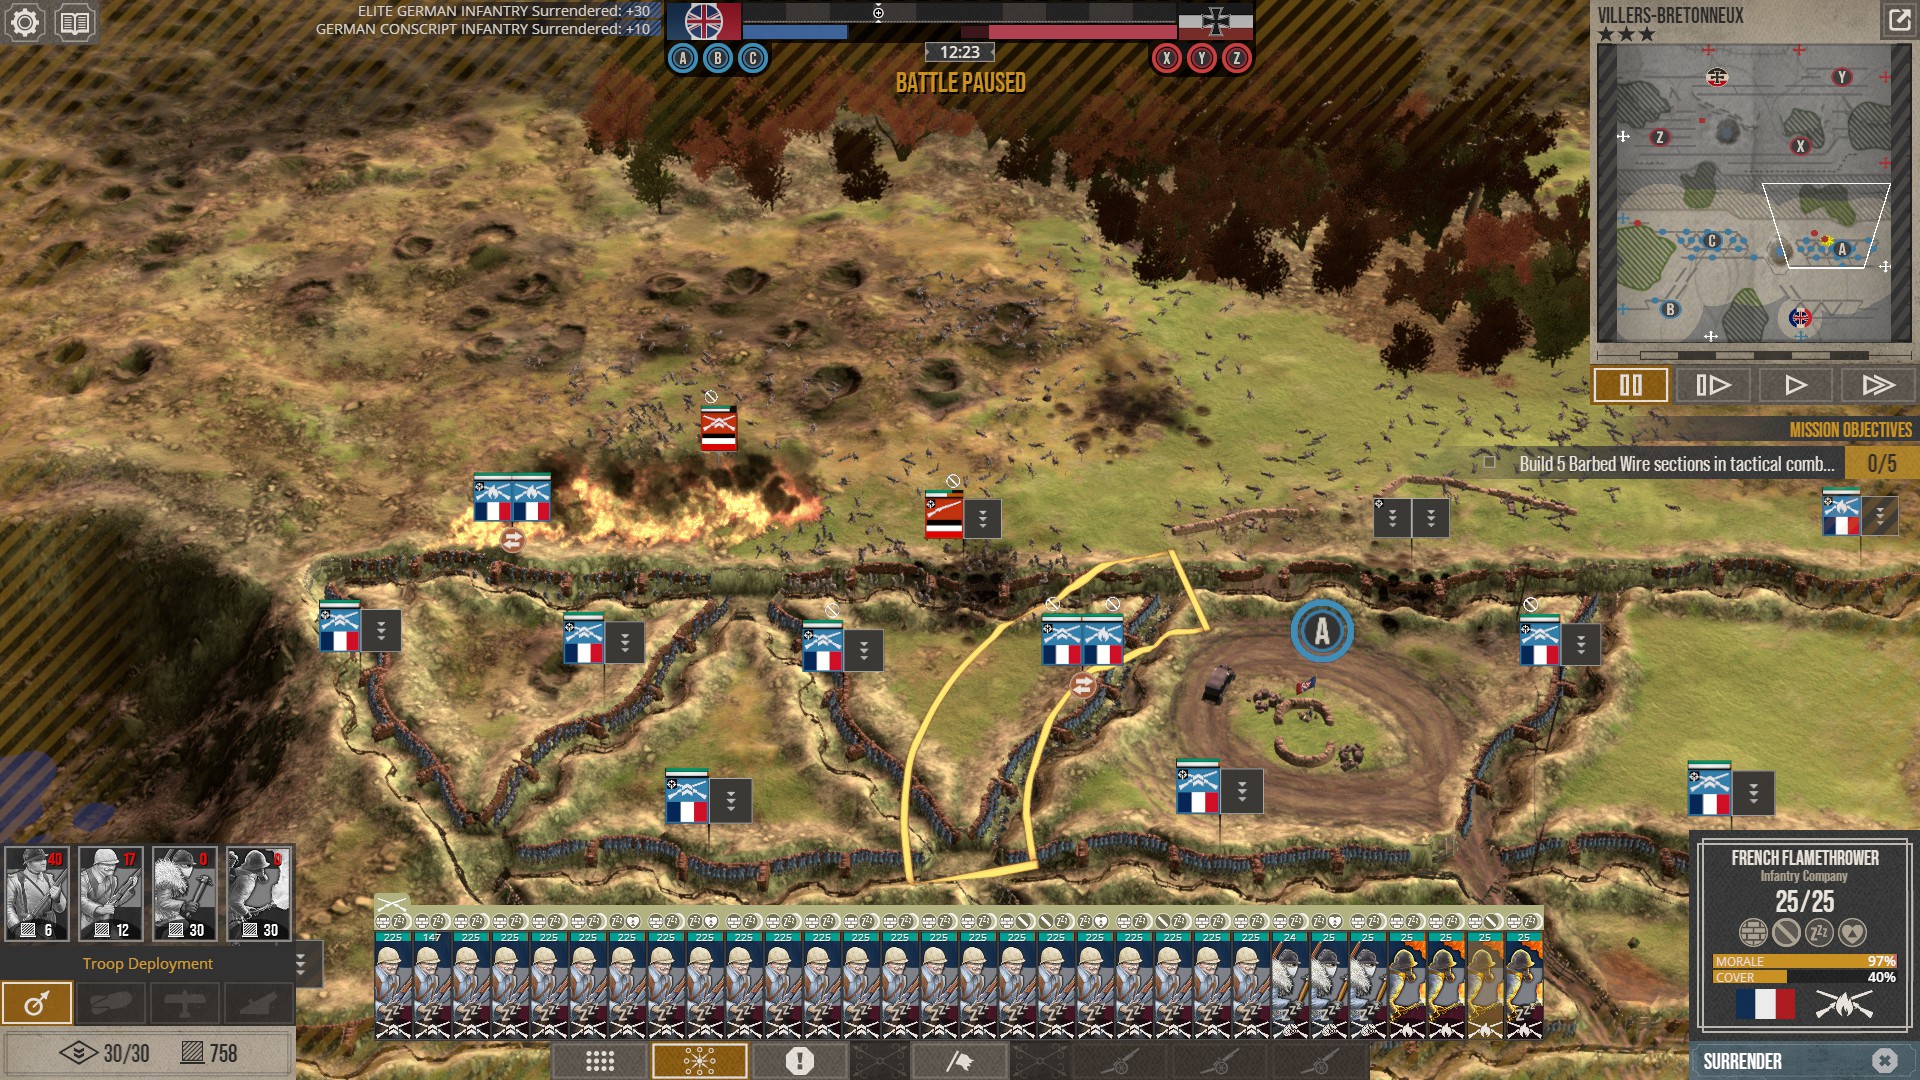
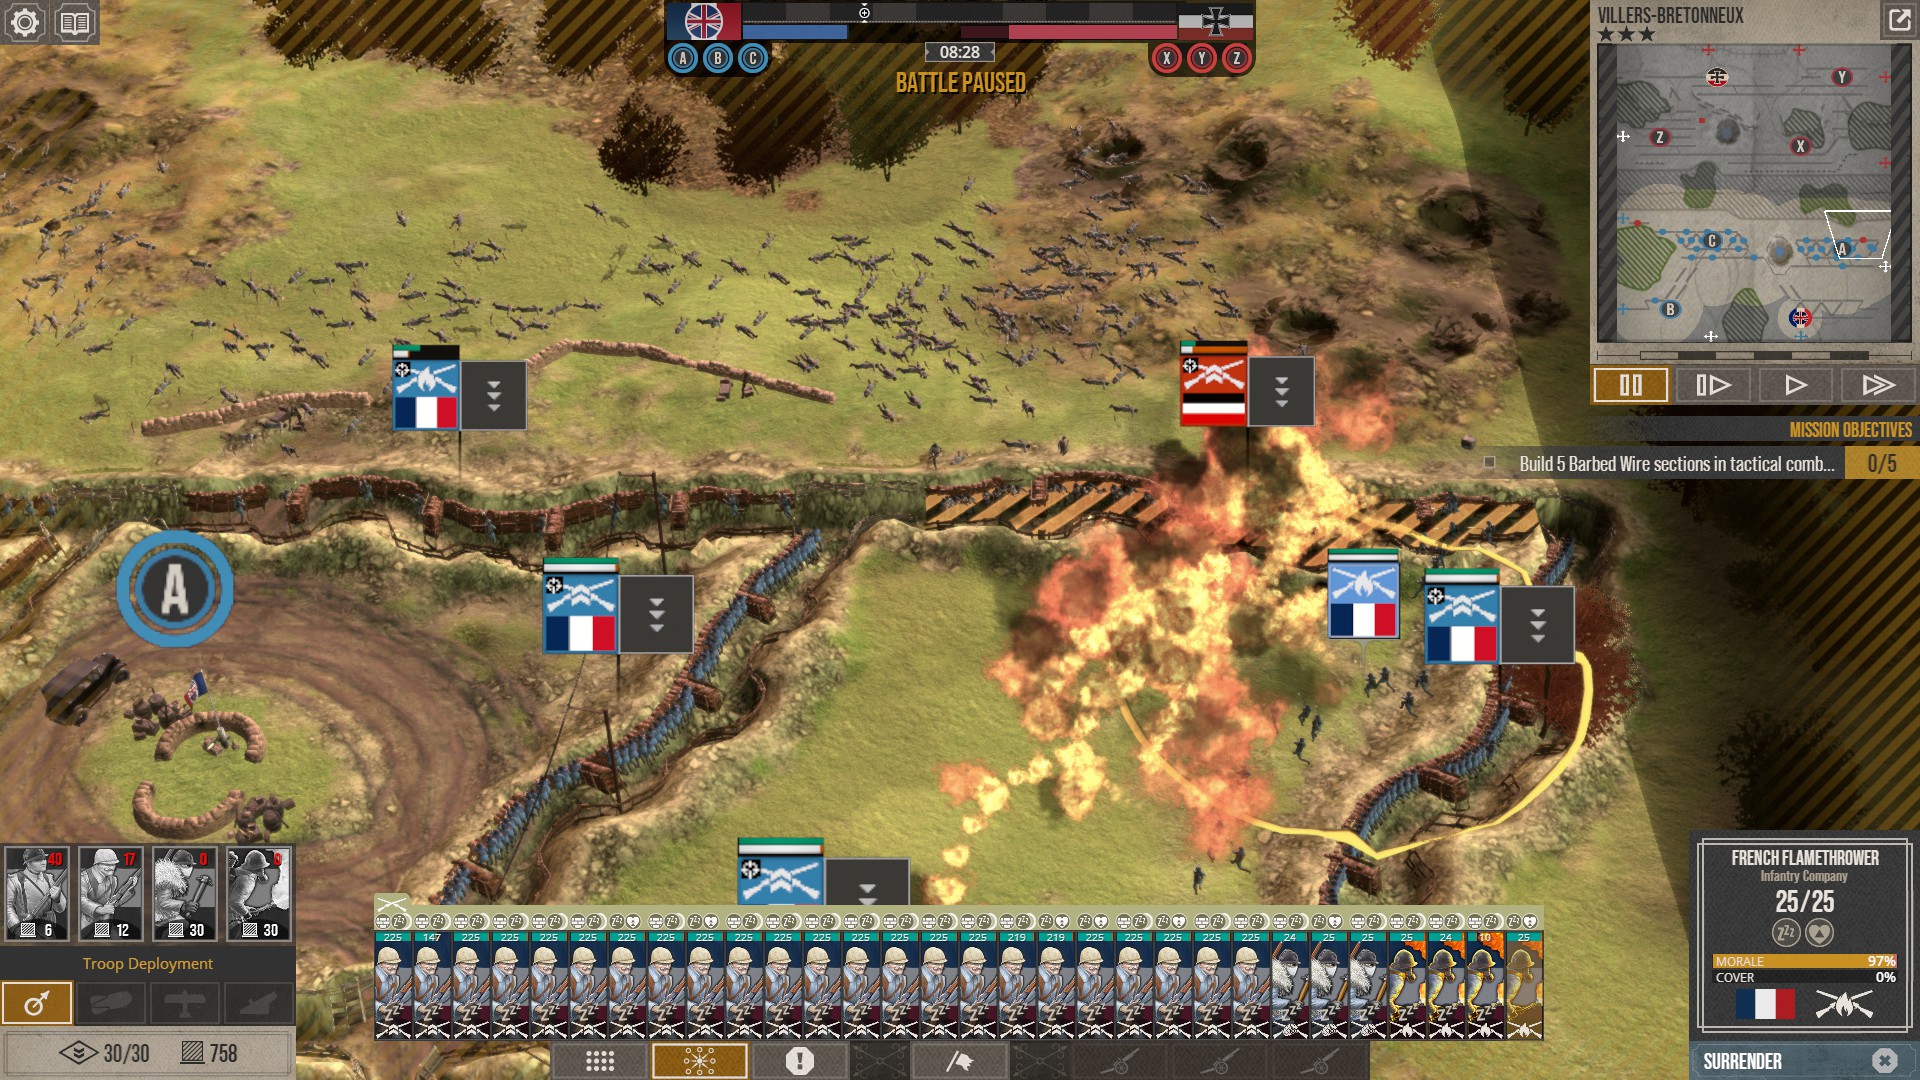
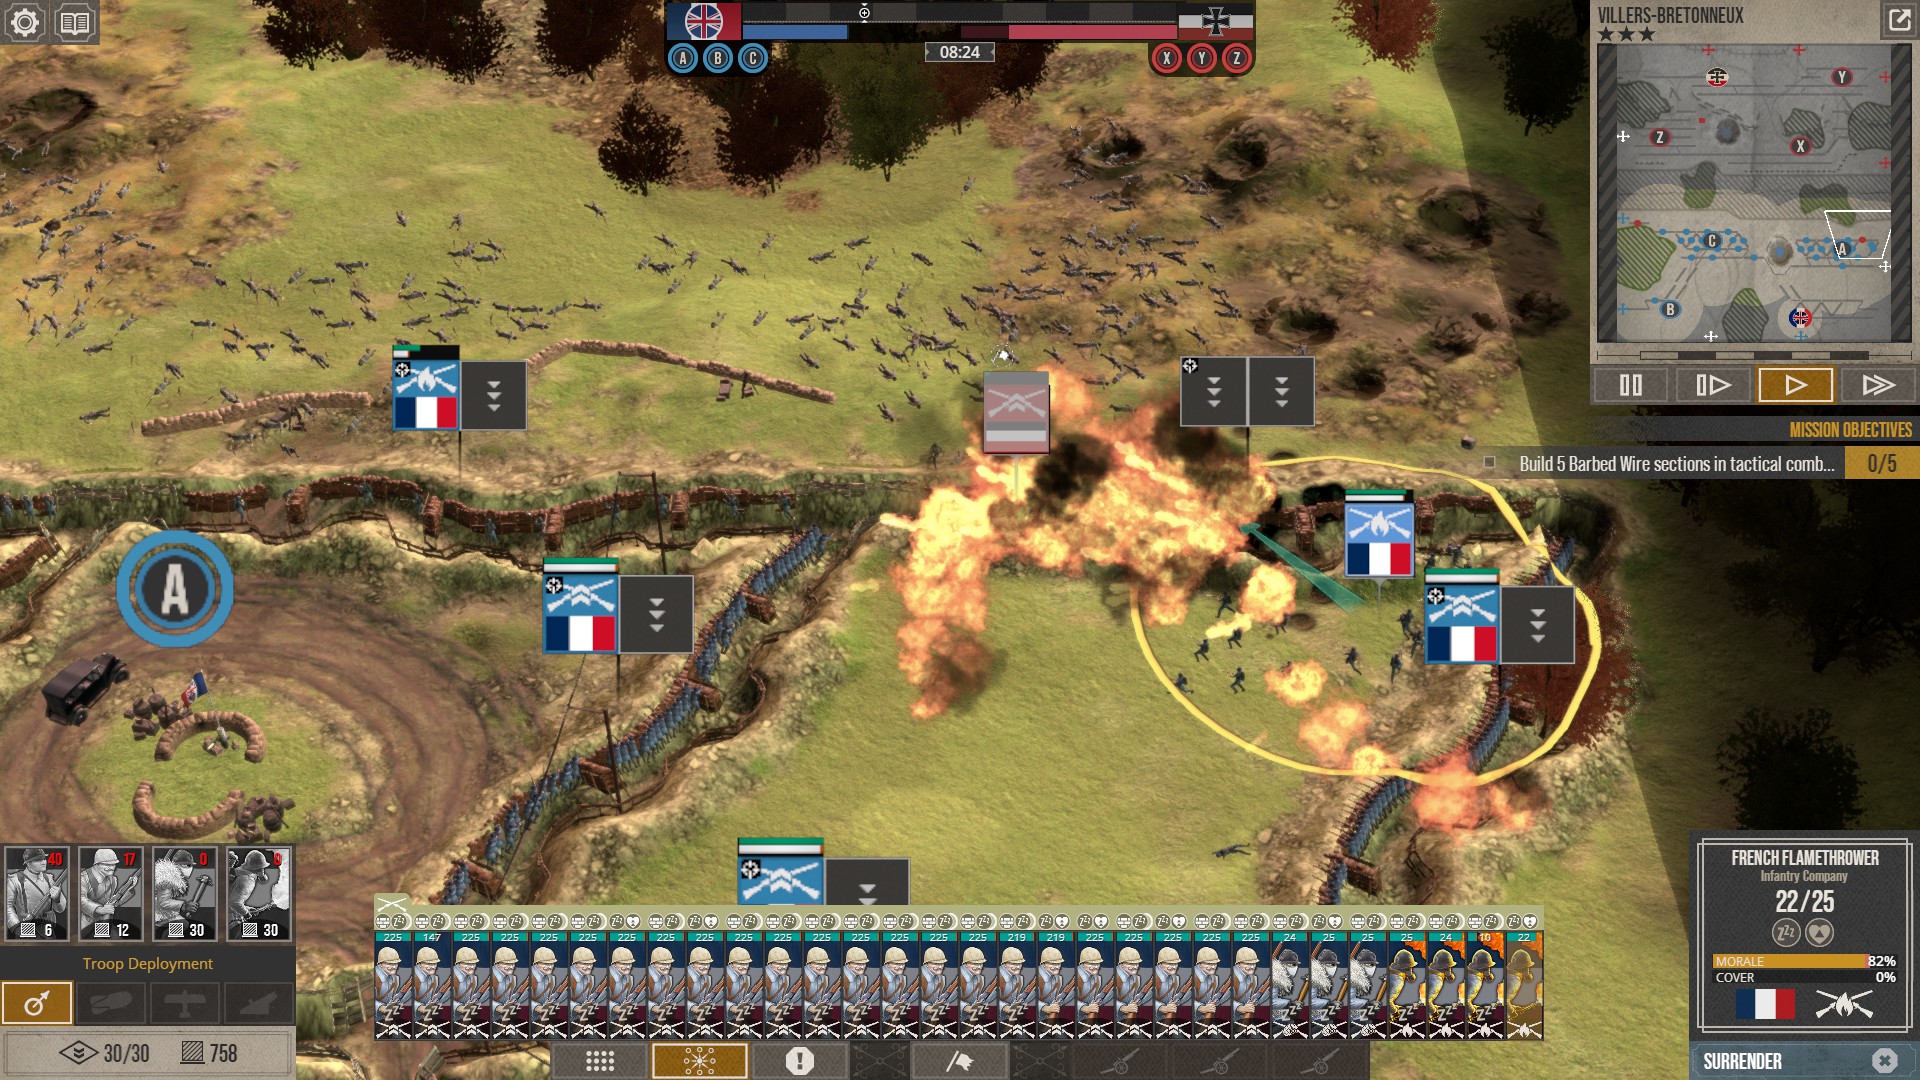
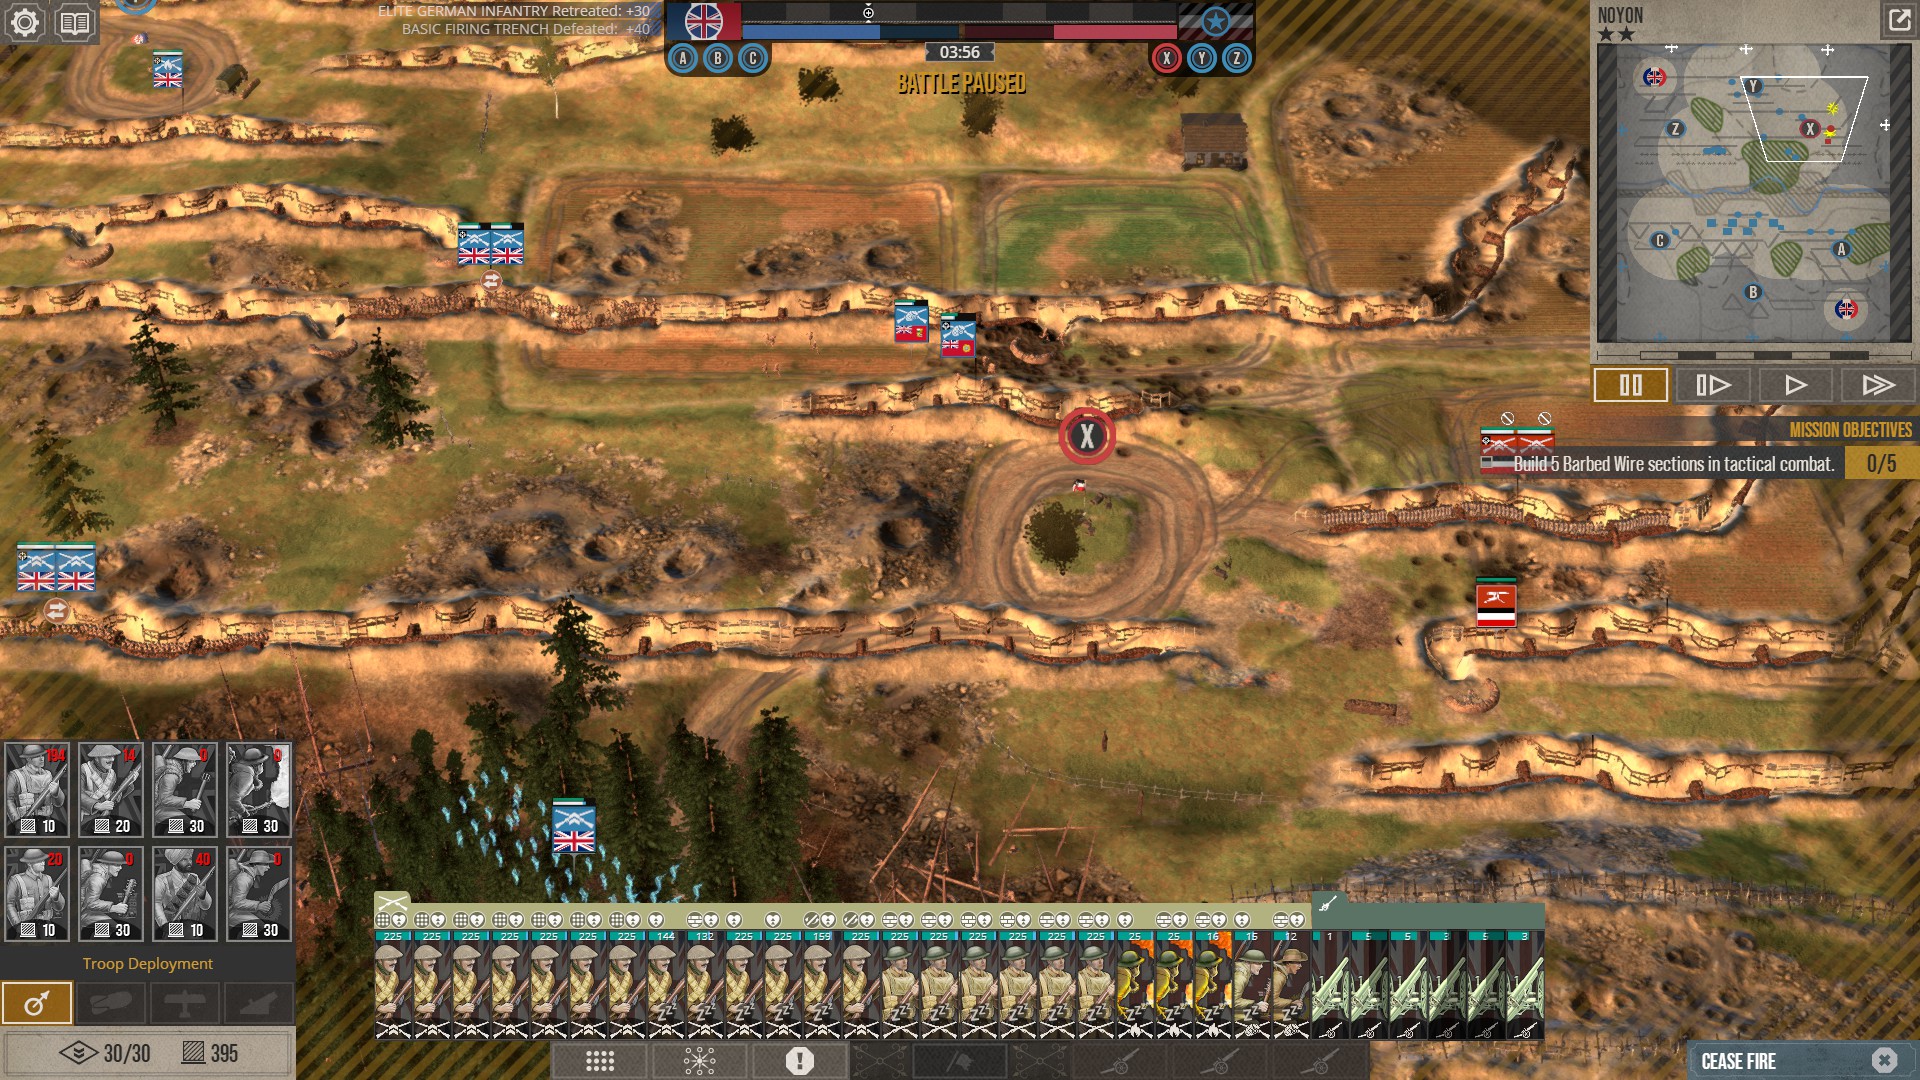
As one might observe, the fields above my trench are littered with many dead, and this was achieved despite the fact that the entire front section of the network was manned by flamethrowers and thus not contributing to the majority of the active shooting time. What they do achieve though is the complete denial of any half strength units getting into the trench by the skin of their teeth, which on elite difficulty means you standard soldiers are in for it; specialists are also more resilient to artillery fire and with some quick shuffling away from artillery fire can actually escape the bombardment completely undamaged, though that takes a bit of luck even when executed perfectly.

For the creme-de-le-creme of defence shenanigans, your flamers and raiders can do a bit of a cheeky trench clearing and between the a.i assault waves hop out of a trench and burn/bomb out any trench section the a.i managed to wrangle from your grasp. Your specialists will probably get shot and take some damage, but they'll take less casualties than if you sent them into melee. Observe.


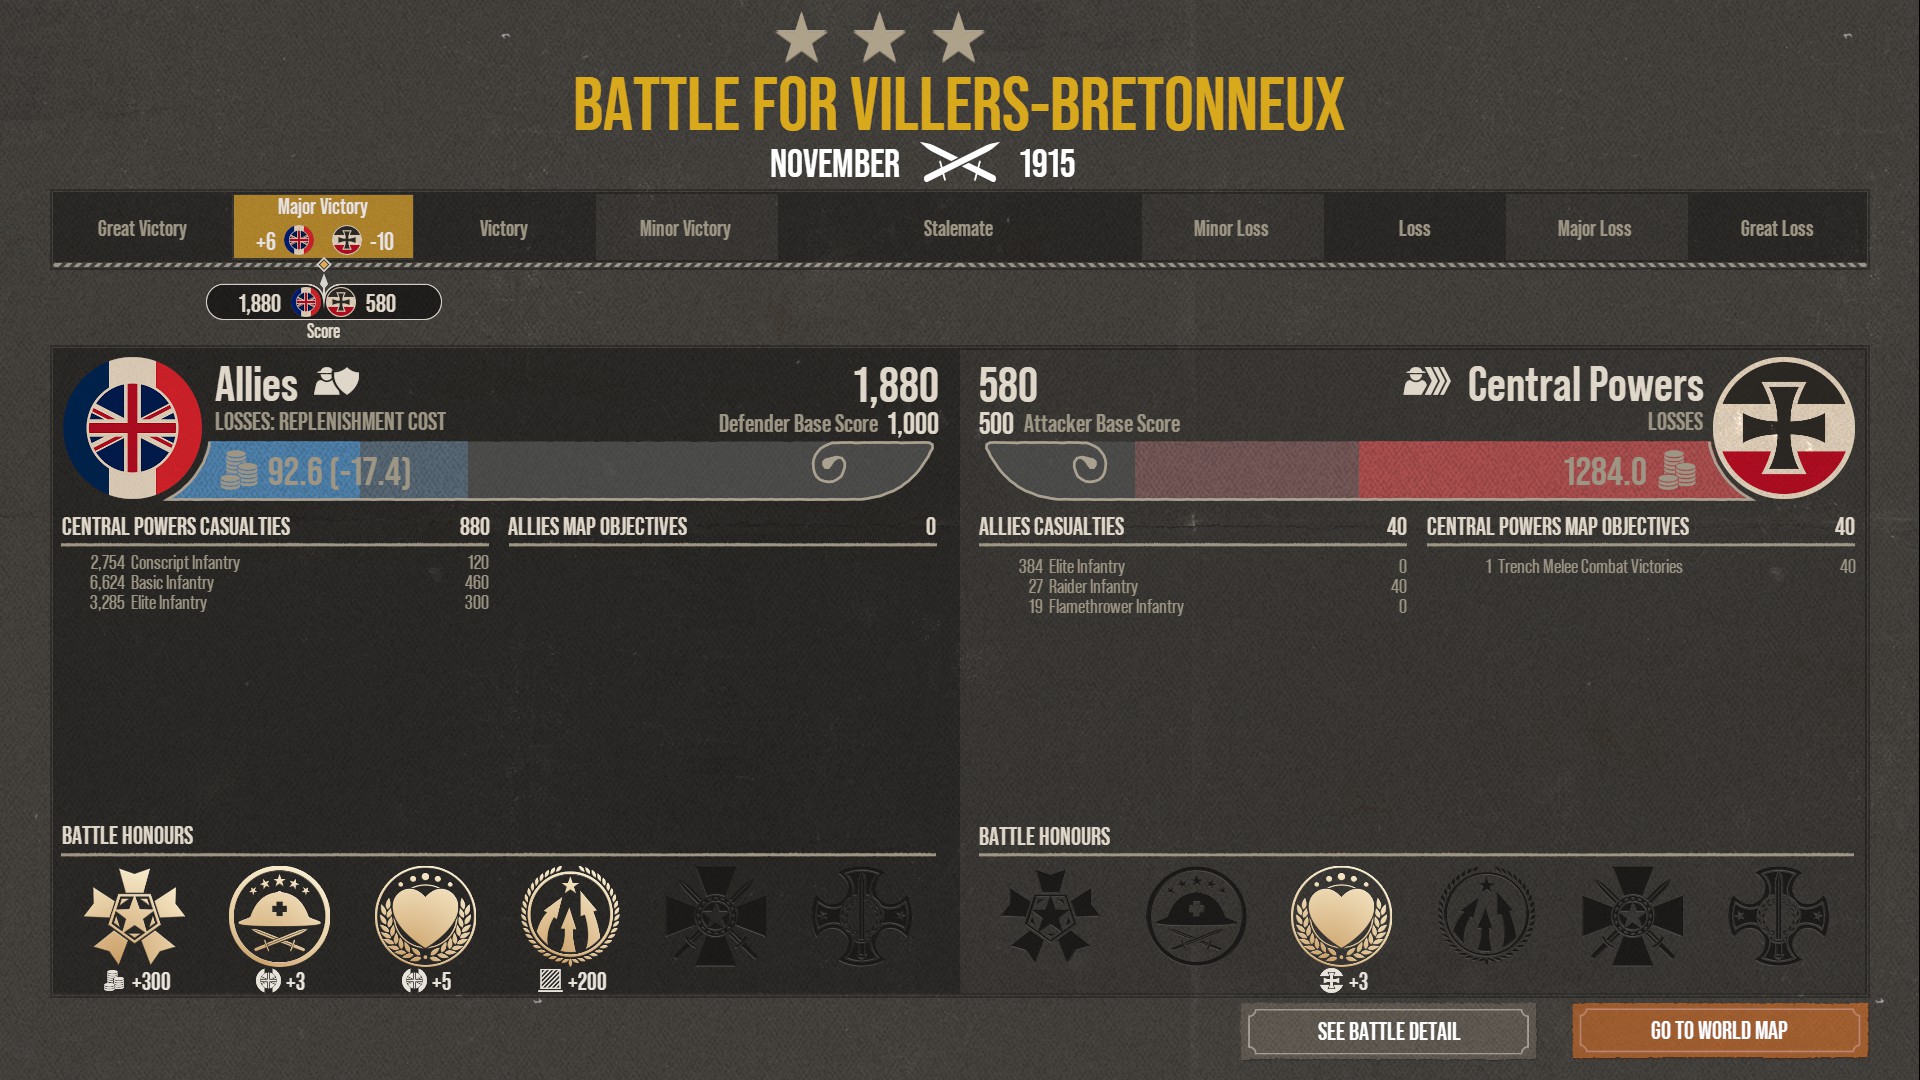
The results speak for themselves, here is the final score of that particular defence.
Attack
After that extensive defensive segment you might think the attacking segment is longer, since that's where the challenge comes in. But no, the strategy we will employ is ultimately very simple and it's largely down to your own ability to execute the miniature of the attack.

Pre-Battle Requirements
- The aforementioned techs; everything leading up to flamethrowers, and light arty cooldown.
- 15 corps (Take 15 as a rough guideline, better players then me can probably do it with 10+)
- 2000 supply for battle (Again, better players then me will likely make do with 1400+)

Battle Setup
- 6 Light Arty (Add more to your preferred taste and style)
- Raiders/Grenadiers and some standard/elite infantry (Elites preferred for obvious reasons)
- Some flamers (They're useful to keep the enemy from refilling trenches from the sides while you push up, and work basically just like more finicky raiders due to the shorter range, so they can fill in for your raiders when they bite the dust and you want to continue the push or when you run out of raiders entirely.)
- Setup to push for the right or left side, going down the middle just leaves you open to getting shot from more angles and off to the side machine guns.
- 6-8 units of infantry should be devoted to just guarding the sections of trench you aren't launching the attack from, the a.i will try to ninja your control points on the side where you aren't attacking from.
- Your artillery needs a trench infront or close behind with a permanent guard unit, or the a.i will blow them up with a single unit.
- If you're feeling like a big spender, put some static defences like MG's down, they're useless yes... but the a.i likes to target them and thus that could be one less barrage of artillery you need to deal with during your attack.
- Observation balloon/s (Again they need a bit of protection on the ground)
- Setup your trench network like you're going on the defence, it's just good practice, but don't waste too much time or supply on it; a simple frontline of connected triangles is all that's needed.

Minute 1
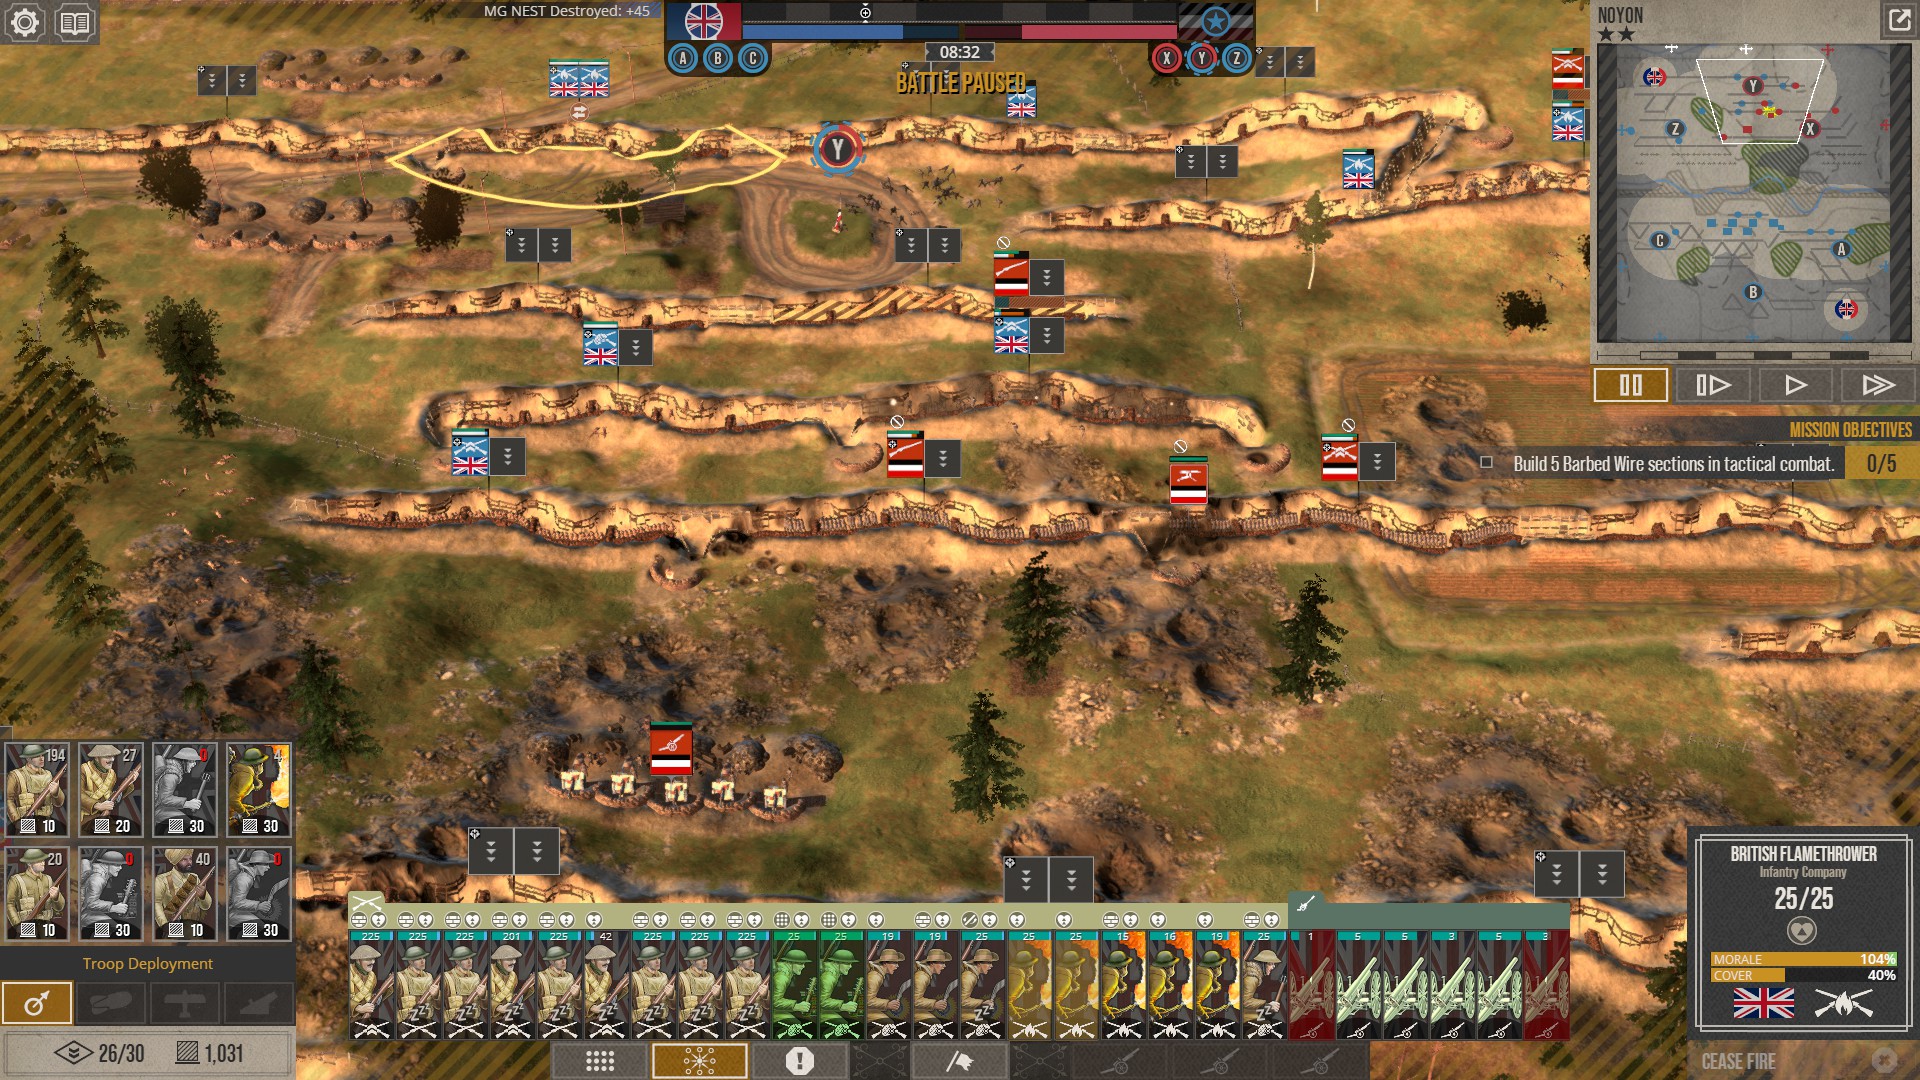
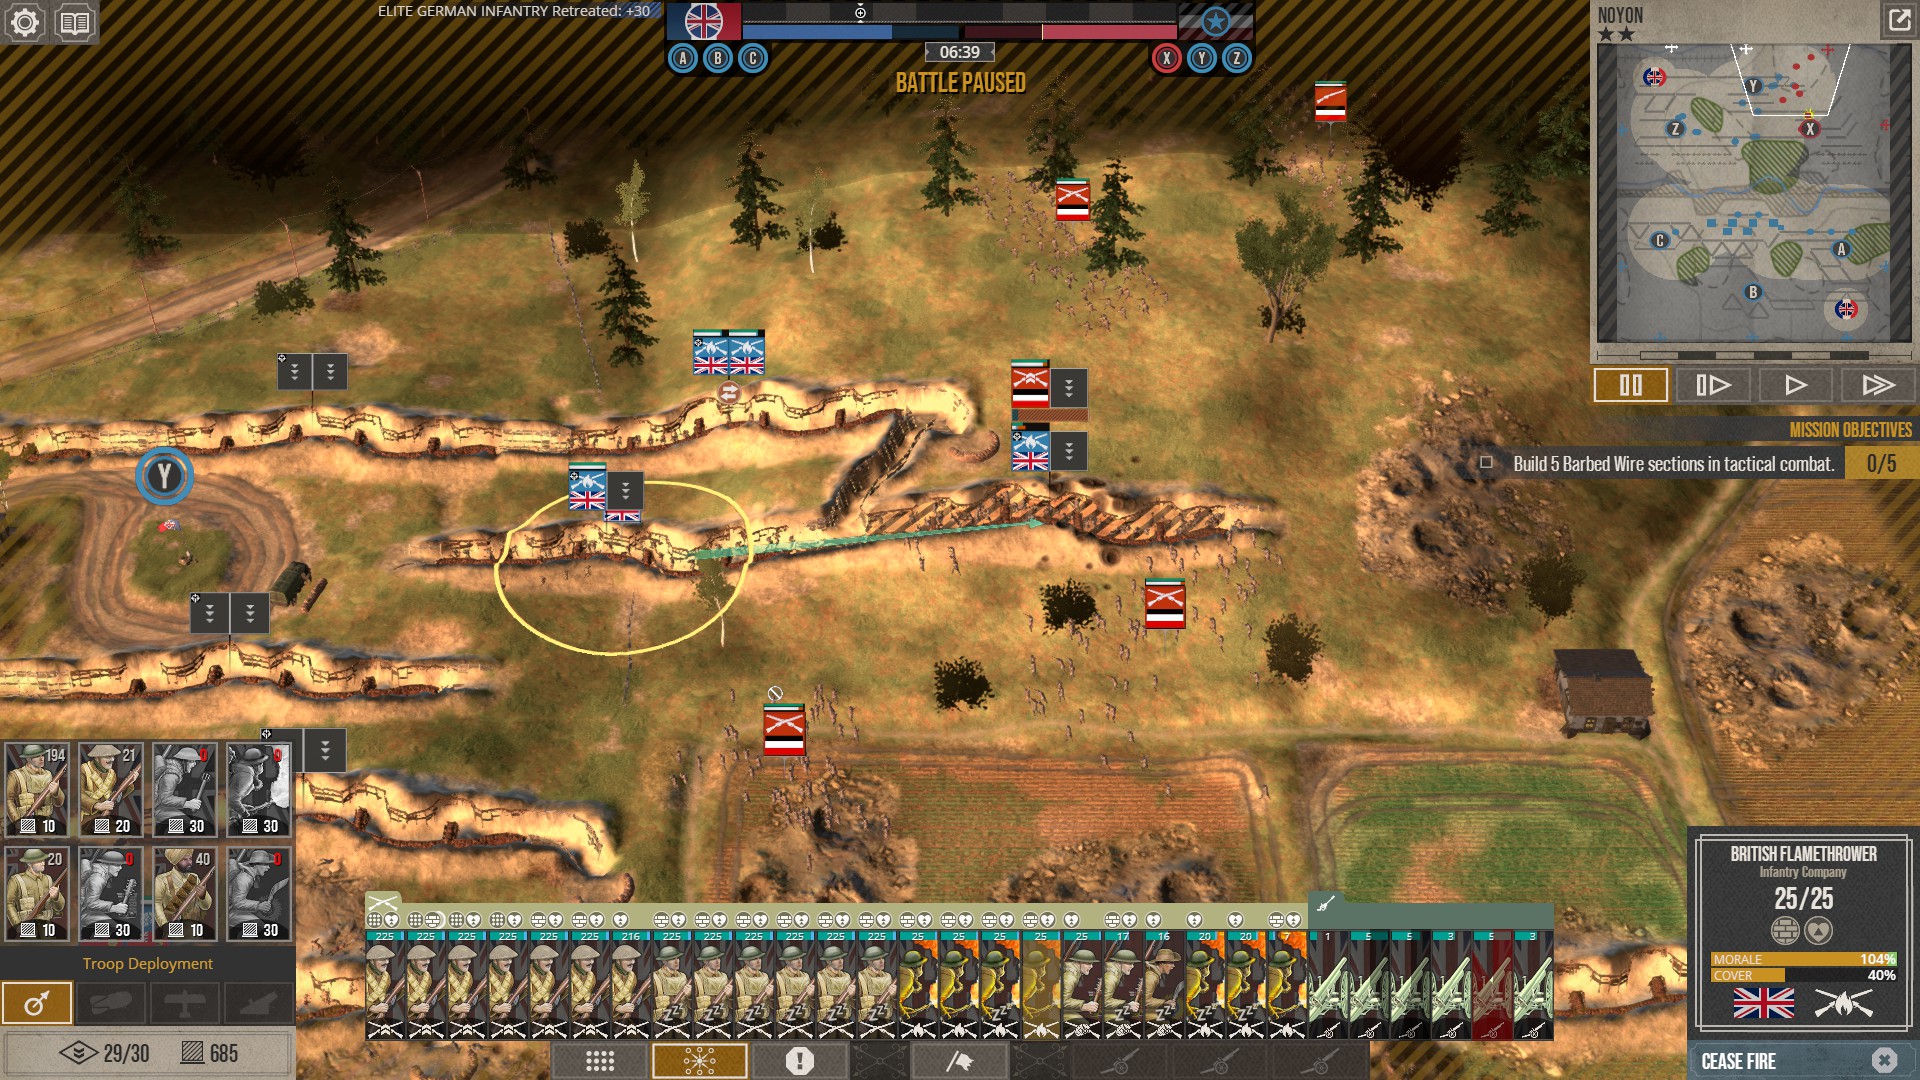
1) Raise your balloons and blow the enemy balloons to smithereens with your light arty, if you're somehow unfamiliar with this tactic you need to target the truck underneath the balloon with 4-5 lighter artillery.
2) Get your probing wave ready, I tend to take only 2 specialists for the first attack just in case some horrible error in judgement occurs; this way i'll only lose 2 units and not 8. While prepping the attack you might as well destroy some MG's (Again 4-5 light arty, remember to click directly on the target, not just in the vicinity... just in case that also wasn't obvious)
3) Execute. Send forth your specialists, followed closely by ether more specialists or infantry. Light arty the enemy trenches, obviously trying to cover as many enemies as possible.
4) This is usually where the enemy arty starts falling directly ahead of the specialists, buckle up for everyone's favourite game of "dodge that artillery."

Minute 2
1) This is where your own style comes into play more, you can try to exploit the a.i arty as it 'leads the target' so constantly ordering your men back and forth on the spot causes the artillery to fall everywhere but directly on your men.
2) Your men are probably in range of the enemy trenches, so keep them suppressed.
3) When the arty has stopped, or they've got a beat on your troops, buckle up and get going.
4) Order your raiders as close to the trench as possible (NOT INTO IT), but you've gotta get them close enough to throw their grenades while also not getting too close to your own artillery.
5) This is again likely down to your preference, but I have the arty target the edges of the unit; this way the arty hits at least two trenches and leaves the direct middle of the trench open to your men to stand there unsuppressed. Since you will almost certainly be dealing with a 2+ long trench line you should target the extreme edges so as to leave a nice big gap to stand your troops in.
6) Melt the enemy in those trenches in a matter of seconds
7) Get in the trench or keep going, the a.i by now has another round of artillery to land squat in the middle of your carefully planned assault.

Minute 3-4
1) ASAP get your specialist moving again, ideally your first specialists are alive and able to clear another line of trenches, meanwhile start filtering in your infantry and/or specialists; they're needed to keep pesky reinforcements busy which will start coming at your from the non-assaulted trenches.
2) Flamers are good at this if the enemy is filtering in from a long connected trench and you have no chance to shoot them; a few seconds before the reinforcing enemy get into melee order your flamers/raiders out of the trench (Make sure you have that light arty suppressing any enemy trenches who will shoot them.) The enemy don't shoot while moving, and they'll ether keep going and get flamed/grenaded as they rush into the trench section you have just moment ago occupied, or they'll try to double back and shoot your guys from the nearest trench they came from... don't let them, chase them down, suppress the far end of their trench if needed... and make them dead... then hop back into the trench. Rinse and repeat throughout the battle, you'll have to keep your eyes out for it but it very satisfying to pull off.
3) Meanwhile you should be pushing towards the control point, the sooner you get men within the radius of the control point the sooner you'll disable its reinforcement point. (Even when it still 100% enemy controlled, simply having your units in proximity to it stops enemies from using its reinforcement node.
4) Also, use infantry to grenade any static defences if you haven't destroyed them with artillery. Those MG's take very long to die to raiders and are quite annoying if nearby entrenched units as the raiders will sometimes target them instead of the soldiers in the trench.


Minute 5+
1) Push all the way to the back, you're looking to run your infantry down the backline trenches and destroy the artillery, this will save you a massive headache and might even net you some progress on those pesky missions to destroy artillery guns if you have said missions.
2) Go from left to right / right to left, depending on how the map is laid out you might have to cross open ground again or you can hop in and out of trenches as you progress horizontally across the map.


Get That Sweep
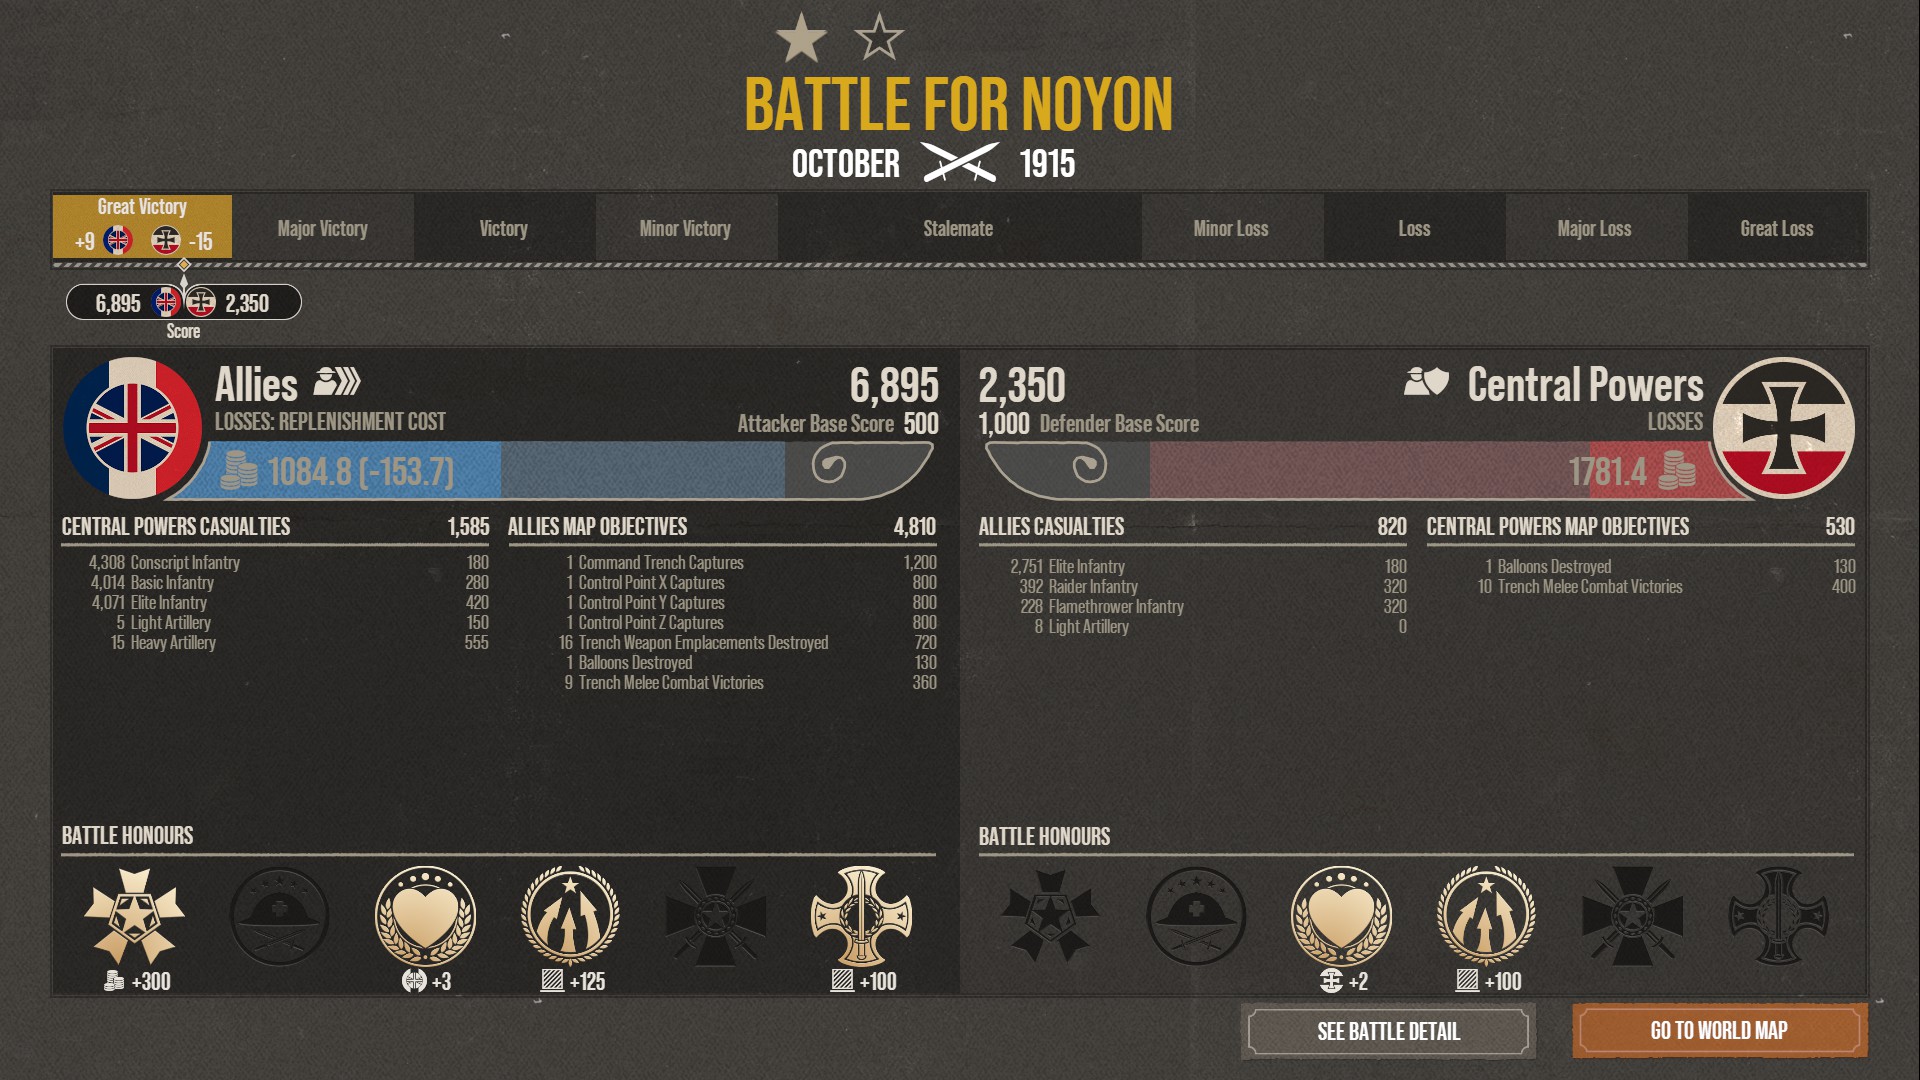
1) Rinse and repeat until you've committed probably several war-crimes and taken the map, and the a.i will easily have lost 1400+ gold while you yourself lost maybe 1000 (Less if you're better than me)
2) You will lose specialists often, sometimes you just have to bite the bullet and get them into a melee or they'll die pointlessly to a MG you didn't see or a trench you couldn't suppress. Better to die in melee than to bullets... and because specialists only have 25 men in the squad that melee won't last long so it won't hold up your entire assault.

Congratulations
You can now sweep the map and do it all over again, the enemy will never expect you to do the exact same thing all over again.

No need to tank me... t-tank?

Oh yeah what happens when they get Tanks, what do I do then?

Obviously just win before then, otherwise we'll need to start talking about the theatre of aviation and how bombers are your new best friend.
Random Tips
Light Artillery is better than heavy in almost every way
- It costs less to fire
- It cools down faster, can fire practically indefinitely once upgraded and supply willing
- Against static positions it seems to do an equal if not greater amount of damage to heavy artillery
- Even if the above is not true the difference is so negligible that light arty consumes less supply to destroy the static defence than it does for heavy artillery, and quicker cooldown means more can be destroyed in the same amount of time
- 3 Light Artillery hitting the same unit in 3 separate location (Left, middle, right) does the same if not more damage than 2 heavy artillery. This is because the game considers where the troops in the trench are when artillery hits them, if you blast the middle of a trench with 3 artillery rounds then many of those shells will land in now vacant trench space.

The a.i doesn't seem to ever attack more than 3 times a turn
- The amount the a.i attacks is based on its reserve gold
- This means if you're successful on an attack and drain 1000+ gold there's a good chance it will attack only once or even not at all
- Drain too much gold and like the player the a.i will get a bailout

Intelligence Technology is still useless
- And I didn't need to tell you that
2 Comments
RainbowPig  [author] 29 Oct, 2023 @ 6:09pm 
As was said, all other techs after the primary ones are really just garnish on the pudding; after getting those boots on the ground if you value mustard gas over say 200 gold per turn or any other tech then yes of course there is space for Mustard Gas.

I am not familiar with recent patches or updates, and this guide may no longer be entirely valid but no-one yet has told me otherwise; but I would still say that Mustard Gas is not going to be useful without the preliminary infantry techs to follow up their use.

Don't put the 'Cart before the Horse' is all I say, otherwise you'll find yourself in a Hannibal scenario with no means to exploit your tactical weapon's purpose.
@EvilBlunt 29 Oct, 2023 @ 5:03pm 
is there spare room to use mustard gas