This is a Ghost

This is a Ghost

56 ratings
Ghost Hunting for dummies (soon to be dead)
By Astraeus and 3 collaborators
A good starter guide based on my first 15 hours with the game.
6
3
2
11
2
2
2
2
   
Award
Favorite
Favorited
Unfavorite
Introduction
Hi all! I wanna keep this short, sweet, and to the point. The resources available for this game seem very sparse, and I've done a fair amount of "science" with some friends and I want to share what we've learned so far.

I plan to keep adding to this guide. It is a continual WIP but at least it should help you get started in its current state.

I also want to say this:

This game is HARD.

This is the dark souls of ghost hunting games. You're going to die A LOT, even when you've got a pretty good handle on the game. Don't get frustrated! You can jump right back into the round so quickly, and the rounds themselves are much faster than other ghost games.

Contributors to the guide:
A$AP NUBBY (Raiju information, Spirit Orbs, Voices)
JumiXKuro (Raiju information)

Updates: S-Ghost behaviors
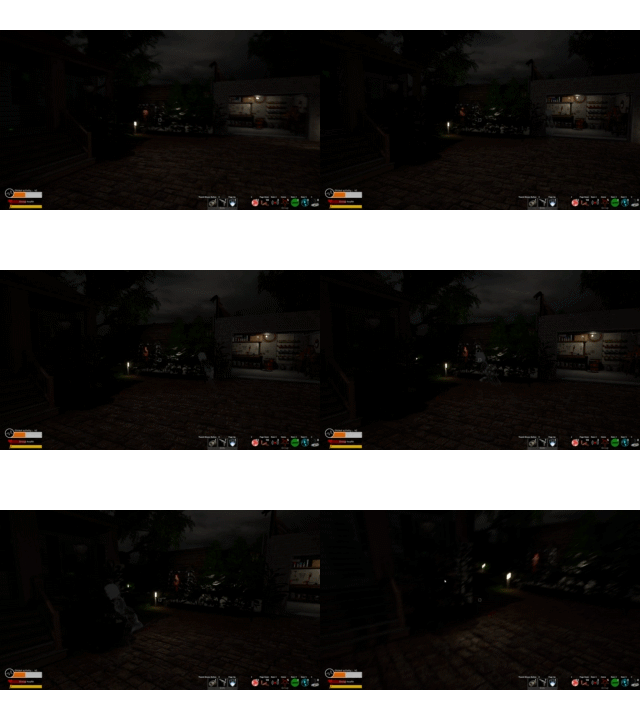
When you arrive at your hunt (Searching for cursed object, orbs, and/or haze)
I'm not going to do a write up of each and every tool, evidence, or ghost (at least not for now). In the interest of being very direct, I'd rather share what my group has been doing for the most success.

When the map begins, what we've decided works best for us is to equip the night-vision goggles and do a pass through the entire map.

With the goggles on, you're looking for three things:

1. Ghost room "haze"
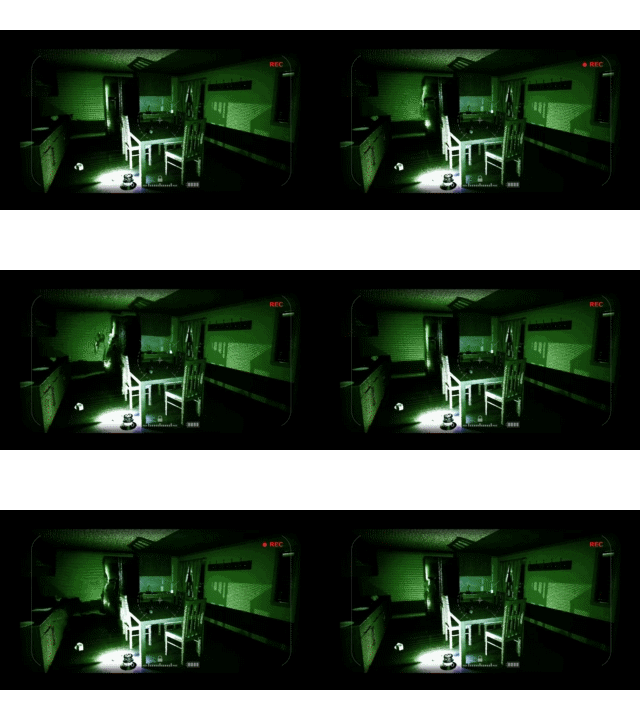
If you spot a heat-shimmer type effect in a room while wearing night-vision, congratulations, you've found the favorite room! Unlike other ghosty titles, the ghost never changes its favorite room, and once you've nailed it down with the haze, that is guaranteed to be the favorite room. Sometimes it can be close to the dividing line between two room sections, so be careful.


2. The cursed object
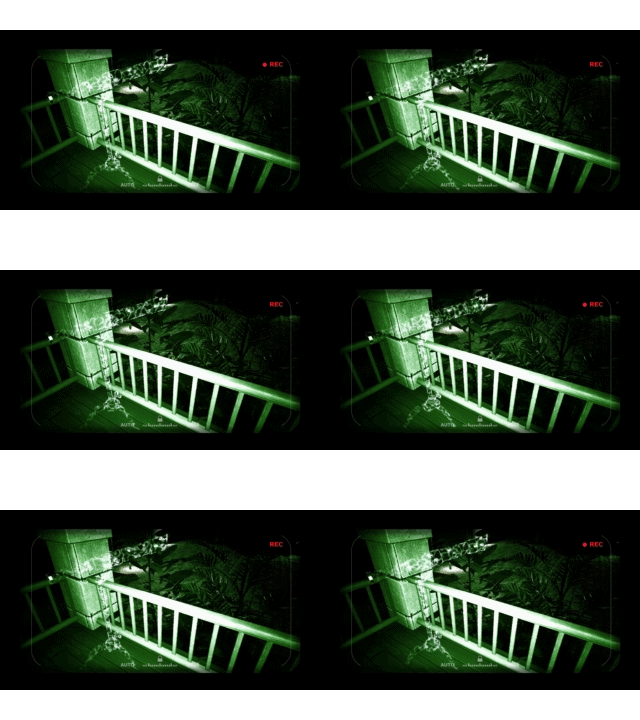
One of the evidence items is "Cursed Object", which will be a normal object on the map, but in night-vision mode, it will be glowing. Sometimes bright or see-through objects can reflect light to appear to be the cursed object, so when in doubt, hit your "use" key on the object. If the game notifies that it's the cursed object, then it is. Be sure to take a picture!


3. Ghost Orbs
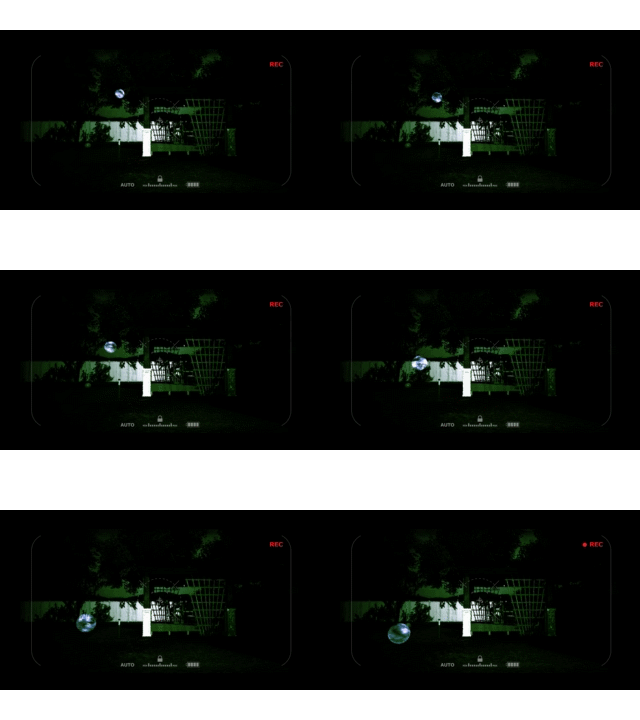
Ghost orbs is another evidence item for the ghosts, so it won't always be available. However, the ghost orbs in This is a Ghost will slowly move toward the favorite room. If you find the orbs very early on, keep an eye on it and see if it's drifting somewhere. If you find the orbs late in the round (+5 minutes, the rounds are fast), it is probably already in the favorite room. Probably, because sometimes, rarely, the orb will drift out of the room but then quickly return to it.


If you don't find either the cursed object or the orbs, you can write them off in evidence. You may want to run first 3 maps for a while until you know where all the of the cursed objects can be, but they really do stand out, so as long as you're vigilant, you really shouldn't miss them if you do a pass through the map.

BE ADVISED: RUNNING CAUSES THE GHOST ACTIVITY TO INCREASE. We like to run up until about 30-50 activity, just to give the ghost some spice and do some things. The "earliest" hunting ghost is Demon at 50, so after 50 activity, you -could- be in danger. (If you don't find the cursed object, Demon is off the table, by the way)
Finding the favorite room (After you've done the last section)
After the team has made a sweep through the map, and assuming the ghost didn't completely give away its favorite room with the haze or the orbs, you may need to split up and just find an area where ghostly things are happening: Doors opening/closing, lights flickering, objects moving, lights switching on and off, etc.

Keep in mind that "ghost events", or events where the ghost appears in front of you generally do NOT indicate where the ghost room is. The ghost wanders the map quite a bit, and can choose to try and give you a spook whenever and wherever you happen to be. (Screenshot to be added)

Some tips for finding the room or general area the ghost might be:

Turn on all the lights and look for random light dimming (or just lights going on and off from light switches being hit).

Take out of the EMF periodically and look around. The tool is actually quite hard to use to pinpoint exactly which object moved, but if you see a reading (or several) in a certain direction, you're probably on the right track. (Screenshot to be added)

Keep patrolling around the area with the night-vision, in case the "ghost haze" appears somewhere.
Ghost name, Ghost date, Cause of Death, Evidence
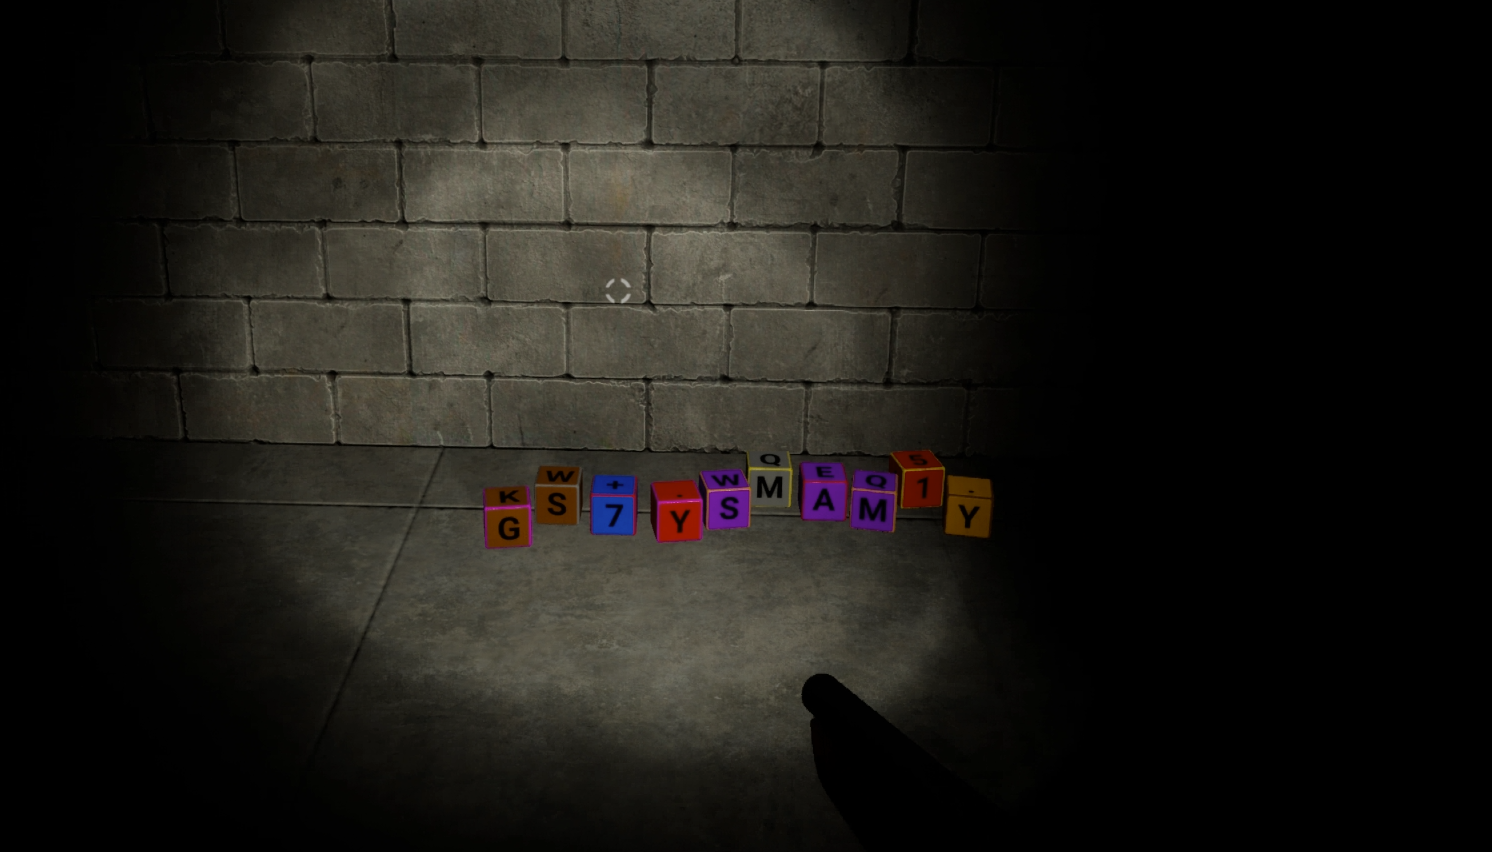
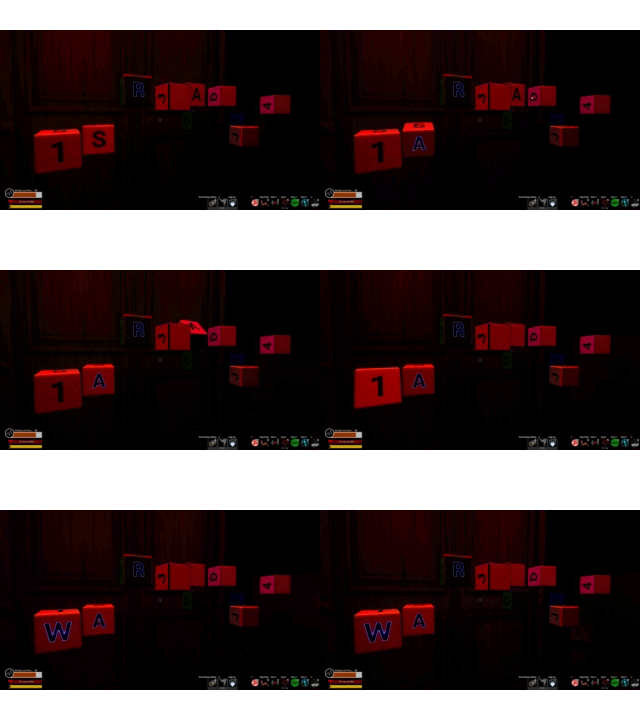
After the favorite room is located, we throw down our tools (Laser tool, Infrared if it's an objective, GhostPrinter) and then head over the children's blocks.


In every map there are several possible location for the blocks (Screenshot to be added)
These blocks will randomly trigger and then spell out how the ghost died. The ghost can sometimes trigger the blocks the first time someone runs into them during that initial cursed object hunt, and sometimes they are just REALLY stubborn about using them. The best advice I can give is if the ghost is being REALLY stubborn, you might have to setup near the blocks and be ready to spike the activity and "fight" the ghost. If the ghost moves into the room to attack you at high activity, and then gets repelled, I've seen the blocks activate a LOT during those moments. For now, let's assume the blocks worked (Because I want to write about fighting the ghost in the later section).

When the blocks activate, be sure to check EMF as well as take a free photo!

After we've gotten the cause of death, we head back to the favorite room and just keep an eye on evidence and see if we can knock out more and more options until it's time to fight.

UV & EMF check every door/switch/TV usage. It won't always leave a finger or hand print, even if the ghost is the type of ghost that has fingerprints as an evidence. EMF 5 can be found on seemingly just about any activity, so just keep scanning each interaction. Make sure to continuously get your photos while you wait for footprints, hand prints, laser sensor outlines, or any other evidence to show up

Once the activity starts getting quite high, you can drop incense in the favorite room, and that generally should knock activity down some. It actually works based on proximity of the ghost (who is invisible and running around like a maniac at all times), but the favorite room is a safe bet, especially if your team is assembled there.

The ghost will begin writing things all over the walls at some point. You'll hear the scribbling, and then you should go look for it. The ghost will, it seems, write its name and date 2 times each. If the ghost has "writing" as evidence, it'll also write threats at you, or draw pictures. It seems it'll do these threats/drawing twice each, as well. Make sure you EMF scan all of these writings, and get pictures. Keep in mind, you can only have one picture of a category each. One object, One ghost photo, one fingerprint, one footprint, etc etc. Some things are unique though, like rubber duckies and cell phones. Take lots of pictures, until you know them all!

Hopefully you narrow down the ghost to only a few options by the time you need this last section...
Ghost Behavior (Residual/Lost/Vengeful)
Ghost behavior was at first one of the more frustrating aspects of the game for us to learn, however we've got a pretty good feel for these now.

The easy one first:


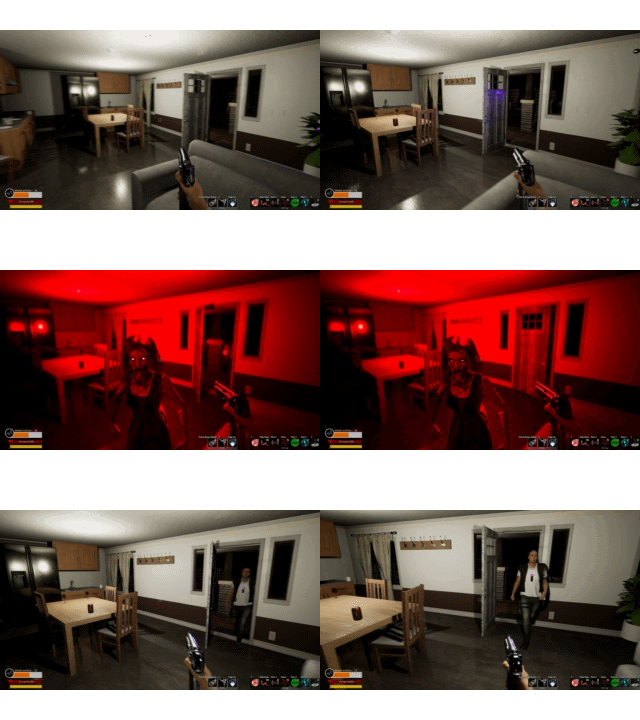
Residual: If you ever see a weird gray outline of the ghost running around or staring at a player, or the ghost is generally somewhat passive compared to the other two: That ghost is RESIDUAL.


LOST: If the ghost EVER does an appearance where it 'grabs' a player, makes the screen all red, and lets out a great big shout: That ghost is LOST.


Vengeful: If the ghost EVER hunts randomly way too early (any time between 0 and 50), or just appears, runs at you, and takes a bite out of you without any of the "hunting music", or if you -know- the ghost type you are dealing with and it starts hunting below it's minimum activity level: That ghost is VENGEFUL.


By default we assume Residual until proven otherwise through the "red and screamy" ghost event that a LOST will do, or the "premature chomp" that a VENGEFUL will do.

If you are 100% sure on the ghost type, but unsure of the behavior, you lead the ghost into a lost-specific rune, or a residual-specific rune, and see which one causes the ghost to rotate in place and be stunned for the 2-3 seconds. That will always tell you the rune is 100% correct.
Narrowing down the final ghost choices
Let's say you are down to 2 or 3 ghosts (we'll talk about behaviors in another section)

There are some tips and tricks for excluding ghosts even if evidence refuses to show up.

In the game's listings of all of the ghosts, it tells you at what global activity level is required, at a minimum, for each type of ghost to hunt. You can use this to hard-exclude some ghosts. As an example:

Demons CAN hunt at 50-100%, meanwhile Wraiths CAN hunt at 80-100% (might be 85%.., will edit)

A demon -can- wait until 95% before starting a hunt (but this is RIDICULOUSLY unlikely), but a wraith CANNOT hunt below his 80% threshold. So if you trigger an actual hunt beneath a minimum, you can rule out that ghost.

Caveat to this: VENGEFUL ghosts can seem to hunt just a bit earlier, but vengeful ghosts are very rare on easy. We saw maybe 4 in 12 hours of play.

There are also specific things that ghosts will do. I don't want to do spoilers so I'll save that for another section, but just like other ghost hunting titles, you're going to want to exploit some special actions of some ghosts to exclude them, or the actions just straight-up tells you which ghost you're dealing with, evidence not needed.

You can also do quite a lot with the runes.

If you know the behavior (lost, residual, vengeful) but are stuck between 2 ghosts, you can lay down separate runes and try and bait the ghost into the rune.

IF THE RUNE IS CORRECT, THE GHOST WILL BE STUCK, SLOWLY SPINNING IN PLACE for about 3 seconds. If the ghost does not spin, it is not the right ghost/behavior for that rune.


EVEN IF THE RUNE STOPS THE GHOST FOR A LITTLE BIT, if it does not do the rotating motion, it's not correct.

The ghost seems like it can destroy up to one rune for free. We have yet to see a ghost destroy two. If this happens, it doesn't mean anything about whether the rune is correct or not. The ghost just gets a "freebie" every game to pop a rune.

The point of this section is this: You may not get all the evidence. You will PROBABLY not get all the evidence. You're eventually going to reach a point where context clues will narrow it down for you.
Fighting the Ghost
So it's time to end the hunt.

Read about your chosen ghost, there will usually be a hint as to which ammo is needed for each ghost. I'll add a section with spoiler tags if you want to know for sure, but I won't reveal that here.

The first crafting choice is the ghost specific addition to your ammo. The second choice is a debuff you can throw on the ghost of your choosing. The debuffs can be: Make the ghost weaker (hit less hard), make the ghost move slower, or make the activity level decrease.

WHEN YOU CRAFT THE AMMO, IT ONLY AFFECTS THE CRAFTER. Despite the shotgun ammo being "shared" between the team, only the person who crafts the ammo has the special ghost killing ingredient. We spent... HOURS figuring this out.

We generally only use slow, or the activity reducer. The activity reducer is very good if you're still not sure which ghost you're dealing with and want more time to fish for evidence. Between the slow and the strength reducer, we generally feel that if the ghost is moving slow enough, it shouldn't get the hit off. However, some ghosts drastically increase their strength with some events, and in the future we're going to test the strength reducing ammo on these ghosts to see if they still.... one shot us. Again, avoiding spoilers. Generally the ghost needs to bite you or your team 3-4 times to kill you. Some ghosts can do it in one, depending on circumstances.

We find baiting the ghost into an area where there is only one approach and putting runes down is the best way to do it. Also, you can put runes down and stand directly in the center of the rune. It will stop the ghost from hitting you, usually. We have had it seem to get some sneak attacks in, but it could be us being slightly off-center of the rune, or lag. WHO KNOWS.

At this point, we are fairly sure the special ammo you craft only affects the shotgun. I know that seems obvious based on the text and descriptions, but we like to be thorough.

With the right ammo loaded, and some safety runes to either stand directly in, or bait the ghost into, you're ready to take it on.

The ghost can teleport behind or to the side of you as it rushes in to approach you. During a hunt, the ghost makes a very obvious "tone" that you can track. Keep listening for it, and be ready for it to suddenly teleport from a different angle. (This is why being in a corner or standing directly on a rune is a really good idea).

When the ghost hits the proper rune and begins the spinning animation, let it sit for 2-3 seconds. It's taking damage during that animation, and you should get every bit of damage out of it that you can.

Usually it takes about 2-4 shotgun blasts to end the threat. If you've used the wrong ammo, I'm not sure it's possible to banish the ghost at all.

UPDATE: It's possible to put two runes directly on top of each other. This is a great strategy because if you sit in a single rune, and the ghost hasn't yet used its "Freebie" where it destroys a rune, it's 100% possible for the ghost to destroy the rune directly under you, and then chomp on your face. With two runes directly under you, it seems like you're totally safe. HOWEVER, this will consume both runes.

Our current go-to strategy with the runes is as follows:
Use the first rune to confirm the ghost and behavior selection. If it's correct, then double stack two runes at one spot, and double stack two runes at another, nearby spot.
The whole team stands in one of the runes, the ghost collides into the rune, the team runs out of the rune, and one person with a properly loaded shotgun takes the shot. Then repeat this same procedure in the second double-stacked rune.

If the ghost is still alive after 2 shotgun blasts and 2 runes, we all hit the shield and fire at will to finish the ghost, though usually the ghost is dead after the second blast.

When the ghost explodes into a yellowy bunch of sparks, you've won. Get your bag, king/queen.
Ghost Ammo Types
Ghost: Salt
Wraith: Quartz
Spirit: Crushed Sage
Yurei: Palo Santo Shard
Demon: St John's Wort

The following ghosts need to be bought. To not do spoilers, I've listed the first letter for each ghost so you can check specifics.

S-Ghost Siren: Silver Powder
Y-Ghost Yokai: Bone Powder
K-Ghost Kappa: Quartz
B-Ghost Banshee: St John's Wort
O-Ghost Oneiroi: Iron Fragments
P-Ghost Poltergeist: St John's Wort
Ra-Ghost Raiju: Bone Powder
Re-Ghost Revenant: Crushed Sage
S-Ghost Shapeshifter: Obsidian (Yes, the journal says Silica which is quartz but....
I-Ghost Ifrit: Salt
Ghost Specific Characteristics
Ghost: One of the most active ghosts, we've noticed an absolutely insane amount of "appearances" when up against a ghost.

Wraith: An incredibly slow ghost. If you notice on the first hunt that it's effectively a snail, put Wraith at the top of your list.

Spirit: It has special spirit orbs but we've yet to really see what makes them special. We've seen large and small orbs for every ghost type, but maybe a spirit must *always* have the large orbs?

Yurei: According to the journal this is another incredibly slow ghost, but I haven't had any "Oh man that ghost is really slow, maybe its a Yurei?" moments. I think this ghost has the widest range of its motion though, so if it starts slow and then becomes very, very fast, that might be the give-away.

Demon: This is the earliest hunting ghost and by about 10% at that. Anytime a hunt happens before 59%, and you aren't dealing with vengeful, it's probably a demon. Also, the demon can "pull" you toward it during a hunt.

S-ghost Siren: This ghost will sing. It hurts like hell and it seems to just 1-shot you when the song finishes, so either quickly shoot it, or get a VERY fast photo and THEN shoot it. Make it fast, in case that wasn't obvious.

Y-ghost Yokai: NEEDS MORE TESTING, but, the ghost "appearance" events seem to absolutely destroy your global activity bar more than any other ghost. We had a yokai where each time it "blinked" during an event, the global activity increased by 10, rather than the usual 2-3

K-Ghost Kappa: We've got nothing on this one, sorry! Needs more testing. Best guess? The ghost hangs out around laundry rooms and bathrooms more

B-Ghost Banshee: This ghost has a special scream during hunts, but more importantly, this ghost can stun-lock you during hunts. You'll know it when you see it!

O-Ghost Oneiroi: This ghost is an exceptionally late hunter at 90%, and it's another pretty slow one, which puts it annoyingly close to Wraith in characteristics, however the evidence is very different. You shouldn't get stuck between Oneiroi and Wraith, generally. Recently we've noticed that this ghost has an incredibly high rate of destroying the breaker

P-Ghost Poltergeist: Oh man, you'll know. Think poltergeist from any kind of movie. Every door in the house opening/closing rapidly. After this, the ghost 1-shots you, and this effect seems to linger, probably until you shoot the ghost with holy water.

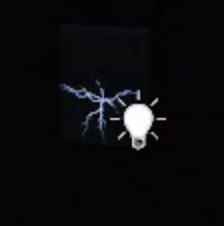
Ra-Ghost Raiju: This entity can make electricity come out light switches, and maybe others. Thank you JumiXKuro for the picture!

Re-Ghost Revenant: Just like poltergeist, you'll know! This ghost passively drains your HP bar. If you look down and notice your health slowly decreasing for NO REASON, it's a revenant. And yes, this can kill you.

S-Ghost Shapeshifter: We've seen the shapeshifter change ghost models during the round. During a Lost event it was a female ghost model, and then turned into a male ghost model for the following hunts. The decoy moved exceptionally slow, hit the rune, and then the rune had the fire inside it but no ghost.

I-ghost Ifrit: When this ghost either gets low on HP, or activity is very high, the ghost takes on a reddish translucent model. It also gets incredibly fast after a rune or gunshot.


Your Arsenal
This section is dedicated to your tools and what they can and cannot do, as well as any neat tricks we've discovered.

Night-Vision: This is our starter tool in every round. You'll use this to spot cursed objects and ghost orbs, as well as to see in the dark (obviously). Other than that, we've noticed that it tends to get a tad glitchy (as in the goggles are glitching intentionally, as a game mechanic, not a bug) if you are wearing them and the ghost is nearby.

EMF reader: This gives you an EMF reading as well as a general direction to where the reading actually is coming from. I find it a little hard to use in terms of the direction part (seems not scaled very well, or something), but its still one of my most used tools. Every single time the ghost does anything, you should scan the area with the EMF reader. EMF-5 seems like it can come from any interaction, so every time it writes, appears, knocks a cup off the table, WHATEVER, you should quickly pull out the EMF reader to check. Do note, the EMF-5 light is kinda dim compared to the other 4 lights.

LSS (Dots Projector): This is for generating the LSS evidence, which is one of the most annoying ones to get. You place it in an area where you expect the ghost to be walking around a lot (hallways) and sometimes, rarely, you'll see the ghost moving by with a bright green outline. Yes, you can get a picture of that (good luck!). The reason I say it's annoying is because it often takes so long to show up that we've already figured out the ghost through other methods before LSS matters. One tip I can give: When you go to fight the ghost, you can place the sensor in the ghost's path to you, and then you'll have a greater chance of it showing up as it comes to eat you. Yes it can do LSS during an active hunt.

Infrared: There is no evidence for the IR scanner, but there is an objective for it. It's also just a really good tool to throw around on the high-traffic areas to see if the ghost is running around a certain place. You can also use them defensively in the ghost's path during a hunt to see it's progress across the map to you, so you can take a gunshot knowing it's in front of you, even if it's currently invisible.

GhostPrinter: Just like the LSS tool, this is another one that can take a very long time to finally work. Place in an area with high traffic (or in the path to you during a hunt) and you have a better chance to trigger it and see blue footsteps on the ground.

Talking to the ghost: This seems honestly not worth it to us. You can speak to the ghost with "Green" and "Yellow" threat voice lines to increase activity. Red and Purple has a chance of triggering a hunt outright. Purple also seems to drastically increase the ghost's strength and speed. You can get all of the effects of talking to the ghost by simply sprinting around the map, without the danger of making the ghost super strong.

Pistol & Burning Flash: Both of these weapons are primarily for fighting back the ghost's activity meter. In the journal you can read about each ghost's vulnerability, and we think this refers to how much of the activity bar will be taken out by shooting the ghost with the respective tool. It also seems to have a much stronger effect with repeated uses. For example, a ghost that has a high gun vulnerability may not lose much global activity on the first shot, but will lose a lot more on the second shot. Burning flash seems to be easier to hit the ghost with due to the width of the projectile. You can also shoot the ghost with burning flash while it's invisible. I'm not sure about the pistol.

Shotgun: You use this primarily to exorcise the ghost. You should not use the shotgun for personal defense, but only after it's loaded with the proper rounds.

Shield: The shield is finnicky at first but great when used the way it seems to be intended. You MUST stand still for the shield, as it will break on the slightest movement on your part. This includes trying to use the shield too soon after moving, while you still have some momentum. While it's active, you have some protection from the ghost biting you, however you cannot shoot outside the shield with anything. Also you're safe from friendly fire. In multiplayer, if someone moves into your shield it will also break. The best way we've seen to use the shield is to throw down incense, craft the proper bullets, or give yourself a few seconds to think of a getaway.
25 Comments
arche33 20 Feb, 2023 @ 7:31pm 
The Kappa's weakness is copper now.
Goldfish300 17 Jan, 2023 @ 4:33pm 
Some levels have a book that you can move by looking at it and holding the right mouse button. The ghost can write in it, giving name, born, cause of death, and even the favourite room. You can right click it to get the name/born and photo it for a writing photo.
Goldfish300 17 Jan, 2023 @ 12:51am 
I don't think that repeated hits always has more effect. I started doing some testing a couple of days ago into whether the size of the vulnerability bar reflects the reduction in activity. I've only tested against a shapeshifter so far. With the pistol I got a reduction of 27, 28, 24, 26, in that order. Then I changed to the burning flash and got 32 and 32.
Mike 15 Jan, 2023 @ 3:13pm 
A Great Guide! Thank You!
Greasy Jesus  [author] 13 Jan, 2023 @ 2:23pm 
Pt. 2
Use these methods to get a general location where the entity is most active and spending its time. Then with your night vision on wait for the haze to appear.

If the haze has still not yet appeared utilize the apparition events (or if it's a vengeful type a swipe attack) where the entity reveals itself to you. When this happens use your PISTOL to banish it. After you banish the entity (not killing it) it will return to it's favorite room to think about what it's done. This is when you put on your night vision again and resume your investigation.
Greasy Jesus  [author] 13 Jan, 2023 @ 2:20pm 
stinahoy Jan 2 @ 12:01am
how do you find the ghost room if you missed the haze and there are no orbs and haze is not coming back. thank you

- If you miss the haze and can't find orbs it's impossible to know 100% for sure where exactly the entities' favorite room is. Anything else is an educated guess.

The haze can appear more than once so be alert and patient. However if the entity hunting session has gone on too long and you still have not found the haze there are things that you can do to increase your chances of finding it.

Set up IR lasers in hot spot areas for example; stairs and entrances. Get a feel for where the entity is triggering them most since it will frequently come back to it's favorite area. (I suggest doing this early on when you first enter the map and adjusting your IR's later accordingly.)

Flip on all the lights and try to see where they flicker most.

Keep your eyes, ears, and an EMF out to see where objects are being tossed around the most.
Goldfish300 10 Jan, 2023 @ 8:32pm 
hmm, now I'm not so sure. I had an outside ghost that was spawning inside after being shot
Goldfish300 10 Jan, 2023 @ 1:27am 
From experimenting with the ghost room and trying to identify it, it seems the ghost returns there a lot and will spawn there after being shot. You can set up sensors at doors, then shoot the ghost to get it spawn there. Then see which sensors get tripped. Narrow it like that
J. T-Rex 8 Jan, 2023 @ 7:04pm 
Super helpful! Thank you!!!!
MasterFeff 6 Jan, 2023 @ 6:02pm 
I am not sure if the censorship is required because every ghost type is visible on each of the books drop downs inside the journal regardless of unlock state. Censoring the requirement might be desired if people like the puzzle game. One thing that puzzles me is why the Banshee does not have any hint at all to what its weakness is. If not for this guide Id have no idea since there is 0 hints or clues to it. Id rather the book just tell me what to use honestly but that is IMO. Thanks a bunch for the clear information. The game is way more enjoyable when I understand it which this guide does perfectly to convey to the player. :steamthumbsup: