The Last Hero of Nostalgaia

The Last Hero of Nostalgaia

26 ratings
All Runes & Spells
By AZRA3L The Eternal
This guide will show you where all the runes and spells can be obtained.
It can be done in one playthrough but there are items that are missable.
If done correctly, you should get both the Fully Formatted and Song of Source achievements.
   
Award
Favorite
Favorited
Unfavorite
READ FIRST
Getting all Runes & Spells is much easier than restoring all the relics in my opinion.
I'll write each section in order of when you should be able to acquire them.
Runes will be labelled with (Rune) and Spells will be labelled with (Spell).
MISSABLE items will have asterisks ***.


(FYI: If you're running a luck build, the extra item chance can mess with picking up runes and spells. Don't worry as you can just exit to menu and load back in to get the items.)

There are 17 spells and 25 runes to get in total.
One rune is acquired from completing a part of a NPC's questline.
(This needs to be done before venturing too far into the Keep of the Stolen Crown.)

Some of these runes and spells need to be bought from the Merchant.
You would need to get these items before beating the Anti-Heroes group fight in NPC City.

Unlocking the Merchant:
Progress through Oreshaft Village until you have reached the Gnom Statue.
There will be a NPC crying out for help while two enemies are attacking the entrance.
Defeat these enemies and interact with the door.

You cannot enter yet because he needs to restrain myself before your awesome glory.
You'll need to acquire Manacles for this purpose.
This item can be found at the Oreshaft Shelter Beacon here.

Return to where you originally met the Merchant.
Now you'll be let inside and be able to browse his wares


EASYMAKER KEY LOCATIONS:
In order to expand the Merchant's wares, you need to give him Easymaker Keys.
I'm too lazy to tell you specifically how to get them but I'll show you their location.
QUEST REWARD VAULT
WARLOCK'S WILDS
NPC CITY(Optional, only if you want more fragments)
1. Shuriken Code (Spell)
HOW TO GET:
Progress through the beginning of the game until you're at the Narrator's Library.
Reach this section of the library with the dual-wielding axe NPCs.
Cross the bridge onto the other side.
Pick up the spell from the shrine.
2. Unrelenting Feather (Rune)
HOW TO GET:
Start at the Hall of Heroes beacon.
Make sure that you've gotten the NPC Staging Room Key by killing the crossbow enemy nearby.
Once you've done that, make your way over to the NPC Staging Room Door.
Open it and prepare to face an ambush of four blade-wielding enemies.
After dealing with them, make your way to the door on the right.
You should see a chest and a pile of boxes.
Break these boxes and you'll get your first rune.
3. Boastful Mug (Rune)
HOW TO GET:
When you are at the very beginning of Oreshaft, make a left to this wall.
There is a door that can be opened on the building to your right.
I have opened it here to make it easier to see.
Enter it and you'll soon see a pile of boxes.
Smash them to reveal a ladder that you'll climb.
The rune should be near the fireplace on the left.
4. Prickly Mirror Code (Spell)
HOW TO GET:
Proceed through Oreshaft Village until you reach this chapel area.
Take the door on the right where you'll be ambushed by an abomination.
Next, go up the stairs which should lead you to a balcony that has this spell.
5. Tainted Knife Code*** (Spell)
HOW TO GET:
Buy it from the Merchant's default stock.
It costs 500 memory to purchase.

6. Reliable Driftwood*** (Rune)
HOW TO GET:
Buy it from the Merchant's default stock.
It costs 800 memory to purchase.

7. Content Flower*** (Rune)
HOW TO GET:
Buy it from the Merchant's default stock.
It costs 600 memory to purchase.

8. Improprietous Cufflinks*** (Rune)
HOW TO GET:
Buy it from the Merchant's default stock.
It costs 600 memory to purchase.

9. Devout Broach*** (Rune)
HOW TO GET:
Buy it from the Merchant's default stock.
It costs 600 memory to purchase.

10. Sensitive Doll*** (Rune)
HOW TO GET:
Buy it from the Merchant's default stock.
It costs 600 memory to purchase.

11. Homing Pixel Code*** (Spell)
HOW TO GET:
Buy it from the Merchant's default stock.
It costs 50 memory to purchase.

OR
You can start off as a Sourceror and get this spell by default.
12. Chain Mail Code (Spell)
HOW TO GET:
Enter the Depths until you reach this mining area.
Continue forward through this area until you see a tunnel on your right.
Go through the tunnel and the spell should be near these boxes.
13. Mighty Soap (Rune)
HOW TO GET:
Continue through the Depths until you reach this area.
(This should be after the forked tunnel.)
Go towards the opening on the left and you should see a ledge below you.
Drop down to get this rune, also watch out before dropping down for the sneaky miner.
14. Exploding Puppy Code (Spell)
HOW TO GET:
Literally right in the same area as the Mighty Soap.
In the Depths, the spell is right before the door that leads into the area preceding the Grinder boss.
15. Nimble Padlock (Rune)
HOW TO GET:
Start at the Depths NPC Room Beacon.
Go up the stairs and deal with the huge NPC Knight.
Then go up another set of stairs to go into this open window.
You'll be outside and you should notice an item on the ledge.
Roll off onto the ledge and collect this rune.
16. Green Herb Code (Spell)
HOW TO GET:
Progress to Festivity Row and journey into the spire area.
Make your way down to the base of the spire.
The spell will be under the stairs.
17. Hungry Napkin (Rune)
HOW TO GET:
Continue through Festivity Row and you should be near the top.
You'll know you're at the right place if you see this banana tree.
The rune will be between the two knife-throwing Nobles by the pots.
18. Cagey Candlestick (Rune)
HOW TO GET:
Explore through Festivity's Row until you reach the Theater area.
The rune will be at the bottom of the Theater by a vampiric Noble and row of seats.
19. Sassy Mousetrap (Rune)
HOW TO GET:
Backtrack to the beginning of the Depths.
Instead of going straight to the gold mine area, take a right and go down the tunnel.
There should be an unstable chest at the end of the tunnel.
You need to have the Uprez ability and 1750 memory to unlock.
20. Wise Lantern (Rune)
HOW TO GET:
Continue through the Depths until you reach this forked tunnel.
Take the path that's slightly flooded and you should see a chest on your left.
You need to have the Uprez ability and 1000 memory to unlock.
21. Suspicious Spoon (Rune)
HOW TO GET:
Return to the Tavern in Oreshaft Village.
Make your way to the second floor and you should see this door on your left
You need to have Uprez and it costs like 500 memory to open it, but go through it.
There will be a broken wall that leads into another room.
Go through it and collect your rune here.
22. Introspective Purse (Rune)
23. Agile Paperweight (Rune)
HOW TO GET:
From the Kitchen Beacon, take the elevator up to the Player Housing area.
If you don't know the area, it should be the area that is right before the Gnom boss fight.
The rune will be near a pile of rocks near the cliff edge.
24. Trail of Fumes Code*** (Spell)
HOW TO GET:
You'll need to give the Easymaker Key from the Quest Reward Vault to the Merchant.
It costs 750 memory to purchase.
25. Overflow Nova Code (Spell)
HOW TO GET:
At the beginning of Warlock's Wilds,
take the left path up the hill after you've activated the first crystal rod.
The spell should be at the top of the hill.
26. Accommodating Gourd (Rune)
HOW TO GET:
At the Warlock's Wilds, go to the Village area.
Climb up through the village platforms until you reach this bridge.
You'll want to drop onto the platform to collect this rune.
27. Source Weapon Code (Spell)
HOW TO GET:
At the Warlock's Wilds, go to this area shown in the picture below.
Go up the path into another log that's infested with two skeletons and a sneaky Wild One throwing knives from a tree.
There should be a chest besides the tree that contains this spell.
28. Receptive Hinge (Rune)
HOW TO GET:
At Warlock's Wilds, go to this stonehedge area that's near the 3rd crystal rod.
Kill the Navigator to receive an item that's needed to traverse the foggy maze.
If you don't know how to enter the foggy maze, look for this log and take the downward path inside to reach the start of the foggy maze.
Follow the glimmering wisps and the rune should be on the path.
29. Determined Toy*** (Rune)
HOW TO GET:
First of all, this rune reward is tied to the Innocent's questline.
You must complete this step BEFORE reaching the top of the moving staircase room at the keep.


Thanks to I Luv Neopets, this can still be gained if doing the Laid Bare playthrough by accepting the request to kill the Crone after Keep of the Stolen Crown.

I highly recommend that you read this first before you advance too far.
I'm going to assume that you've made it through the foggy maze after getting the Receptive Hinge rune.
You should see a house and interact with it to begin a step of the Innocent's questline.
Go through the staging room area underneath Warlock's Wilds.
You'll need to take the path to Oreshaft Village but the Reservoir of Pain will be here.
He'll offer an alternate item to give to the Innocent.
Go to the Innocent and you'll have two choices: Give the box or give the gourd.
Either option will give you the rune, but giving the gourd will advance the Innocent questline.

IF YOU GAVE THE GOURD:
Return back to the Maiden Crone's house and talk to her.
You'll receive the rune as a reward.
THE RUNE NEEDS TO BE COLLECTED BEFORE YOU ADVANCE TOO FAR!
IF YOU GAVE THE BOX:
Returning to the Maiden Crone will result in her calling you an idiot.
Progress through Warlock's Wilds and the Reservoir of Pain will be at the gates.
You will have unlocked the Martyrdom system which makes your game harder as you unburden items.
Progress through the Keep of the Stolen Crown and beat Wunderschoenenburg.
Eventually, you'll meet the Reservoir of Pain at the entrance and he'll task you with killing the Maiden Crone.
Return to where you met the Maiden Crone and kill her to receive your rune.
30. Playful Leaf (Rune)
HOW TO GET:
At Warlock's Wilds, go to this area that is right before the spiral ascent to the Keep of the Stolen Crown.
Take the path down to the right and you should see this spider enemy and skeletons.
After you deal with that garbage, there is an unstable chest in the corner.
You'll need the Uprez ability and 2500 memory to unlock.
31. Empty Diary (Rune)
HOW TO GET:
Progress through the Keep of the Stolen Crown until you reach the hedge maze area.
Look for this lightpost and take the path that's on its right.
You'll know it's the right one if you see this glimmering item above it and the path leads upwards.
The rune will be at the top of this hill.
32. Stack Overflow Code (Spell)
HOW TO GET:
Progress through the Rehabilitation Pits until you reach this spot.
This should be the entrance to the ladder shortcut.
The spell will be right here.
33. Pop-Up Code (Spell)
HOW TO GET:
Progress through the Keep of the Stolen Crown until you reach this fireplace lounge area.
Go through the door on the left and the spell should be in the middle of the hallway.
34. Siphon Code (Spell)
HOW TO GET:
Advance through the Keep of the Stolen Crown until you reach this bridge that leads into the top of the castle.
You should notice a gap in the railing on the right side of the bridge.
Drop down into the hole in the roof.
You should notice a door next to some levers.
Open it to get the spell inside.
35. Uplifting Barbell (Rune)
HOW TO GET:
At the top of the Keep of the Stolen Crown, start at the civilized area.
Go up the stairs and across the bridge.
Be wary of the civilized enemies and you should see an unstable chest.
You'll need to use the Uprez ability and 35 memory to unlock
36. Security Code (Spell)
HOW TO GET:
At the Keep of the Stolen Crown, near where you obtained the Uplifting Barbell.
There will be an unstable door nearby that looks like this.
You need to Uprez this door with 7500 memory.
Enter through the door and make your ascent towards this building.
The spell will be inside this room near the flagellation table.
37. Broken Code*** (Spell)
HOW TO GET:
Buy it from the Merchant's shop after giving him the Easymaker Key found at Warlock's Wilds.
It costs 2000 memory to purchase.

38. Focused Bottle*** (Rune)
HOW TO GET:
Buy it from the Merchant's shop after giving him the Easymaker Key found at Warlock's Wilds.
It costs 3000 memory to purchase.

39. Confident Snifter (Rune)
HOW TO GET:
Progress through NPC City until you reach the area around an elevator and workshop.
Enter this building and venture through it.
At the end, you should be near a gate that acts as a shortcut to the other side.
To the right of this gate will be an unstable chest.
You will need to Uprez this chest with 4000 memory to collect the rune.
40. Glitter Party Code (Spell)
HOW TO GET:
Progress through Start of Sequence until you reach the marketplace area right before the boss.
Enter the building on your left.
Once inside, go through the open room on your right.
You should be on the balcony.
You will need to use Flat Traversal to reach the spell.
41. Bomb Code (Spell)
HOW TO GET:
Progress through the Unbreachable Maw, you should reach this area near the top.
Make your way to this hallway where all the boulders are headed.
You'll see a dark wall that you can walk through to enter a small area.
You will be in a dark hallway.
The spell will be near the end of this hallway.
42. Suaved Rock (Rune)
HOW TO GET:
Progress through the Lair of the Adversary.
You should be near this path after going through the area with rising lava and tentacles.
There will be a path on the left that you can take here.
Continue on this path and you'll reach a green door.
Enter the door and you'll end up in a NPC staging room for the Cultists.
The chest will be on the left side of the room.
You will need to Uprez the chest with 4000 memory to unlock.
DLC Runes & Spells
The Rise of Evil DLC added additional items in the game which include Runes and Spells.
I managed to find two new Runes and two new Spells.
#1. Honor Code (Spell)
HOW TO GET:
Go to the Oreshaft Sewer entrance near the Marketplace beacon at Oreshaft Village.
Follow the green arrow painted on the wall until you reach a dead end with piles of bodies.
Watch out for the enemies that ambush you here. The spell should be in the room.
#2. Feline Belt Buckle (Rune)
The Rune can be found at the Easymaker's Retreat area.
Progress through it until you reach this wooden platform bridge, drop onto it and continue forward. You will need to drop down near the end of this bridge.
The Rune will be on a wooden platform that you will land on to proceed.
#3. Destabilize (Spell)
The spell can be found at Builder's Sanctuary.
Go to the middle of the bridge near the Deprogramming Room then go up the ramp seen here.
There should be a Bronze NPC overlooking the edge and a glass shortcut door at the top.
Go around this enemy and the spell should be by the fence here.
#4. Stalwart Pencil (Rune)
The rune can be found at Builder's Sanctuary.
Make your way over to this pipe that will lead you to the underground full of Bronze NPCs.
Go down the ramp on the right and be wary of a Bronze NPC on your left.
The Rune will be at the end of the path.
AFTERTHOUGHTS
Apologies if this guide came out late because I took my sweet time enjoying the game.
Let me know if there are any mistakes in the guide.
I'll probably update the guide with picture describing what these runes and spells do.
This is the last guide I'll be doing for The Last Hero of Nostalgaia and I had an absolute blast.

Anyway, I hope this guide helps you get all the runes and spells.
Remember to have fun and good luck completing the game!

Also check out my other guide for getting all the relics and their lore restored:
https://gtm.steamproxy.vip/sharedfiles/filedetails/?id=2881401765
7 Comments
AZRA3L The Eternal  [author] 20 Dec, 2024 @ 12:41am 
Okay that's handy to know and a lot better than doing the questline.

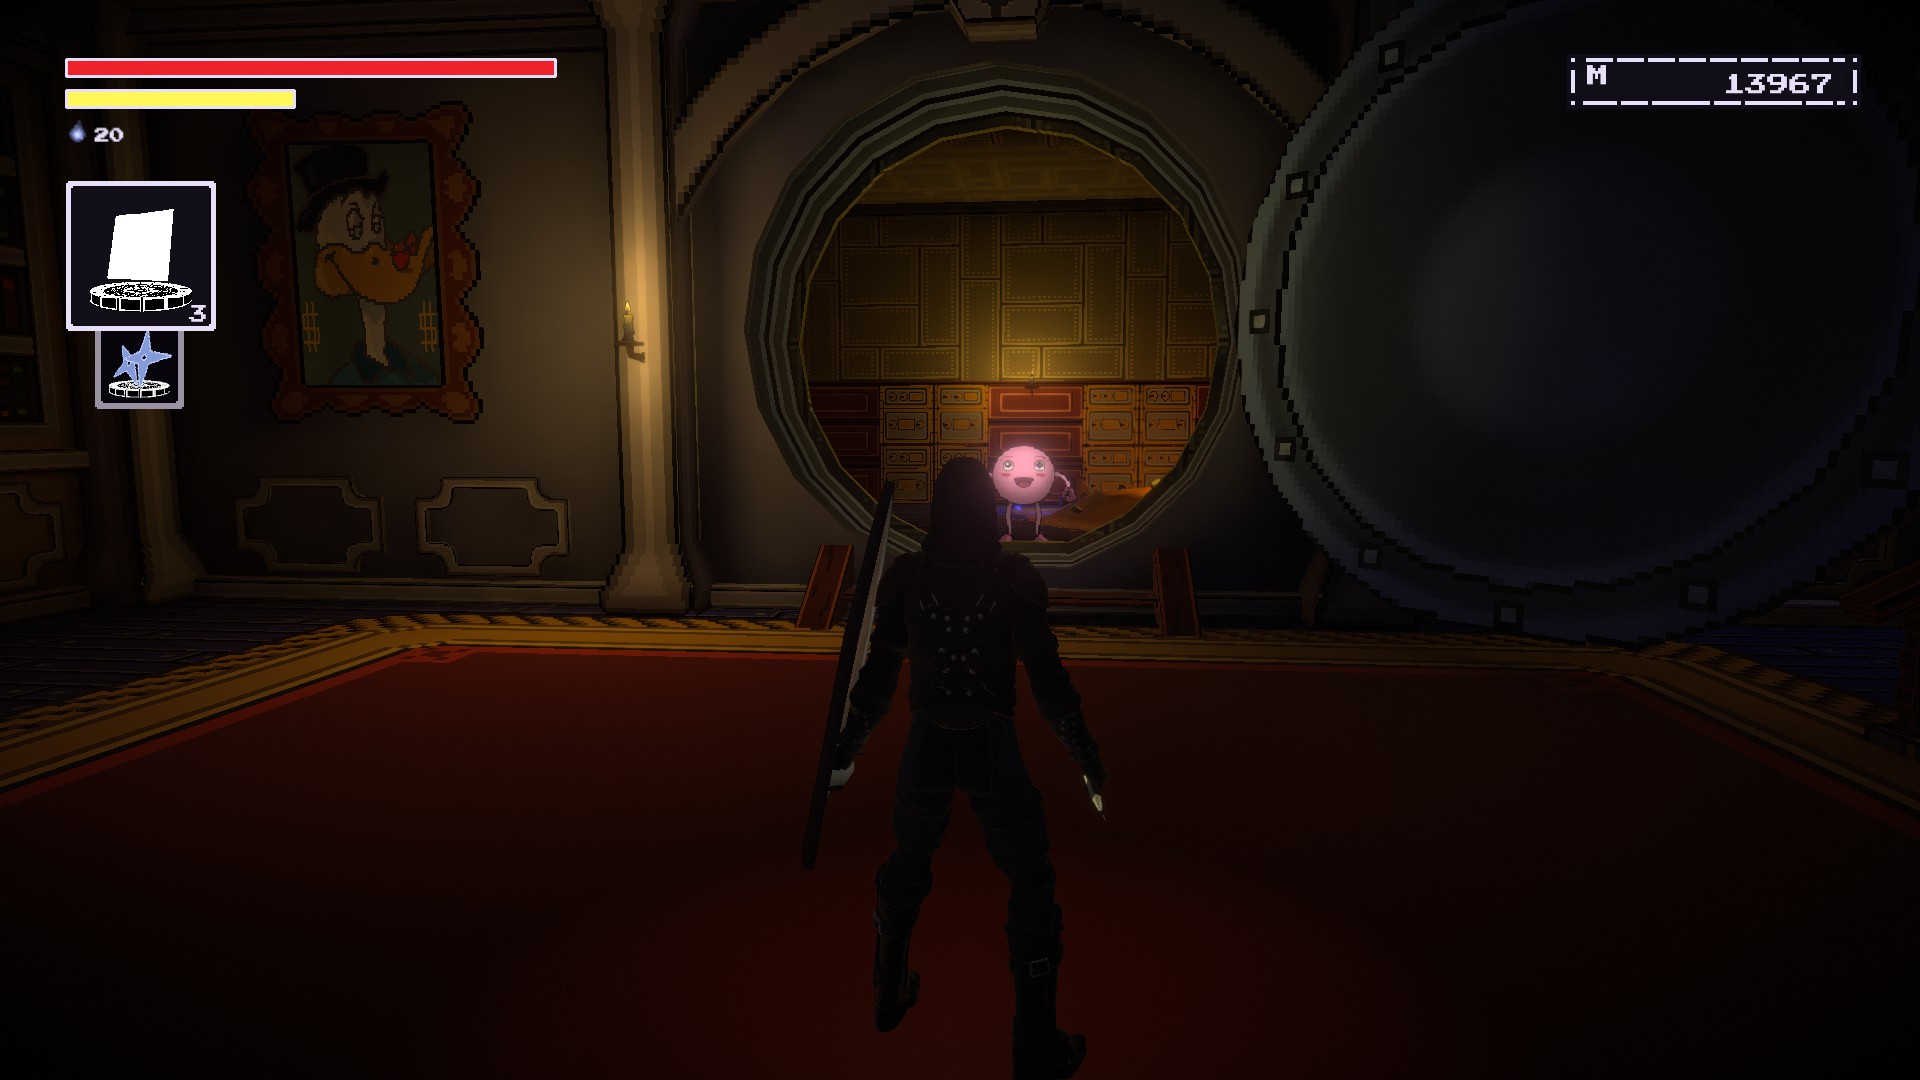
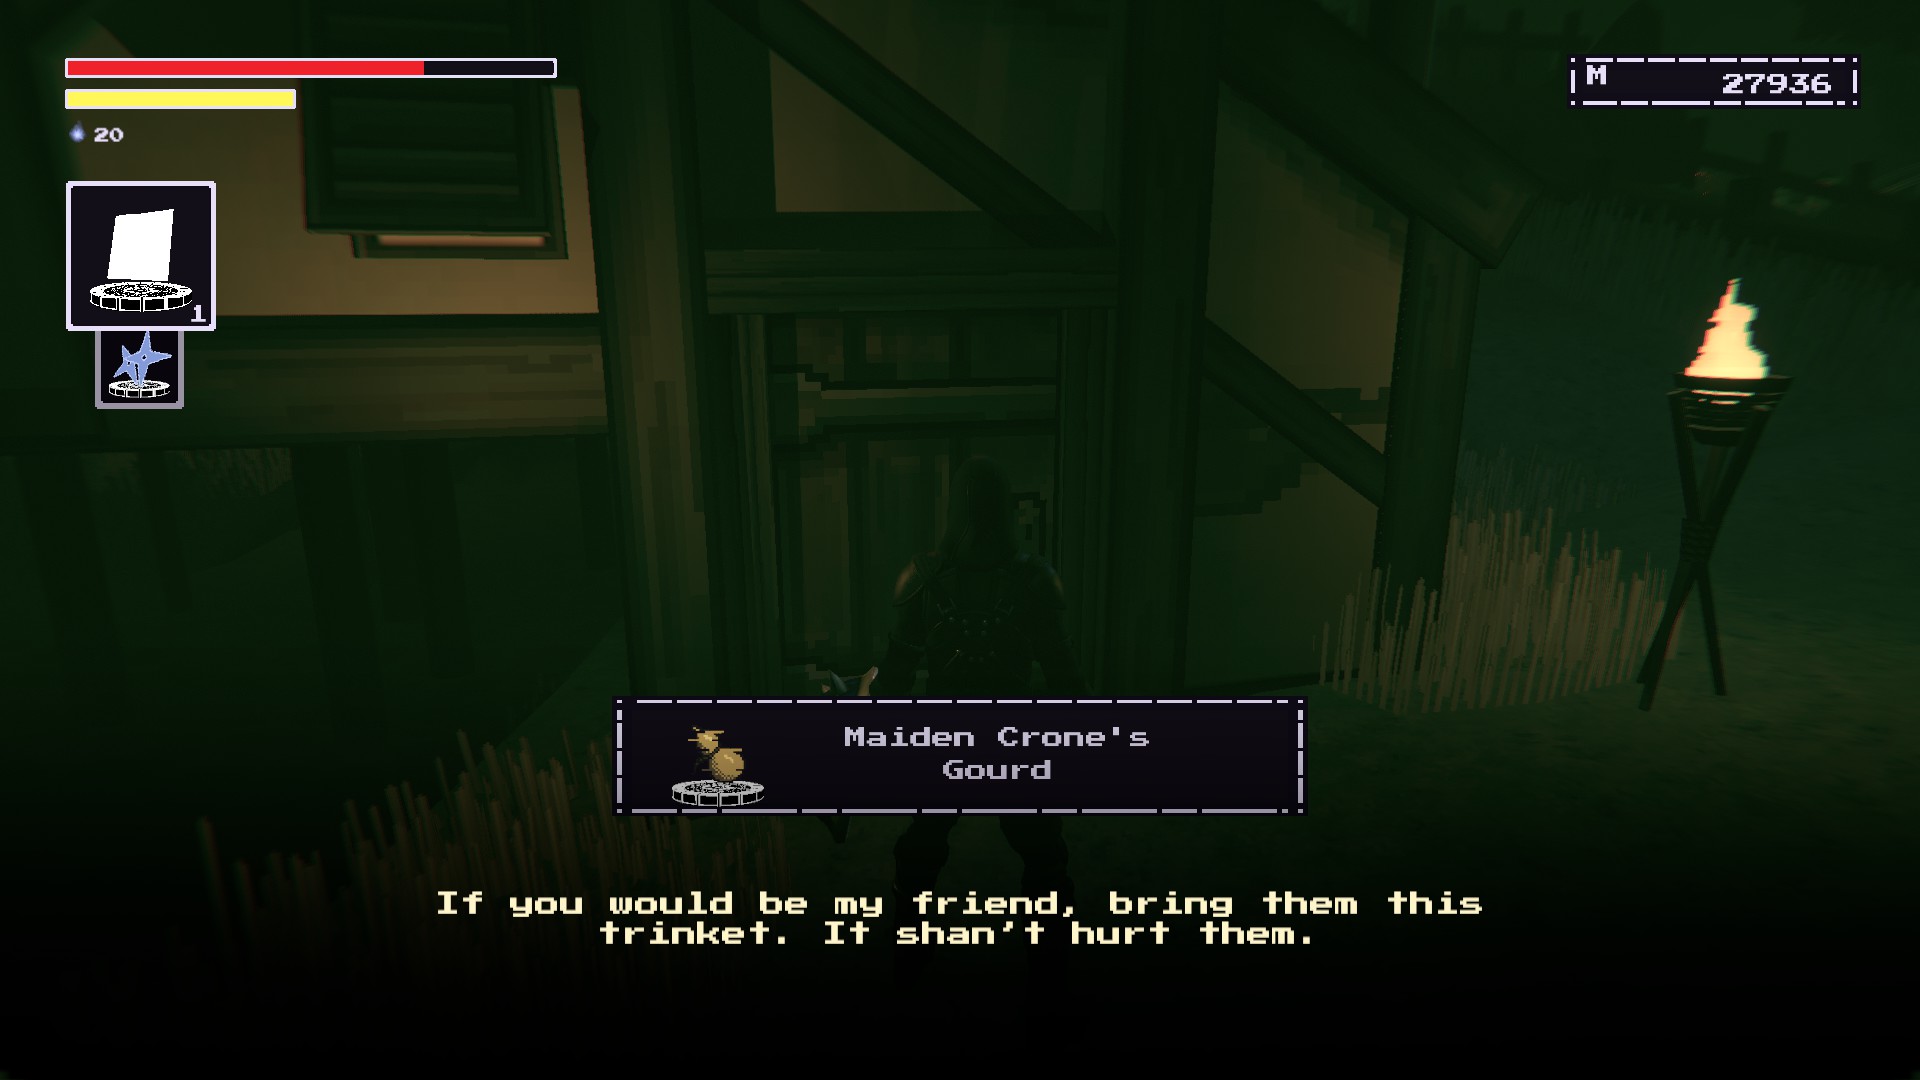
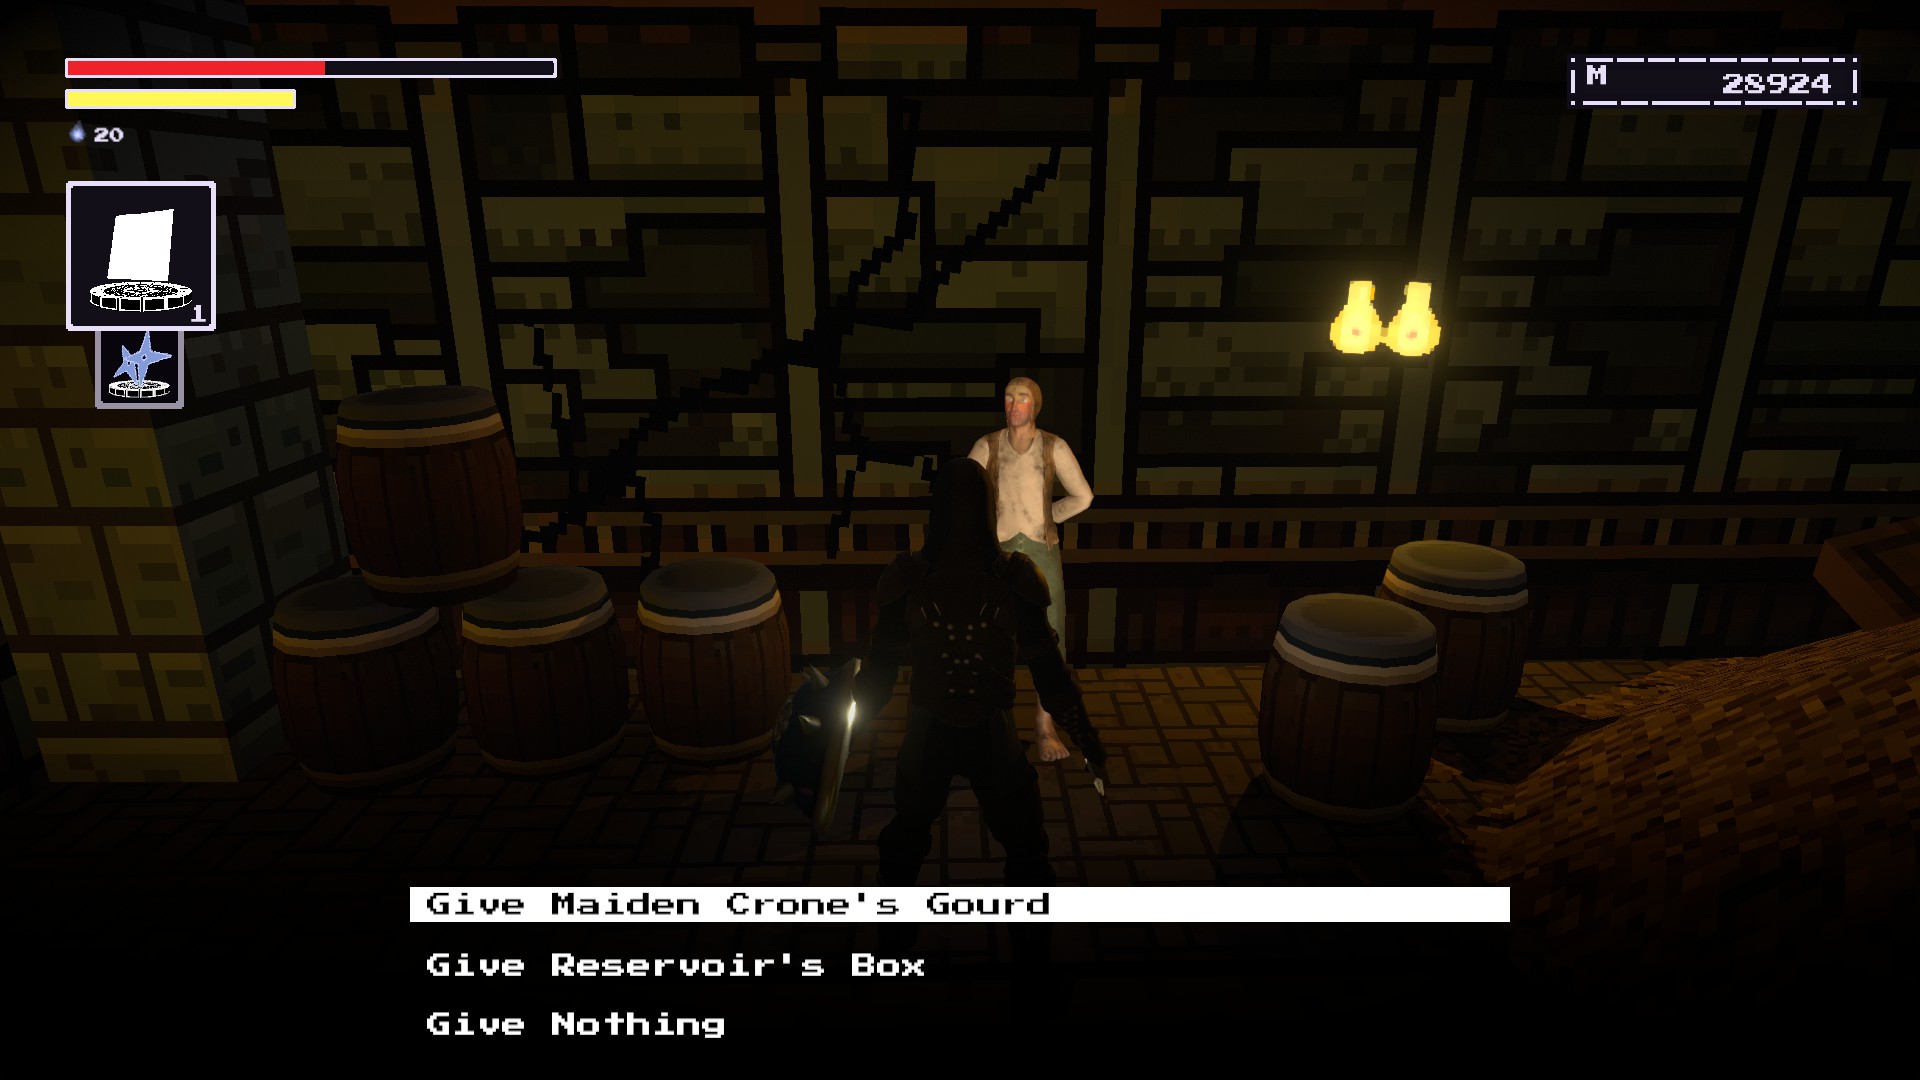
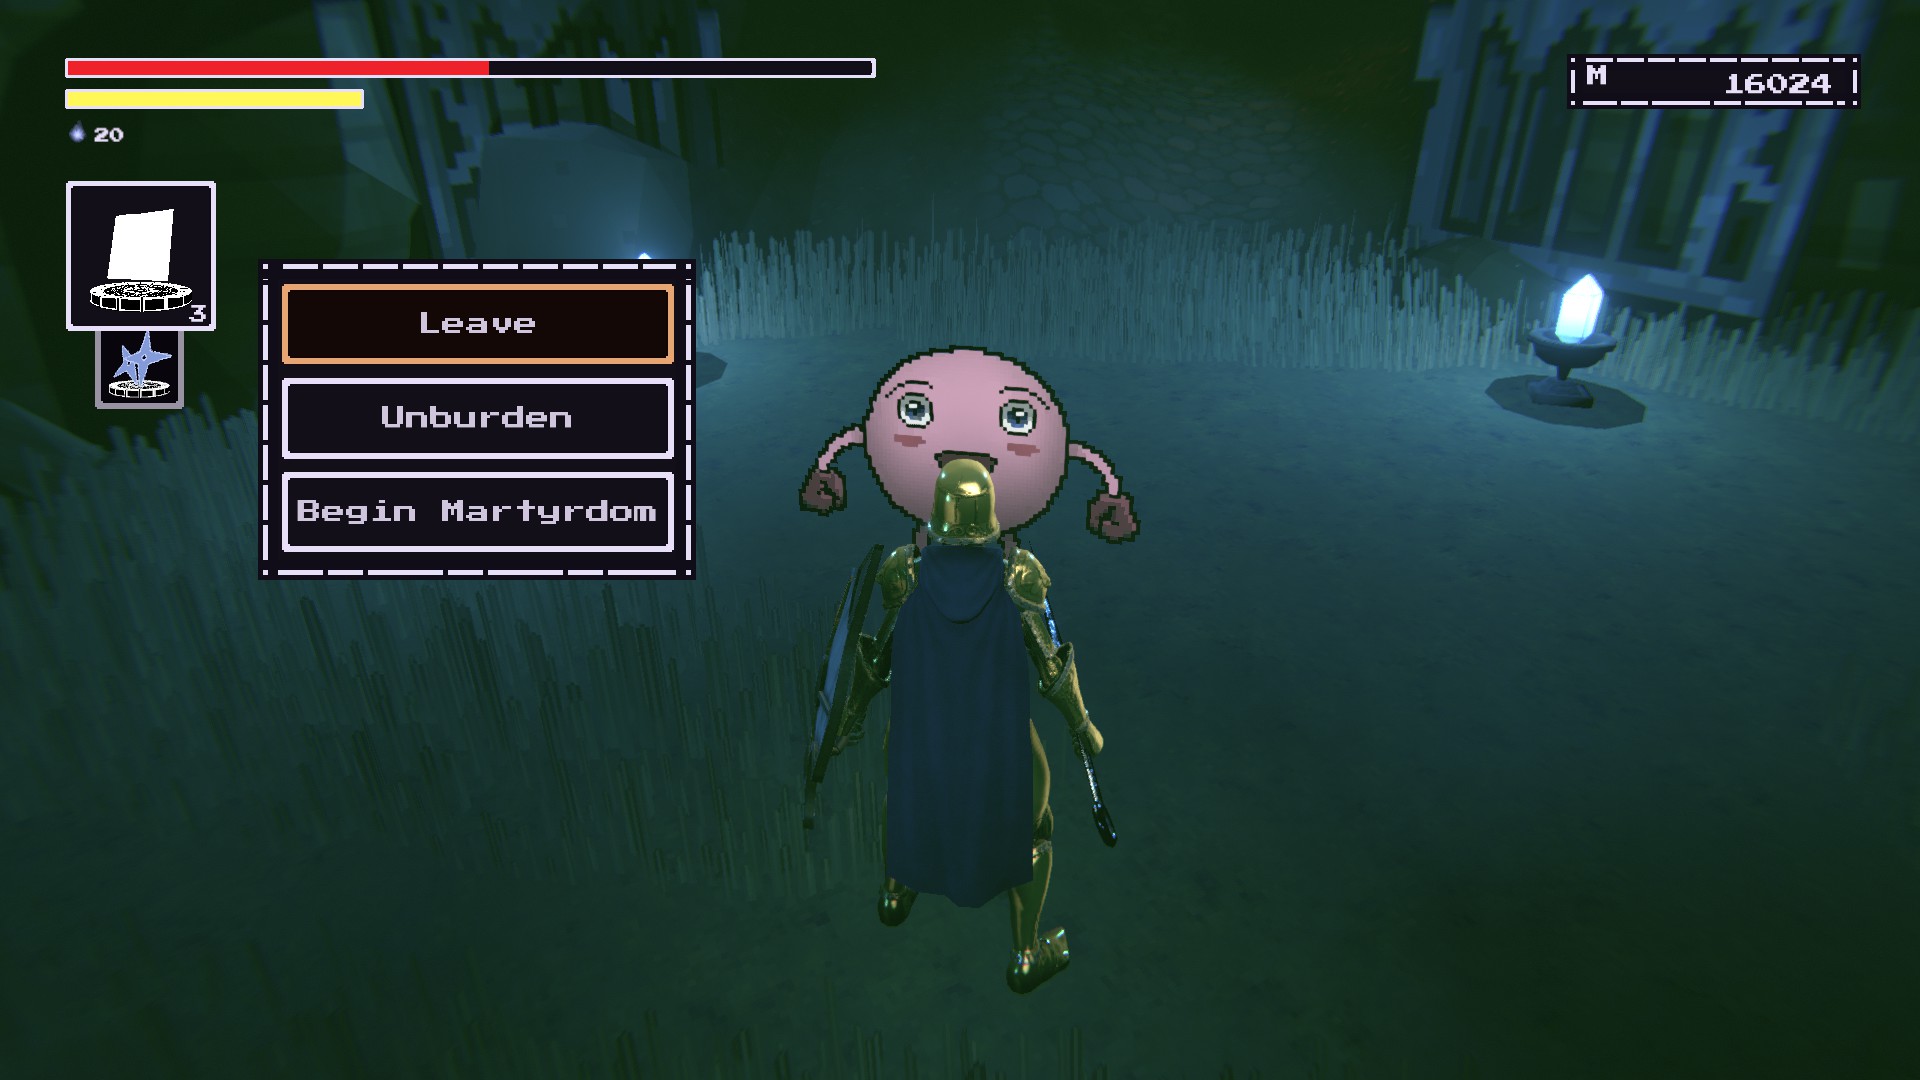
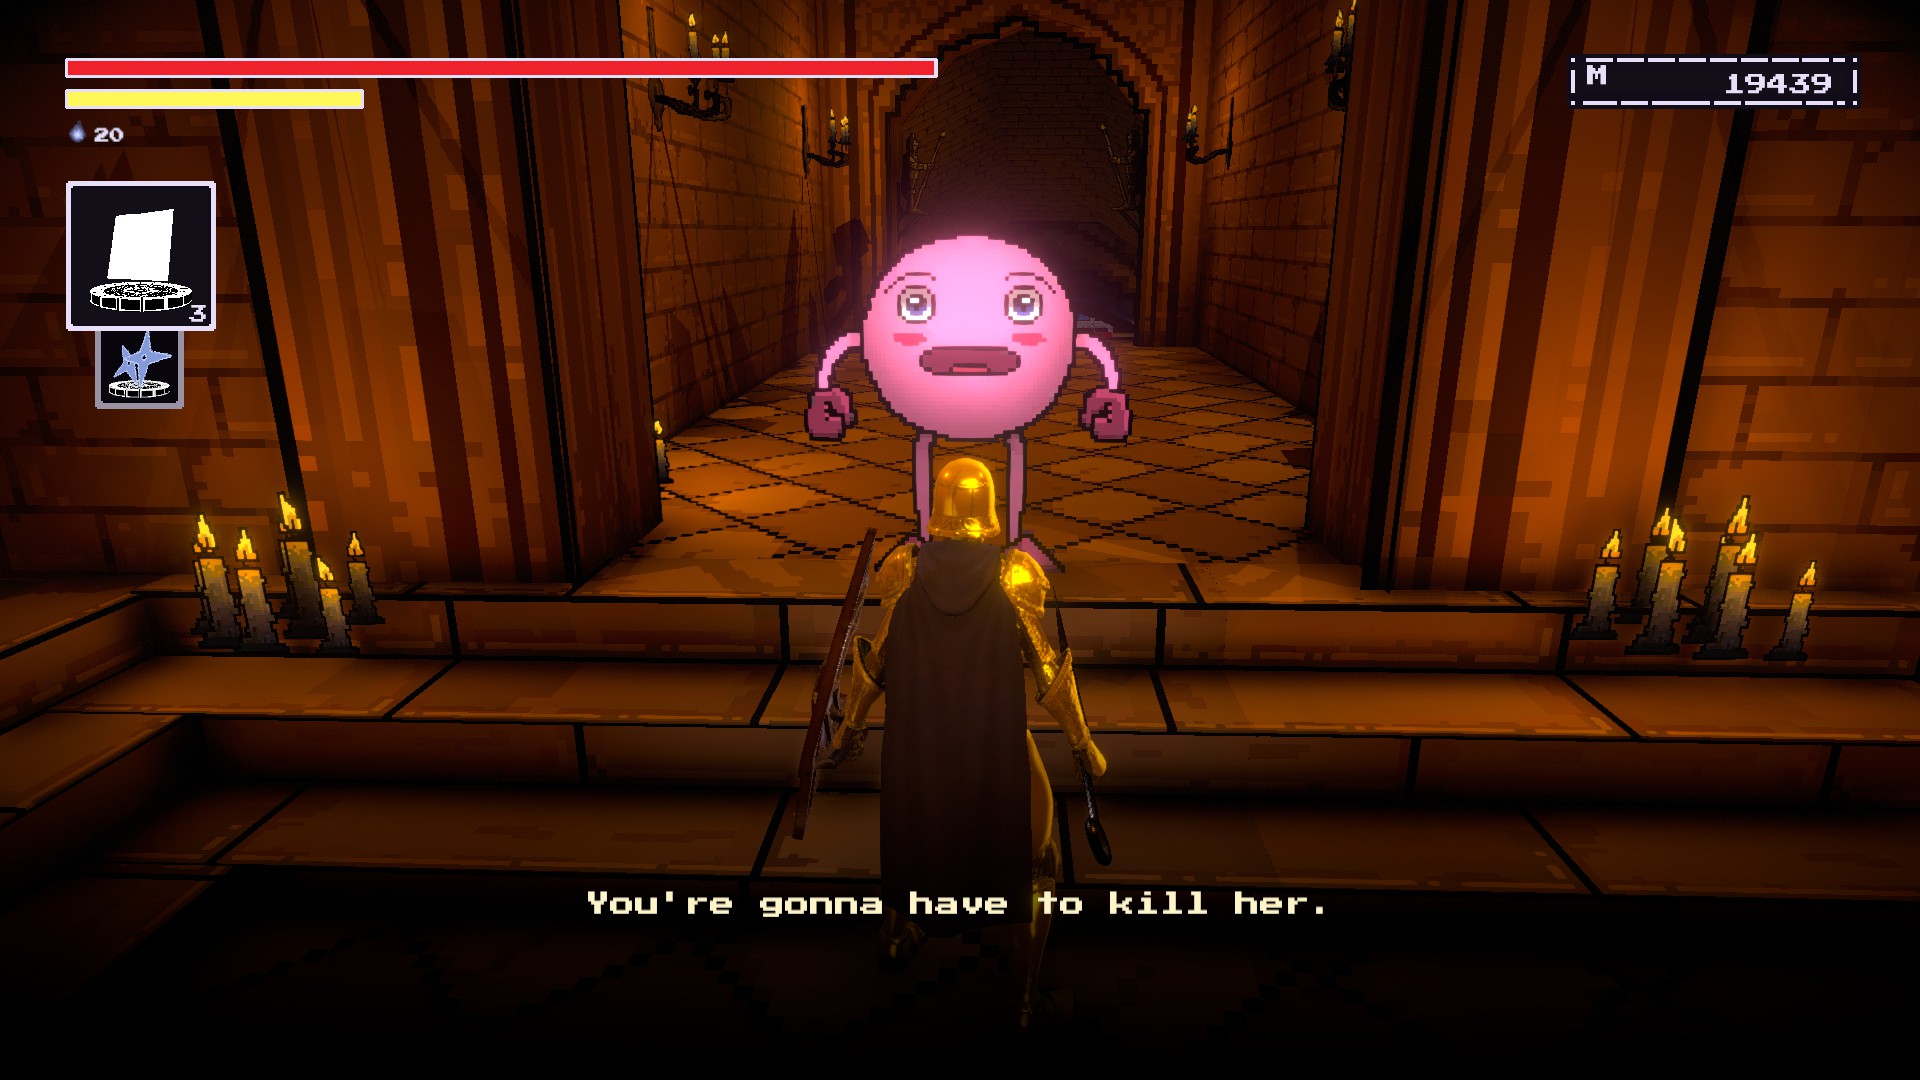
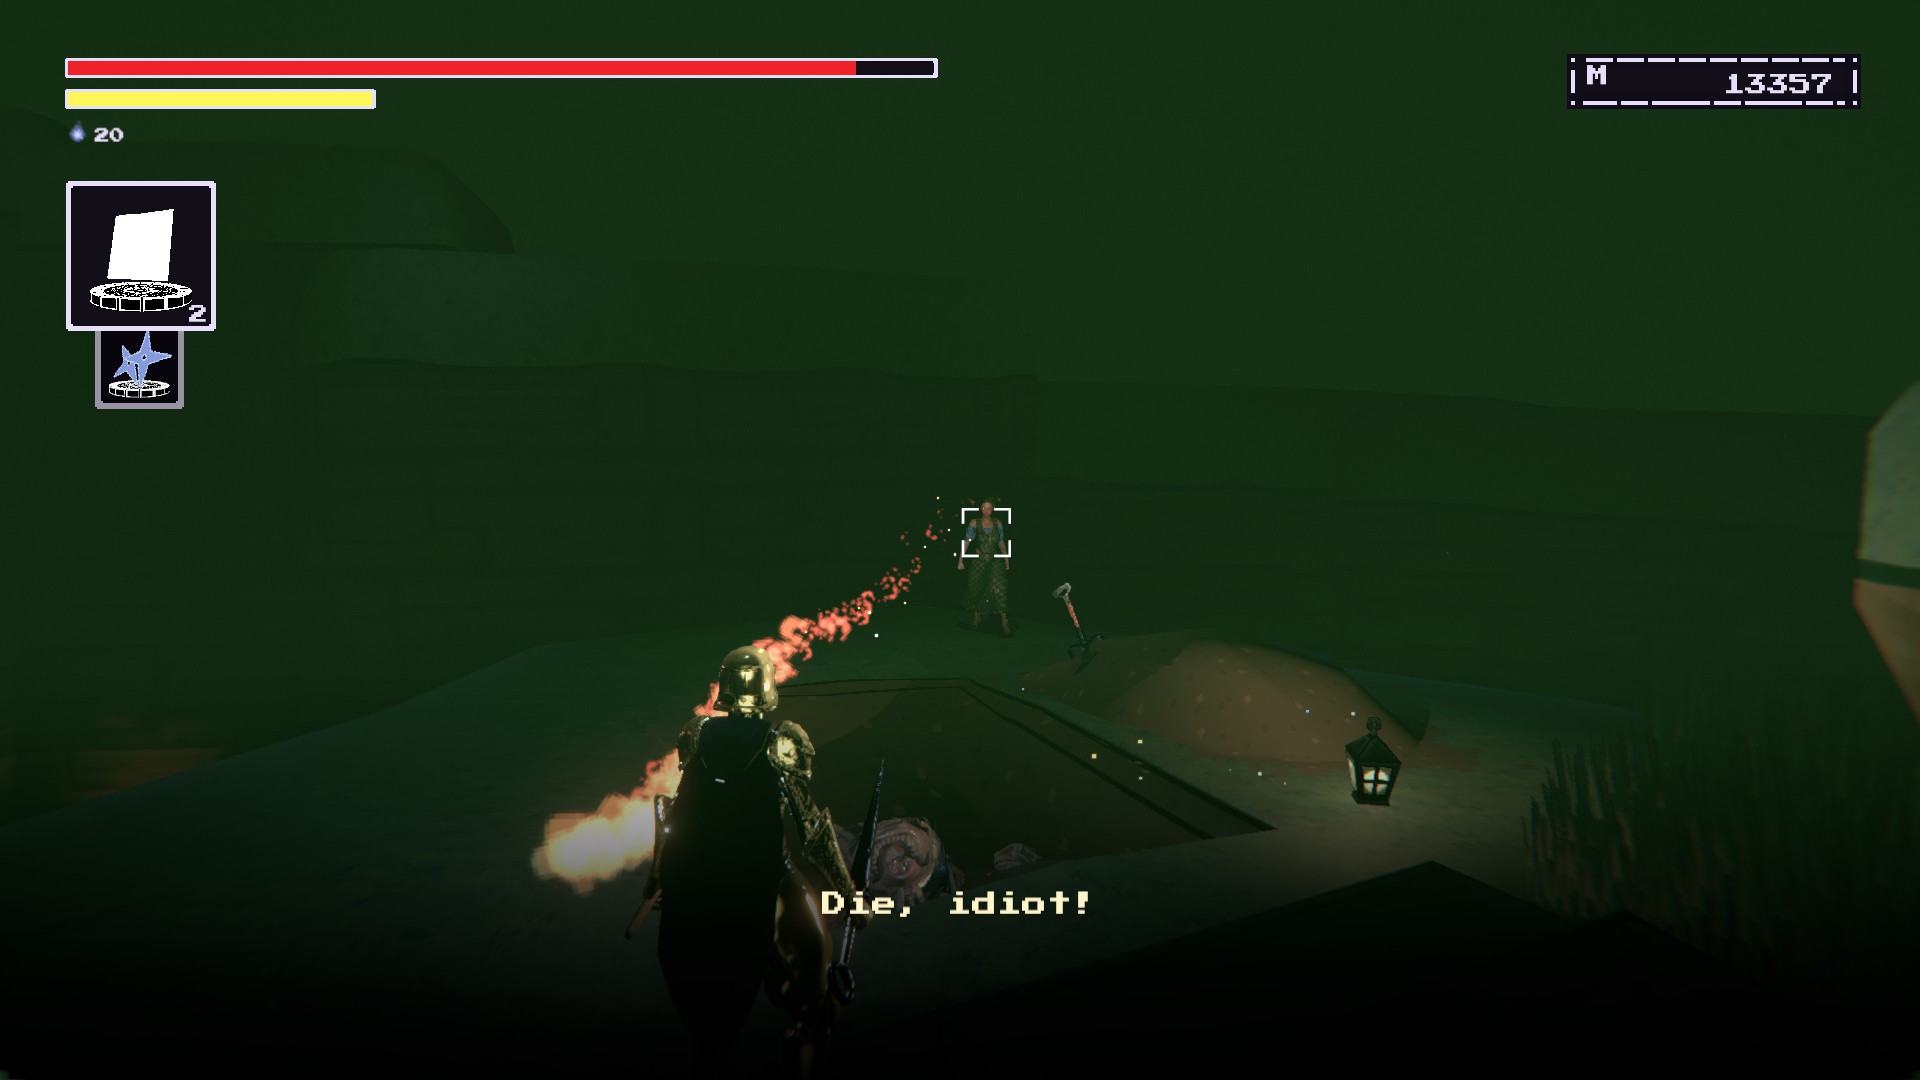
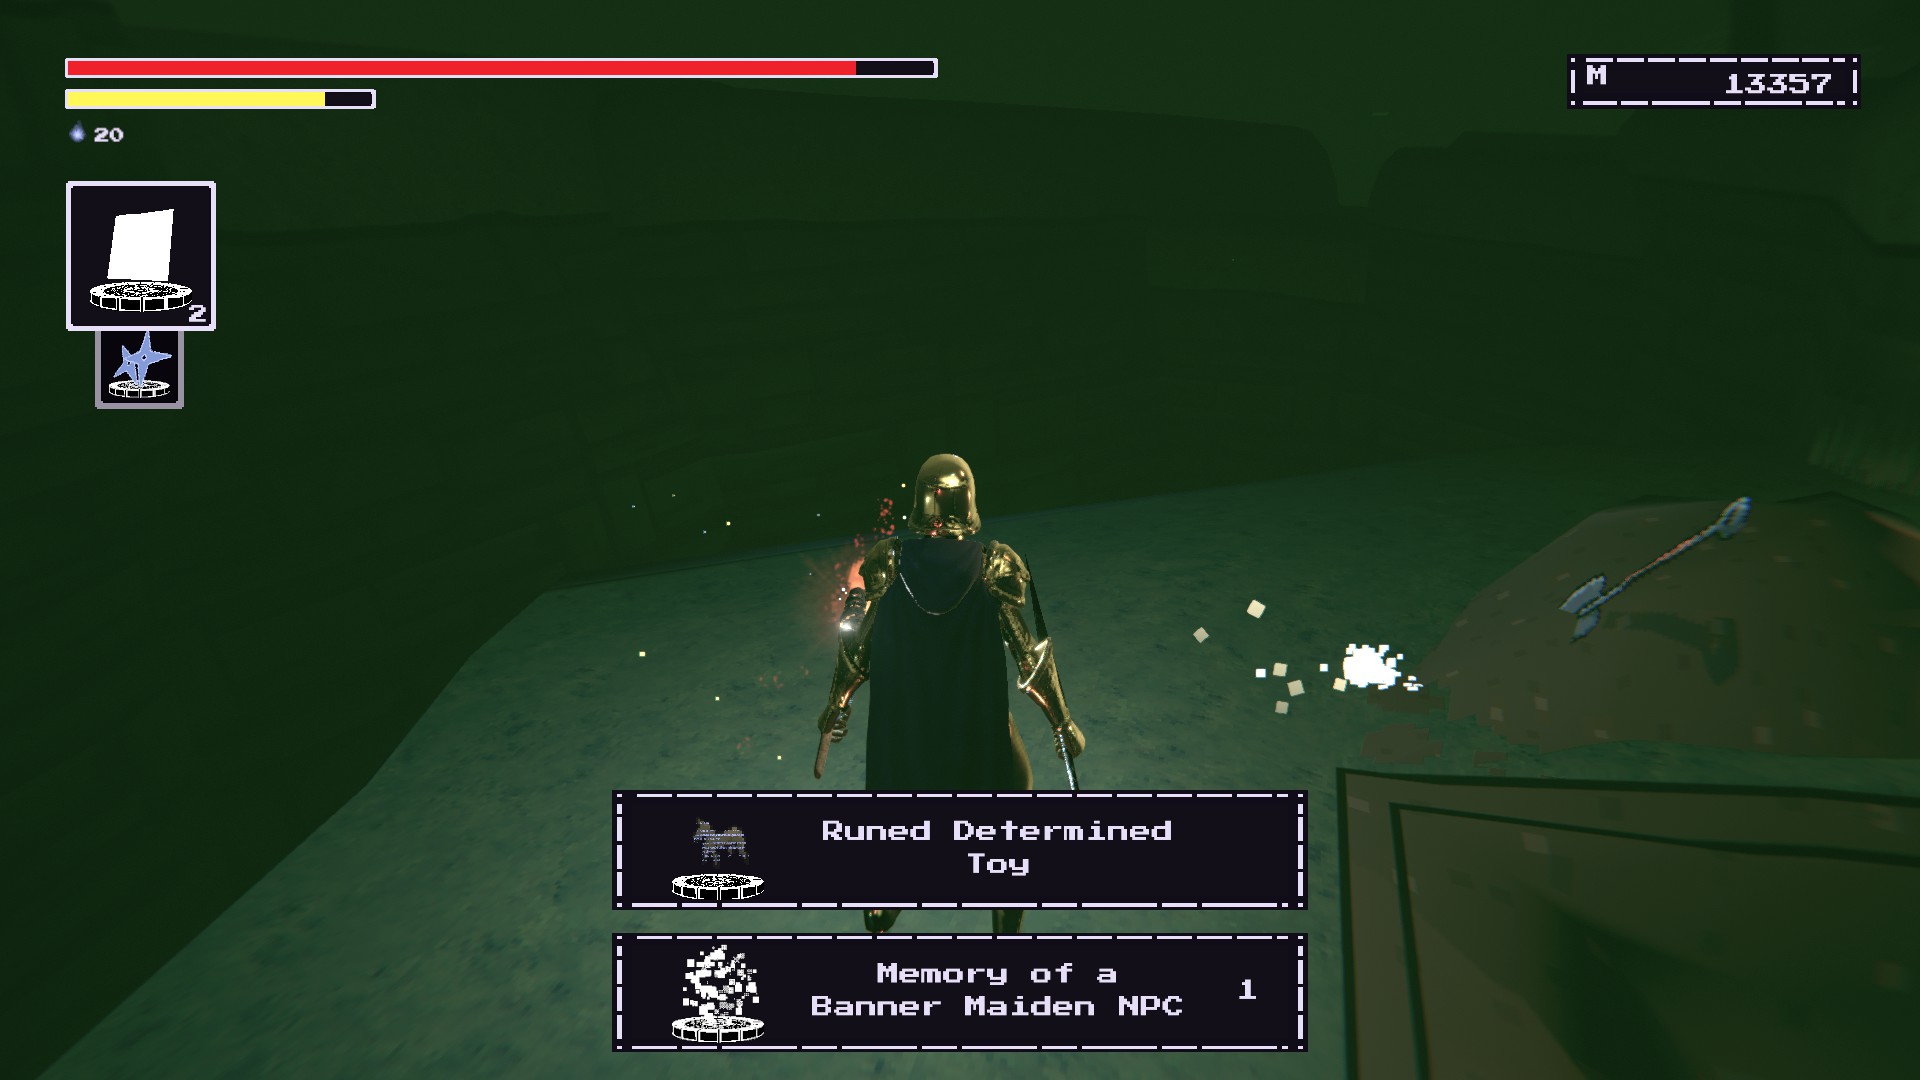
Probably a newer thing as I don't remember him giving you the option to kill the Crone without having started the Innocent quest.

I'll update the guide, thanks!
ActiasAlt 20 Dec, 2024 @ 12:34am 
The Determined Toy isn't tied to the Innocent's quest, you can get it in a Laid Bare run. After the Keep of the Stolen Crown the Reservoir of Pain will be standing before the exit and he will ask you to kill the Maiden Crone. She will be standing behind the house where you remember the Crown of the Undone. When you beat her she'll drop the Determined Toy
AZRA3L The Eternal  [author] 21 Jul, 2023 @ 1:03pm 
Yeah sorry dude, I can imagine the frustration of having to collect items all over again just for an achievement to not pop up.

You might need to bring it up to OverTheMoon again since I think it might has something to do with the PS version of the game and how achievements are handled there. I think someone made a thread about it recently.
Astro Vagabond 21 Jul, 2023 @ 10:57am 
So I’ve achieved 404 after clearing all my saves, deleting and reinstalling not sure if that’s related. But I did get it on a new save. As for my last trophy, it’s the spells… I’ve once again collected them out of order even, and nothing. It’s a buzzkill…
Astro Vagabond 16 Jul, 2023 @ 10:21pm 
I have indeed. 3 times over now. Same with the 404, I’m hoping deleting all saves and reinstalling will clean up whatever is happening here. If it’s fixed in my next play through I’ll relay that information.
AZRA3L The Eternal  [author] 16 Jul, 2023 @ 11:40am 
Did you collect all of the base game spells and runes in a single save slot?

Apologies but I'm not sure if the DLC update could have done something to it.
Astro Vagabond 16 Jul, 2023 @ 9:36am 
I feel like this one’s bugged on PlayStation as well. I’ve collected all the spells, in two play throughs and nothing.