Cosmoteer: Starship Architect & Commander

Cosmoteer: Starship Architect & Commander

140 ratings
A Basic Guide to Ship Painting
By Lord Draconis
A brief introduction to some basic painting techniques with some examples - meant for newer players or those less experienced with ship painting. The guide will cover simple core concepts such as shading, decal layering, and color palette selection.
8
5
2
7
3
2
   
Award
Favorite
Favorited
Unfavorite
Introduction


Hi! I am Lord Draconis (though I often go by “Astrum” in the Cosmoteer community sphere).

I consider myself to be a rather amateur painter, with plenty still left to learn - but I wanted to write up a basic guide for those struggling to make ships that they feel proud of. In this guide I will endeavor to demonstrate some simple yet effective techniques in painting that can radically change how your ship can look without hopefully too much difficulty.

Like with all artistic related tasks, painting ships in Cosmoteer is totally subjective. You may use some, all, or none of these strategies when painting, and still create your own incredible ships. All of the example ships and photos are my own.

Let’s begin with some basics!
Basics
First, let's go over the very core basics of how the paint system operates.

Firstly, paint is split into a single base paint layer, and three decal layers, totaling four total “levels” of paint. The base paint layer is the simplest (but still very important!) - consisting of just a single mono color, along with the option to select a “texture”. This texture can actually radically change the overall look of your paint scheme, so feel free to change it around and experiment often to find what you like!

Each layer, starting from the first base paint layer and going to the highest layer (the third decal layer), is “ordered” sequentially. This means paint on a higher layer will paint over-top paint on a lower layer. Skilled painters will use this to their advantage, creating unique effects by covering only parts of underlying areas and taking advantage of a sort of ‘negative’ space. This will be expanded further on in the guide.

Ultimately, a ship’s paint is the combination of all four layers (base paint, decal layer 1, decal layer 2, and decal layer 3) together to create a given design. Understanding how the layers interact is a crucial aspect to creating satisfying and eye-catching designs.


An example of a ship with all of it’s various decal layers laid out, and then combined at the bottom. This ship will be shown throughout, along with others.
Technique 1: Shading


Let’s start off with one of the most fundamental ship painting techniques - SHADING. Shading is the method of choice for creating pseudo “3D” effects on ships, and is often considered to be one of the foundational painting techniques.

Now, how is shading done? Shading is facilitated via the use of “Fades” which are one of the many decal options available. There are several shapes and types of fades, allowing for the creation of varying shapes to create unique “raised” and “lowered” areas on a ship.

The basic fade decal is the “Fade02”, which is a straight, simple line that often forms the basic “core” of fade shapes. To finish off these shapes, the “Fade01” and “Fade03” decals are often used to ensure that the corners close properly and seamlessly.


Many of the basic fades, along with a curved piece. Each fade shape example on the right uses some or all of these decals (but only the four shown on the top left) to create the shadow like shapes.

In order for fades to be most effective, they must be placed on the highest layer that is being used, which in almost all cases will be the third decal layer. This is because the fades are often closely mimicking shadows, and thus must not be obscured by any other sources.


Basic fades often create straight, angular boxes and rectangles to create their shadows as this is the most simple, though use of other shapes to create “angled” and even “curved” fades is possible with certain decals, such as “Curved07”.


Our example ship with just its shading layer.
Technique 2: Patterns


Technique number two is the use of patterns, and by extension, decals in unique ways to create pleasant looking lines and shapes.

There are many unique decals available for use, and many can be used in ways that are exciting and unique, often differing from what their seemingly “obvious” intention might be. Experimentation is key! Examples include "Curve07" and "Curve02" combined to create neat symbols and shapes that can serve as eye-catching centerpieces.

Many can also combine and “flow” together, creating natural end points or continuations for one another.


Various different decals used to create unique shapes, stripes, or patterns. All the shapes on the right were made using various decals from the left column.


Decals are the core of your paint, and thus flexible and creative uses of them together, rather than as independent pieces, can elevate a paint scheme immensely.


Example ship with decal layers one and two, showing some simple decals and how they can mix
Technique 3: Decal layering/Pseudo-negative space


As mentioned in the basic section, decal layers can interact in unique ways thanks to how each layer paints overtop the preceding one. In many cases, this simply means that a higher level decal will completely cover a lower one, but this is not always the case.

Skilled painters will choose to use partial decals that do not take up an entire block’s worth of space to leave room for another small decal either above it, or below it. This allows for some extremely creative effects and styles that can help keep a “flowing” look between your various colors and layers.


An example of some decals used to "layer" atop one another. The blue decal is on the higher layer than the red one


Our complete example with all of it’s layers mixed, showing how they all interact to mesh together

Technique 4: Color and Aesthetic Shape Choices
This one is less of a ‘technique’ like the others, and more of just a brief overview of how both color choice and the shape of your ship itself can impact your design.


You are not required to “stick” to a specific color scheme before or during your painting project (and indeed many times I personally change it from my original choice frequently throughout), so experimentation is very welcome as your design evolves.

While this is not a ship building guide, a ship’s shape can often heavily influence its overall aesthetic feel, which can impact how you wish to paint it. More unique and fanciful shapes and protrusions will often negatively impact the ship’s performance, so you must be willing to possibly accept some efficiency losses if you choose to radically diversify its form.


A few basic concepts to keep in the back of your mind are:

Vibrancy/Brightness: How bright do you want your ship to be? Almost shiny? Or A dull “rusted” style? You can adjust your brightness by moving the color picker vertically in the color box.

Contrast: Picking colors that are very similar can elicit pretty, consistent results, but sometimes mixing in another contrasting (different) color can really make a design “pop”, rather than being a bit too “samey”. This of course, like everything, is subjective, and you should tailor your designs the way you want them!

Shape: As mentioned, radical shapes tend to be less effective (please refer to the various ship building guides for further information), but can allow for another facet of creativity. Experiment with all manners of “Fins”, “Wings”, “Spiky Protrusions”, “Circular Sections” and more to create your own unique ship shapes!


Asymmetry can create incredibly unique ships!
Extra Examples
Here are some example ship photos, and even some .ship files for your own personal analysis. The .ship files can be easily drag and dropped directly into a creative game (don’t drag into the build menu, as you will lose the paint - drag directly into your game space).


A few alternative starter ships. Their .ship files for personal use can be found below


A .ship file of a small, diagonal fighter with a blue color scheme


A .ship file of a tiny hauler with a somewhat "rugged" and "rusted" look


A .ship file of a tiny, greenish-blue fighter
Closing Thoughts
Painting in Cosmoteer is a wonderfully deep and satisfying system that, when understood, offers you many creative ways to create unique and appealing ships.

Ships of all purposes and types can benefit from a fantastic paint job, be they for high end, masterful PVP combat, or built purely for aesthetics only. The best way to learn is to simply sit down, and start painting. Don’t be discouraged by your first results, use them to practice various techniques and ideas as they come to you. Go and observe other’s unique and distinct styles (there are many, many, many more talented painters than me!) and learn how they craft their ships' paint.

I hope this was at least somewhat helpful, and will likely continue to update this guide with input from the many great painters the community possesses. Please feel free to let me know if there's any other techniques and tricks you think are worth mentioning, and any questions!

Best of luck on your painting endeavors!

~Lord Draconis (Astrum)

20 Comments
RMG 29 Jul @ 4:59pm 
Not related to the guide. But from what I learned, do NOT use dedicated ships for missiles or nukes or anything like that. Always put them on the sides. Additionally, for ships that have weak spots on the sides and the back, when you have to keep the ship facing the opponent. Try using smaller engines paired with larger ones to create a fast turning mechanism.
Tyrax Lightning 8 Aug, 2023 @ 11:53am 
Thank you so much for the response! :D
Lord Draconis  [author] 8 Aug, 2023 @ 10:22am 
@Tyrax Lightning

You are very welcome!

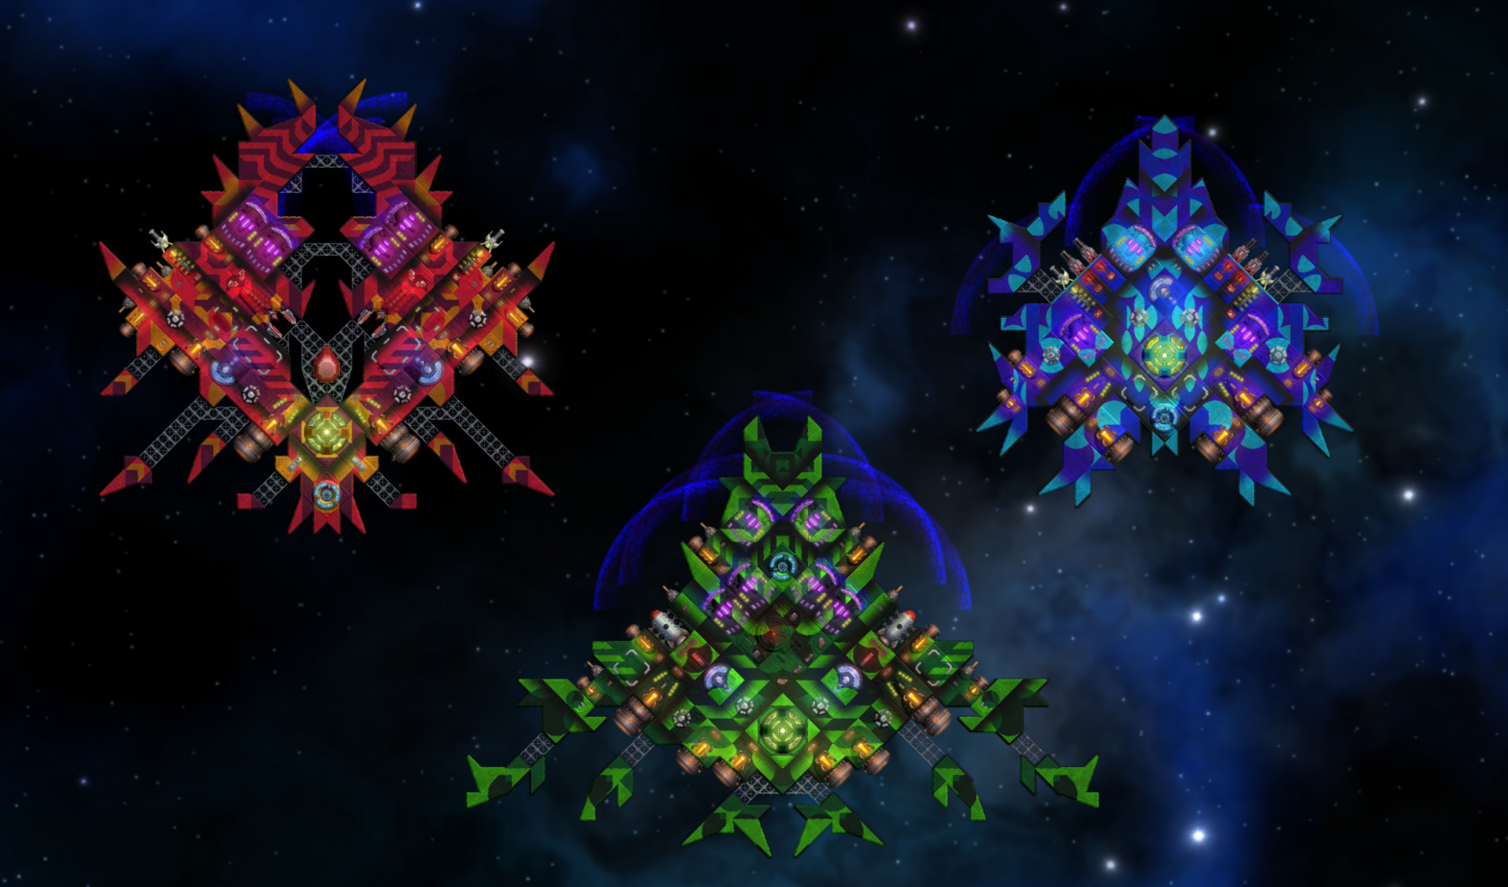
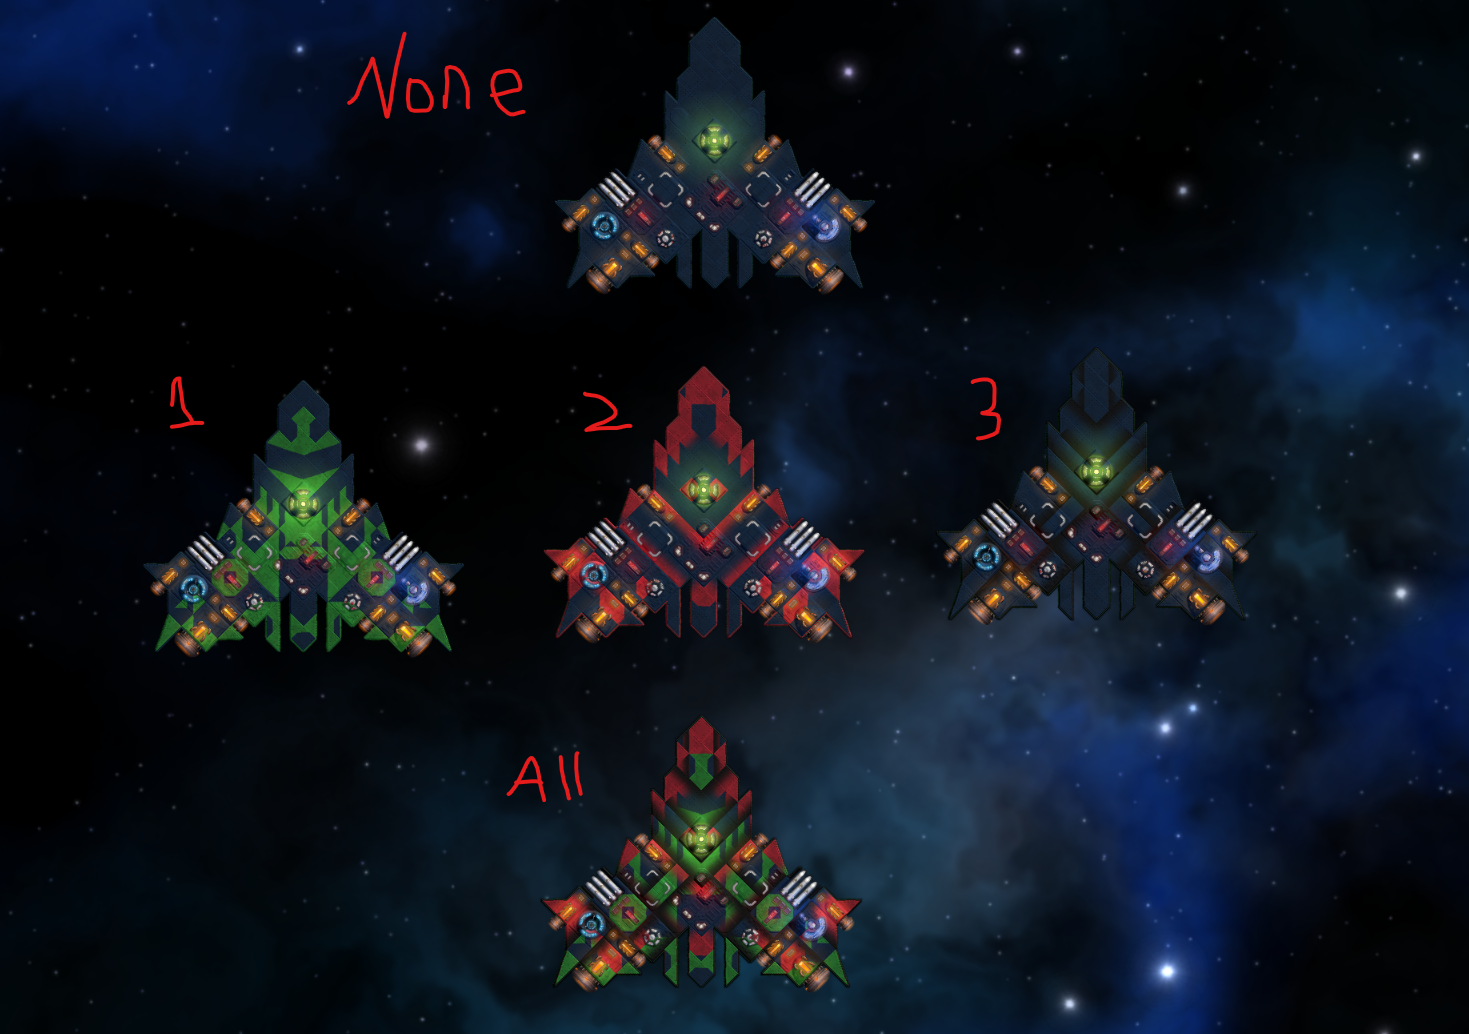
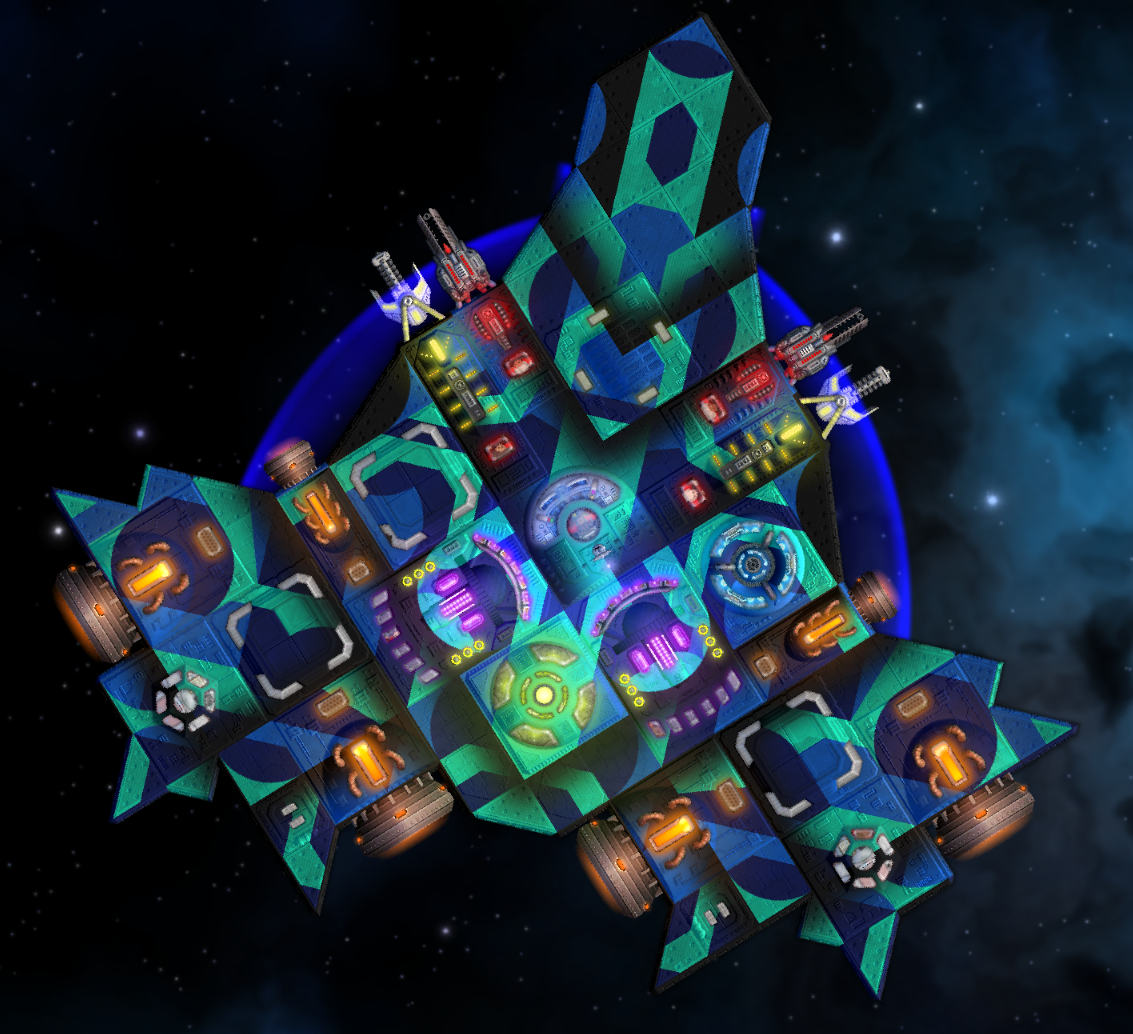
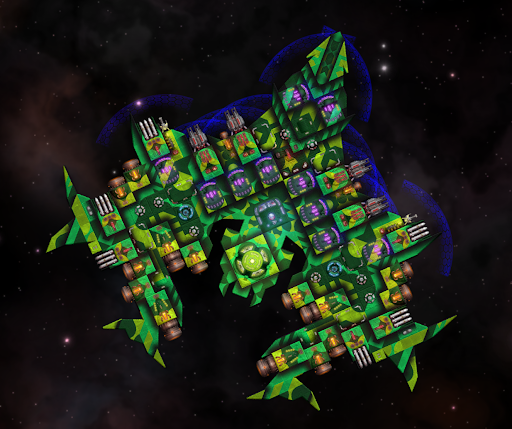
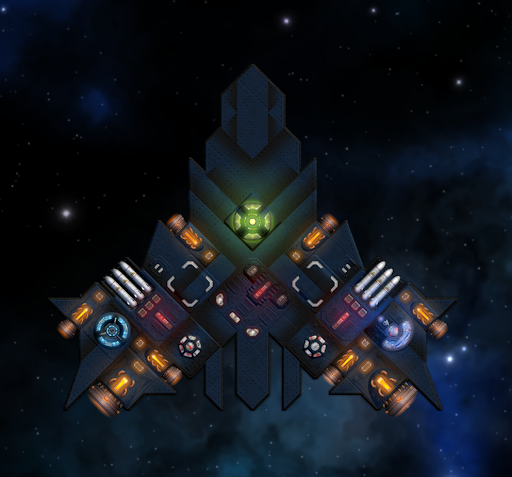
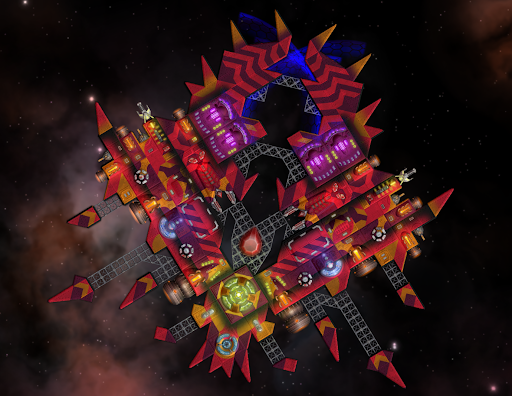
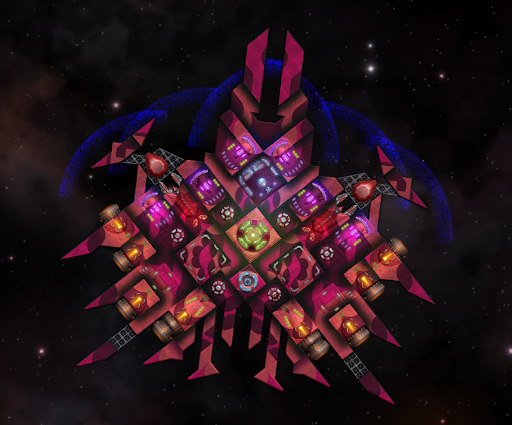
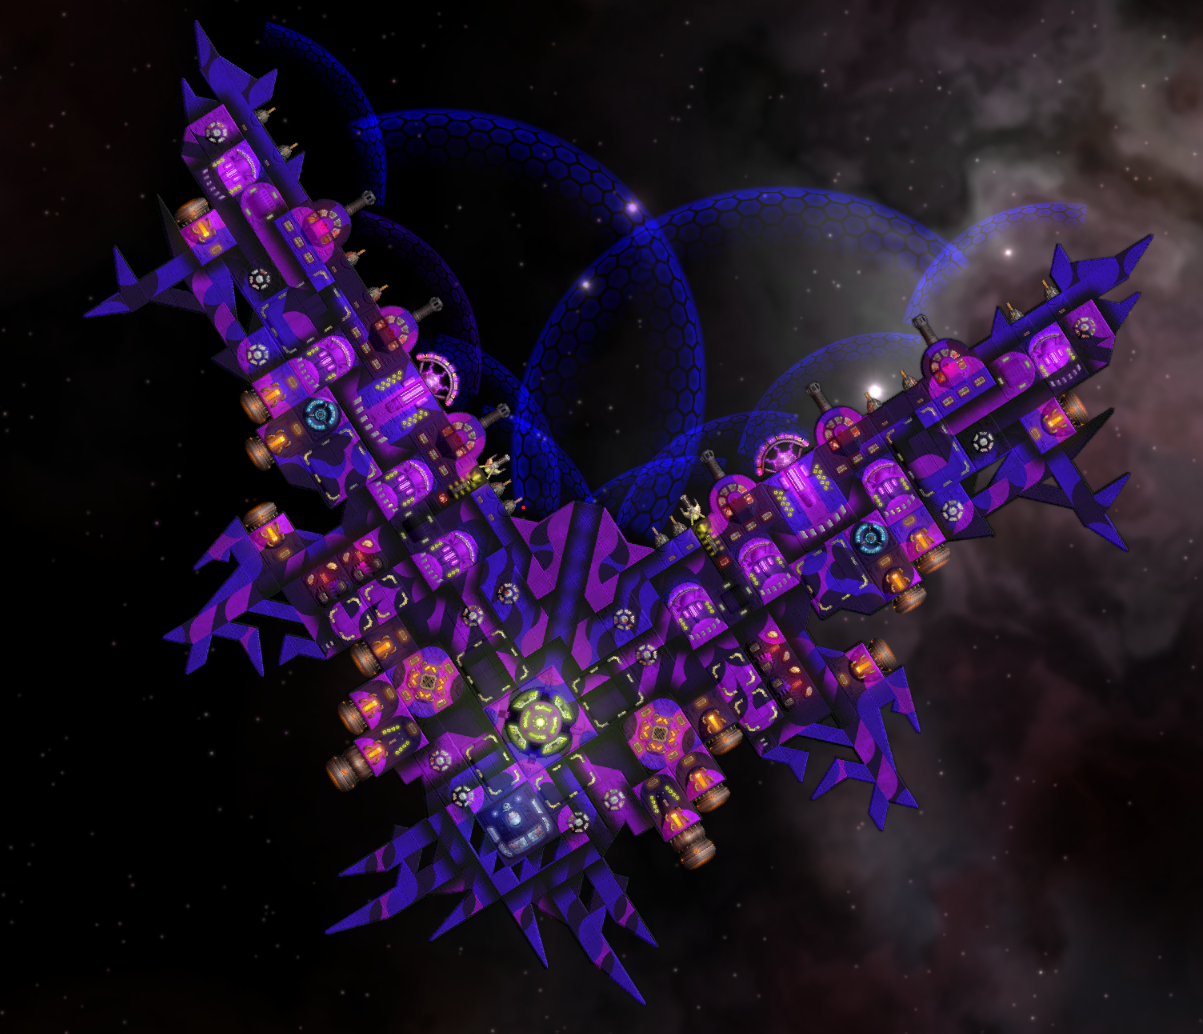
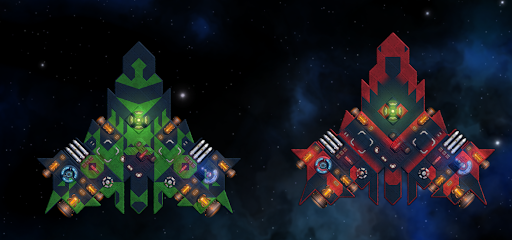
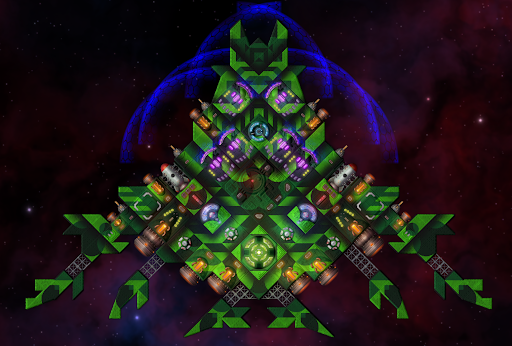
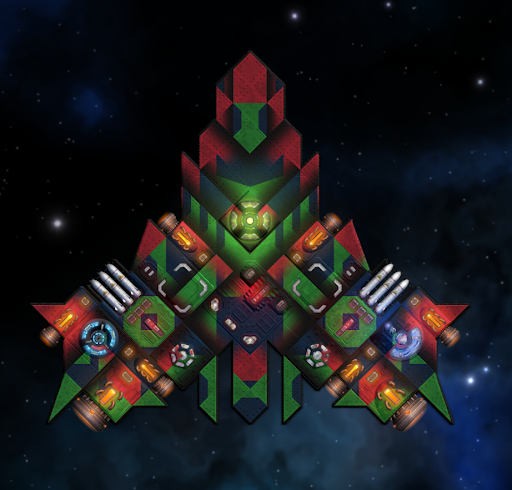
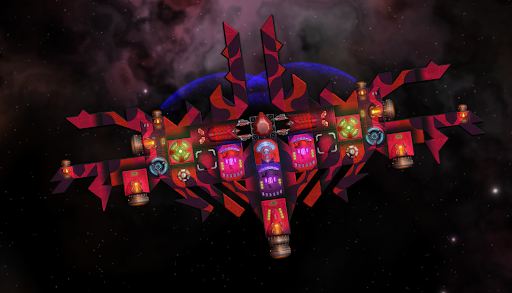
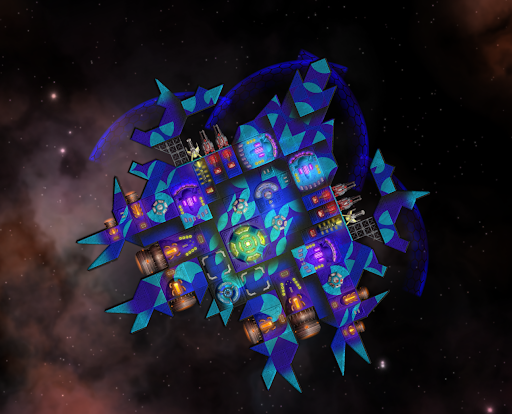
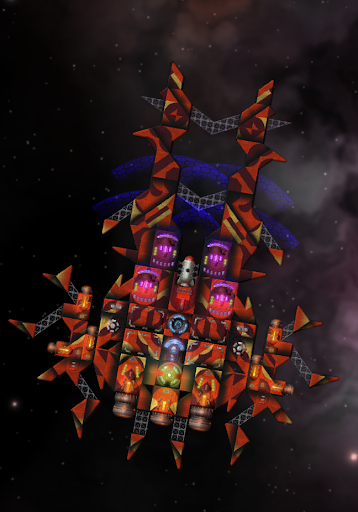
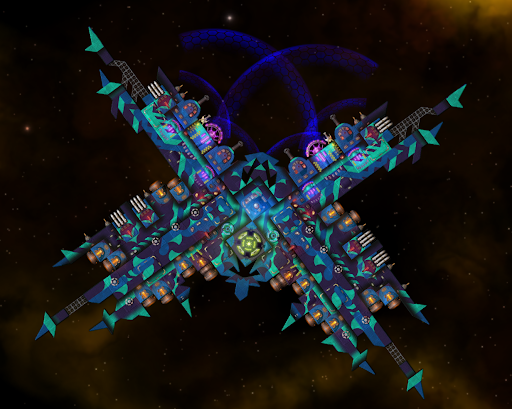
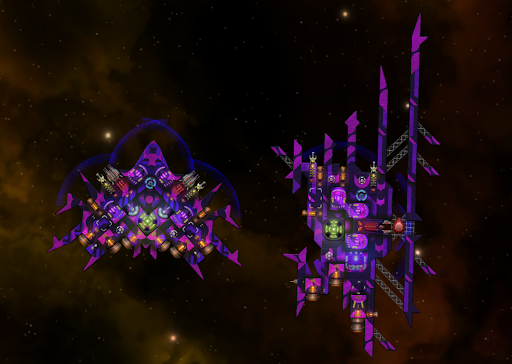
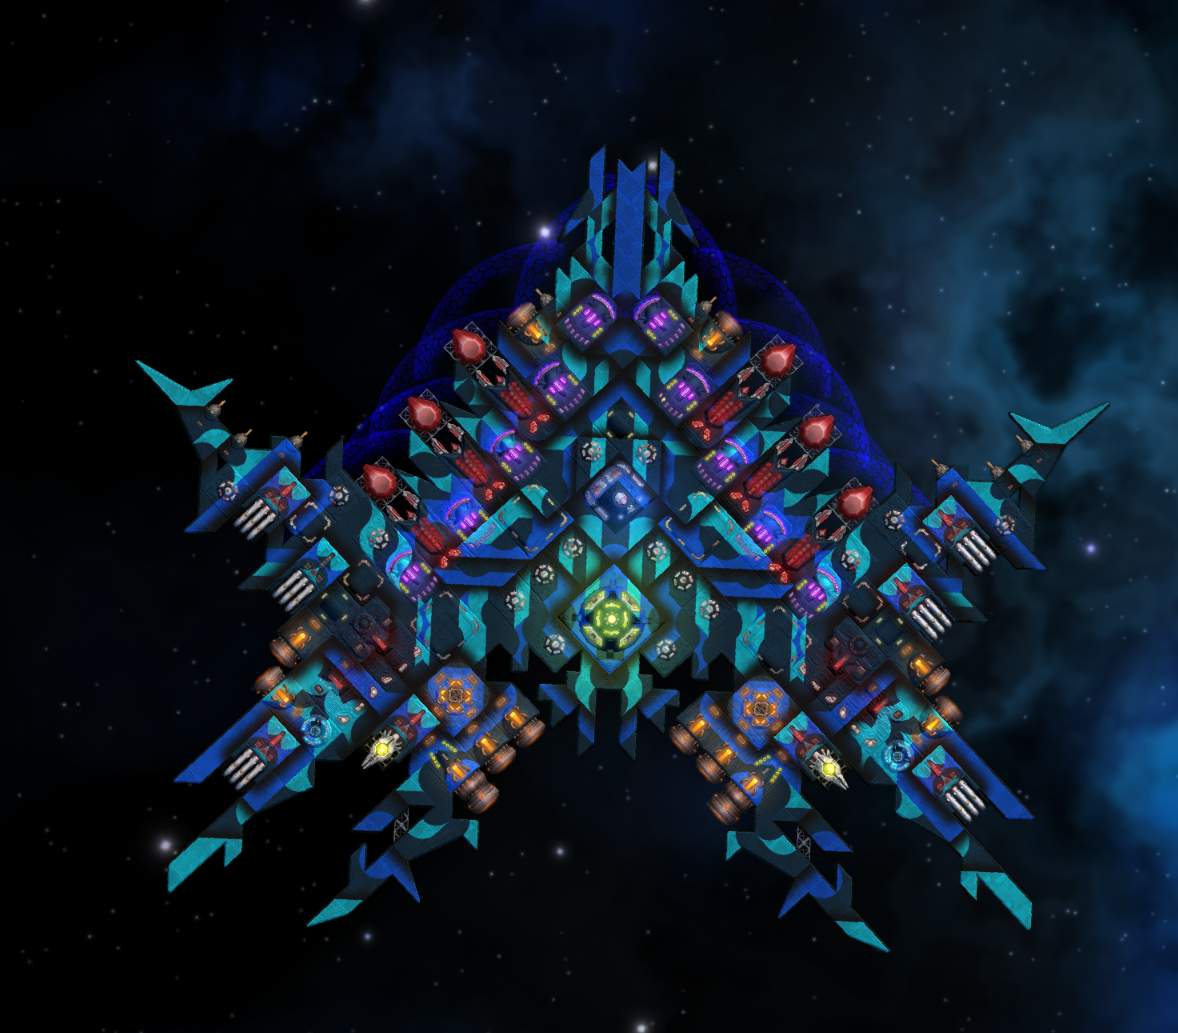
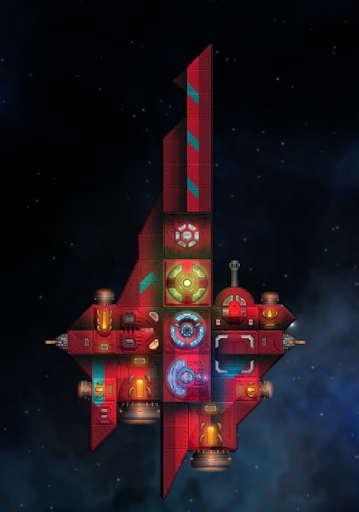
Lights can be a great addition to paint jobs, as they can really accentuate a design and make it stand out, and/or be used to add specific and unique features such as glowing gems or perhaps eyes as you specified. This guide was written prior to their implementation in the game iirc, but I have used them on various ships since.

Hope this helps!
Tyrax Lightning 7 Aug, 2023 @ 9:10pm 
Thank you so much for this Guide! :)

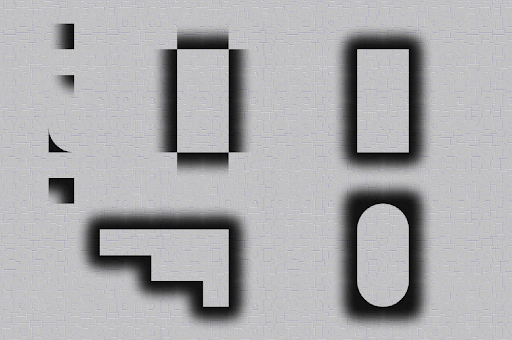
Question: Can the Lights and Headlights Parts work together with Paint Jobs? (Example: Attempted combining of Lights and Paint Job together to make them look like 'Eyes'...)
tonechild 24 Dec, 2022 @ 2:49pm 
This is a great guide. One thing I wanted to share is the use of color theory for coming up with contrasts or color themes that look good together. Color theory is the body of practical guidance for color mixing and the visual effects of a specific color combination. Color terminology based on the color wheel and its geometry separates colors into primary color, secondary color, and tertiary color. The understanding of color theory dates to antiquity. There's lots on the subject you can google, but here is a free tool that you can use to help come up with complimentary colors and you can copy paste HEX codes of colors from and to the game https://www.canva.com/colors/color-wheel/ - there are more advanced interactive color wheels out there as well.
Lord Draconis  [author] 27 Nov, 2022 @ 2:21pm 
@Zentrait

Oh man, hey! It’s been a long time! Hope the guide was helpful! Sorry for sort of… falling off the planet way back when.

Hope you’re doing well!
Zentrait 27 Nov, 2022 @ 1:32pm 
Hi, Astrum... It's Laserbreath 😋
Lord Draconis  [author] 25 Nov, 2022 @ 10:52am 
@Hefbrew

Thank you! Happy the guide was useful!
Kenny 25 Nov, 2022 @ 10:23am 
nice
Hefbrew 24 Nov, 2022 @ 3:57pm 
This was amazing! The effort put into this guide is immense, and I can tell you're really experienced! Not to mention those ships, they look amazing!