Cosmoteer: Starship Architect & Commander

Cosmoteer: Starship Architect & Commander

322 ratings
Ultimate Ship Design and Part Guide
By 0neye
An extensive guide on the principles of effective ship design, weapons and how to use them, ship types, community lingo, and links to other resources.
8
5
10
4
2
   
Award
Favorite
Favorited
Unfavorite
Video Guides


Because this guide has not yet been updated to include thermal mechanics, take a look at these videos instead:


Info
DOES NOT INCLUDE MELTDOWN CONTENT YET, SEE VIDEOS ABOVE

(guide updated for game version 0.20.X)

Credits:

Author - 0neye
Updater - 0neye
Help - Fort Mast Gustav, Destiny, Saris, Hatter, oem, NewAgeOfPower

Contents:

- Summary
- Introduction
- Cost Efficiency
- Logistics and Damage Control
- Practicality
- Ship Design Tips
- Weapon Guide
- Ship Type Guide (dropped, but an up-to-date list can be found here.[cosmoteer.wiki.gg])

Lingo:

So, the Cosmoteer community has a bit of lingo that we use to make it easier to communicate ideas when talking. Here is a list if you don't already know them:

CR = Control room (also cockpit and bridge)
FE = Fire extinguisher
PD = Point defense
EB = Disruptor (previously electro bolt)
HL = Heavy laser
LC = Large cannon
SC = Standard cannon
CG = Chaingun
MRT = Modular Rocket Thruster
ER = Engine room
MP = Multiplayer
ROD = Ring of death in multiplayer
Dom = Domination multiplayer game mode
Kiter = A ship that continuously runs away and uses long range weapons.

Learning Links and Discord servers:

- My introductory video on power, logistics, and crew management is good for those who prefer a video format, though it is no replacement for this guide.

- Saris' Basic Guide series is a must-watch.

- Captain Caffeine's video series goes over a variety of topics and is very well-made.

- My Introduction to Crew Management[forum.cosmoteer.net] is a good way to improve on your logistics and efficiency knowledge from this guide.

- My post on The Meta[forum.cosmoteer.net] is a good place to learn more about building a practical ship.

- Reading at least part of Captian Redstone's Ultimate Guide to Prisms is a must if you're interested in making large ships with ions.

- The community-maintained wiki guides section[cosmoteer.wiki.gg] is also a great resource and full of useful information.

- The official Cosmoteer Discord server[discord.com] is what I would consider a necessity for any player wanting to join the community.

The Cosmoteer community also has multiple sub-servers for different purposes. One of these, Excelsior, is the competitive community hub.

- The Excelsior server[discord.com] includes everything from a database of competitive ships you can drag in-game to a classroom channel where you can ask expert players for advice. Anyone can participate in meta development and share their ideas and innovations for everyone's benefit.

Summary
So, I know that many people probably don’t have the time or determination to read through the whole guide. This summary should give you the information you need to beat your friends in a casual game or two, but I highly recommend reading the entire thing if you want to improve further.

The most important takeaways from this guide:

  1. The distance from suppliers to consumers should be as short as possible. For example, missile factories should be next to launchers, ammo next to cannons. This is all to minimize travel time. Using moving walkways to power things throughout your ship will also reduce travel time. Less travel time means less crew required to do the same task. When your reactors get too far away to power something try using power storage.

  2. How effective your ship is heavily depends on how much “bang for your buck” it gives you. Anything not completely necessary should be removed, this means crew that sit in their quarters, and reactors that aren't being used, and excess armor or corridor. You can see what you can remove by watching your ship during battle. The more unnecessary stuff you remove the more necessary stuff like weapons, armor, or thrusters your ship can have. This is called cost-efficiency.

  3. Damage control is extremely important. Efficiency should generally be considered before damage control (like in the case of missiles next to factories) but you should always try to place things in such a way that they can be easily protected. Armor gives much more protection per credit spent than shields, so use it when possible. PD is the best missile defense when adequately powered (use adjacent power storage), and works vs cannon and rail projectiles, while flak works against all projectiles. Weapons that can be placed behind layers of armor or in armor “tunnels” like ions, rails, deck cannons, and missiles are generally the most practical at price points higher than 1mill credits because they make damage control easier.

  4. Not all ships are made equal. Certain ships are going to be more effective than others, and all ships have counters. Ships with weapons able to all fire on one target at the same time are much more practical than ones with weapons that aren’t. Ships that are fast will be able to take advantage of piloting more easily and catch kiters. Ships that focus on one or two weapon types will be more effective against more types of ships. For example, a ship with some missiles and some cannons could be kited by a ship using only missiles, making the cannons useless. Try to match weapons with similar ranges.

    Other things to keep in mind:

  5. When using ion prisms always try to combine two beams of equal strength. An inefficient ion combination can lead to significantly less damage. Using ion prisms is significantly better than not using prisms if adequately protected.

  6. Engine rooms are very useful. They give a 50% thrust force buff to all thrusters that are directly adjacent (touching) and will automatically distribute power to them. Try to make the most of your engine rooms by surrounding them in thrusters on as many sides as possible. This is called a “thruster block.”
  7. Medium and large reactors are much more cost-efficient than smalls, use them when you can. Be aware that they are a bigger investment though so placing them behind many layers of armor and using them on ships with ions, rails, or missiles is recommended due to how easy they are to protect with armor.
  8. Think about the weak points of your ship, where weapons will most likely hit, and where they will do the most damage. Play through battles in your mind (or with creative mode’s battle helper) against different weapons, notice your ship’s weaknesses, and try to fix them.
Introduction
The core concepts in good ship design are:
  • Cost efficiency
  • Logistics
  • Damage control
  • Practicality
These core concepts are the backbone of effective ship building.
All are used when building competitive ship designs. I will have a section in this guide about each of them, and why they are so important. I will also talk about certain things that are important to keep in mind when building. Those will be covered in the “Ship Design Tips” section. Ship types are another piece of useful and necessary information for effective ship building. There is also a section in this guide about that, and another thread dedicated to explaining the ideas behind them: The Meta[forum.cosmoteer.net].

Important note:
You are not going to instantly get better from reading this guide. Improvement comes from effort. You are going to need to actively apply the concepts talked about here, use the resources given, and look for ways you can improve your ships if you expect to genuinely improve. I recommend joining the discord server links and participating in the discussion. Post your ships, ask questions, look through the Excelsior[discord.gg] database (or built-ins), etc.

I’ve included challenge cards throughout the guide so that you can start using the skills you learn. They are challenging, but if you think through them logically you should be able to beat them. If your ship loses, no problem. The important thing is that you learn from that loss and fix your ship’s weaknesses.
Cost-efficiency
Cost-efficiency comes before anything else because almost everything else in ship design ties into it.
Cost-efficiency is the idea of effectively utilizing every part of your ship. Everything from doors to crew to factories can be optimized to increase their cost-efficiency. A ship optimized with cost-efficiency in mind will be able to be bigger, have more weapons, more thrusters, more armor, and generally be more powerful than one that is not optimized.

One example of this cost efficiency is reactor cores. Using all of a reactor’s power means that you are getting use of its full credit value. If you are only using part of the power a reactor can produce you are wasting power, and therefore credits since you pay for power through reactors. So, using only the amount of reactors you need will give you more credits to spend, meaning a more effective, efficient, and powerful ship.

Another example is crew. Only a certain number of crew can be used at once in your ship, and any extra is a waste. Visualize or create a battle between your ship and another. What systems are being used? Is there another ship it could be facing where it could use more systems? Think of the most intense battle your ship could have. For example, firing flak to shoot down projectiles while both shooting and moving. So, now set all the systems your ship would use on autofire and see how much crew it takes. Remove the crew that are still in their bunks, this will save even more money.

Cost-efficiency is also dependent on the other core concepts of ship design since they all affect one another. Your crew becomes more cost-efficient with proper logistics for example. A reactor is not cost-efficient if it will be destroyed before the ship gets use out of it. That’s how damage control ties into cost-efficiency.

So, how do you know how much each reactor size can power? It’s complicated, you will gain a sense for it once you play for long enough, but when you’re starting out it’s best to look at other people's ships to see how much they can power. All of the built-in faction ships are examples of proper reactor usage, and you can find more on the Excelsior[discord.gg] discord server (though keep in mind that most ships are for the classic version since modern hasn't been out long). You can also hold Alt when hovering over a reactor to get its statistics, like power production.

Challenge card
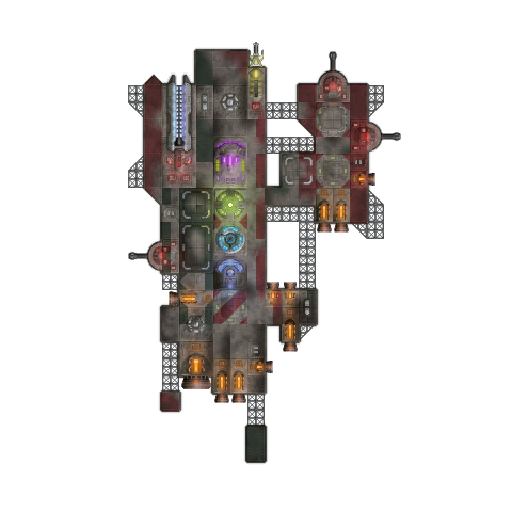
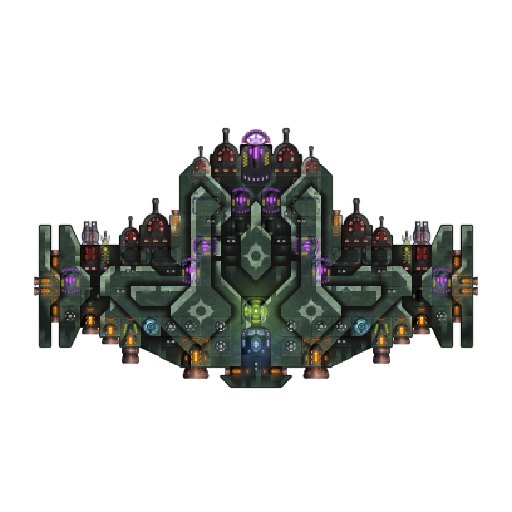
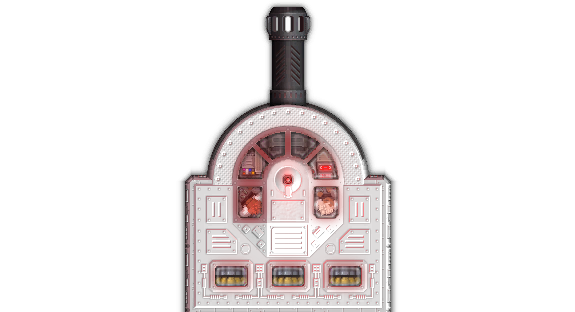
Try to build a ship that can beat a Nusketir while costing less than 135,000 credits (including ammo). You may not use nukes. Battles should be performed using the creative-mode battle helper which you can access through the hamburger menu in the top left. The Nusketir is below, or in the built-in ship library under Fringe -> Combat:

Logistics and Damage Control
These are two of the core aspects of ship design, without good execution of either of these your ships will do very poorly. Logistics is the management of distance from producers (missile factories, reactors, etc.) to consumers (missile launchers, lasers, thrusters, etc.), and the travel of crew between these. Damage control is the management of damage done to your ship.

Logistics:

I've made a video that goes over this part if you prefer that format, though I still recommend reading this section after.

What logistics comes down to at the most basic level is a crew member carrying something from one place to another.

For example, you are making a laser module, you have a small reactor 5 squares (of corridor) away from a heavy laser blaster. Your crew member takes a battery from the reactor and walks the 5 squares, it takes 2.3 seconds to do so, the heavy laser blaster fires 1.78 times a second, this means the laser can only get off 10 shots before it runs out of power (assuming quickest crew response time). Now, have a heavy laser blaster 2 squares away. It can get off 13 shots before it runs out of power (and the laser blaster adjacent gives 25 shots). Now to get the blaster 5 squares away to get up to 13 shots (with a 1 corridor-wide path). Adding 1 extra crew gets it to 12 shots, and adding 2 gets it to 14, this means that on top of the extra 300 in corridors you had to spend 1k more in crew (plus the cost of the room) just because your laser blaster was 3 squares farther away than it needed to be.

This shows how important spacing is, you can end up wasting a lot of money on crew that isn’t needed, or worse, on reactors that you think you need but actually don’t. This also goes for crew quarters, the closer they are to the suppliers (reactors, ammo, missile and mine factories) the quicker they will start to supply the things that need supplies. That being said, there is a balance to this. It doesn't matter how efficiently you place your reactor if it is immediately destroyed.

Using medium and large reactors

Both medium and large reactor sizes produce larger batteries, meaning that they are more crew efficient, or take less crew to supply the same amount of power. Medium reactors produce batteries that are equivalent to 2 small batteries, and larges produce ones equivalent to 3 small batteries.

The main drawbacks of larger reactor sizes are that they make your ship more vulnerable to focus fire and the lack of response time from being farther away from things. Also, the medium and large reactor sizes have extremely large and destructive explosions. The cost-effectiveness heavily outweighs these downsides though. Use large reactors whenever possible.
When using larger reactors it is recommended to use moving walkways to increase the reaction time and speed of your crew if you need to power things more than a few squares away. Still, try to keep everything your reactors power as close as possible to them, and if something gets over ~15-20 squares away try using power storage. If you want to improve your logistics and take full advantage of large reactor sizes I highly recommend using crew management and reading my guide[forum.cosmoteer.net] on it.


Damage control:

Damage control is a necessary part of ship design, you can have all your logistics right and still have a terrible ship because it can't stand up to damage. Minimizing damage is especially important when using cost-efficient medium and large reactors because they are a very centralized form of energy production. Usually, ships will go down one of two paths when it comes to damage control:
  • All-or-nothing

    These ships tend to be barges that use ions, railguns, or missiles due to their ability to be easily
    protected by large amounts of armor. Once their armor shell is broken they will die almost
    immediately because of how fragile the internals are. Don't let this keep you from using the all-or-
    nothing damage control method. In fact, it is generally the most powerful type of damage control
    due to how effective armor is. Tip: use armor weaving for best effect.
    (Sol Renatus)

  • Spread-out

    This type of damage control is used on ships like walls, triangles, and Vs. Most modern ships that
    use the spread-out damage control type still use large or medium reactors, but are divided into
    multiple redundant sections. Usually for a wall this means 3-4 independently-functioning modules
    with a single large reactor each. The idea is that if one gets destroyed the ship still has others to fight with. In order to use turreted weapons, these kinds of ships tend to also be fast. This allows them to dodge fire and engage when they want, retreating to recharge shields if needed. Speed can be a very valuable tool for minimizing damage. Large shields are very effective with these types of ships. Keep in mind that relying on only shields can be a big weakness if the enemy has EB or EMP missiles, which is where speed helps.
    (Banshee)

Reactors (and CRs) are key weak points in your ships, they are the most important to protect.

Reactors should be put behind some amount of armor. It is important to note that the armor does not have to be directly in front of reactors (touching them), and much of the time shouldn't be for logistics reasons. Speed, a good pilot, and more firepower can make up for a lack of armor in front of reactors but it is not recommended when fighting barge-types. Putting thruster blocks, ion modules, and shield modules behind the armor caps of barges is a good way to protect them. On something like a wall you should have shields as close as possible to your reactors for fast recharge.

Something to note is that walkways are also important. If a walkway gets shot through it will completely cut off flow of power and resources down the line. One layer of armor over vulnerable conveyors and corridors, such as those behind flak is recommended.

Practicality
Even with good logistics and cost-efficiency, your ship may not be practical. Practicality is how effective your ship would be in a multiplayer setting.
Ship shape and weapon composition is one factor of practicality, but also speed and effective armoring. Practicality is measured based on many factors, all based on the ships your ship might face in multiplayer. A practical ship will be able to deal with many situations effectively and implement practical design decisions.

One example of a practical design decision is to have all a ship’s weapons able to hit a single frontal target. Ships with weapons facing in multiple directions won’t be able to use their full power against a single ship. Single ships are vastly more common in multiplayer (and singleplayer) so weapons facing directions in which they can’t hit a single forward target are a waste of money, and so are not cost-efficient in the slightest. Weapons that go unfired are a waste of credits.

Another example of practical ship design is including a lot of forward thrust on an ion, cannon, or laser design since otherwise it might not be able to catch a kiting missile or rail ship.
I talk more about practical ship design in my post on The Meta[forum.cosmoteer.net].

Challenge card
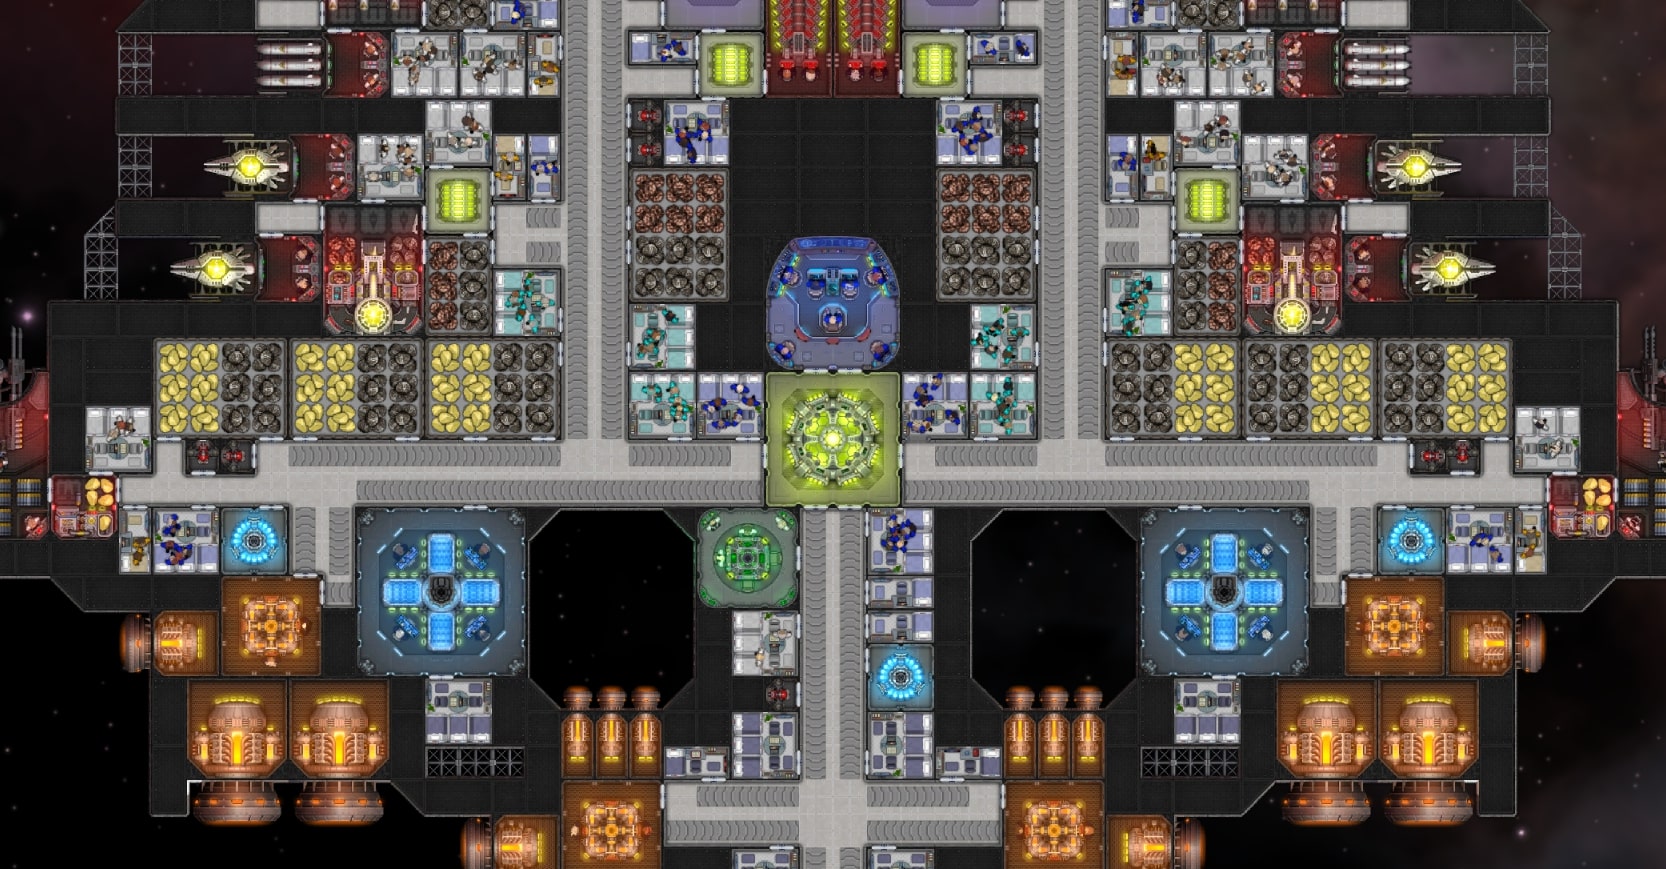
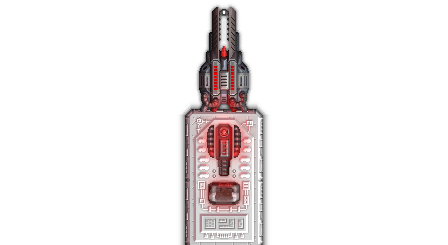
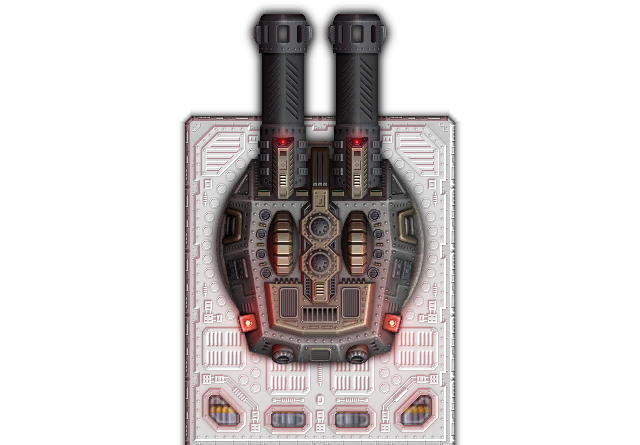
Try to build a ship that can beat a Raptor while costing less than 425,000 credits (including ammo). You may not use nukes. Battles should be performed using the creative-mode battle helper which you can access through the hamburger menu in the top left. The Raptor is below, or in the built-in ship library under Fringe -> Combat:
Ship Design Tips
Ion prisms:
Ion prisms have some not immediately obvious combination rules, well, if you didn’t read the tutorial (which it seems nobody does). As the tutorial says the optimal way to combine prisms is in a “fractal” pattern of 2 into 1, 2 of those into 1, etc. The damage of an inefficiently combined beam drops off quickly. You will notice a very big difference if you combine your ions properly. That being said, it is still always better to combine as little as possible for the maximum efficiency, so using the prism targeting feature in the bottom left of the screen to focus multiple end beams onto one point is more efficient, more practical, and more cost-effective than combining into one big beam.
Doors:
Doors are often overlooked, but they are a very important part of logistics. Improperly placed doors (usually auto-placed by the game) can lead to very long and unnecessary walks for crew. Doors are also very expensive, so cutting down on them and only using the bare minimum can save a lot more money than you’d expect, increasing cost efficiency. Saris has a good video on this.
Useful settings:
There are a few very handy settings that will make building effective ships easier. First, there’s a setting to turn off door auto-placement. The game does not place doors in an efficient way, and so it can lead to a lot of problems. Second, there’s a setting to show part statistics by default. If you already know what all the parts do this setting can make it easier to understand how to use them. For example knowing how much power a reactor produces is helpful so that you can know how many ions it is able to power.
Power, crew, and ammo bars:
In the bottom right are the power, crew, and ammo bars. Don’t trust them. The only reason you should look at them is to see if you have too much of something. If any of your bars are over the recommended, or even at it, you can either get rid of crew and ammo, or add more things to use up your power and ammo. Figure out how much power, ammo, and crew you need through testing, not through what the bars show you.
Thrusters:
For maximum cost efficiency, you always want to have as many of your thrusters as possible connected to engine rooms. Each thruster directly adjacent will get both a 50% thrust force bonus, and a 50% power requirement increase. Essentially, for every thruster connected to an engine room, you get half a free thruster! Still need to power them, though. Engine rooms also have the ability to distribute power to adjacent thrusters, so doors to the thrusters are not a necessity, increasing crew efficiency.
Reactors:
I talked about how to use medium and large reactors, but what exactly is their cost benefit over smalls? Well, here’s an example. One large reactor costs 75k credits, and produces 13.5 power a second. Nine small reactors also produce 13.5 power per second, but cost a whopping 225k! As for mediums, three of them produce 13.5 power/second and they cost 150k! So, as you can see large reactors, or at least mediums, are more cost-efficient by a huge amount. This doesn’t even include the crew efficiency bonus for using larger reactor sizes which I talked about earlier.
Armor vs Shields vs Flak/PD:
Armor, shields and flak all have their separate uses. Shields are used on ships that will be able to get out of harm's way quickly to take advantage of the shield’s ability to regenerate. Shields are also one of the only defense systems able to protect surface weapons other than flak and PD. Flak and PD are usually placed in positions where they will be most effective against missiles, so PD wants open flat spaces where it can focus-fire, and flak should to be placed as if it has no firing arc, so spread out along walls and on the sides of barges. Armor is used for protecting important components, and is much more cost-effective HP-wise than shielding. A small shield has 15k HP and costs 5000 credits, while 4 pieces of armor have 16k HP and only cost 800 credits.

Weapon Guide
There are currently 16 weapons in the game, 3 of which are just larger versions of another weapon. Each weapon has its own unique feature/trait, which is what keeps the game interesting. Learning what these weapons do, and how to combine them effectively will help you plan your ships better. Also, remember that turrets (not including barrels) of weapons have hitboxes as well, so if they are sticking out of a shield they won't be protected. Roof weapons will block each other as well.

Weapon range is important. Cannons, Disruptors, Mining Lasers, Flak, and PD have the shortest range, then Lasers and Nukes, then Ions and HE Missiles, and finally Railguns and EMP Missiles as the longest range. Anything in one of these "brackets" can semi-easily kite anything in a lower bracket.

Small laser:
The small laser is the cheapest weapon. Its wide firing arc allows it to fire completely to the side and some behind it. It is mostly useful on small ships as a main weapon.


Heavy laser:
The heavy laser is a larger version of the small one, it requires slightly more energy than 3 small lasers but takes up 2 surface area instead of 3. This surface area saving comes at a price though, the projectile speed is slower, meaning it can have problems hitting a kiter. Also has an alternate fire mode for it's 2 barrels.


Disruptor:
The disruptor is the only weapon that can penetrate shields. It has the same firing arc as the small laser but one of the shortest ranges in the game. Good vs stacked shields due to its ability to penetrate 2 shields and hit the last, draining power from all of them.


Standard cannon:
(The factory to cannon ratio for standard is 1:2.)

The standard cannon, also known as the small cannon is the smallest of the cannons. It is a good source of DPS and only requires ammo to fire. This can come from storages, directly from factories, or from storages that are supplied by factories between fights. Cannons and railguns can penetrate into a ship after the initial hit doing more damage and starting fires (this is what fire extinguishers are for!). The faster projectile velocity compared to the larger cannon sizes makes it better at focused-fire and hitting faster targets.


Large cannon:
(The factory to cannon ratio for Large is 1:1.)

The large cannon is a larger version of the standard cannon (hence the name), its shots do more damage but are a fair bit slower. They both have the same firing arc. Usually the best alpha strike weapon, now alongside the deck/roof cannon.


Deck cannon:
(The factory to cannon ratio is technically 4:1 but 2-3:1 is better)
The deck cannon is the only roof-mounted weapon other than the mining laser. Its ability to fire over the rest of your ship means you can put it behind surface-mounted weapons for better concentration of firepower. This also means you can hide it behind armor and shields where it is very unlikely to be hit, similar to ions (with prisms), missiles, and rails.


Ion beam:
The ion beam is the only continuous damage weapon in the game other than the mining laser. It fires in a fixed direction and can be combined into extremely powerful focused beams by using ion prisms. When using ions make sure they are as close as possible to your reactors! More so than any other part you must put your ion beams close to reactors. Best used in large numbers with ion prisms in what is called an “ion core” these ion cores can be buried beneath layers of armor and shielding.


Ion Prism:
The ion prism is a weapon augment that allows the player to combine multiple ion beams together or to just add a turret ability to the existing ion beam. Combining beams gives drawbacks though, each beam firing into a prism will contribute 25% less power (as in damage) than the previous. So the most efficient way to combine them is to always combine two beams of equal strength. And the second version, making ions turreted, generally requires exposing your prisms, which explode with more intensity based on the amount of power flowing through them.
Check out Captian Redstone's Ultimate Guide to Prisms[forum.cosmoteer.net] if you haven't yet.

HE missile launcher:
(The factory to launcher ratio is 1:2)

The HE missile launcher is a "setting" of the Missile and Mine Launcher that fires HE missiles and requires access to HE missile parts, either from a storage or factory. These missiles are really easily taken down by flak but are good when spammed (although flak will always be its counter). HE, EMP, and nuclear missiles are the only actively tracking weapons in the game at the moment, which makes them able to be put on the sides or even back (not for nukes) of a ship and still hit a target anywhere in range. All missile and mine factories get a buff when they are adjacent to each other, so if possible it is a good idea to put a couple of them together. Just remember that it is much more important that they be close to the launchers, so nothing over a 2 square walk through corridor.


EMP missile launcher:
(the factory to launcher ratio is 1:2)

The EMP missile launcher is a "setting" of the Missile and Mine Launcher that fires EMP missiles and requires access to EMP missile parts, either from a storage or factory. It has great power drain when it hits but is slow to reload. Highly effective at taking down large shields. When hitting armor its EMP effect is absorbed by the armor, though this can be overcome by multiple hitting in relatively short succession. They are tied with railguns as the longest-range weapon.


Nuke launcher:
(the factory to launcher ratio is 1:2)

The Nuke launcher is a "setting" of the Missile and Mine Launcher that fires nukes and requires access to nuke parts, either from a storage or factory. Nukes have a short aiming period after they're fired at which point they will rapidly accelerate to high speeds and deliver devastating AOE damage. Because the damage of the blast expands in a shockwave it's best to stagger your nuke hits, so that you wait until one nuke has expended most of its damage before the next hits. Once the aiming phase is over it is very hard to shoot down nukes due to their speed and health. Mass-PD/Flak or dodging (requires a really fast ship) is your best bet at this point, which is why trying to shoot them down during the aiming phase - or out-ranging them - is best.


Mine launcher:
(the factory to launcher ratio is 1:1 or 1:2. The mine factory requires ammo and power to produce mines.)
The Mine launcher is a "setting" of the Missile and Mine launcher that fires Mines and requires access to mine parts, either from a storage or factory. They are NOT to be used as a primary weapon since they are easy to shoot down or fly around, and don't actually do much damage against ships not flying fast. They are good, however, against fast ships with very little strafe and/or reverse thrust to move out of the way.


Railgun:
(The factory to rail ratio is 1:1)

Railguns are tied with EMP missiles as the longest-range weapons in the game. They are the only “modular” weapon in the game, meaning you build the weapon out of multiple pieces. Hovering over one part of the weapon will tell you how to make one. Railguns can be protected the same way as ions: by putting them in an armor tunnel. Finding a good balance between range and easy protection and firepower is key to a rail ship.
By far the best way to use railguns is with "fanning". Saris' video on this can be found here.


Chaingun:
(The factory to chaingun ratio is variable and irrelevant)

Chainguns are a mid-range "burst damage" weapon that will slowly ramp up its firing rate the longer it fires, which is dependent on how many magazines are attached to either side. When not firing their shell makes them somewhat survivable. Having the widest firing arc of any turret weapon, and with magazines being mounted on the side, often the most optimal configuration is to place chainguns facing 90 degrees sideways (like is possible with laser blasters) and treat them similar to rails or ions by putting them in a tunnel to fire out through a central point. This way their magazines can be mounted vertically, allowing for better defense and logistics.


Tractor beam: (not necessarily a weapon)
Although it can't do damage the tractor beam can be quite annoying by making ships over-turn or go into a spin. They are mostly useful for preventing ramming in MP. They require a significant amount of power, so putting a couple close to a large reactor is recommended.

Flak battery:
The Flak battery, or flak, is both a weapon and defense (like PD), it is great at providing defense against focus fire and missile spam with a low energy cost due to using ammo and not power. The main challenge when using flak is placement, it has such a small firing arc it can almost be treated as having none, this forces you to put flak in very different spots than you would normally think to. You might have to manually face your ship toward arcing missiles.
Flak can be a potent weapon when in large numbers, and its hitscan nature as well as ability to double as defense makes it a viable secondary weapon.


Mining laser:
The mining laser is a bad weapon, don't use it unless you have to (which you don't).


Weapon combinations:

In general, if you're going with missiles, nukes, ions, or rails it's best to stick to just that type of weapon, while if you're going with turret weapons feel free to mix them. Flak and/or PD are pretty much always useful, and flak can be a decent weapon on some ships. Hybrids are of course possible, missiles + some other weapon being the most popular and effective, but just make sure they don't interfere with each other like a railfan (which rotates side to side) with spinal ions.
EBs go good with all short to mid-ranged weapons as long as your ship is fast enough to close distance and use them. Some ion rammers use EBs in their ion tunnels to supplement them while ramming, but usually it's not necessary.
TBs are great at preventing ramming, so go well on ship types like railfans which need to keep distance to deal their damage.

Challenge card
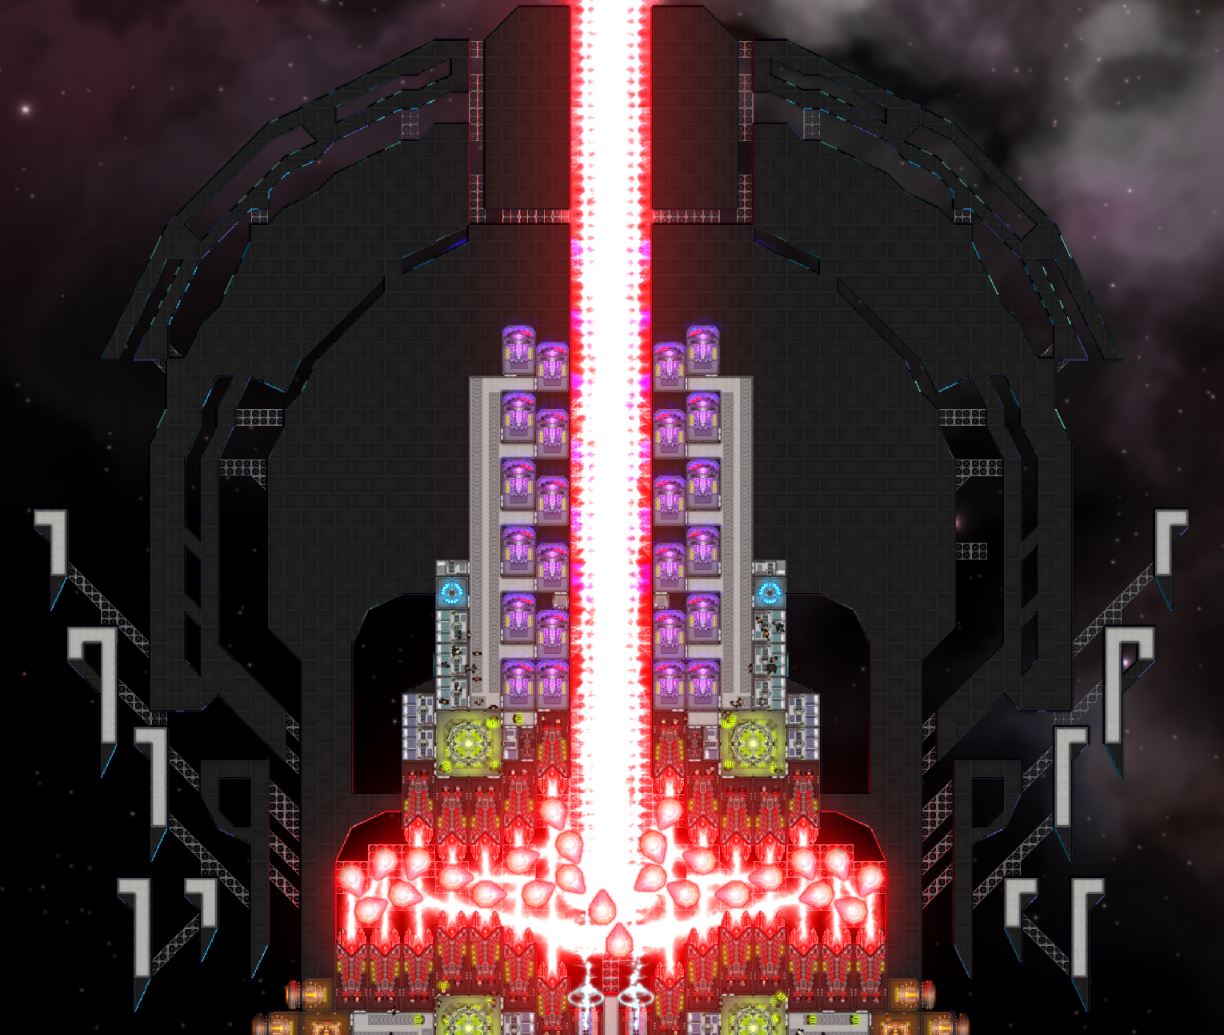
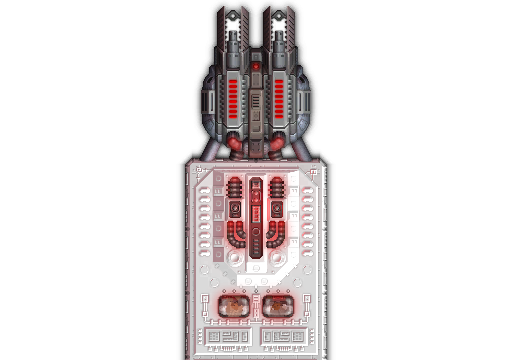
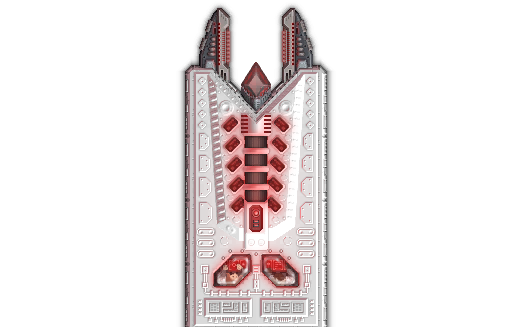
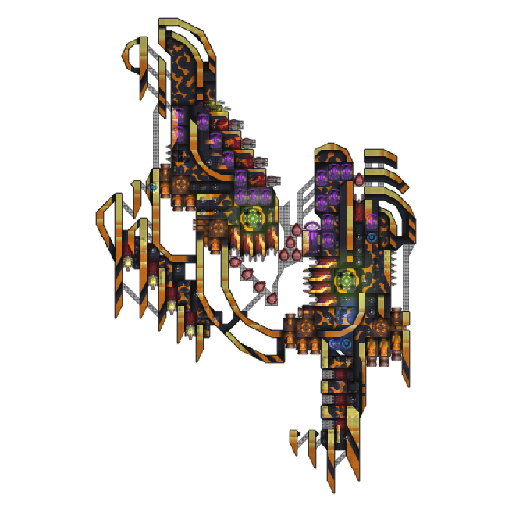
Try to build a ship that can beat a Acolyte of Adhara while costing less than 950,000 credits (including ammo). You may not use nukes. Battles should be performed using the creative-mode battle helper which you can access through the hamburger menu in the top left. The Acolyte of Adharais below, or in the built-in ship library under Cabal -> Combat:
Ship Types
Thanks to the wonderful people who work on the wiki for putting together this page:
https://cosmoteer.wiki.gg/wiki/Guides_Hub/Ship_Archetypes
39 Comments
Scarlet flame 24 Jul @ 3:17am 
i wish i found this earlier, ill be religiously reading this
Talo 1 Jan @ 11:15pm 
This needs an update. Lots of things have changed.
greg 22 Nov, 2024 @ 6:13pm 
managed to beat nusketir with the worst ship ever that just had a ion prism and a beam
Air 24 Aug, 2024 @ 11:15am 
new player bible 👍
nepholaz 5 Nov, 2023 @ 12:43am 
Note on the ion prisms, the 2 output prisms can be further optimized by aiming them manually to make the output beams more compact. To aim them manually, hold ctrl while aiming prim to freely aim. Then build a bracket of structure in front of your ship for convenience (you can demolish it afterward), then auto fire the ions and aim on the bracket, check the output of the beams, if the beams melt into 1 beam at the end, you get more bang out of your ions
nepholaz 5 Nov, 2023 @ 12:17am 
Note on weaving armor, if you weave it, weave it horizontally from where the damage is expected, if you do it wrong or you get fired against the wrong angles, your armor will be just as effective as non-weaved armor.
nepholaz 5 Nov, 2023 @ 12:13am 
PS: The armor on the DIY ship isn't effective at all, since its not weaved. To place armor "correctly" you gotta build it like a brick wall, like this:
0XX0
XXXX
(XX = 1x2 armor 0= 1x1 armor or wedges etc.)

If you weave your armor, you can get more effective armor than actual armor. Since it divides the damage to the armor blocks (it goes from damaging 1 block to 2 blocks to 1 block in a fight, so the damage will sometimes divided by 2, what would mean that it takes a bit more time to chew through your armor). Same goes for building diagonally, It does wonders for armor, especially if you build diagonally and weave your armor.
nepholaz 4 Nov, 2023 @ 11:37pm 
Also, since your large reactors are running at their power cap, if the shields sustain damage, they will stress the power network. (damage = more power usage). Since you only have a capacitor, that capacitor will run empty and the crew members that are assigned to it must wait in line because the reactor is running at its limit. (small) Shields that are directly powered by (small) reactors and enough crew, are much harder to take down than shields powered by a capacitor.

Anyways those are my thoughts on the video guide, I hope this feedback helps
nepholaz 4 Nov, 2023 @ 11:37pm 
The shields in front with the capacitor (capacitors suck btw);
The thing is with the dilemma of small reactors vs capacitors. In my opinion, since you got a beefy armored front, you can get away with placing a small reactor at your shields instead of a capacitor and I think its even more efficient because you require less crew (no filler role needed) and all crew at the shields, just ship energy from reactor to shields without them going without power. (and less travel distance)

(to be continued)
nepholaz 4 Nov, 2023 @ 11:36pm 
@OneEye

Nice video guide, thank you for taking your time to make this. I have some feedback though on the DIY ship example.

In the video guide, you explained that you don't place doors everywhere you can place doors, (some other guides even say, don't place double doors, if you can help it). But I saw you place some doors that are useless, double doors on one of the shields for example.

Also the 2 ion emitters in the middle next to the reactor have their doors placed incorrect. You placed both doors in the middle of the reactor which means the energy suppliers must walk around the entire reactor to power those emitters, if you place the doors one unit to the side, it saves you 2 meters of walk distance ( actual 1 meter but with 50% walk speed in the reactor, I count it as 2).

(to be continued)