

Install Steam
login
|
language
简体中文 (Simplified Chinese)
繁體中文 (Traditional Chinese)
日本語 (Japanese)
한국어 (Korean)
ไทย (Thai)
Български (Bulgarian)
Čeština (Czech)
Dansk (Danish)
Deutsch (German)
Español - España (Spanish - Spain)
Español - Latinoamérica (Spanish - Latin America)
Ελληνικά (Greek)
Français (French)
Italiano (Italian)
Bahasa Indonesia (Indonesian)
Magyar (Hungarian)
Nederlands (Dutch)
Norsk (Norwegian)
Polski (Polish)
Português (Portuguese - Portugal)
Português - Brasil (Portuguese - Brazil)
Română (Romanian)
Русский (Russian)
Suomi (Finnish)
Svenska (Swedish)
Türkçe (Turkish)
Tiếng Việt (Vietnamese)
Українська (Ukrainian)
Report a translation problem


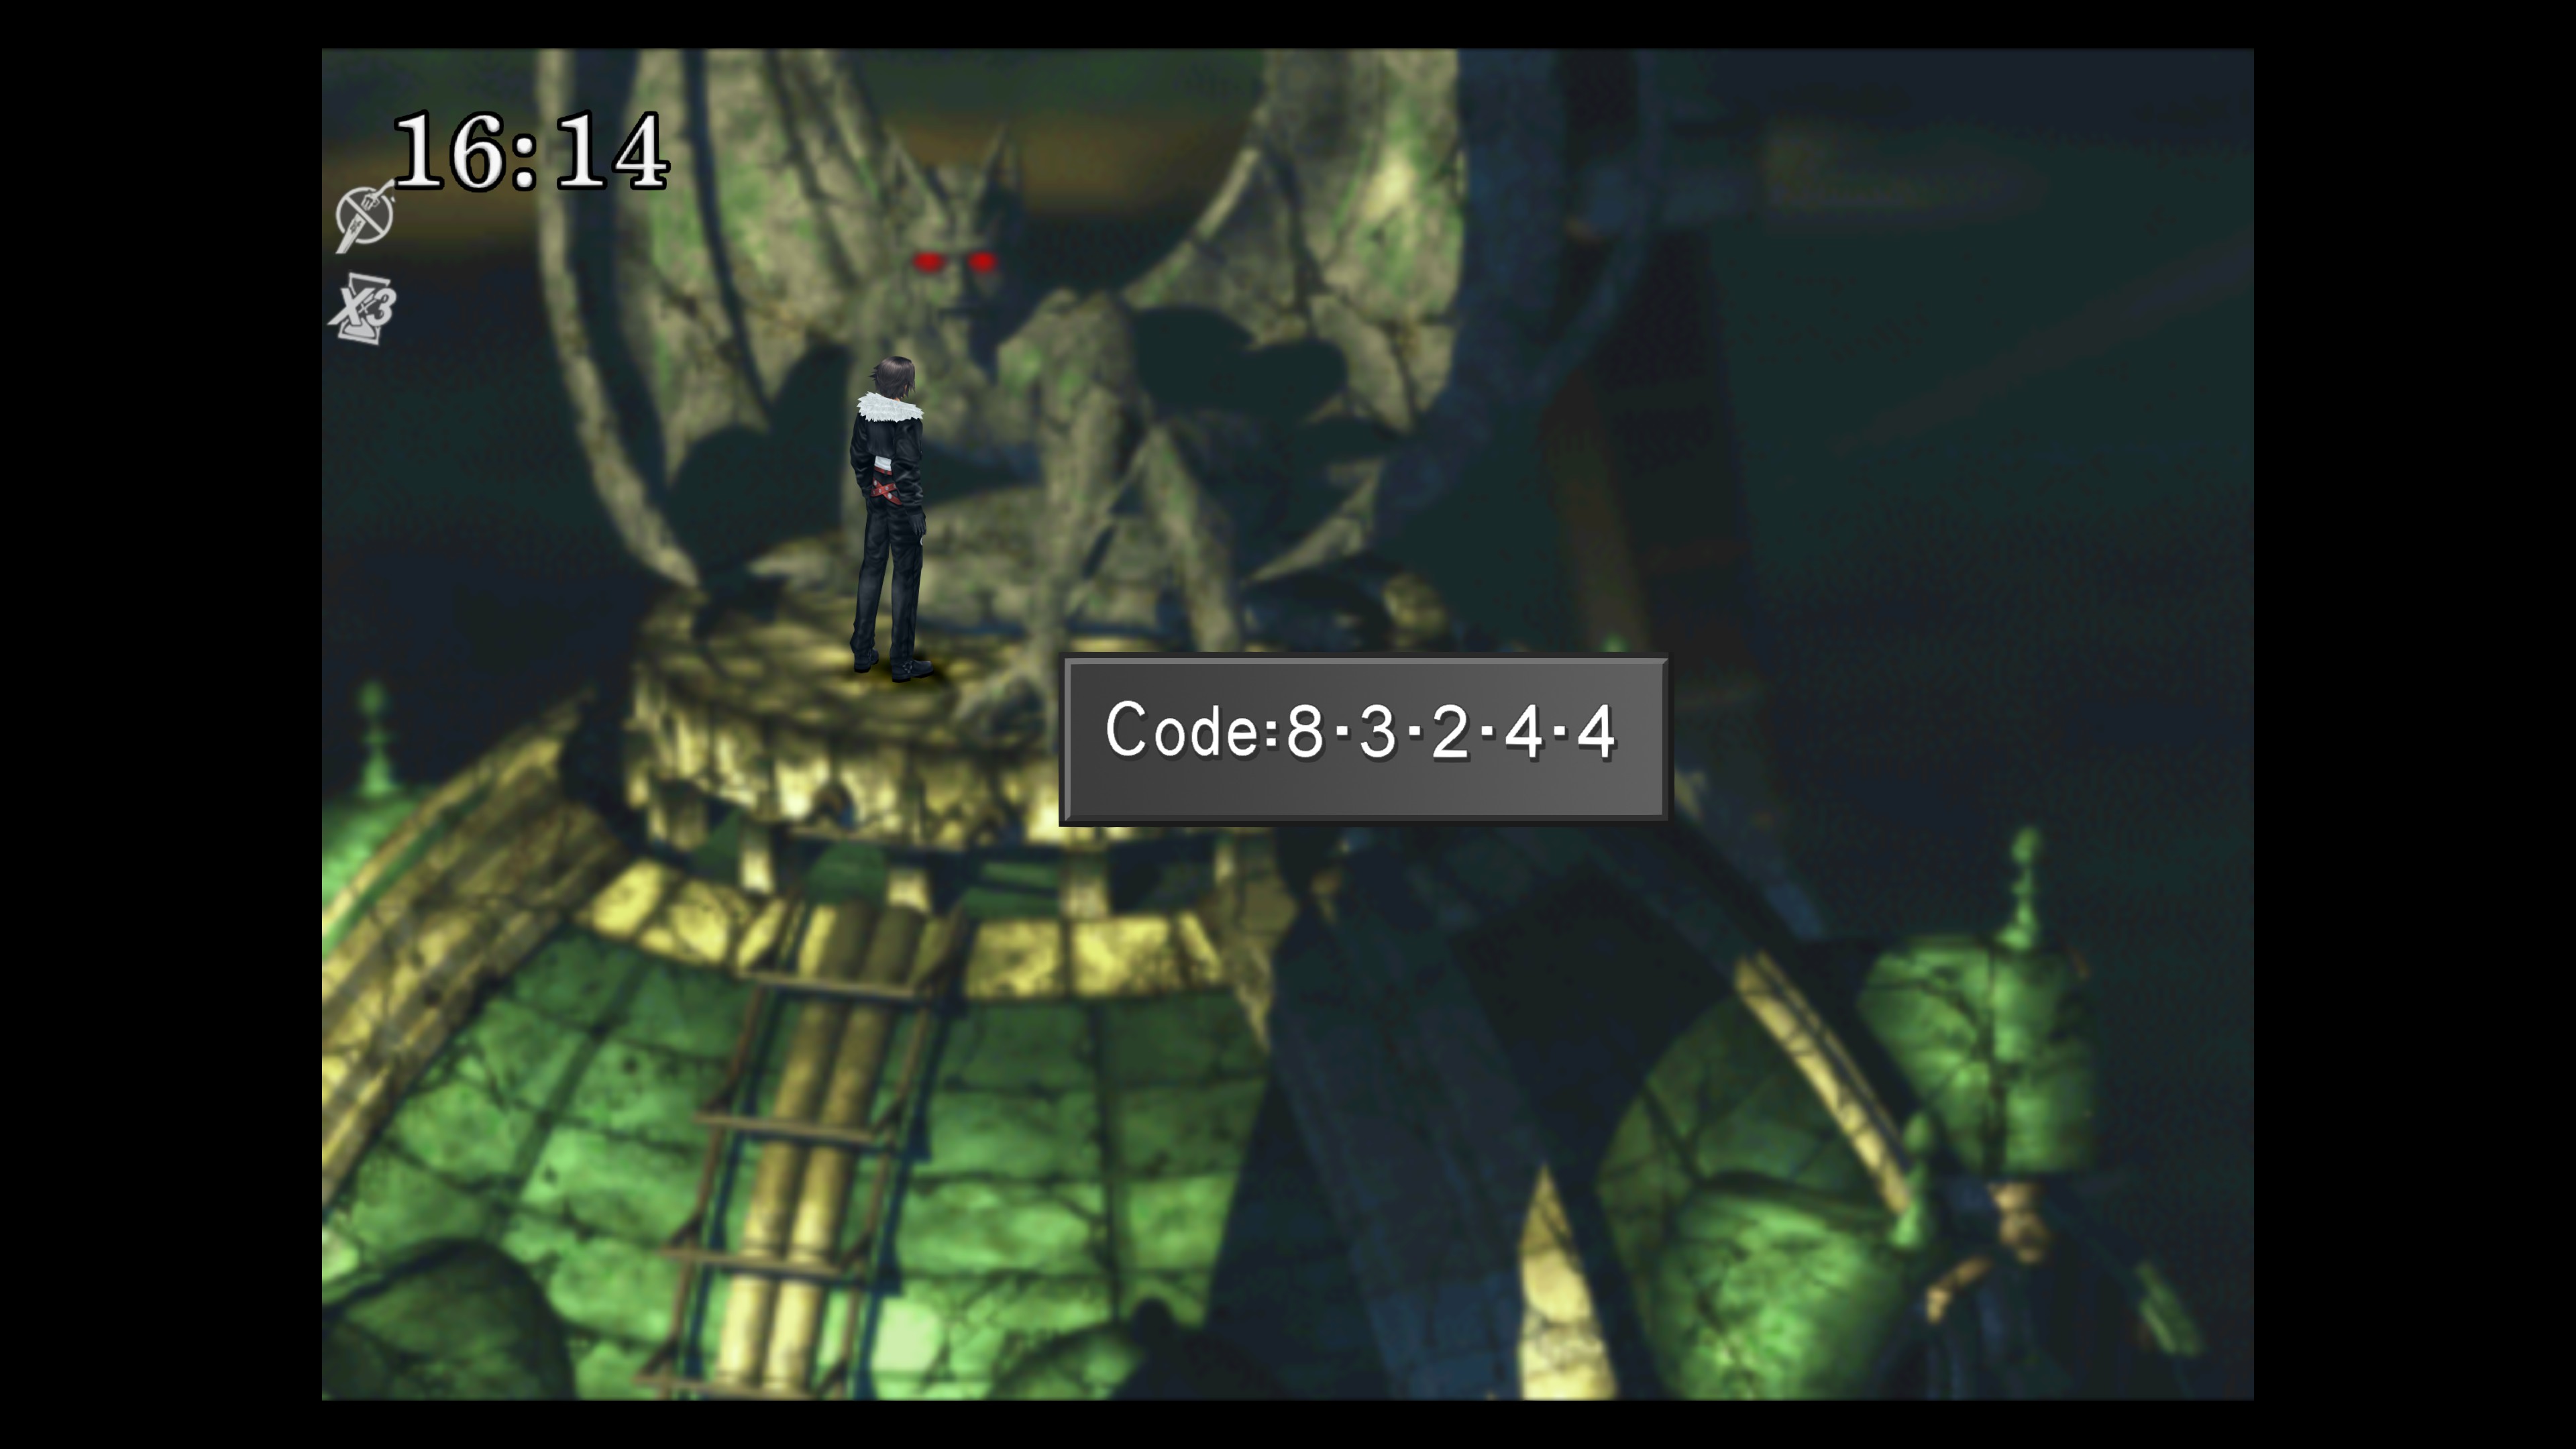


When I went up and down screens twice from an outside Dollet save, I got Same Spread every time.
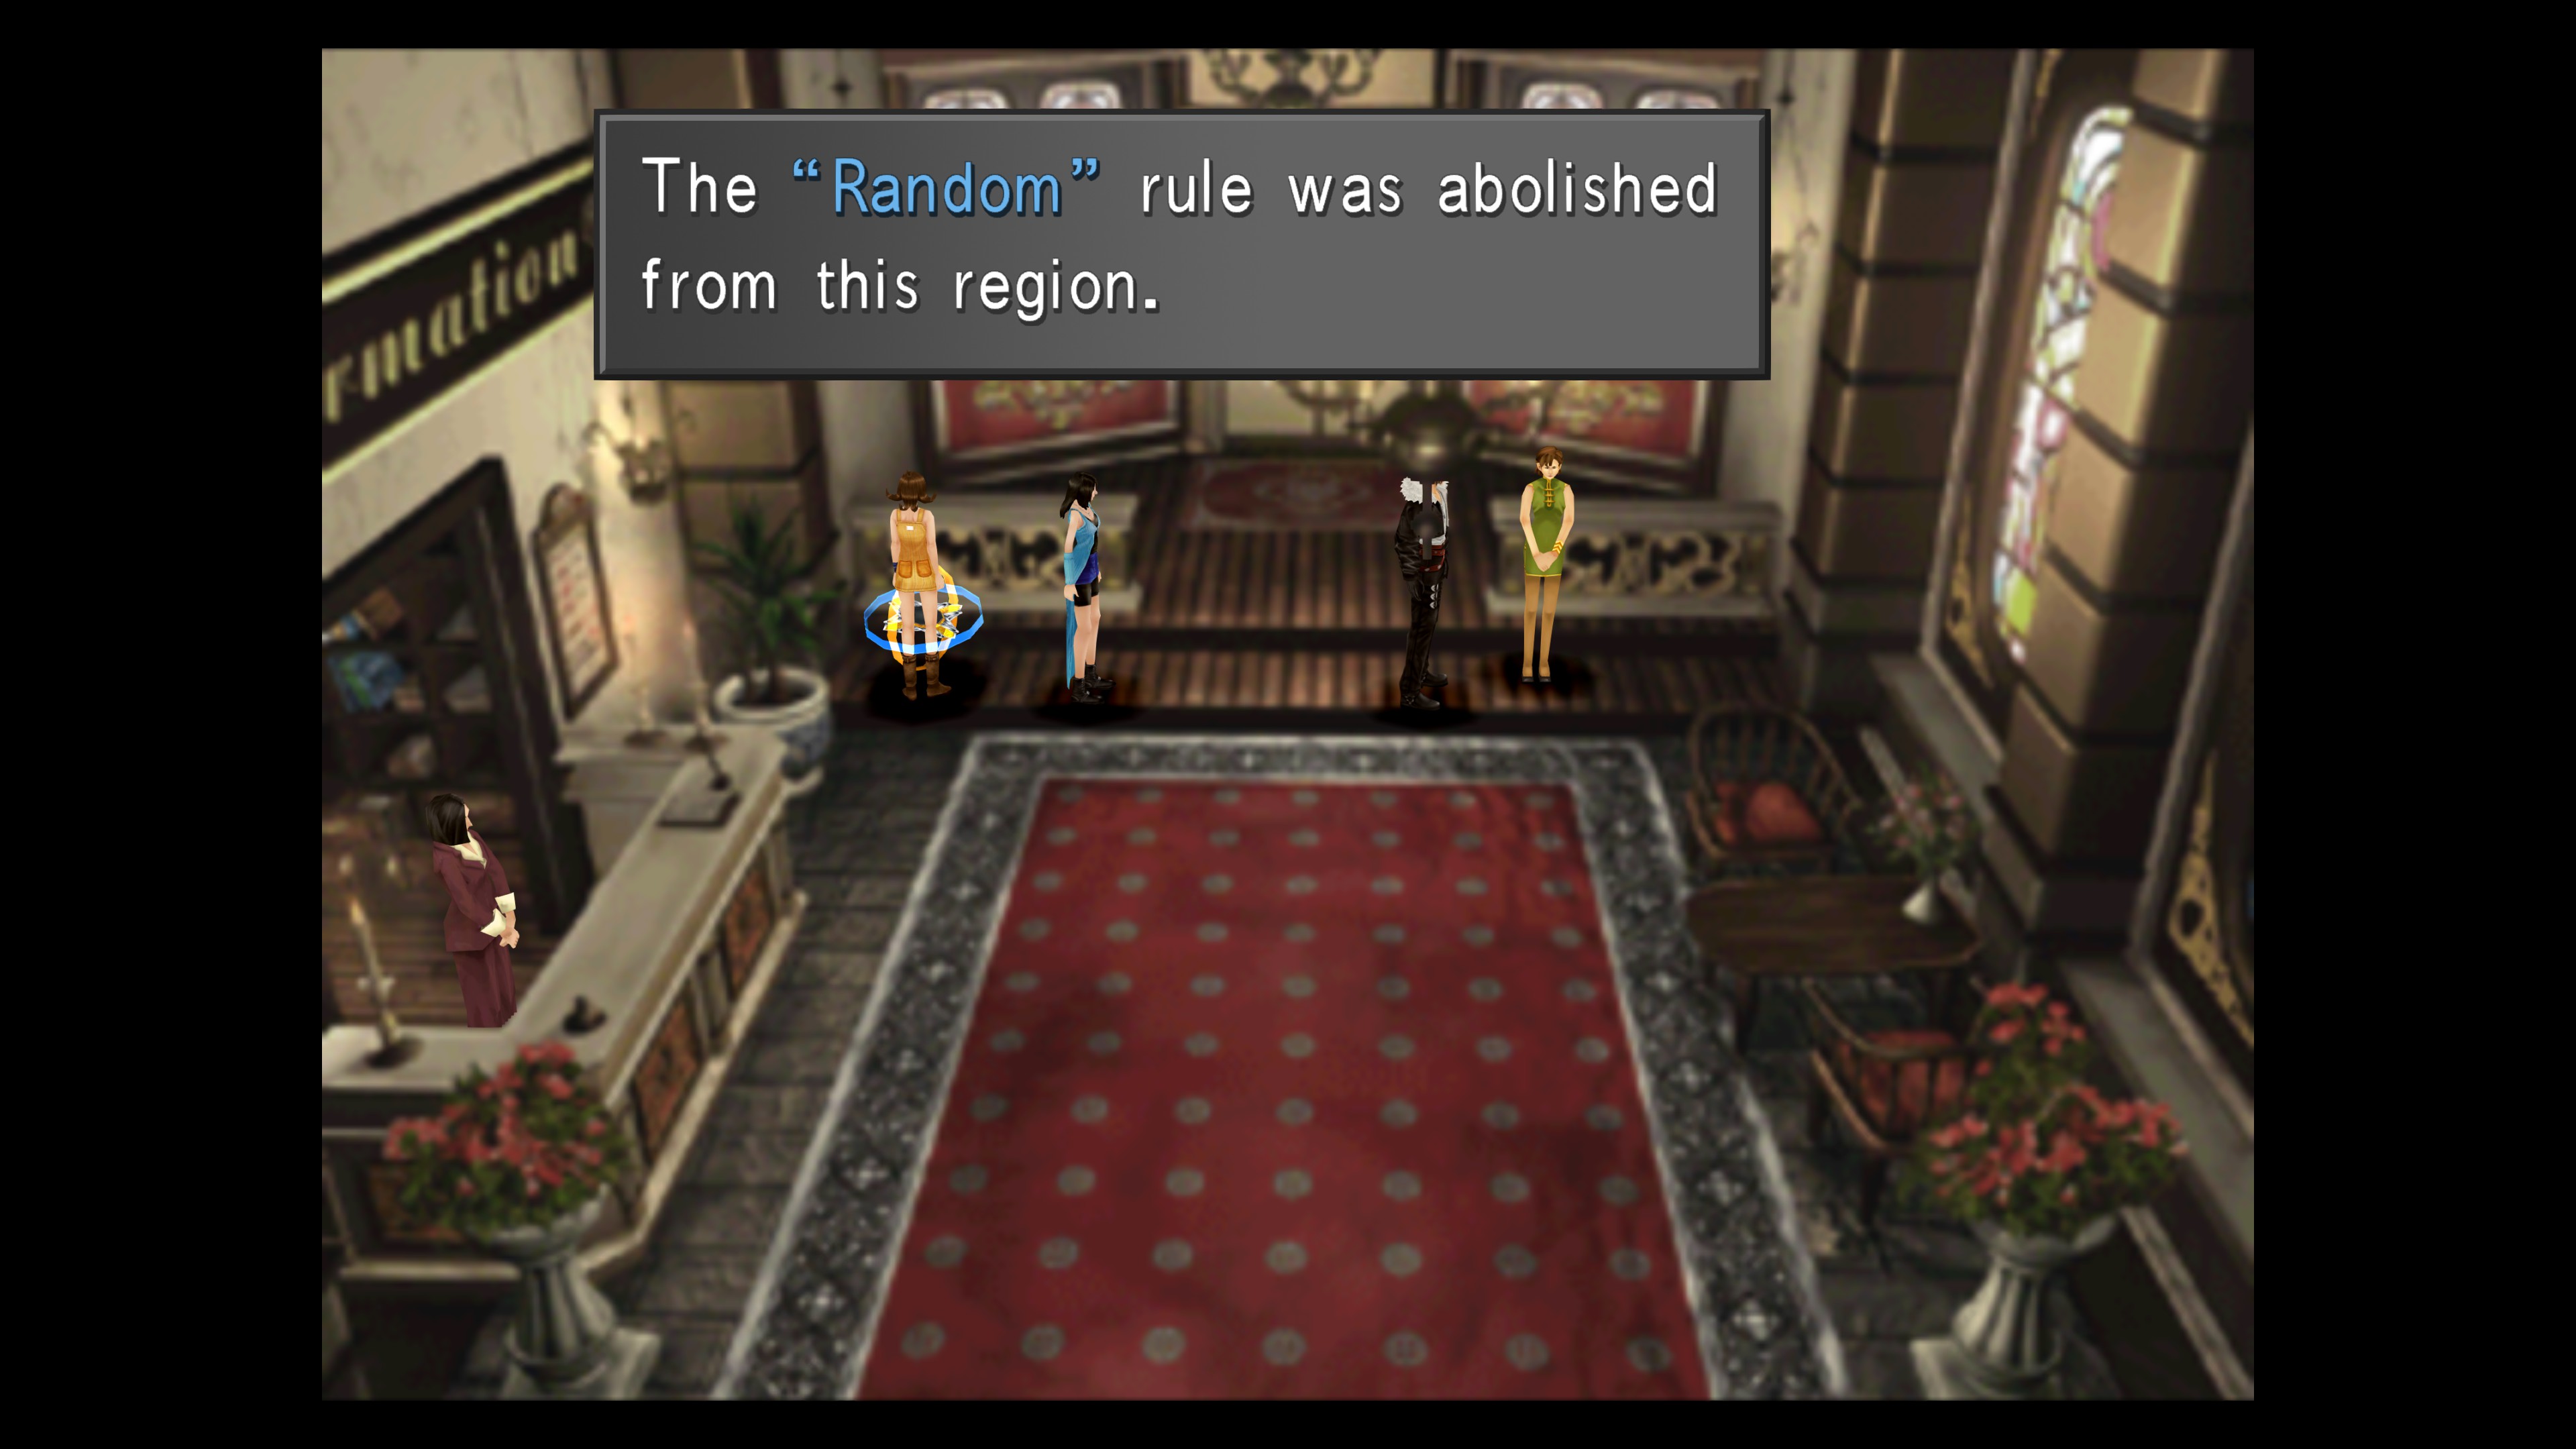
When I went up and down screens 3-4 times I got abolish Open every time.
So I tried increasing it each time to see the result, eventually I got Abolish Random after going up and down 6 times.. so I think the theory does have merit.
Players may have different results though so if the 2 times doesn't work for you and you keep getting the same result, try increasing how many times you go up and down screens, it worked for me.
It says in your guide: Once you gain control of Irvine during the preparations for the Garden Festival head back to the library and speak with the girl.
>Just thought it might be missleading when that actually is.
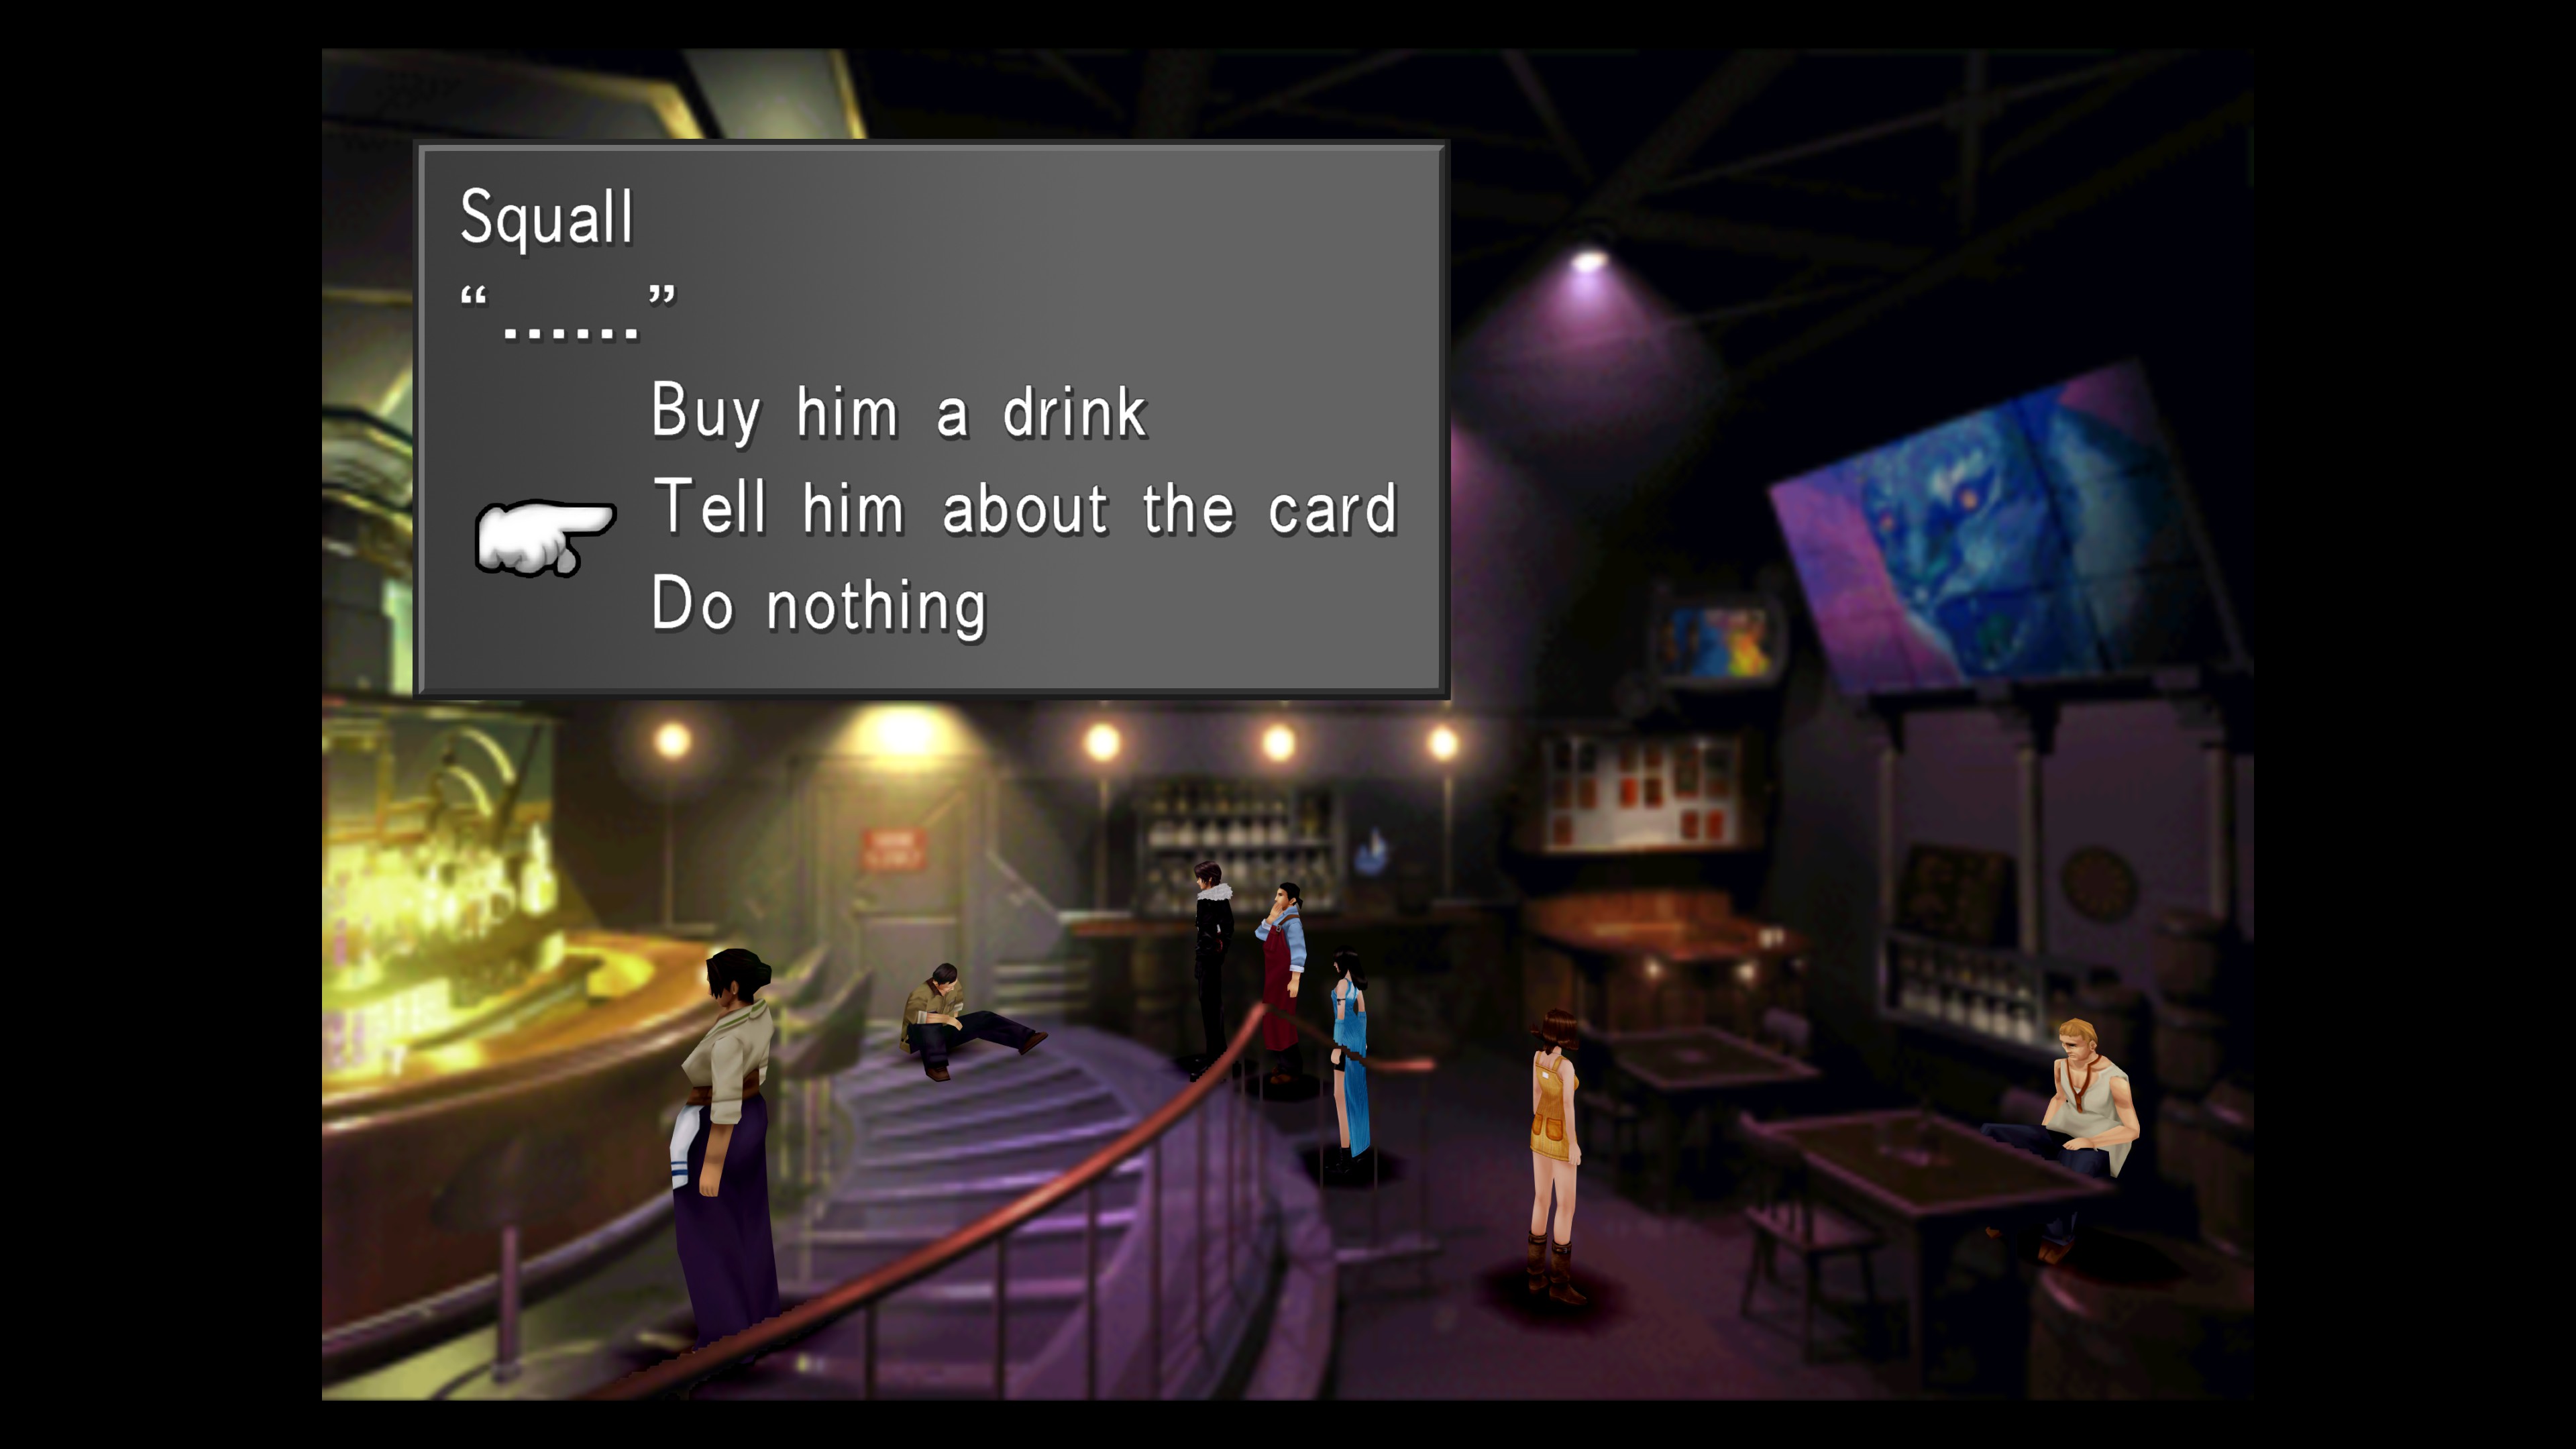
Also, Salty, what do you mean walk away with Irvine? what purpose does that fulfill?
At the moment I'm just before Balamb: Revisit and the other parts from the Side Quest worked alright.
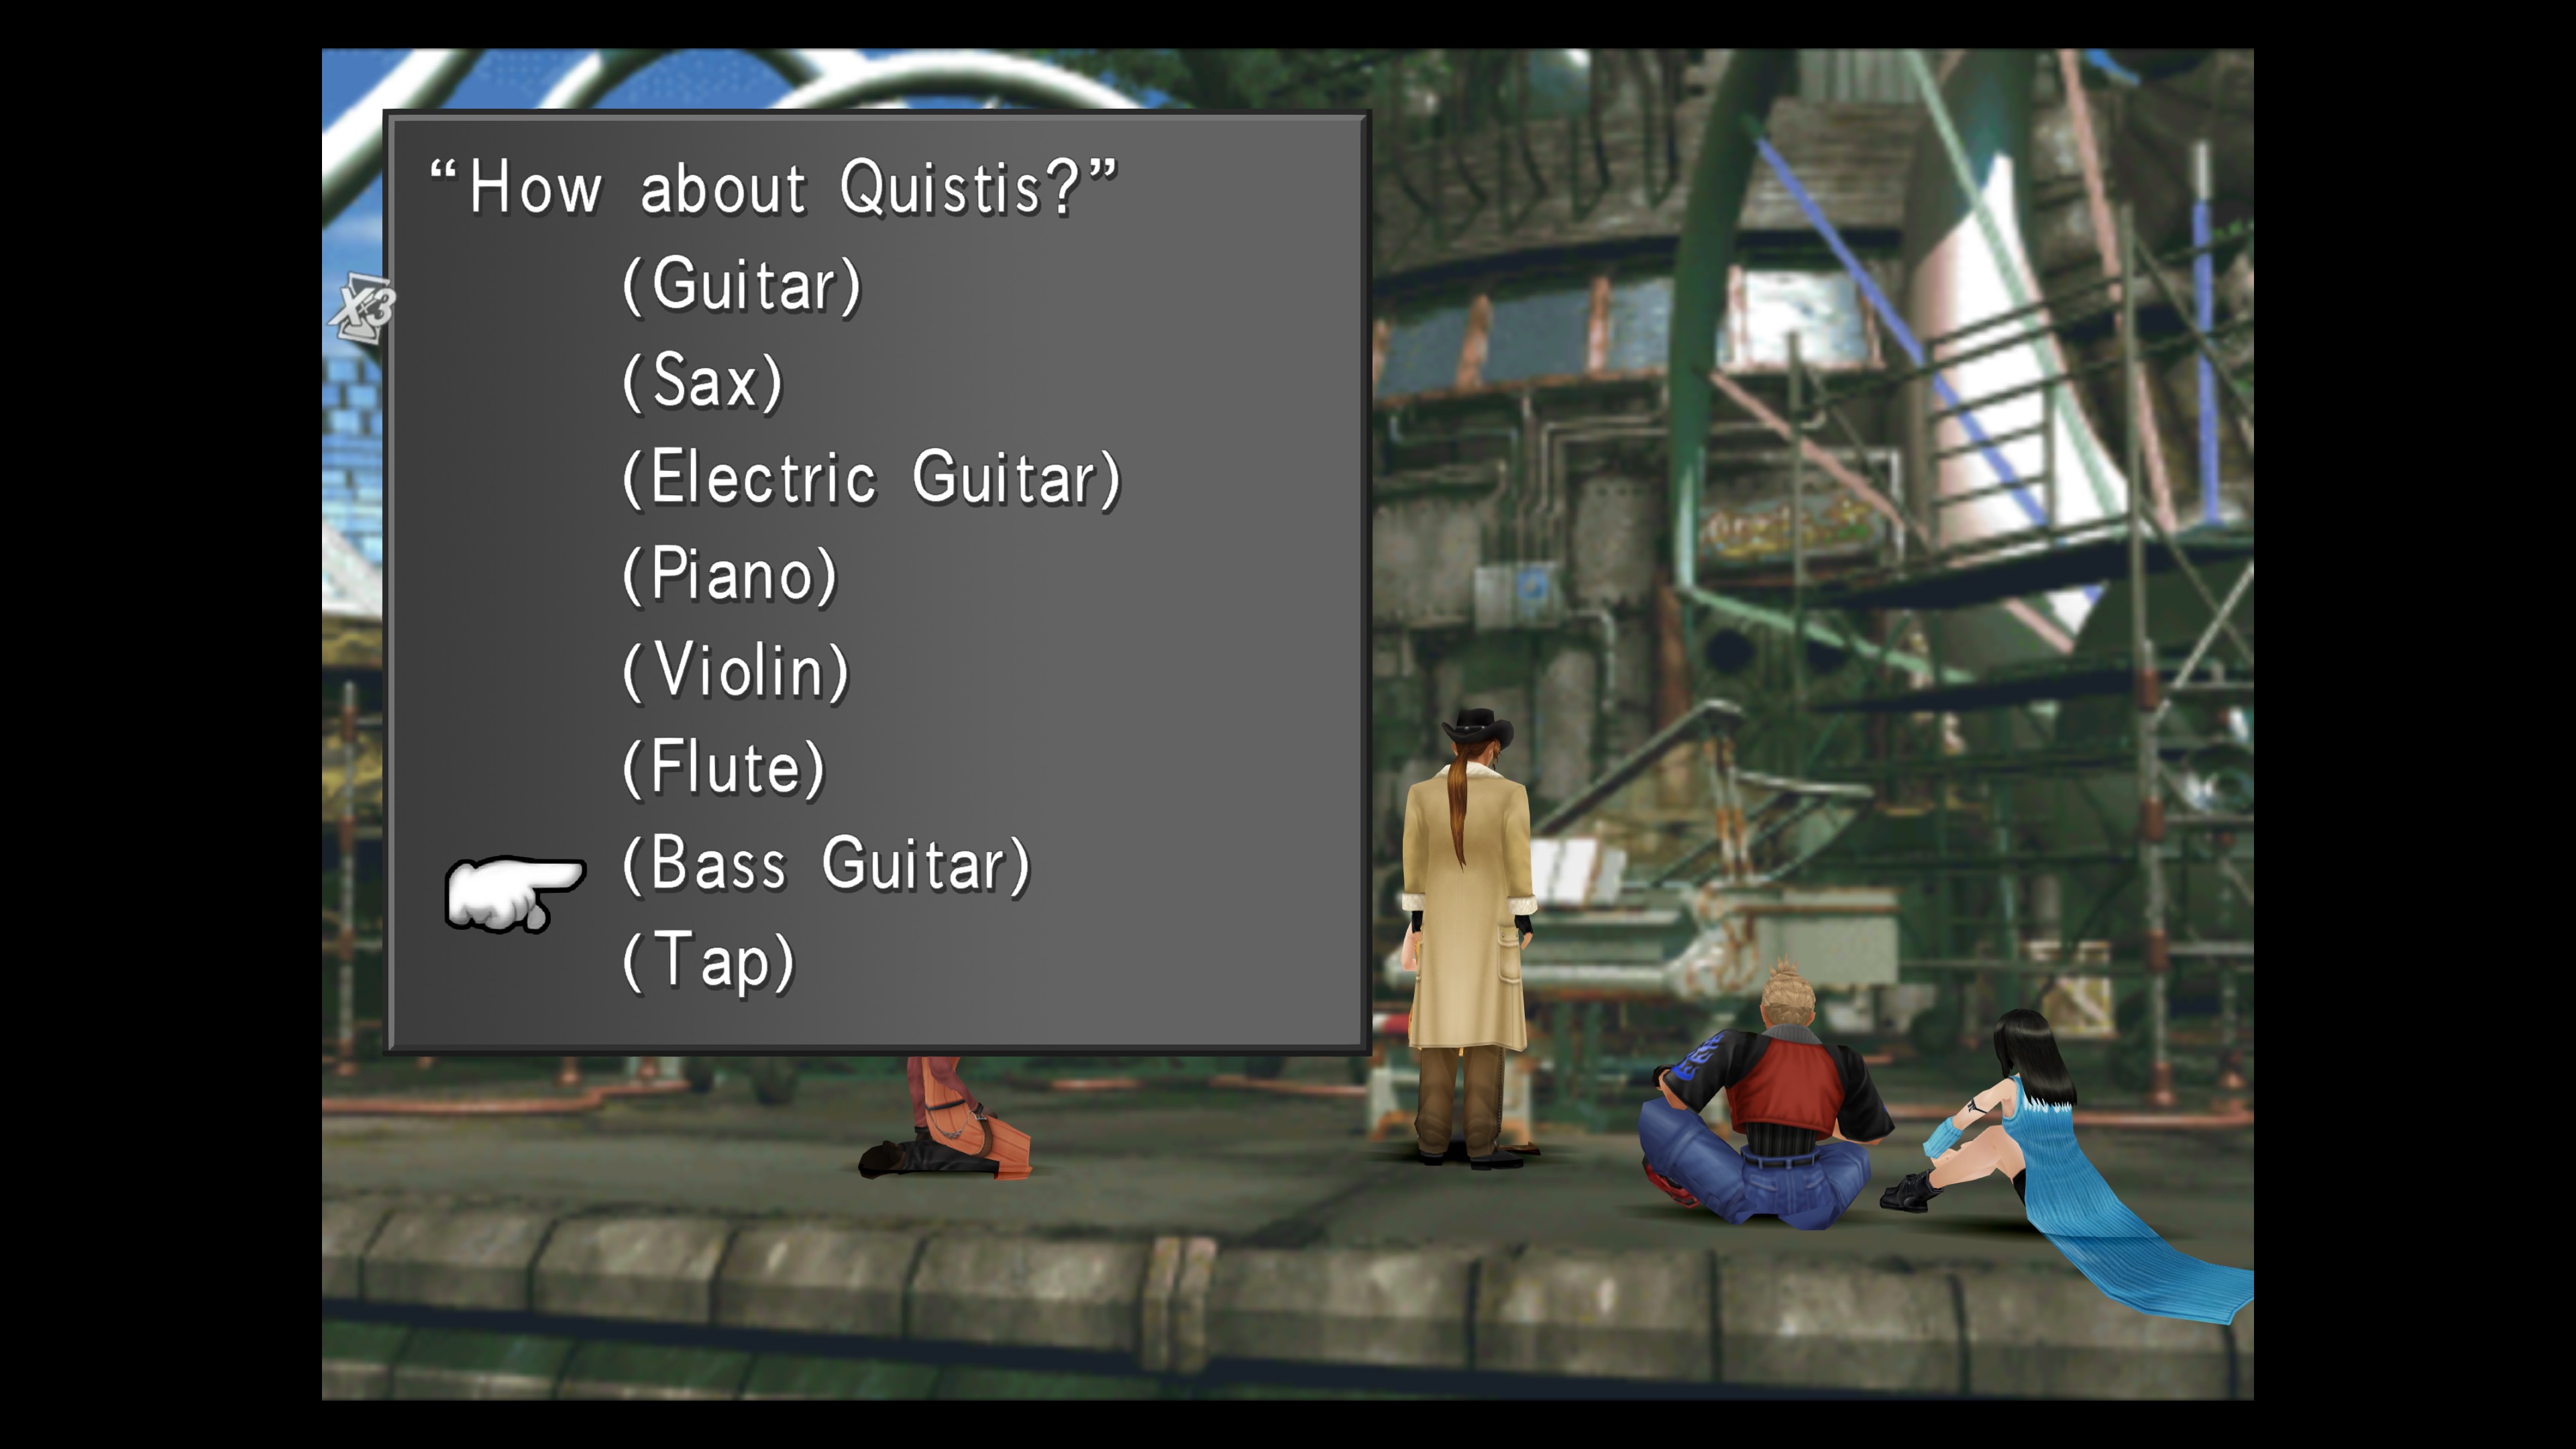
P.S. Maybe a hint that you have to just walk away with Irvine when you are selecting who plays which instrument would be good aswell ;)
Fact checking this one sidequest proves to be a nightmare since I'm not replaying this game any time soon just for the one thing, so I appreciate any and all input you both have.
She will be teased by a fellow Commitee member about her crush on Zell while she is talking to the Conceited SeeD."
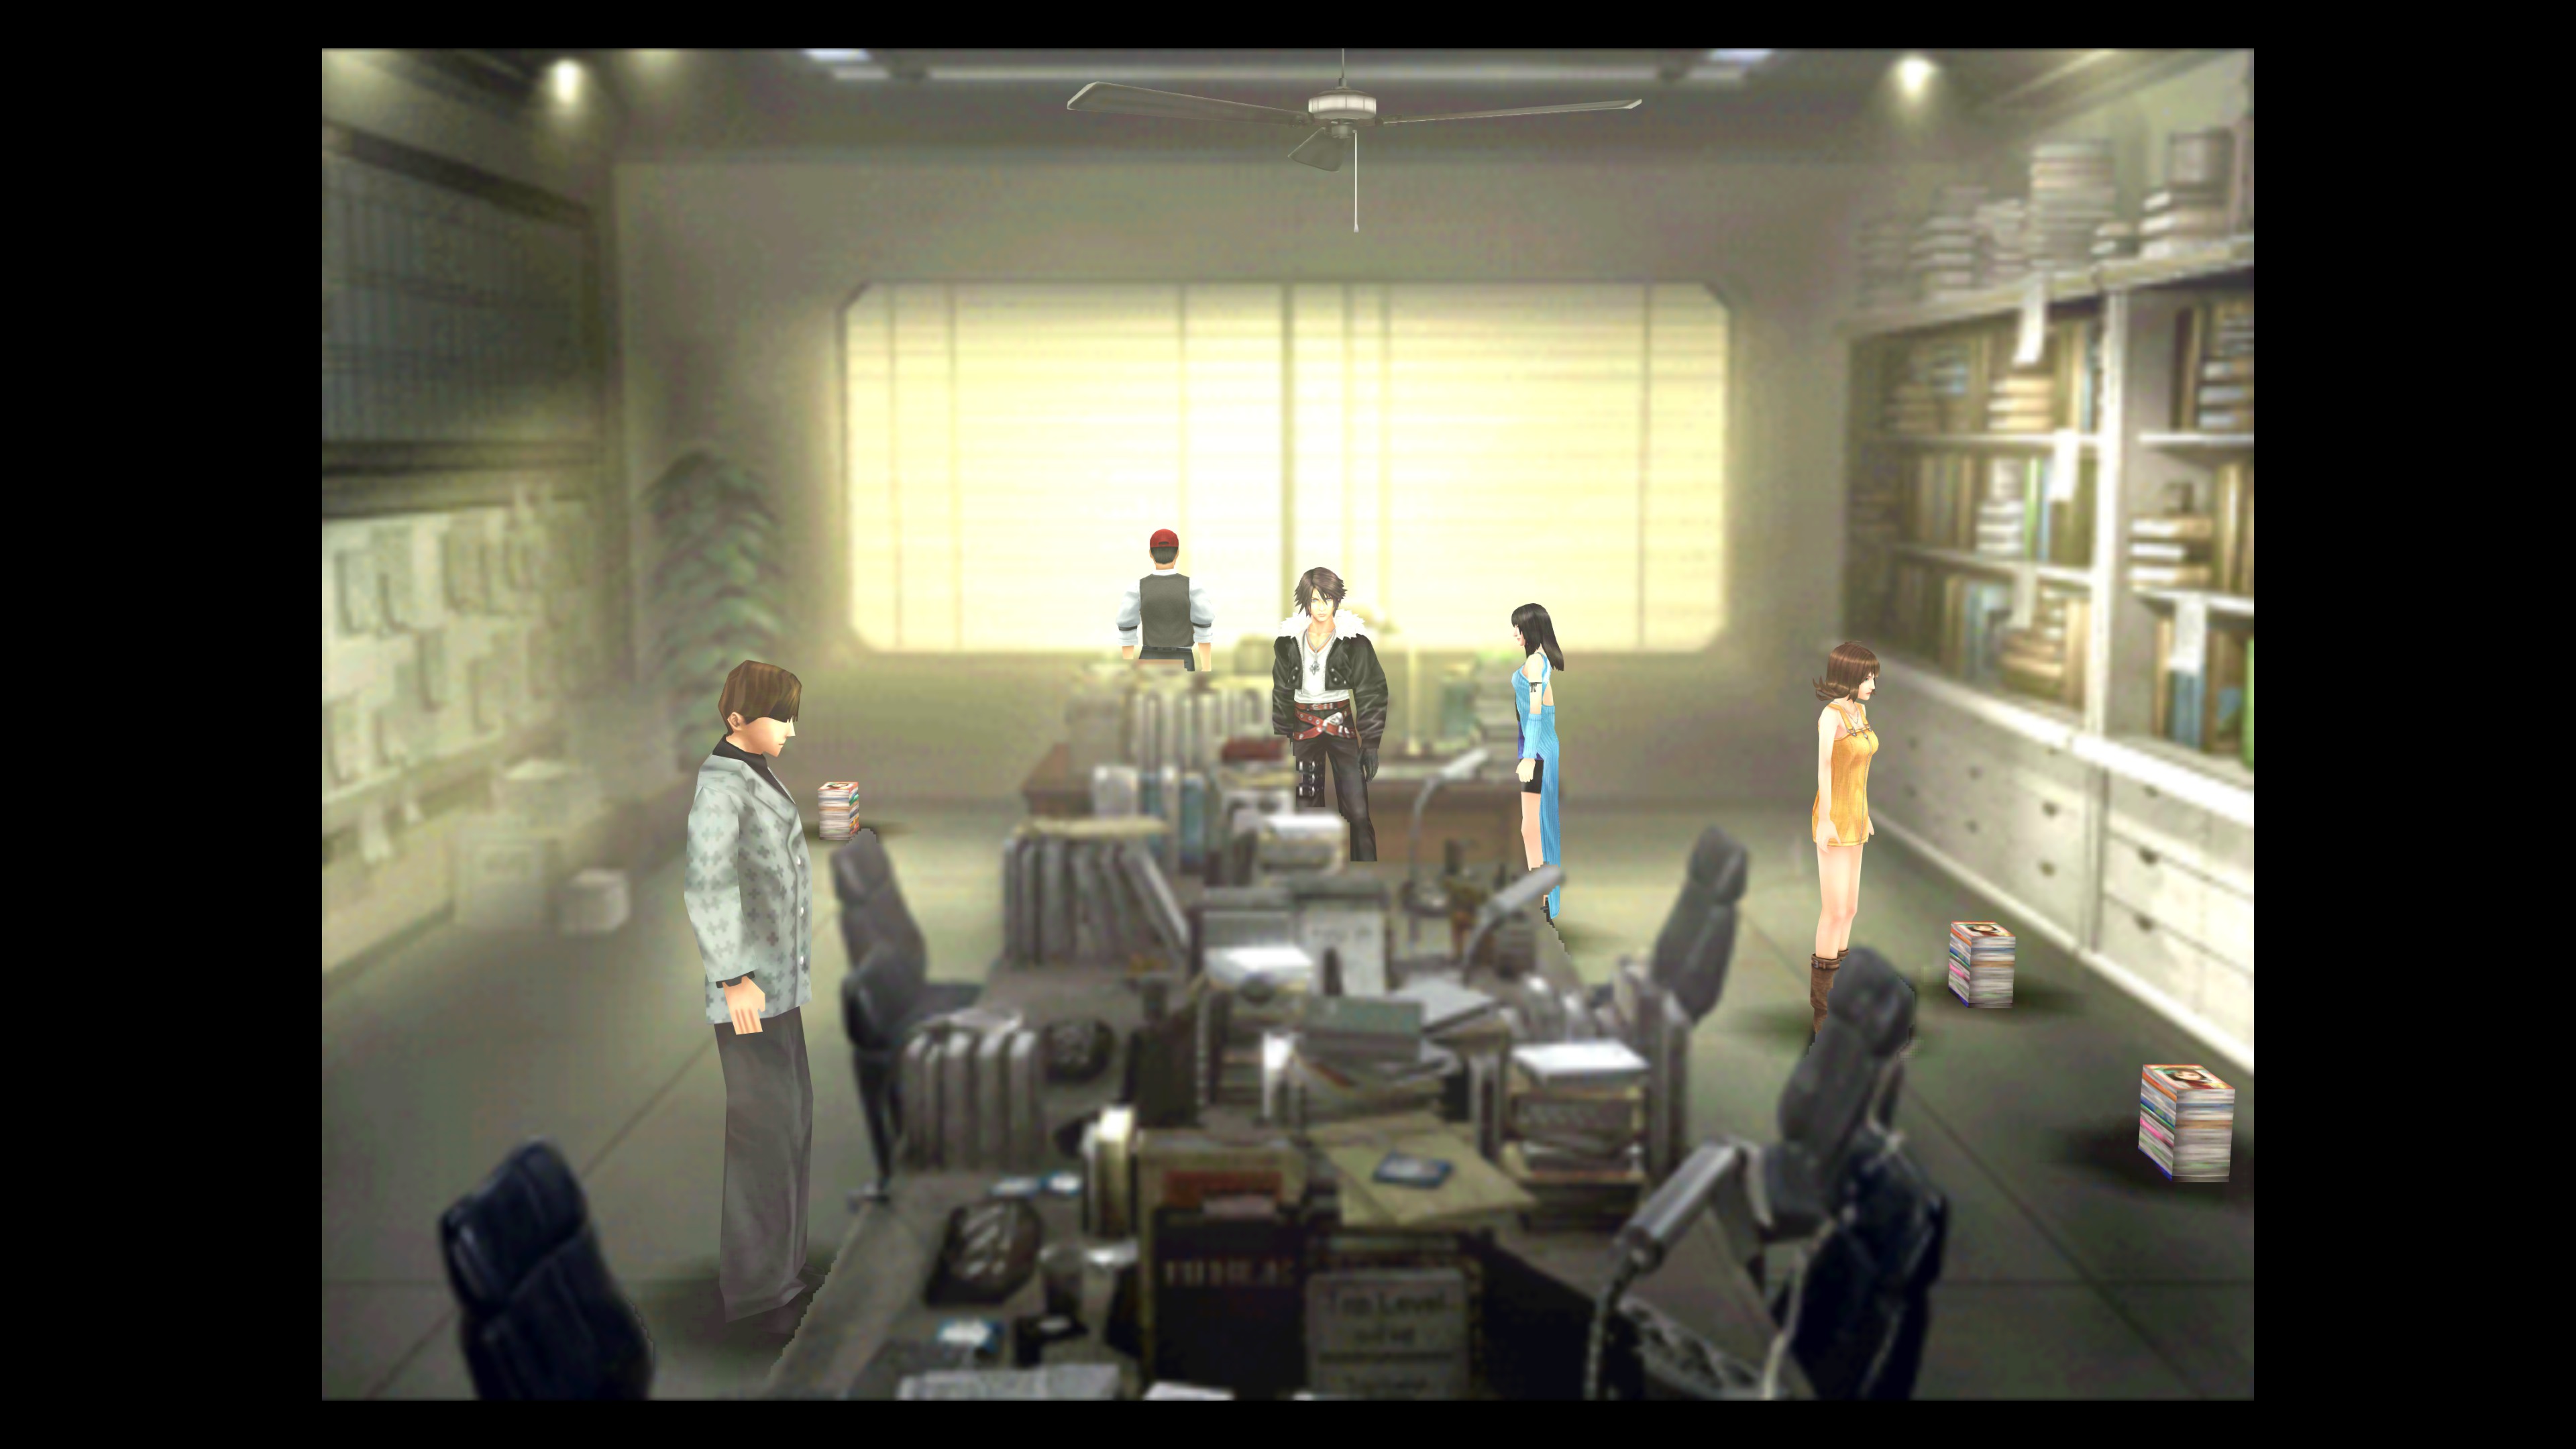
The moment you are finally alone, you are required to search for Ellone. She is in the library, whilst no one else is present, making this part of the guide unable to be followed/completed. First time this guide has let me down in my playthrough. Please let me know what I did wrong or could do differently if anyone knows.
Similar problem as described by the person who posted before me, Cpt. Salty Beard. I don't understand how they resolved it though.
Playing the Remastered version and the 1st Library room was just empty for me (no people at all standing around).
Seems it's crucial that before you fight Norg (when you regain control over Squall alone after the Garden started flying away from the missiles ), you also have to go to the 2nd Library Room and talk to Ellone.