Lumini
Not enough ratings
100% achievements
By dzhinn
All achievements, all hidden locations, all energy and general tips and tricks.
Welcome and enjoy.
   
Award
Favorite
Favorited
Unfavorite
Intro
Greetings to all of you who visited this guide. Welcome!
I’m doing my best to make it comfortable here.

There was barely any info about all the achievements, so I had to spend an unreasonably long time to get them. Here I share my findings so that you can spend 10 times less.

Let’s get started.
Story achievement
The Savior

Complete the game.
Difficulty: Easy, unmissable.

It unlocks when the end credits begin.
All the other 12 achievements can be easily missed if you are not aware of them.
Distracted

Play with the main menu buttons for 3 minutes.
Difficulty: Easy.

Anytime in the main menu.
Happy Now?

Beat every enemy in the game.
Difficulty: Medium.

First, here is a short info note the game itself doesn't explain.
It will be useful for this one and for other achievements too.
How to spawn a specific color Lumini
The Checkpoint (a.k.a. Breeding Crystal) spawns Lumini from energy you have collected, the color of spawned Lumini is based on your previous actions in the game:
  • Stunning or attacking enemies gives you red Lumini
  • Evading enemies gives you blue Lumini
  • Collecting the yellow orbs gives you yellow Lumini

Now about the achievement, the only part to pay special attention to is the beginning.
Purple Lumini can't beat an enemy. So you need at least one red to spawn at the Checkpoint #2 (since #1 in the starting area can only spawn purple). Doable with #3, but the sooner the better.
To get it, use the purple stun skill as much as you can.

Once you got one red Lumini, go back and clean out all the enemies you left behind within a previous checkpoint(-s). Don't progress too far forward and don't reload from checkpoints before this part is done. Otherwise you'll find closed doors blocking your way back to some enemies at the Checkpoint #1.

The rest is easy, keep beating all enemies you meet. Good news, they are not hiding and you can hear them from far away.

It's easier to get on Normal - much less enemies and it takes twice less hits to beat each one of them.

Evolve your red Lumini, it helps too.
Upgraded once, red skill hits and pushes an enemy away from you.
Upgraded twice, it deals 3 hits instead of 1 before pushing away - that is enough to beat any enemy on Normal.

You will get your achievement by the Checkpoint #16.

It's not necessary to beat them all at one go. You can save and reload checkpoints and all your playthroughs count towards this achievement (I got mine in the middle of the Checkpoint #14, when I still had a bunch of Parasini jumping around at that playthrough).

Game's vocabulary
Enemies

Muncher
Forest Muncher
Quillsnail
Boom Bloom

Gaz Beast
Parasini
Fricatcher
The Offering

Bring a dead enemy to the Sanctuary.
Difficulty: Easy.

You need at least one red Lumini for this achievement.
The Sanctuary is after the Checkpoint #3, not a hidden area so you'll see the place.

Lure a Muncher from the previous cave as close as you can to the way down. Alive it will not go there, but a dead enemy falls all the way down nicely.

You can also push it with your blue Lumini dash skill if it landed not too far.

Follow it down to the Sanctuary, here you'll get your achievement.
The Musician

Play the Lumini theme using the note blocks at the Sanctuary
Difficulty: Easy.

You can get it at the Sanctuary, right after the previous achievement.
There are 7 note buttons on the left wall, push them with your Lumini in this order:
]  ←3 ] ←2 ]←1  ←4 ]    ←5 ]        ←9 ]     ←6 ←8 ]      ←7
KABOOM!

Beat 5 enemies with a bomb.
Difficulty: Easy.

The goal is to beat any 5 enemies with explosions. Most likely, you will get it just playing first time normally.

Preferably small enemies like Parasini or Fricatcher plants, on Normal difficulty - it takes less hits to beat. But up to you.

Fungi-Bombs are very common starting from the Checkpoint #9 and all the way ahead, just look at the ceiling or the trees above you.
Push it with your Lumini, or purple stun skill, or red hit skill - everything works.

Don’t forget to save your swarm, explosions are dangerous for Lumini too.
GAME COMPLETION ACHIEVEMENTS
There are 4 achievements you can get for a game completion (other than unmissable one) - each of them pops up only after the end, when the credits begin.

Conditions are:
  • Complete the game in Hard mode
  • Don't beat a single enemy
  • Beat the game with a purple Lumini
  • Don't lose a single Lumini
It's up to you if you want to combine some together or go for each one of them separately.
More about them below.
The Survivor

Complete the game in Hard mode
Difficulty: Easy.

Hard mode is unlocked after beating the game once. You have the option to select it when you restart your game.

There will be more enemies and they will be faster and twice tougher: for example, a Muncher on Normal - 3 hits, on Hard - 6 hits. And that’s all, no new hazards or map changes.

Basically you just need to run though the game second time, no other restrictions.
You've completed the game, you know all the way. So, if not aiming for multiple achievements at once, this one takes about a hour or less.
The Pacifist

Don't beat a single enemy.
Difficulty: Medium.

Beat the game without beating anyone. The most of enemies are easy to avoid, especially on Normal.

Also, it is allowed to stun them with the purple skill or dash with the blue ( !!! the exceptions are Gaz Beasts !!! don't use the purple + blue on them, because it often causes a never-fixed game crash bug).
Even the red hits and bombs are allowed as long as they are not last hits to beat an enemy. But I'd advise simply avoiding those.

If you have beaten some poor thing, exit to the menu and reload from a previous checkpoint.

This one is easy if done alone, much harder if you are aiming for multiple achievements at one go (yes, that was me).
Not combines with Happy Now?, KABOOM! and The Offering.
The Pilgrimage

Beat the game with a purple Lumini.
Difficulty: Medium.

Purple Lumini spawn on the Checkpoint #1 only. So your mission is to save at least one of them until the end.

You automatically get this achievement when you go for Leave no Lumini behind.

Going for this one alone:
  • You can always exit (to the menu or close the game) and reload a previous checkpoint in unlucky case if you've lost all of your purples.
    Just remember to have at least one of them before you hit the next checkpoint, since it automatically saves your progress with no revert.

  • Get that lot of energy between the Checkpoints from #17 to #21 to grow your swarm big. After that, the last part, keep your purple in the middle of Lumini swarm - go with yellow. So even if something hits them, purples will be safe.

  • If you feel like spawning more purples in the beginning - there are guides about that. However, I don't recommend having too many because the bigger your swarm the harder to save them. For the achievement, even one is enough. But it's up to you.
Leave no Lumini behind

Don't lose a single Lumini.
Difficulty: Hard.

Do it on Normal, with less enemies.

Have all 4 Lumini colors by the end (see how to spawn different colors in Happy Now? part if you need).

Avoid taking extra energy, you want your swarm to be the smallest possible.
Collect just enough to activate every checkpoint - in my experience, this achievement doesn't work if you've passed some checkpoints with zero energy collected, also those don't save your progress ( I have no clue if this was the reason or the only reason, just my guess why it could be - but do you want to risk it? )

If you lost a Lumini, you can exit and reload from a previous checkpoint.

The hardest part is the last - after the Checkpoint #21. Be ready to retry this part multiple times, even with a little swarm it's hard to protect them all.
You can use the blue dash skill, hit with the red and purple - two times upgraded red is the best, but still it has a cooldown.

If your swarm is too long to protect with a skill radius, you can try to split it into two groups and move them very close to each other. Thus the swarm will be about twice shorter. All skills work for both groups at the same time. But since the key to move groups synchronously doesn't work, it requires to move them with two hands. Might work for you.

Be careful and good luck!

Alternatively, it is possible to use this bug to skip the rock fall activation trigger.
1.
(pics are clickable)
You can squeeze through the bugged floor textures, right before the blocking your way plants.
2.
Spend about 2 min to fly → ↑ ↗
through the mess of the backend side of the level. Thus avoiding the start of rockfall.
3.
Enter the level area later on and complete it like you would normally do, but without an avalanche killing your Lumini.
Not saying that this is the only way to get this achievement, but it exists.
COLLECTIBLE BASED ACHIEVEMENTS
The rest of the guide is all about collectibles, it covers the last 3 achievements.

The Walkthrough part about collectible locations combines them all together. If you're going for The Hoarder, you'll get the other two on the way.

And I would advise you to dedicate one playthrough only to collecting without being distracted by anything else. Because of The Hoarder. But of course it's up to you.

There are four types of objects to collect:
1. Upgrades
Used to evolve your Lumini. Usually surrounded by a lot of energy.

Technically, it's mutation achievement.
Total count - 7.

2. Crystals
Used to unlock models and concept art in the Extras menu. Usually surrounded
by a lot of energy.

The Art Collector achievement.
Total count - 24 extras in 20 crystals.

3. Yellow orbs
Used to spawn yellow Lumini on the next checkpoint.
They look more green to me, but let's stick to the official name.

Not certain, if counts as energy for
The Hoarder achievement or not.*
Total count - 70(x3) orbs in 36 places.
*I collected them anyway, since yellow Lumini are essential for Energy collecting.
(! If you can confirm or deny the need to collect them all for The Hoarder- let me know!)

4. Energy
Used to spawn Lumini on the next checkpoint.

The Hoarder achievement.
Everywhere on the map,
including locked and hidden areas*
*these areas are listed in the Walkthrough section.
Technically, it's mutation

Fully evolve all Lumini types.
Difficulty: Easy.

Evolve blue, red and yellow Lumini 2 times each. In other words, you need to collect 6 out of 7 Upgrades in one playthrough.

Upgrades are at the Checkpoint #5, #7, #8, #9, #10, #13 and #14.
They are easy to find, as you can hear the sound-noise they make from afar. More info on their locations is in the Walkthrough section.

Any upgrade can be taken by blue, red or yellow at your choice.
Make sure you have at least one Lumini of the color you want to evolve when you approach another Upgrade.

Each Lumini color can evolve no more than 2 times.

Basic skills are blue - dash, red - hit, yellow - energy attracting.

Evolving any Lumini color, you see their new form and, more importantly, you upgrade their skill.

The basic function is always the same, but you get additional features like shields or a stunning dash trail. Play around to learn more.

Despite the fact that there is a purple upgrade crystal in the game, purple Lumini can't pick it up and don't have an upgraded form, so the seventh upgrade is useless. ¯\_(ツ)_/¯
The Art Collector

Unlock all models and concept art in the Extras menu.
Difficulty: Easy.

Collect 20 crystals across all your playthroughs. They are easy to find by the sound they make and are just a little better hidden than Upgrades.

Note, you'll see a total of 24 on the counter displayed on your screen by collecting all 20 of them.
(4 of crystals give +2 to your counter? or 4 extras are just given to you on the way without collecting a crystal?... Anyway). ¯\_(ツ)_/¯

Crystals can be found:
  • Checkpoint #1
  • Checkpoint #2 - 2 crystals
  • Checkpoint #3
  • Checkpoint #4 - 2 crystals
  • Checkpoint #5 - 2 crystals
  • Checkpoint #6
  • Checkpoint #7
  • Checkpoint #9 - 3 crystals
  • Checkpoint #10
  • Checkpoint #11
  • Checkpoint #12
  • Checkpoint #13
  • Checkpoint #14 - 2 crystals
  • Checkpoint #15
More info on their locations is in the Walkthrough section.
The Hoarder

Collect all energy.
Difficulty: Hard.

The biggest part of collecting energy is quite easy. Collect everything you can see: fly around all the area you are in, see all the sides including top, don't forget to fly around all interior smaller stones inside of big caves.

Do it without enemies around, so on Normal and when you're not going for The Pacifist.

Split the swarm of Lumini into two groups often and send them as far apart from each other as possible. Thus, you see a large area at once.

Your finding progress saved across all playthroughs. So you don't have to find it all at once, and you also don't have to recollect all the re-spawned energy within one playthrough.

Now about the hard part.
The hidden areas. With this guide you'll find them all.
But, unfortunately, there is no hint of how many Energy you still have to find, also no indication of what Energy has already been counted as collected earlier.
So you may still want to recollect everything in order from the beginning to the achievement.

Walkthrough section is dedicated to places you might miss.
Some of them are not hidden, but missable because either they are aside from your path or locked.
So if you have already carefully completed the "collect everything you can see" part (or doing it on the way by yourself), then you can only focus on the hidden areas - paths behind the stones and such. Those areas are marked with ⚠️ in the Walkthrough.

General tip on how to facilitate energy collection - use yellow Lumini
  1. Get yellow Lumini. The first Yellow orbs can be found before the Checkpoint #4, so it should spawn your first yellow. And use the yellow skill.
    It helps you to attract Energy as a magnet, even if you don't touch it - it's very useful when the Energy flowers are hidden from your sight behind the stones, inside of hidden ways.

    Just be aware, it magnets Boom Bloom's thorns as well so clean out those first.

  2. Keep them alive all the way - if you lose all yellows, you can't use the skill.

  3. Evolve your yellow Lumini first of all.
    To do so, choose yellow Lumini before you fly to pick up an Upgrade, its crystal should be yellow dodecahedron then.
    The first Upgrade can be found at the Checkpoint #5.

    Yellow skill upgraded once will show you directions to the close Energy flowers outside of your screen - by a characteristic glow. It points you to all missable Energy in the area and to the most of hidden areas too.

  4. The wider visible area - the longer pointing distance of the skill. Use two groups to see more.

    Upgraded twice yellow skill also gives a temporary shield to all Lumini every time Energy collected with it - not so critical for The Hoarder, so it's up to you what to upgrade next.
Walkthrough
Collectibles in chronological order - all locked or hidden areas.
I skip clearly visible Energy on the way that is easy to get without any hints. Keep in mind, you still need to collect it all at least once.

This section divided to 7 parts - by area themes. Hopefully, it helps you navigate in the timeline.
As alternative, checkpoint numbering is there too, if you prefer counting.

I mark with ⚠️ - areas that you could miss, even if you normally flew around and collected everything visible. They are hidden behind the walls and such, the most missable let's say.

!!!
There are screenshots, a lot!!! of them down there ↓
(clickable if you want full versions)
Part 1 - Crystal Underground
  • Checkpoint ##: 1 - 3
  • Areas to check: 7
    (Hidden ⚠️ 3)
  • Upgrades: 0
  • Crystals: 4
  • Yellow orbs: 3(x3)

Checkpoint⠀#1⠀
start

Areas to check 2
Upgrades    0
Crystals    1
Yellow orbs ⠀⠀ 0

⚠️
Area 1

The first way down from the start - check down-left wall.

What's here:

Energy.
waypoint - the first rotor
Area 2

After that, in the big cave check down-left side - there are 2 buttons to open the door.

What's here:

Crystal, Energy.
____________________

Checkpoint⠀#2

Areas to check 2
Upgrades    0
Crystals    2
Yellow orbs ⠀⠀ 0

Area 3

You will not miss it.
2 buttons to open.

What's here:

Crystal, Energy.
⚠️
Area 4

After the big cave, in the way down - check the right wall.

What's here:

Crystal, Energy.
____________________

Checkpoint⠀#3
with buttons next to it

Areas to check 3
Upgrades    0
Crystals    1
Yellow orbs ⠀⠀ 3

Area 5

Just before the waterfall, above it, 2 buttons to open.

What's here:

Energy.
waypoint - waterfall
waypoint - you need this Muncher for The Offering
waypoint - the Sanctuary

here you can get The Musician
Area 6

Go down.

What's here:

Yellow orbs - 3 bushes.
⚠️
Area 7

Next to the previous, go up-right side.

What's here:

Crystal*, Energy.
*this one counts 4-5
waypoint - into the crystal

By the end of this part you have:
  • Lumini upgraded - none
  • Extras counter - 5
Part 2 - Crystalline Cave
  • Checkpoint #4
  • Areas to check: 5
    (Hidden ⚠️ 1)
  • Upgrades: 0
  • Crystals: 2
  • Yellow orbs: 6(x3)

Checkpoint⠀#4⠀

Areas to check 5
Upgrades    0
Crystals    2
Yellow orbs ⠀⠀ 6

Area 8

Check the ceiling.

What's here:

Energy, Yellow orbs - 1 bush.
⚠️
Area 9

Right after the previous, the next ceiling. Or up from the water.

What's here:

Crystal, Energy.
Area 10

You will see it, just open it before leaving up.

What's here:

Crystal, Yellow orbs - 1 bush.
waypoint - a mine
Area 11

Check the top side, above a small stone.

What's here:

Yellow orbs - 1 bush.
Area 12

After that, check the bottom.

What's here:

Yellow orbs - 3 bushes.
waypoint - a rail

After this, nothing else is hidden in this part.

Just don't forget to pick up all Energy around the small stones.

By the end of this part you have:
  • Lumini upgraded - none
  • Extras counter - 7
Part 3 - Desert
  • Checkpoint ##: 5 - 6
  • Areas to check: 9
    (Hidden ⚠️ 5)
  • Upgrades: 1
  • Crystals: 4
  • Yellow orbs: 13(x3)

Checkpoint⠀#5⠀
the mine ends

Areas to check 6
Upgrades    1
Crystals    2
Yellow orbs ⠀⠀ 7

waypoint - desert starts
Area 13

Once in the desert, go straight up.

What's here:

Yellow orbs - 1 bush.
Area 14

From the previous one go right.

What's here:

Yellow orbs - 2 bushes.
⚠️
Area 15

After the doors with buttons, look around small stones, then go up from them and check right wall.

What's here:

Crystal, Energy.

Area 16

From the previous down and then up to the next ceiling. Above a Muncher.

What's here:

Upgrade, Energy.
⚠️
Area 17

After the Upgrade, there is a missable path to the up-right. With a rotor to open the door there.
Also, don't forget to check down-left side before going.

What's here:

Crystal*, Energy, Yellow orbs - 3 bushes.
*this one counts 9-10
IMG
⚠️
Area 18

And there is one more right above the opened door. It is out of your reach, since it is higher then a sandstorm (that is an upper limiter that kills your Lumini entering it).

I would say, it's a bug.
I got this thing by yellow skill + hitting against the upper walls + losing a half of my swarm in a sandstorm behind those stones. I'd really like to know if that struggle was needed.

Be careful, save your progress before trying this. Next checkpoint is nearby.

What's here:

Yellow orbs.
____________________

Checkpoint⠀#6⠀
next to the Stiltwalker

Areas to check 3
Upgrades    0
Crystals    1
Yellow orbs ⠀⠀ 6

⚠️
Area 19

As always, check all around.
Then check up side, there is one tiny corner with no sandstorm.

What's here:

Energy, Yellow orbs - 1 bush.
⚠️
Area 20

Check the ceiling previous to red spikes.

What's here:

Crystal, Energy, Yellow orbs - 2 bushes.
Area 21

Go down-left from this beak-like stone.

What's here:

Yellow orbs - 3 bushes.


By the end of this part you have:
  • Lumini upgraded - 1 time
  • Extras counter - 11
Part 4 - Thunderstorm
  • Checkpoint ##: 7 - 8
  • Areas to check: 7
    (Hidden ⚠️ 2)
  • Upgrades: 2
  • Crystals: 1
  • Yellow orbs: 12(x3)

Checkpoint⠀#7⠀
shatters by lightning

Areas to check 4
Upgrades    1
Crystals    1
Yellow orbs ⠀⠀ 6

Area 22

Check down side.

What's here:

Upgrade, Energy.
waypoint - 4 buttons
⚠️
Area 23

After the buttons go left and then up, check the right wall.

What's here:

Crystal, Energy.
Area 24

Near the previous, all the way up.

What's here:

Yellow orbs - 3 bushes.
Area 25

Down from the Stiltwalker.

What's here:

Yellow orbs - 3 bushes.
____________________

Checkpoint⠀#8
rain

Areas to check 3
Upgrades    1
Crystals    0
Yellow orbs ⠀⠀ 6

Area 26

Check the up-left and up-right walls.

What's here:

Upgrade, Energy.
Area 27

After entering the roots cave, check up-right side.

What's here:

Yellow orbs - 3 bushes.
⚠️
Area 28

Hidden between the roots, down side.

What's here:

Yellow orbs - 3 bushes.
waypoint - going outside, check all the walls - there is a lot of Energy around

By the end of this part you have:
  • Lumini upgraded - 3 times
  • Extras counter - 12
Part 5 - Forest
  • Checkpoint ##: 9 - 12
  • Areas to check: 23
    (Hidden ⚠️ 7)
  • Upgrades: 2
  • Crystals: 7
  • Yellow orbs: 24(x3)

Checkpoint⠀#9⠀
rain stops

Areas to check 7
Upgrades    1
Crystals    3
Yellow orbs ⠀⠀ 6

⚠️
Area 29

Go up between the roots.

What's here:

Crystal, Energy.
waypoint - forest
⚠️
Area 30

Near waterfalls, go into the stone.

What's here:

Crystal, Energy.
Area 31

After entering the roots-cave again. Check right corner, right above the water.

What's here:

Yellow orbs - 3 bushes.
⚠️
Area 32

From the previous, up and left-down.

What's here:

Energy.
Area 33

4 buttons place, clearly visible - don't forget to take it before going up.

What's here:

Crystal*, Yellow orbs - 2 bushes.
*this one counts 15-16
Area 34

Once outside, fly around the first tree. It's next to the trunk.

What's here:

Upgrade, Energy.
waypoint - rotor door
Area 35

After the door, go up.

What's here:

Energy, Yellow orbs - 1 bush.
____________________

Checkpoint⠀#10
under the leaves

Areas to check 8
Upgrades    1
Crystals    1
Yellow orbs ⠀⠀ 6

Area 36

2 buttons to open, you will see it.

What's here:

Energy, Yellow orbs - 1 bush.
Area 37

Shortly after the previous, go up.

What's here:

Upgrade.
Area 38

After the cave entrance, up-right side.

What's here:

Yellow orbs - 2 bushes.
⚠️
Area 39

In the way down-left, check the left wall.

What's here:

Crystal, Energy.
Area 40

Up-left.

What's here:

Yellow orbs - 2 bushes.
⚠️
Area 41

2 untouchable energies shine from behind the stones - bottom and right sides. Use the yellow skill to get them.

What's here:

Energy.
Area 42

Down-right.

What's here:

Energy, Yellow orbs - 1 bush.
Area 43

Before the checkpoint, there is a tiny branch upside.

What's here:

Energy.
⠀⠀⠀⠀⠀⠀Forest continues
Checkpoint⠀#11
with huge yellow flowers

Areas to check 4
Upgrades    0
Crystals    1
Yellow orbs ⠀⠀ 6

Area 44

Down side between 2 trees and to the left.

What's here:

Energy, Yellow orbs - 3 bushes.
Area 45

Above the water before going up.

What's here:

Energy.
waypoint - ruined buildings
⚠️
Area 46

Left side above the water, check the wall.

What's here:

Crystal, Energy.
Area 47

After the previous, go up.

What's here:

Yellow orbs - 3 bushes.
____________________

Checkpoint⠀#12
with roots and red plants

Areas to check 4
Upgrades    0
Crystals    1
Yellow orbs ⠀⠀ 6

Area 48

Right side above the water.

What's here:

Energy.
Area 49

Up-left.

What's here:

Yellow orbs - 3 bushes.
⚠️
Area 50

Up from another Forest Muncher place, check the ceiling. Keep in mind that some of the Energy is not visible in the passage.

What's here:

Crystal, Energy.
Area 51

After the 8 buttons, right and down.

What's here:

Energy, Yellow orbs - 3 bushes.

By the end of this part you have:
  • Lumini upgraded - 5 times
  • Extras counter - 19
Part 6 - City Ruins
  • Checkpoint ##: 13 - 16
  • Areas to check: 19
    (Hidden ⚠️ 4)
  • Upgrades: 2
  • Crystals: 5
  • Yellow orbs: 11(x3)

Checkpoint⠀#13
ruins under the last trees

Areas to check 5
Upgrades    1
Crystals    1
Yellow orbs ⠀⠀ 3

⚠️
Area 52

Once you enter the city ruins, check above the first Munchers. There are leaves you can go through - quite a long way up.

What's here:

Energy.
waypoint - Stiltwalker
Area 53

Check down side.

What's here:

Energy.
Area 54

You will see it. A rotor to open the door.

What's here:

Crystal, Energy, Yellow orbs - 1 bush.
Area 55

You will see it. A rotor to open the door.

What's here:

Upgrade, Energy.
Area 56

You will see it. Two rotors to open the door.

What's here:

Energy, Yellow orbs - 2 bushes.
____________________

Checkpoint⠀#14
into the hall

Areas to check 8
Upgrades    1
Crystals    2
Yellow orbs ⠀⠀ 3

Area 57

Keep checking all the ceilings and floors of the rooms.

What's here:

Energy.
⚠️
Area 58

A small ledge on the left wall and a hole in the wall on the opposite side.

What's here:

Crystal, Energy.
Area 59

Up-left.

What's here:

Yellow orbs - 2 bushes.
Area 60

You will see it. Buttons to open the door.

What's here:

Crystal, Energy.
Area 61

Before going down, check right side.

What's here:

Energy.
Area 62

You will see it. Buttons to open the door.

What's here:

Energy, Yellow orbs - 1 bush.
Area 63

Check top side, before going forward.

What's here:

Upgrade*, Energy.
*the last one, you can't take it if you've collected all upgrades before
Area 64

After the stairs down, don't forget to check left side.

What's here:

Energy.
⠀⠀⠀⠀⠀⠀City Ruins continue
Checkpoint⠀#15
hall 2, before the long corridor

Areas to check 4
Upgrades    0
Crystals    1
Yellow orbs ⠀⠀ 3

waypoint - long corridor
Area 65

Up-right from the statue of Lumini.

What's here:

Yellow orbs - 1 bush.
Area 66

You will see it. A rotor to open two doors.

What's here:

Energy, Yellow orbs - 1 bush.
Area 67

You will see it. Two rotors to open the door.

What's here:

Energy, Yellow orbs - 1 bush.
waypoint - stairs up-right
⚠️
Area 68

After the stairs, go up and check the left wall.

What's here:

Crystal*, Energy.
*this one counts 23-24, the last one for your collection
⚠️
Area 69

Here is another tricky place in the lower right corner. The energy is shining from out of your reach again.

And this one I call a bug too, since it is a bit too far to get it with the yellow skill.
But you can accidentally fall through the stones while hitting the floor. I got it like this, but it was hard to get back in and save.

So be careful, save your progress before trying this.
And of course, collect everything around before the checkpoint.

What's here:

Energy.
____________________

Checkpoint⠀#16
hall with skeletons

Areas to check 1
Upgrades    0
Crystals    0
Yellow orbs ⠀⠀ 2

Area 70

After another long corridor, check the ceiling in the room.

What's here:

Yellow orbs - 2 bushes.
waypoint - going outside

By the end of this part you have:
  • Lumini upgraded - all
  • Extras counter - 24 (all)
Technically, it's mutation
The Art Collector
Part 7 - Energy Fields
  • Checkpoint ##: 17 - 21
  • Areas to check: 2
    (Hidden ⚠️ 1)
  • Upgrades: 0
  • Crystals: 0
  • Yellow orbs: 1(x3)

Checkpoint⠀#17
unusually small mini-checkpoint

Areas to check 1
Upgrades    0
Crystals    0
Yellow orbs ⠀⠀ 1

Area 71

Up from the Checkpoint and to the left.

What's here:

Yellow orbs - 1 bush.
____________________

All these checkpoints are right next to each other to spawn more Lumini:

Checkpoint⠀#18
mini-point 2

Checkpoint⠀#19
normal checkpoint 3

Checkpoint⠀#20
mini-point 4

Checkpoint⠀#21
mini-point 5, the last one

Lots of Energy,
no enemies,
no other collectibles.
Only one hidden area.

⚠️
Area 72

Just follow the ground line and clear all the energy. Nothing in the sky.
You'll find the hidden area on the way.

What's here:

Energy.
waypoint - entering the collapse zone

That's it!
You got everything.

By the end of this part you have:
  • all the energy
The Hoarder

Congratulations!
≽^•ܫ•^≼
Here is a conclusion of this guide.

If you're reading this, thanks! And maybe you really needed it if you got this far.

Any questions, comments, grammar police, pointers to confusing parts, or anything else you want to say about the guide - let me know in the comments. Everyone is welcome, everything is appreciated.

For whatever reason, I put quite a lot of work into this. I was able to finish this Stiltwalker in a month. So maybe it deserved an award?
A new cat sticker for me would be nice :3 Yes, I really doubt that anyone is reading this.

That's all.
Peace to you.
5 Comments
Speelbaard 8 Oct, 2022 @ 12:28pm 
It's been 7 years, so I'm not immediately aware of what areas you're referring to, but there shouldn't be any collectibles out of reach.

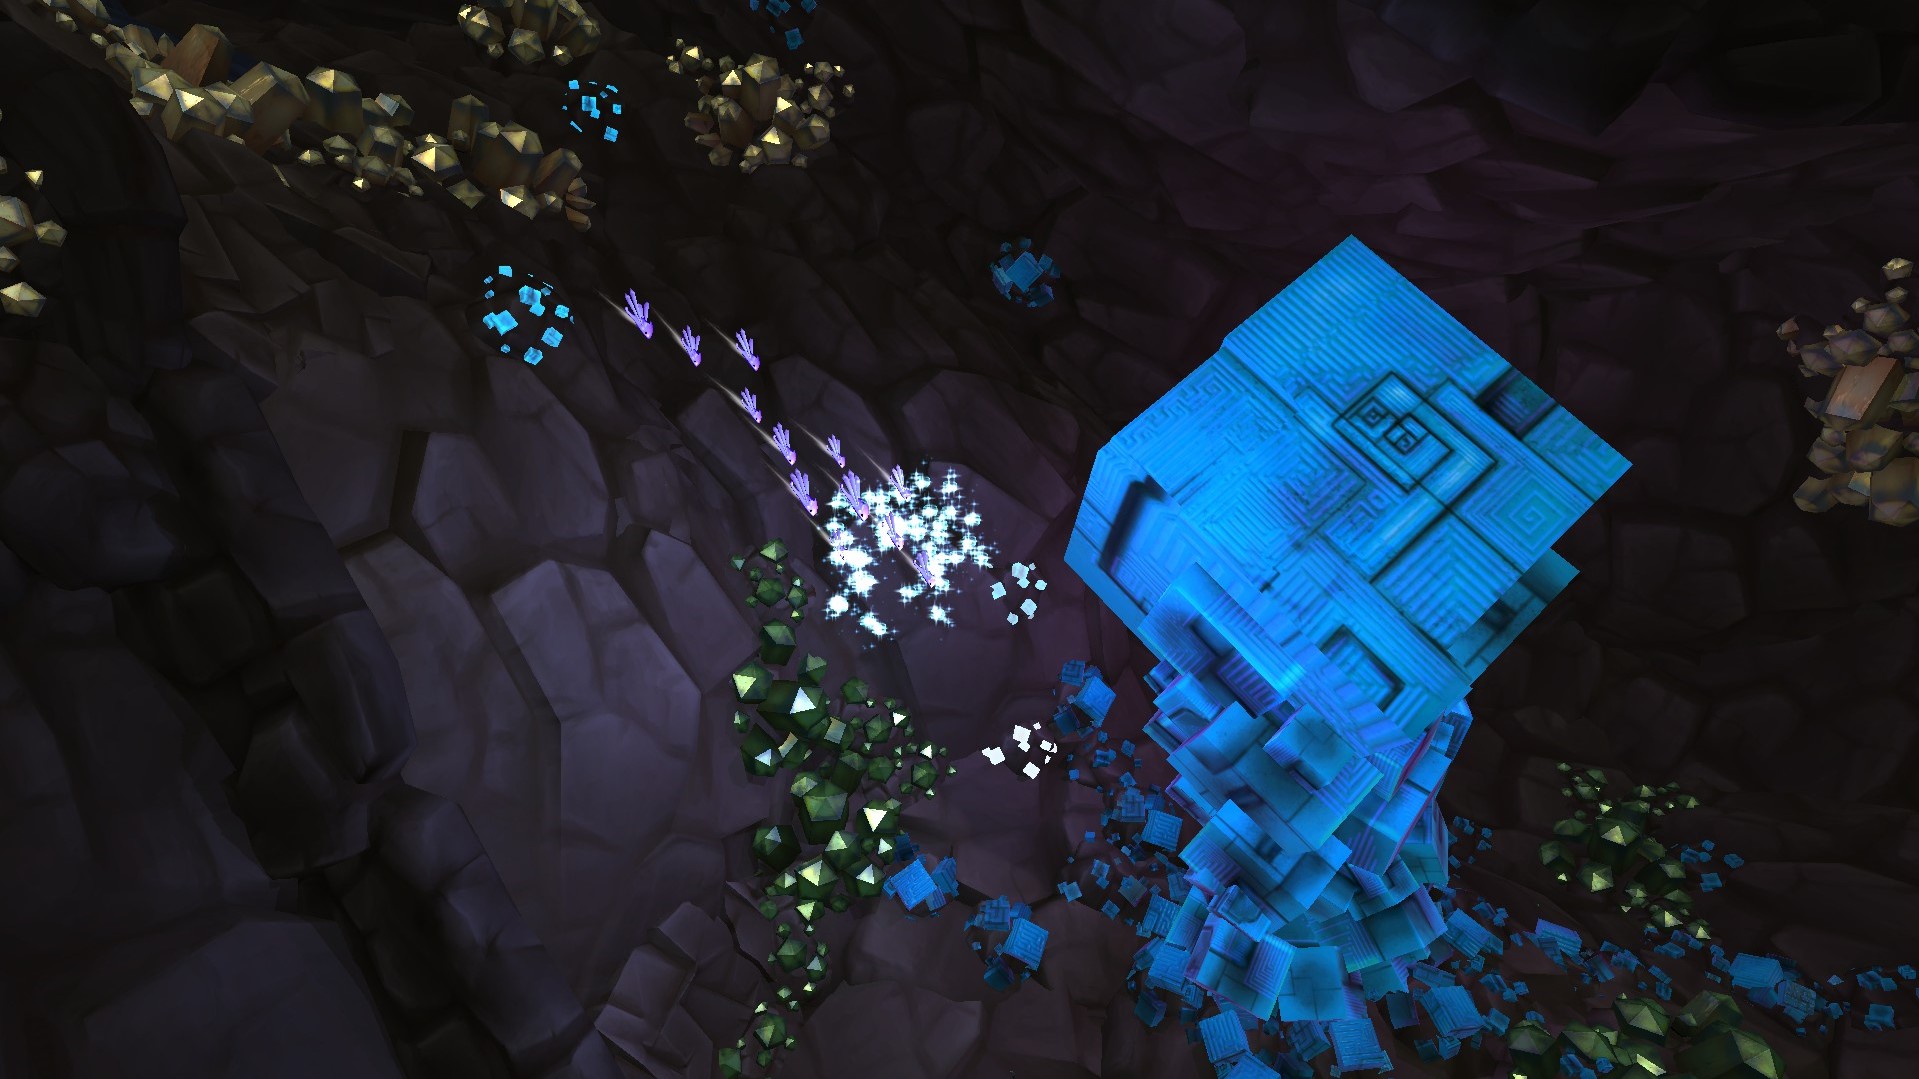
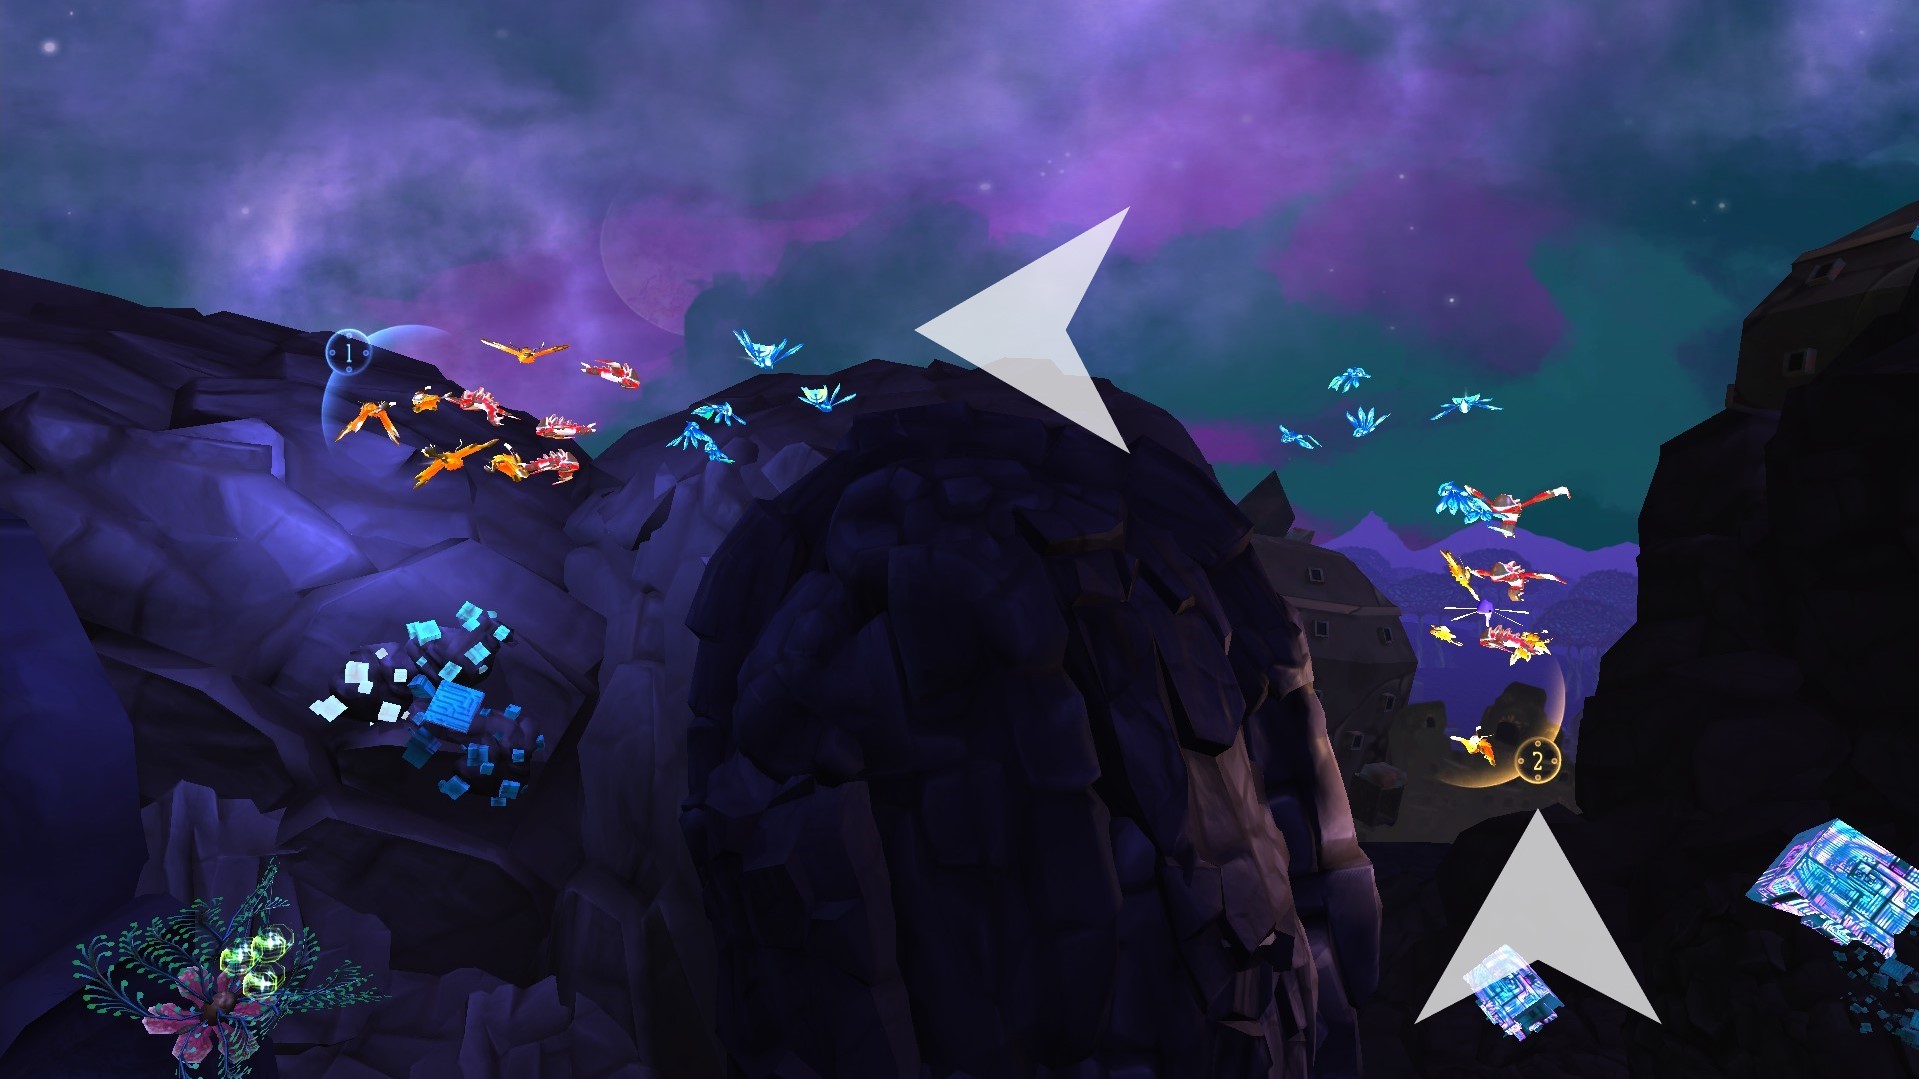
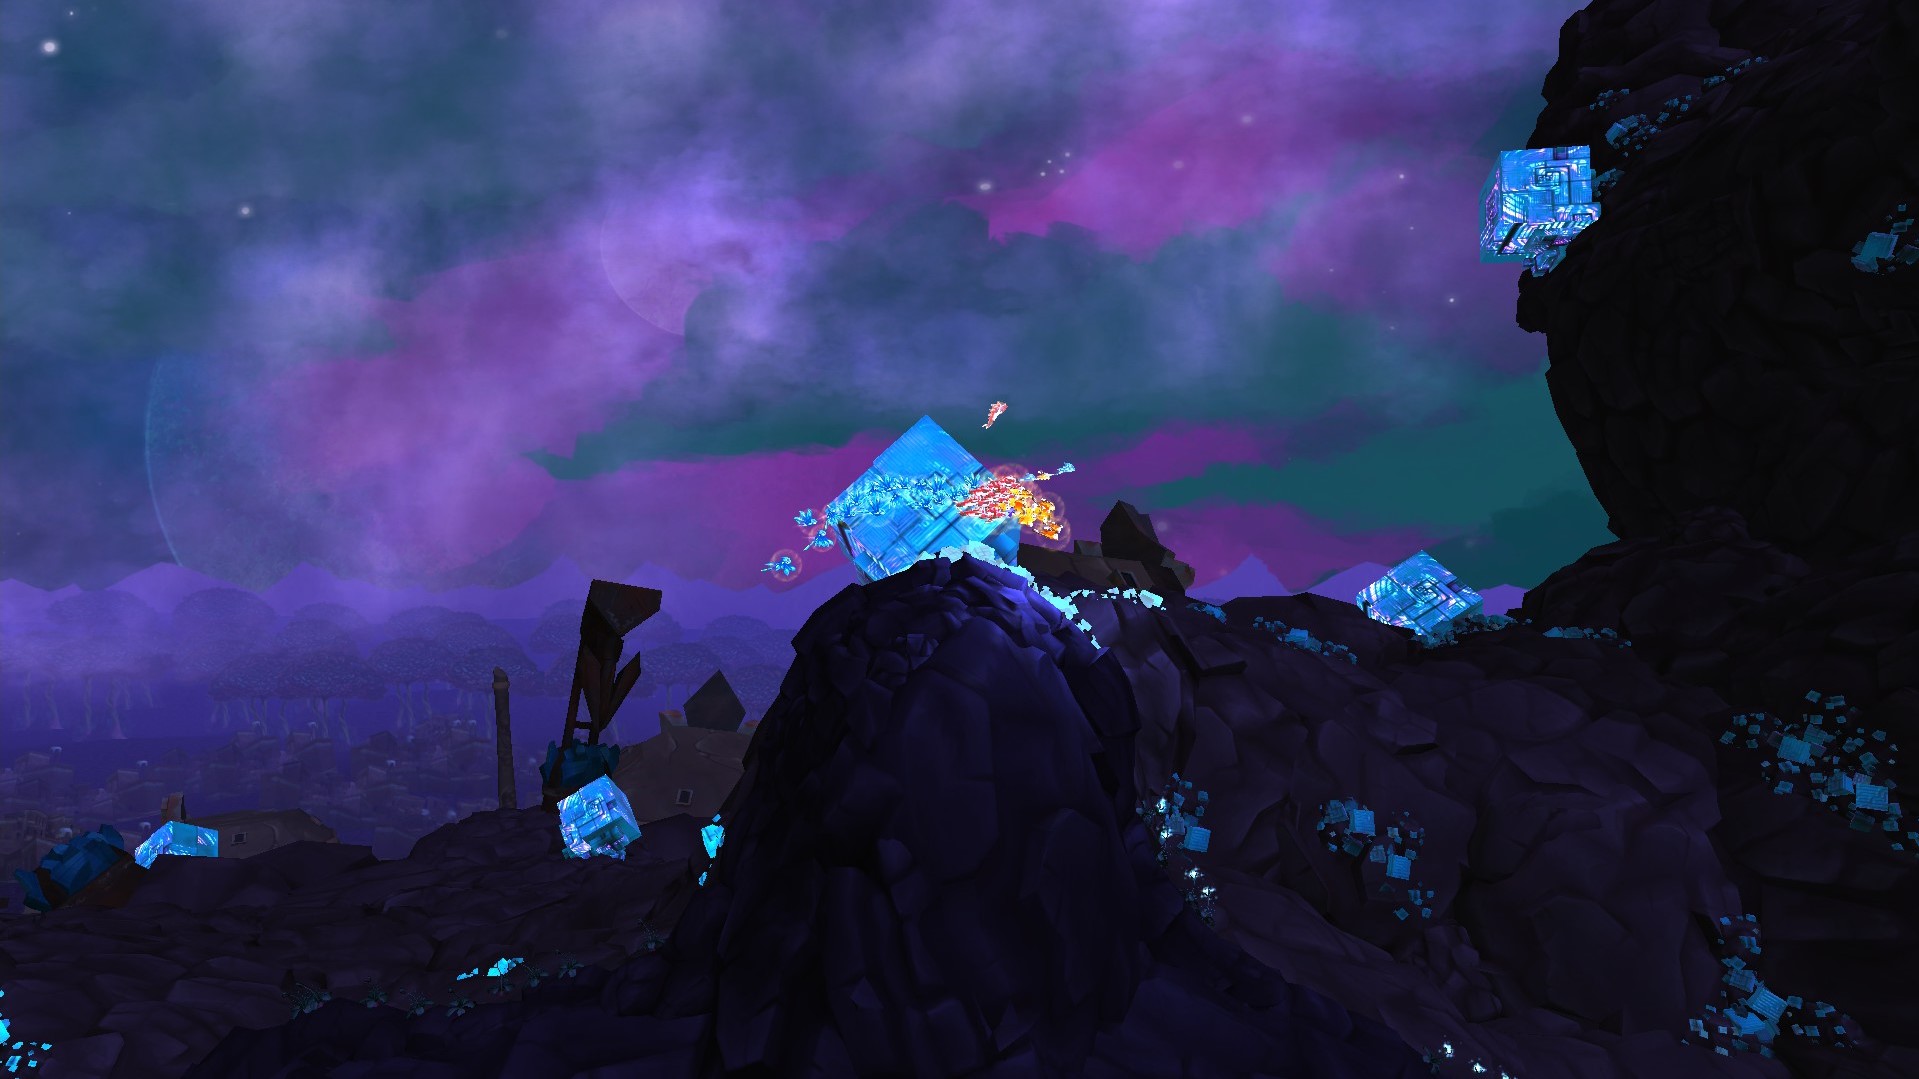
However, the way our tools worked it could've planted some strays. I removed most of those, but it had to be checked by hand. Same goes for all geometry gaps. The achievement check accounts for that and only counts all the collectibles that were intended by design.

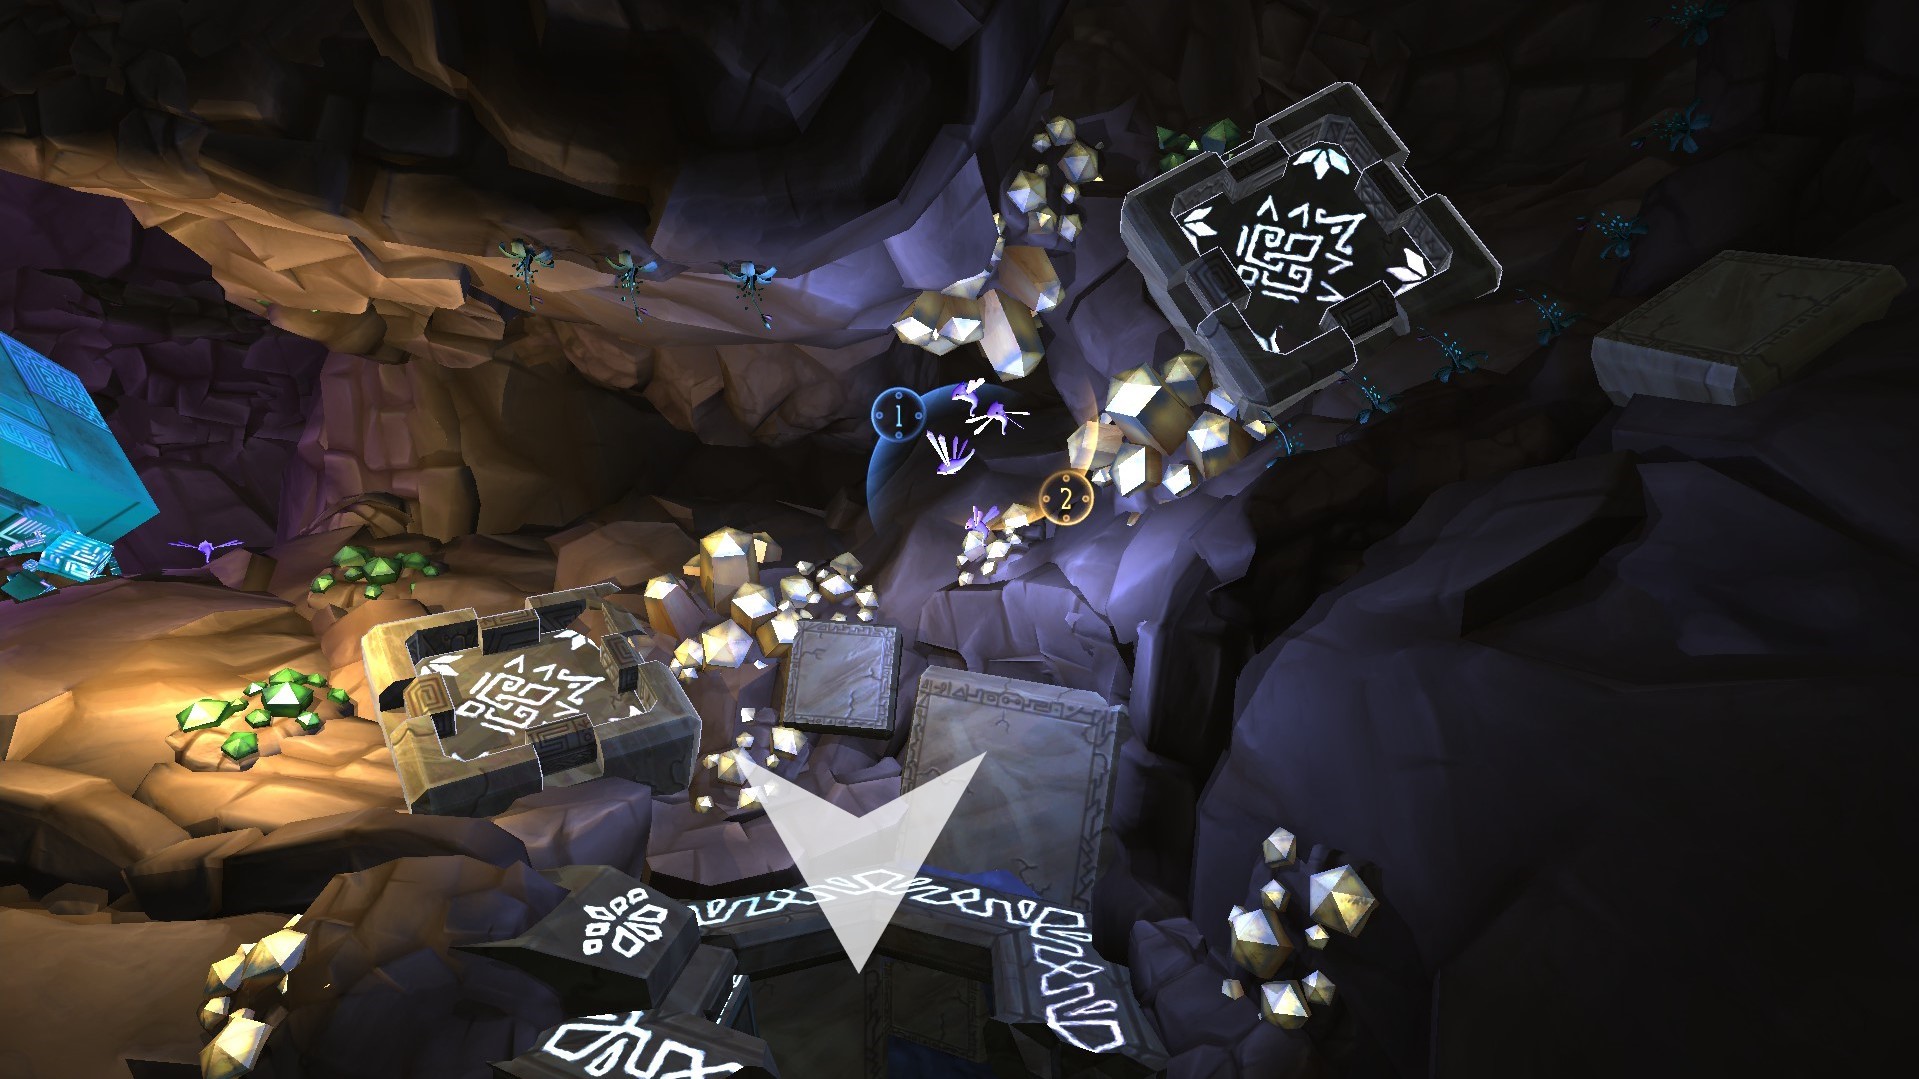
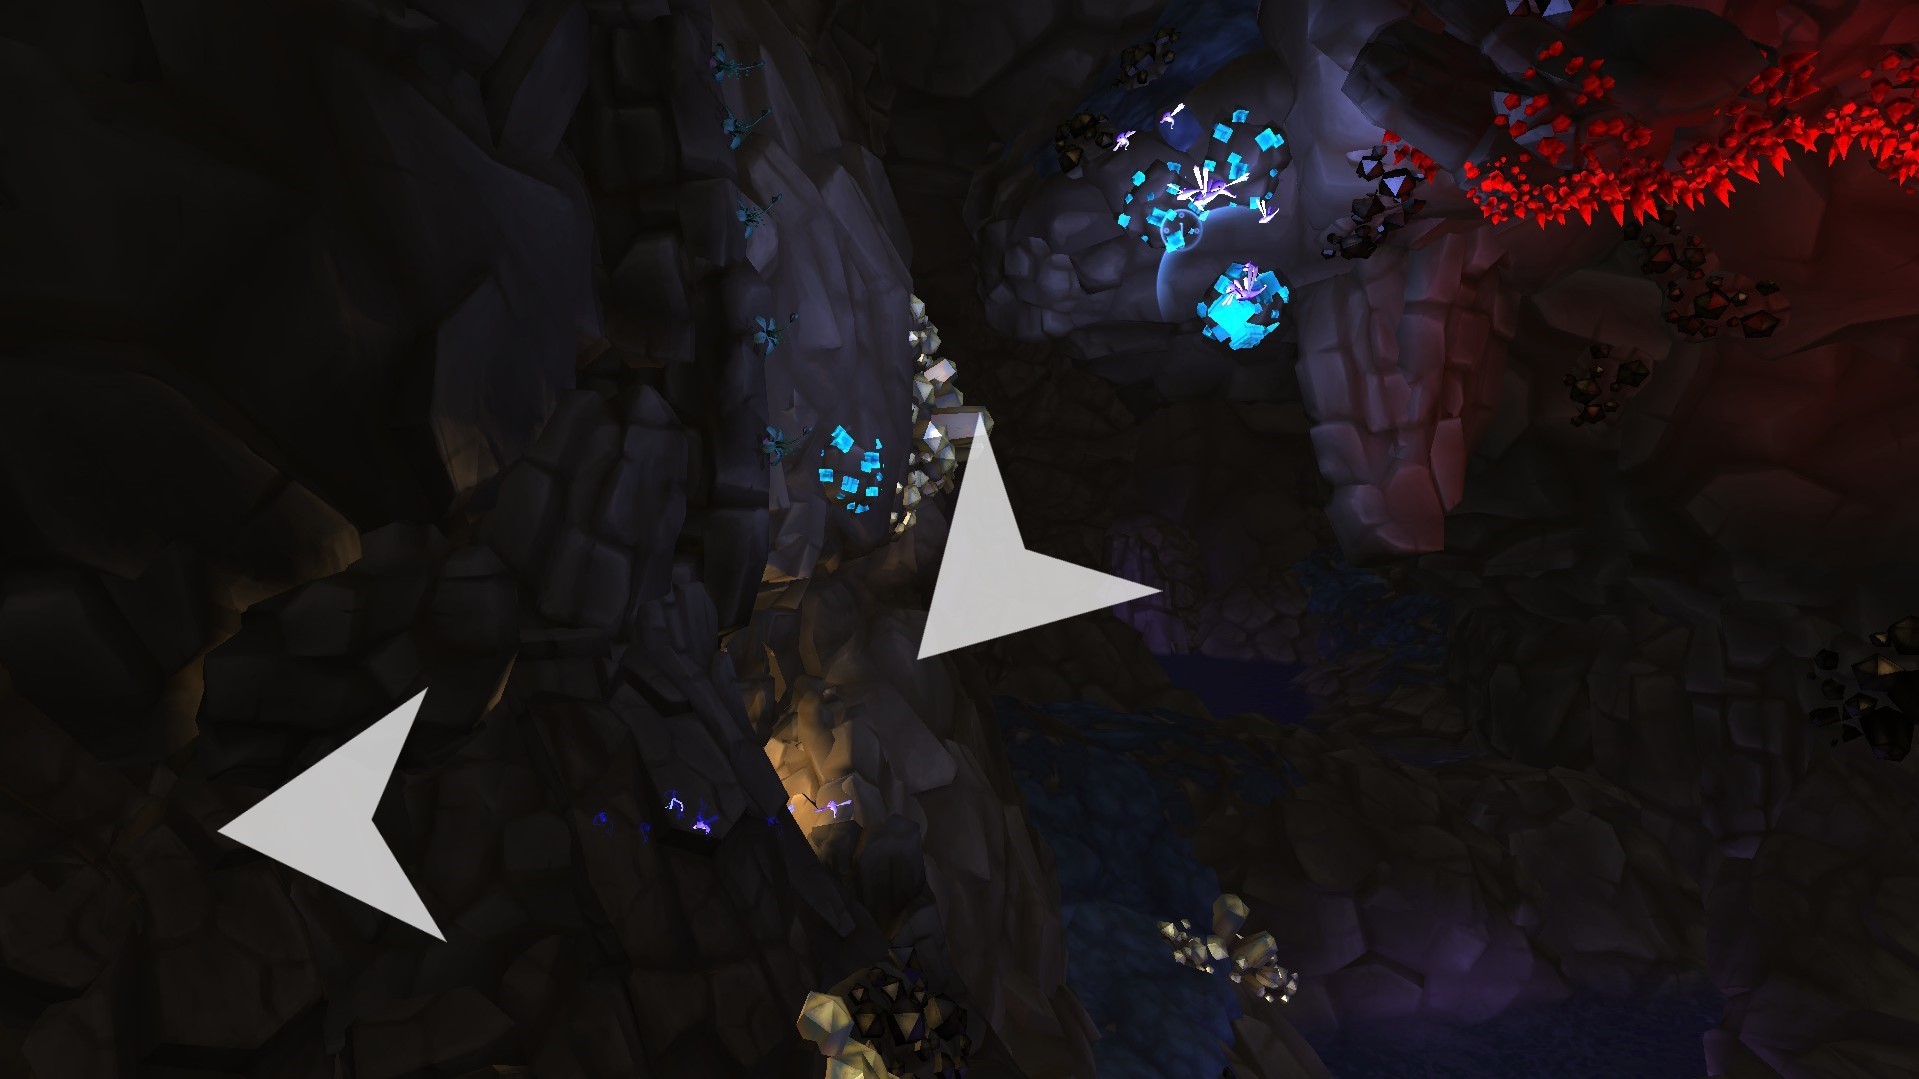
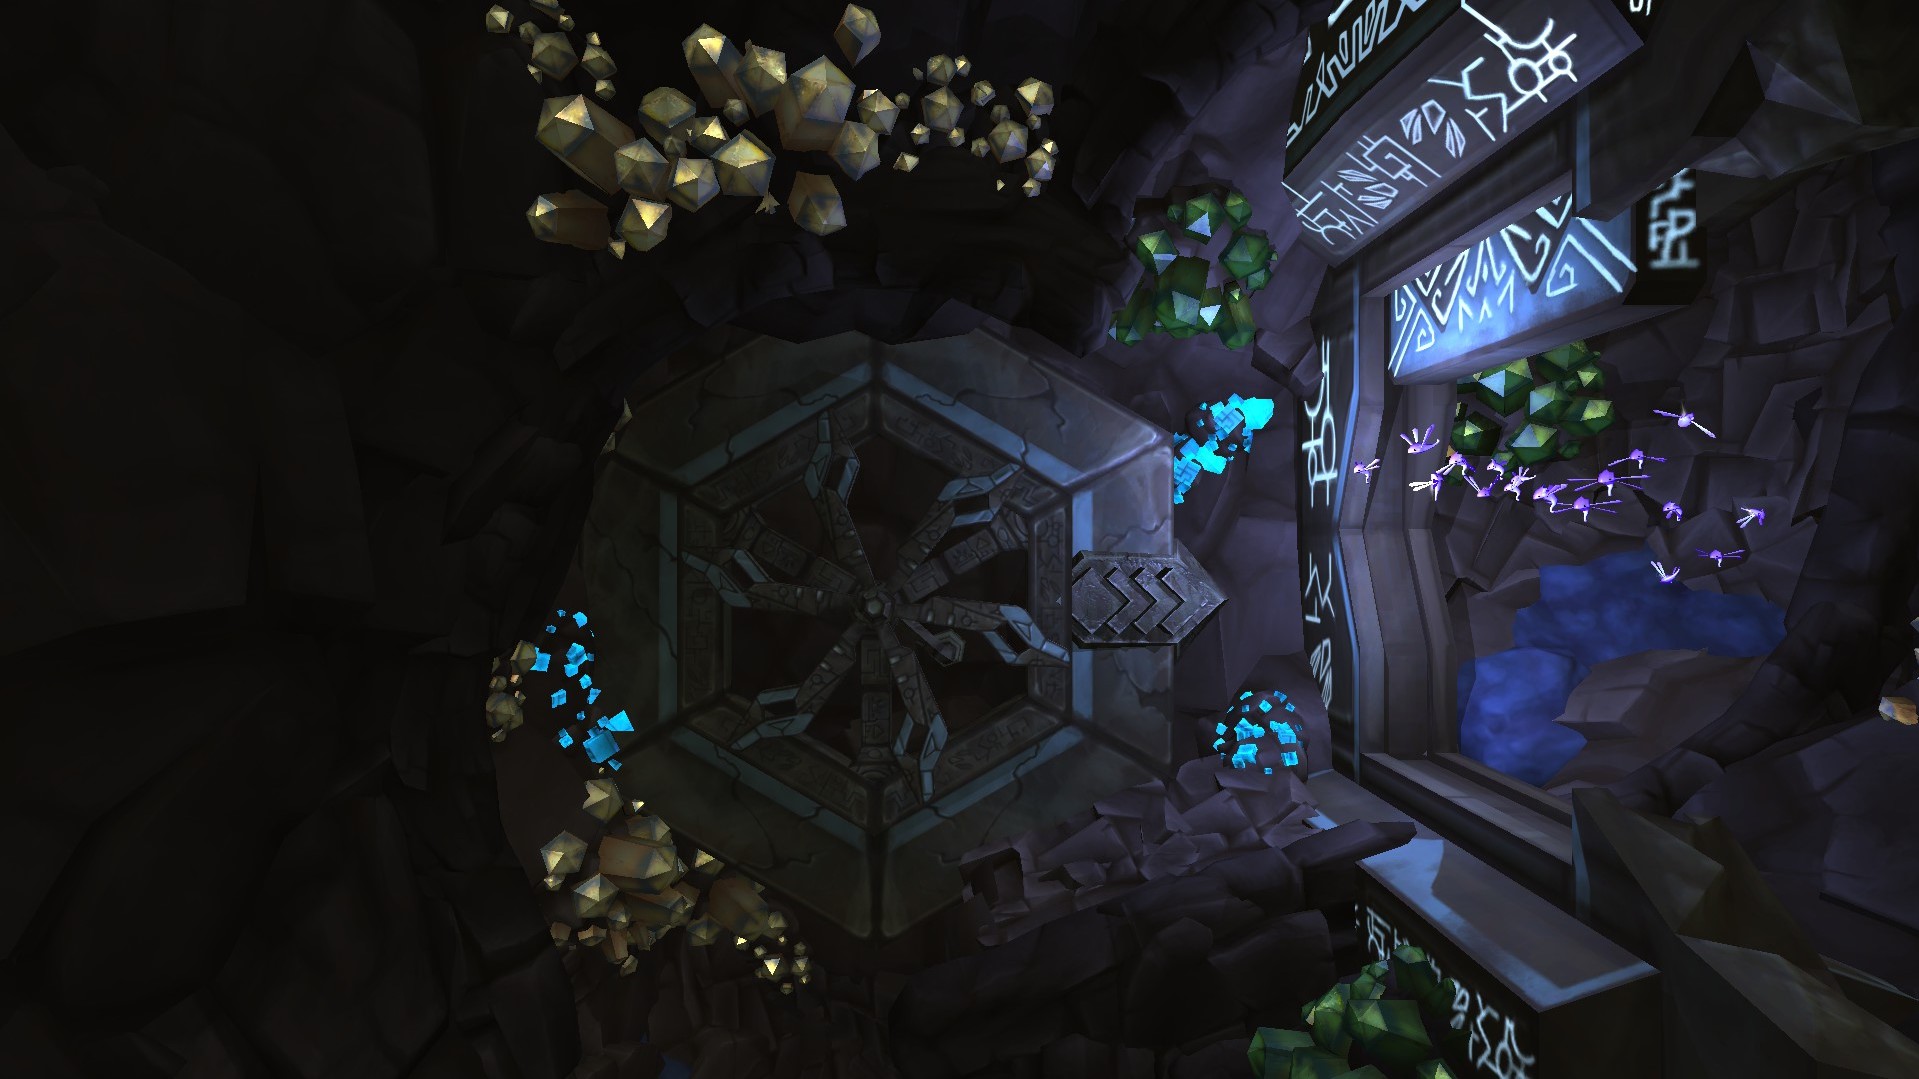
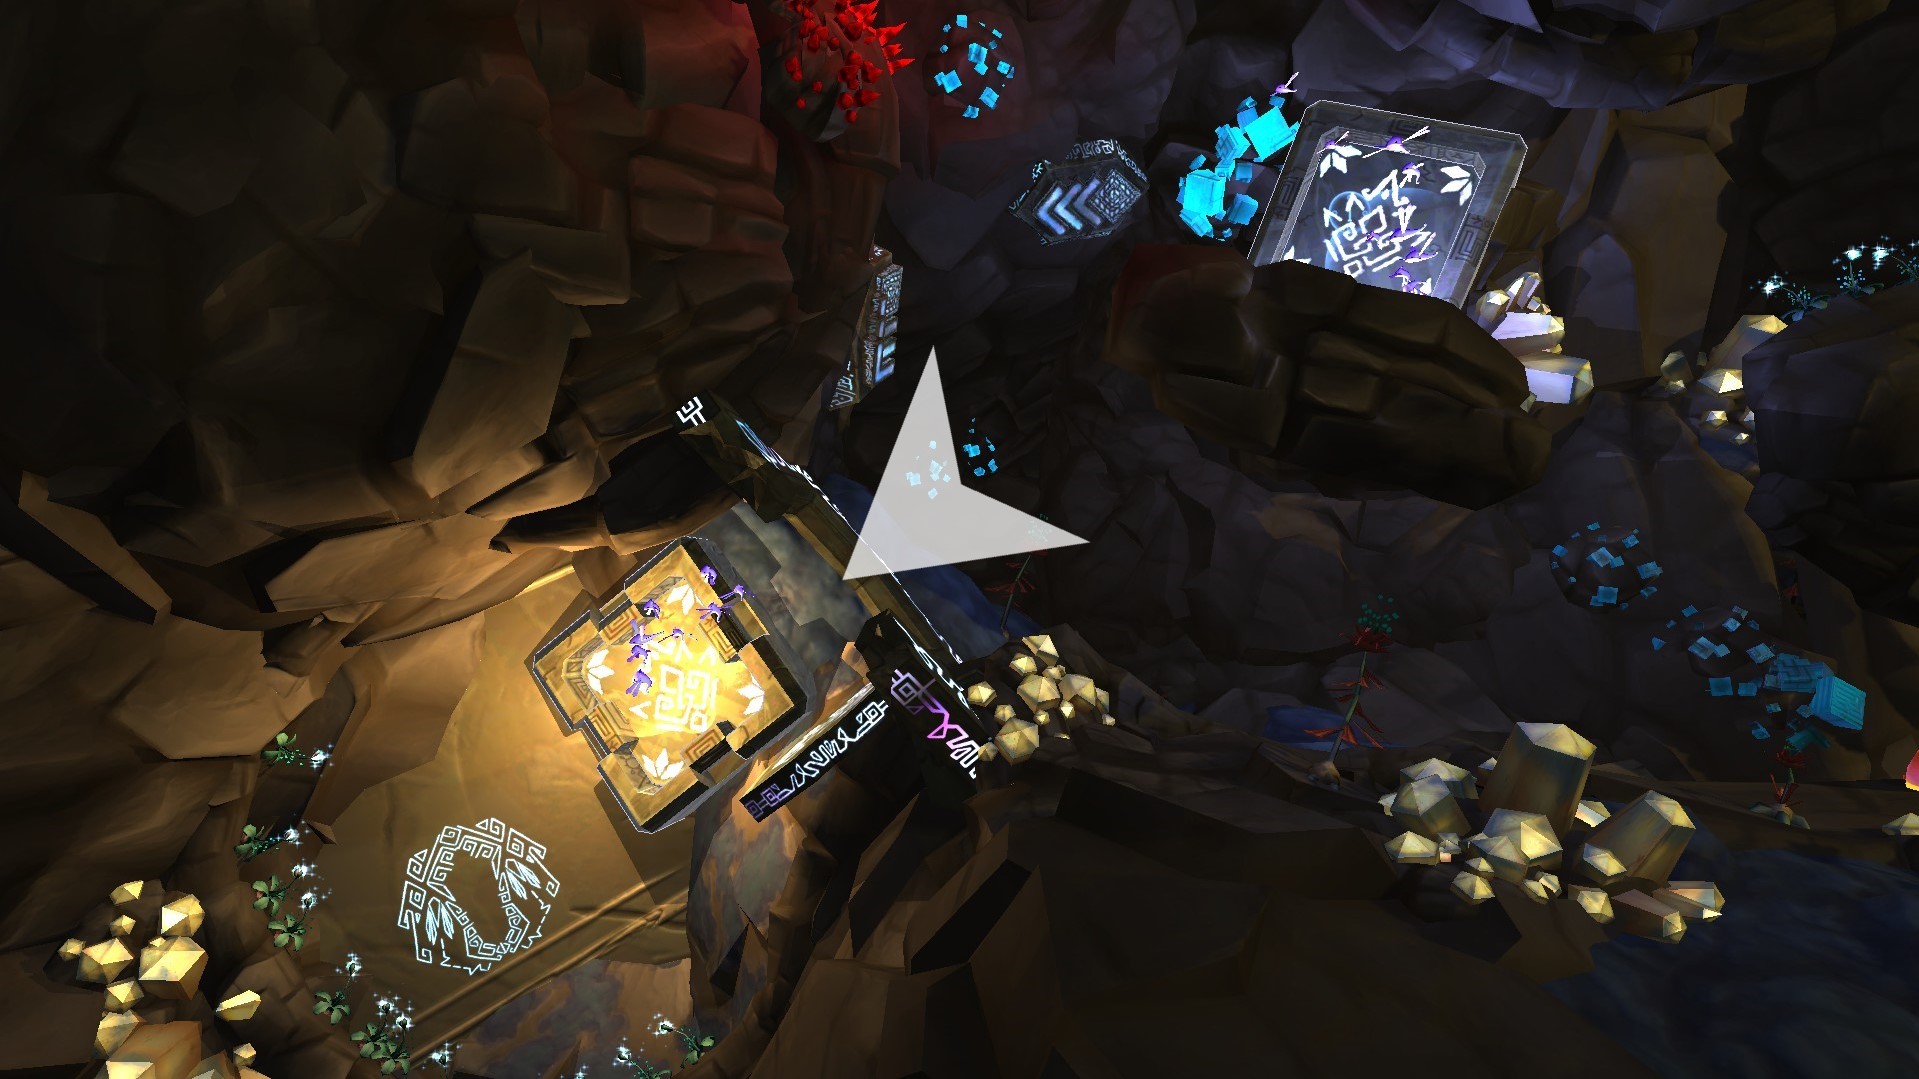
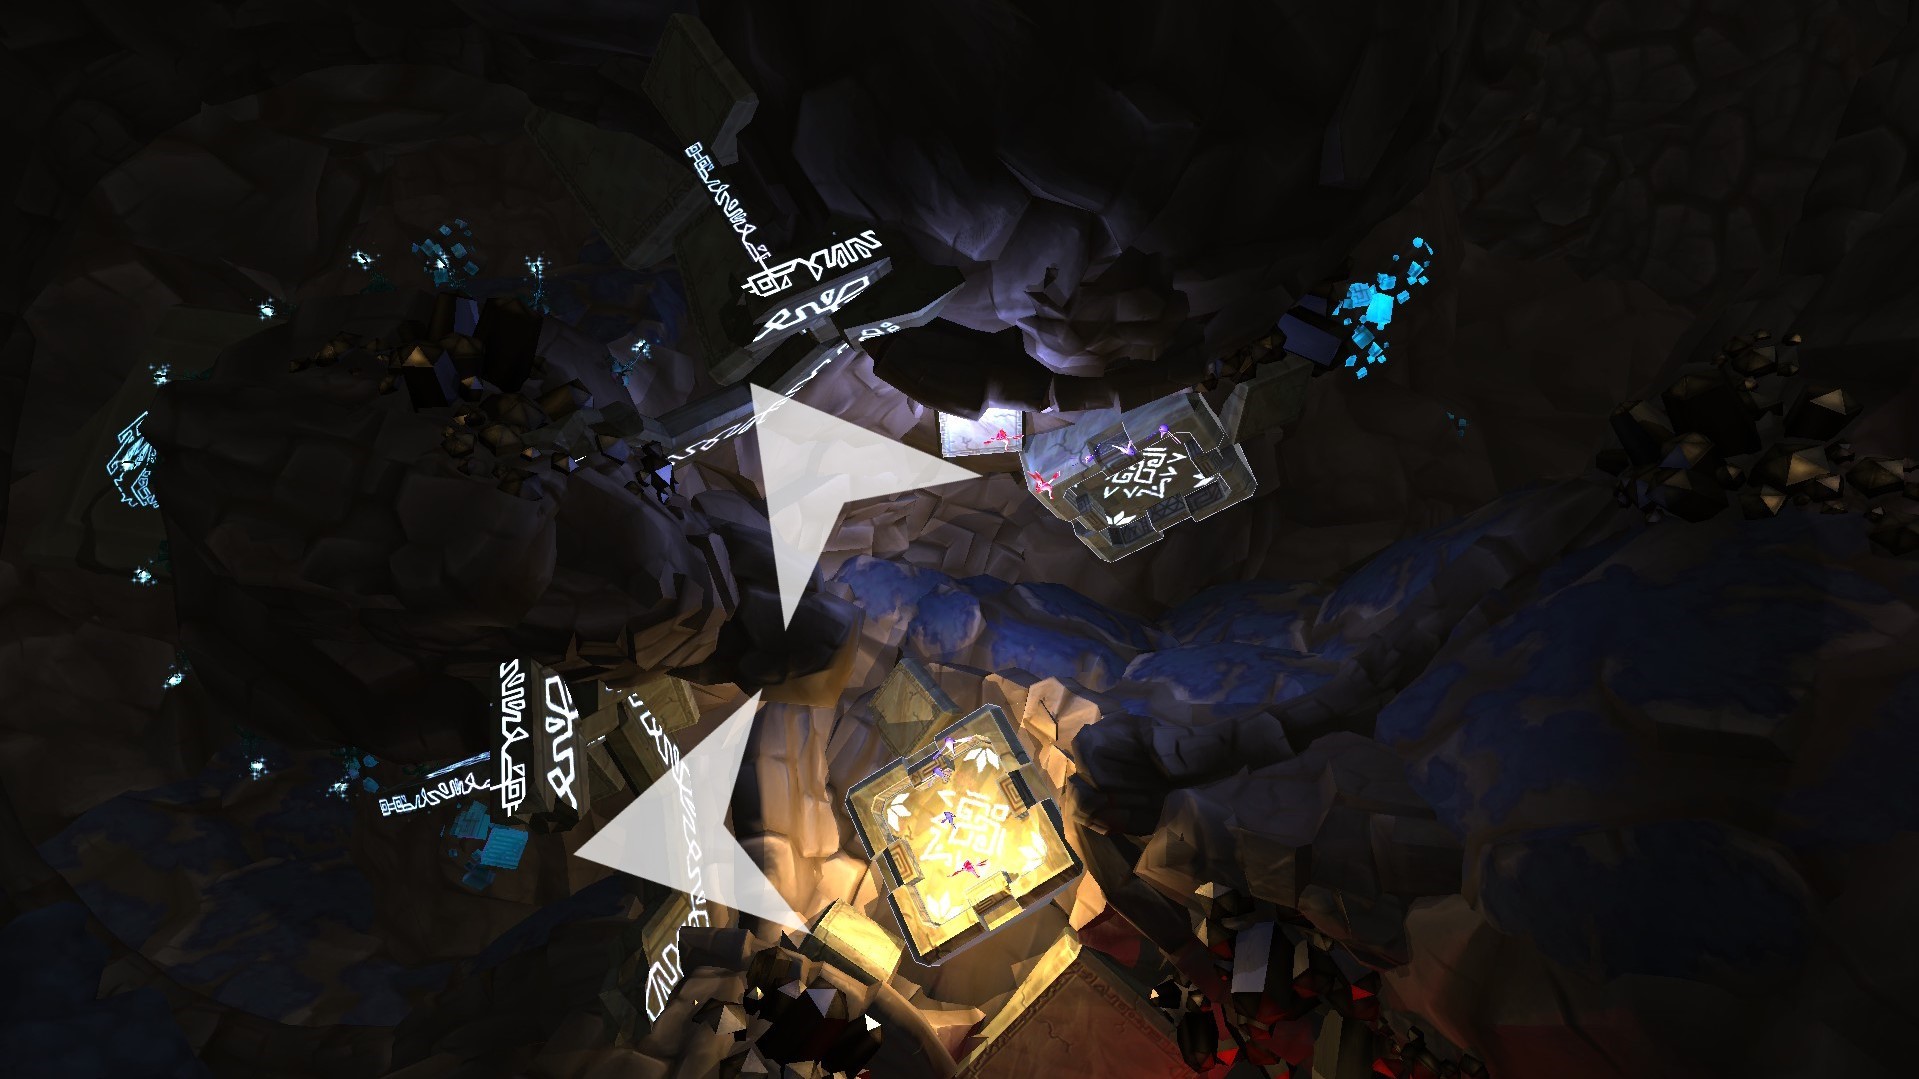
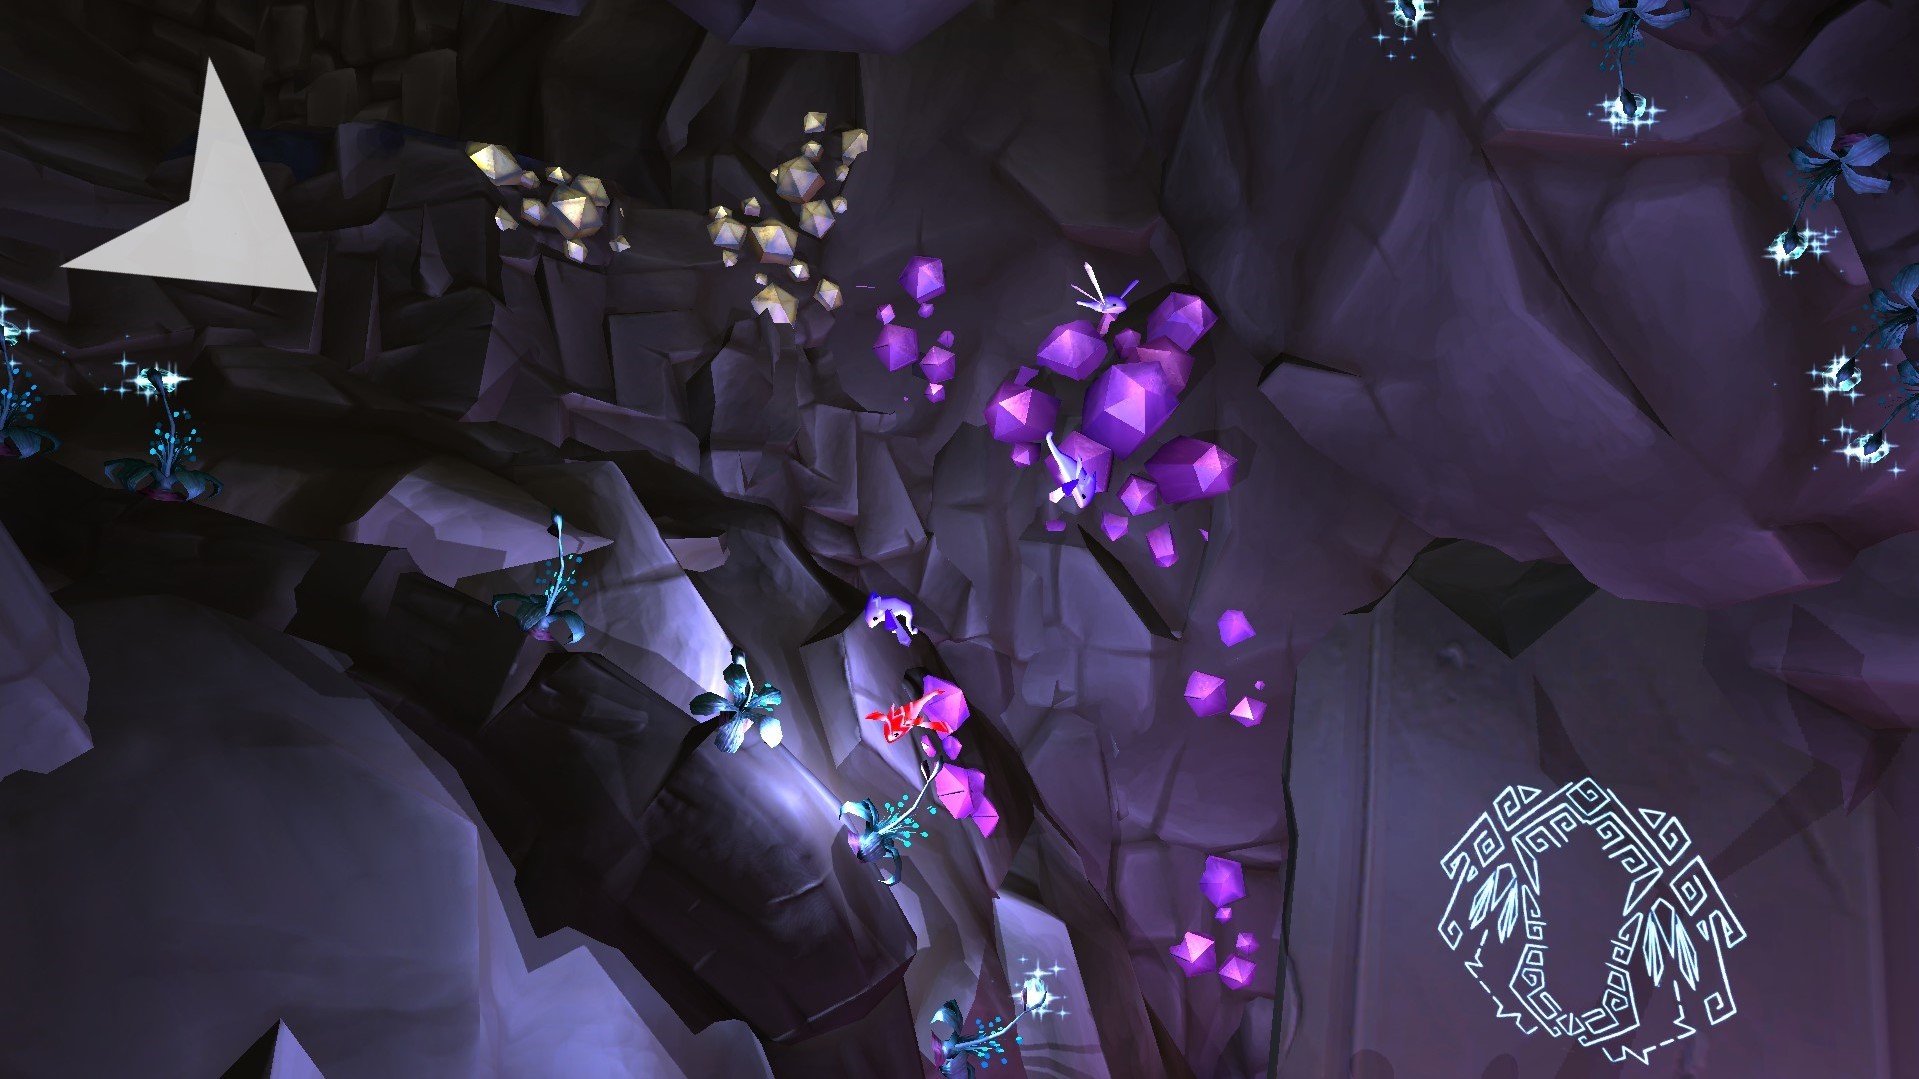
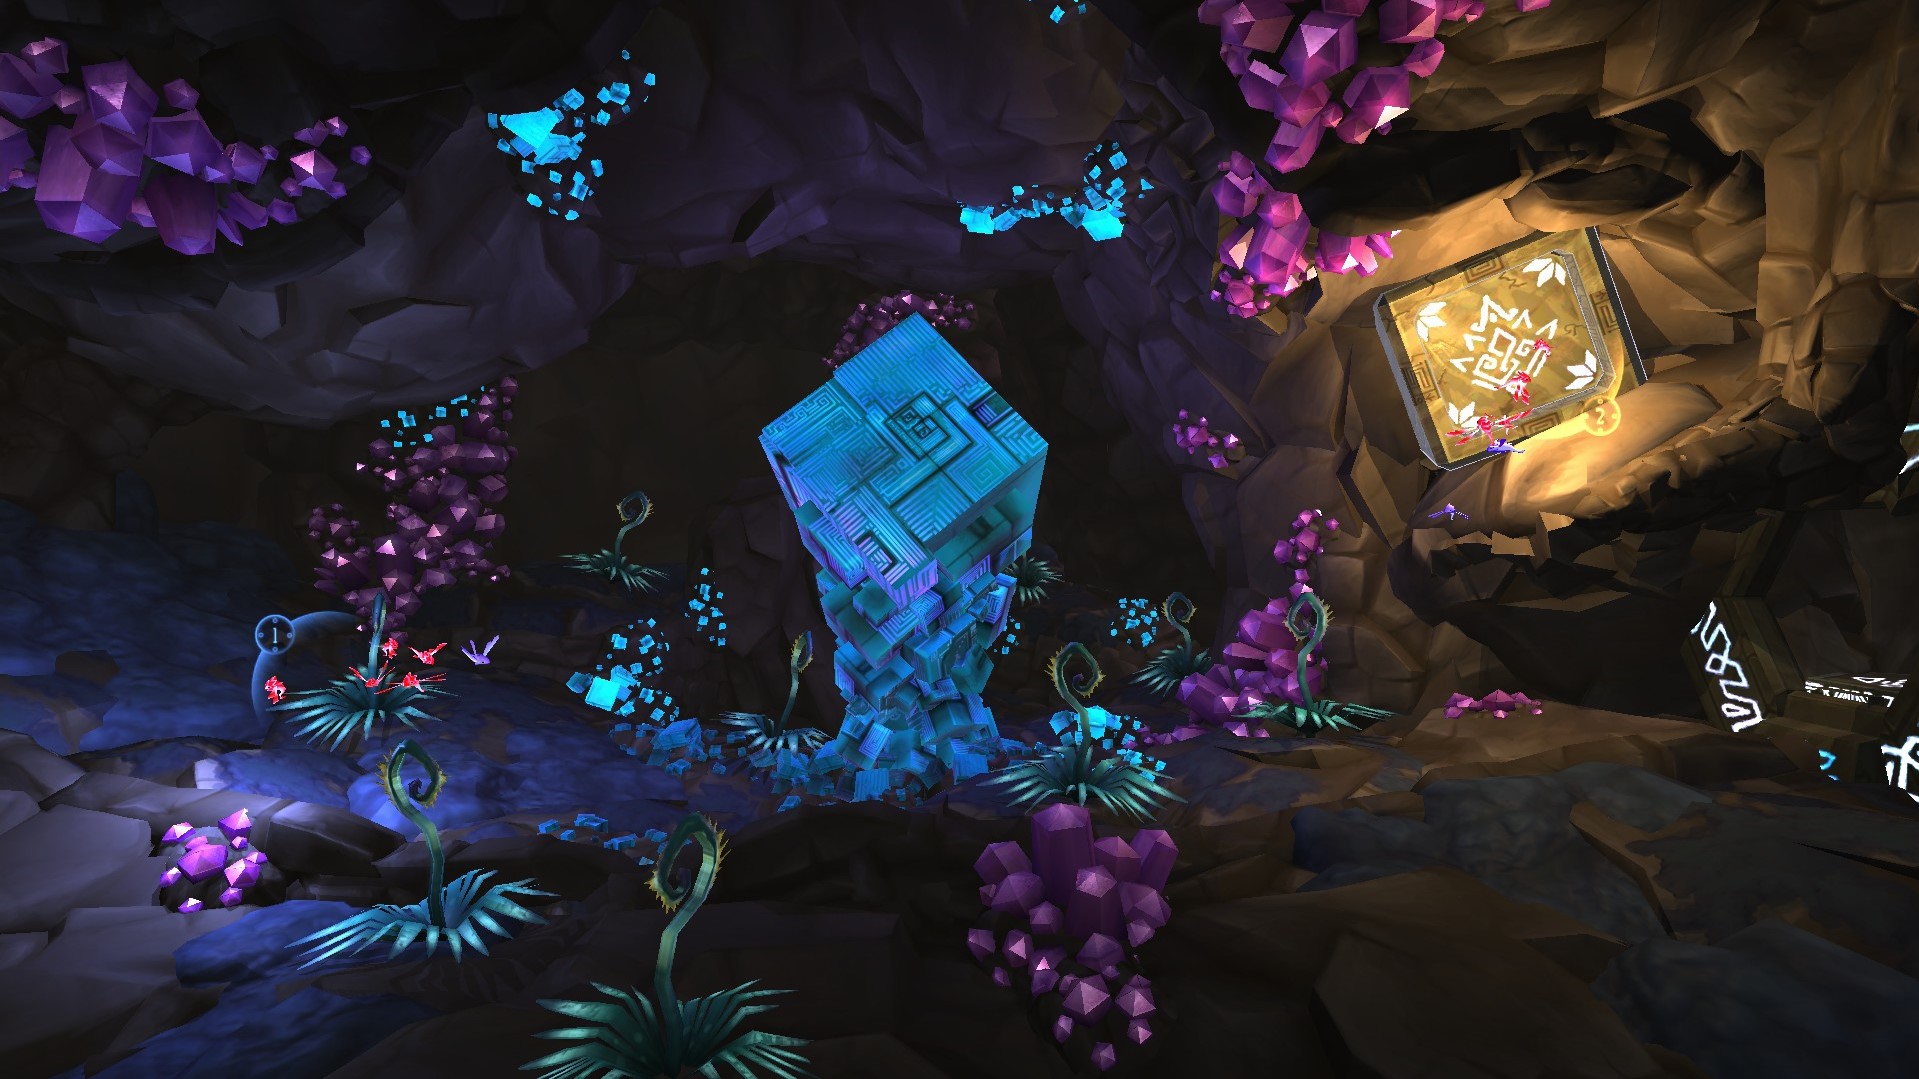
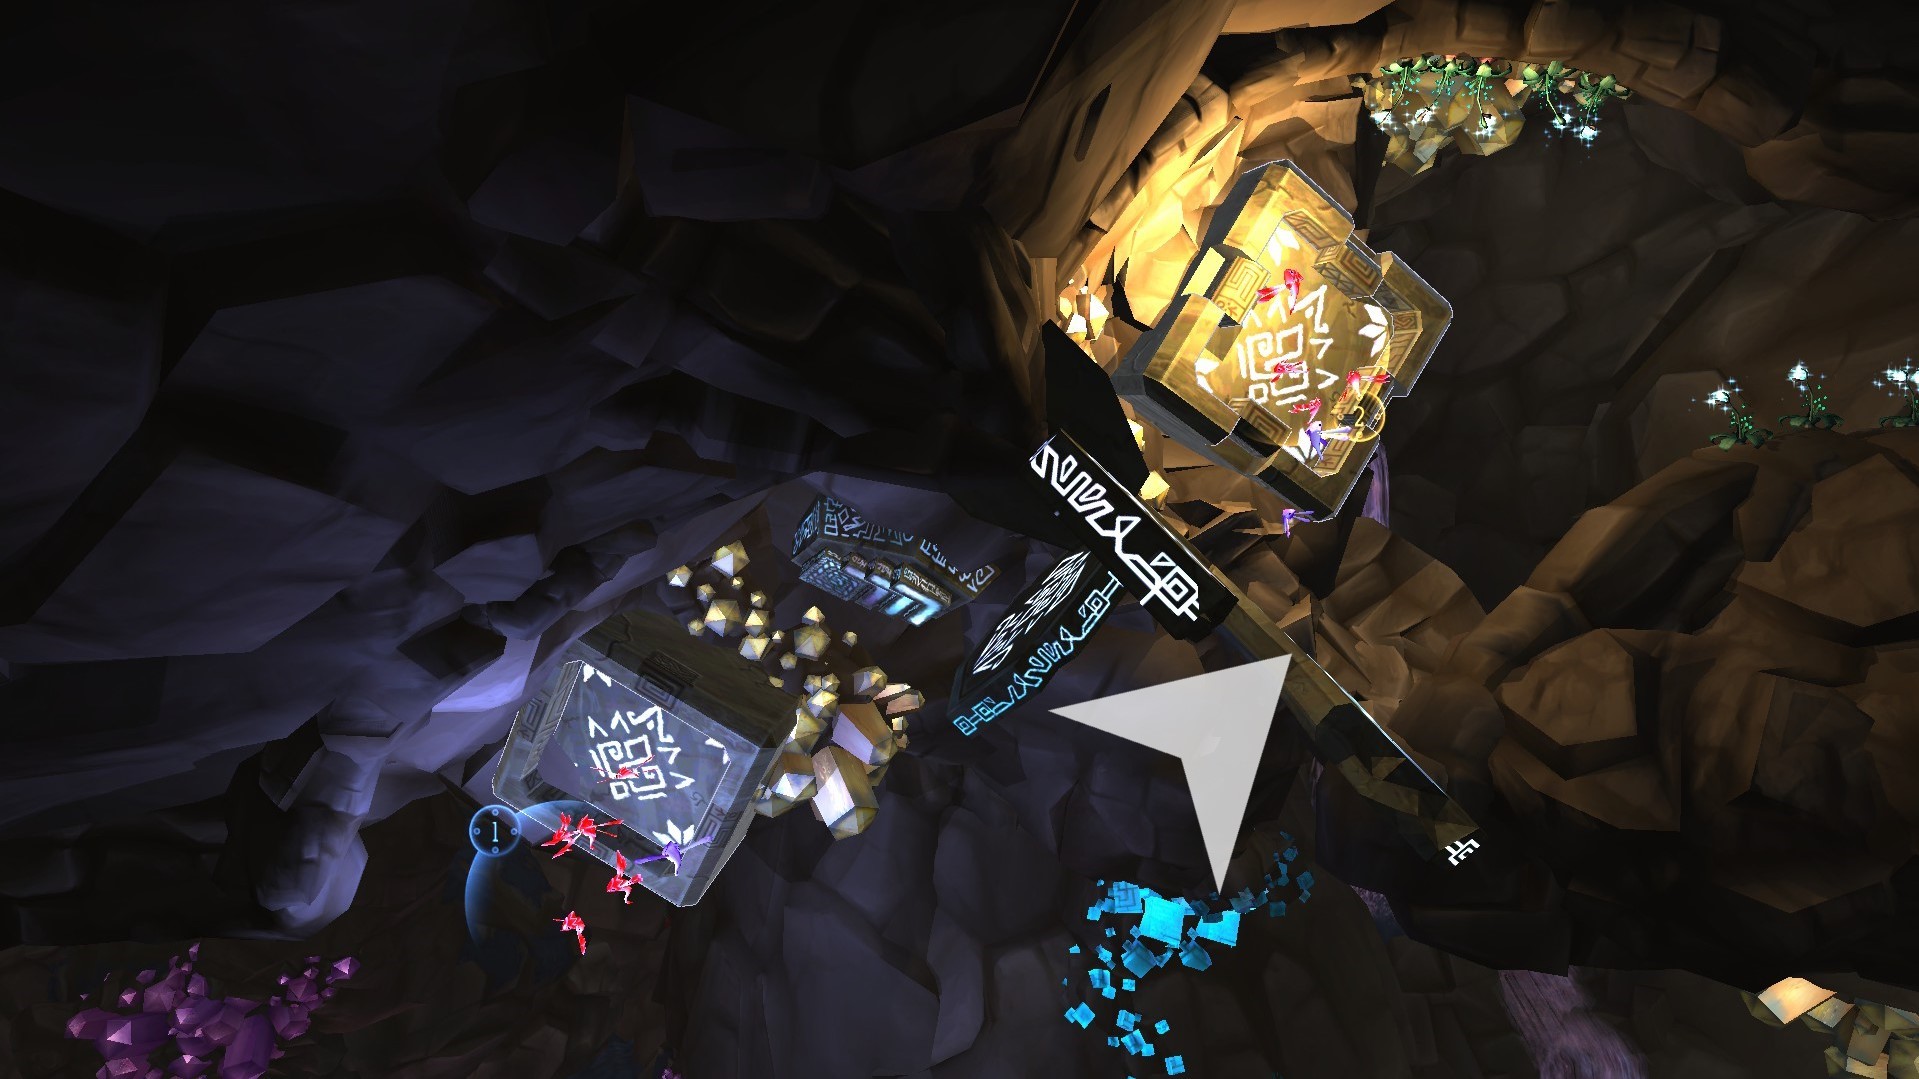
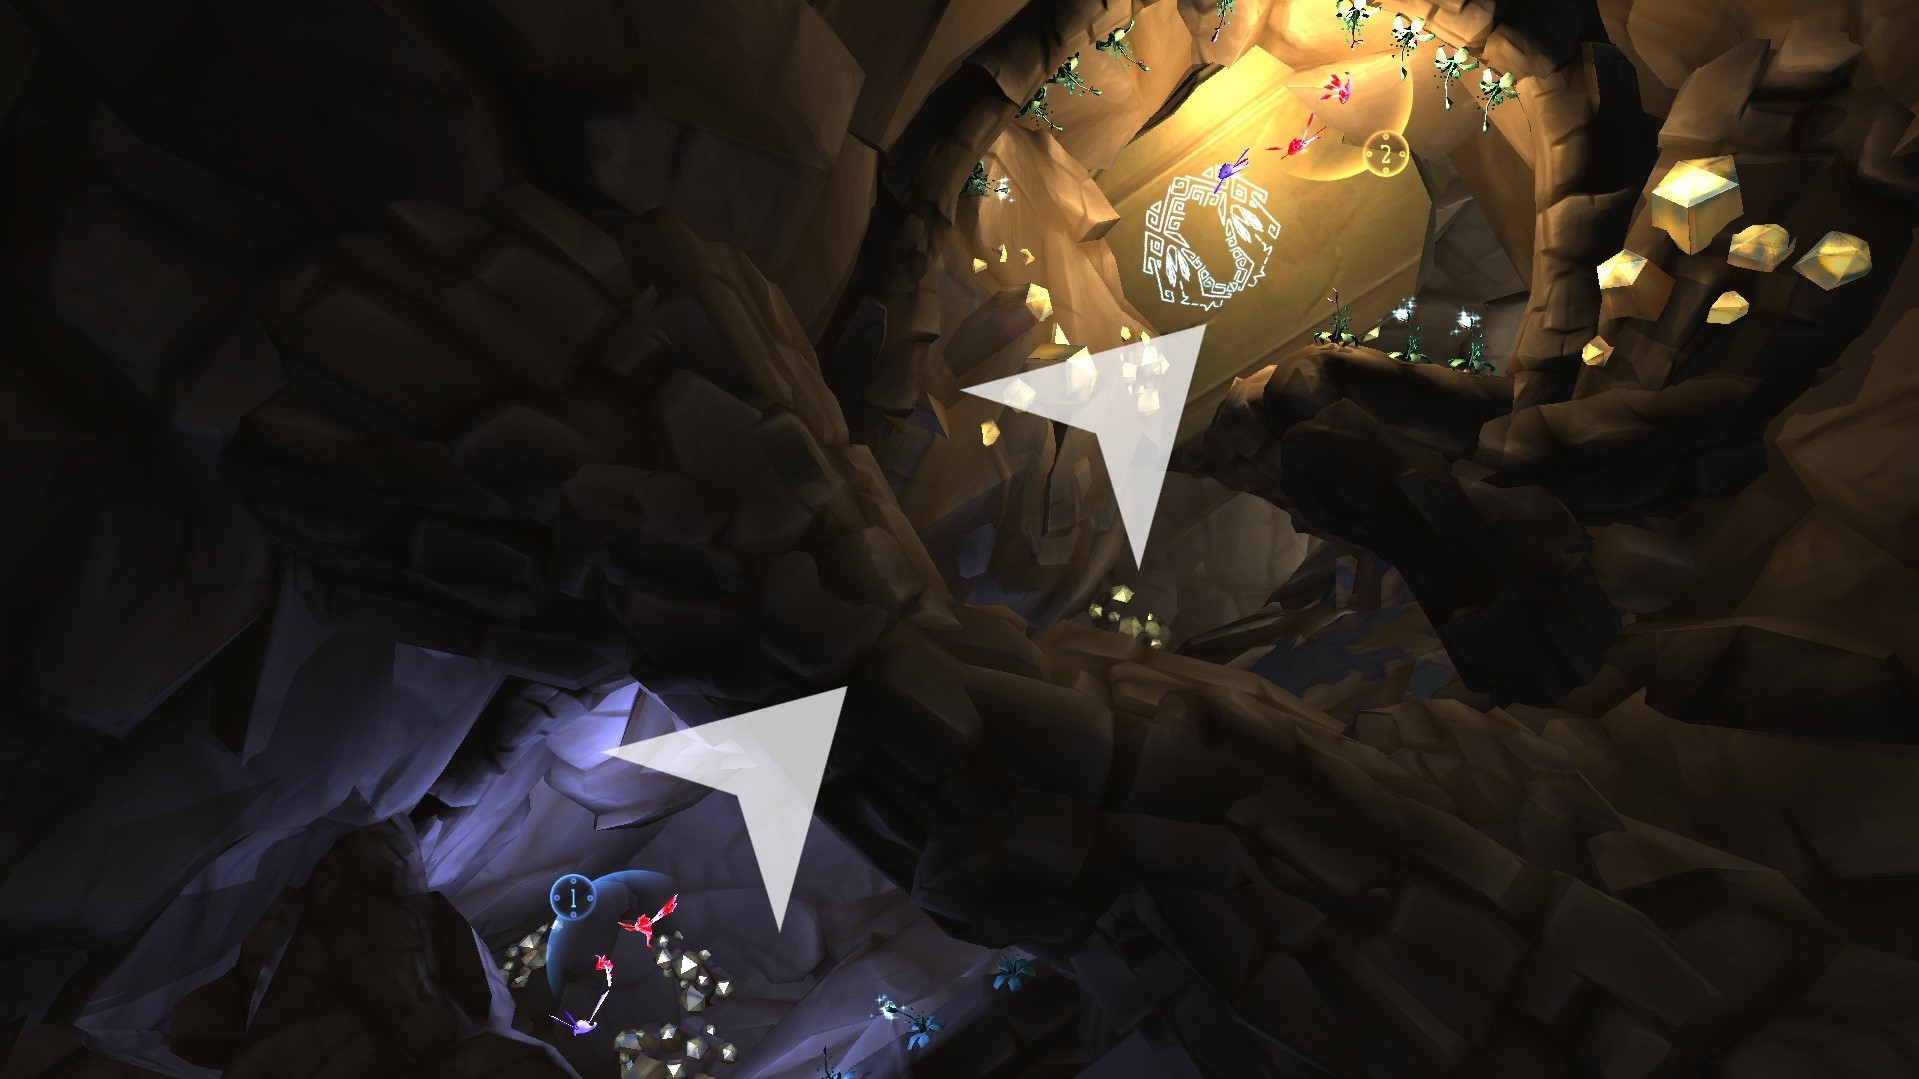
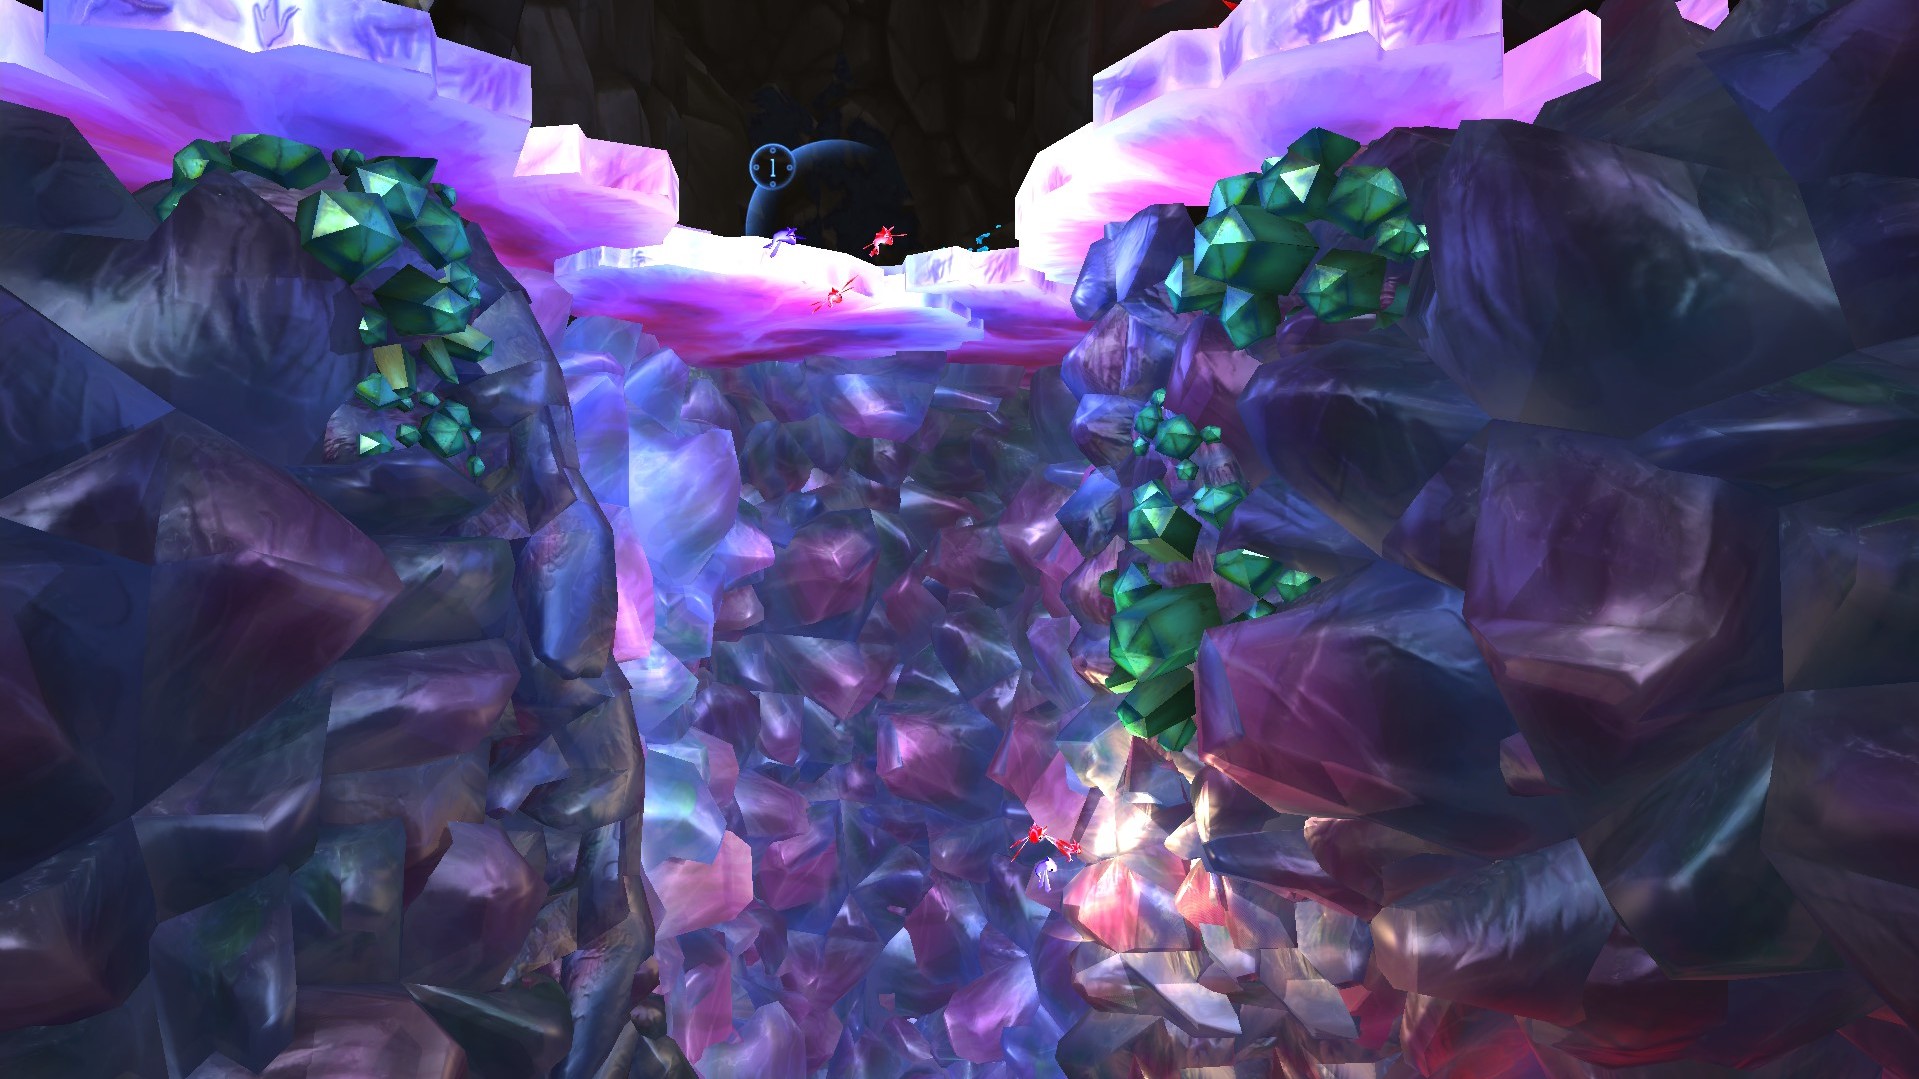
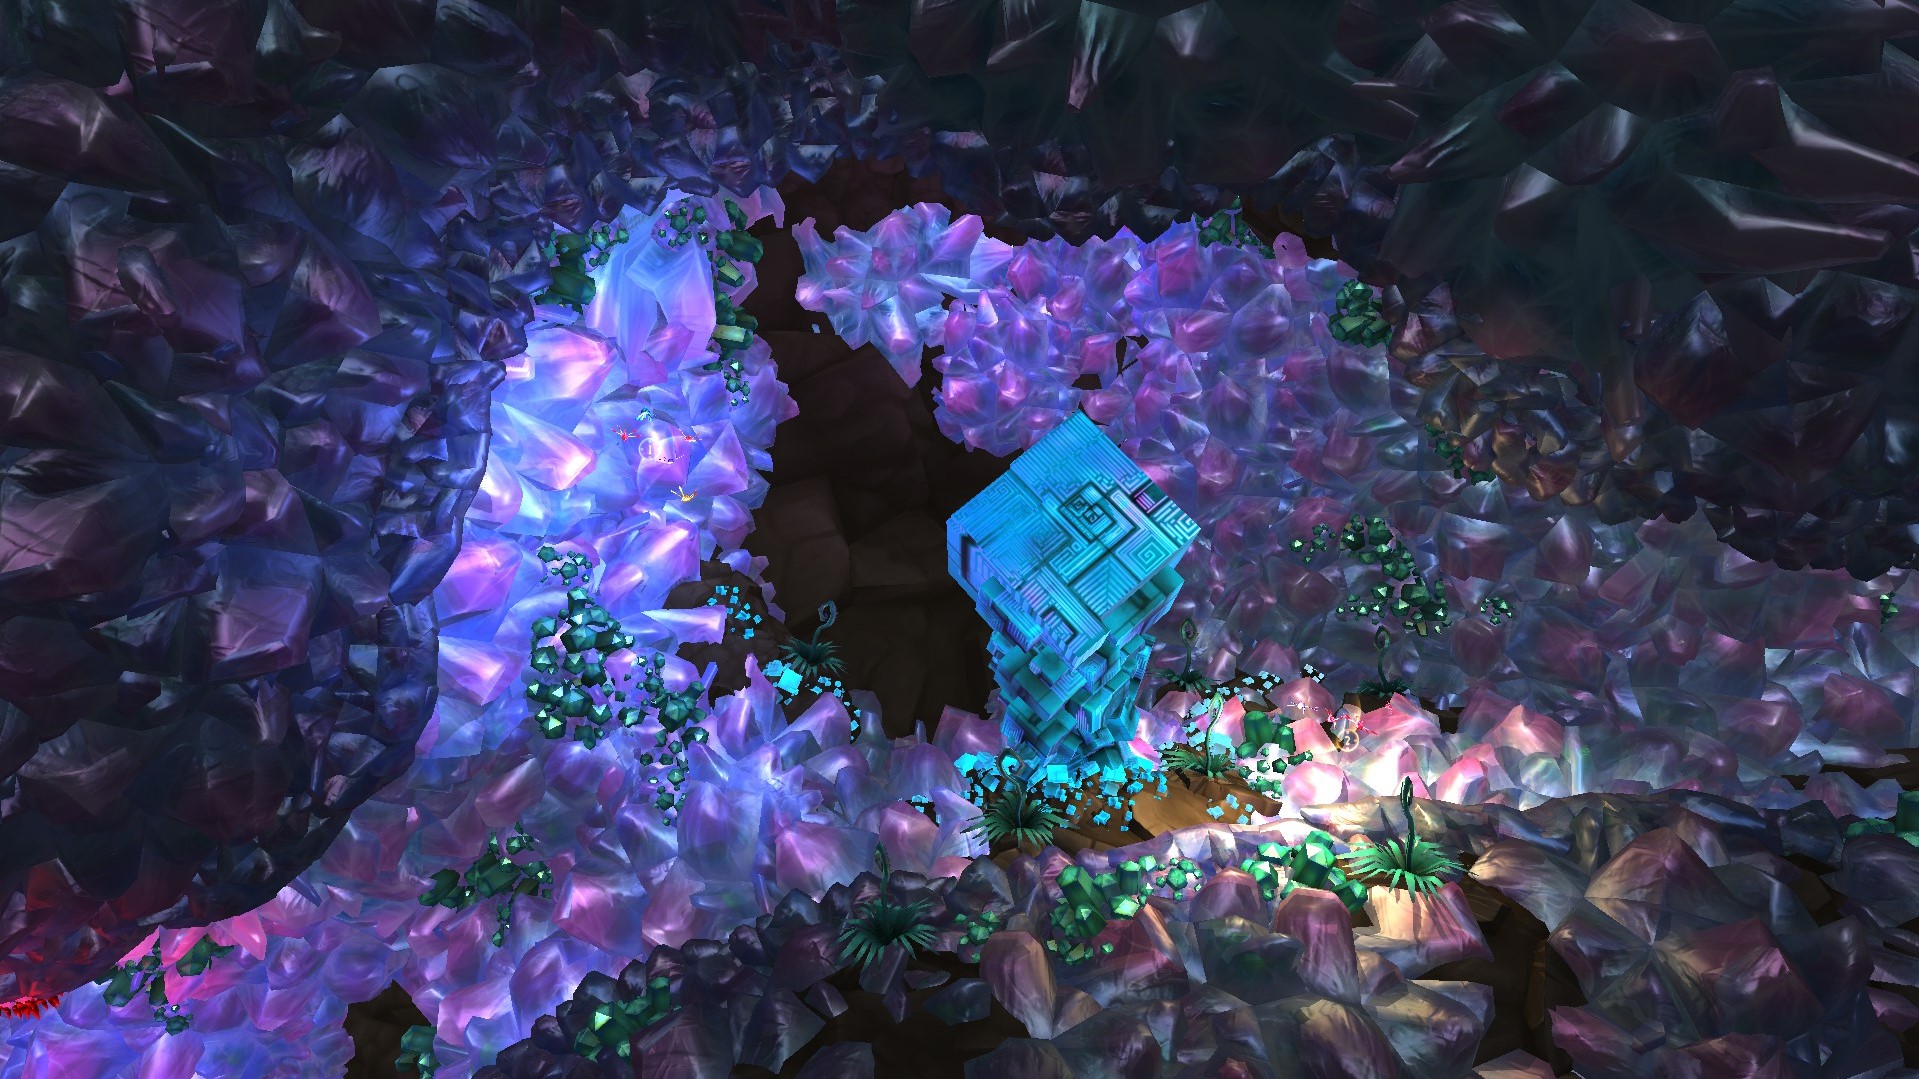
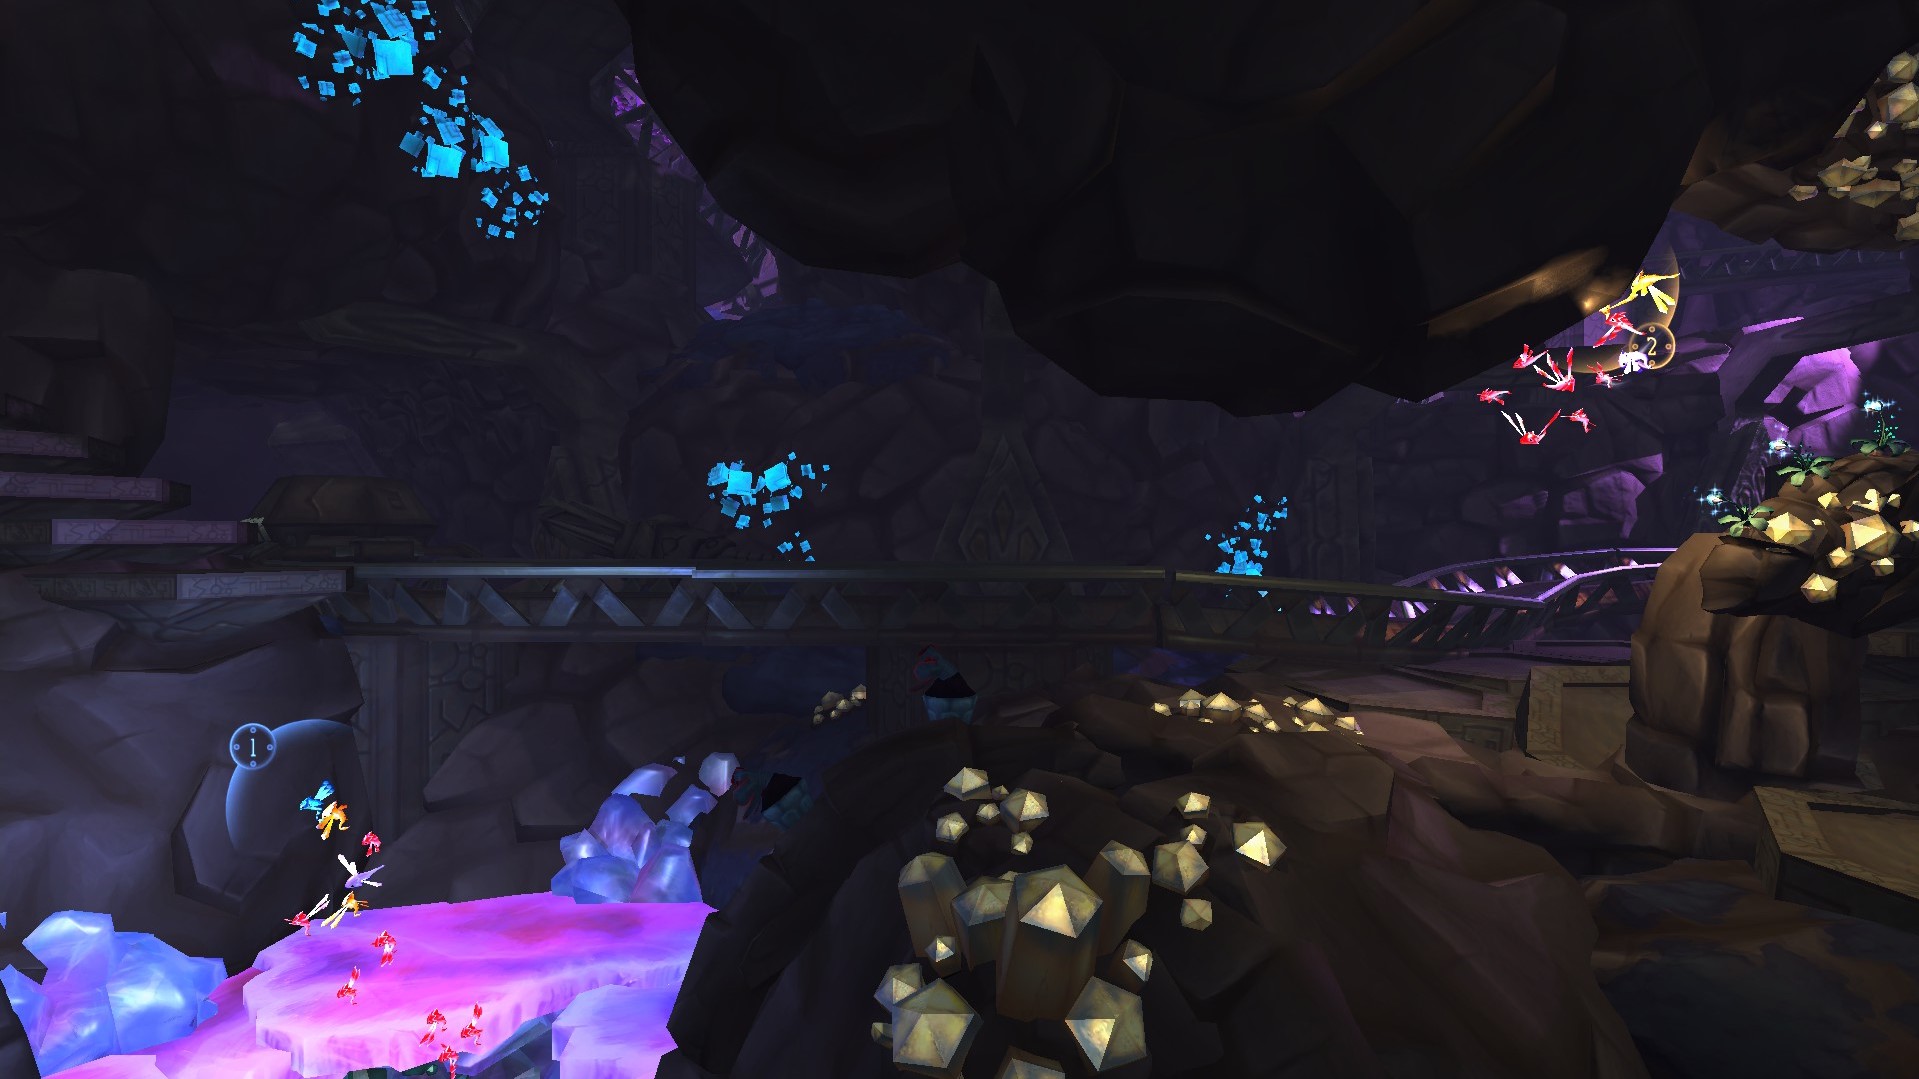
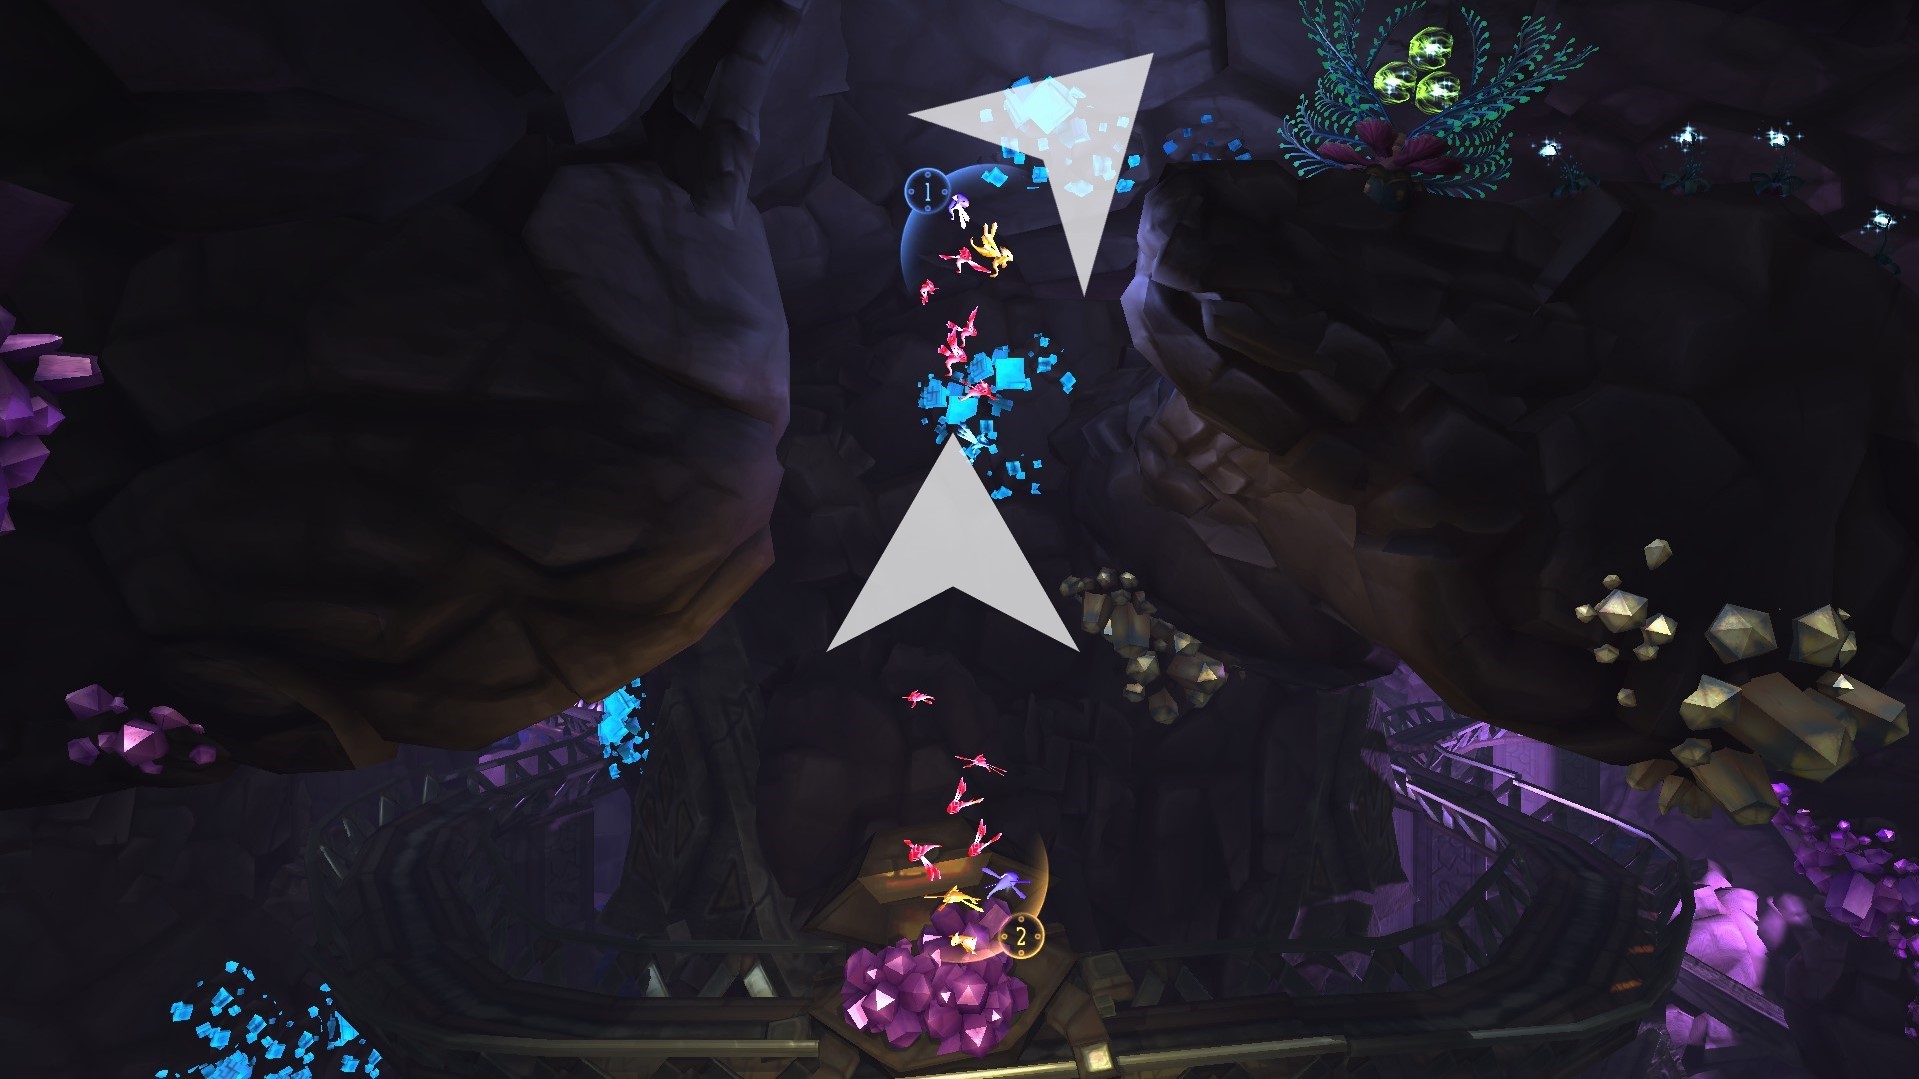
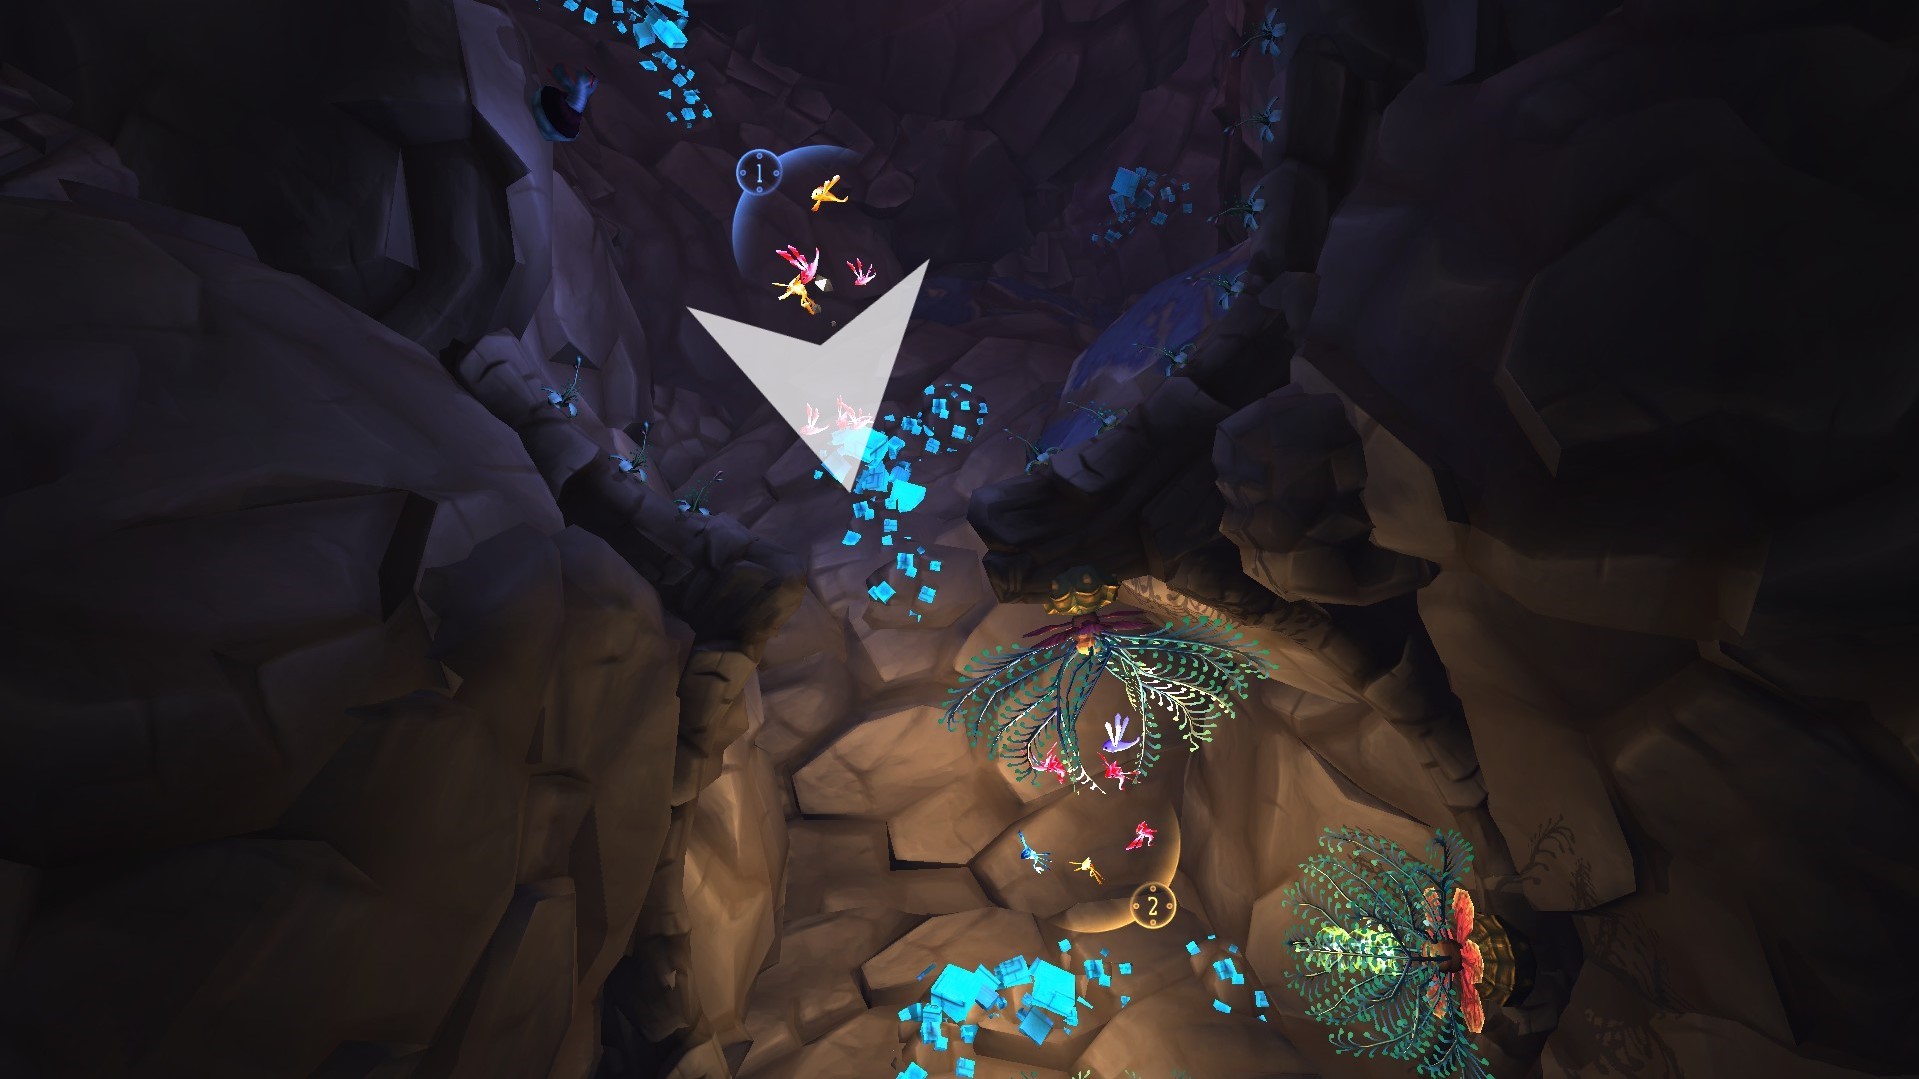
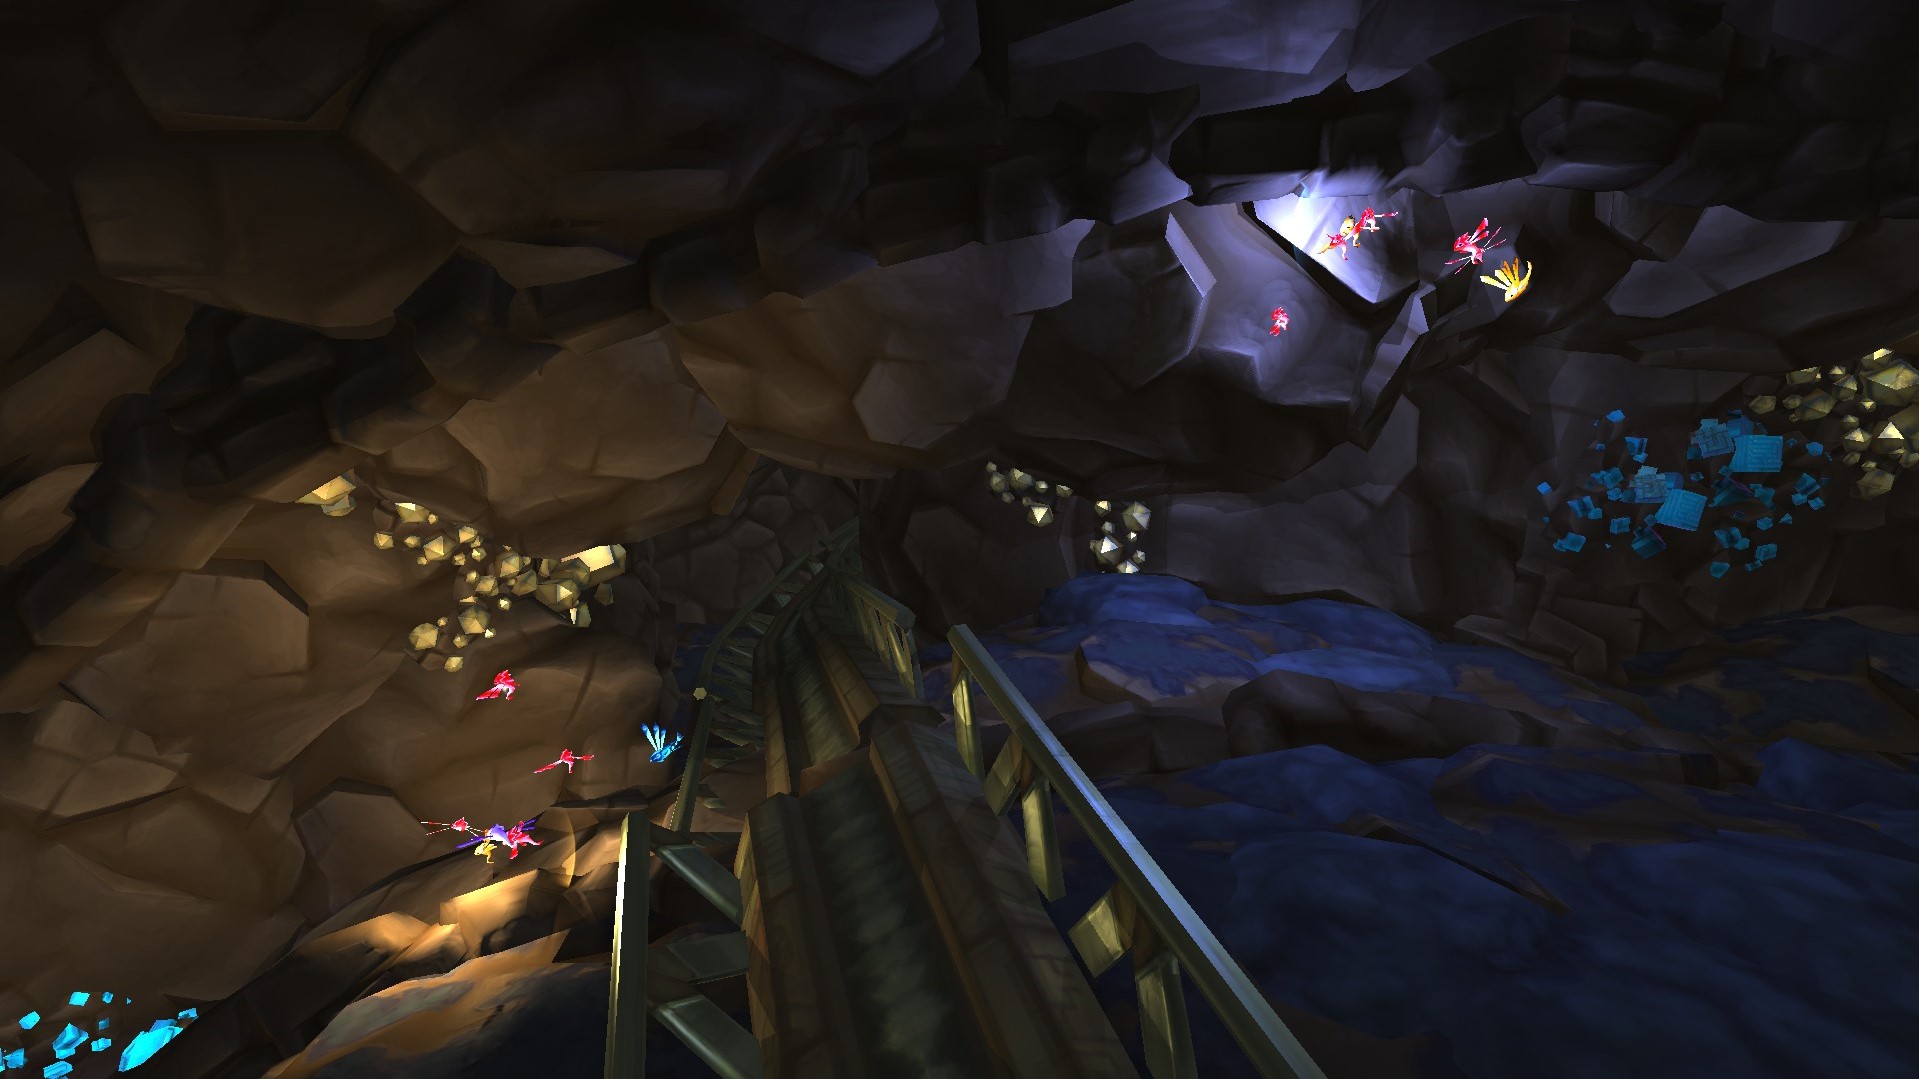
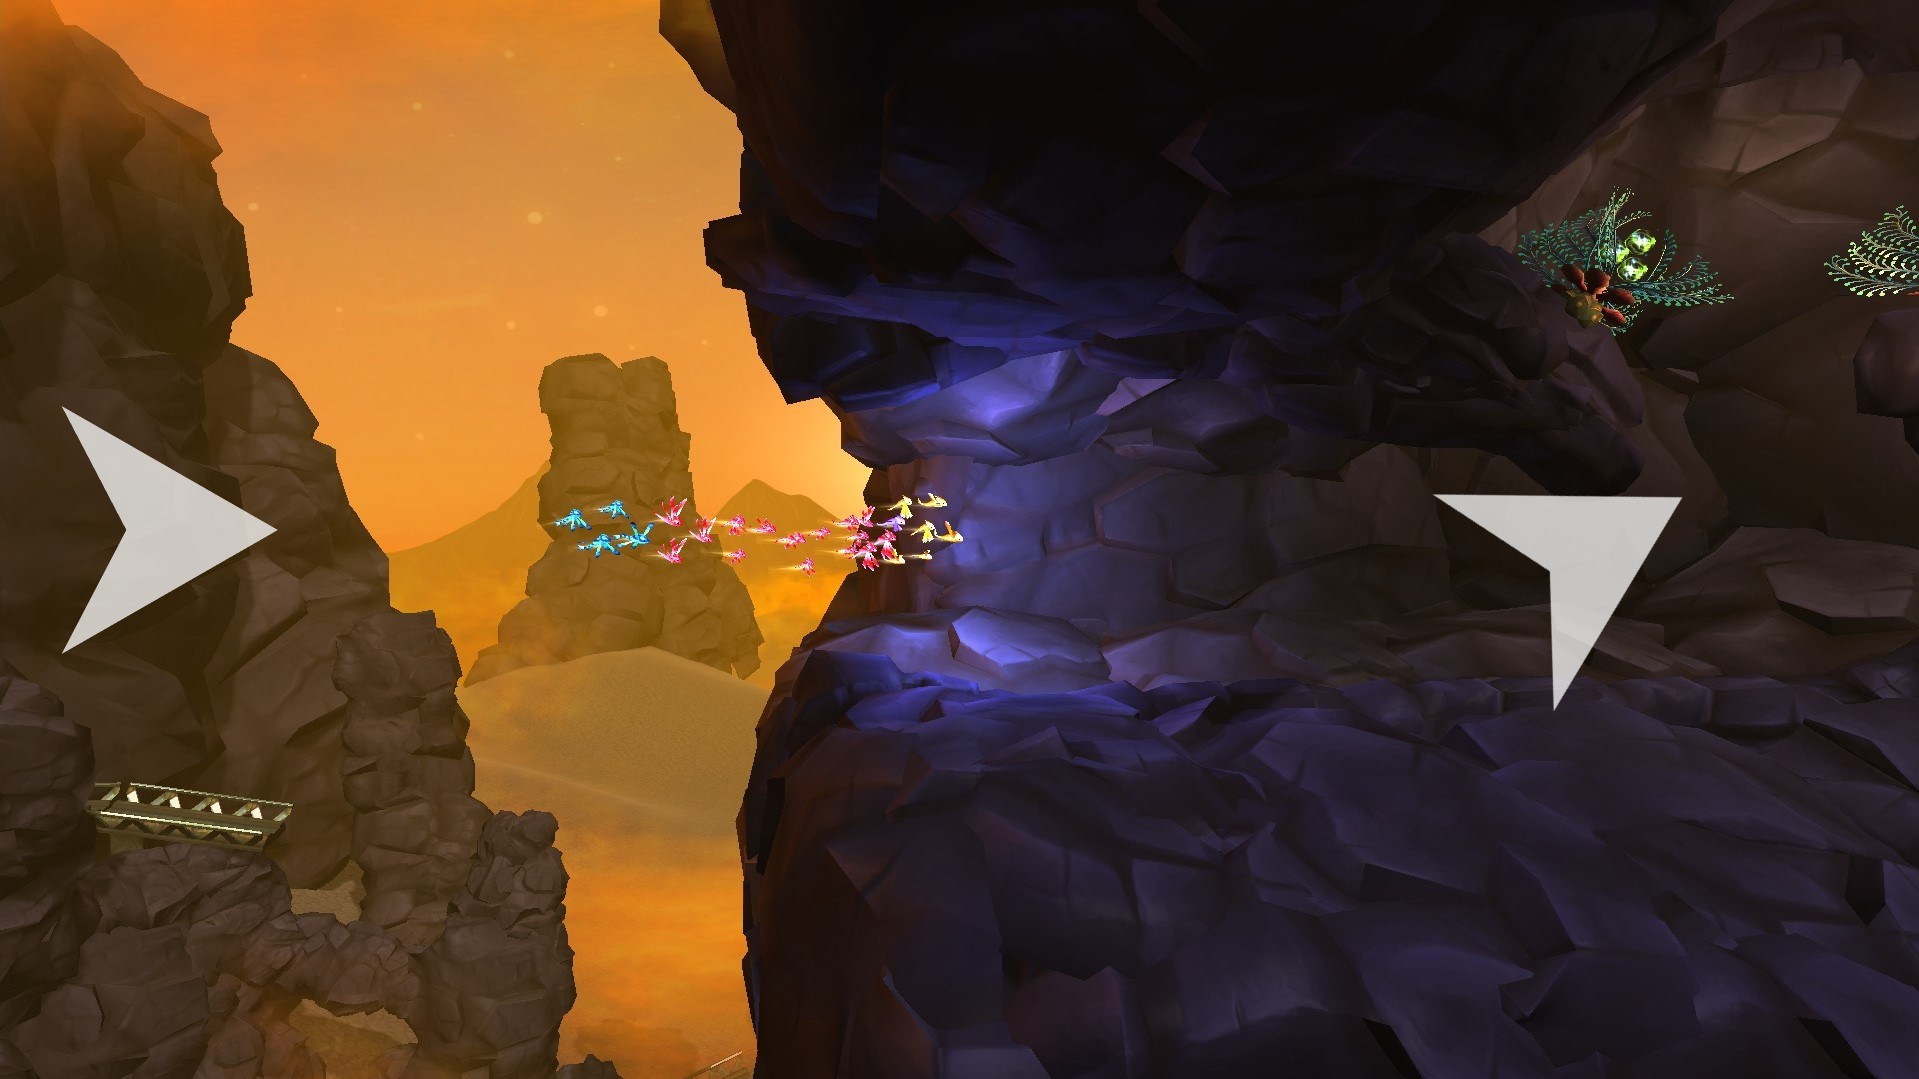
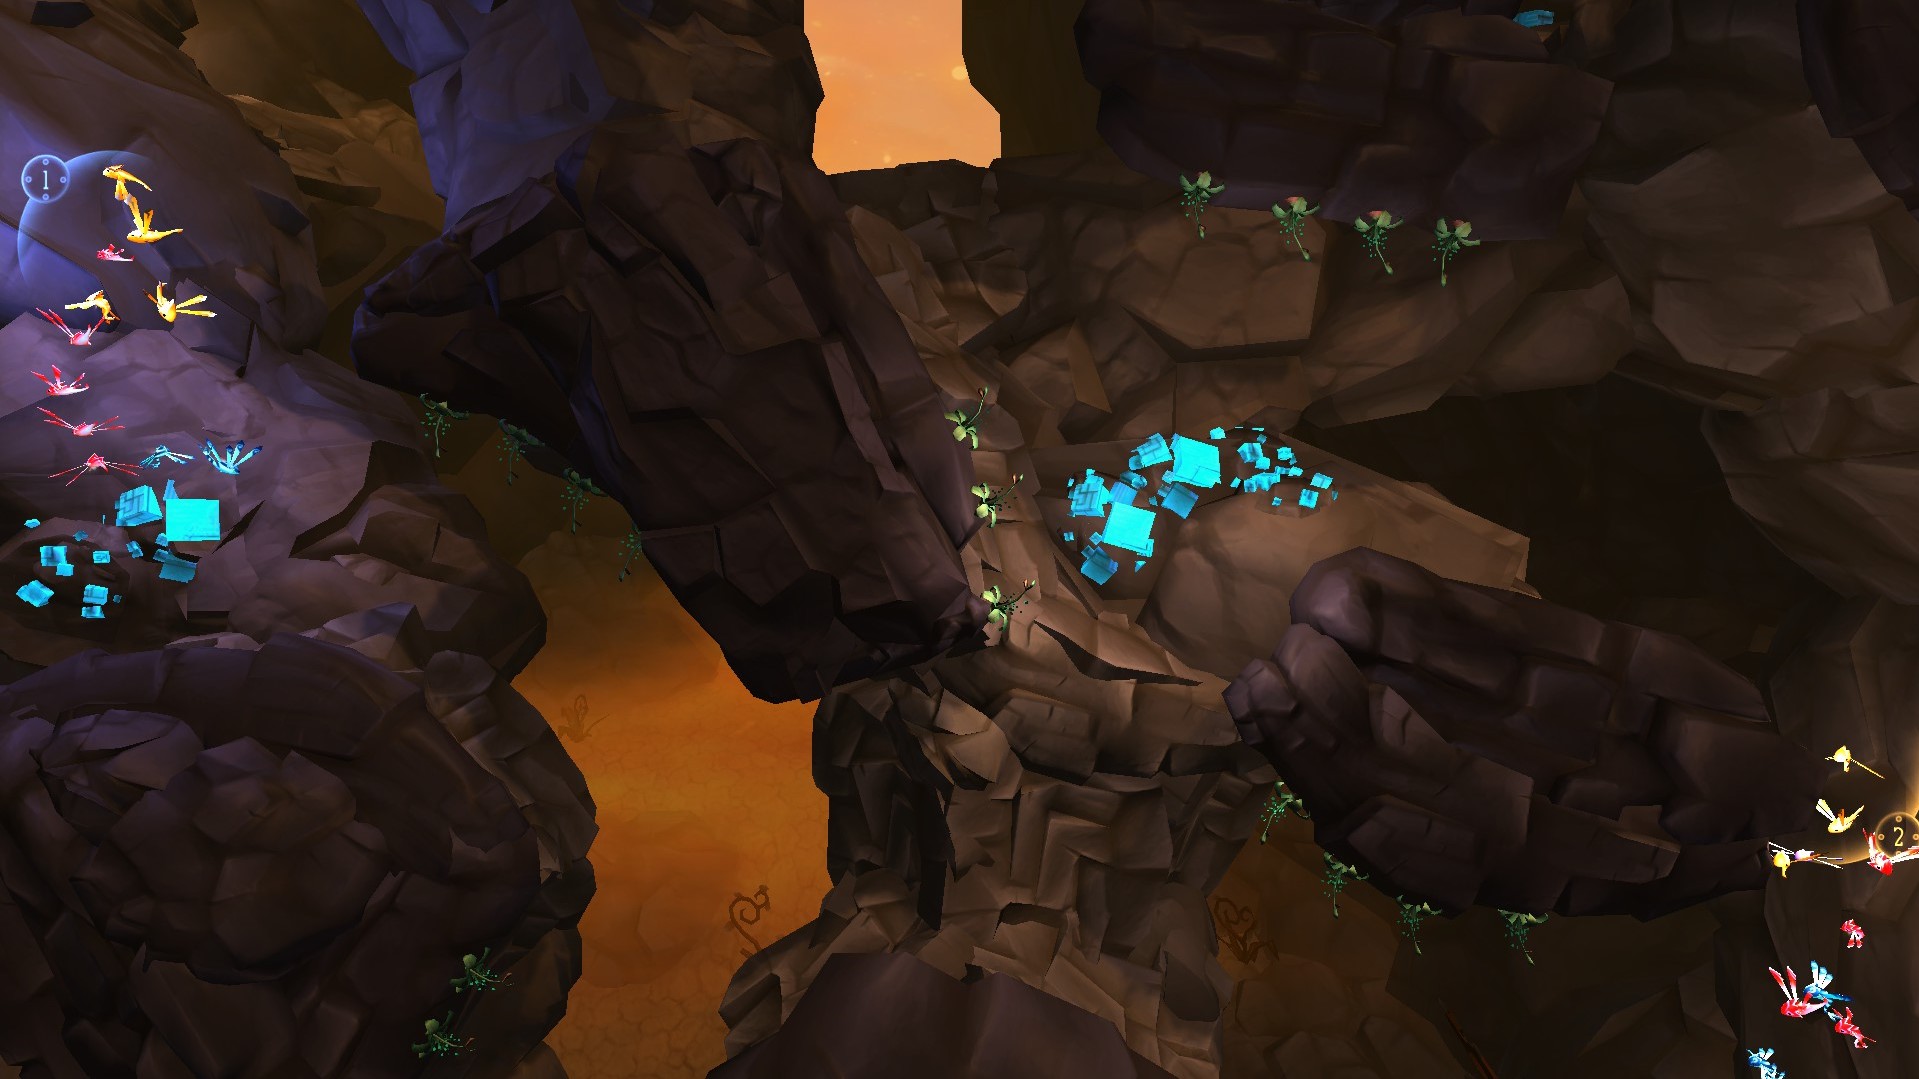
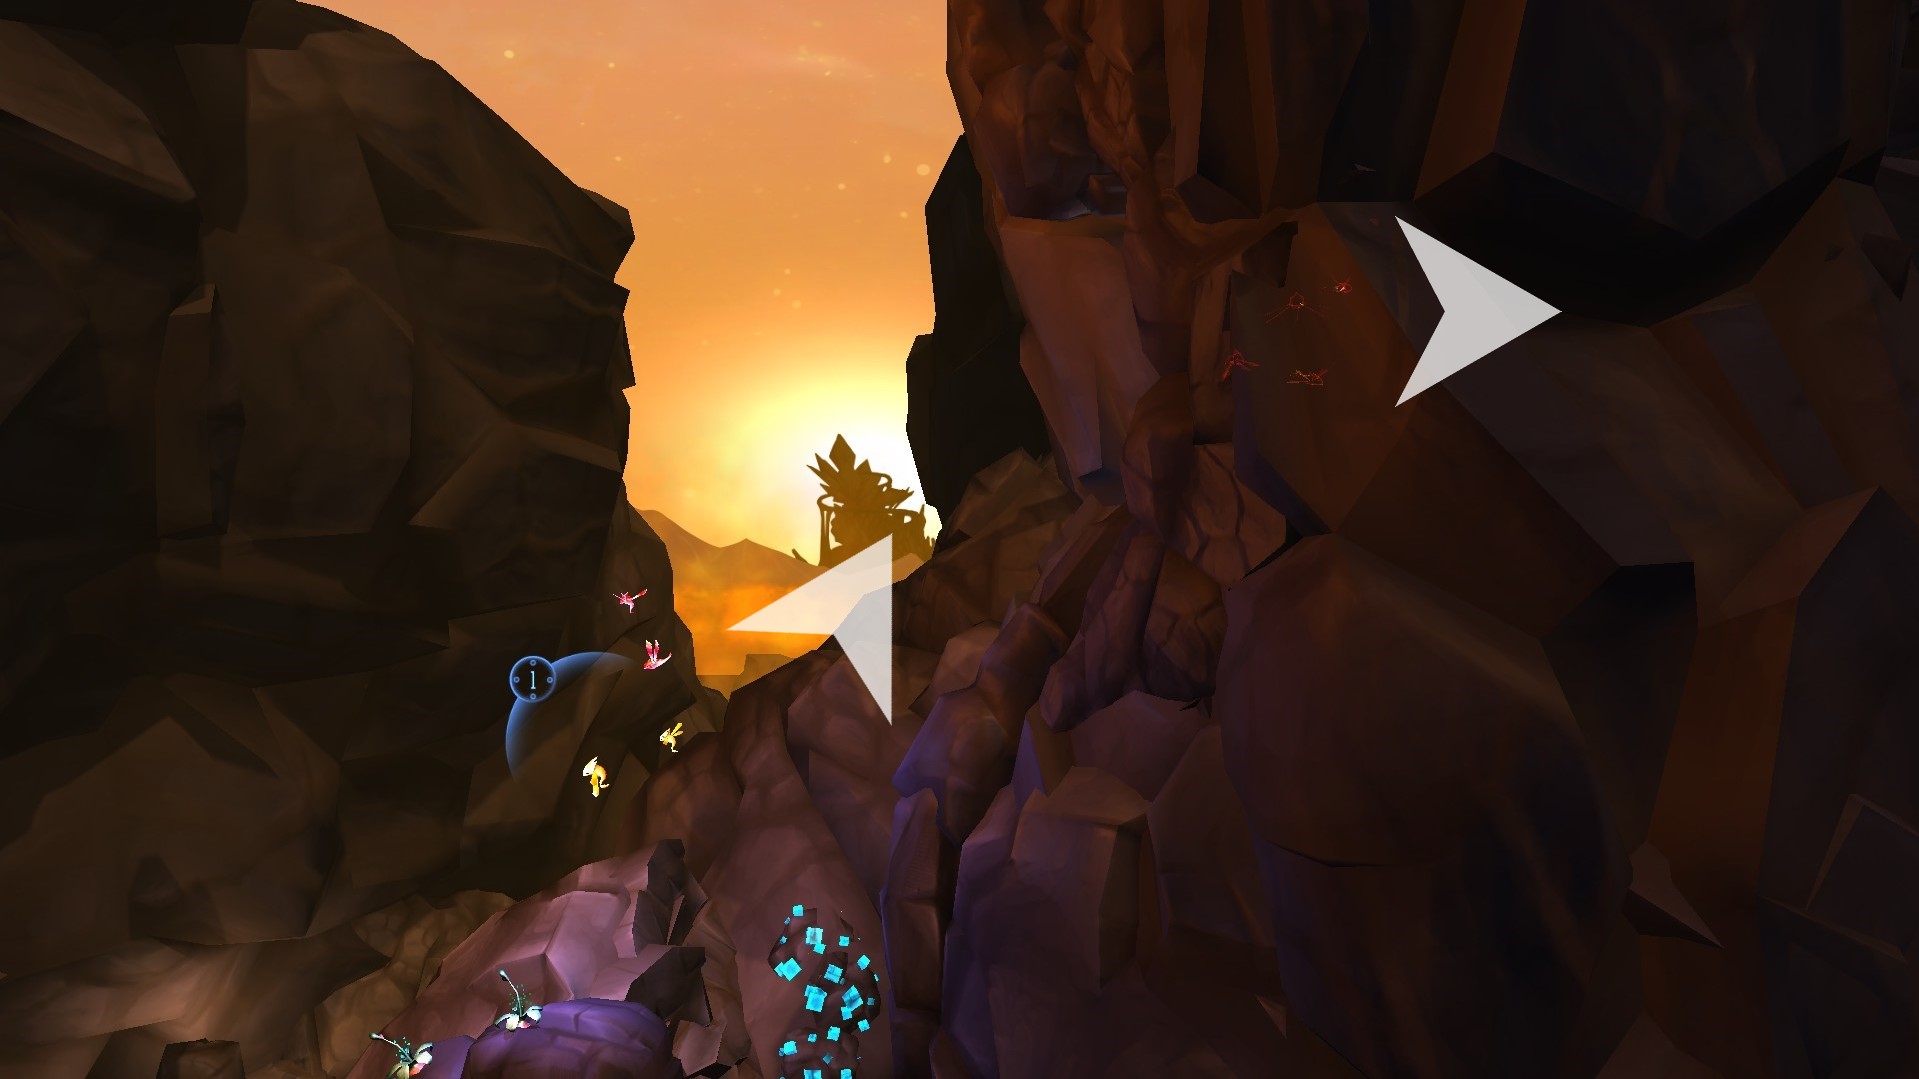
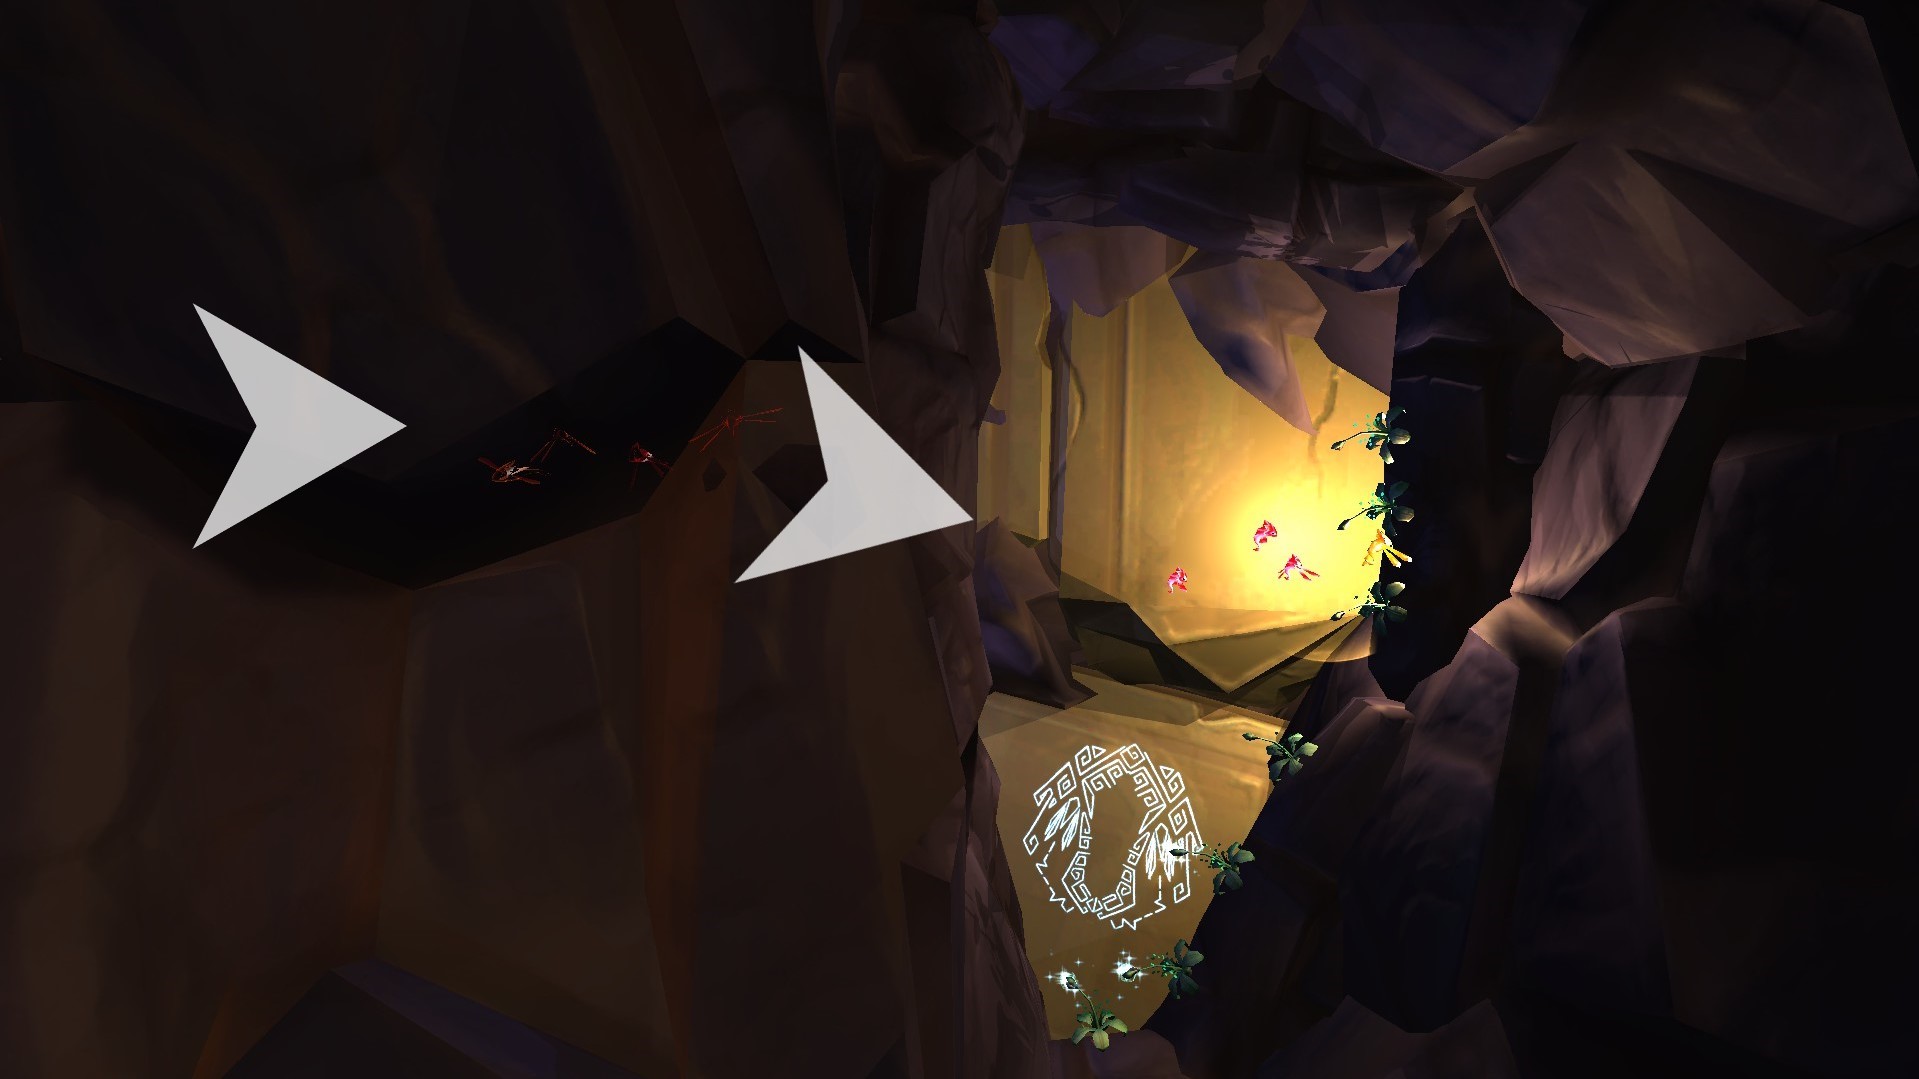
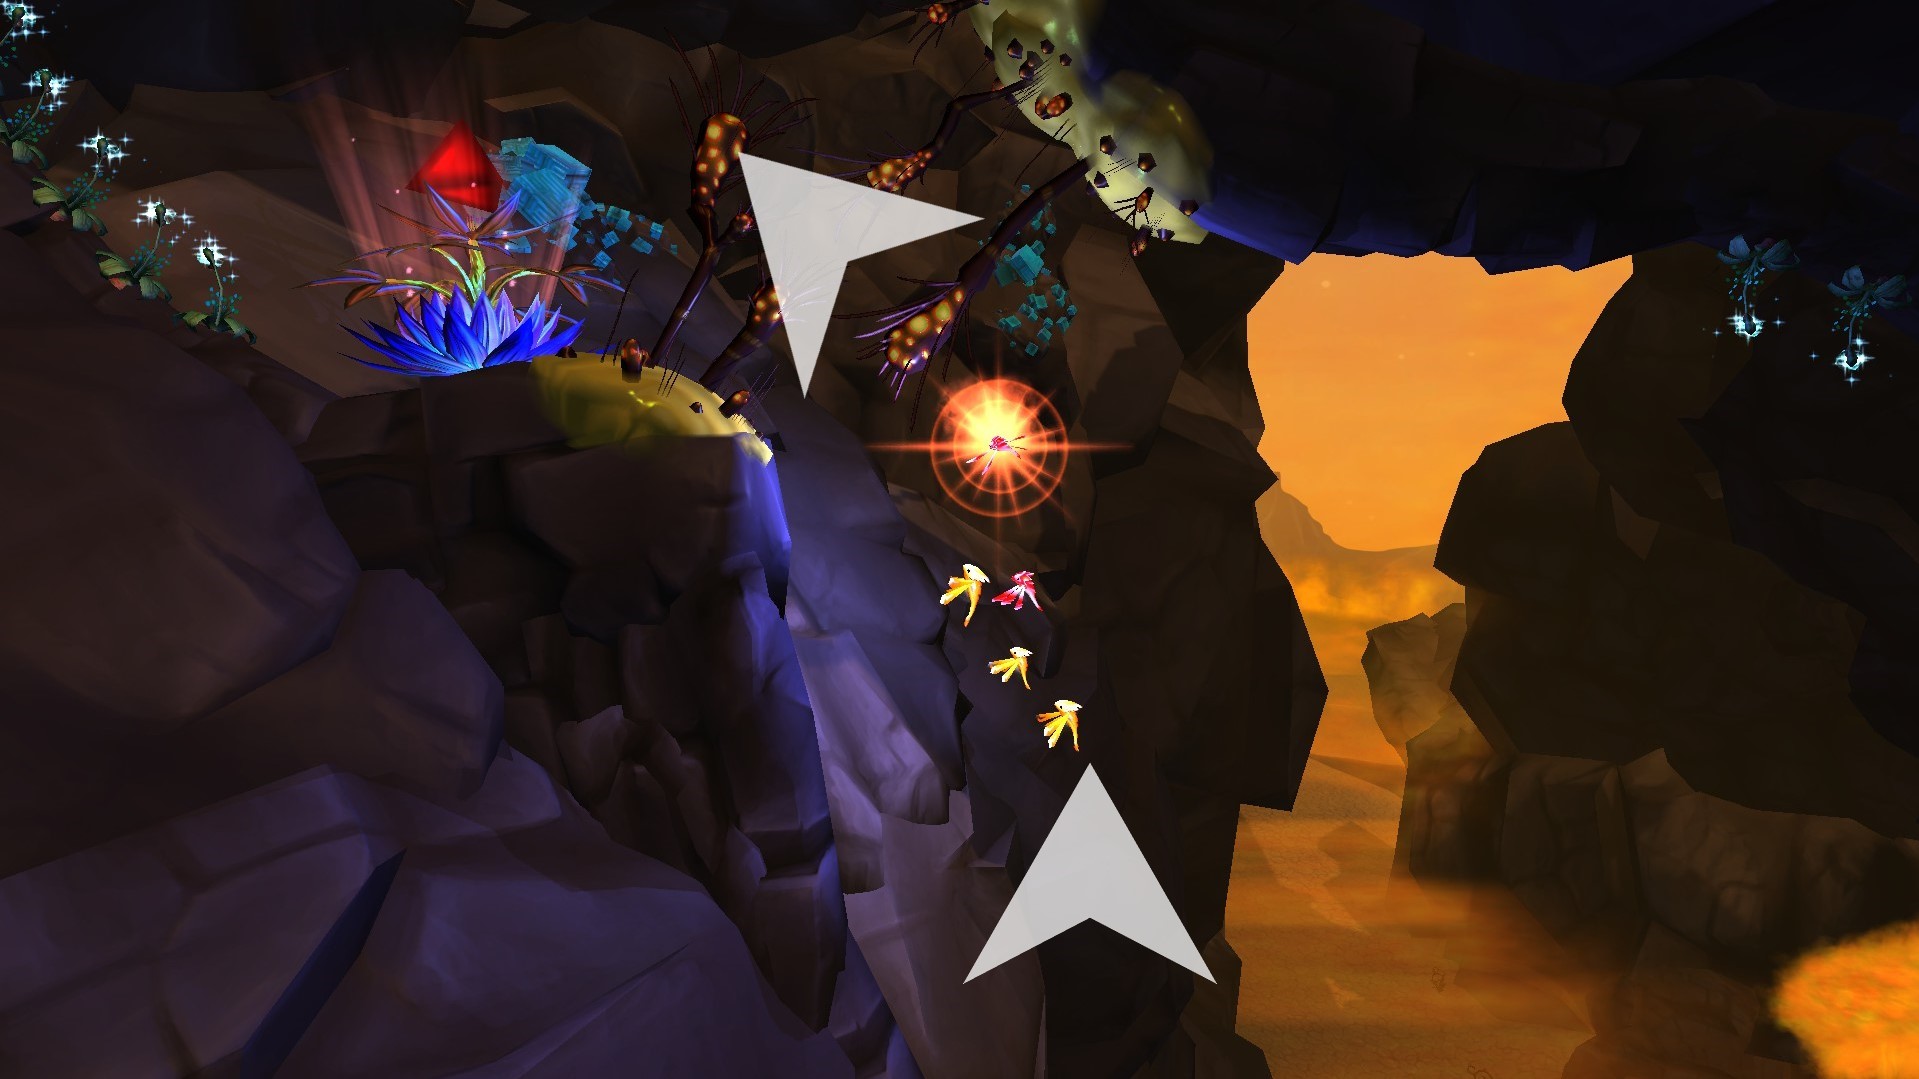
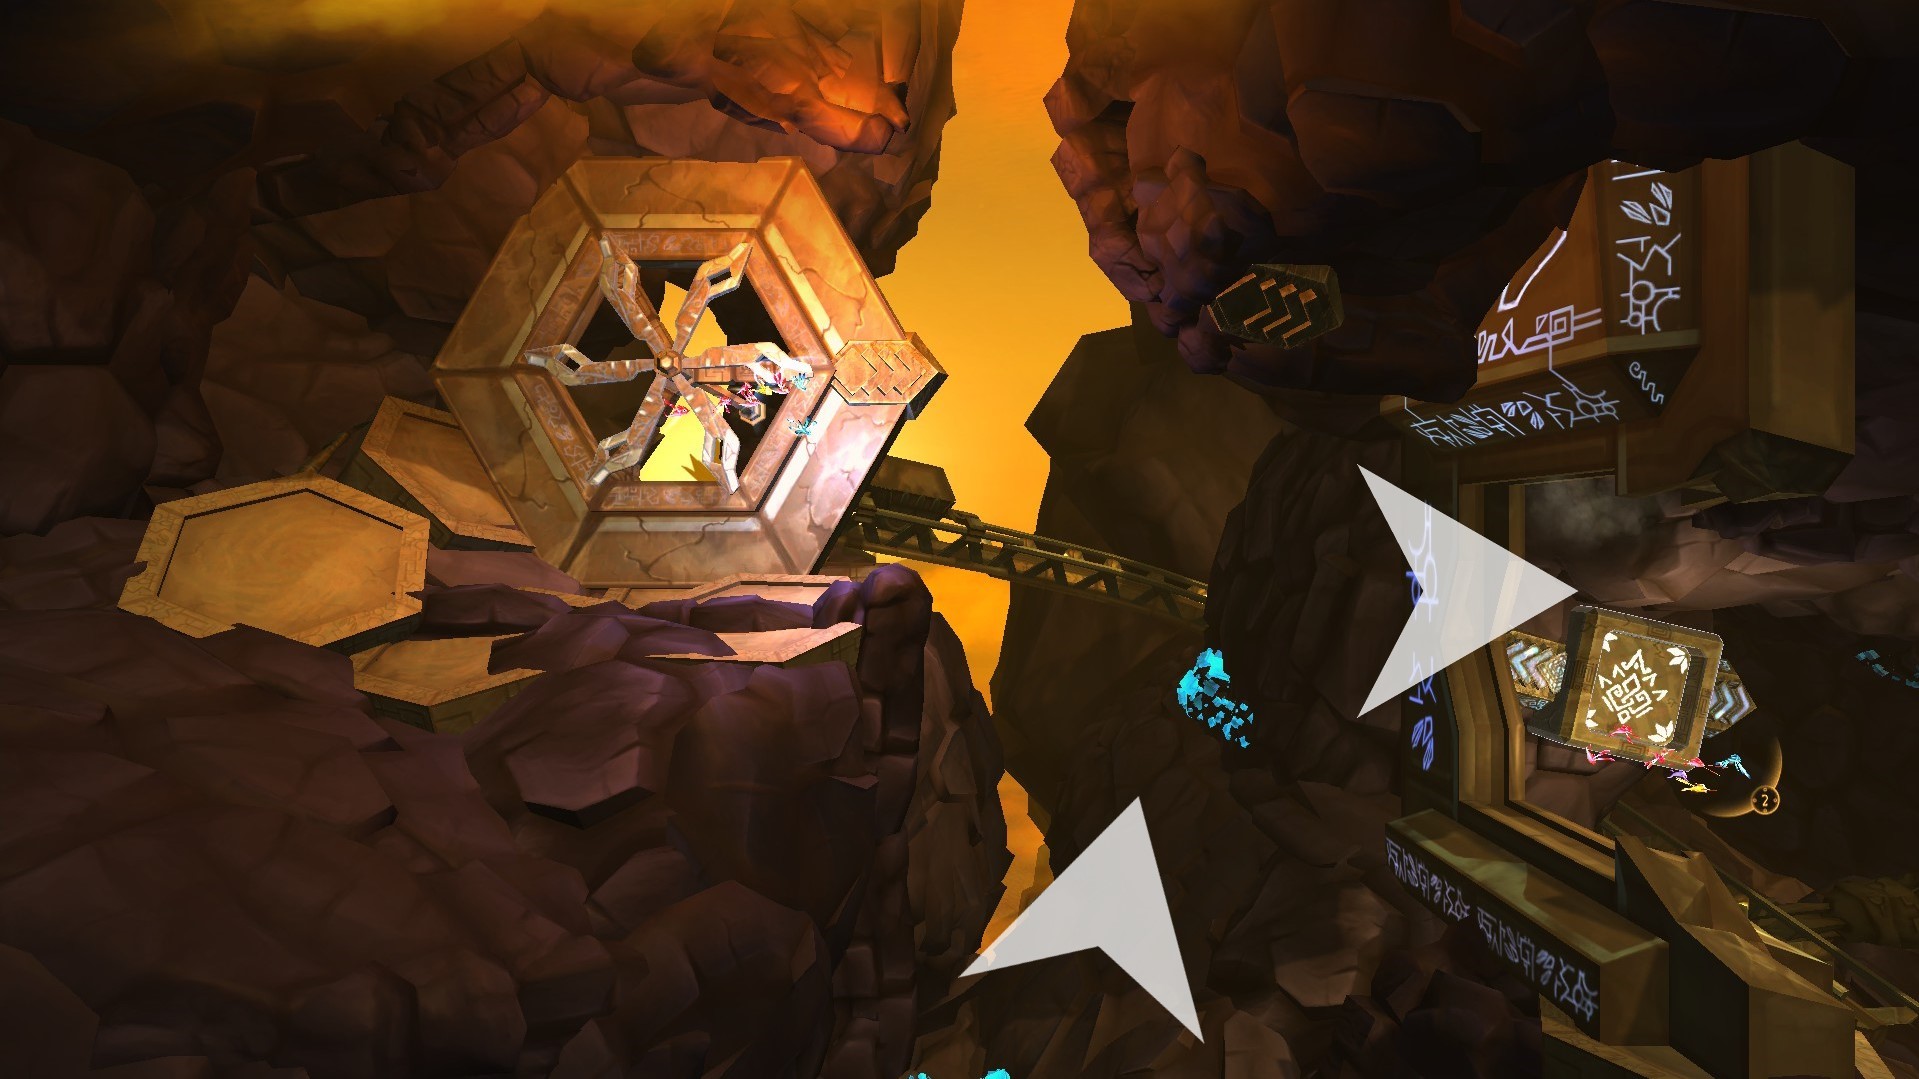
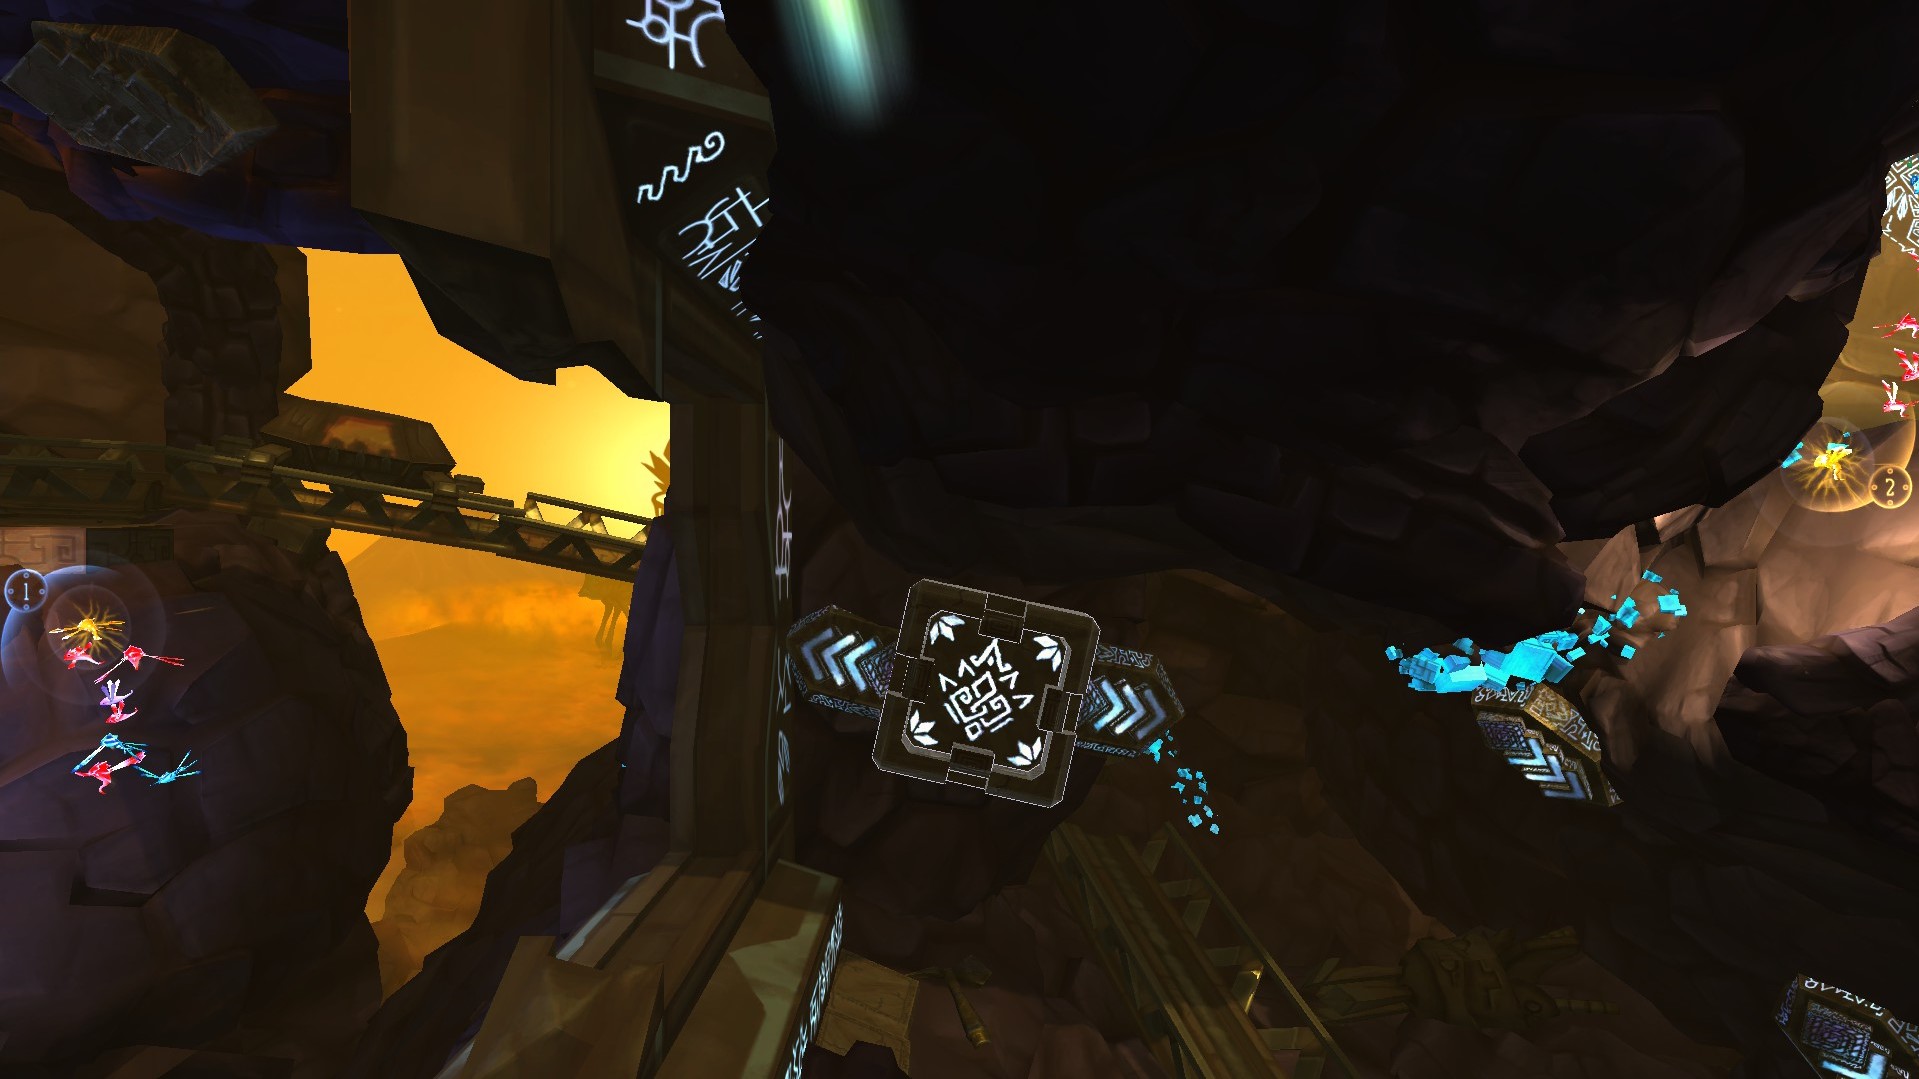
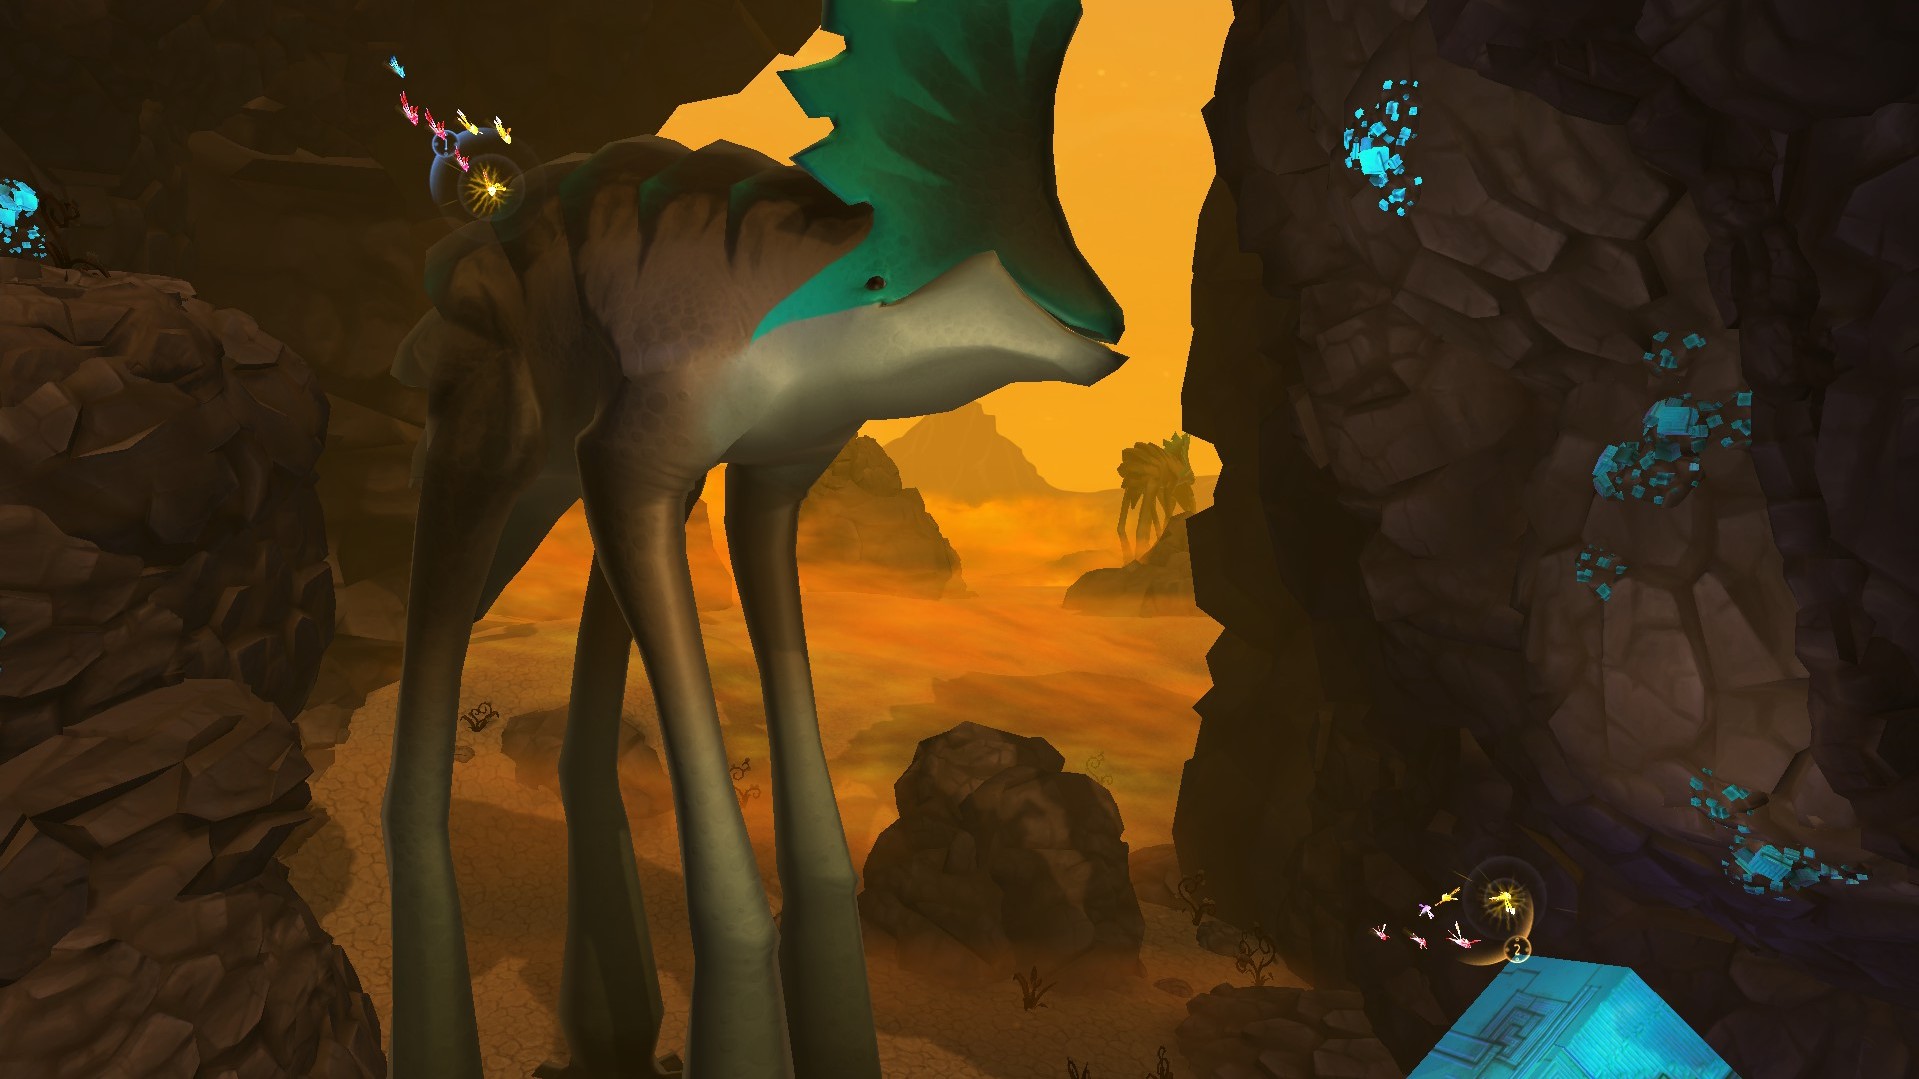
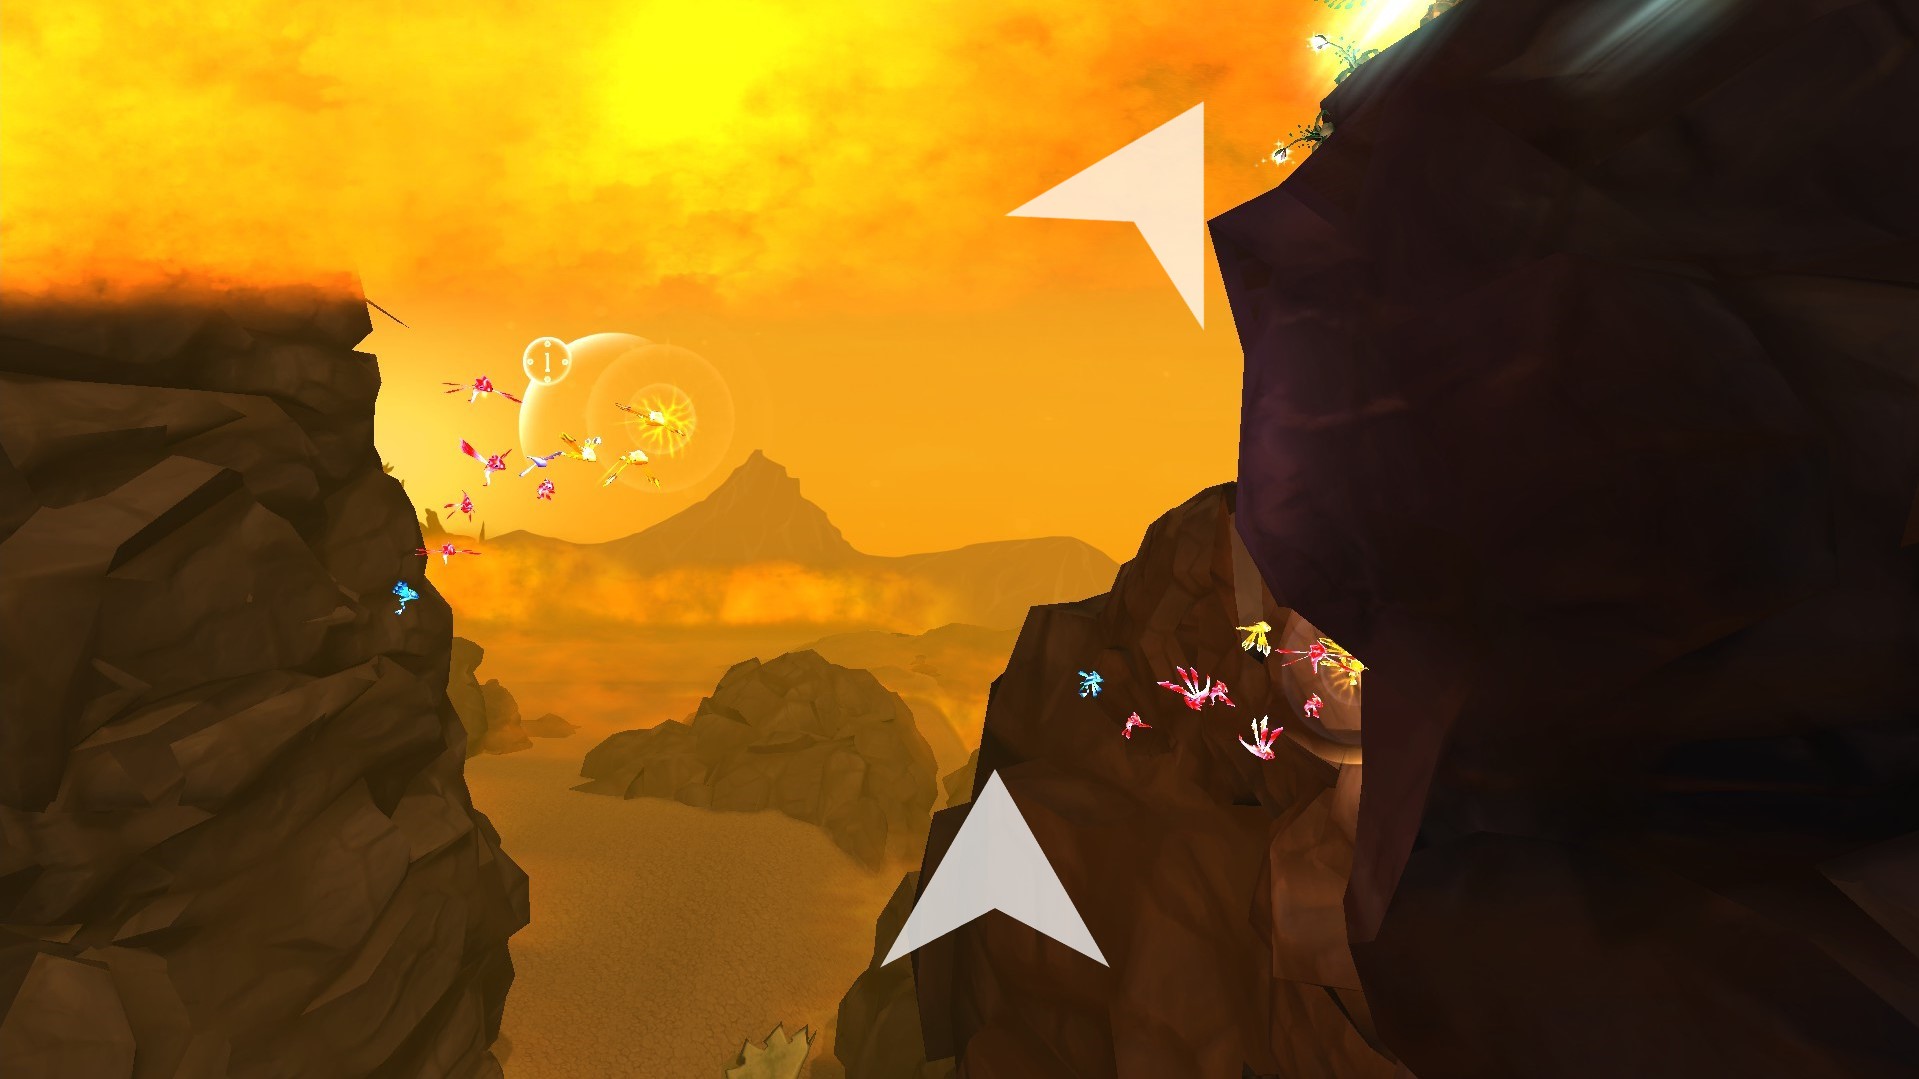
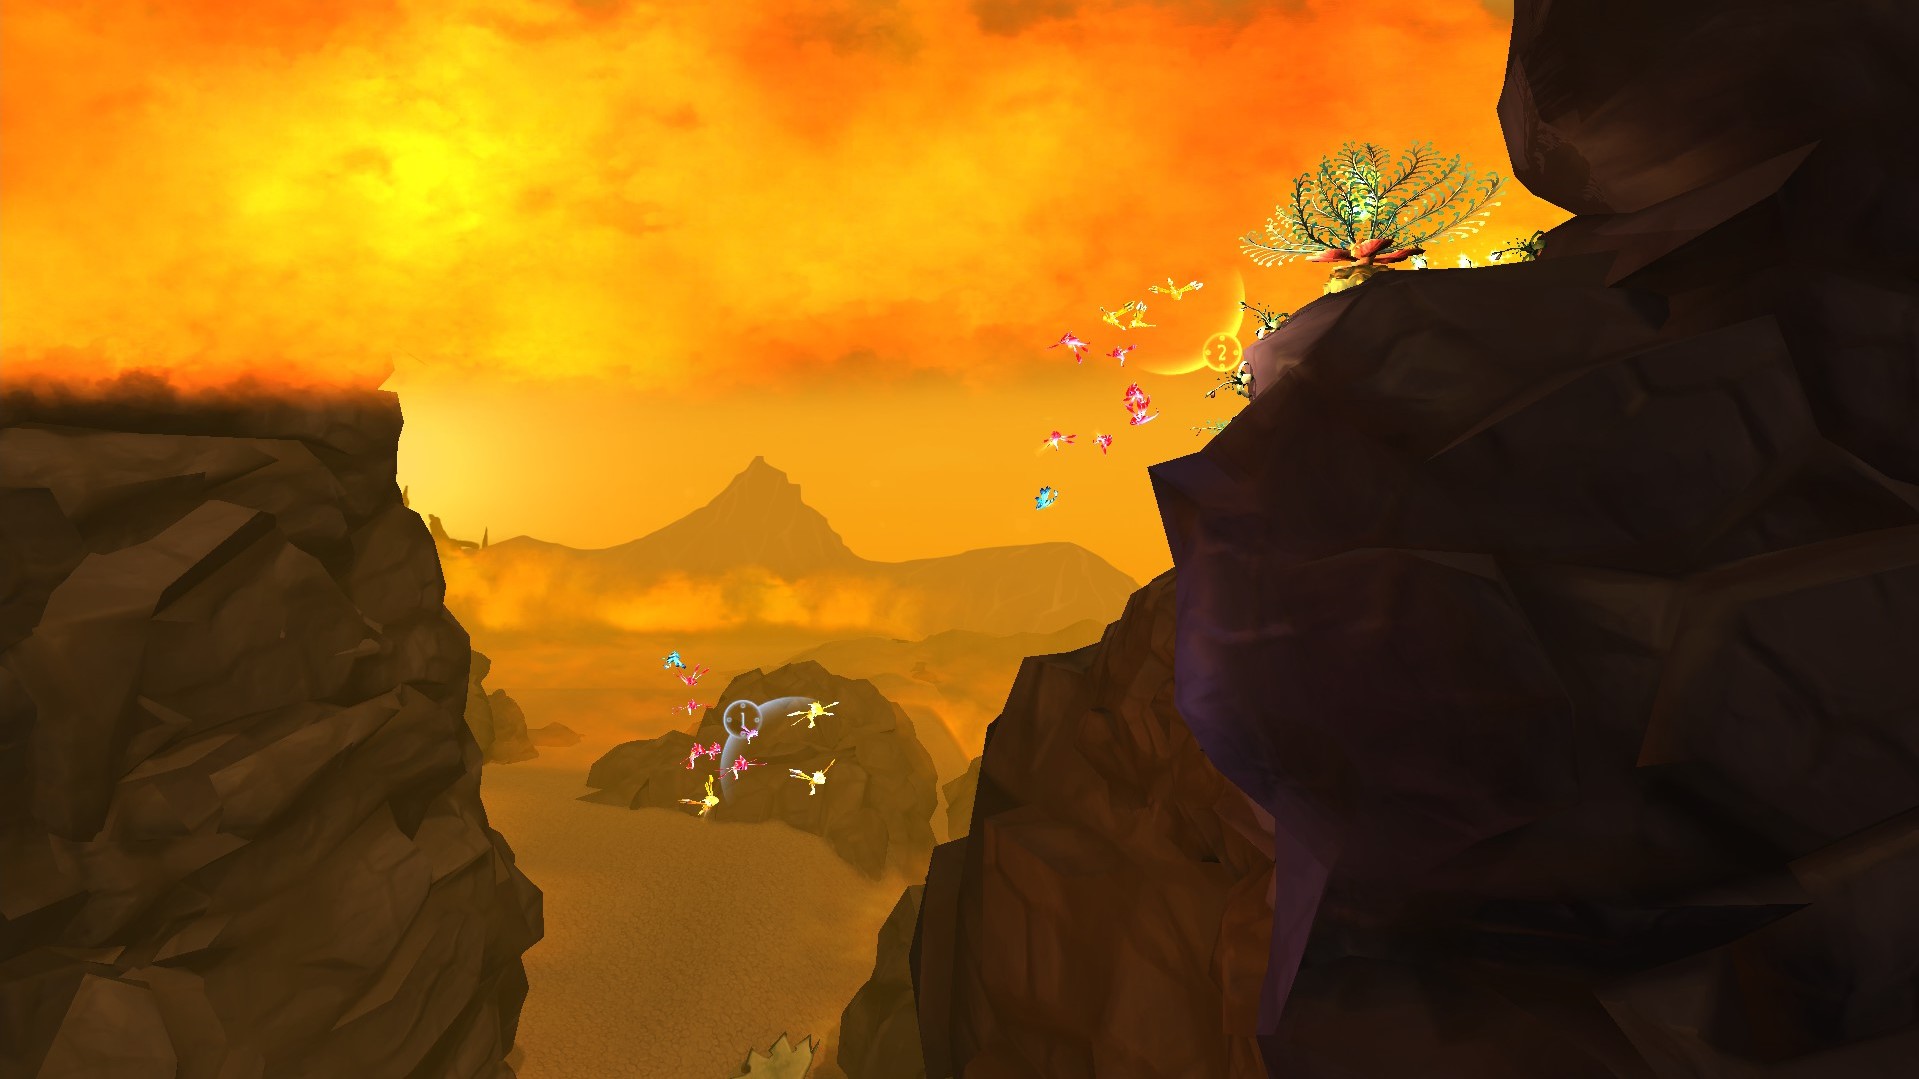
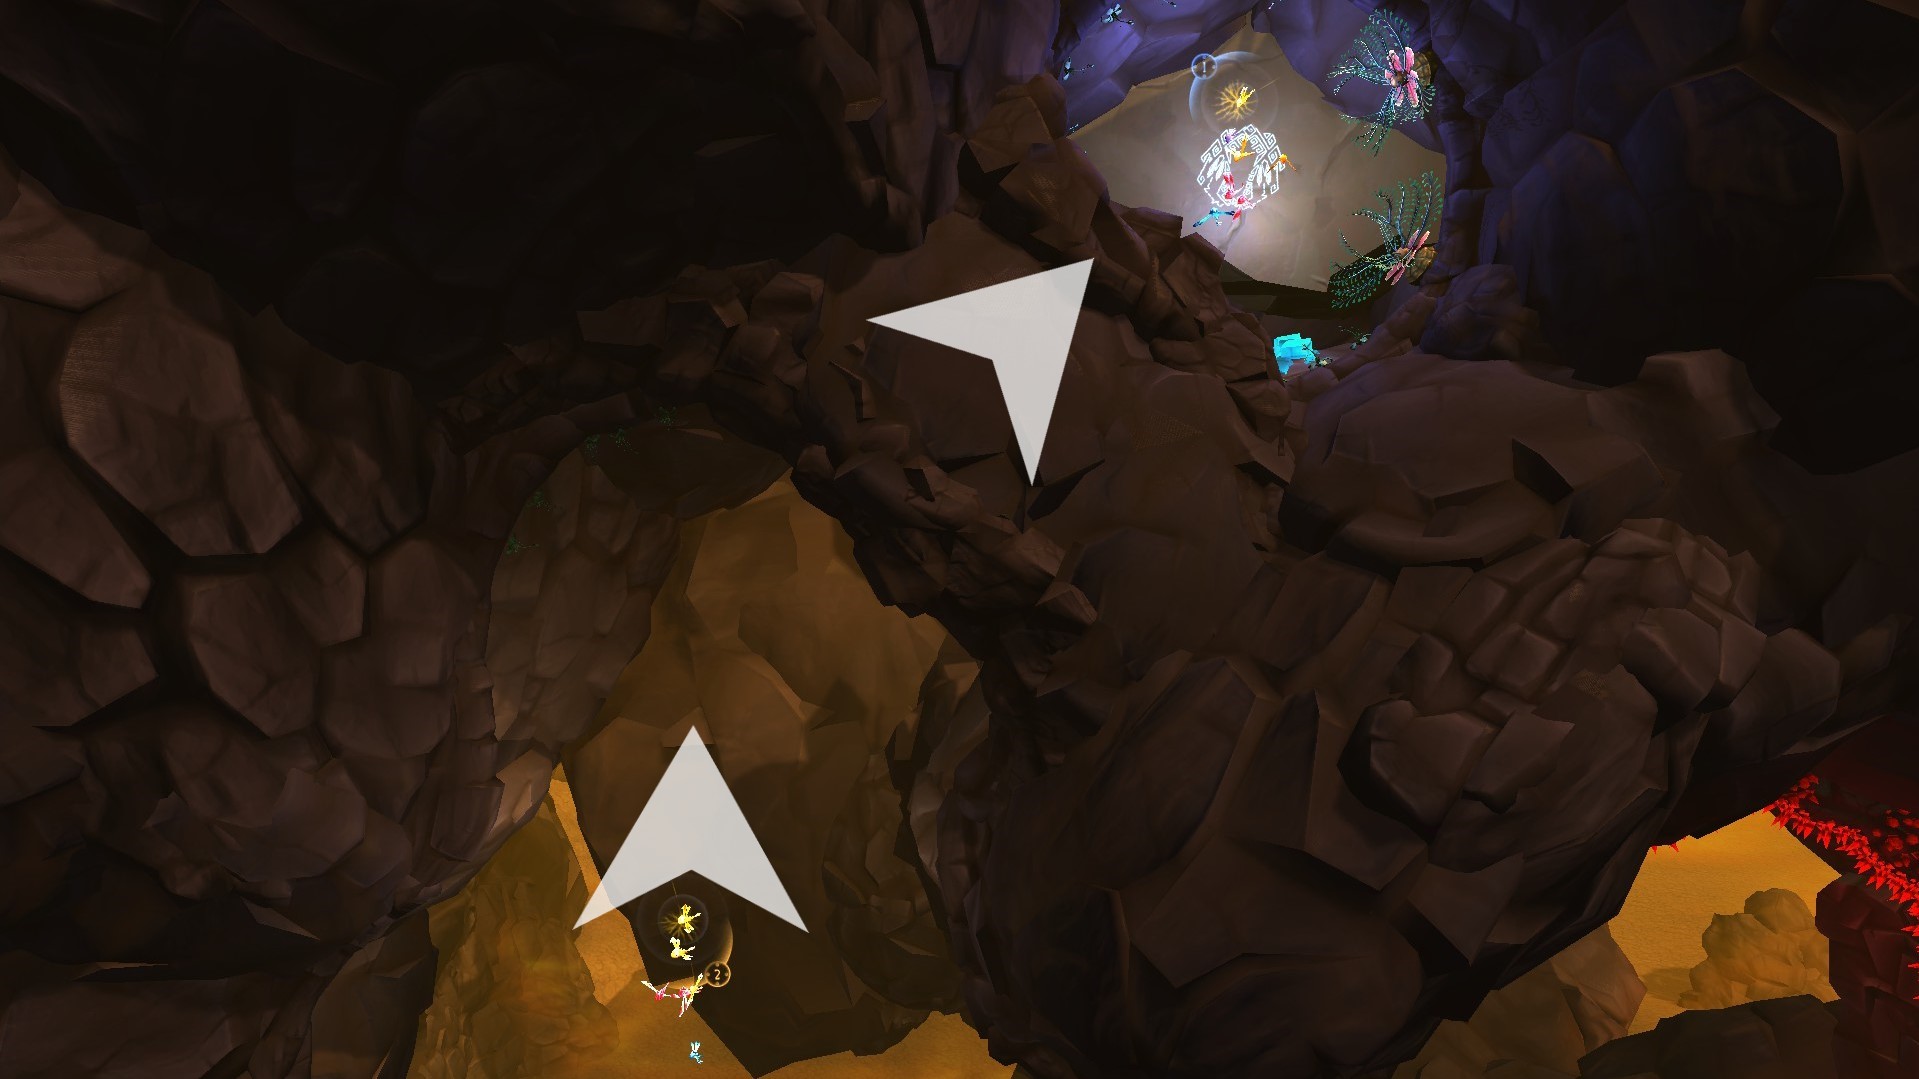
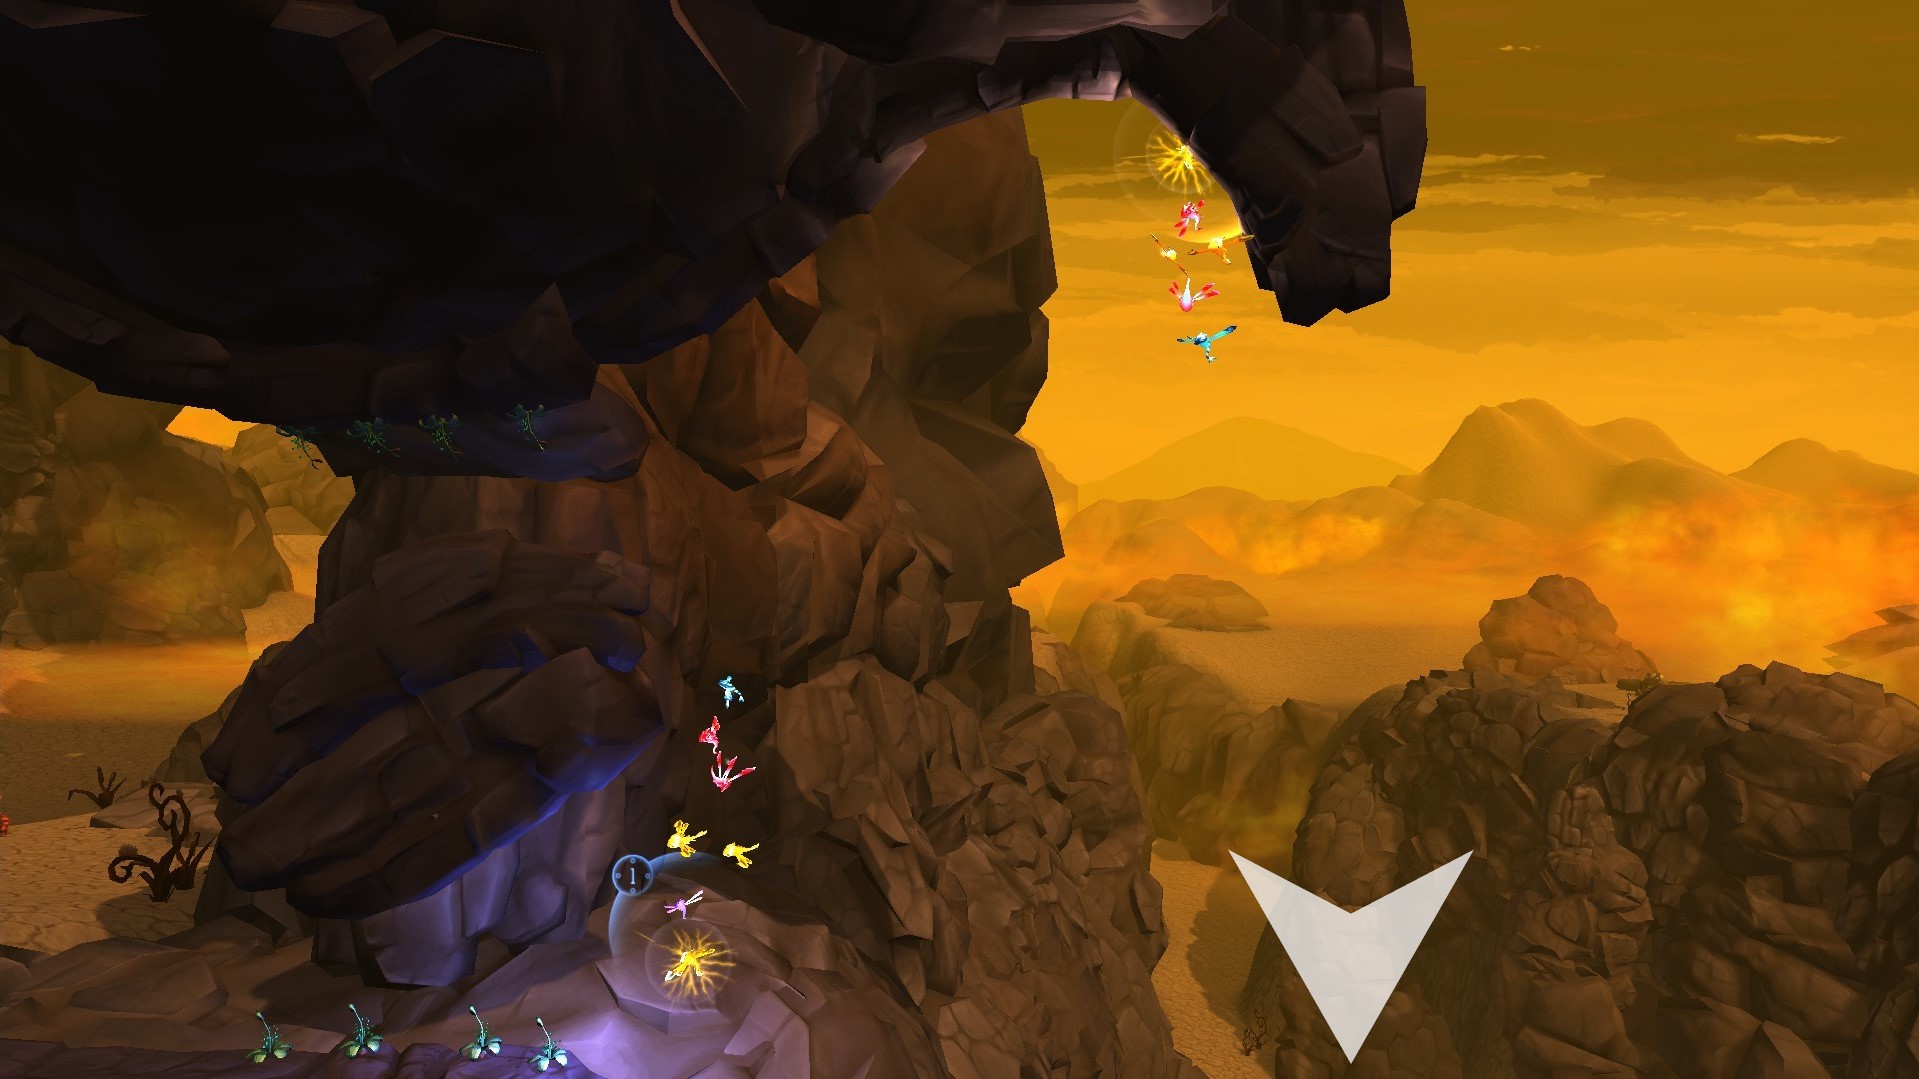
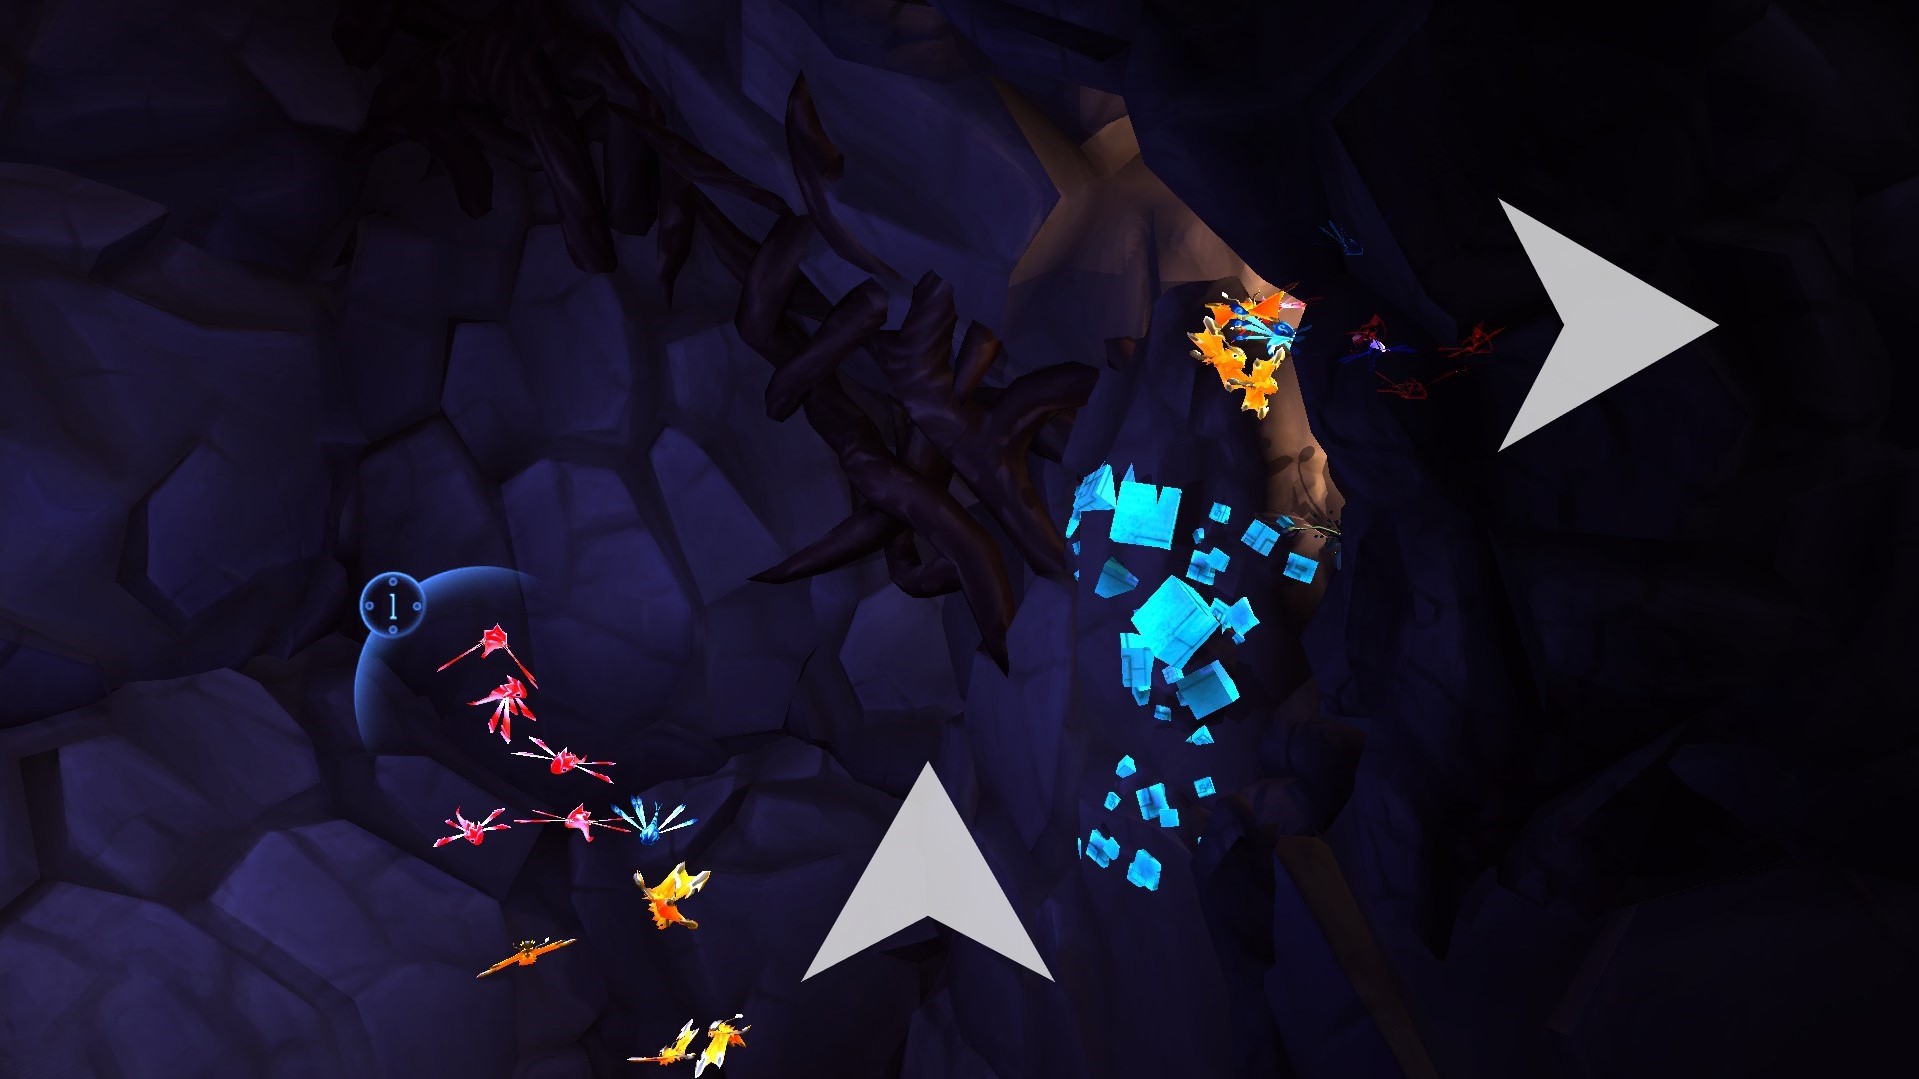
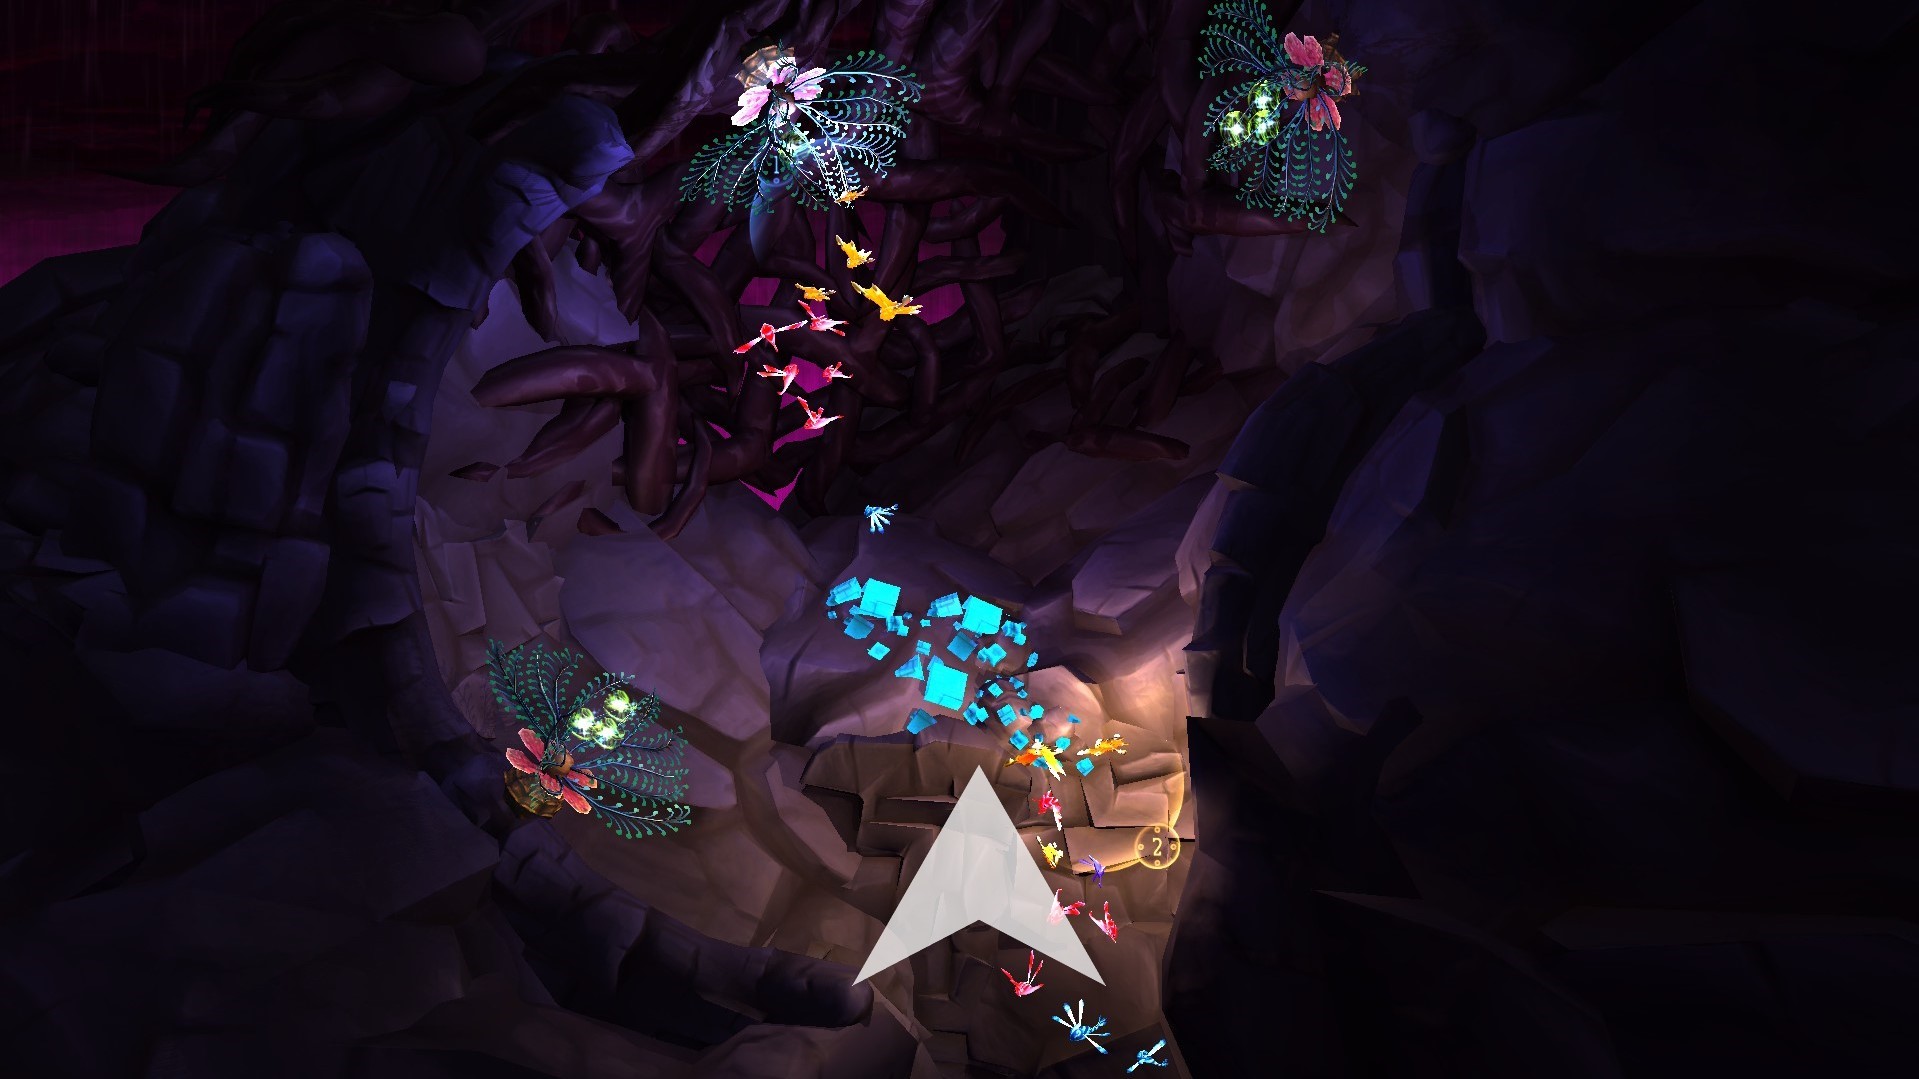
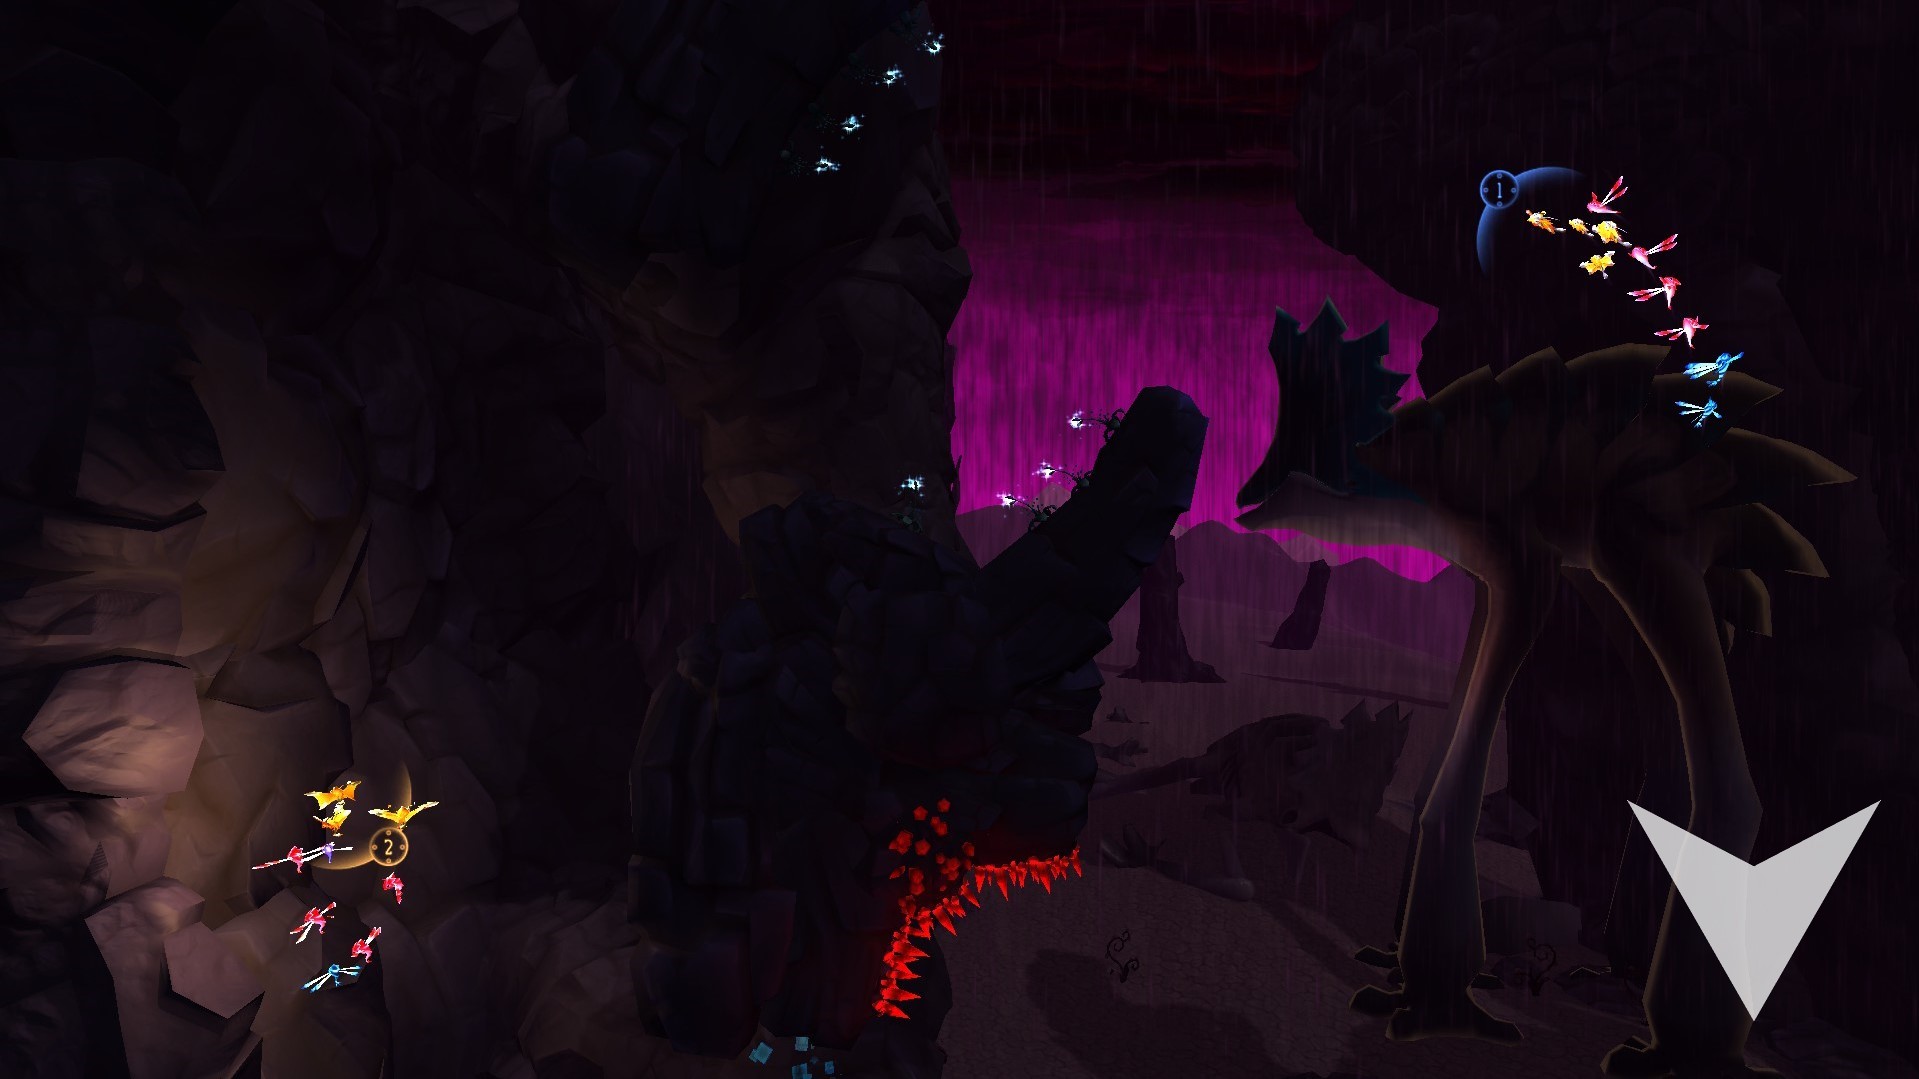
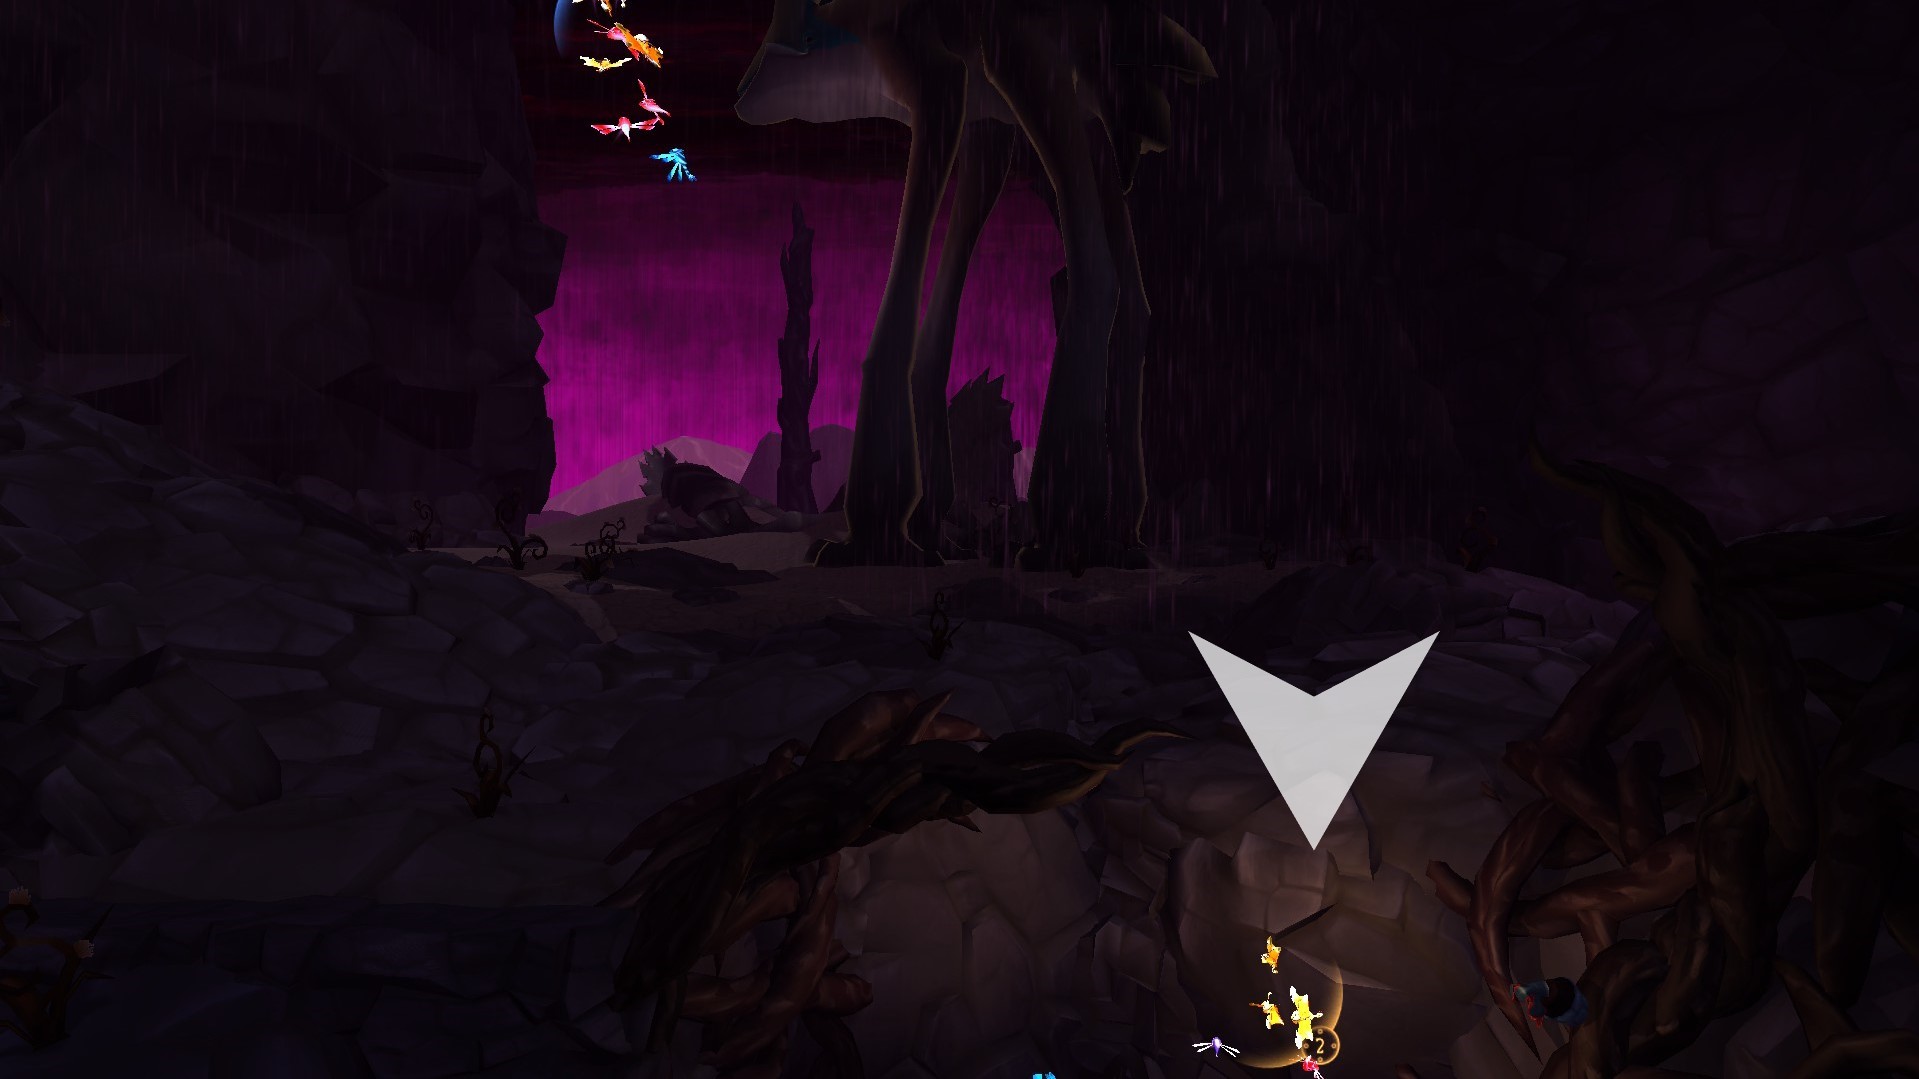
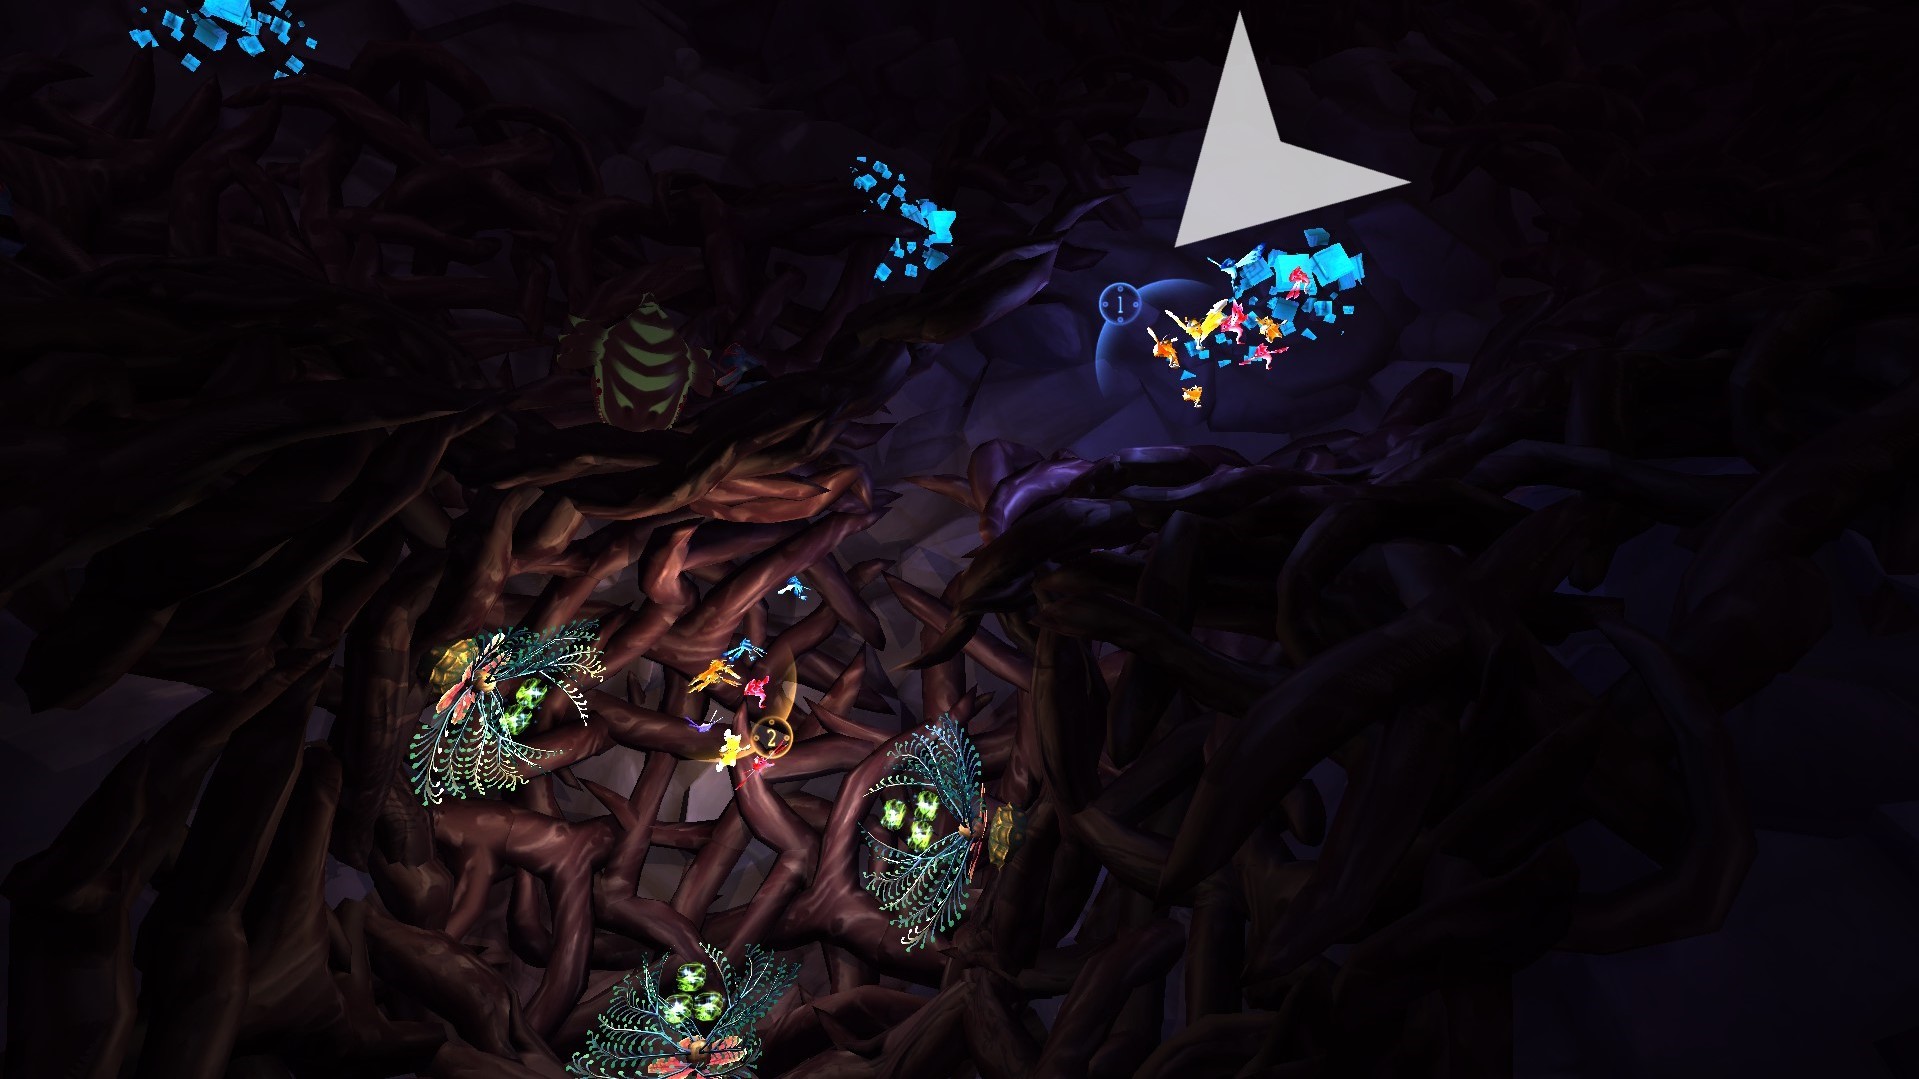
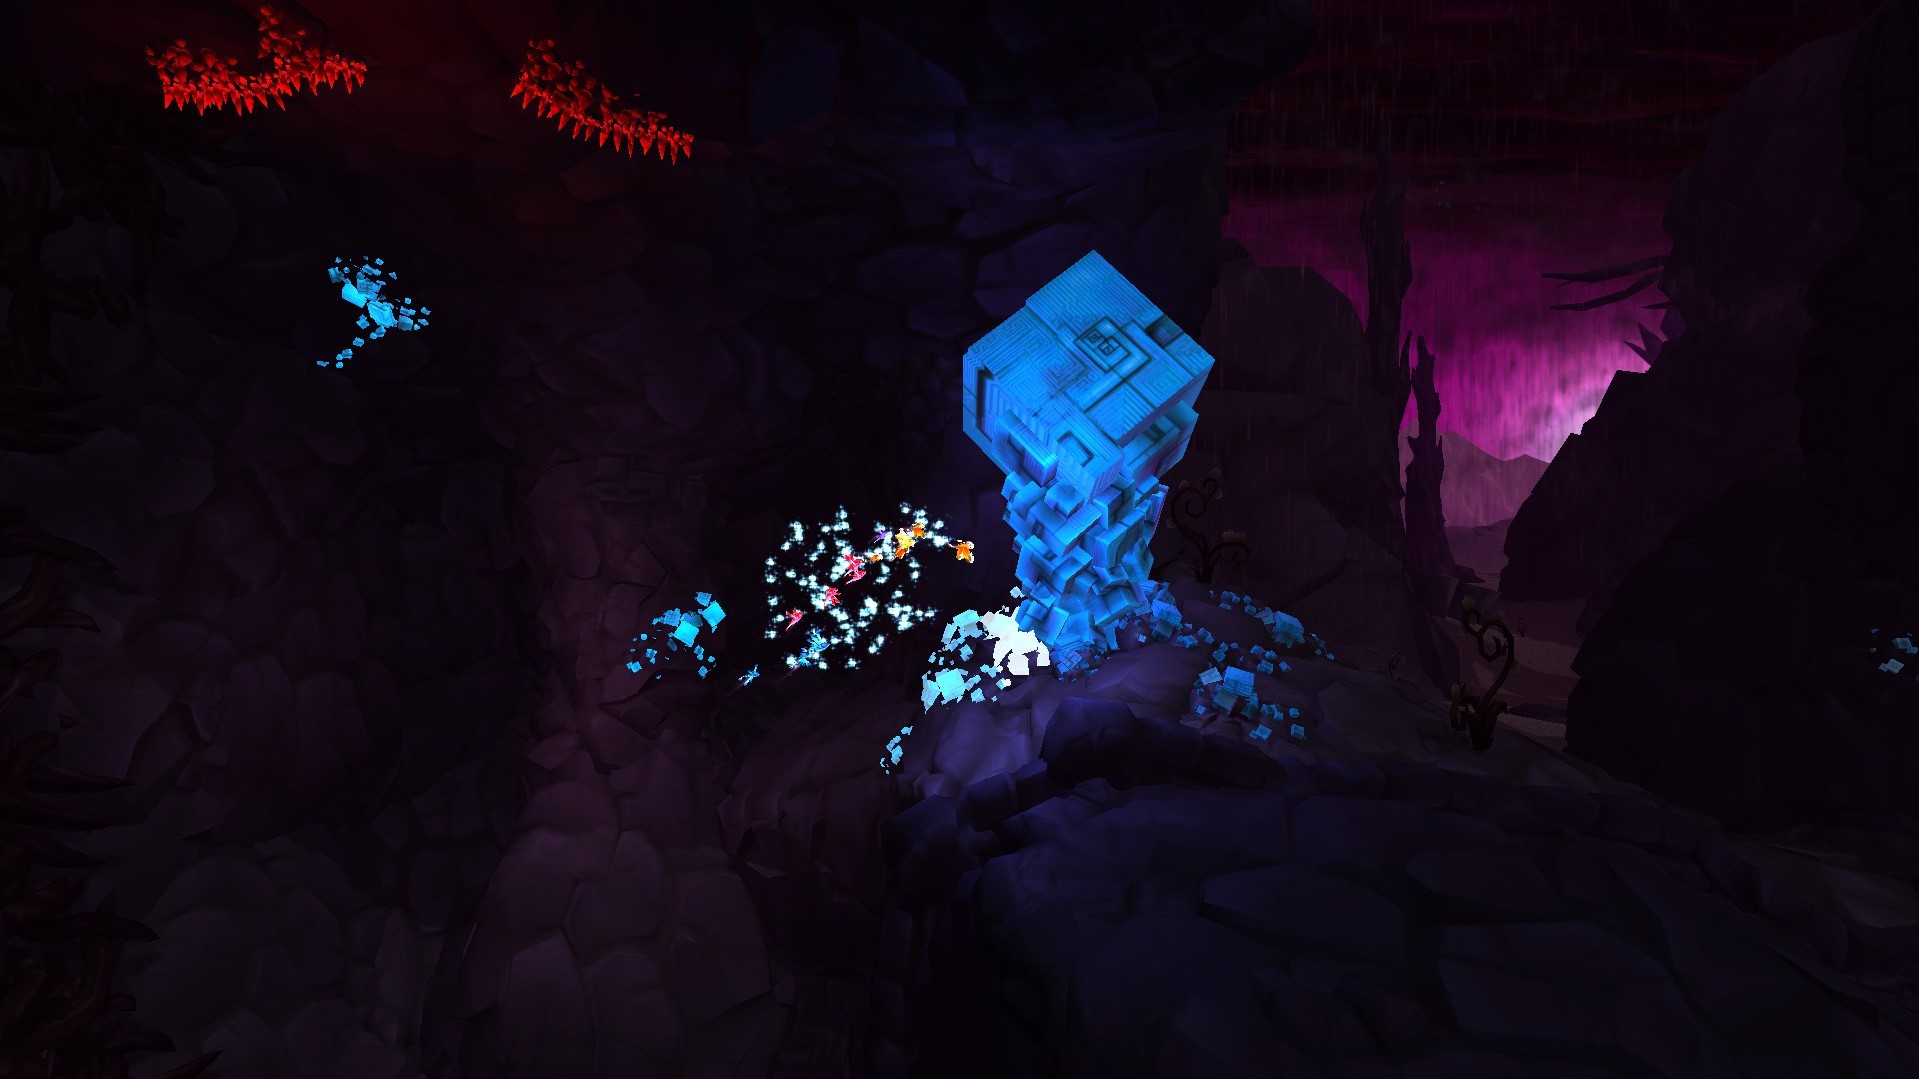
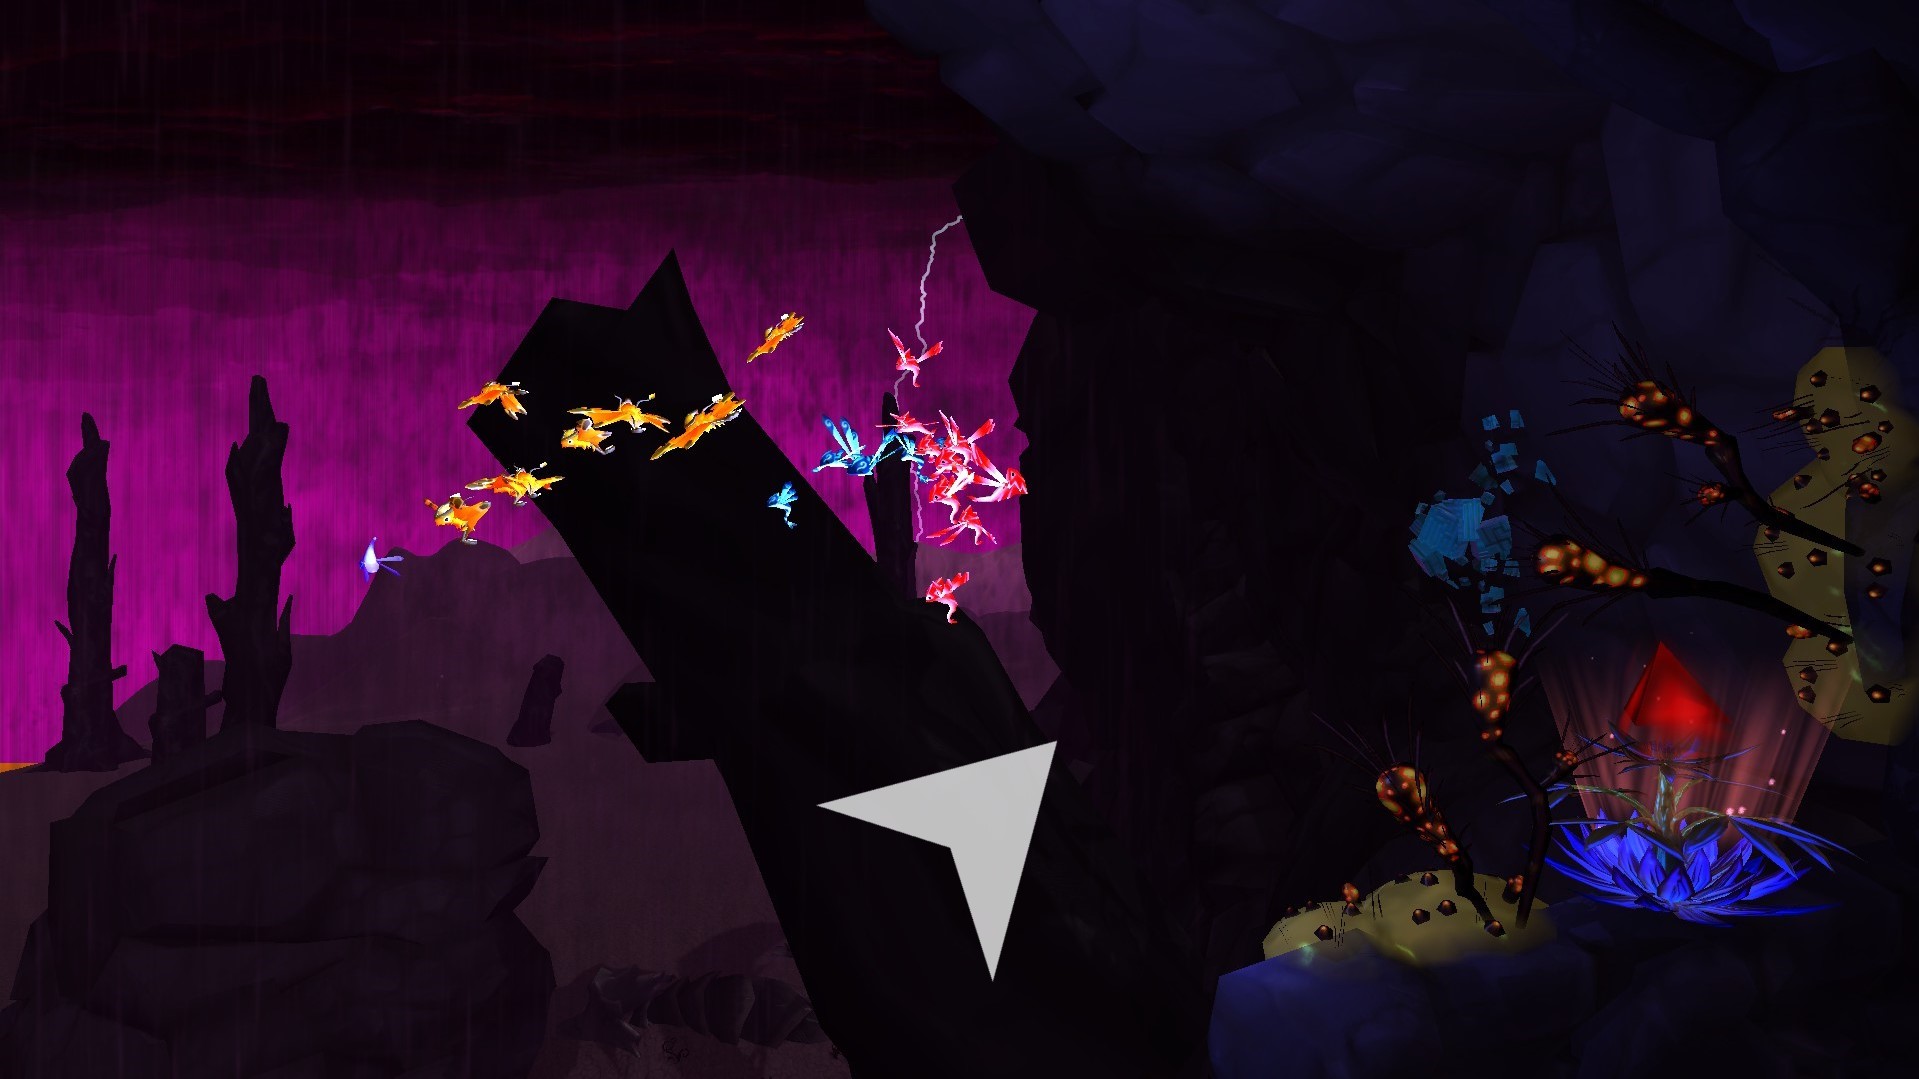
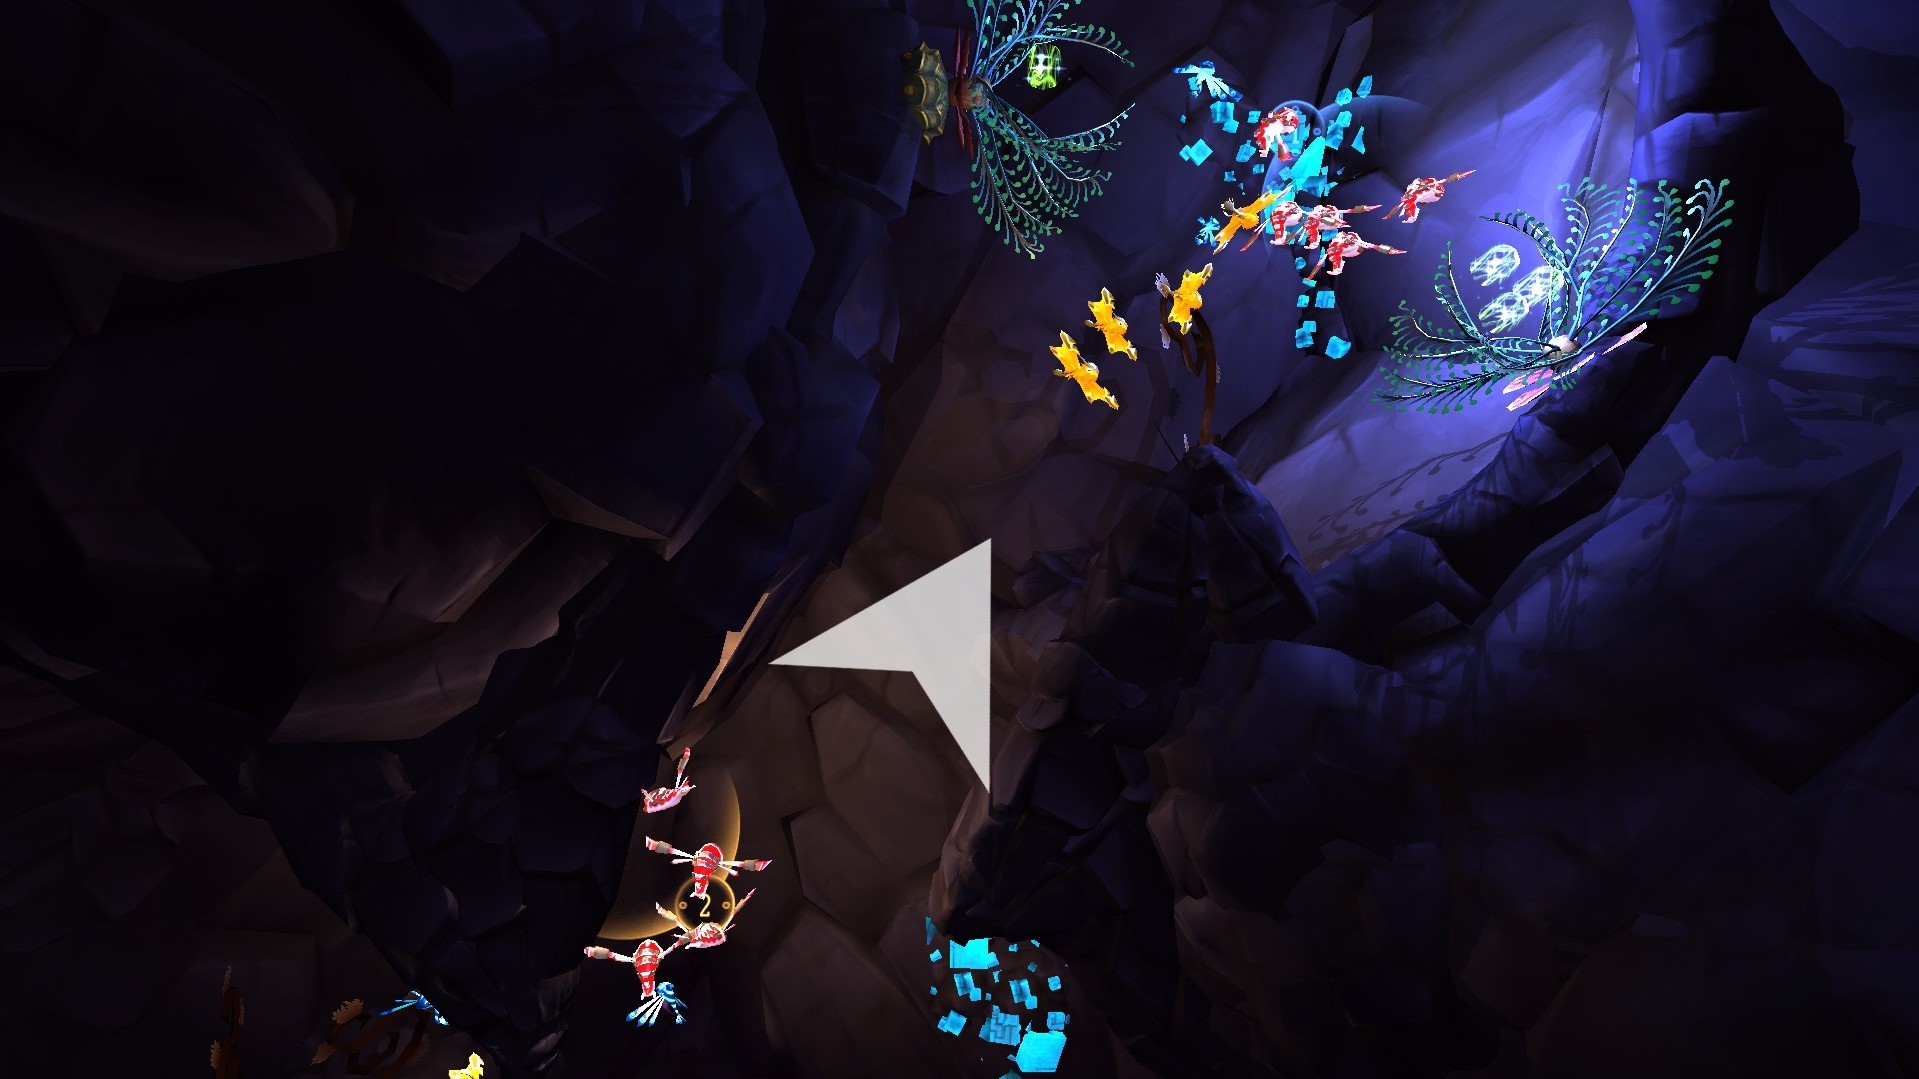
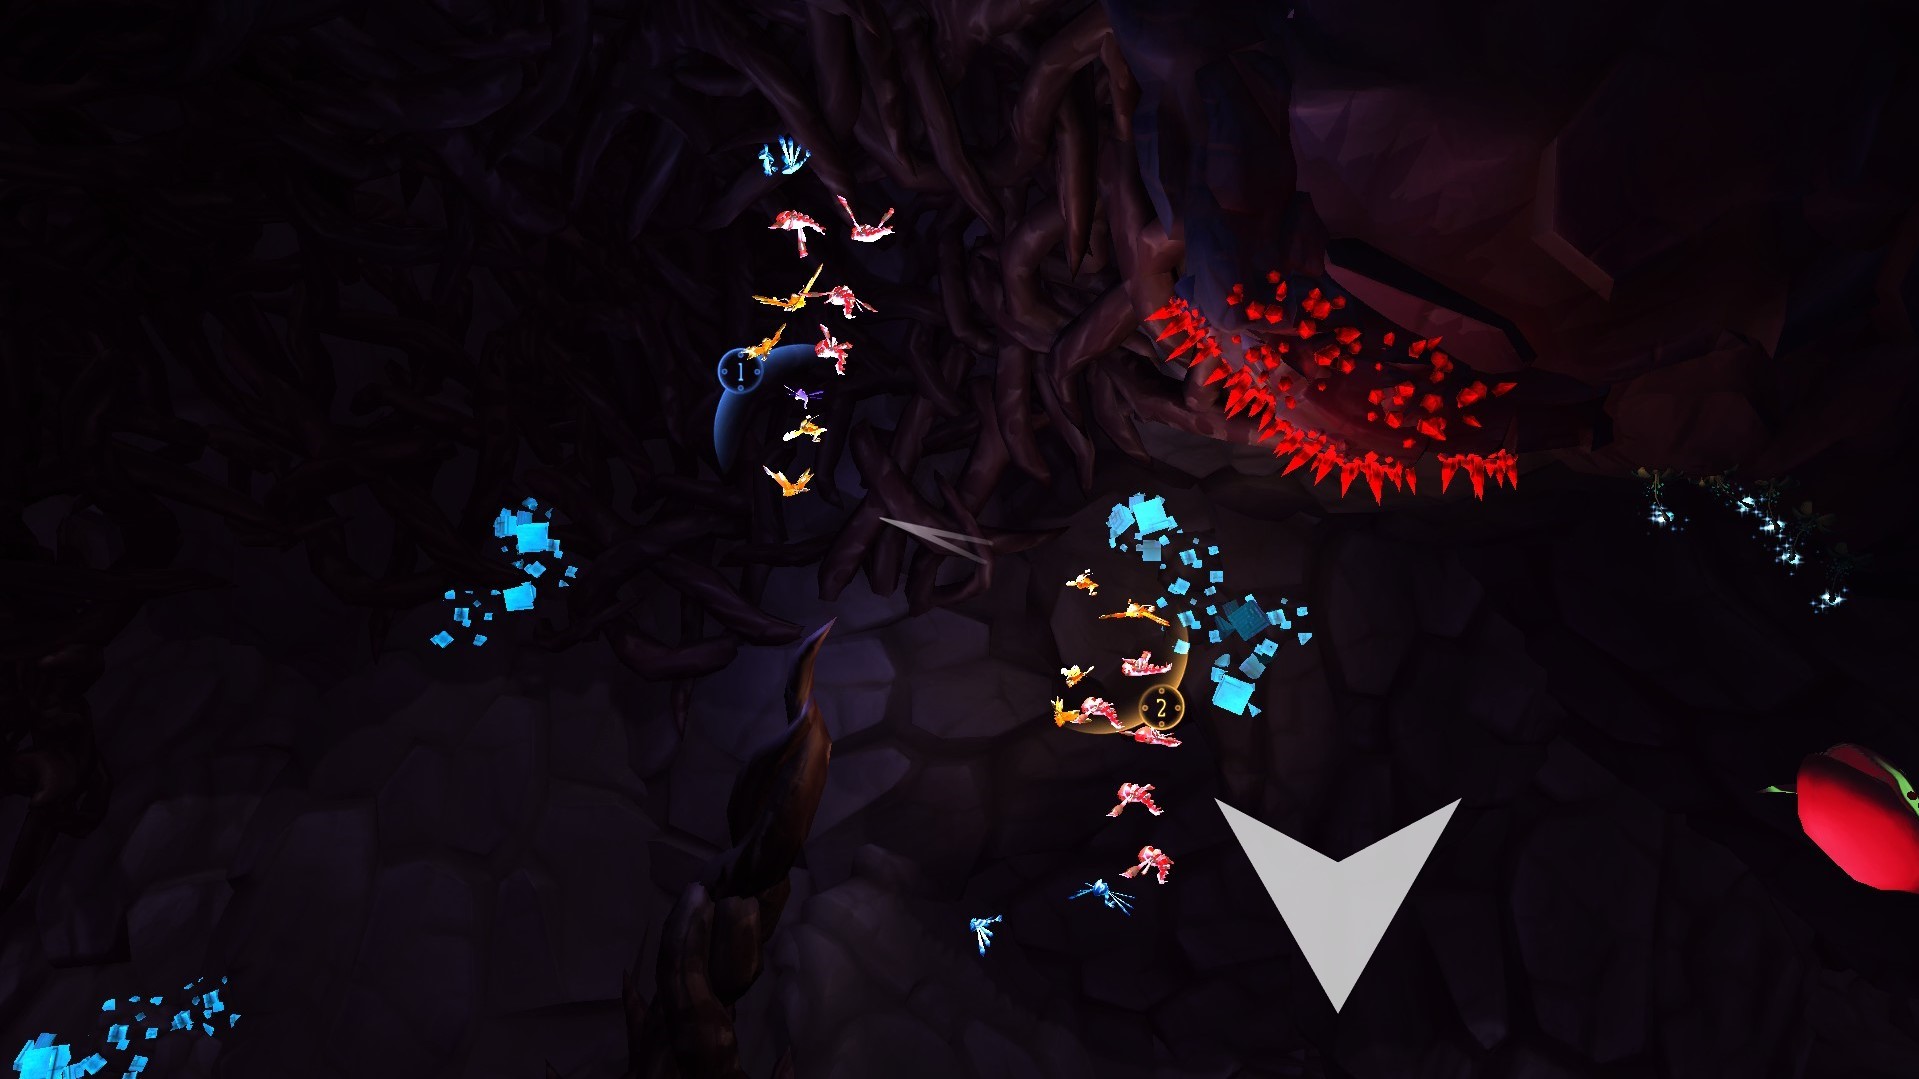
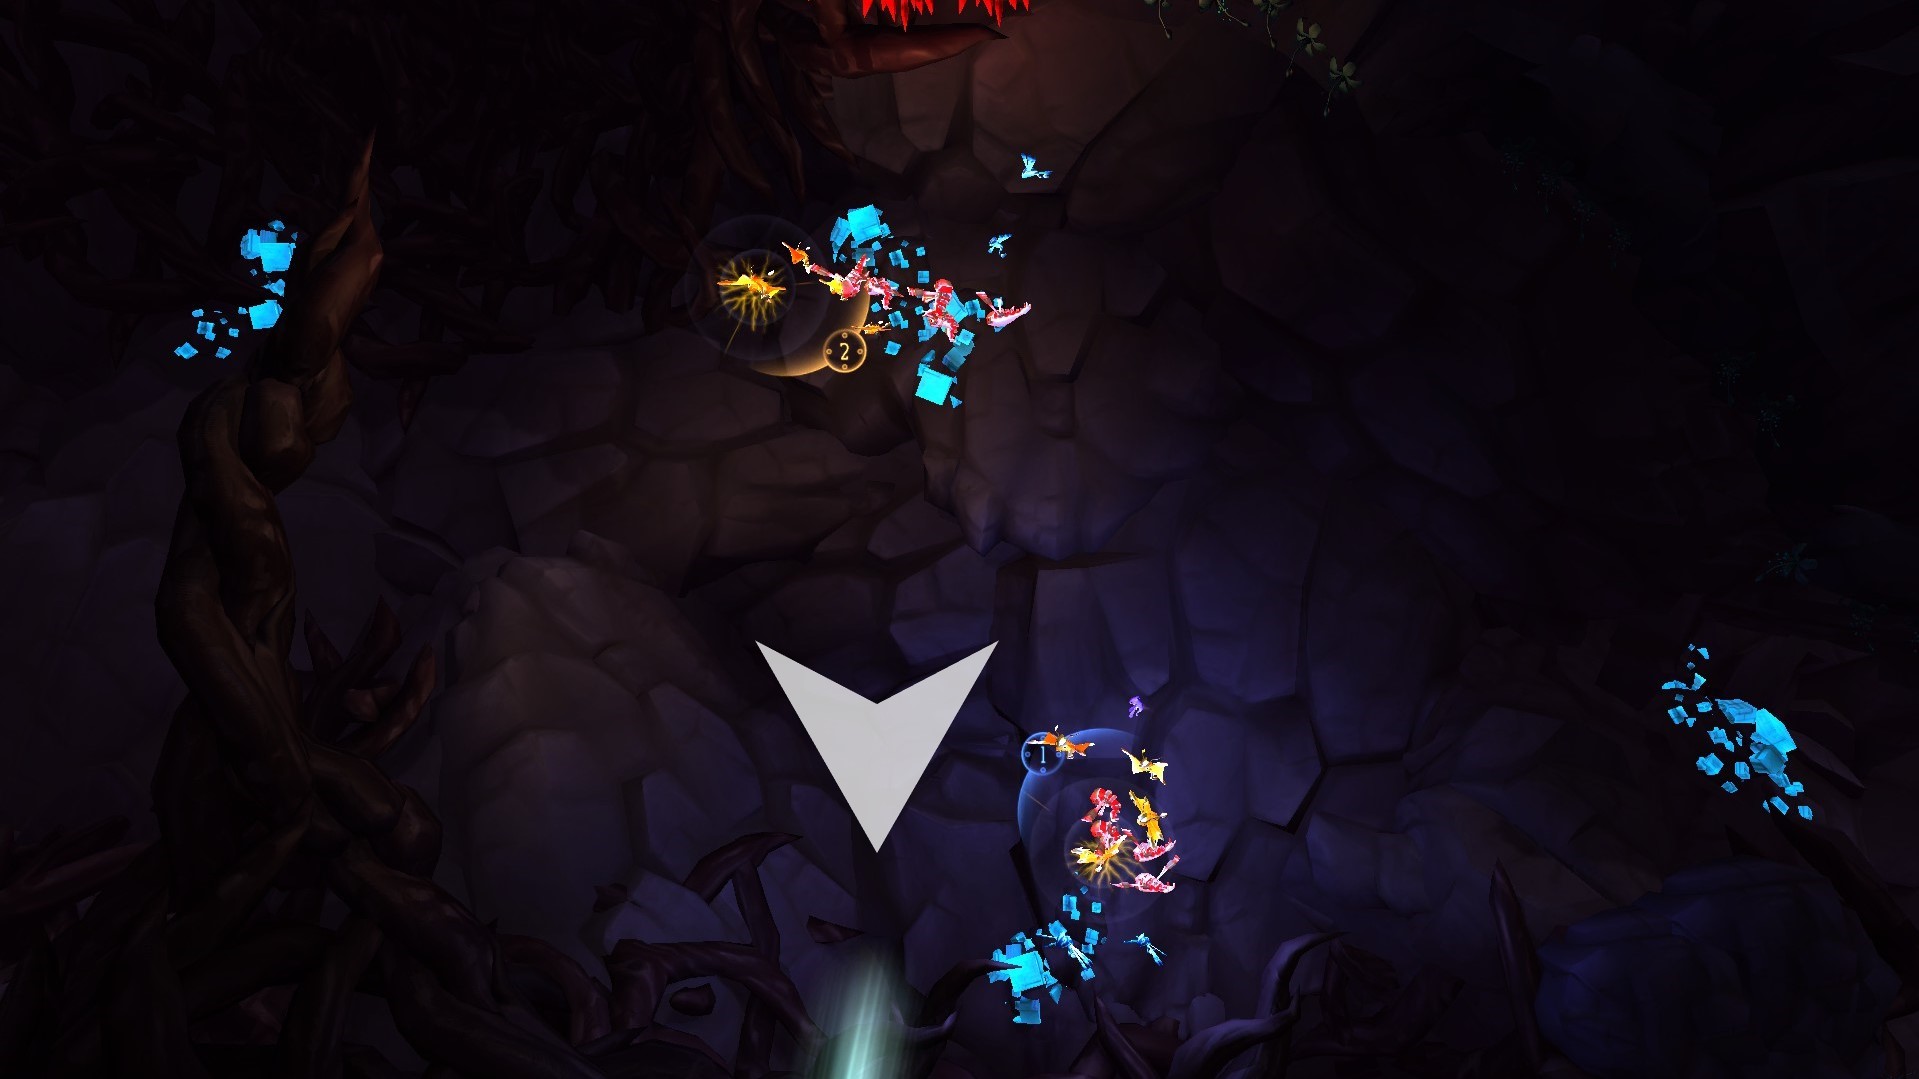
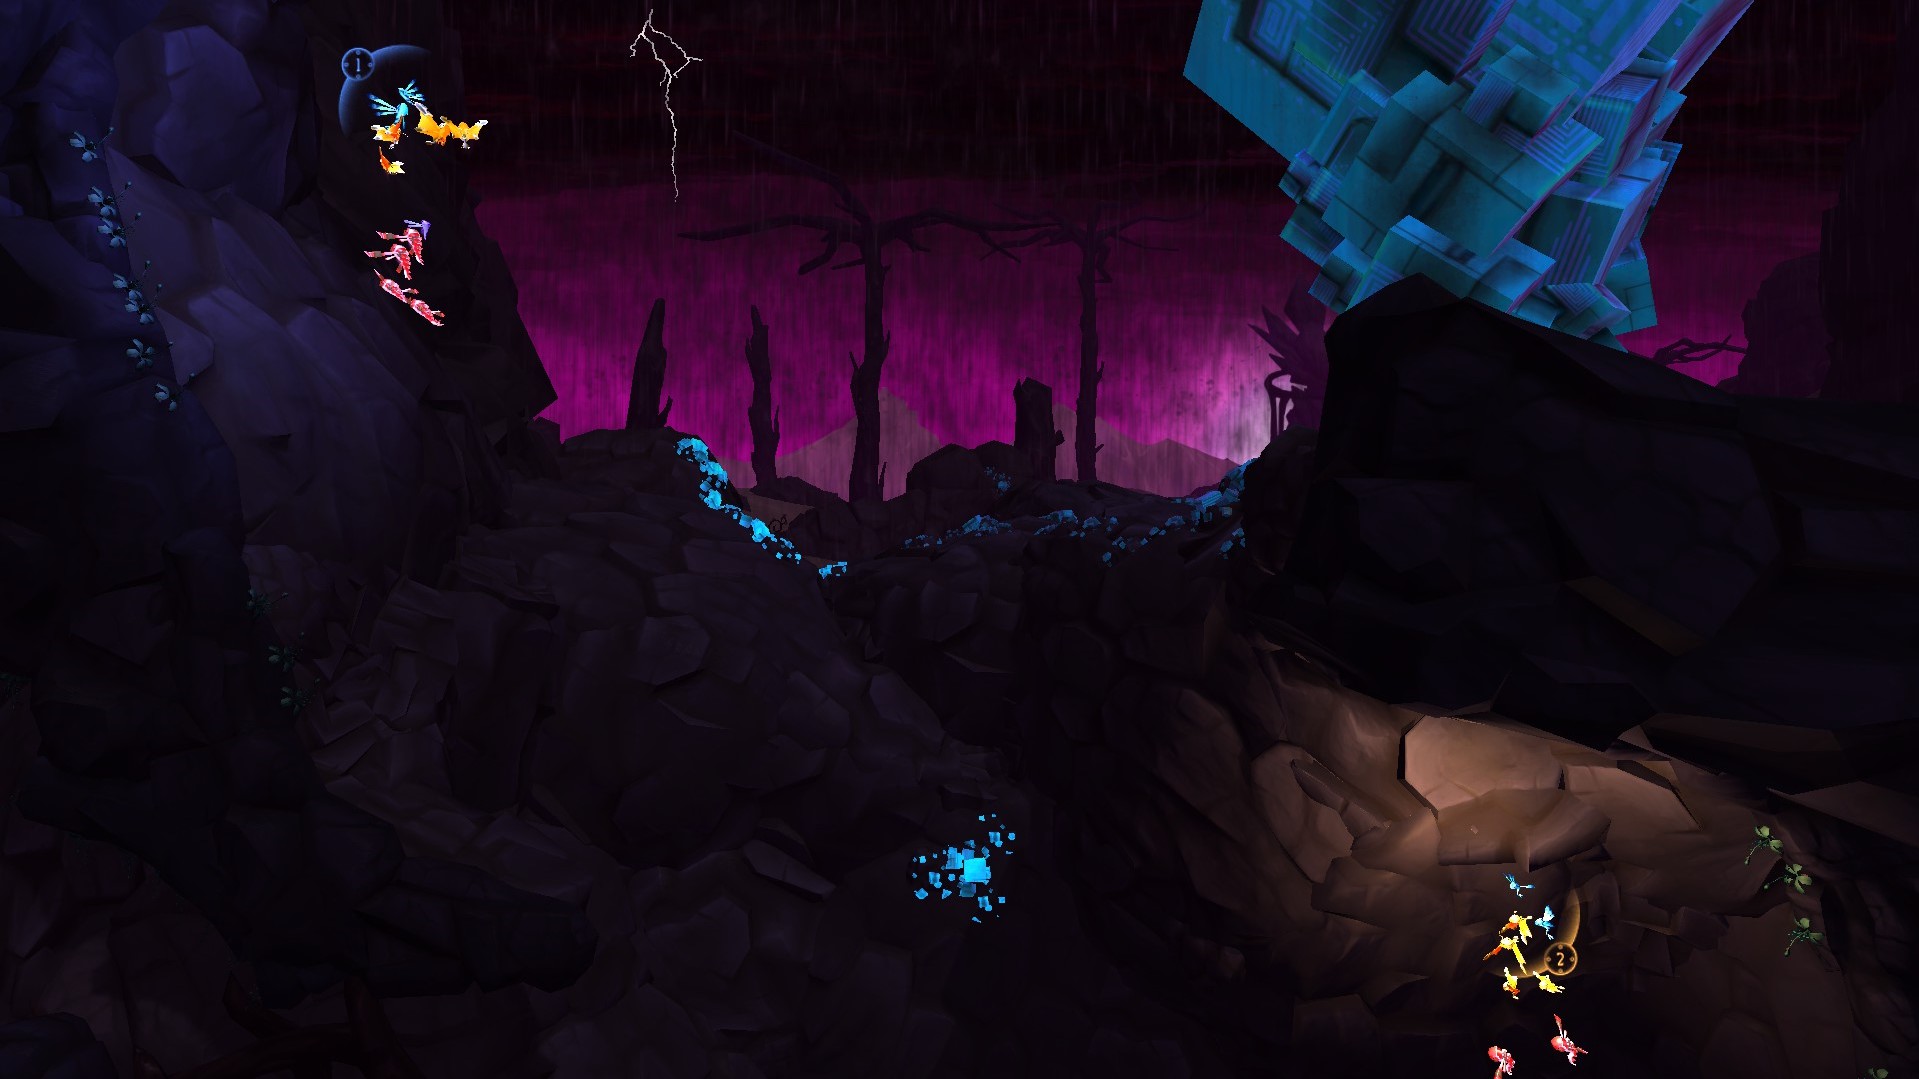
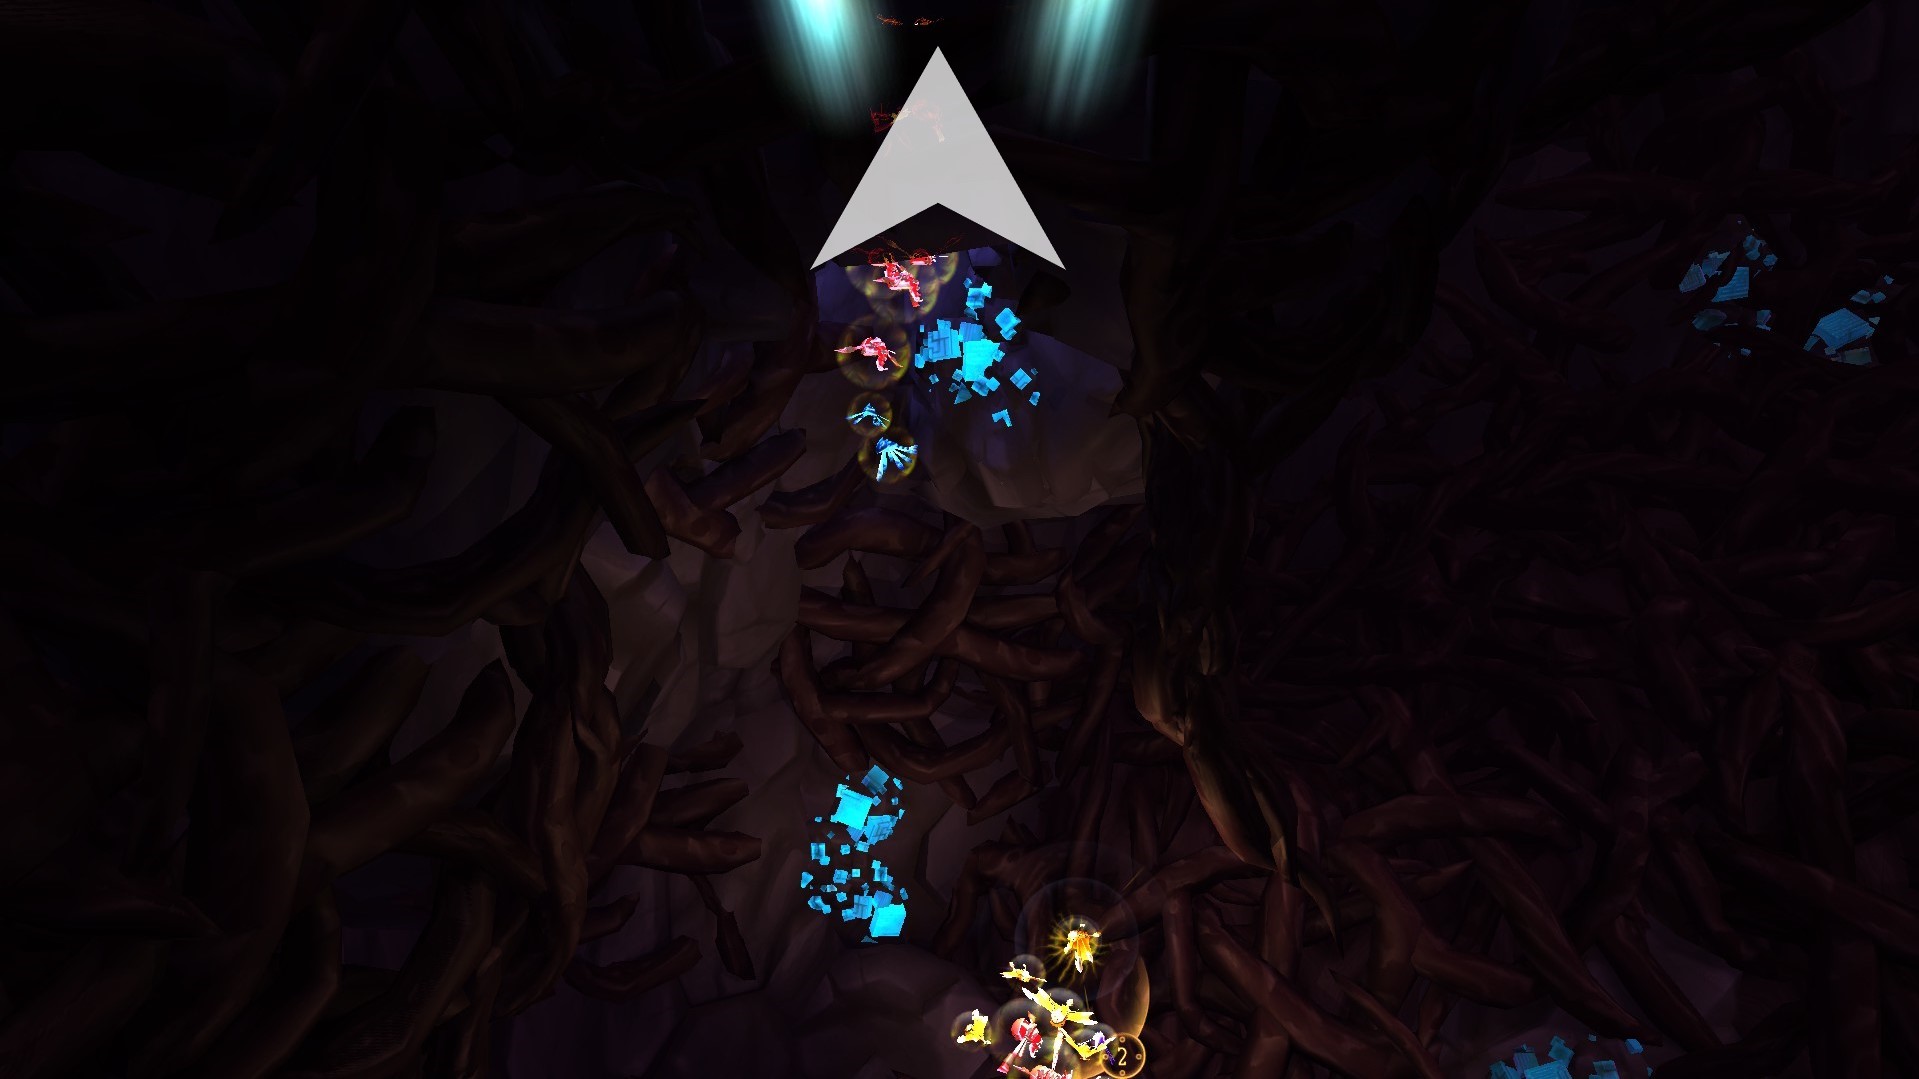
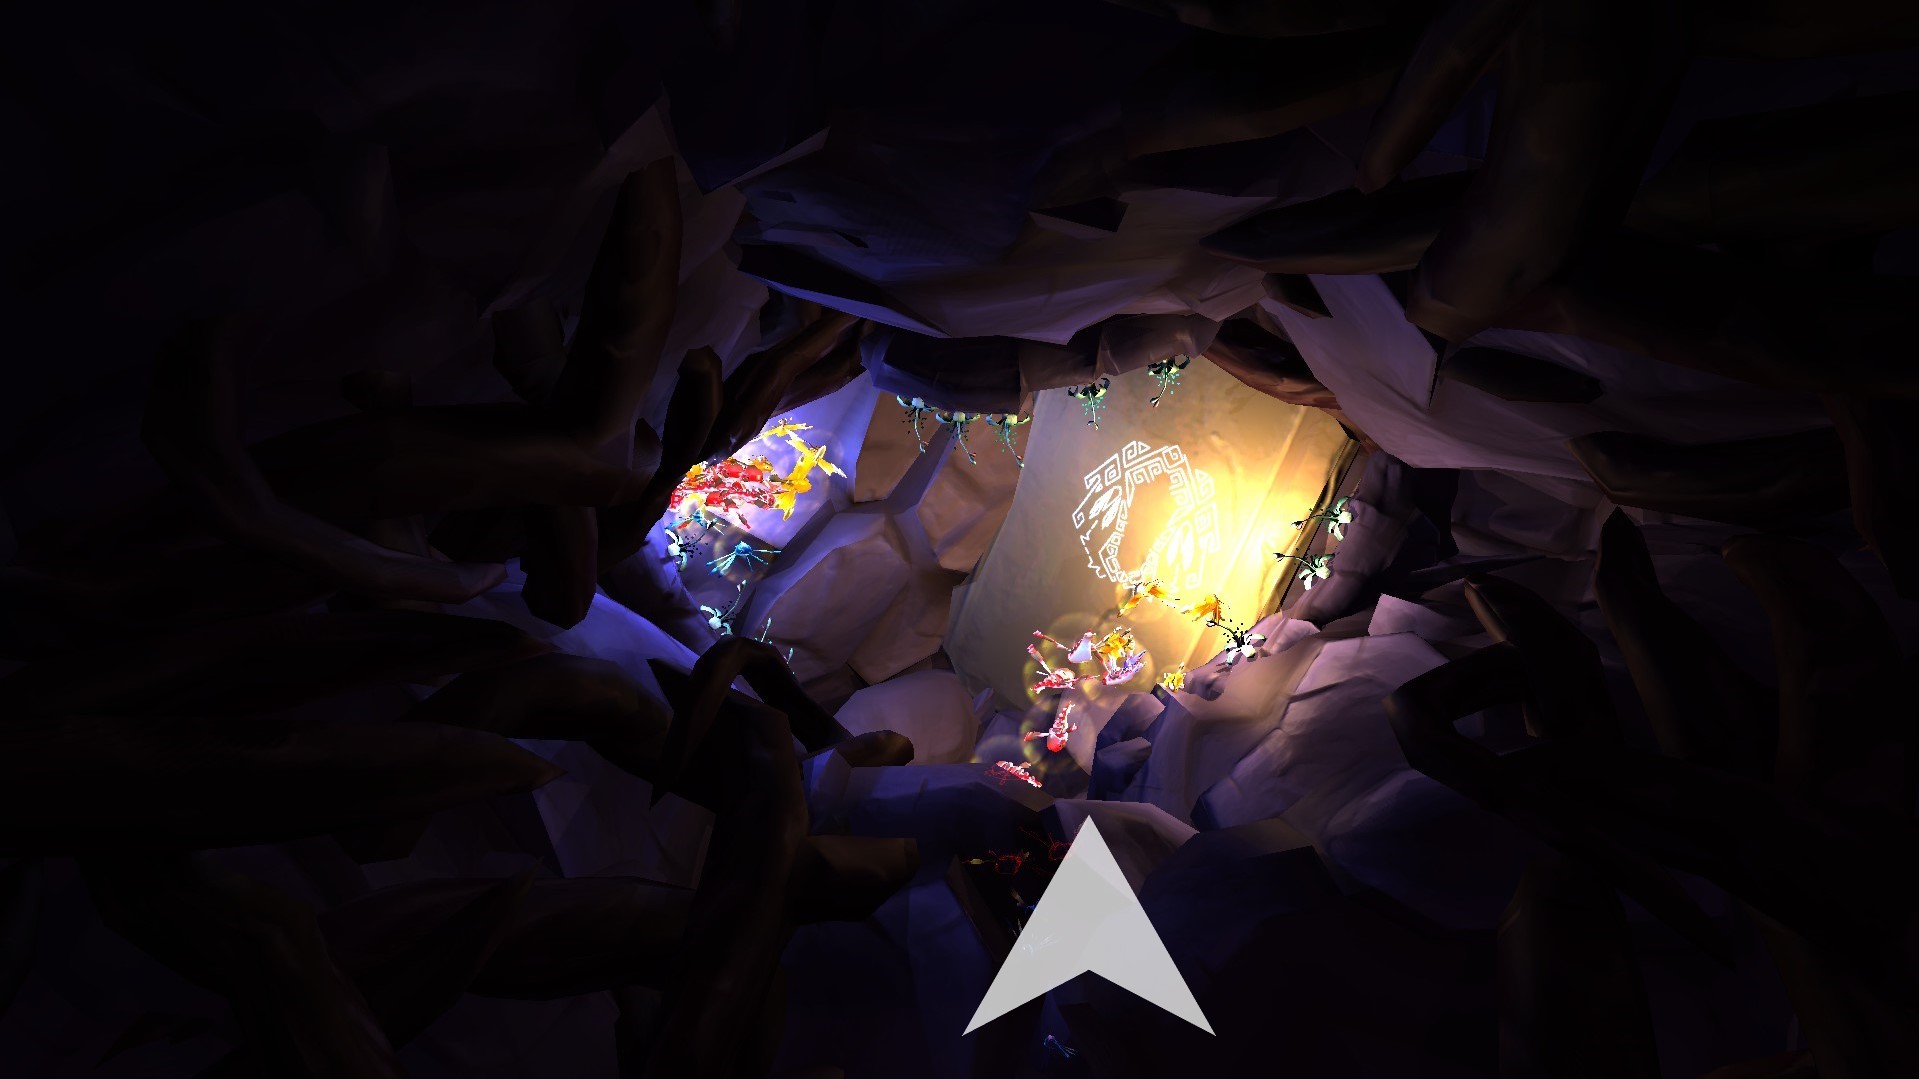
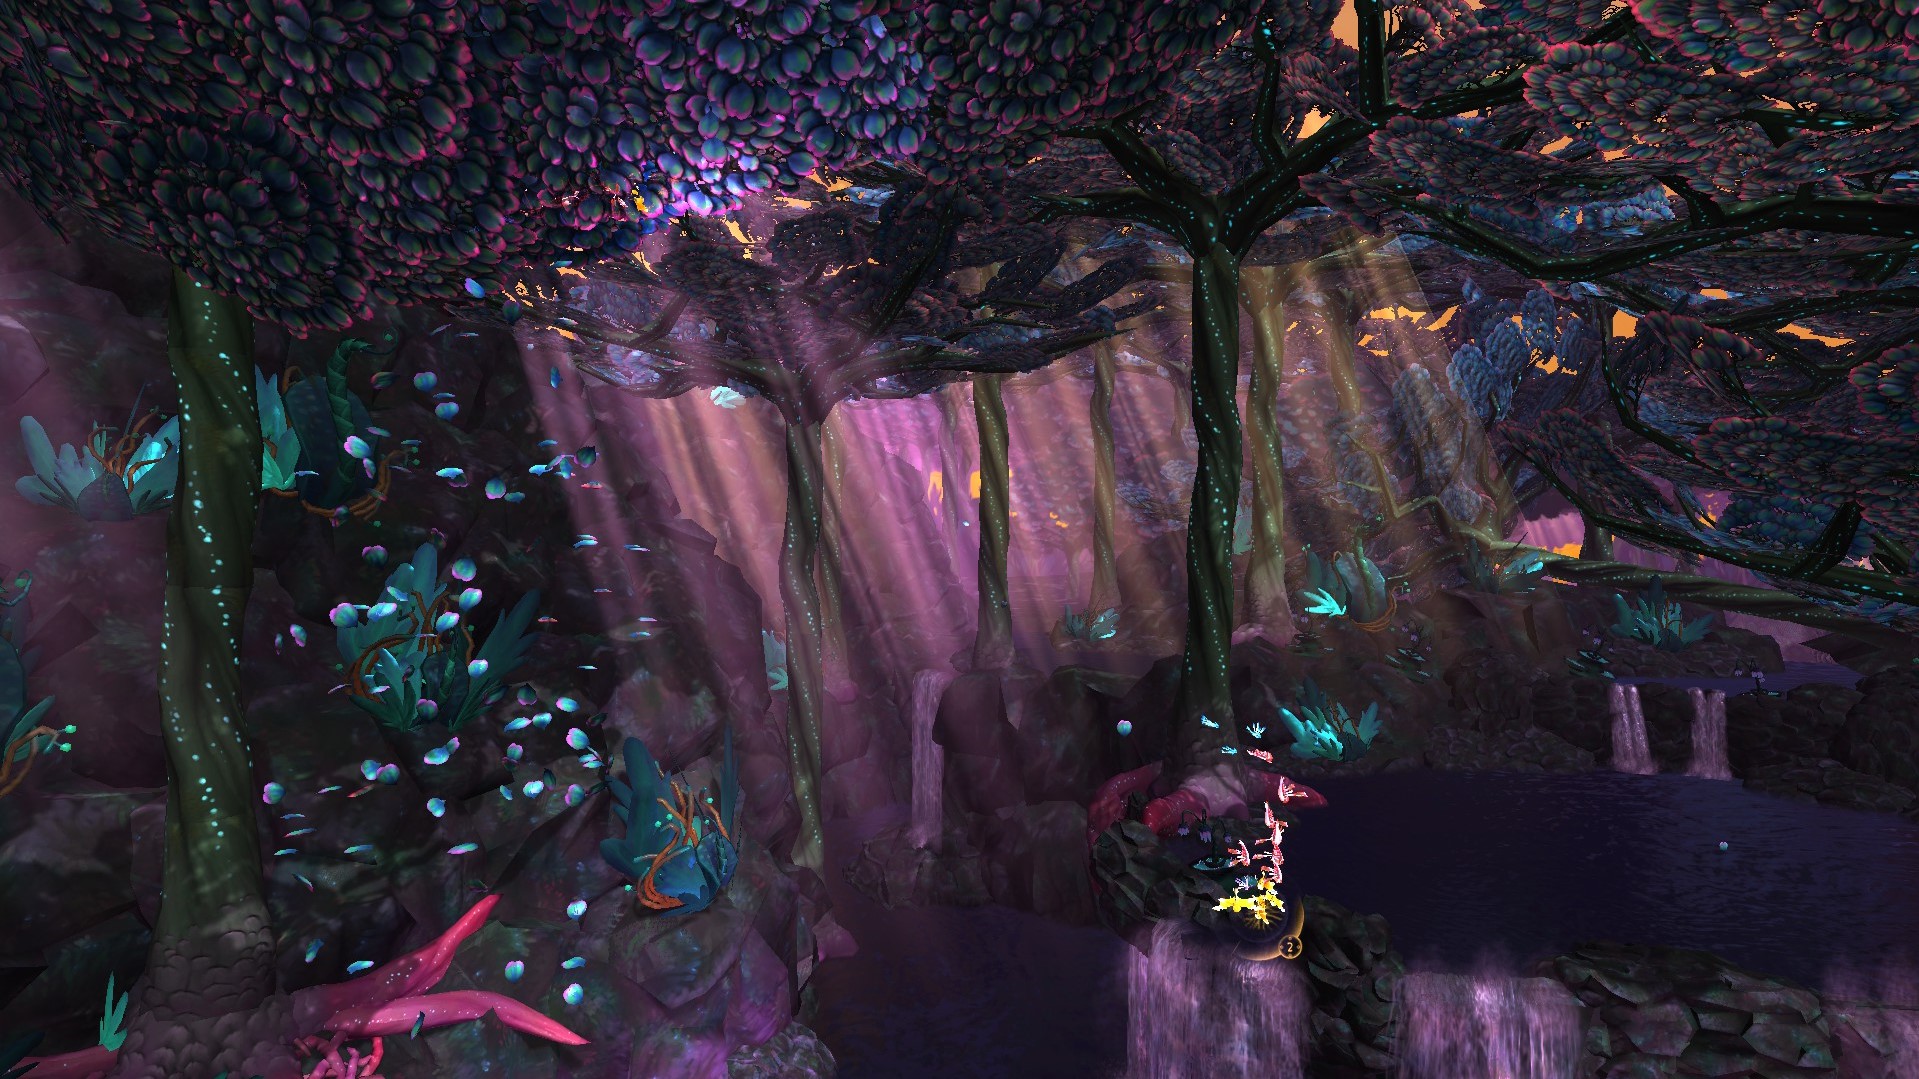
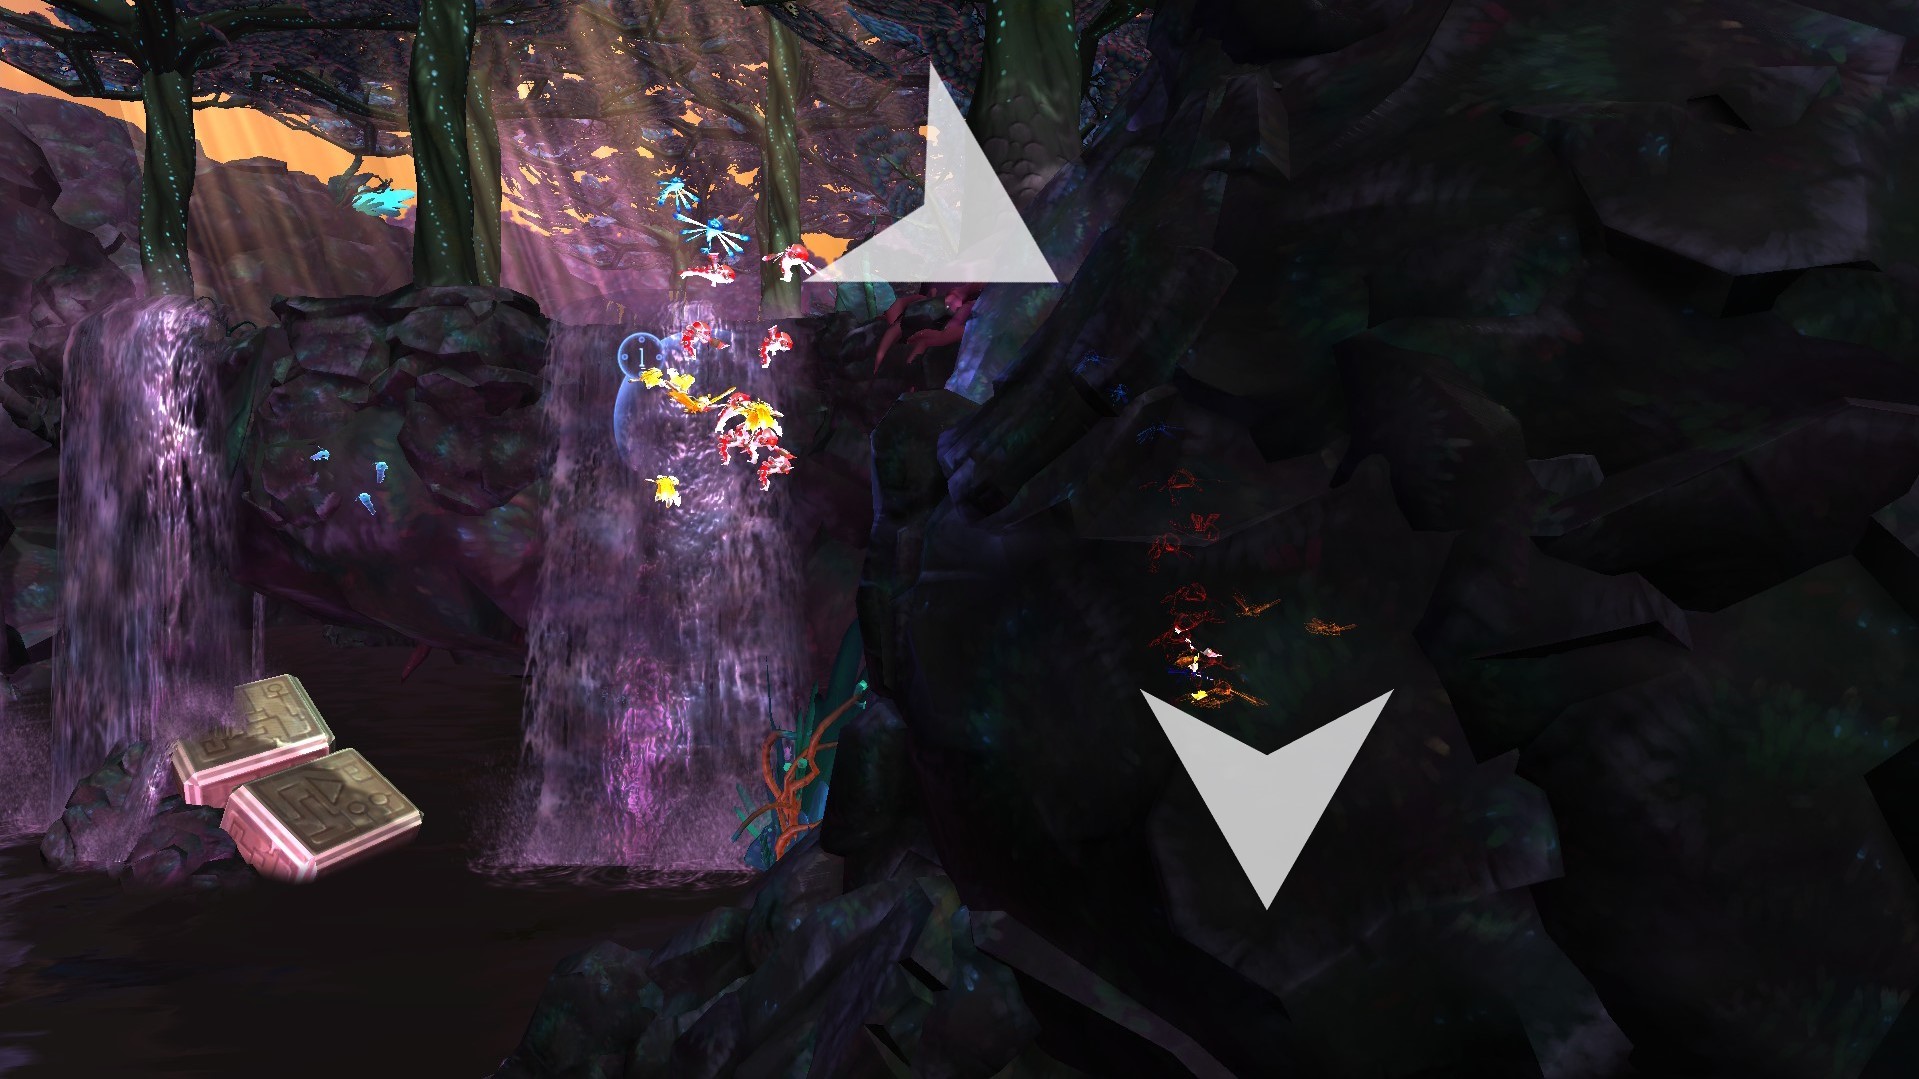
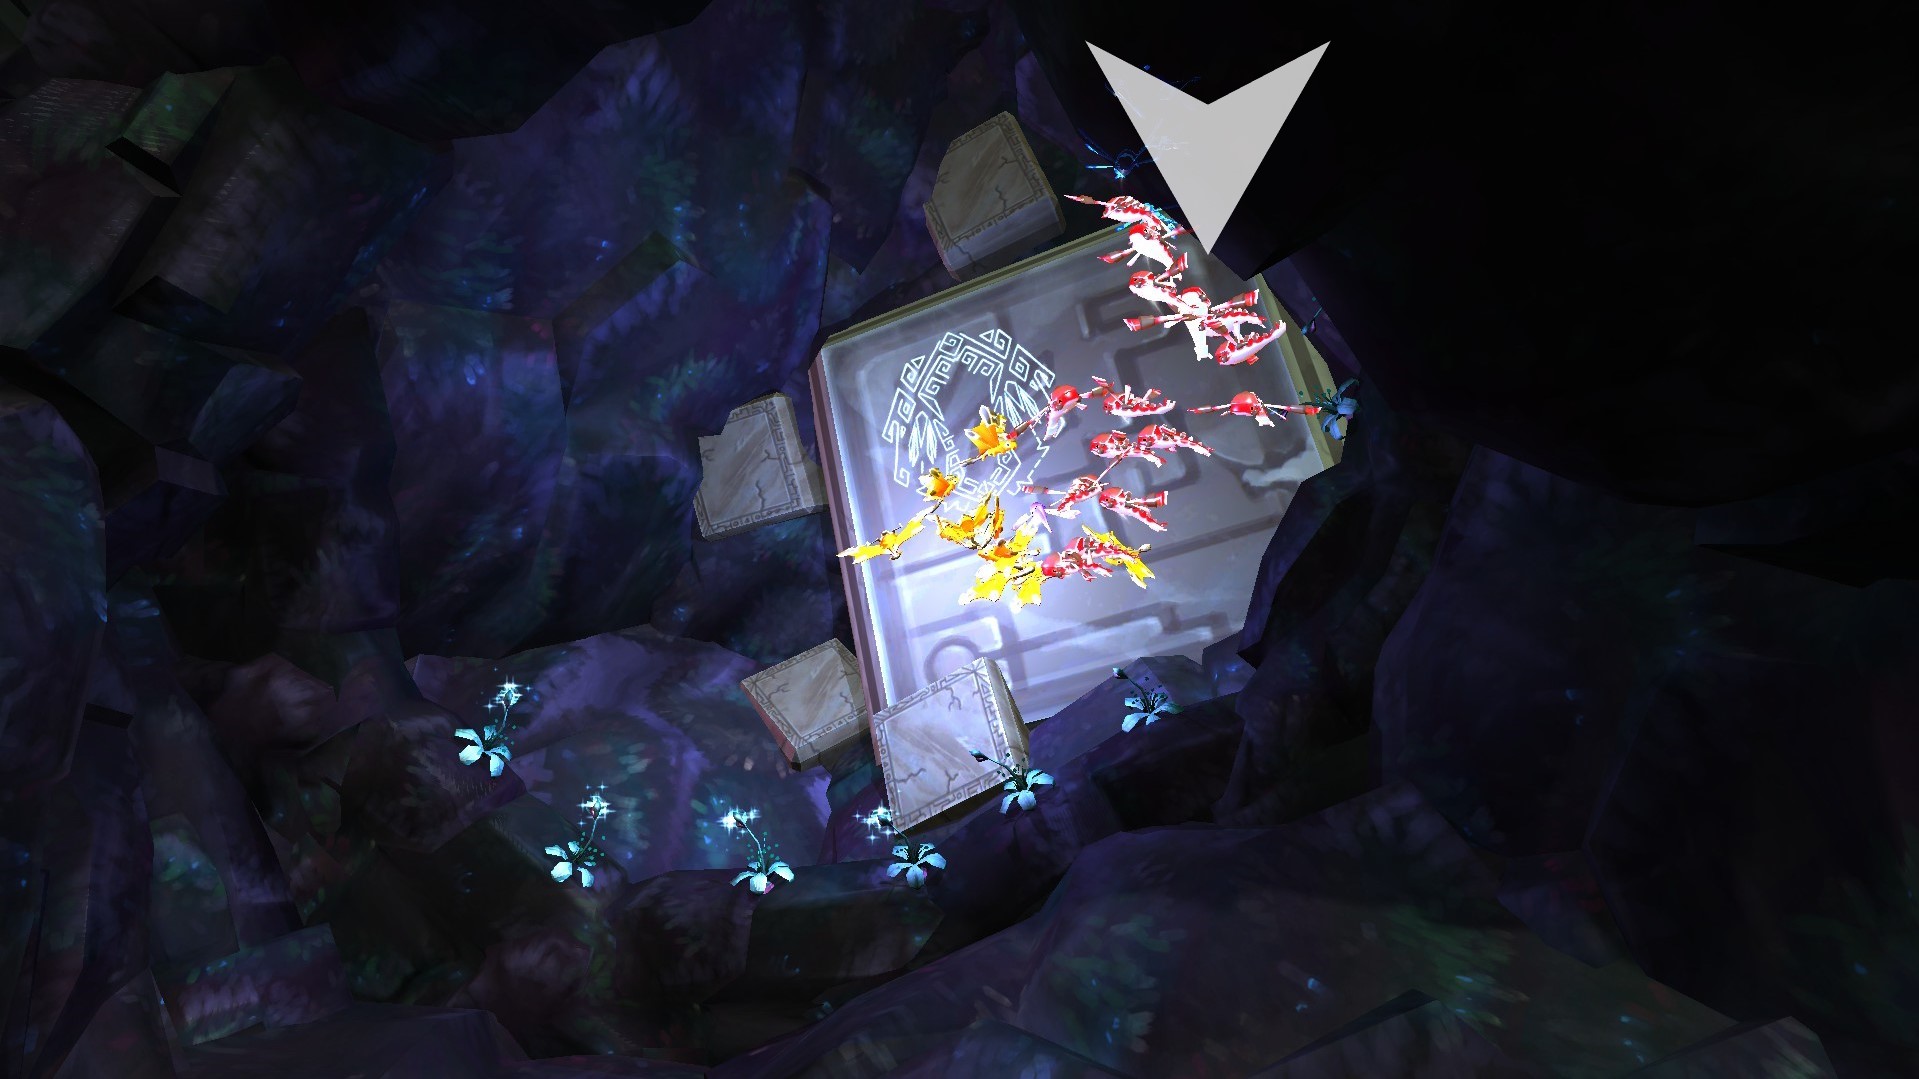
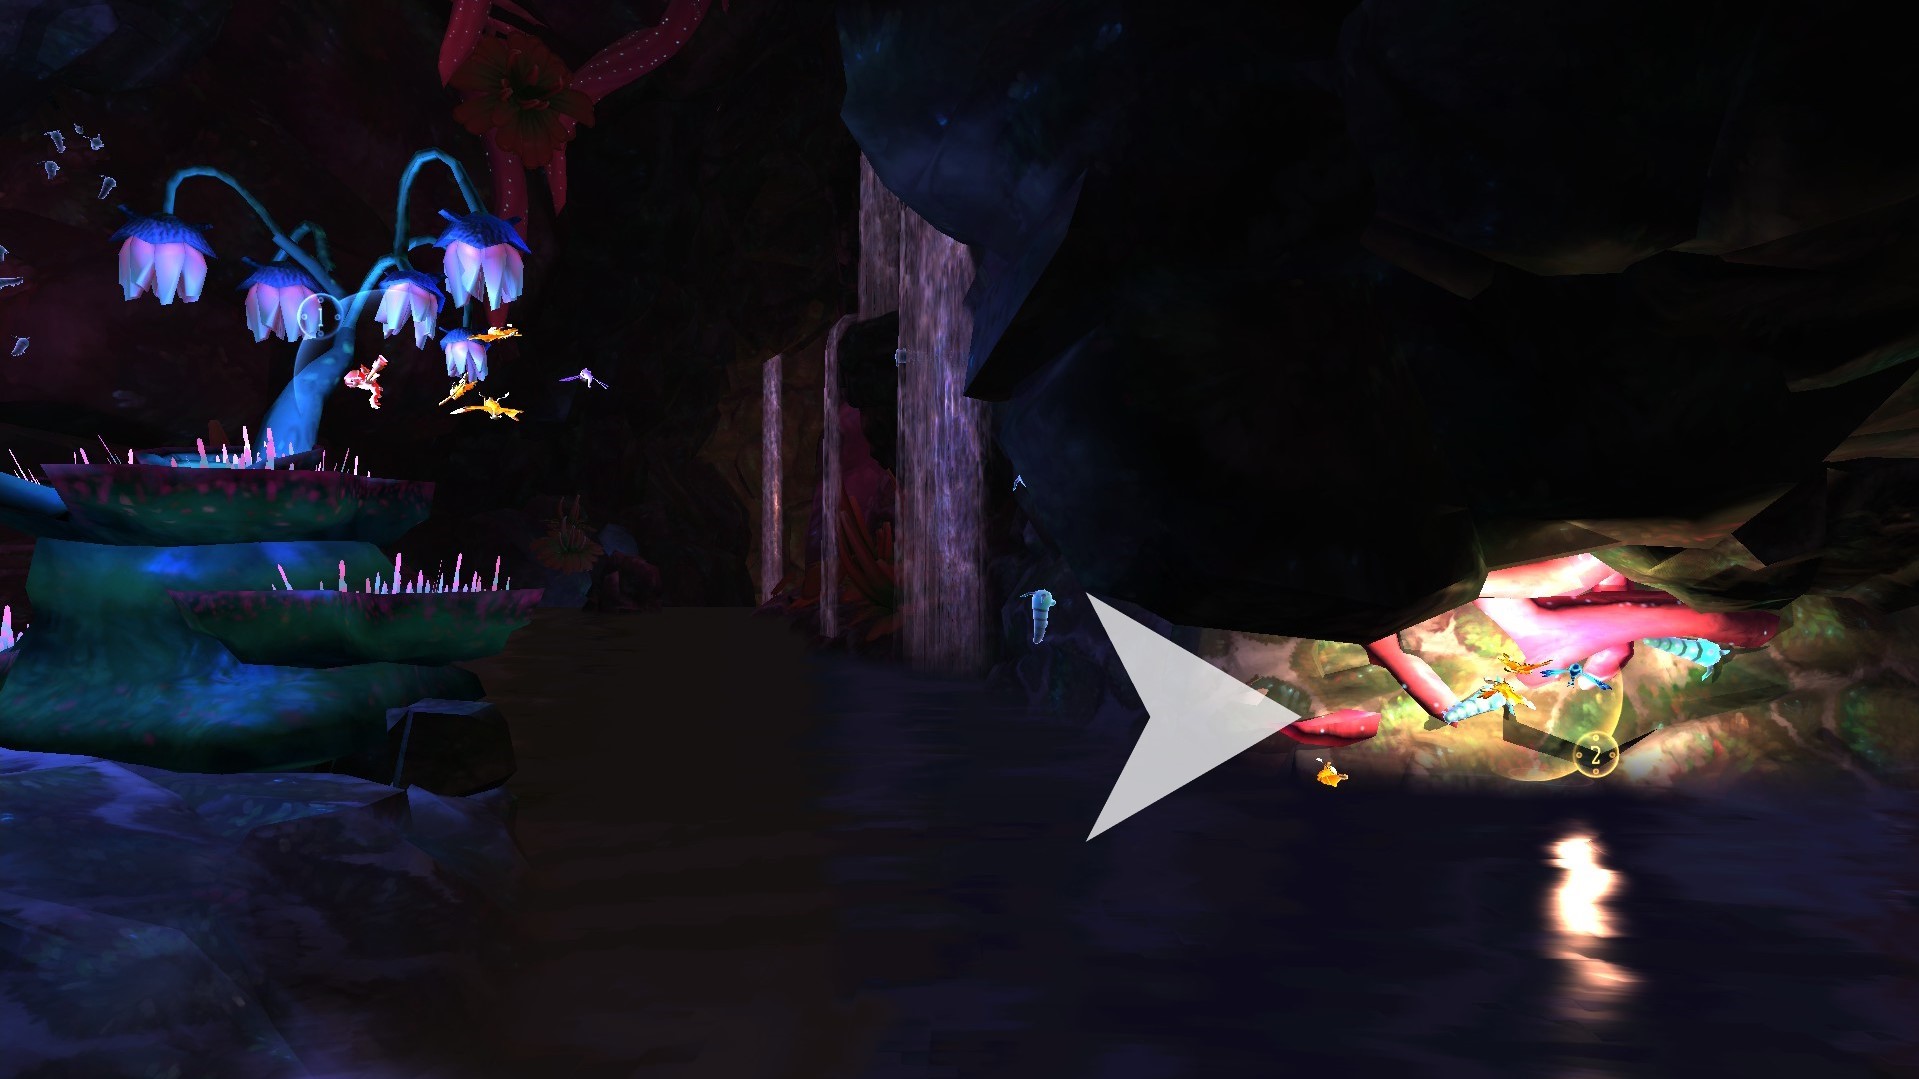
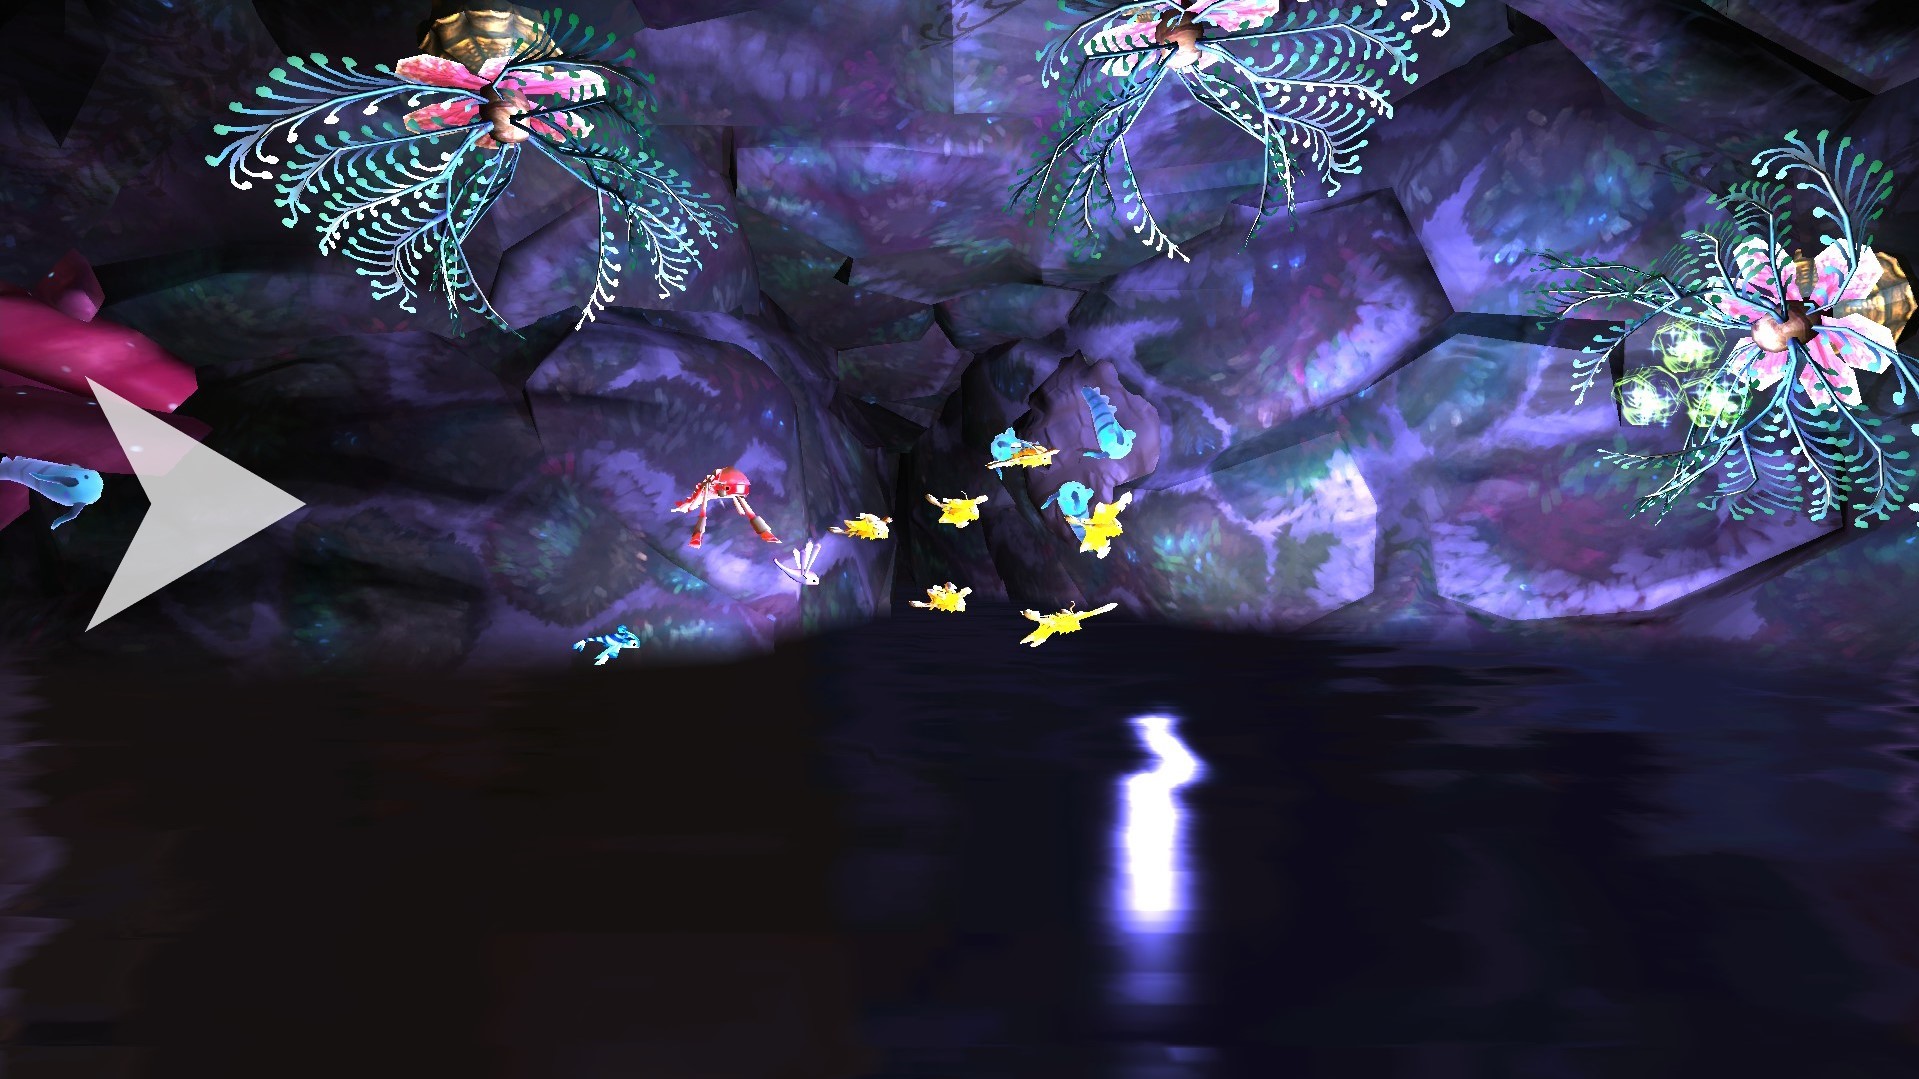
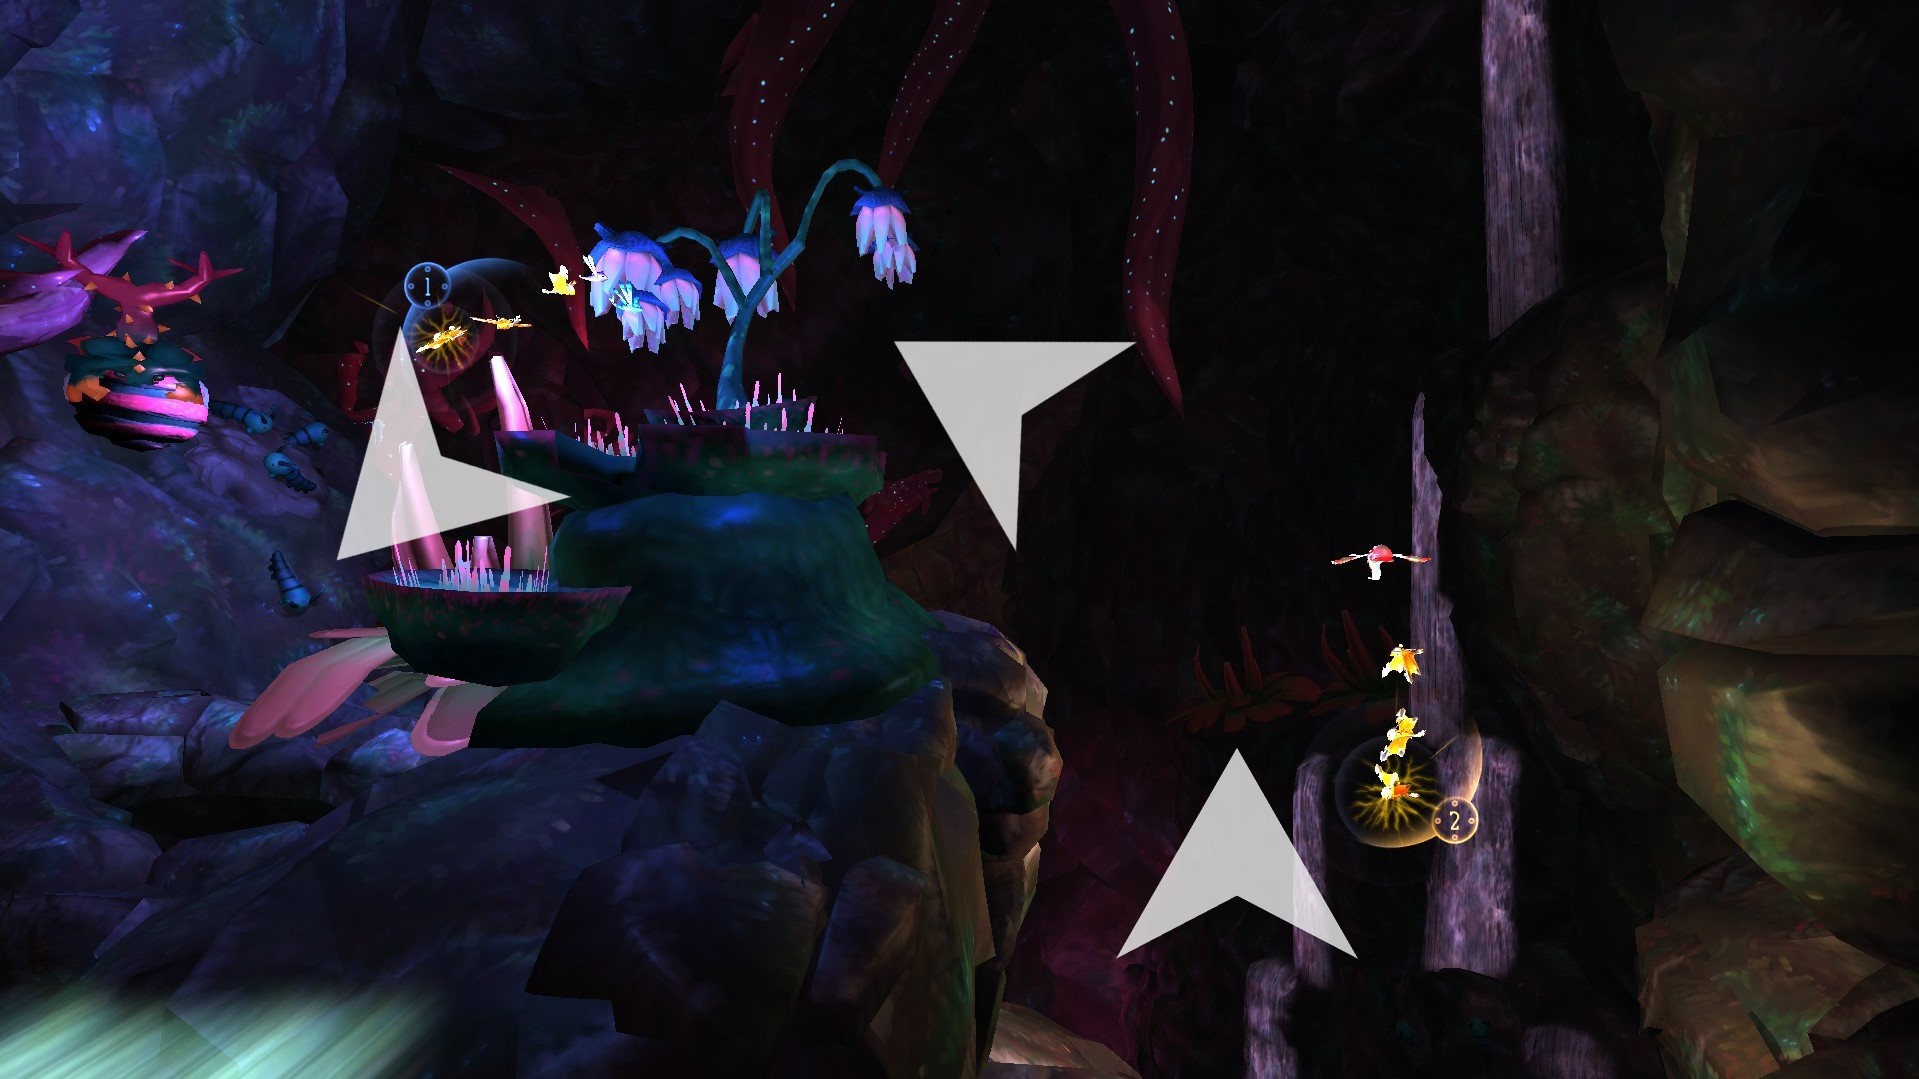
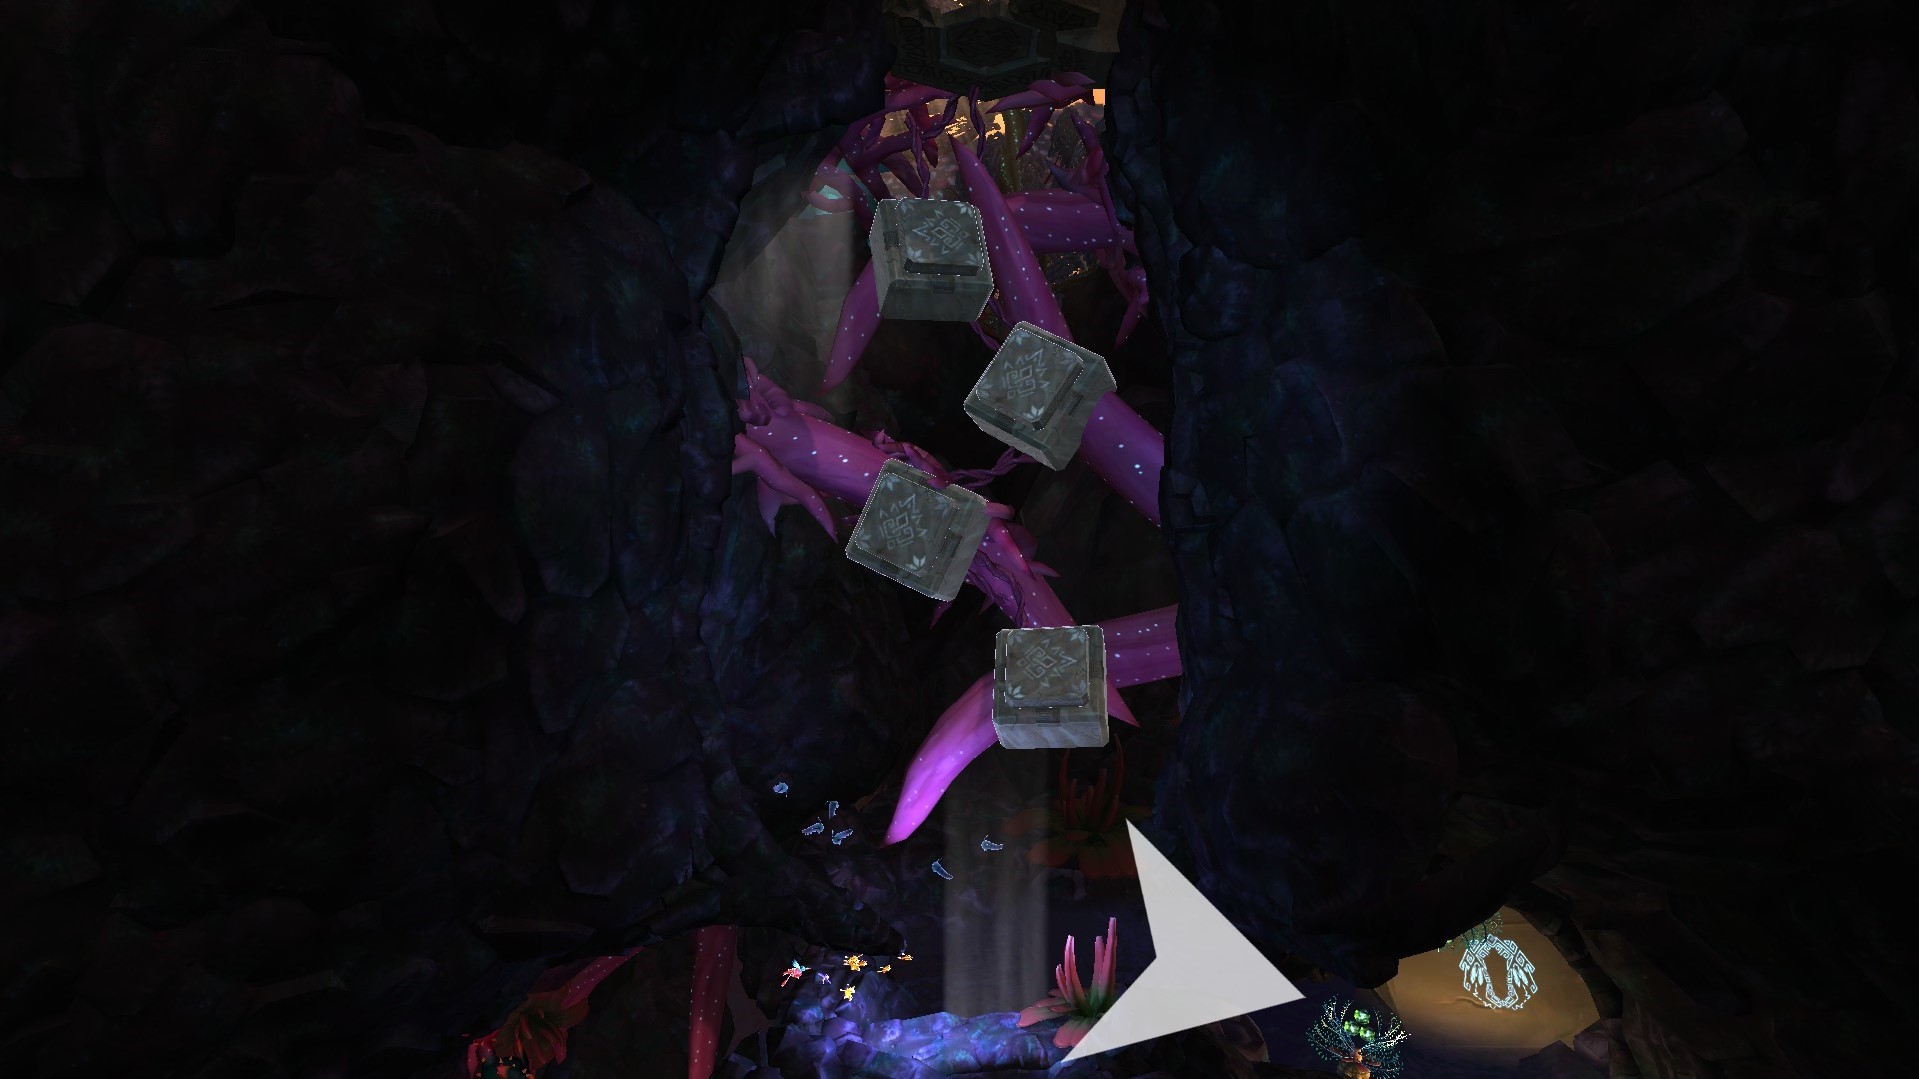
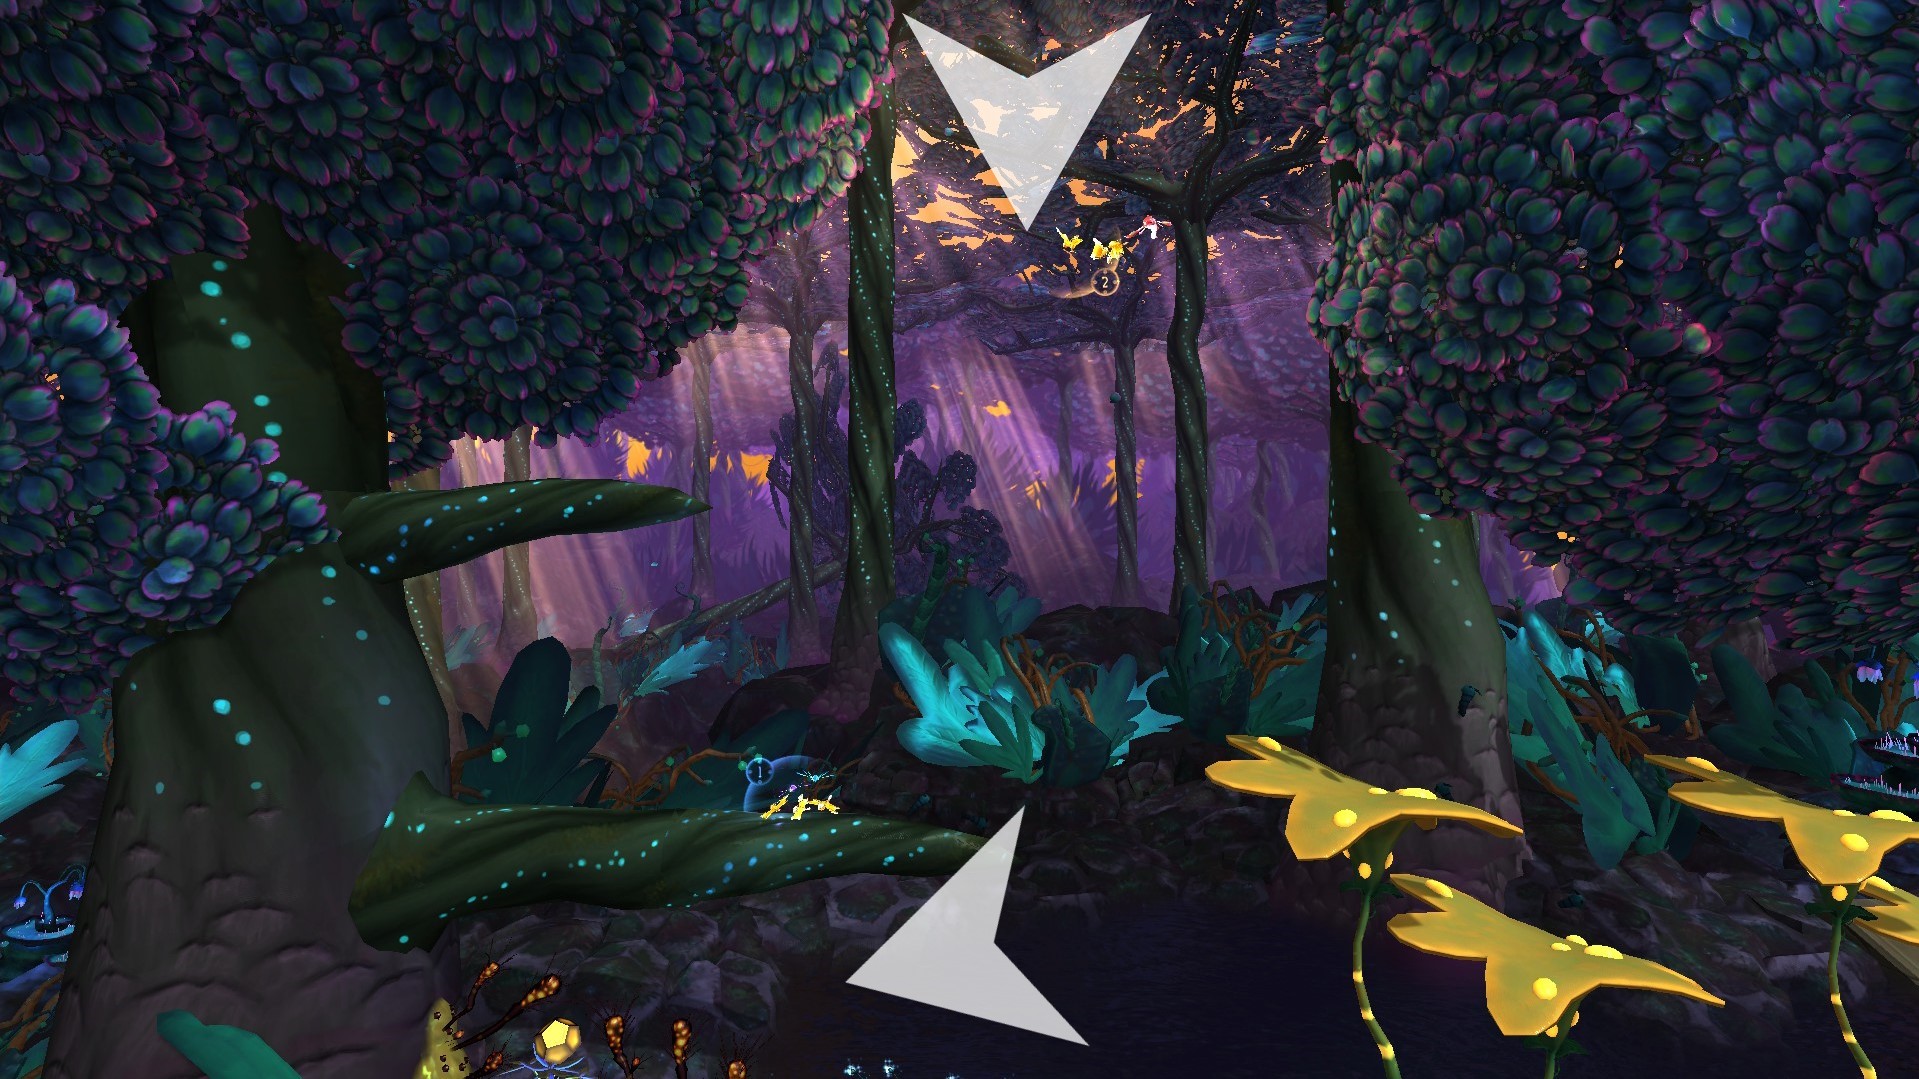
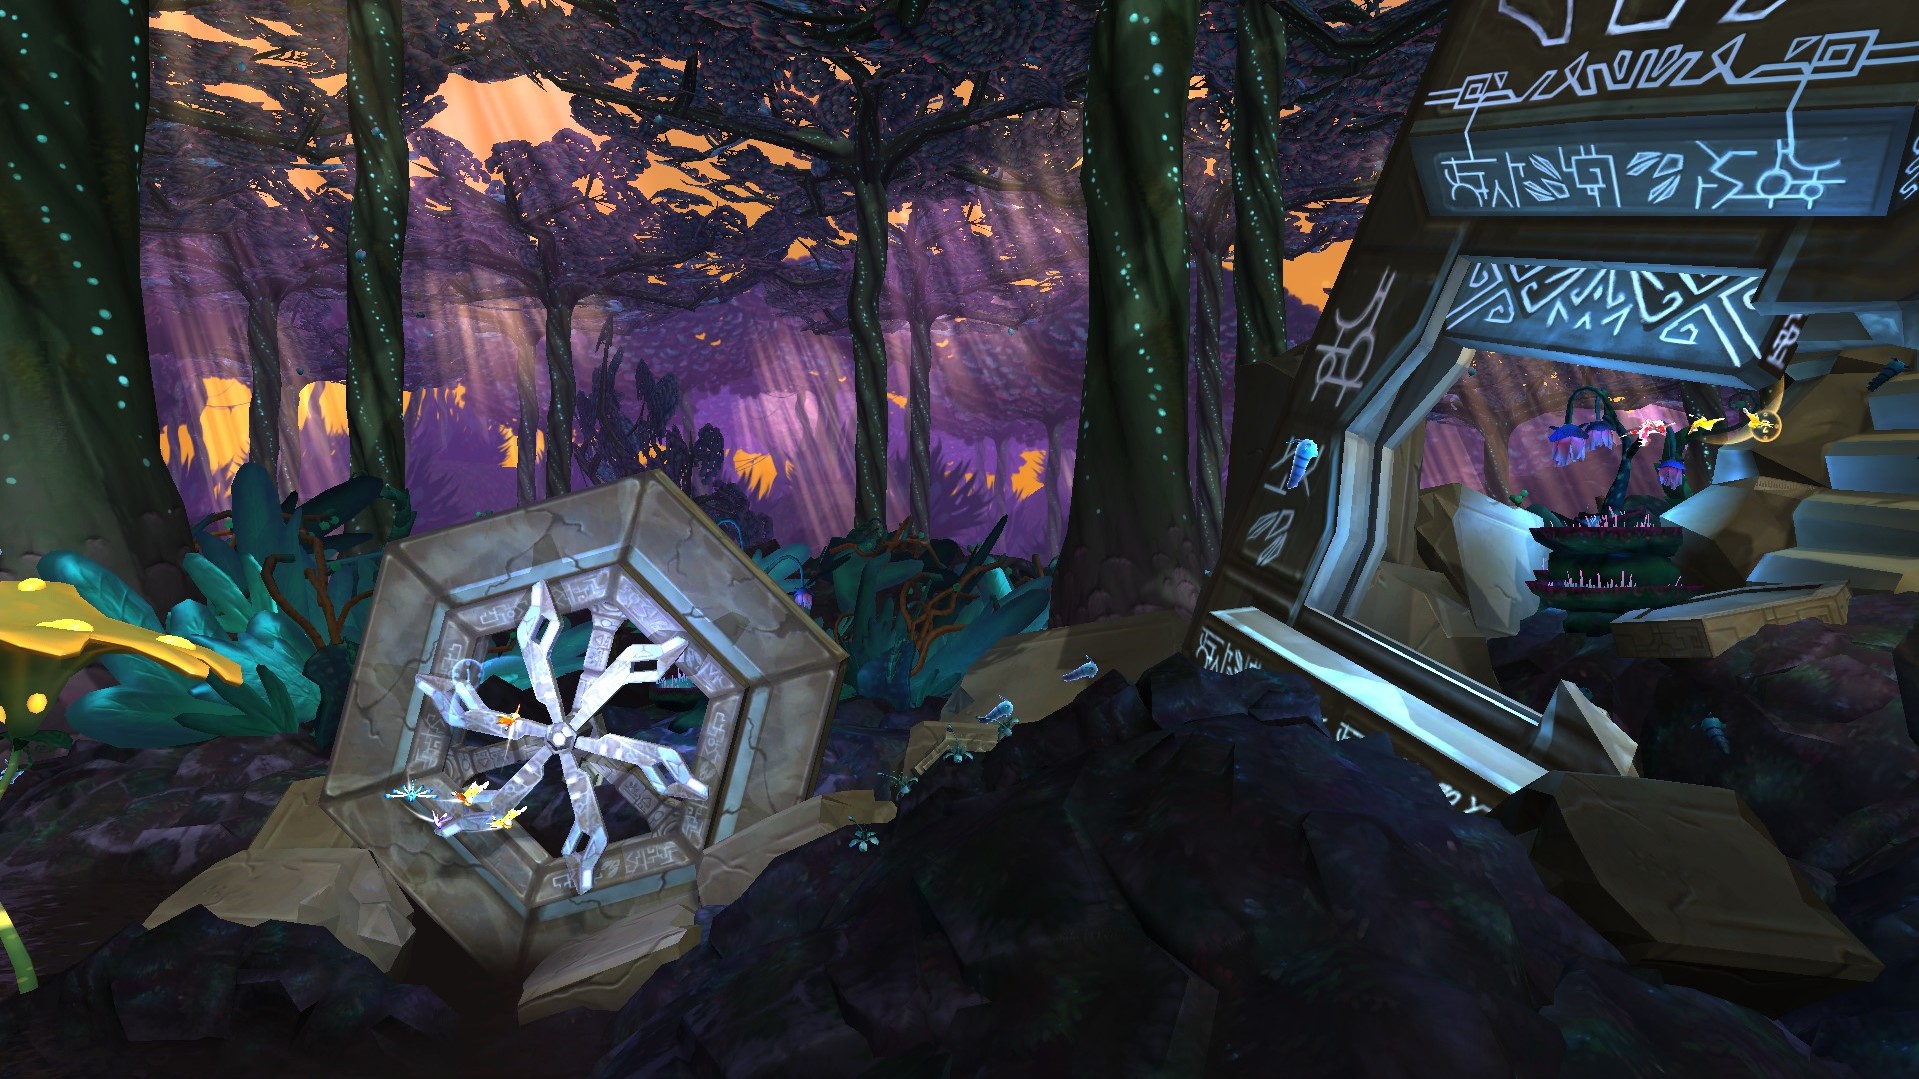
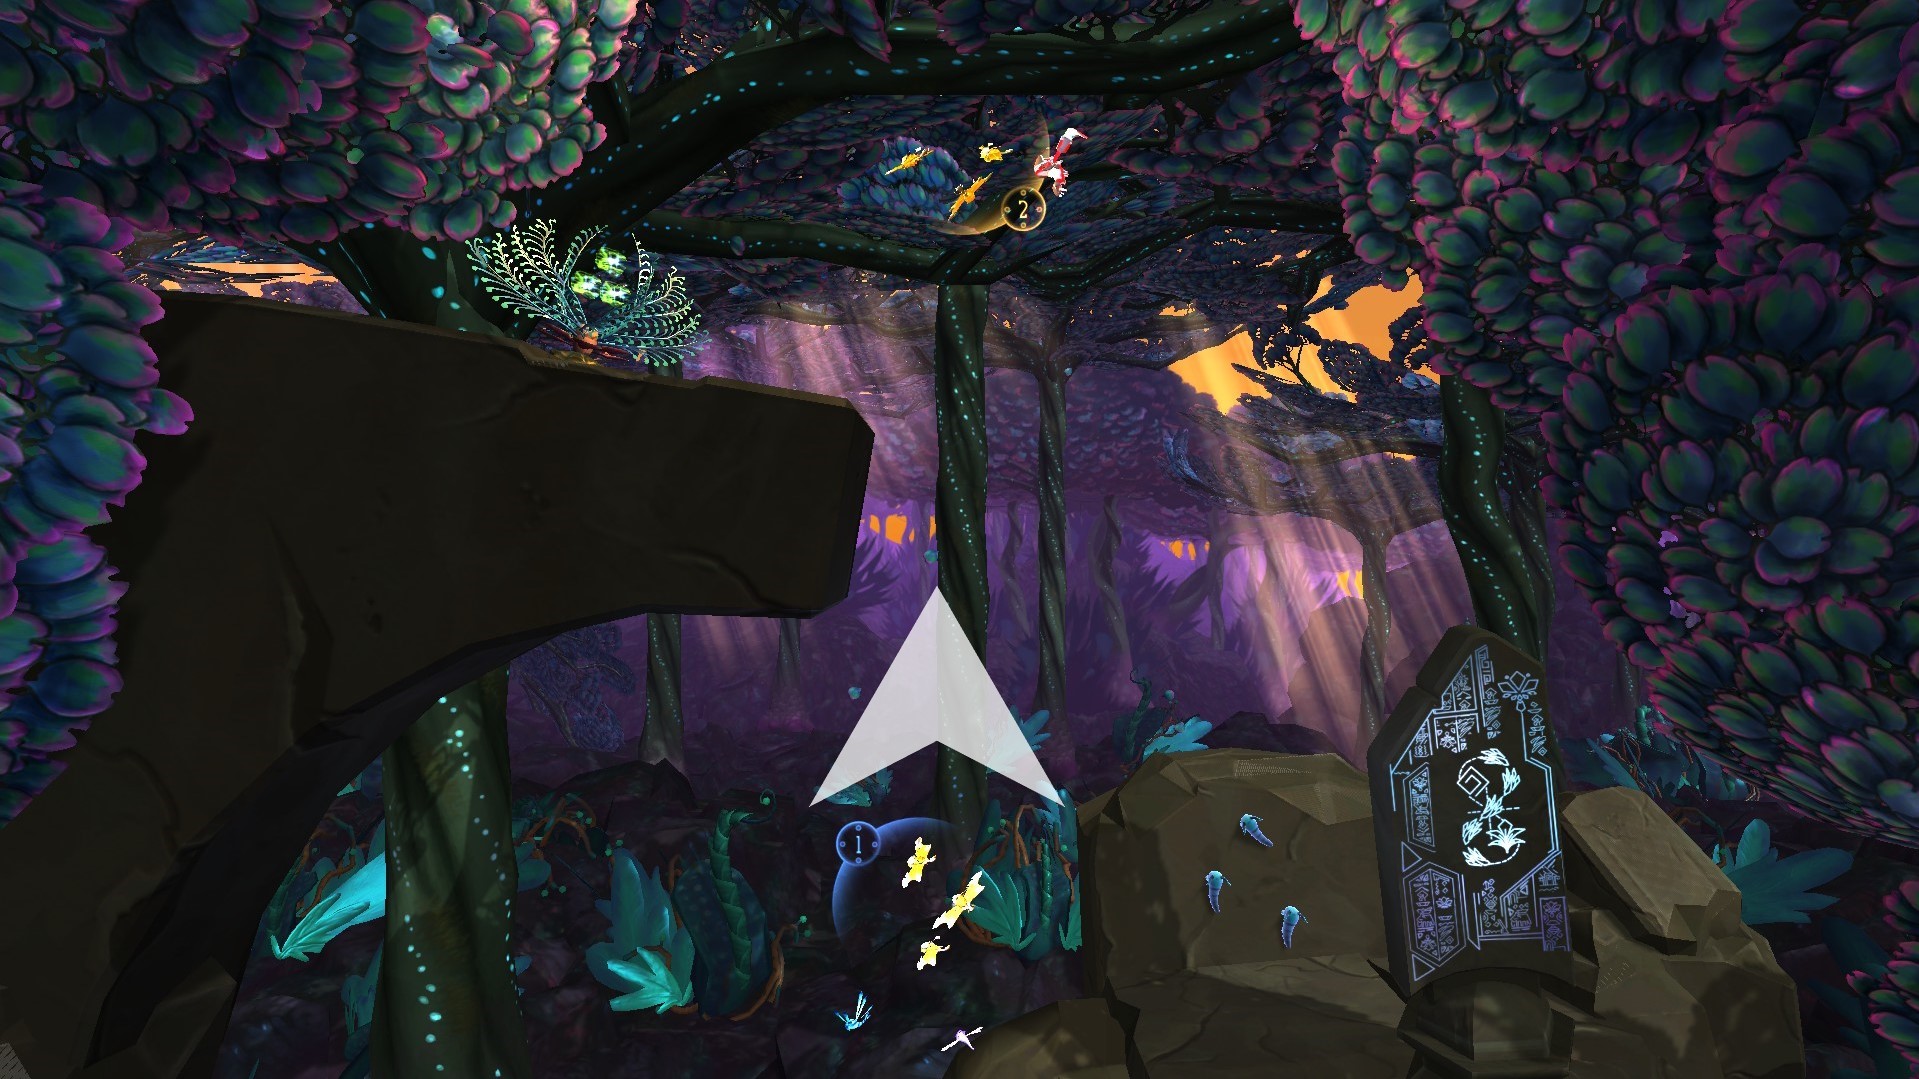
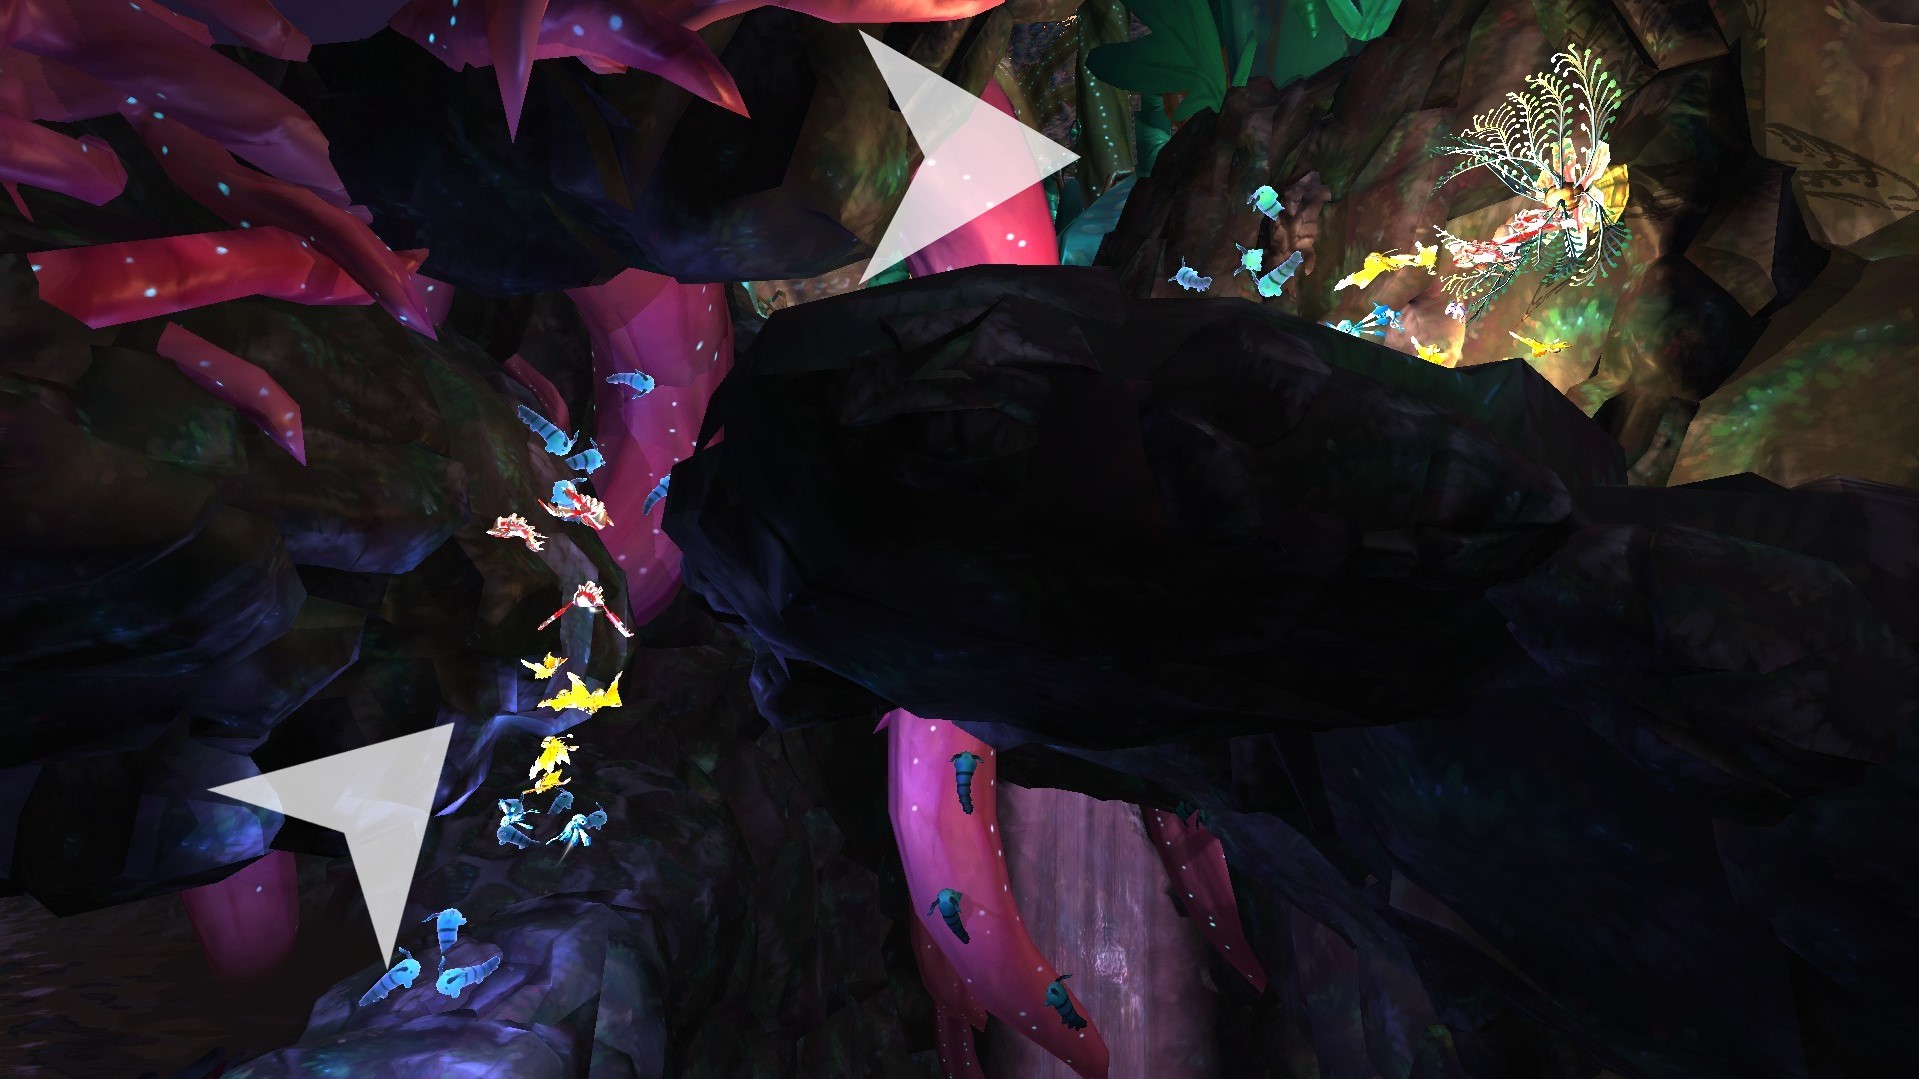
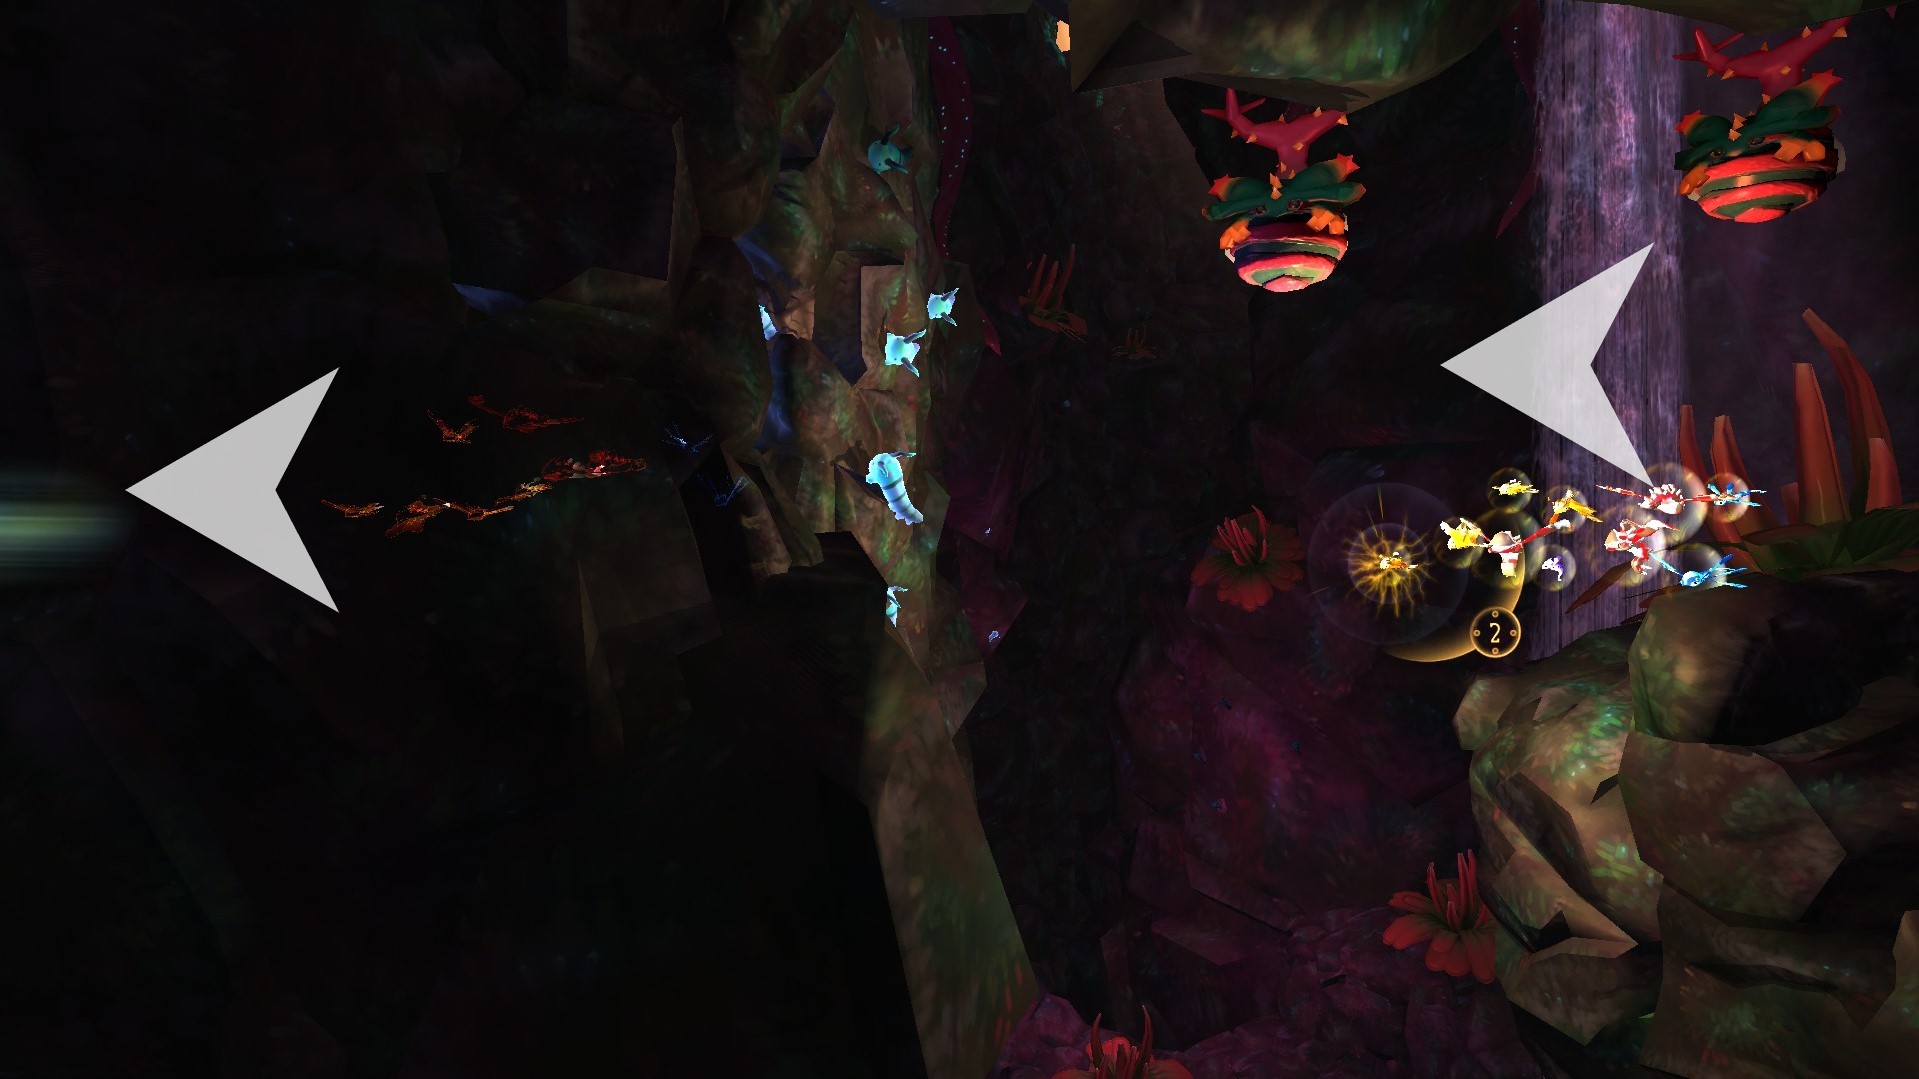
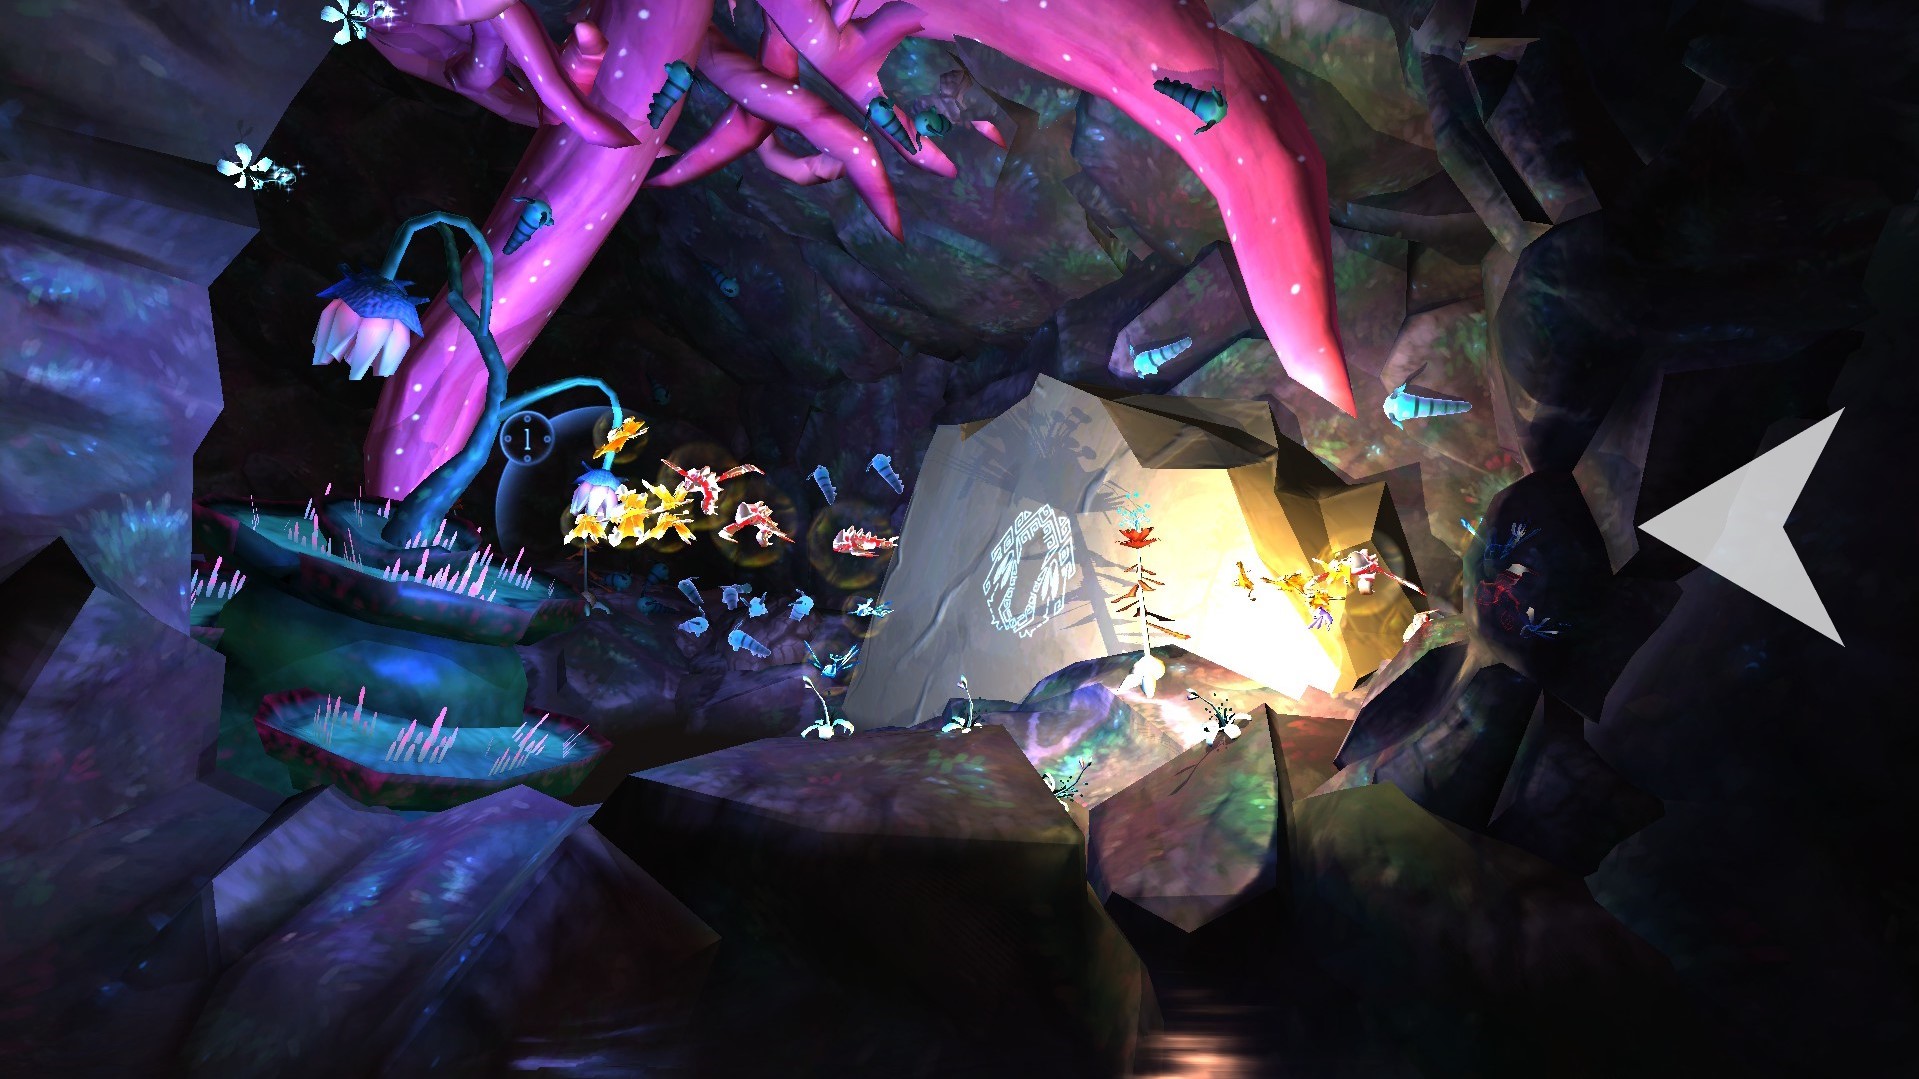
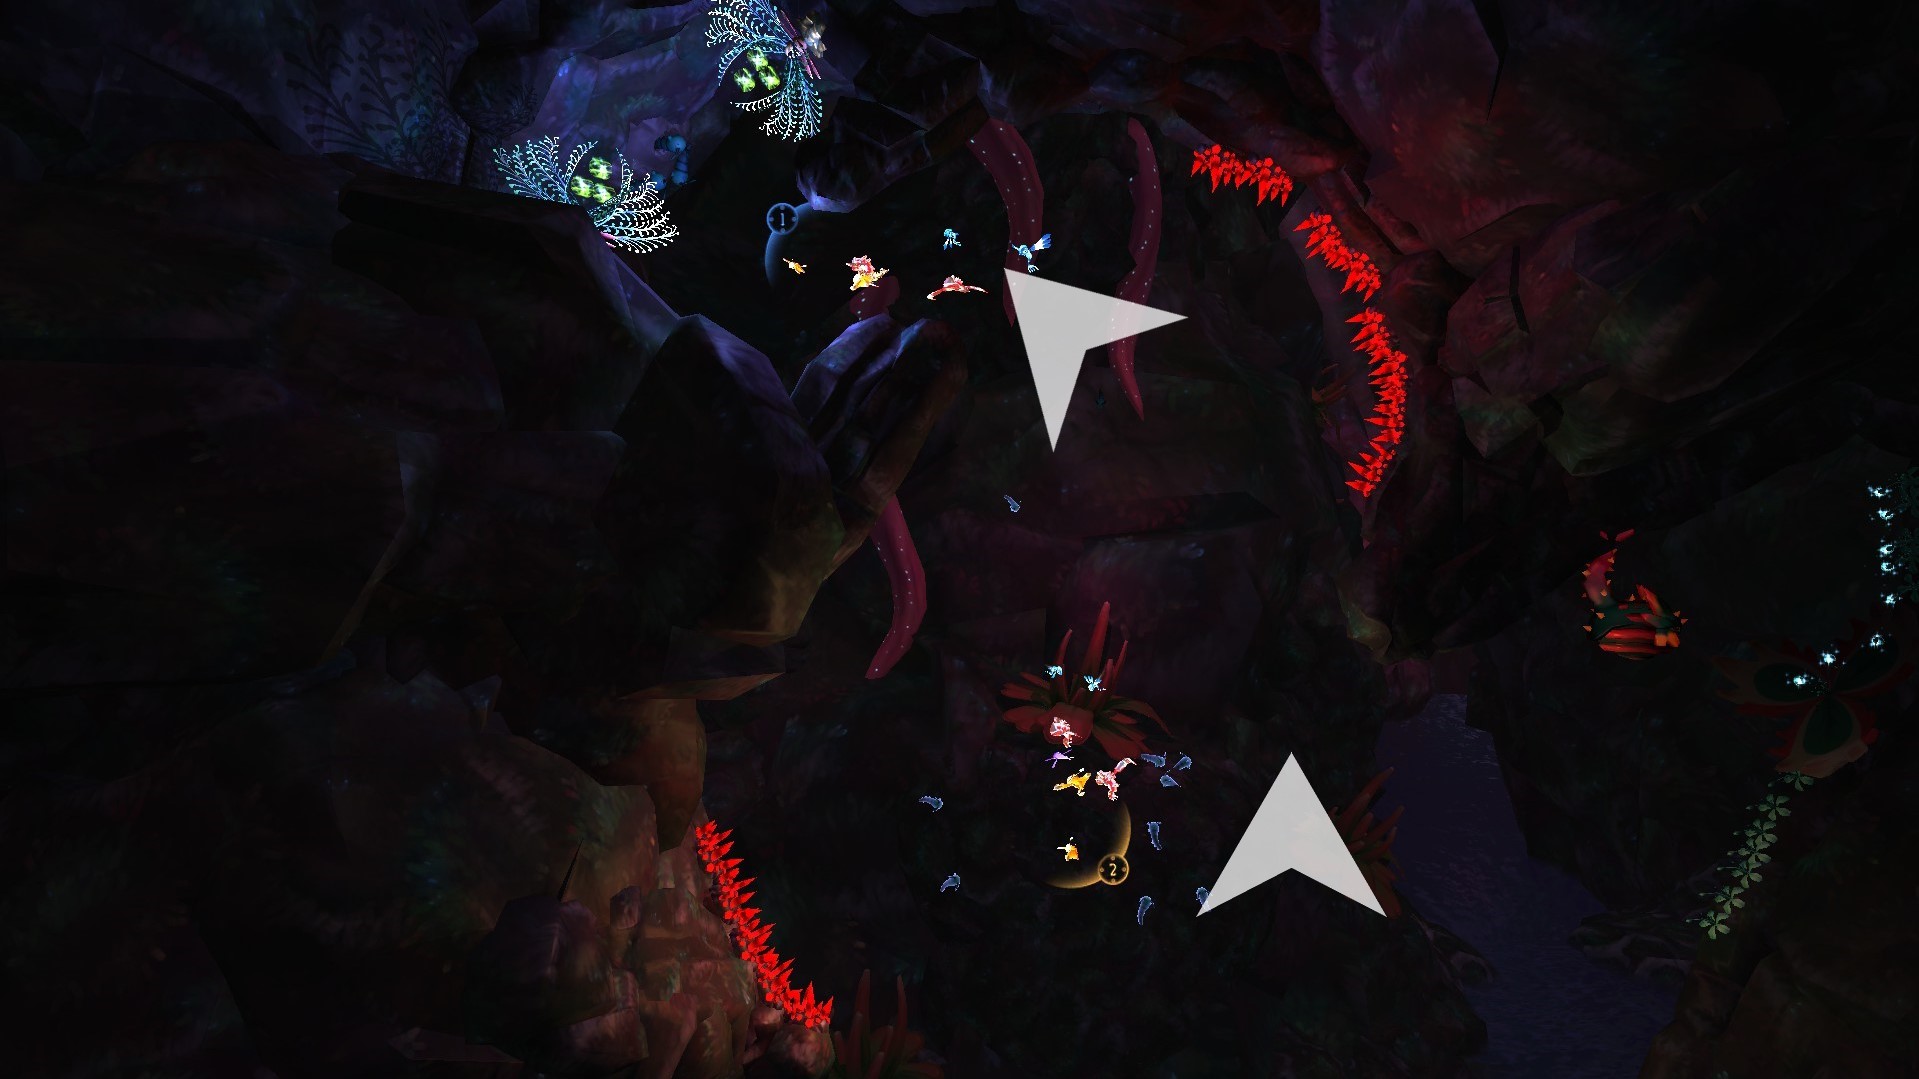
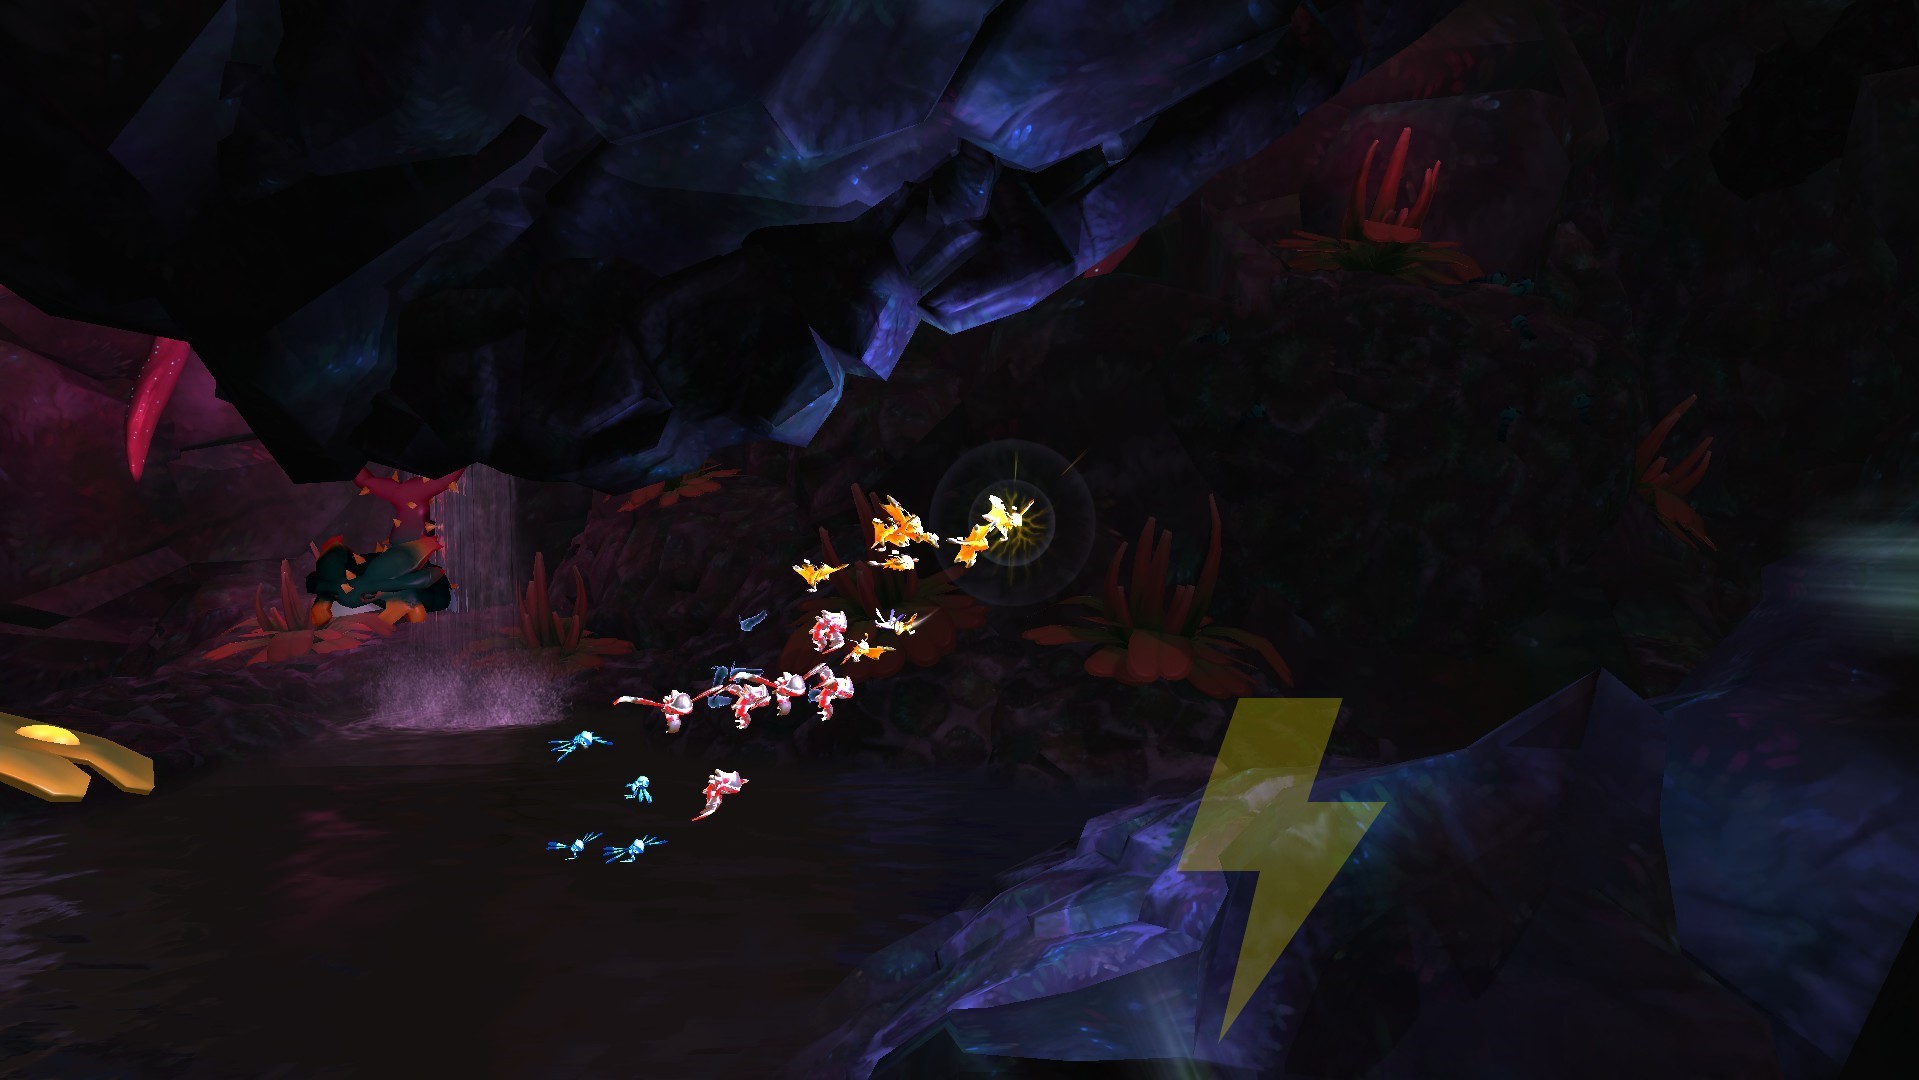
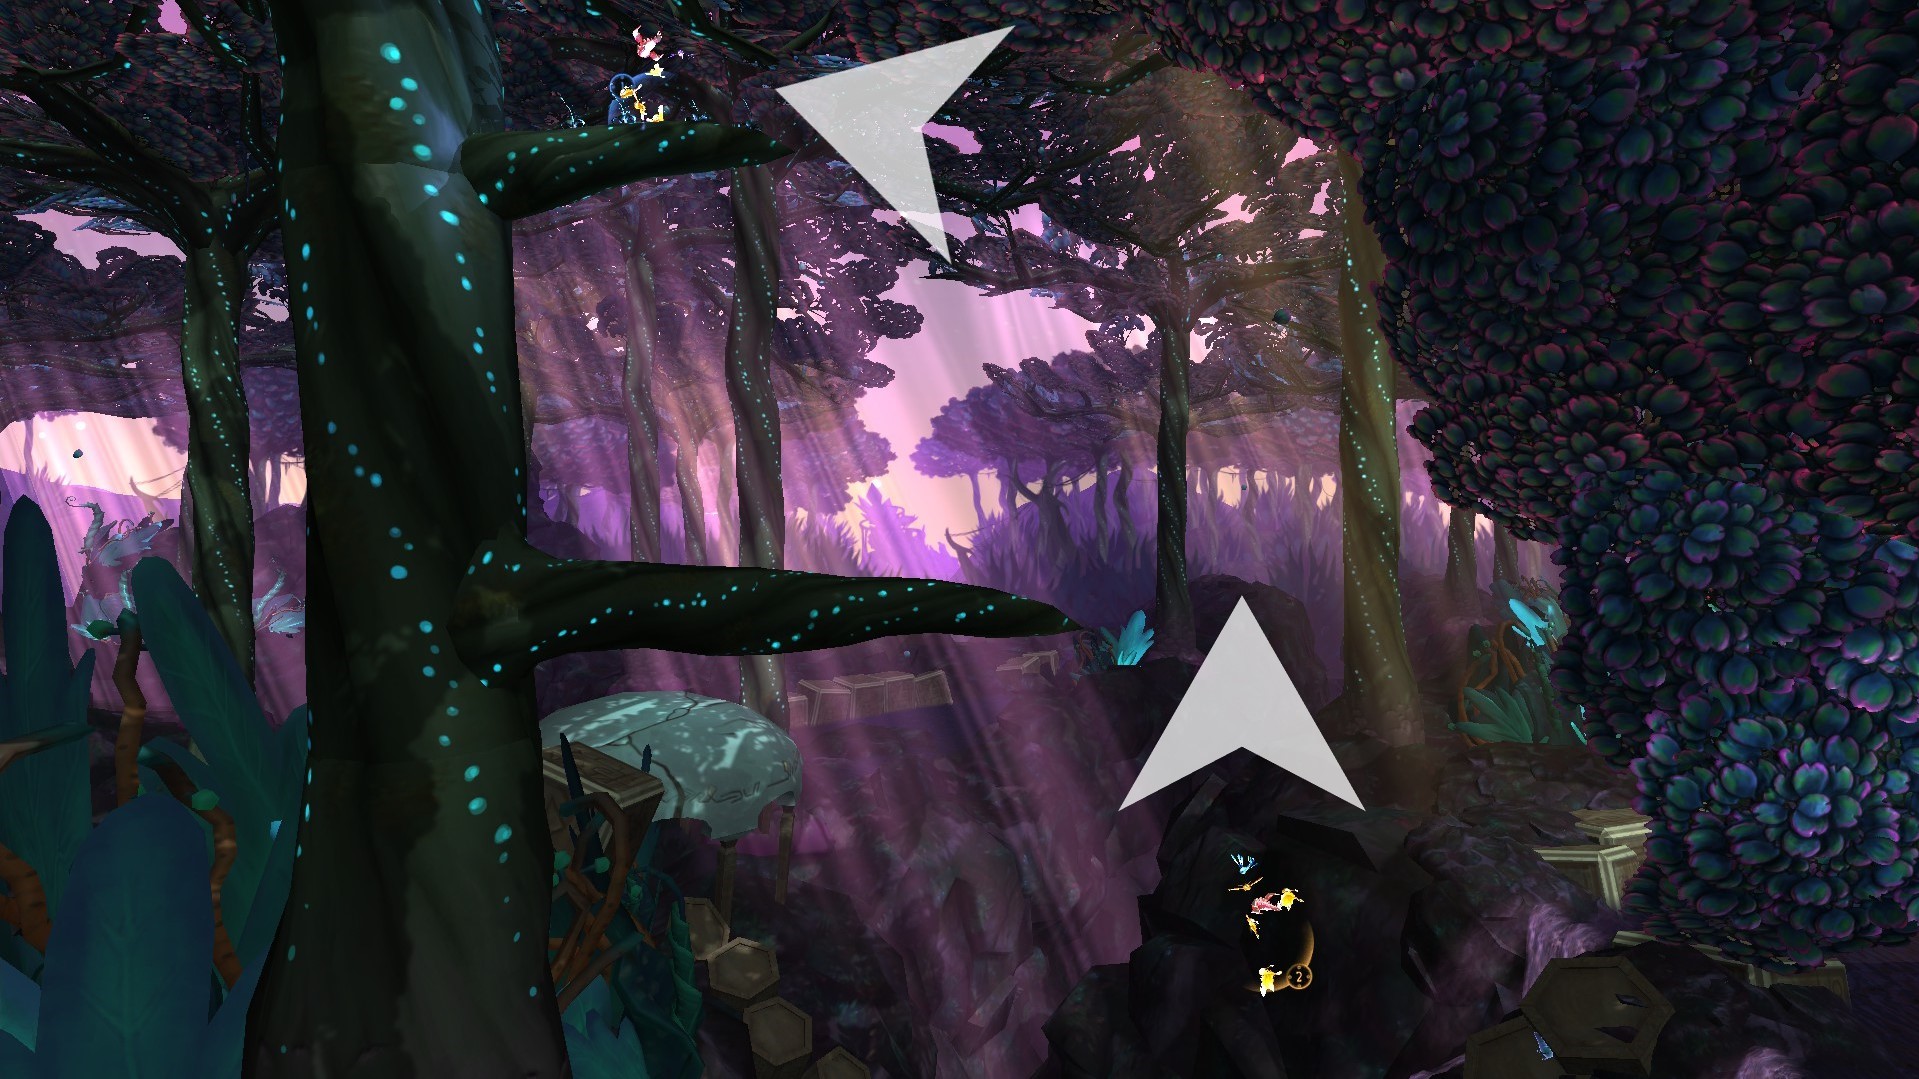
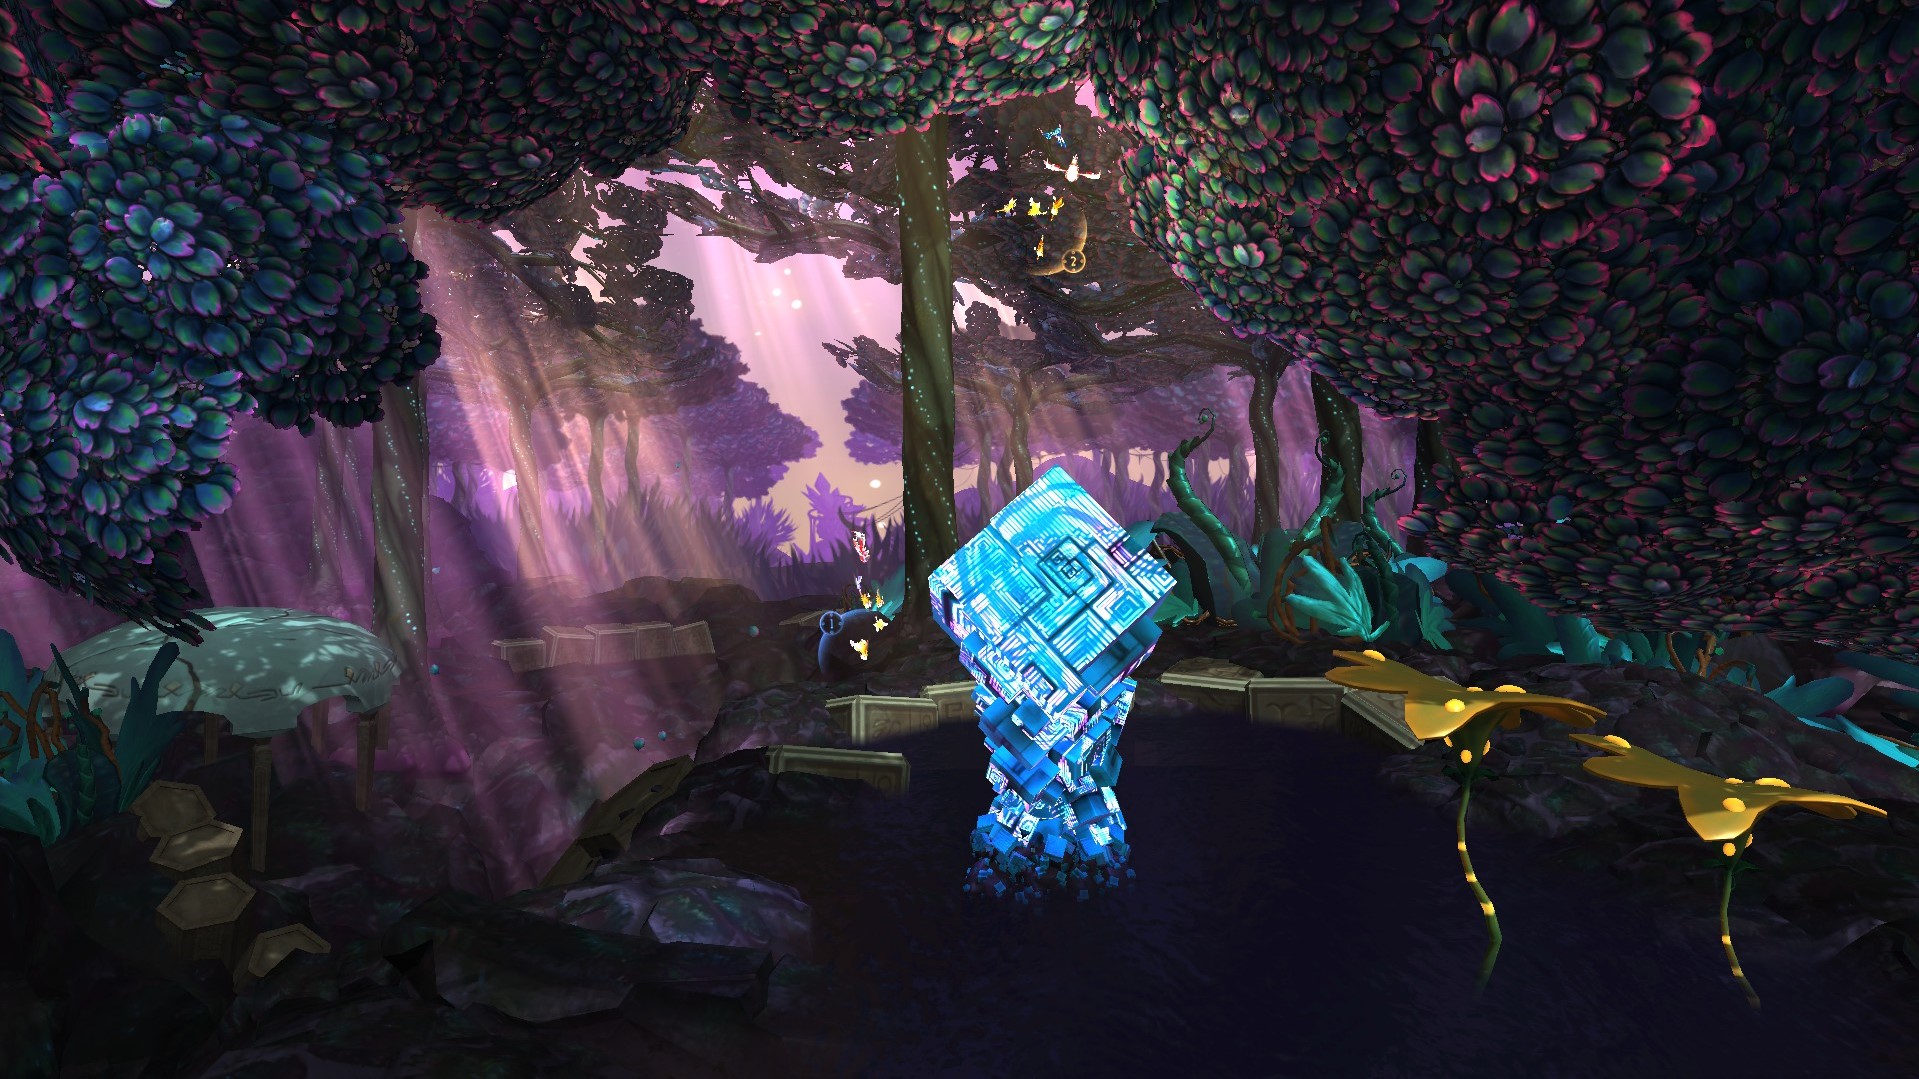
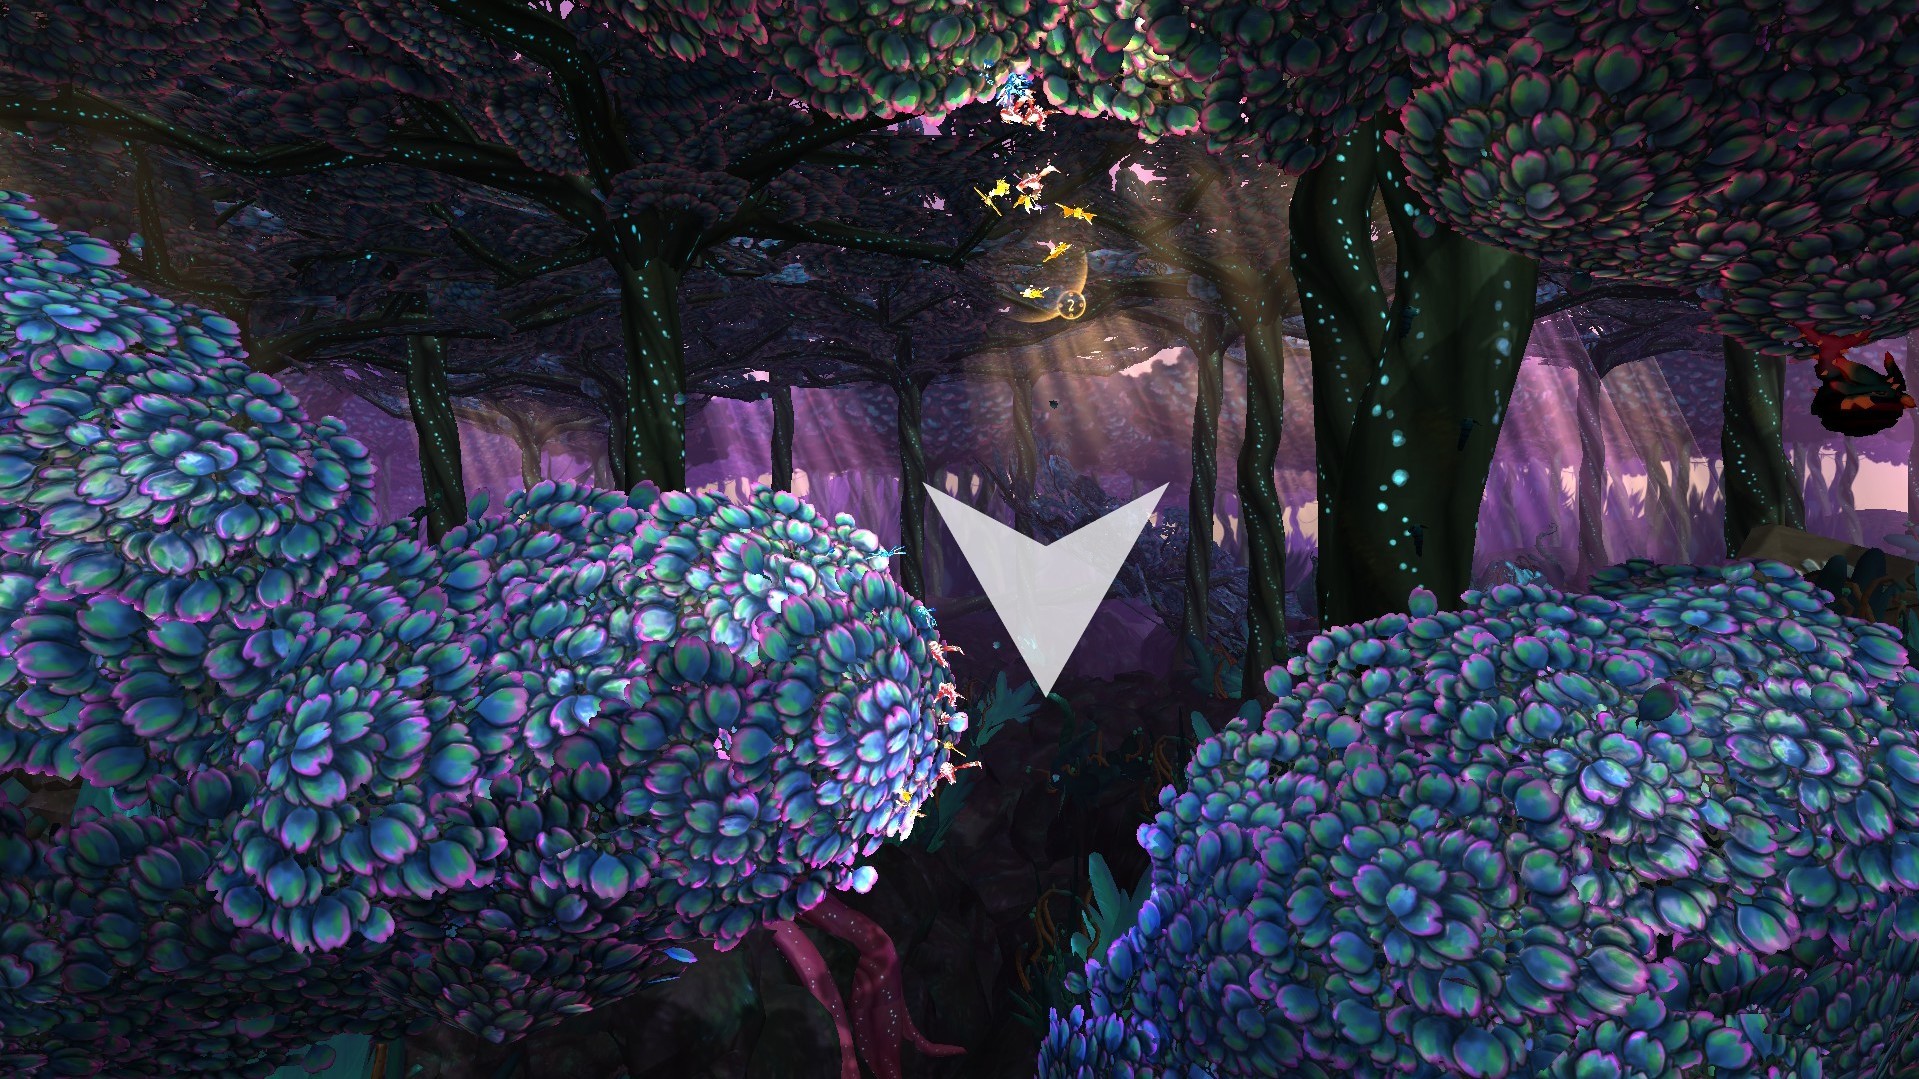
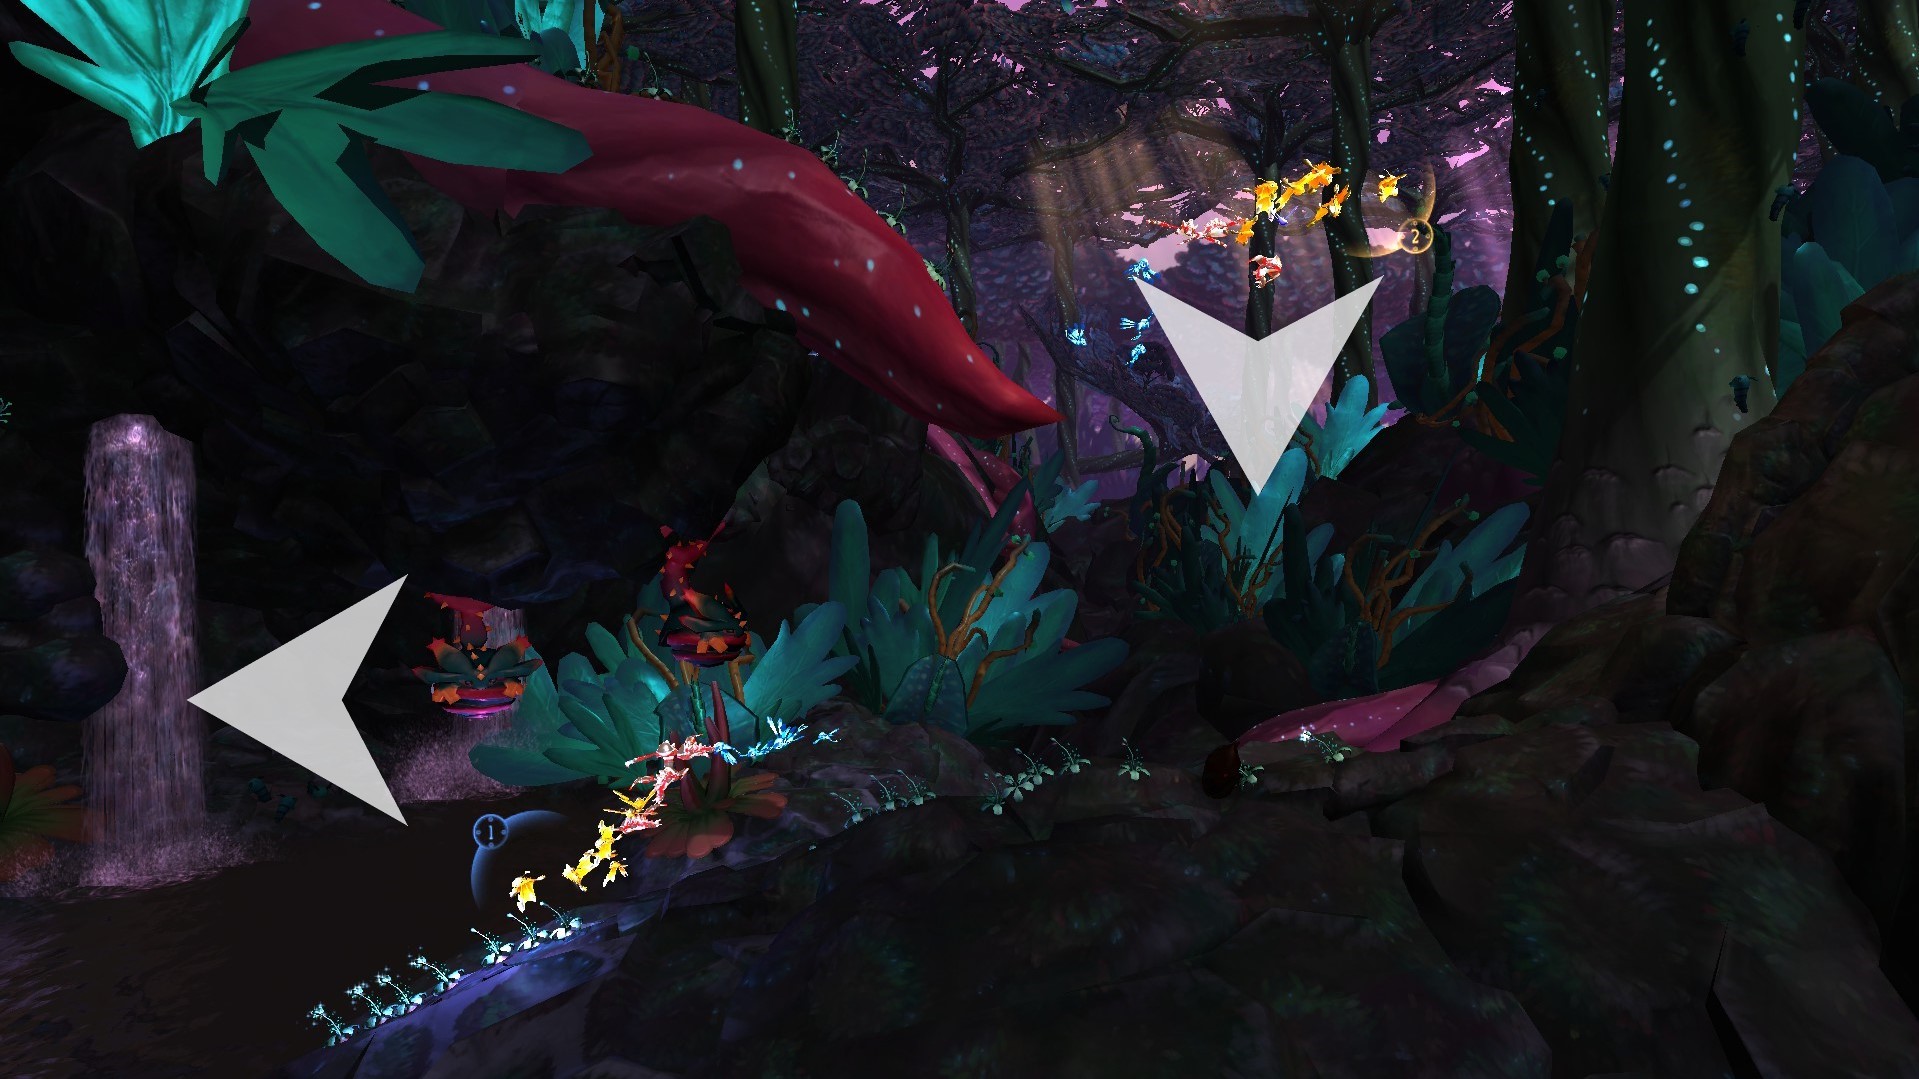
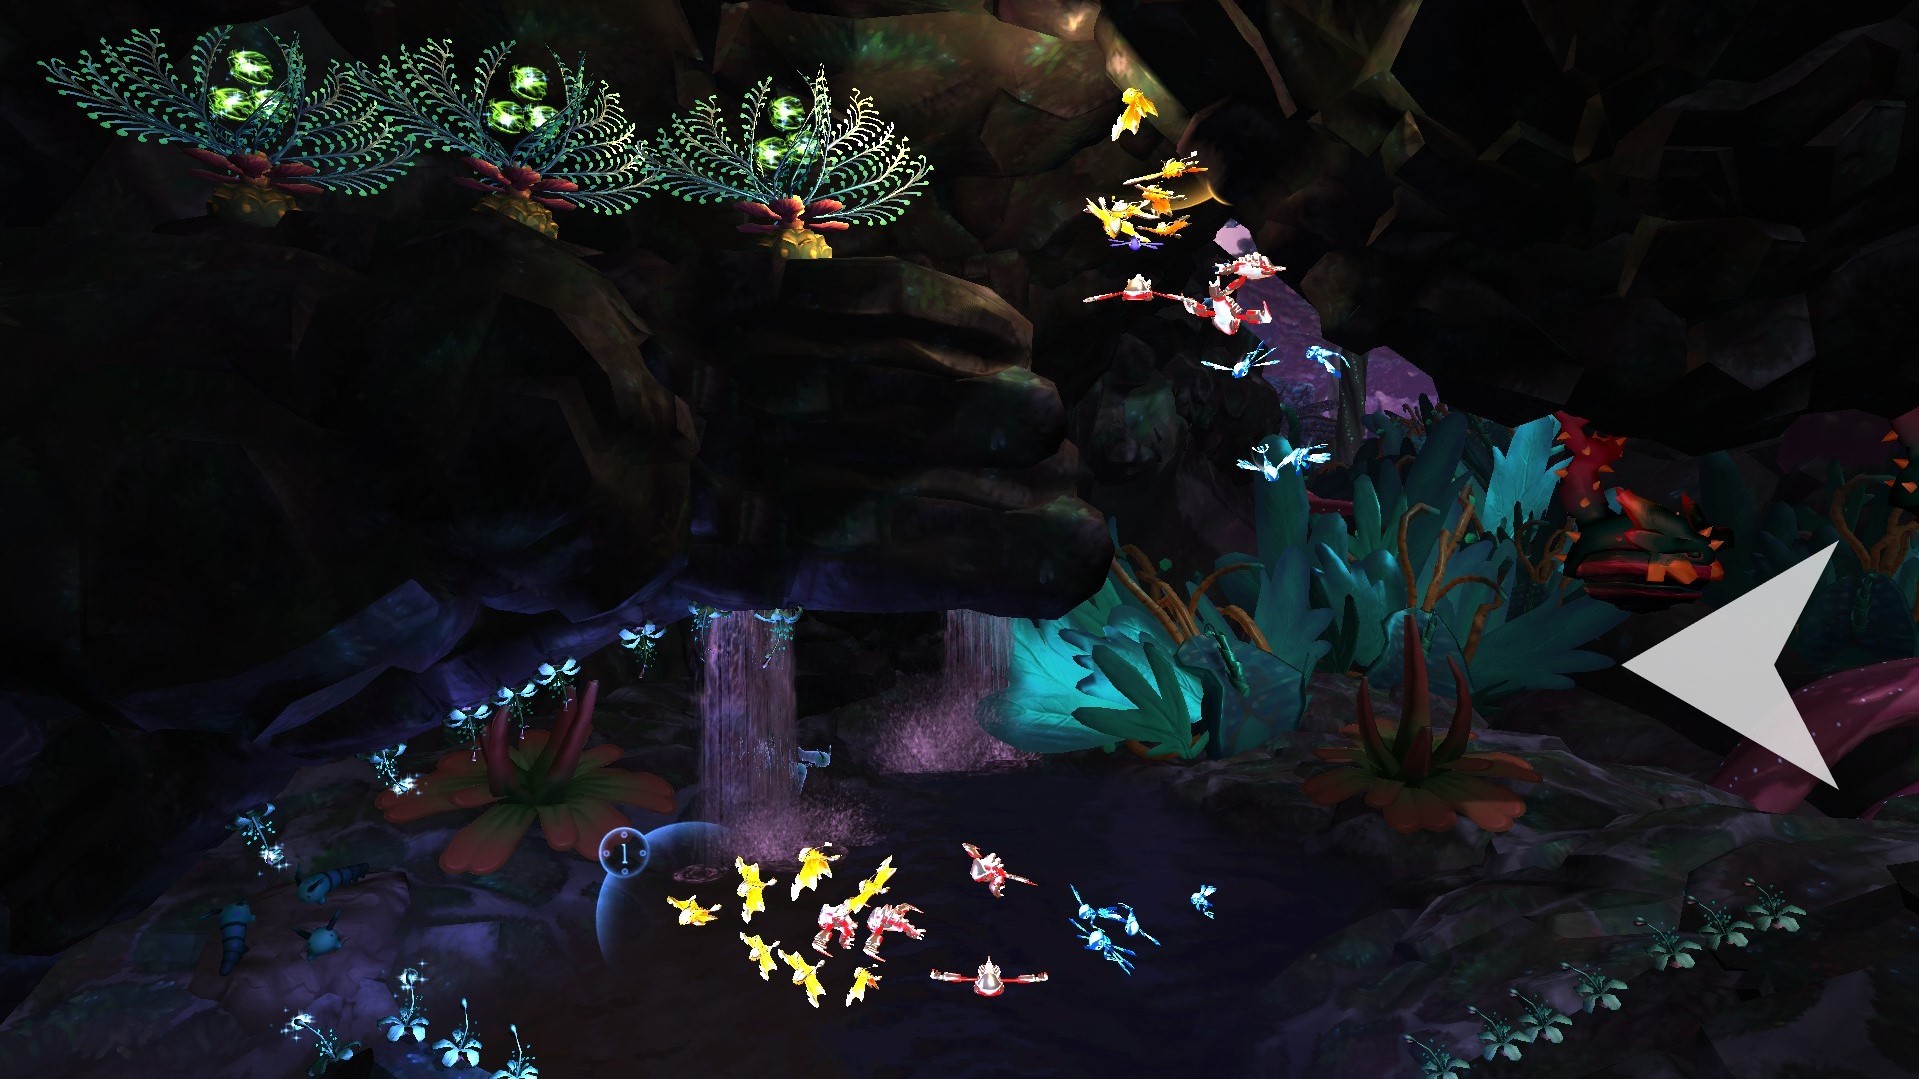
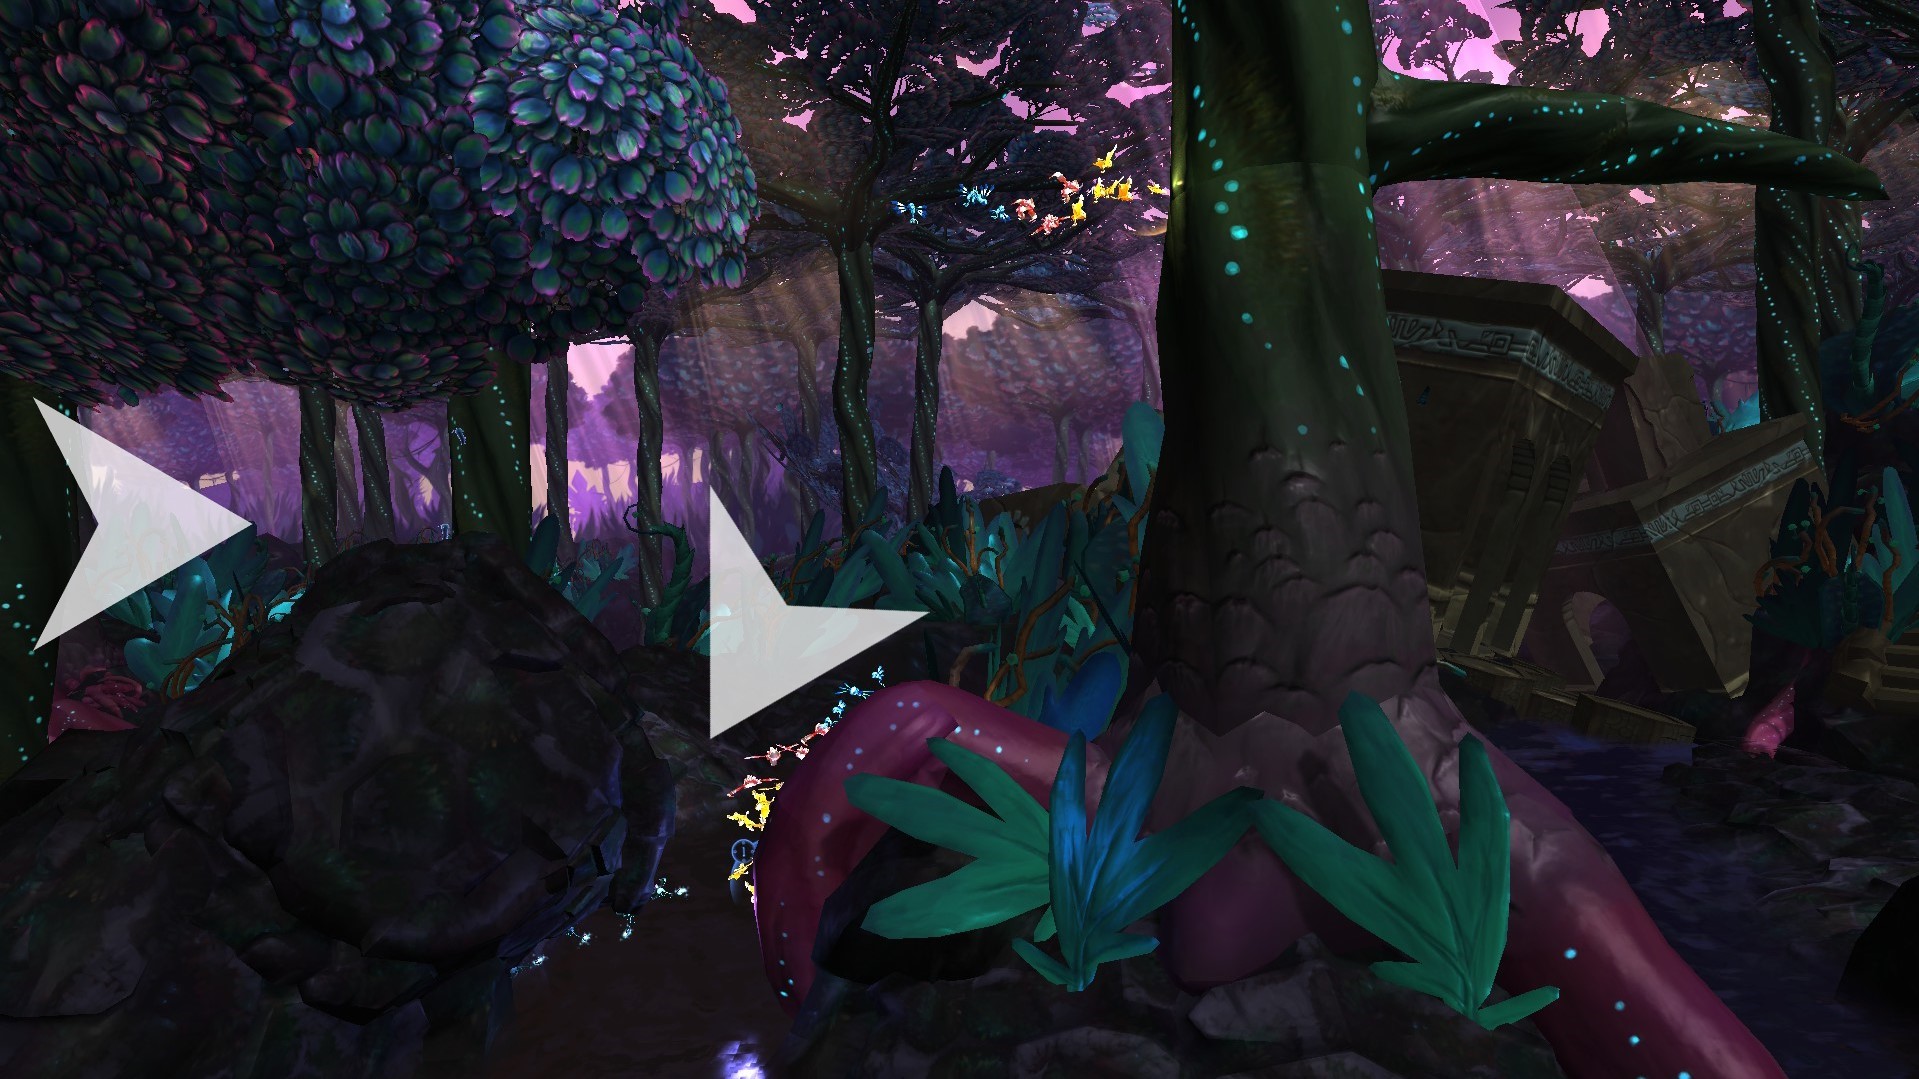
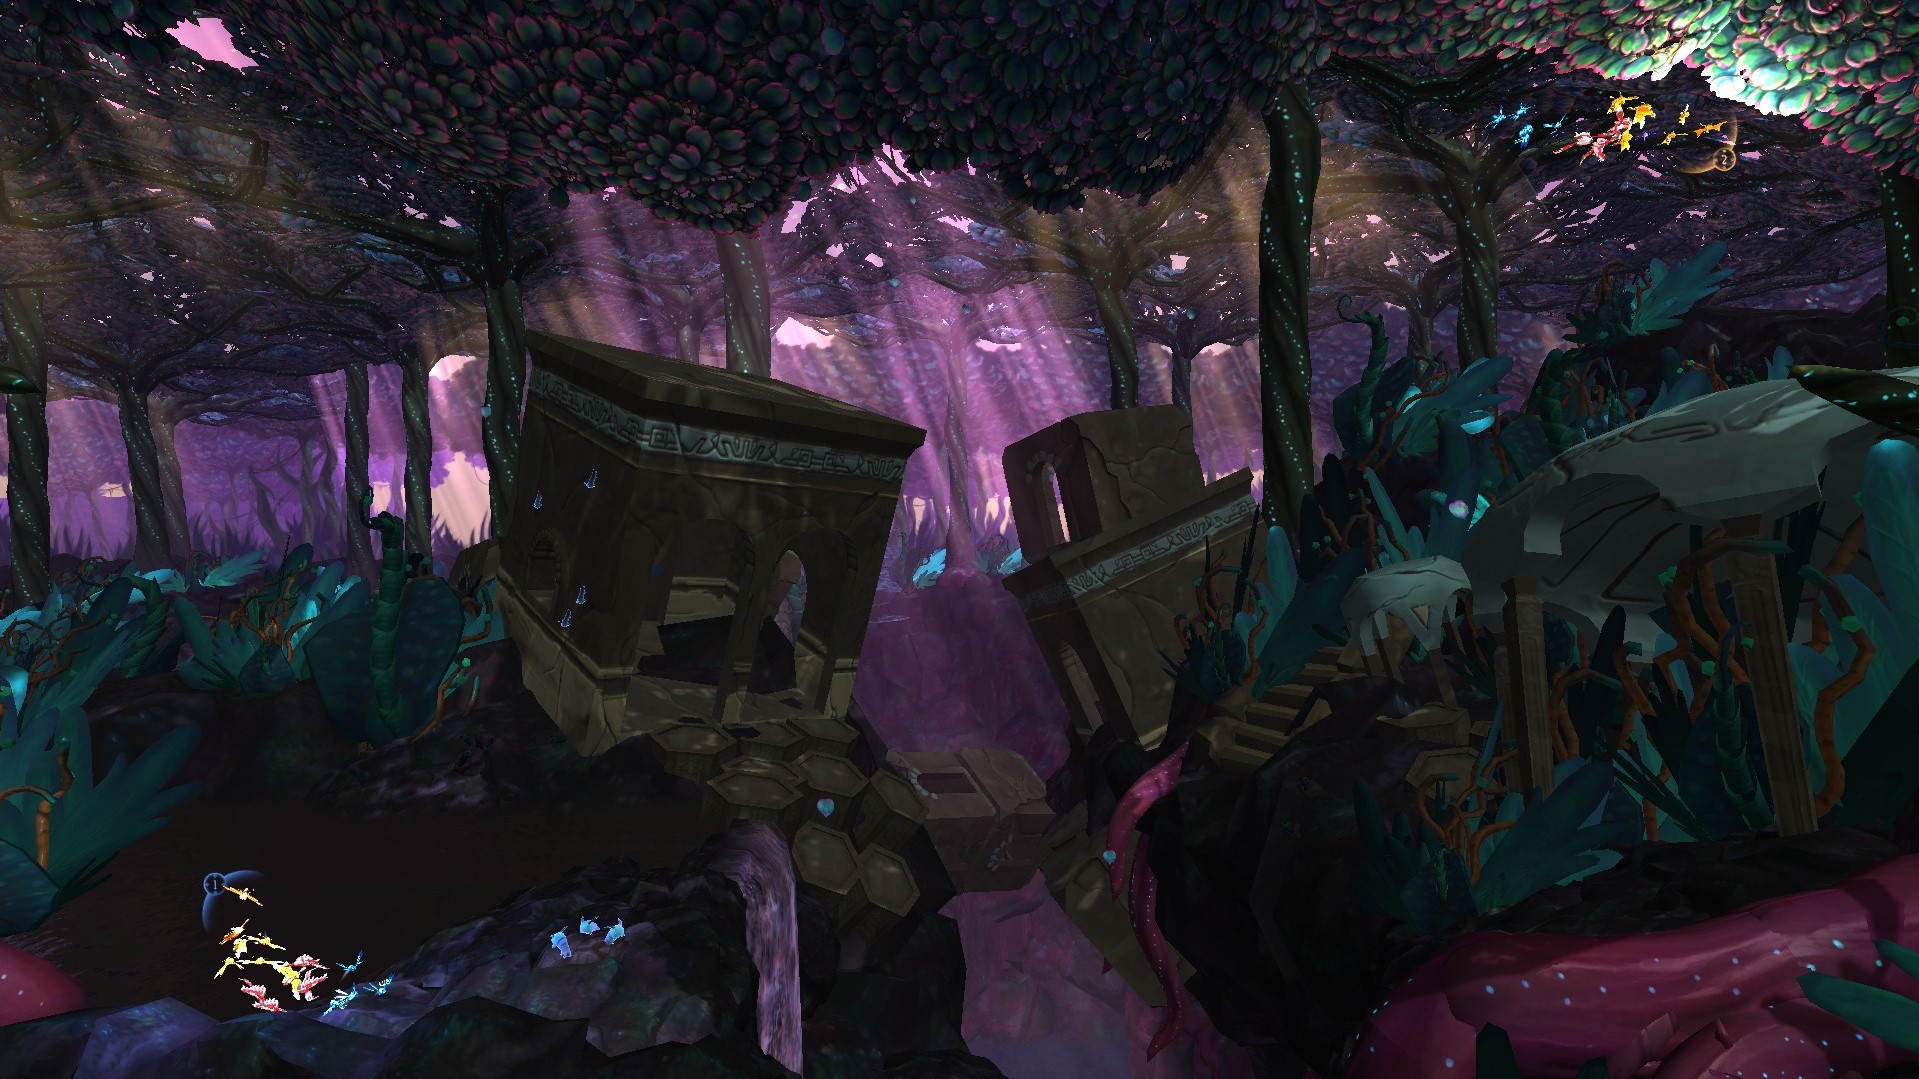
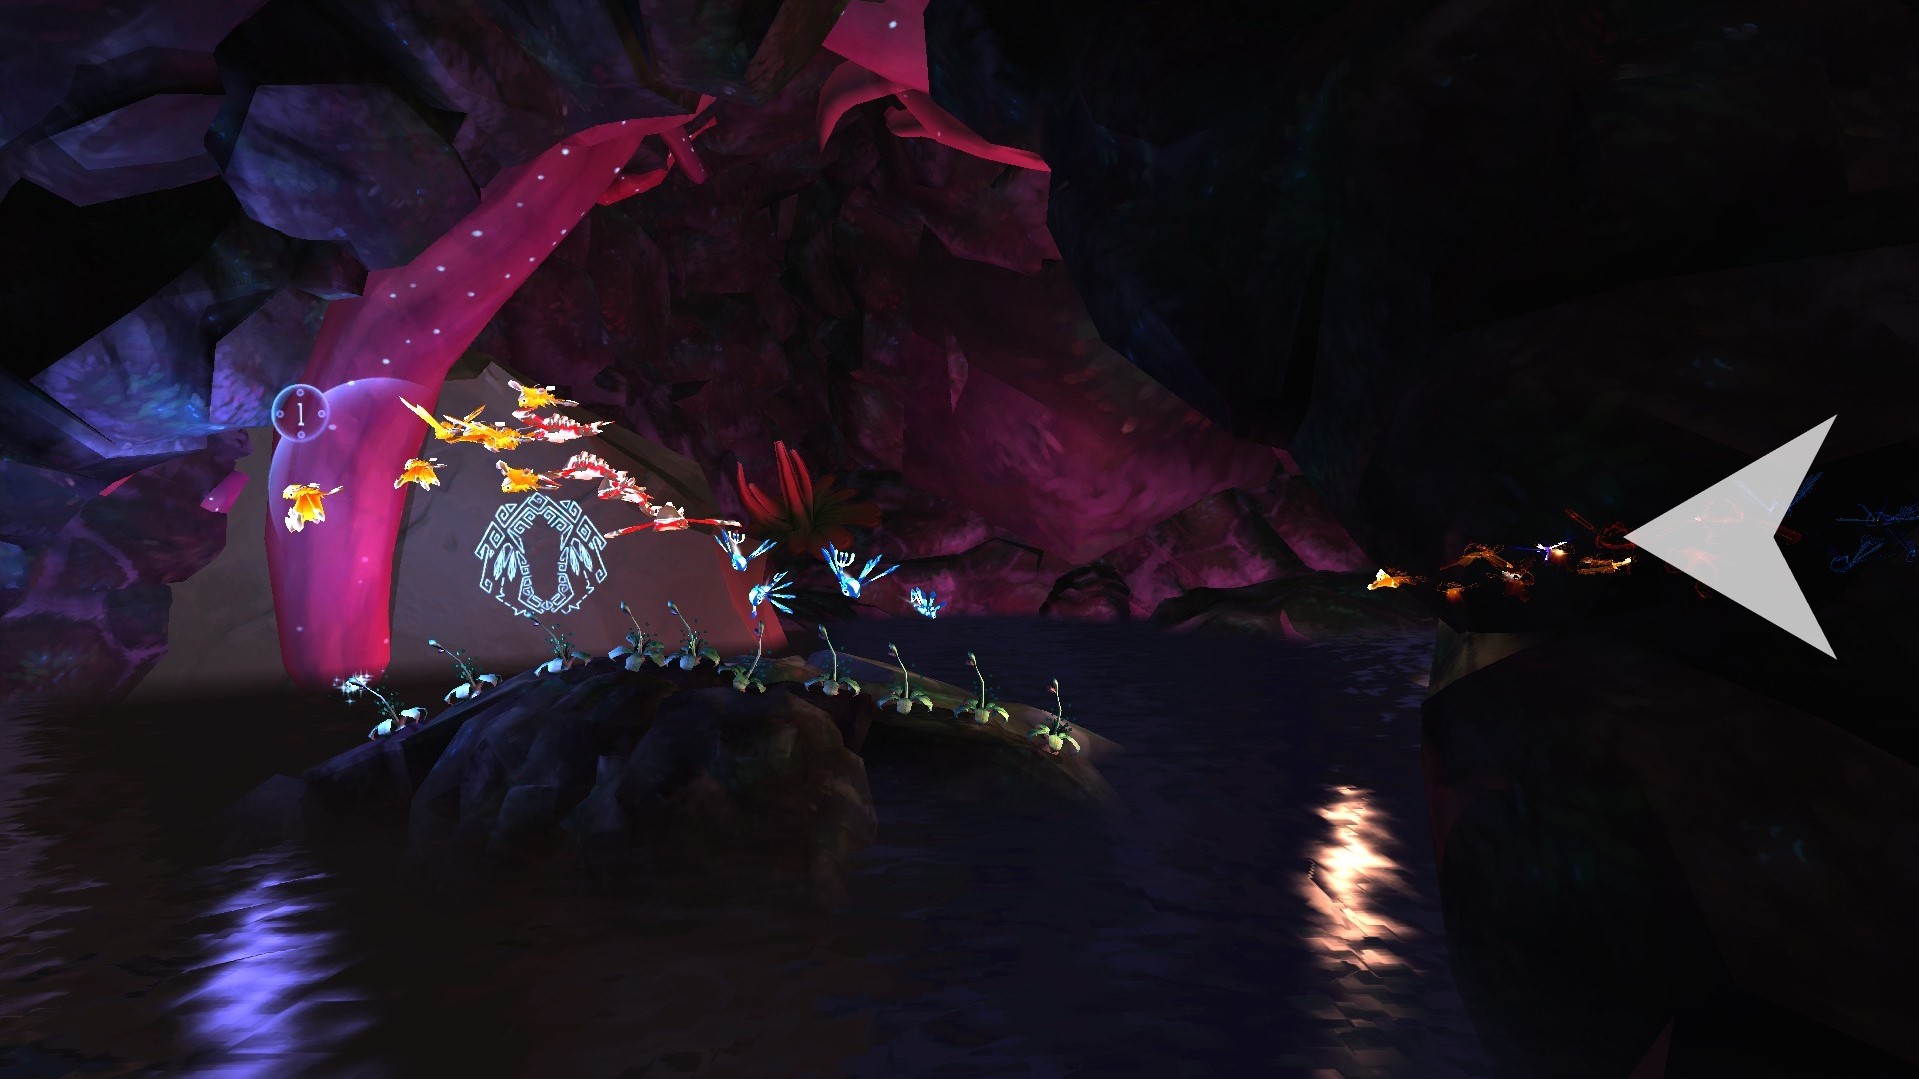
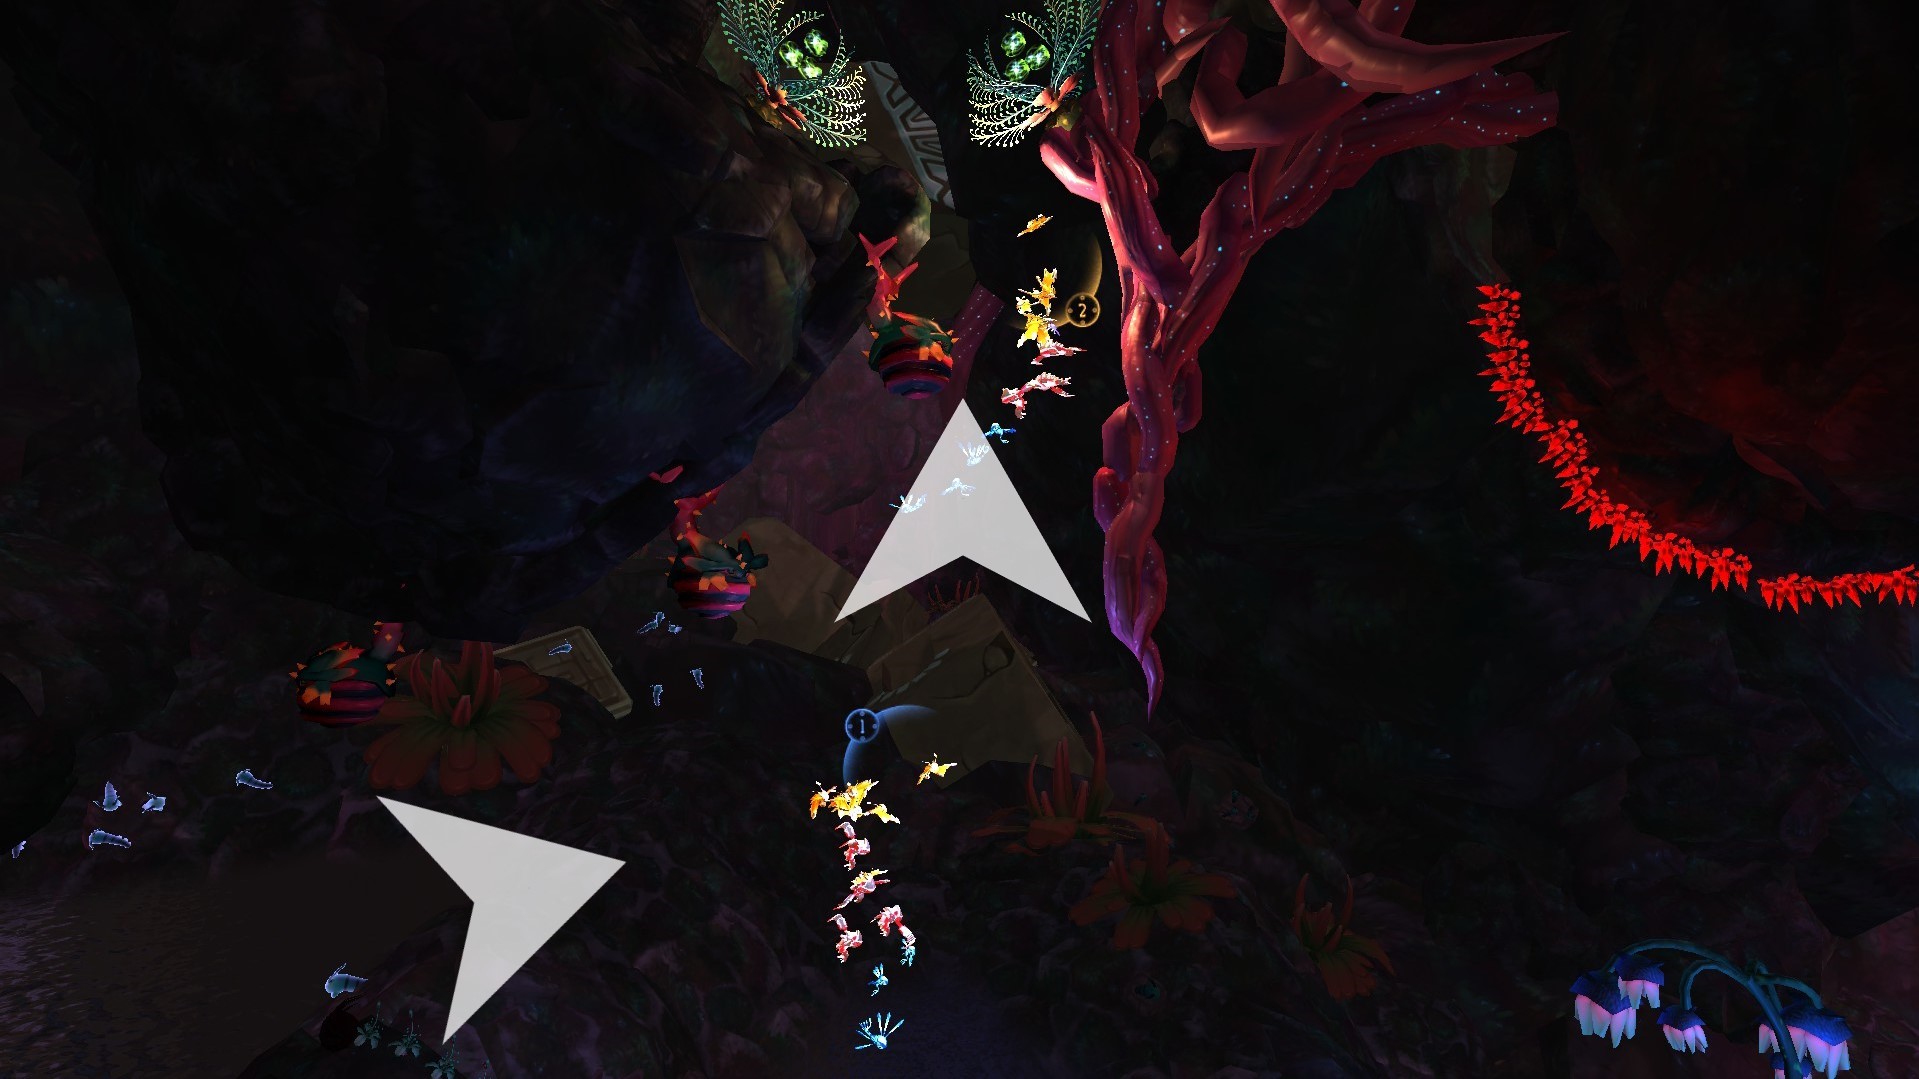
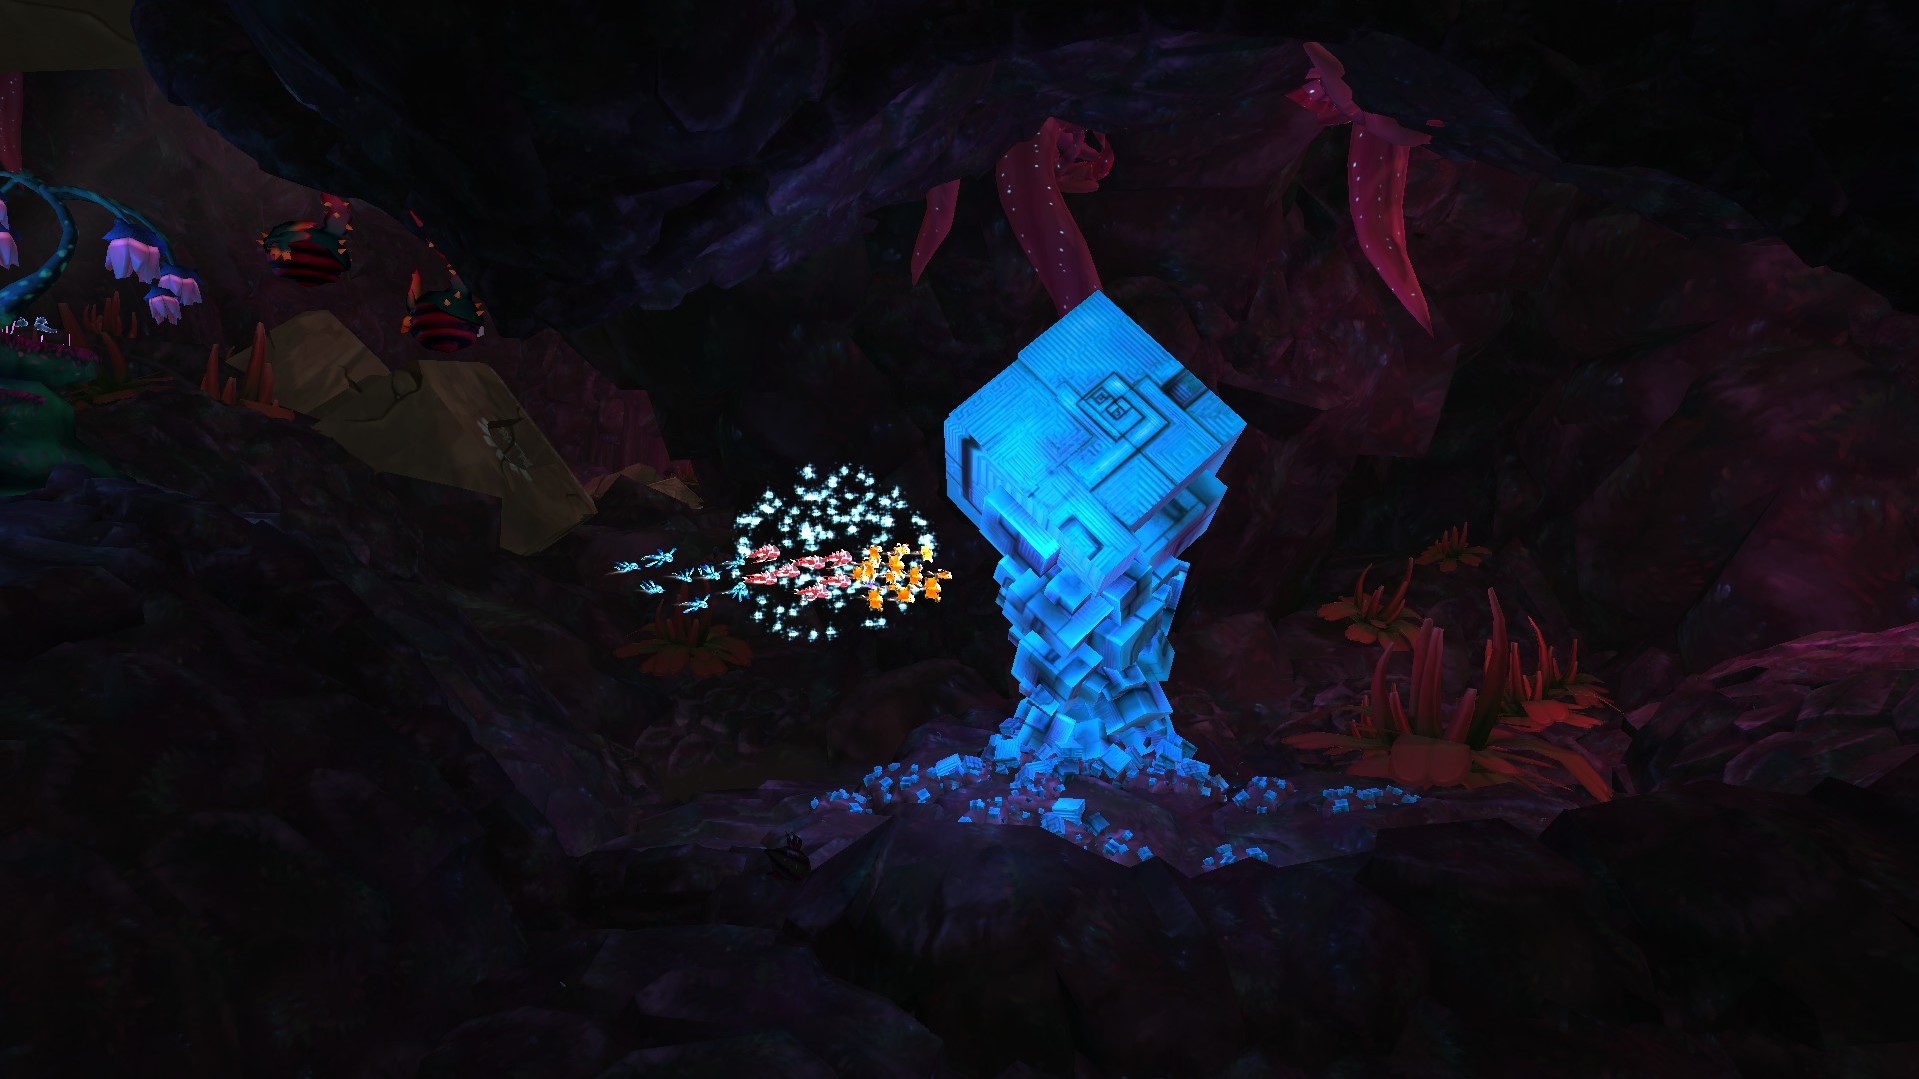
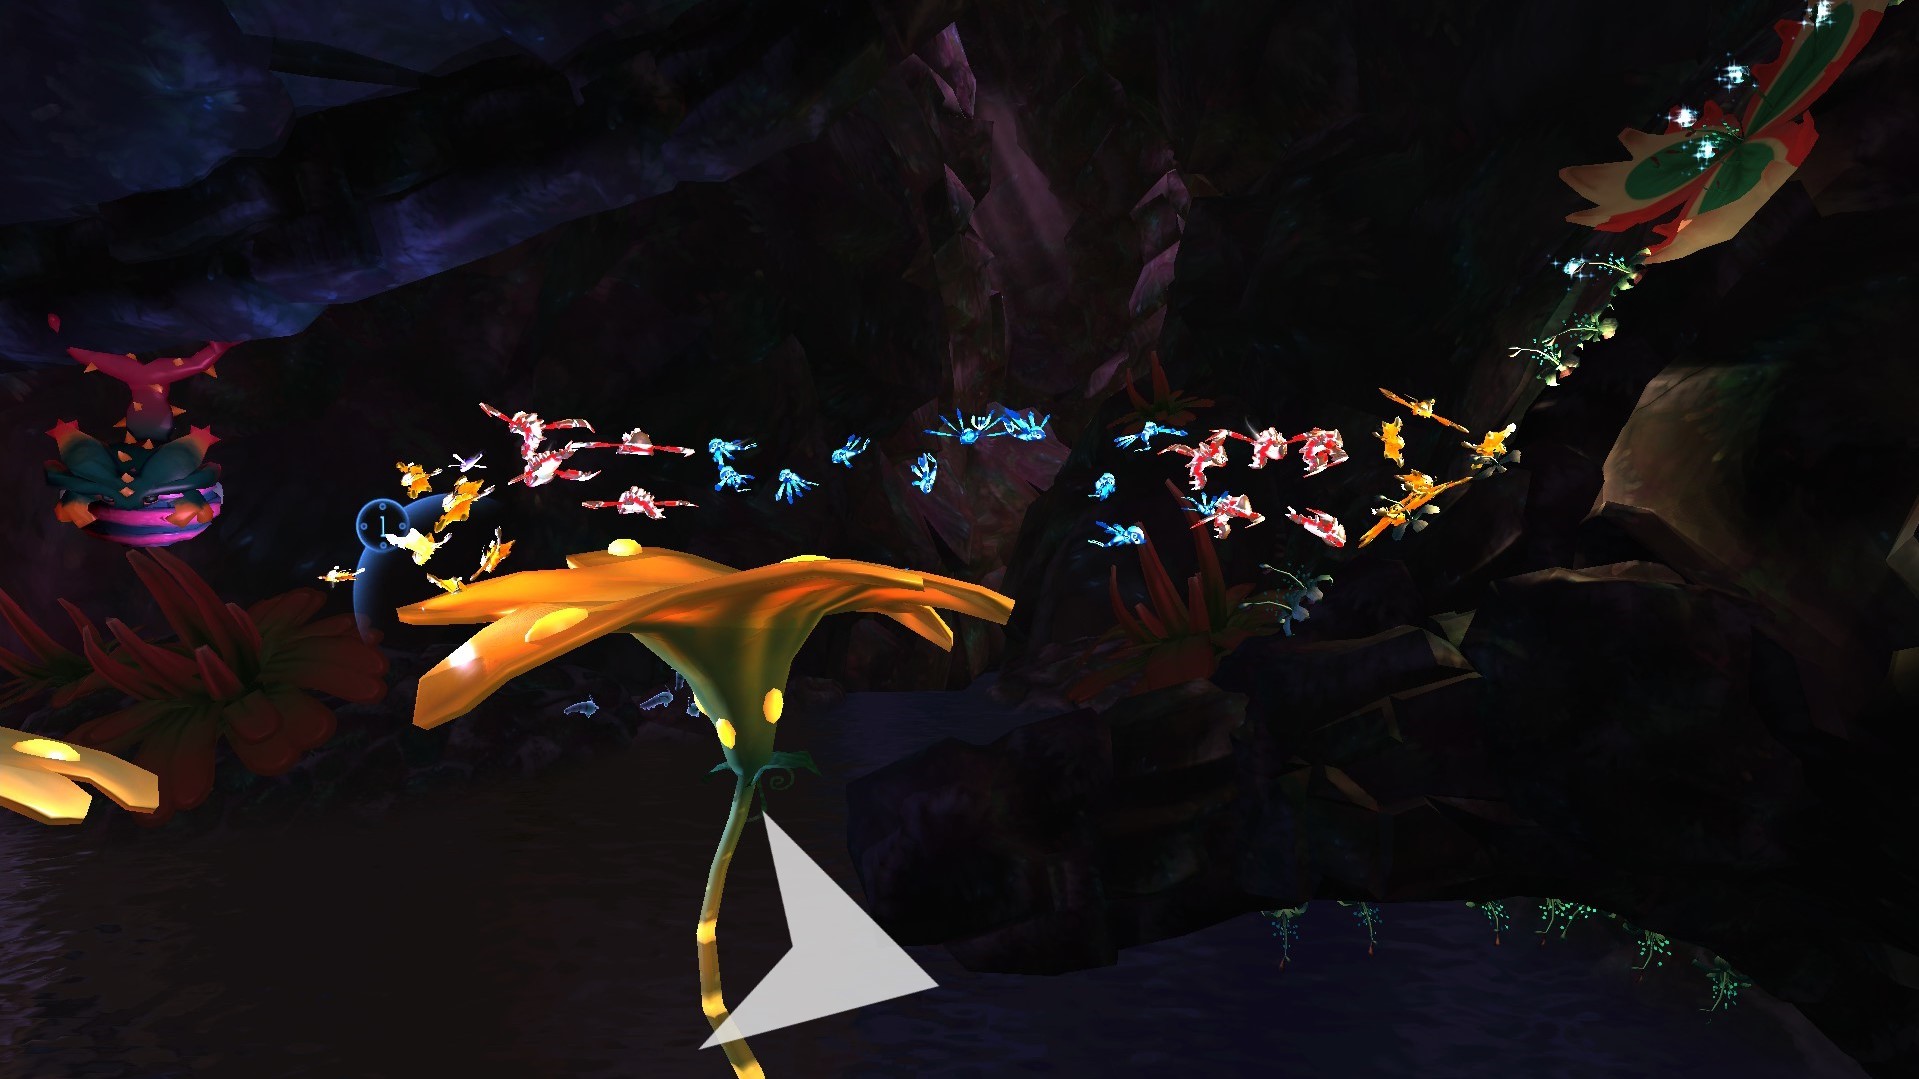
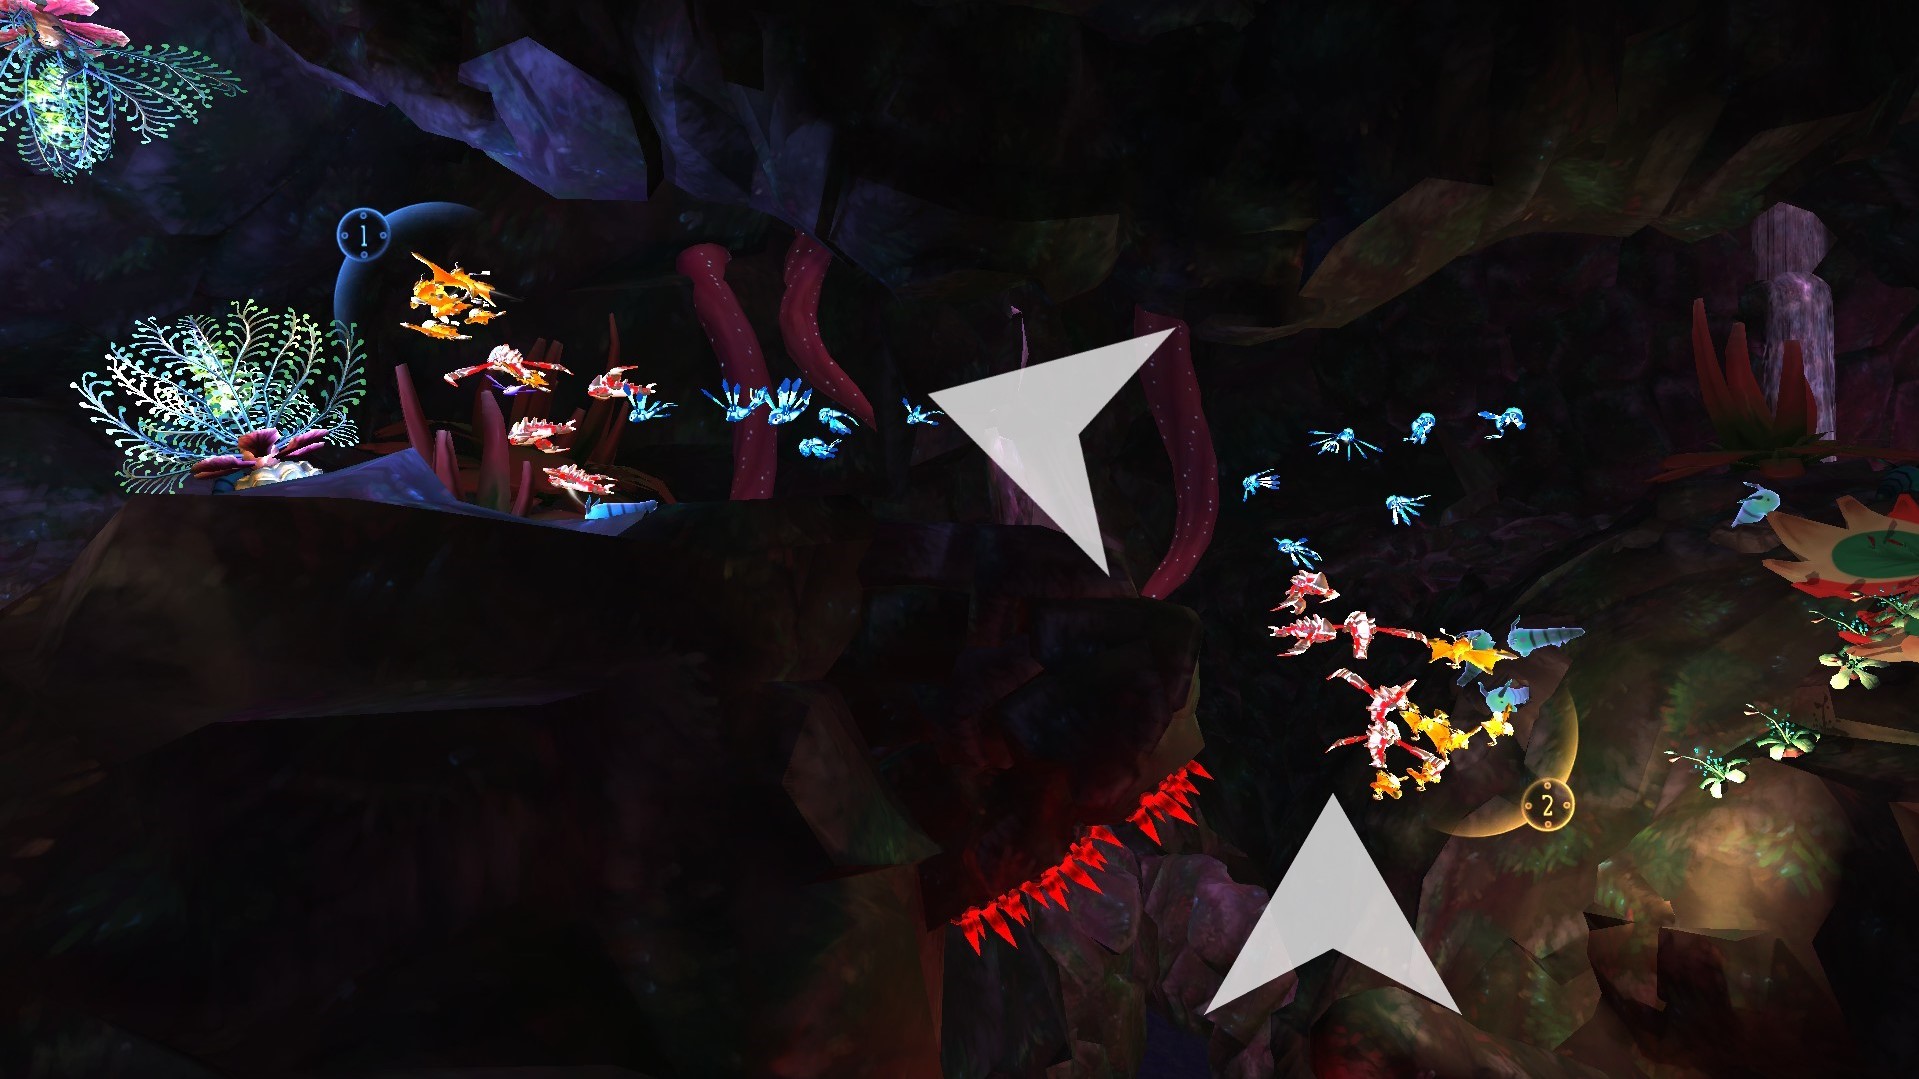
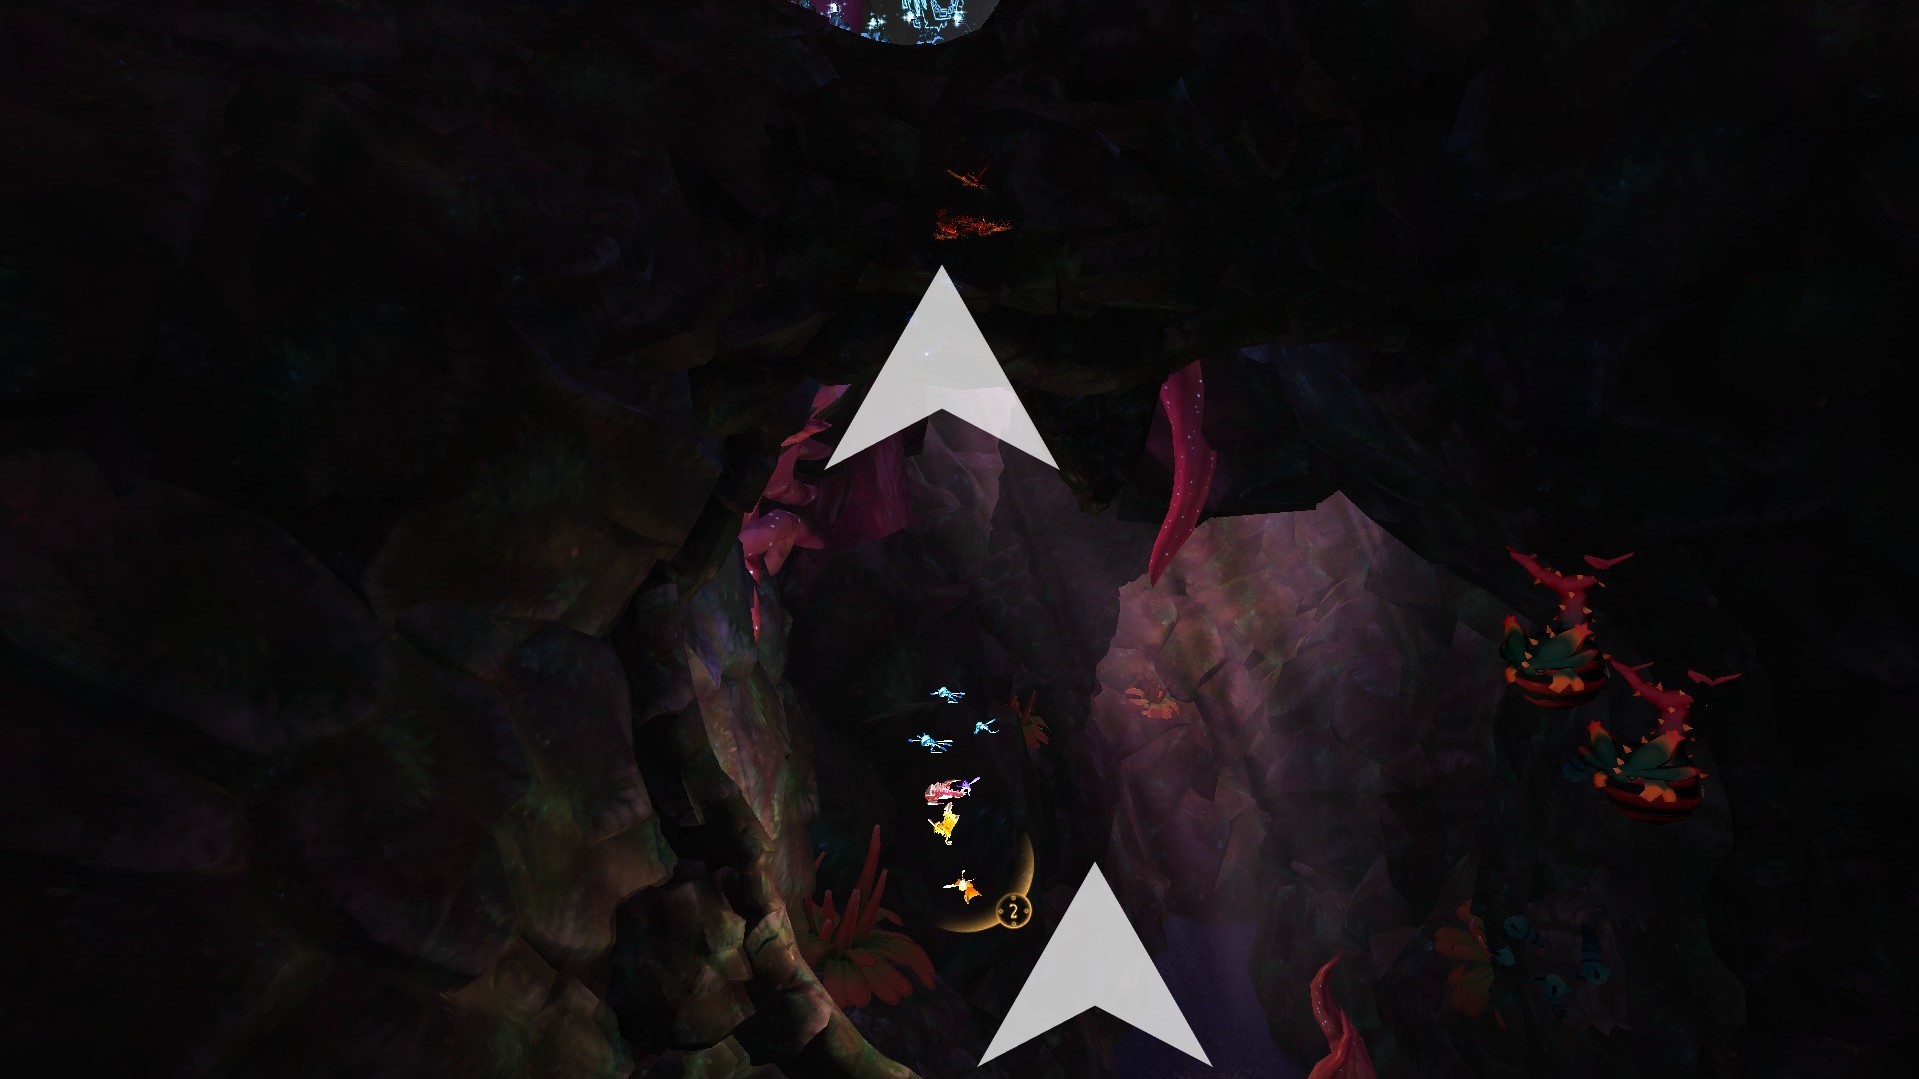
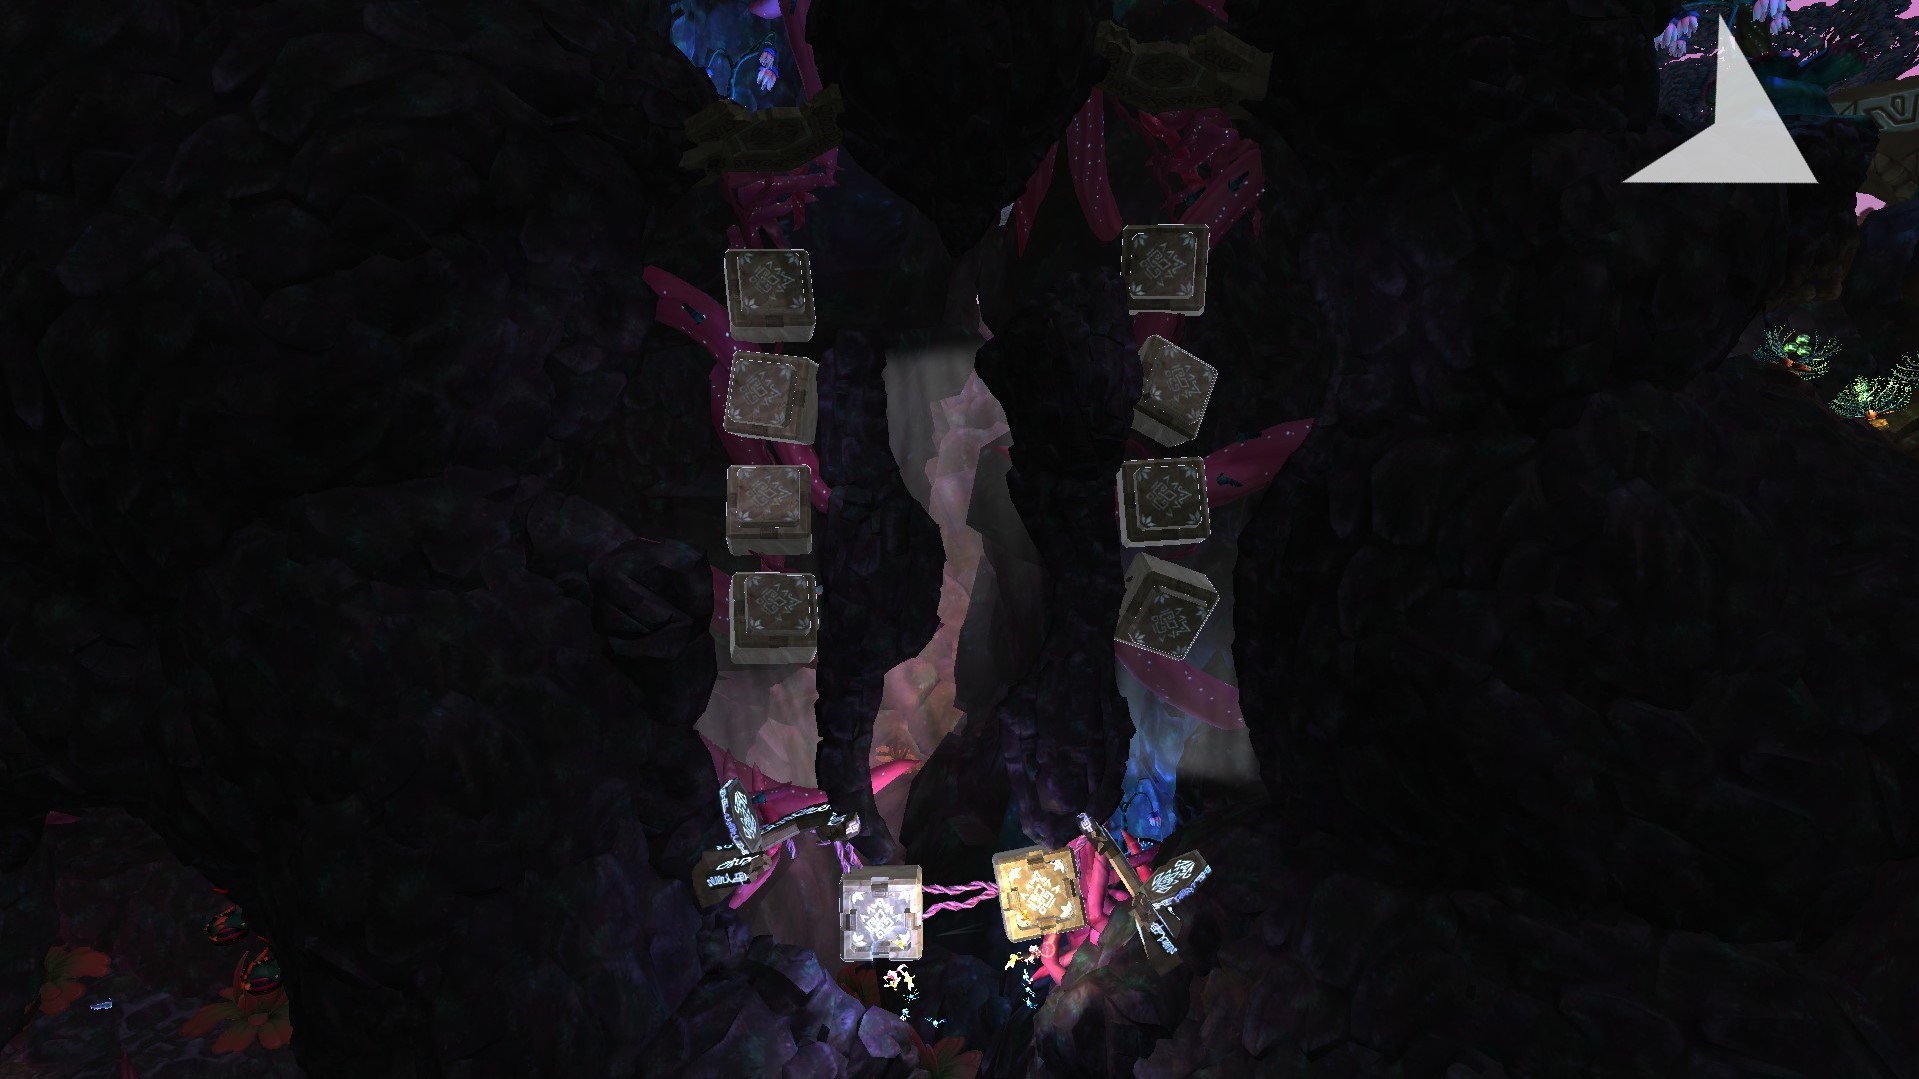
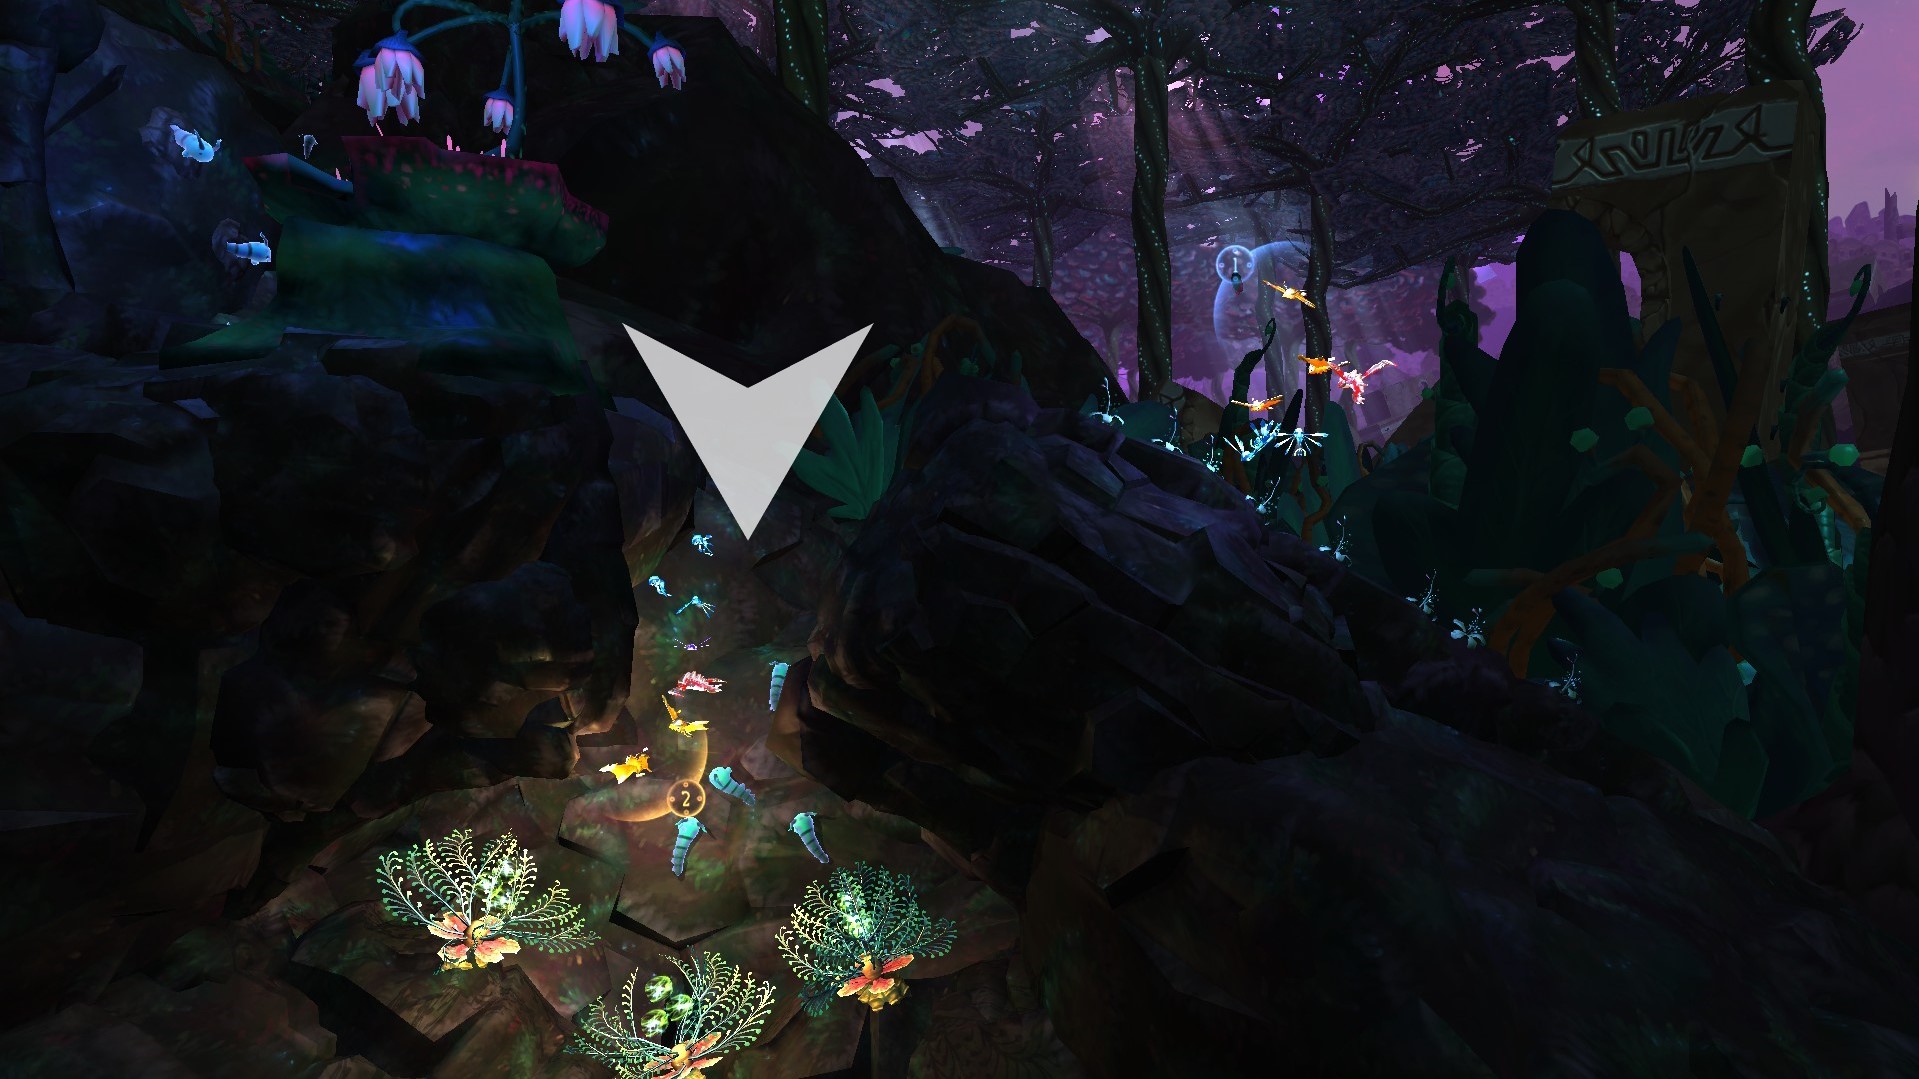
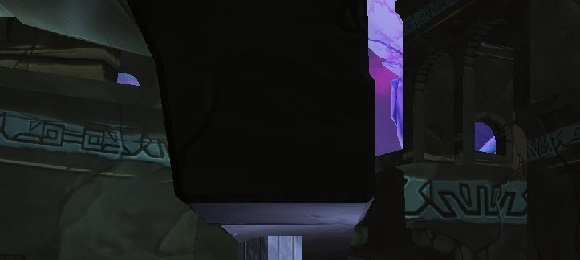
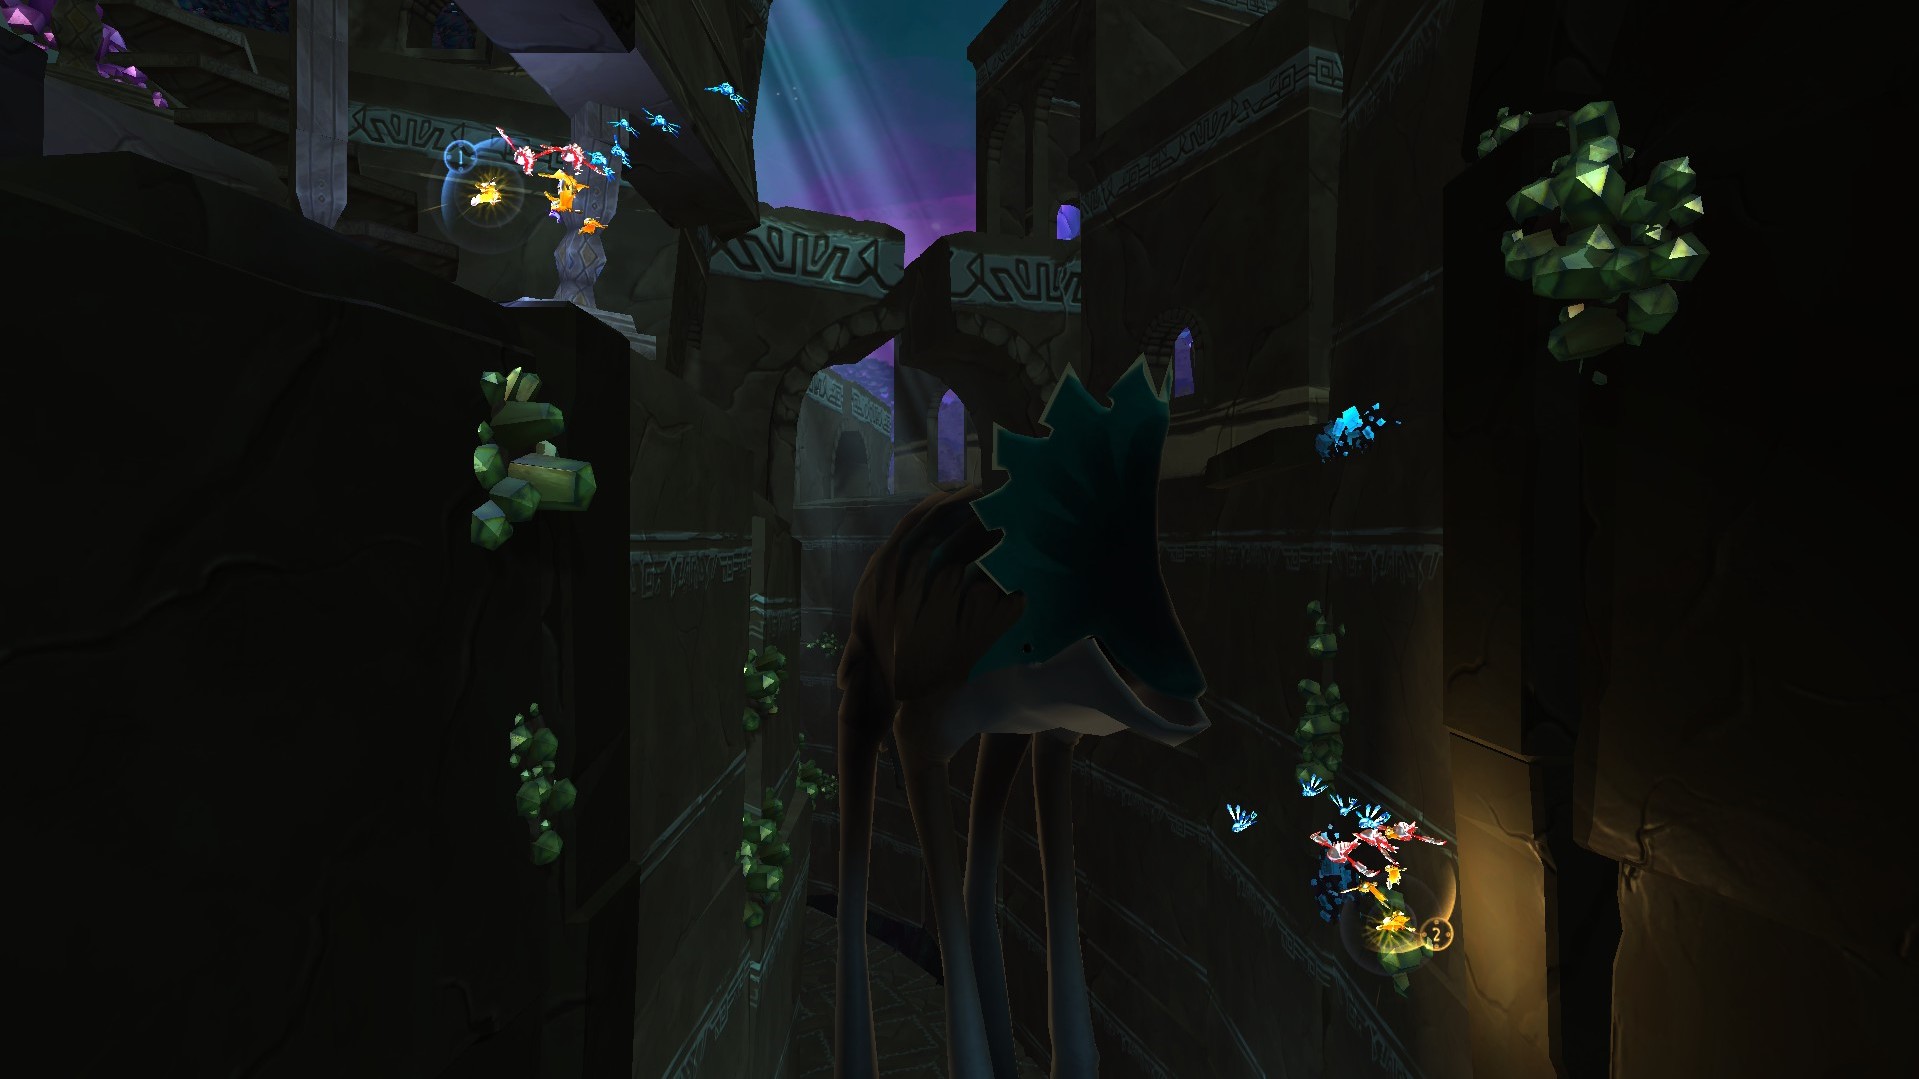
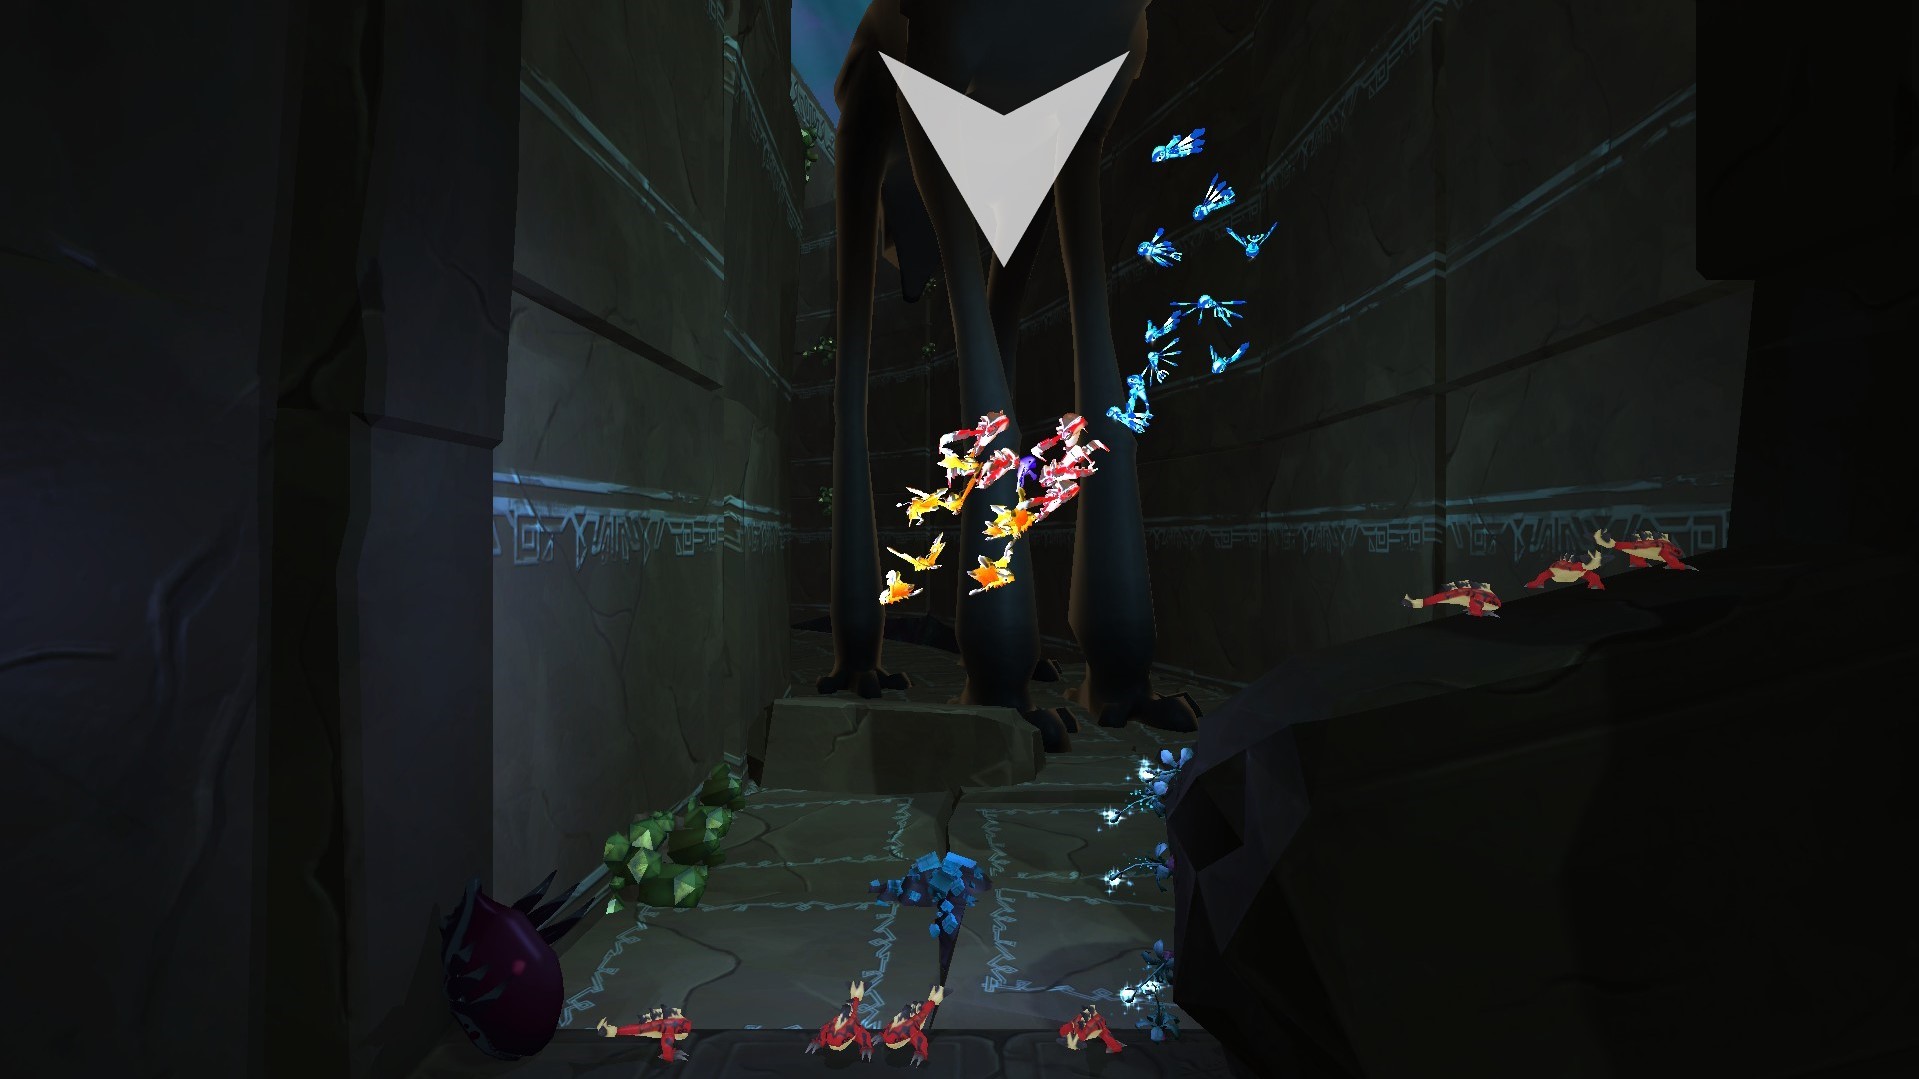
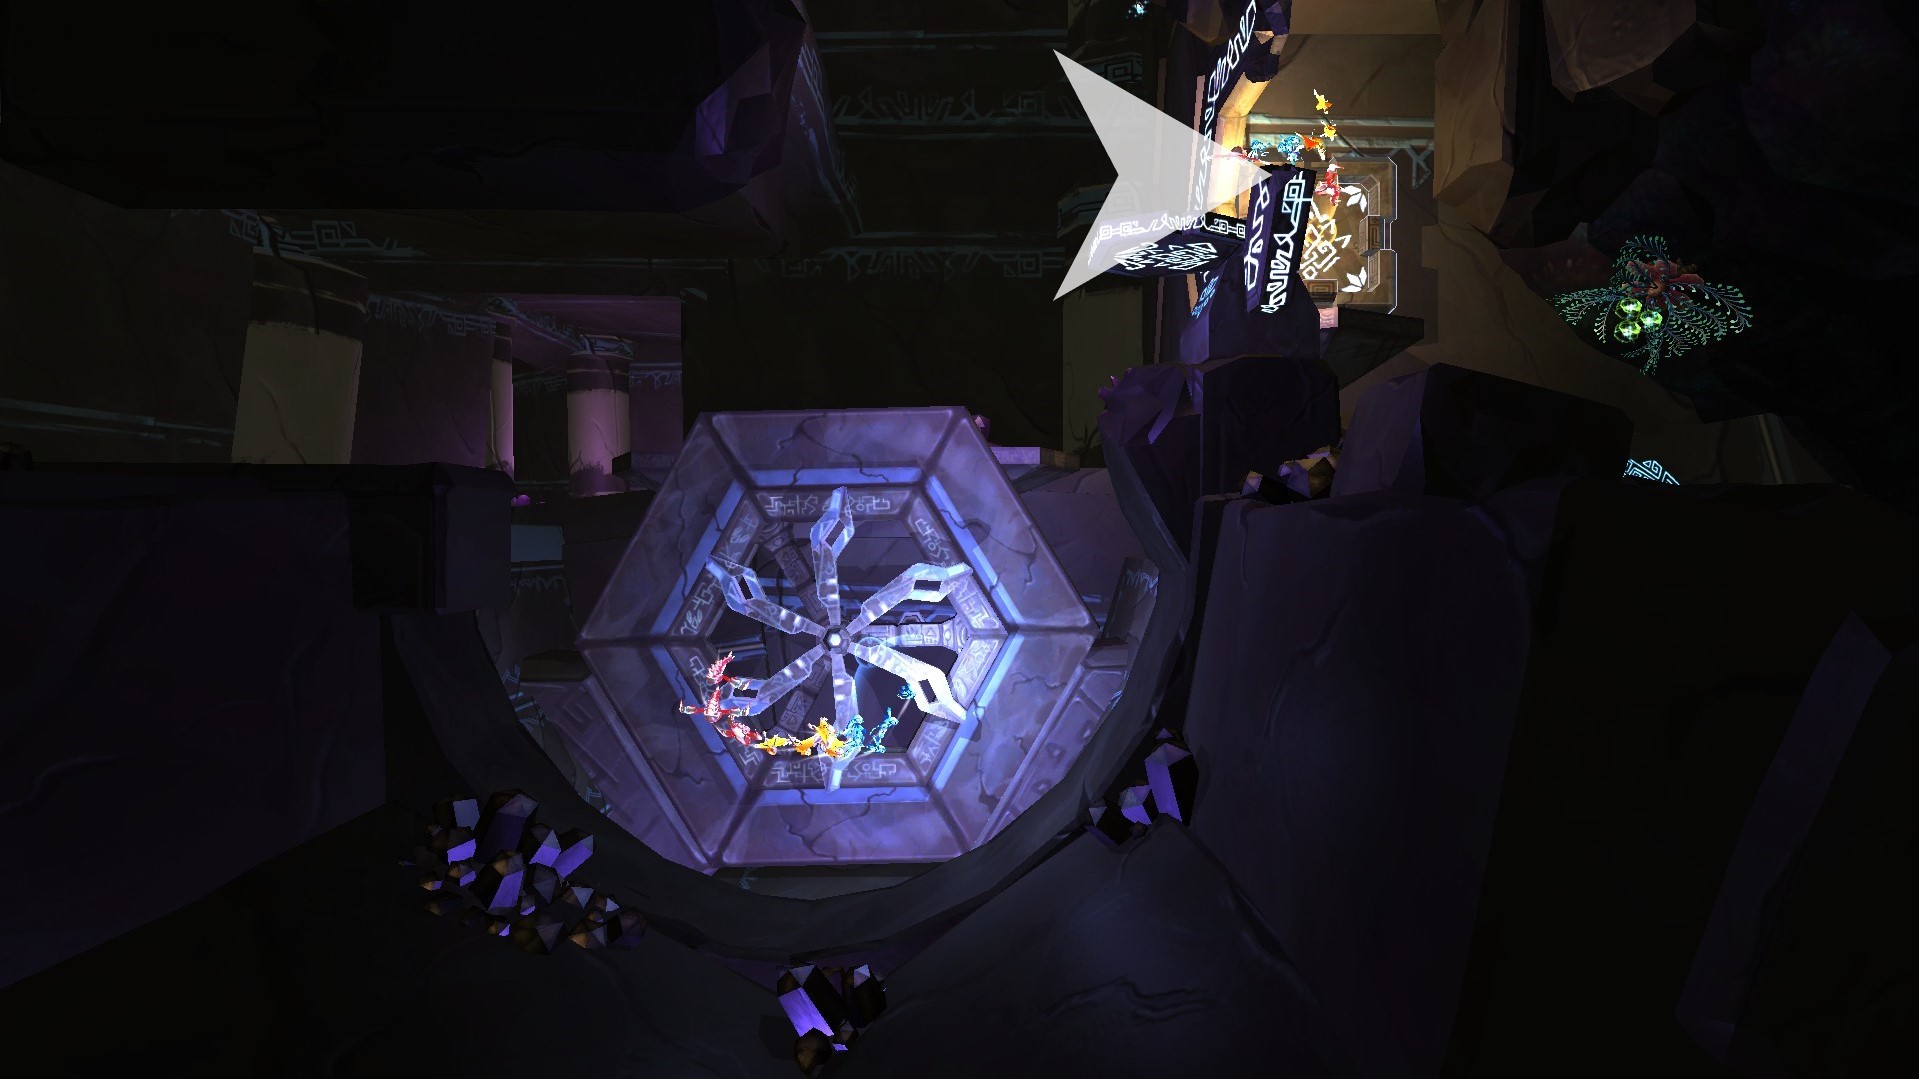
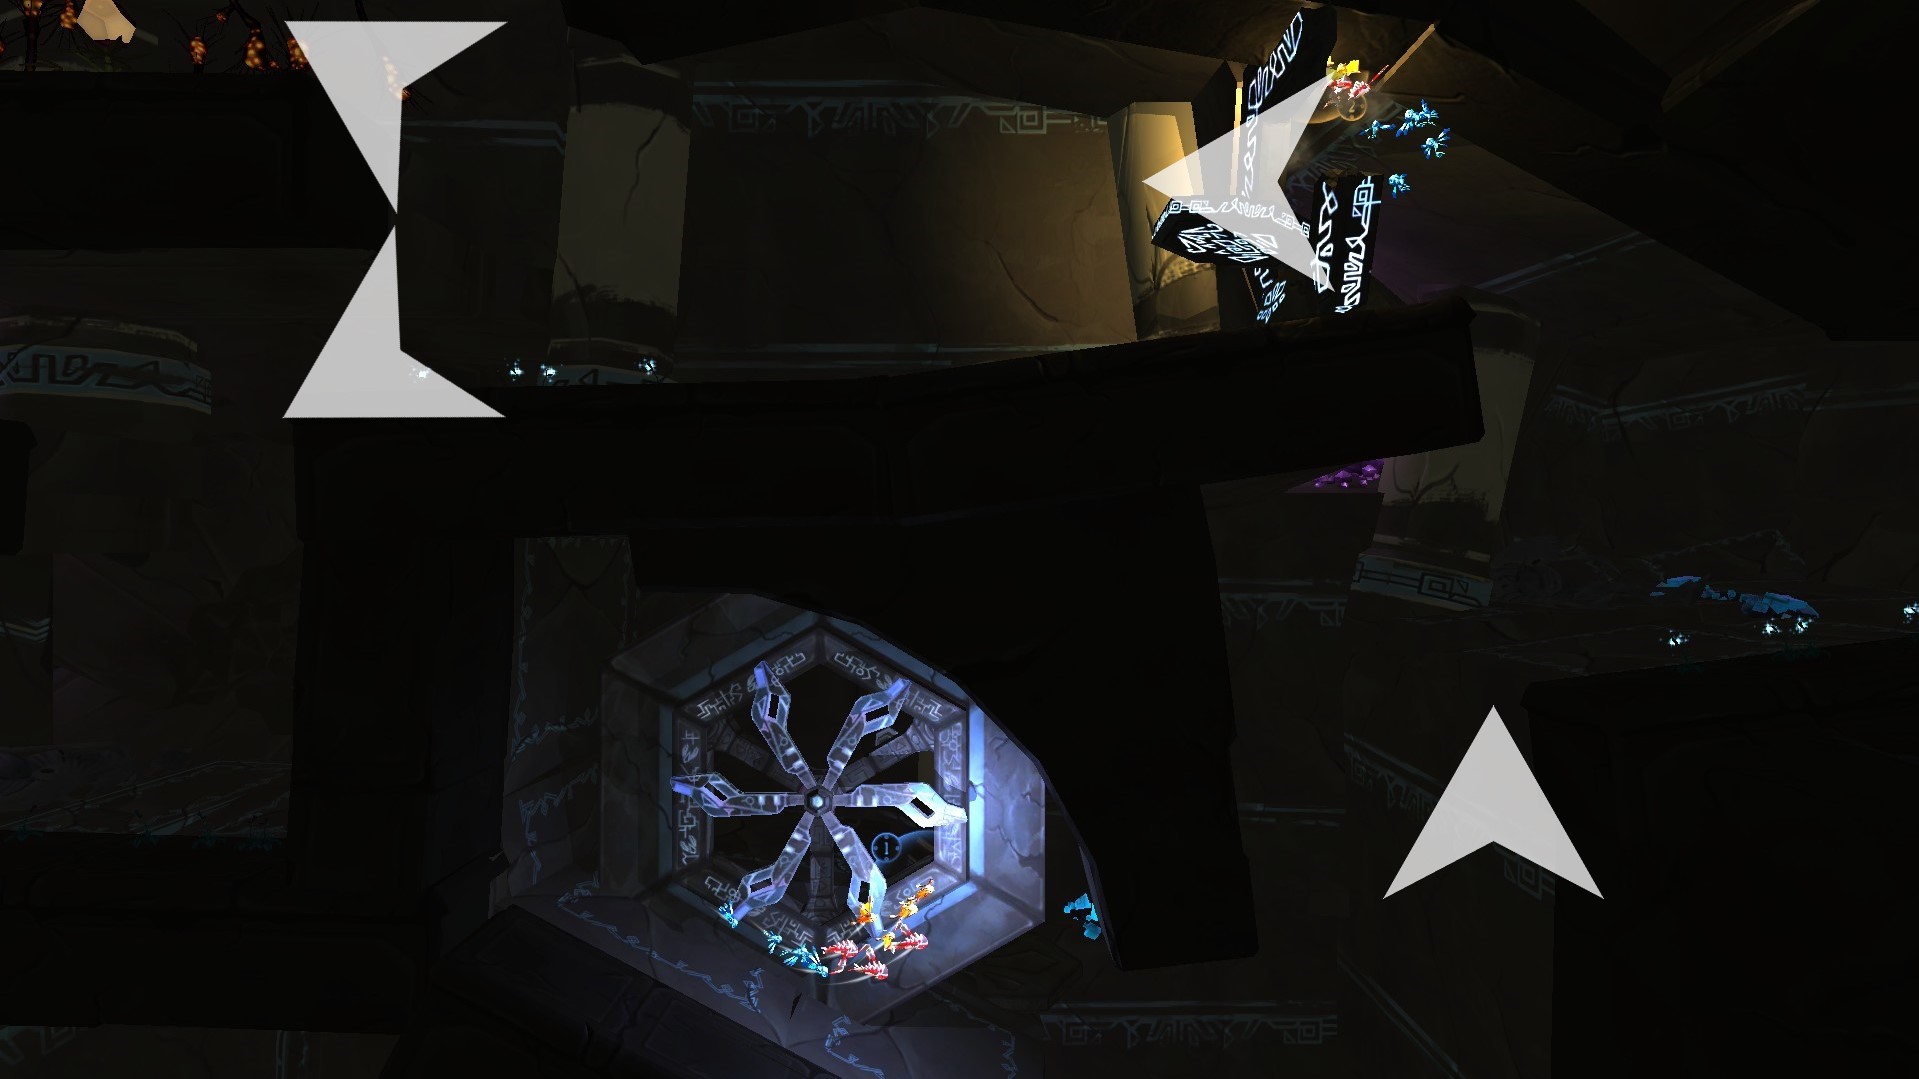
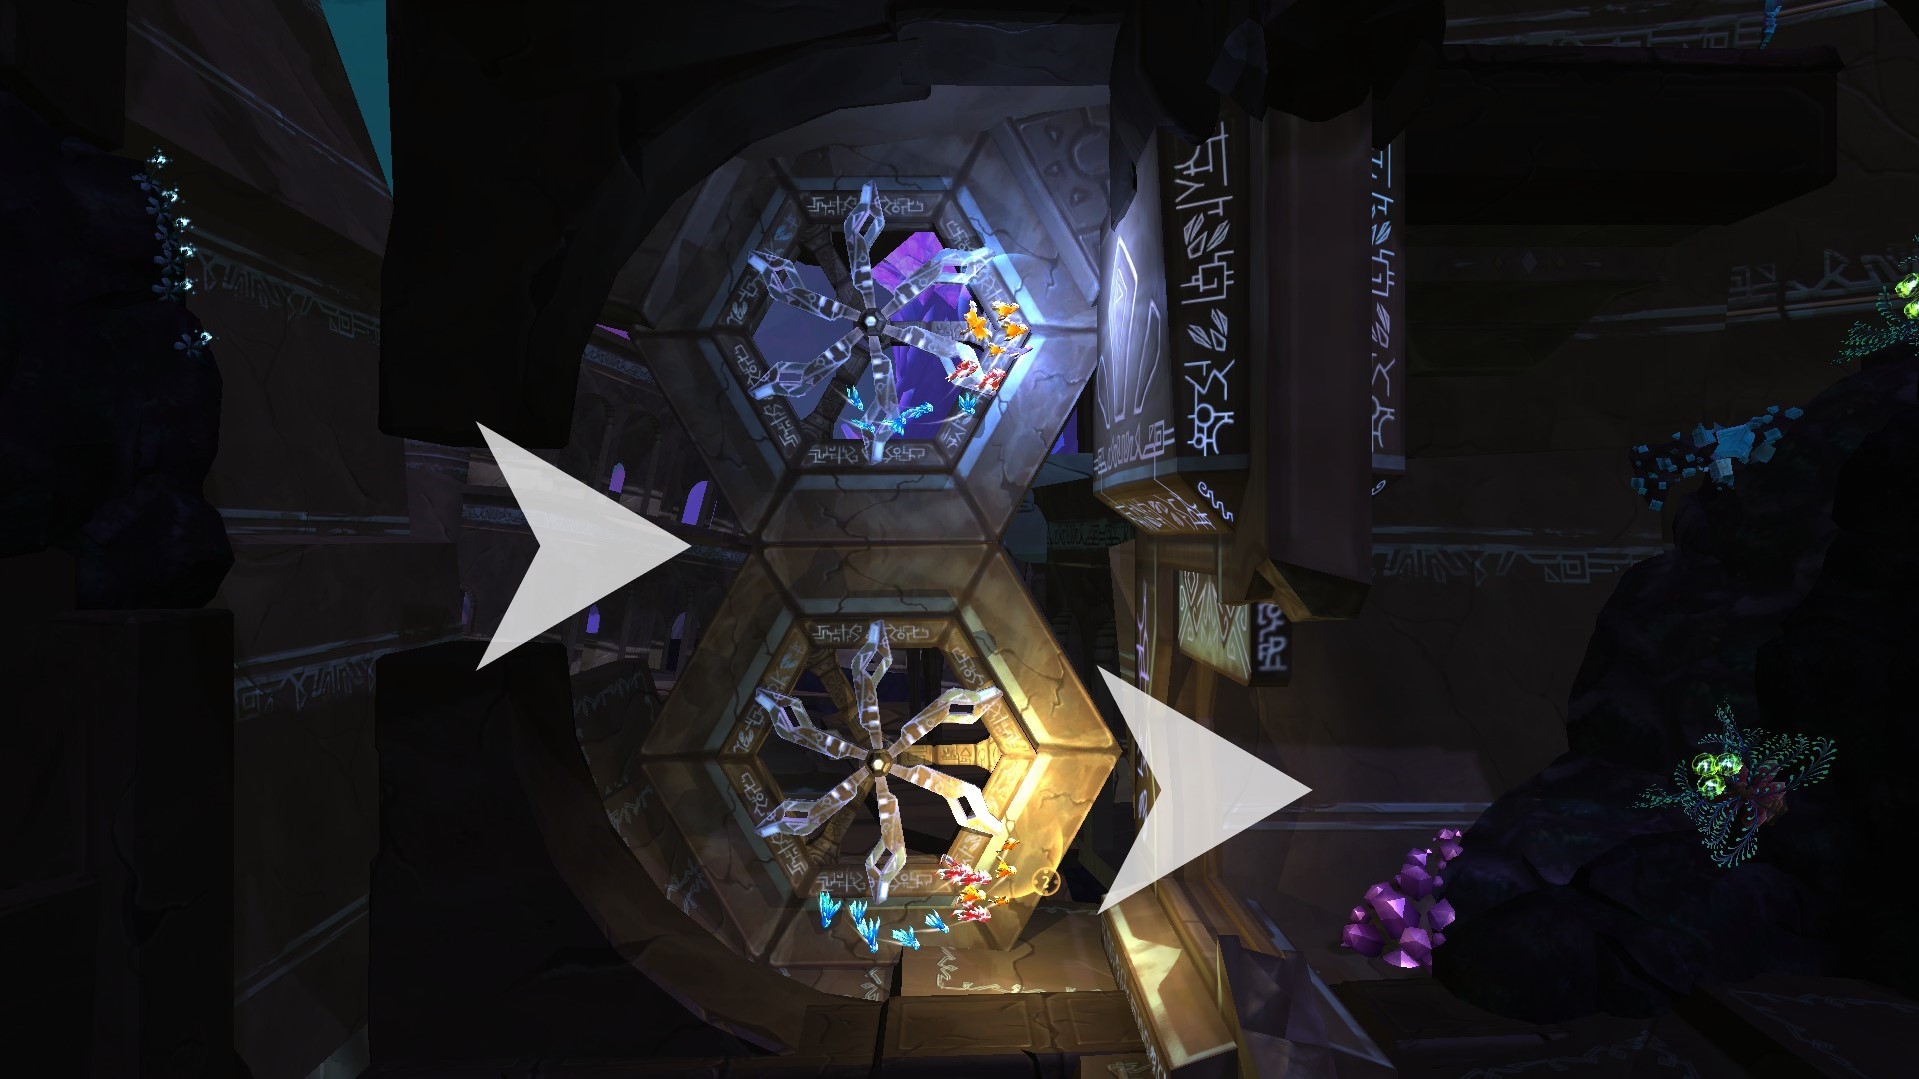
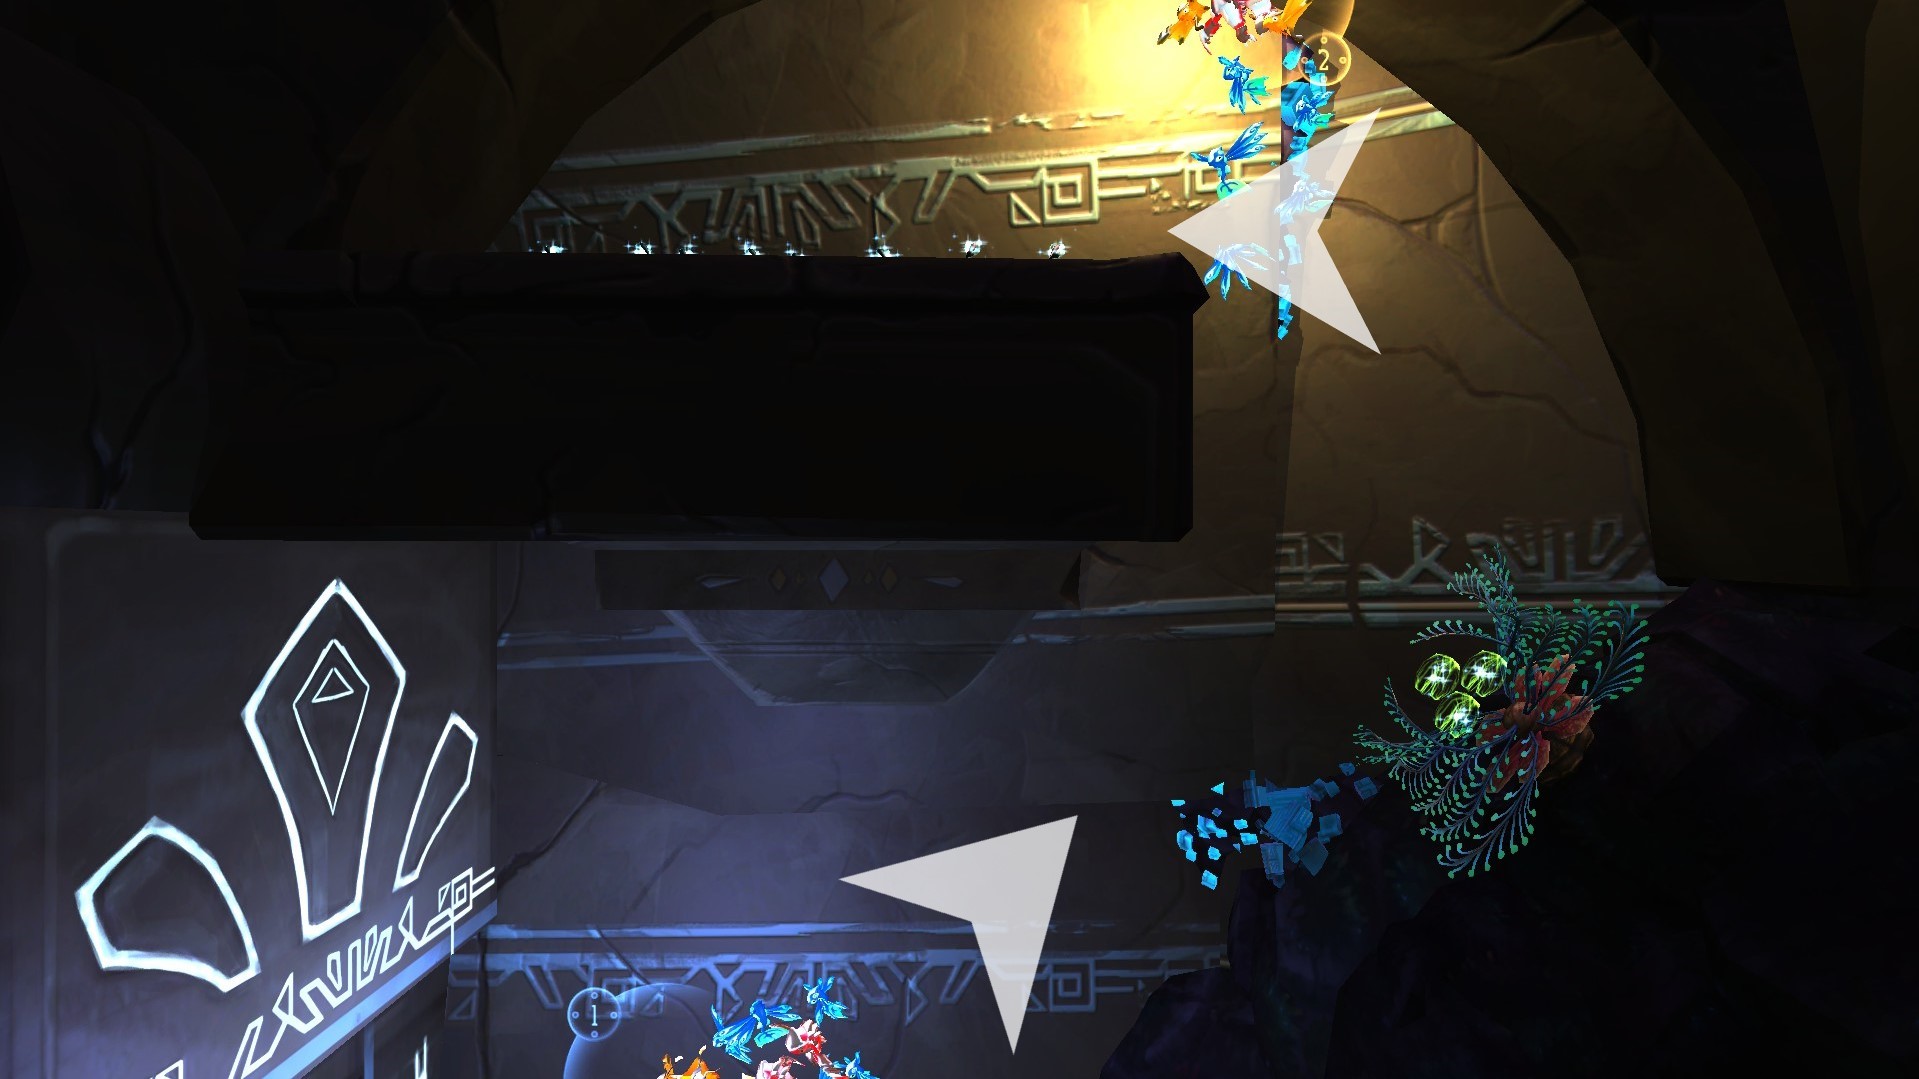
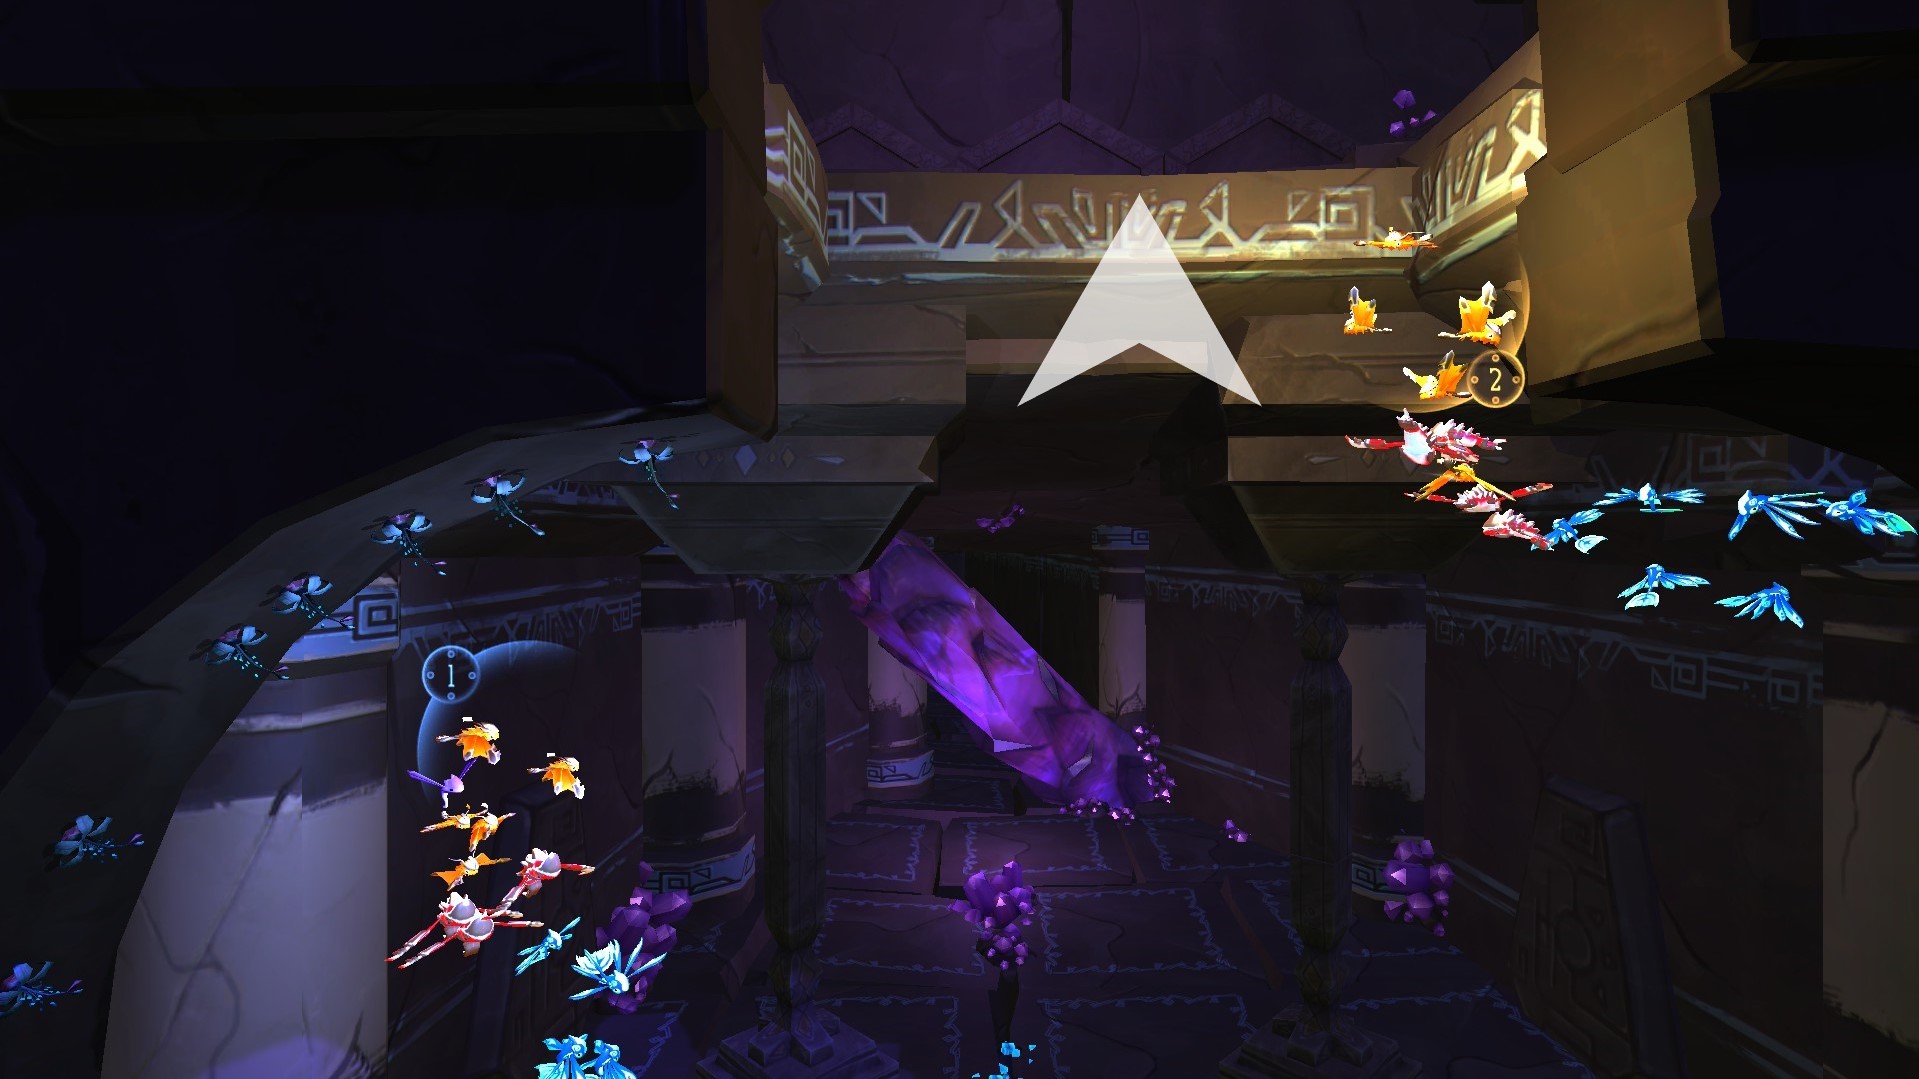
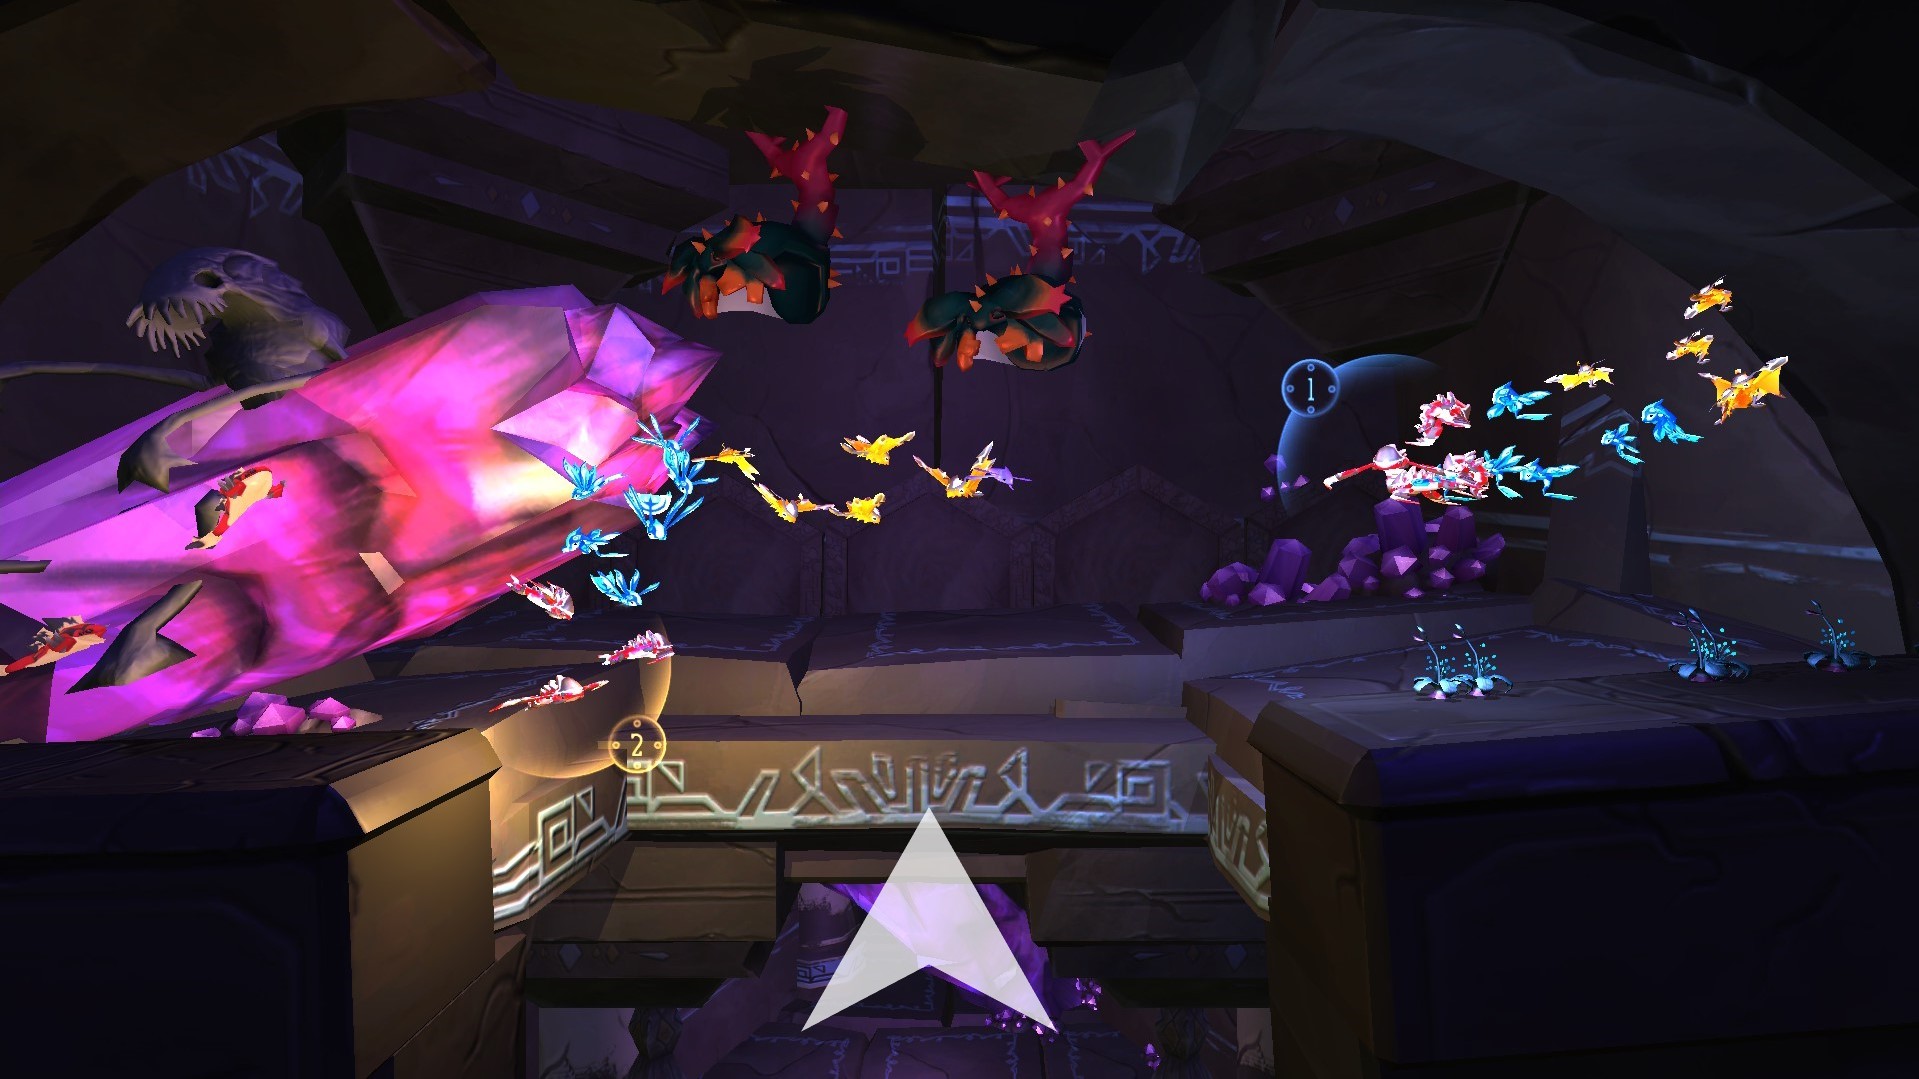
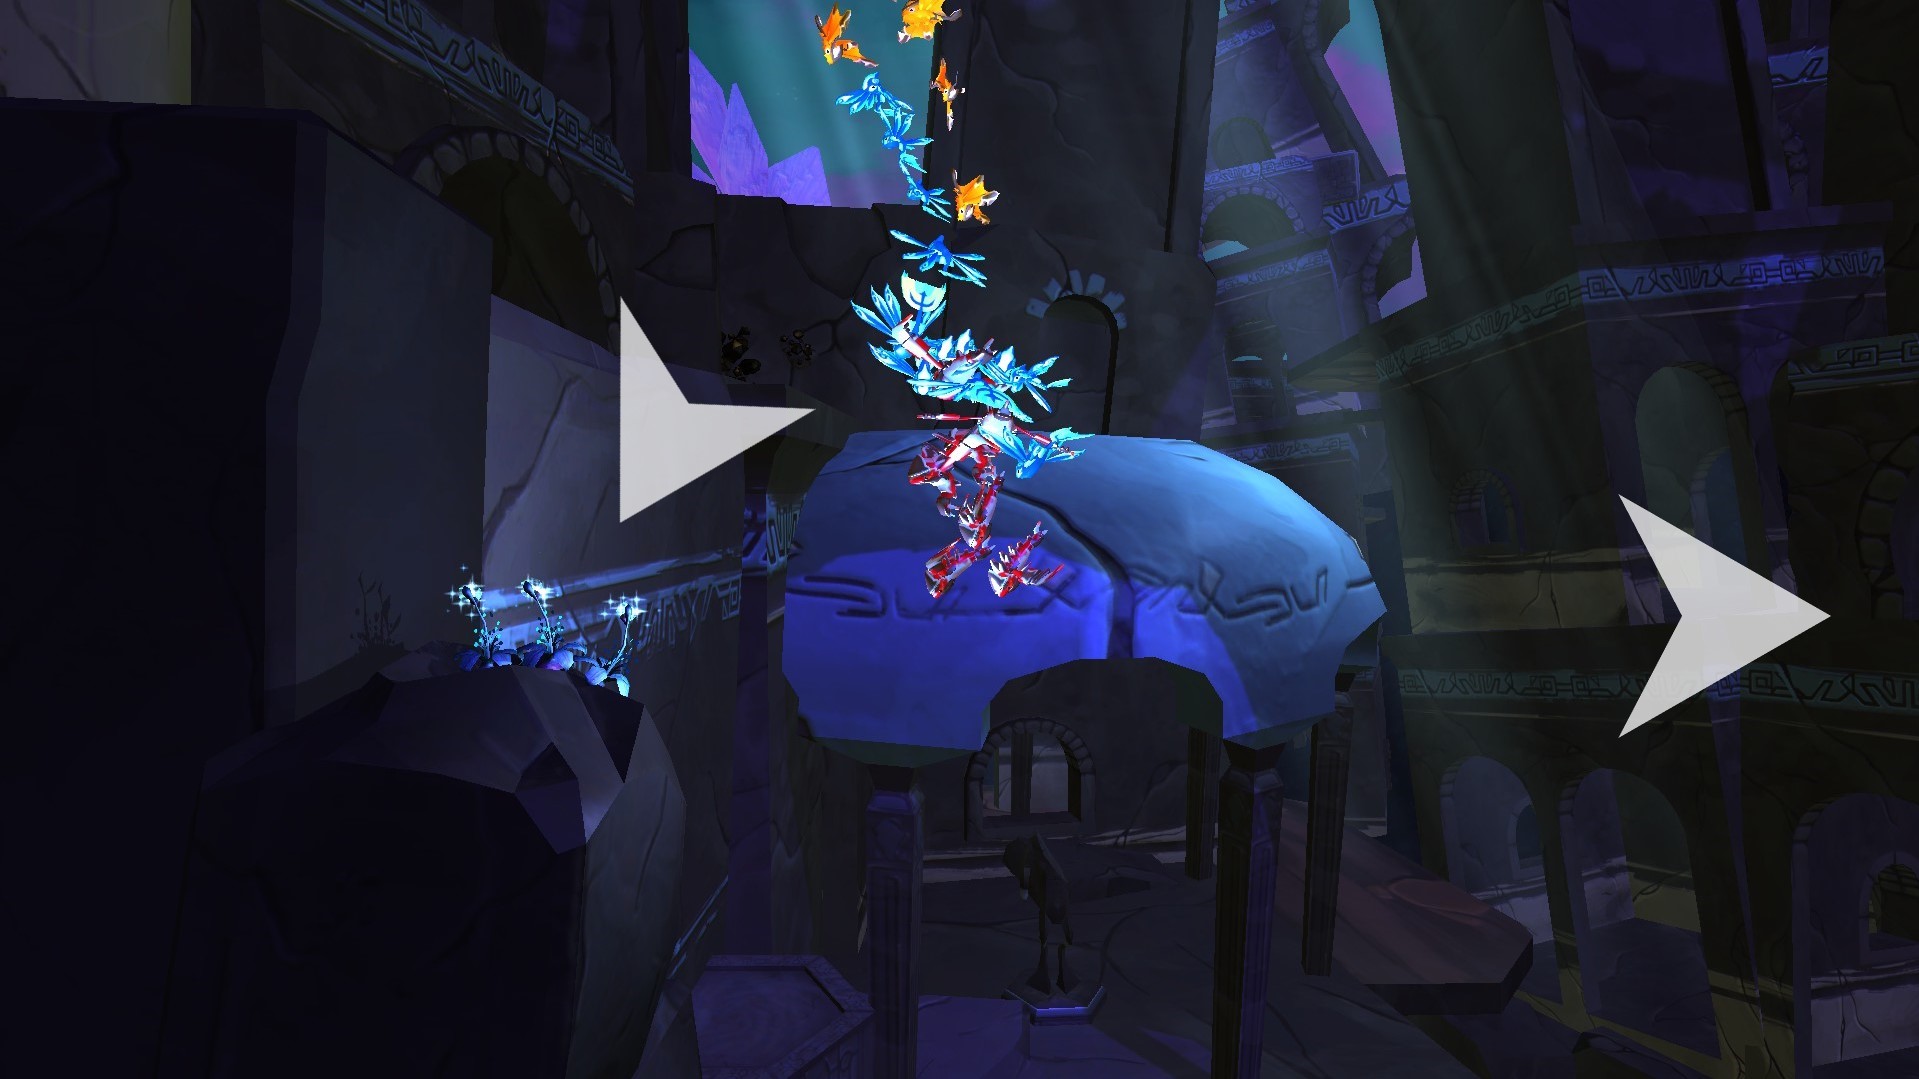
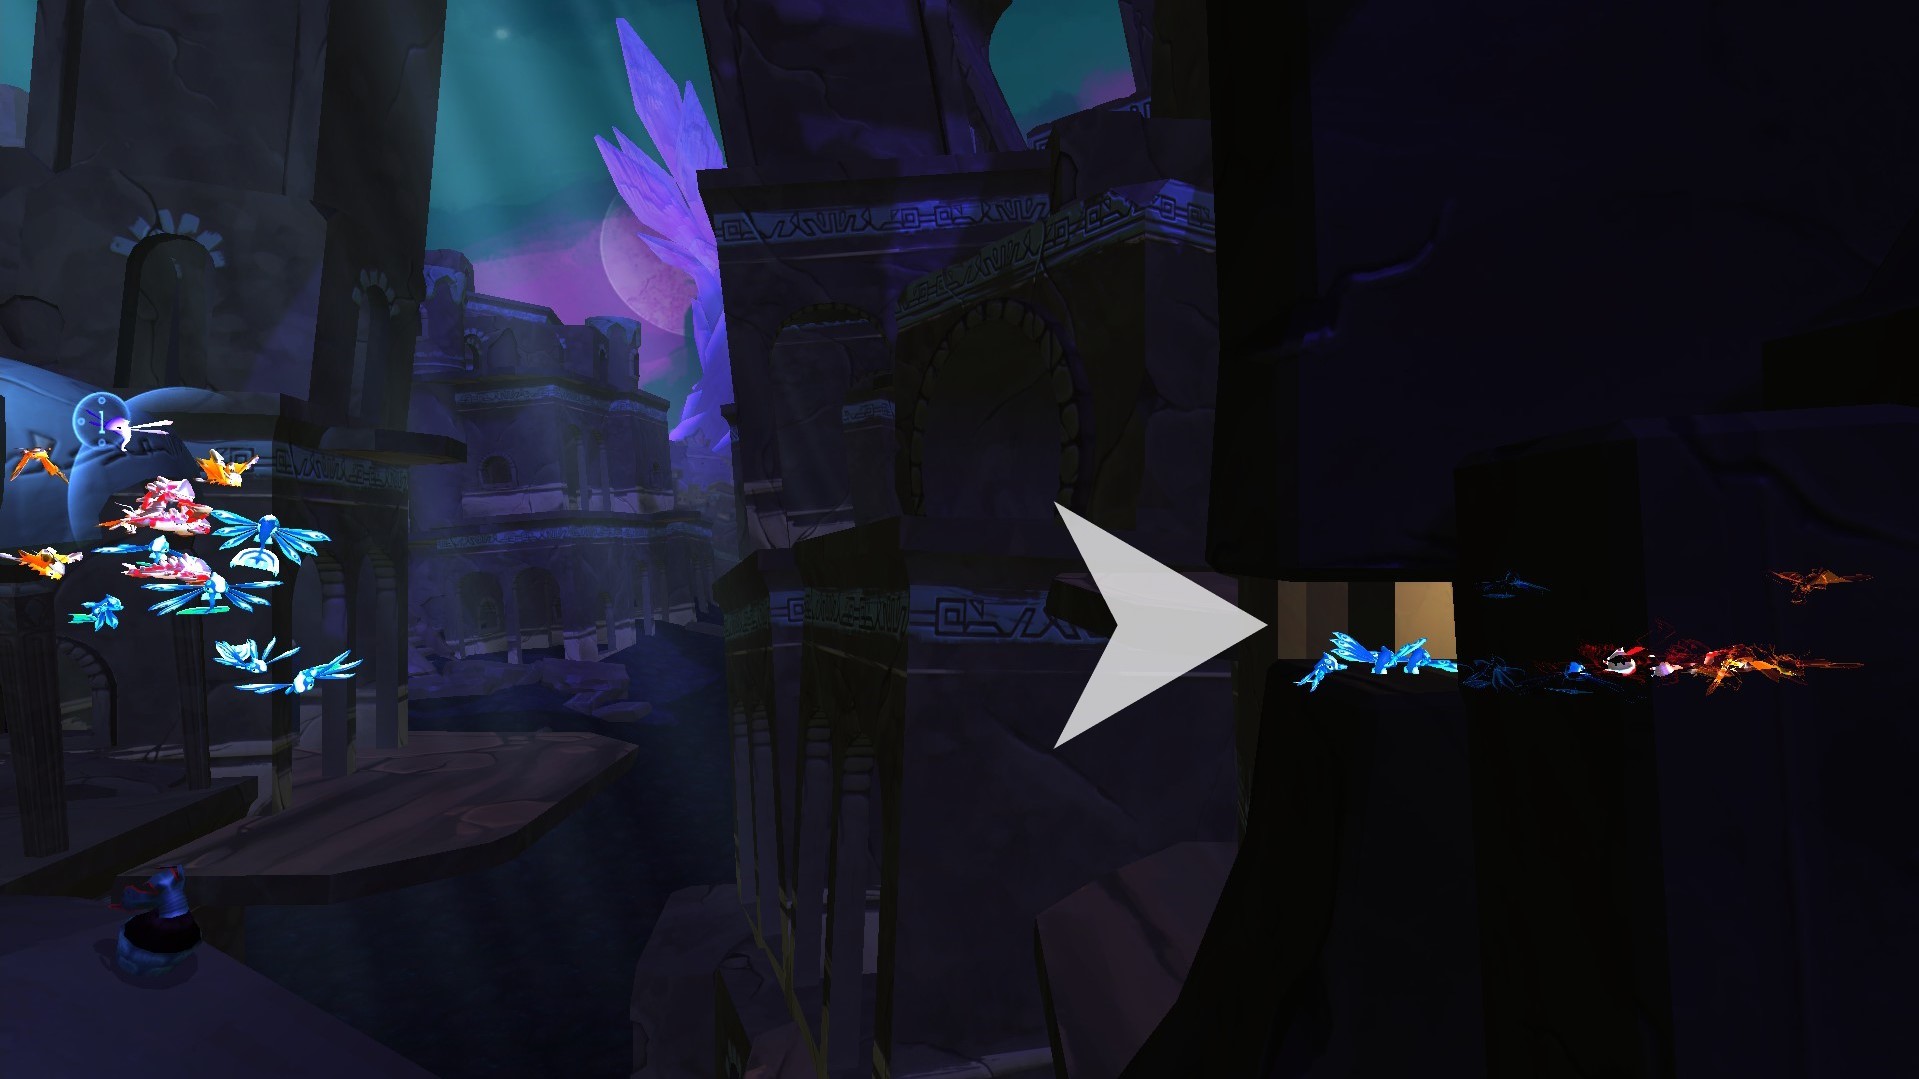
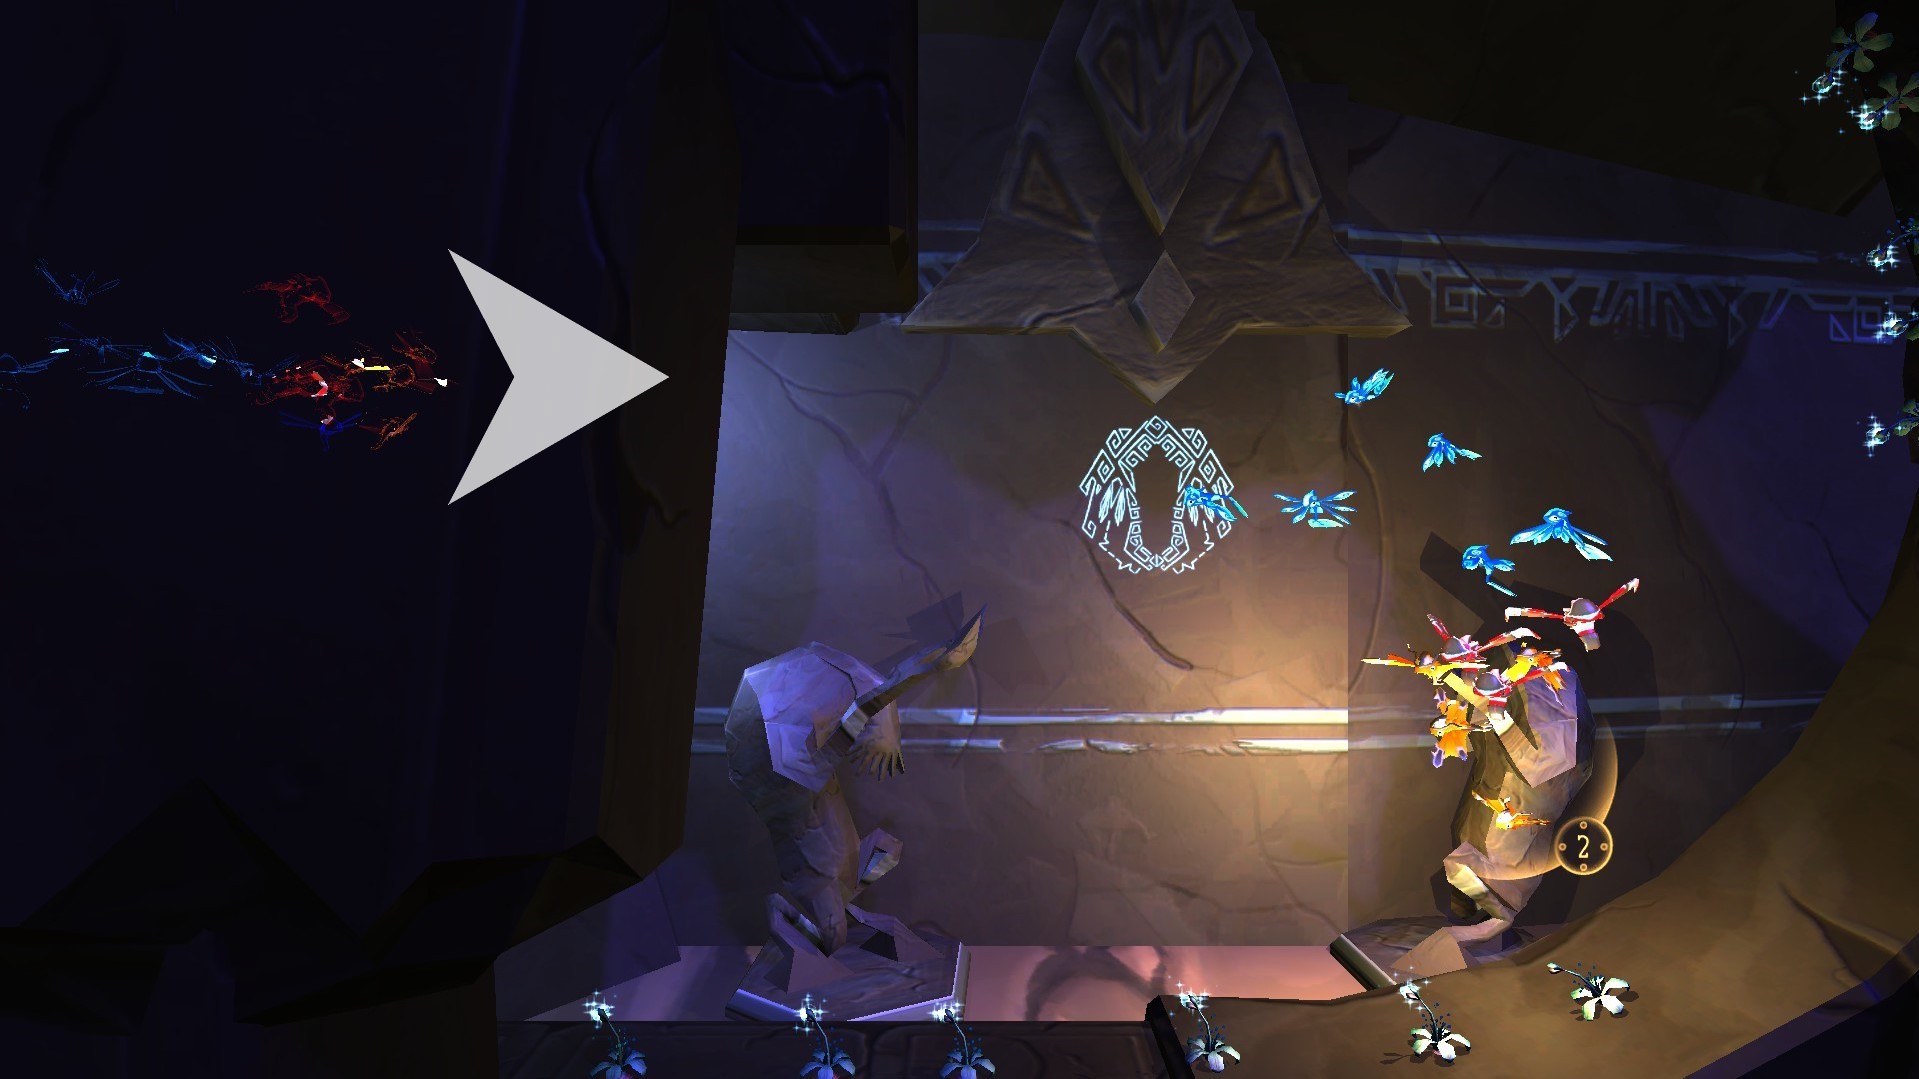
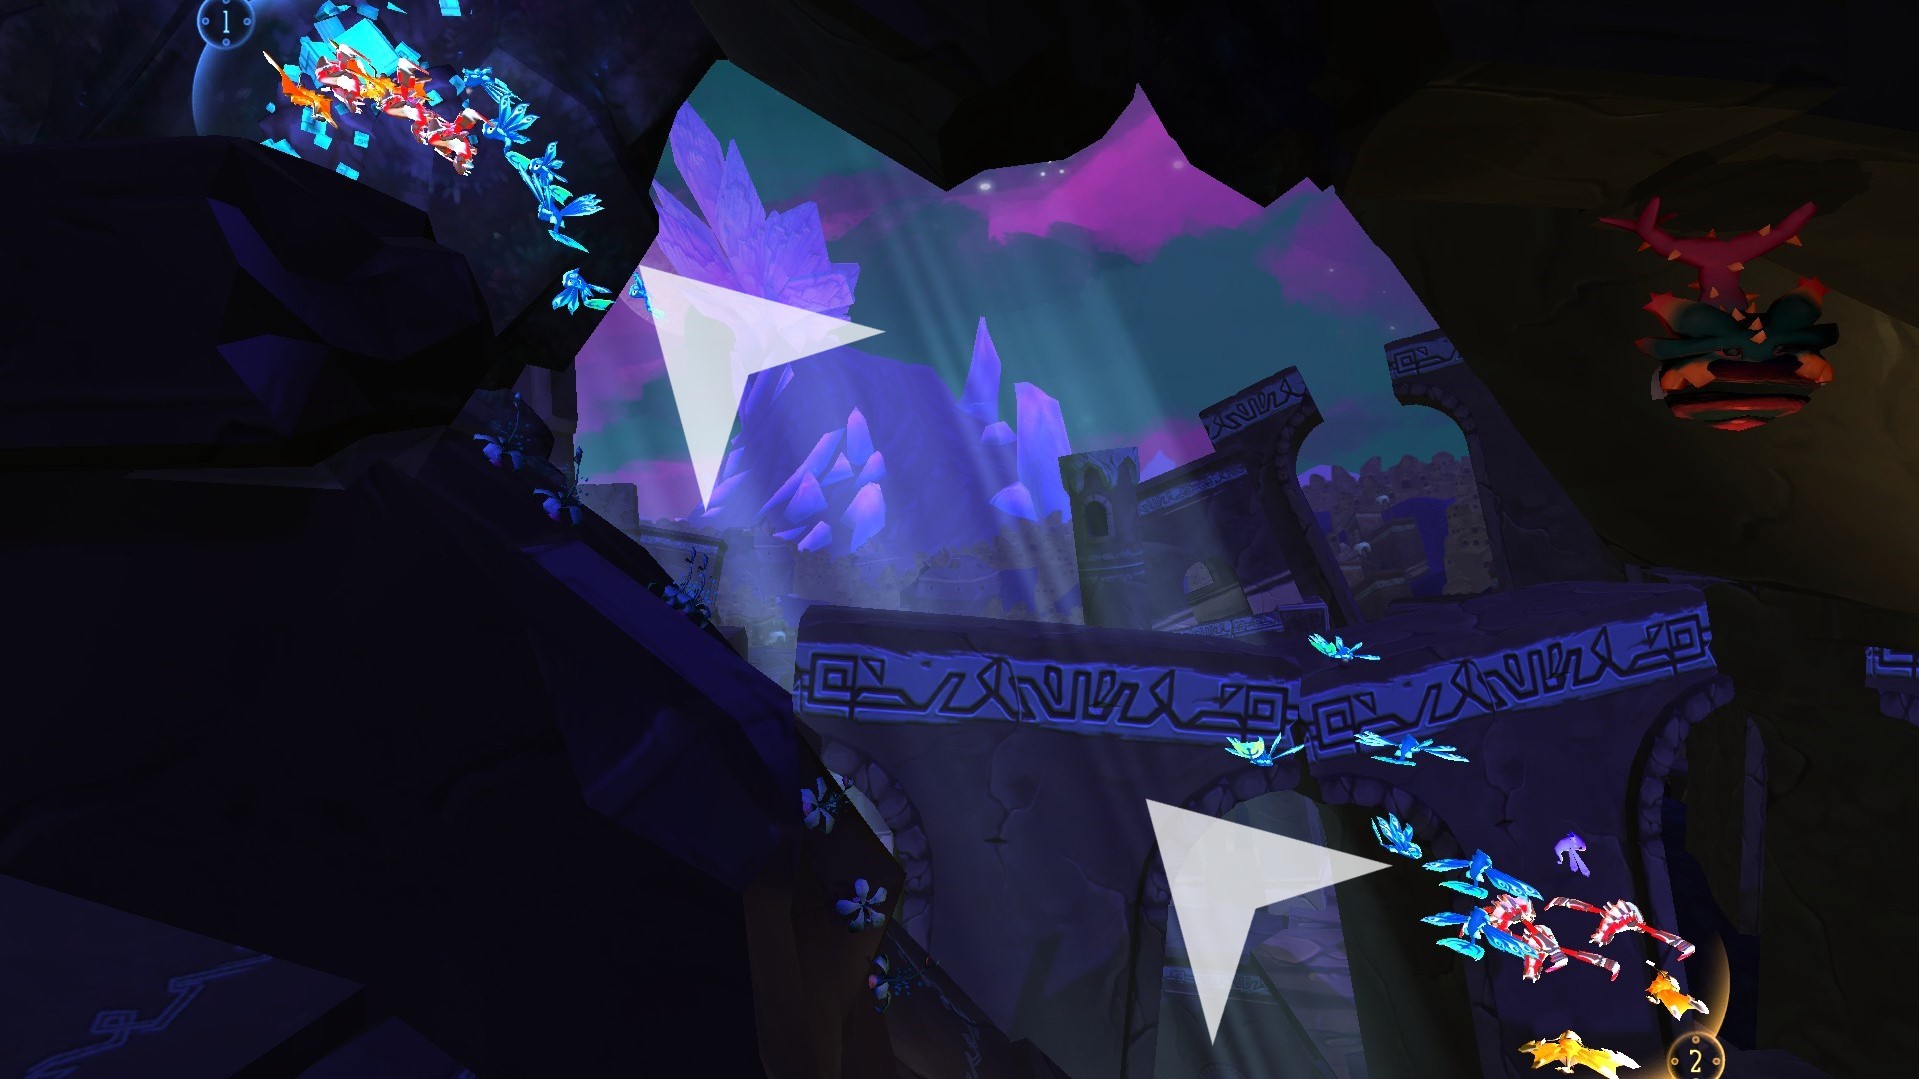
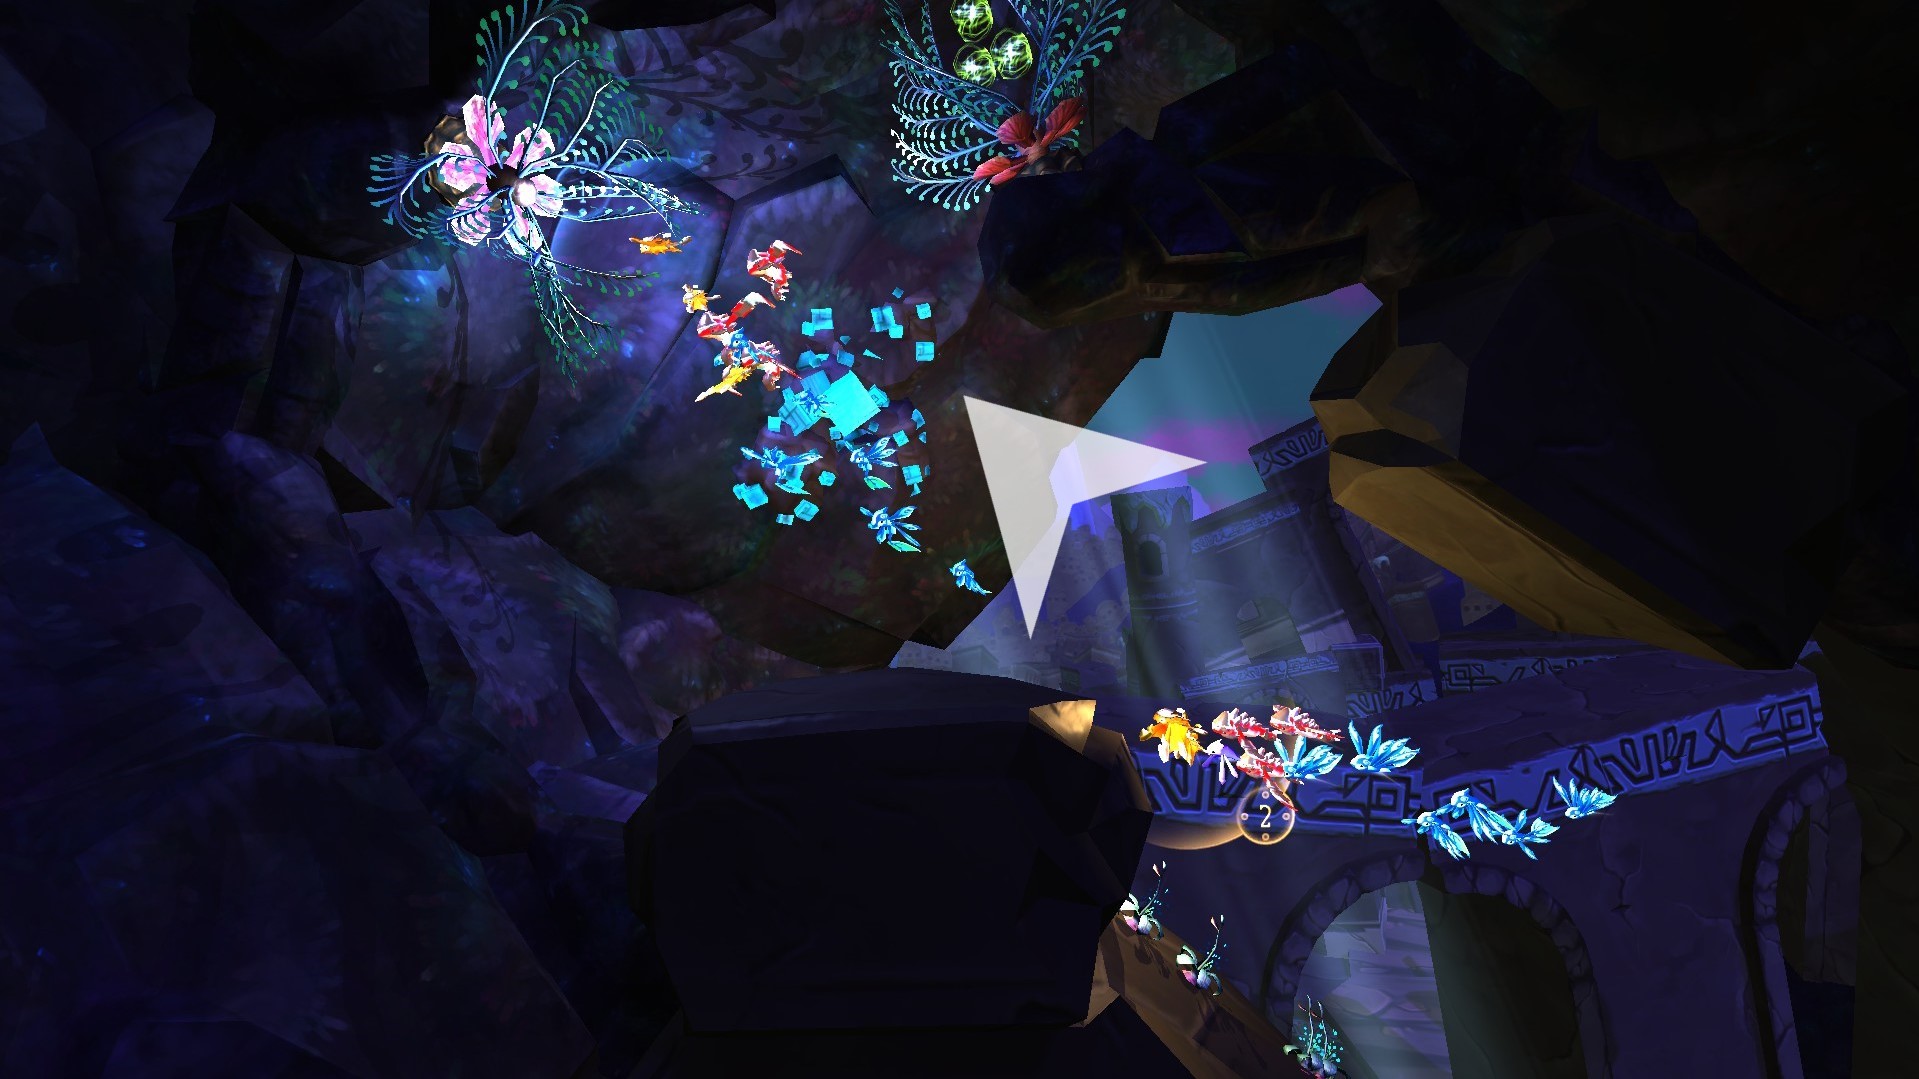
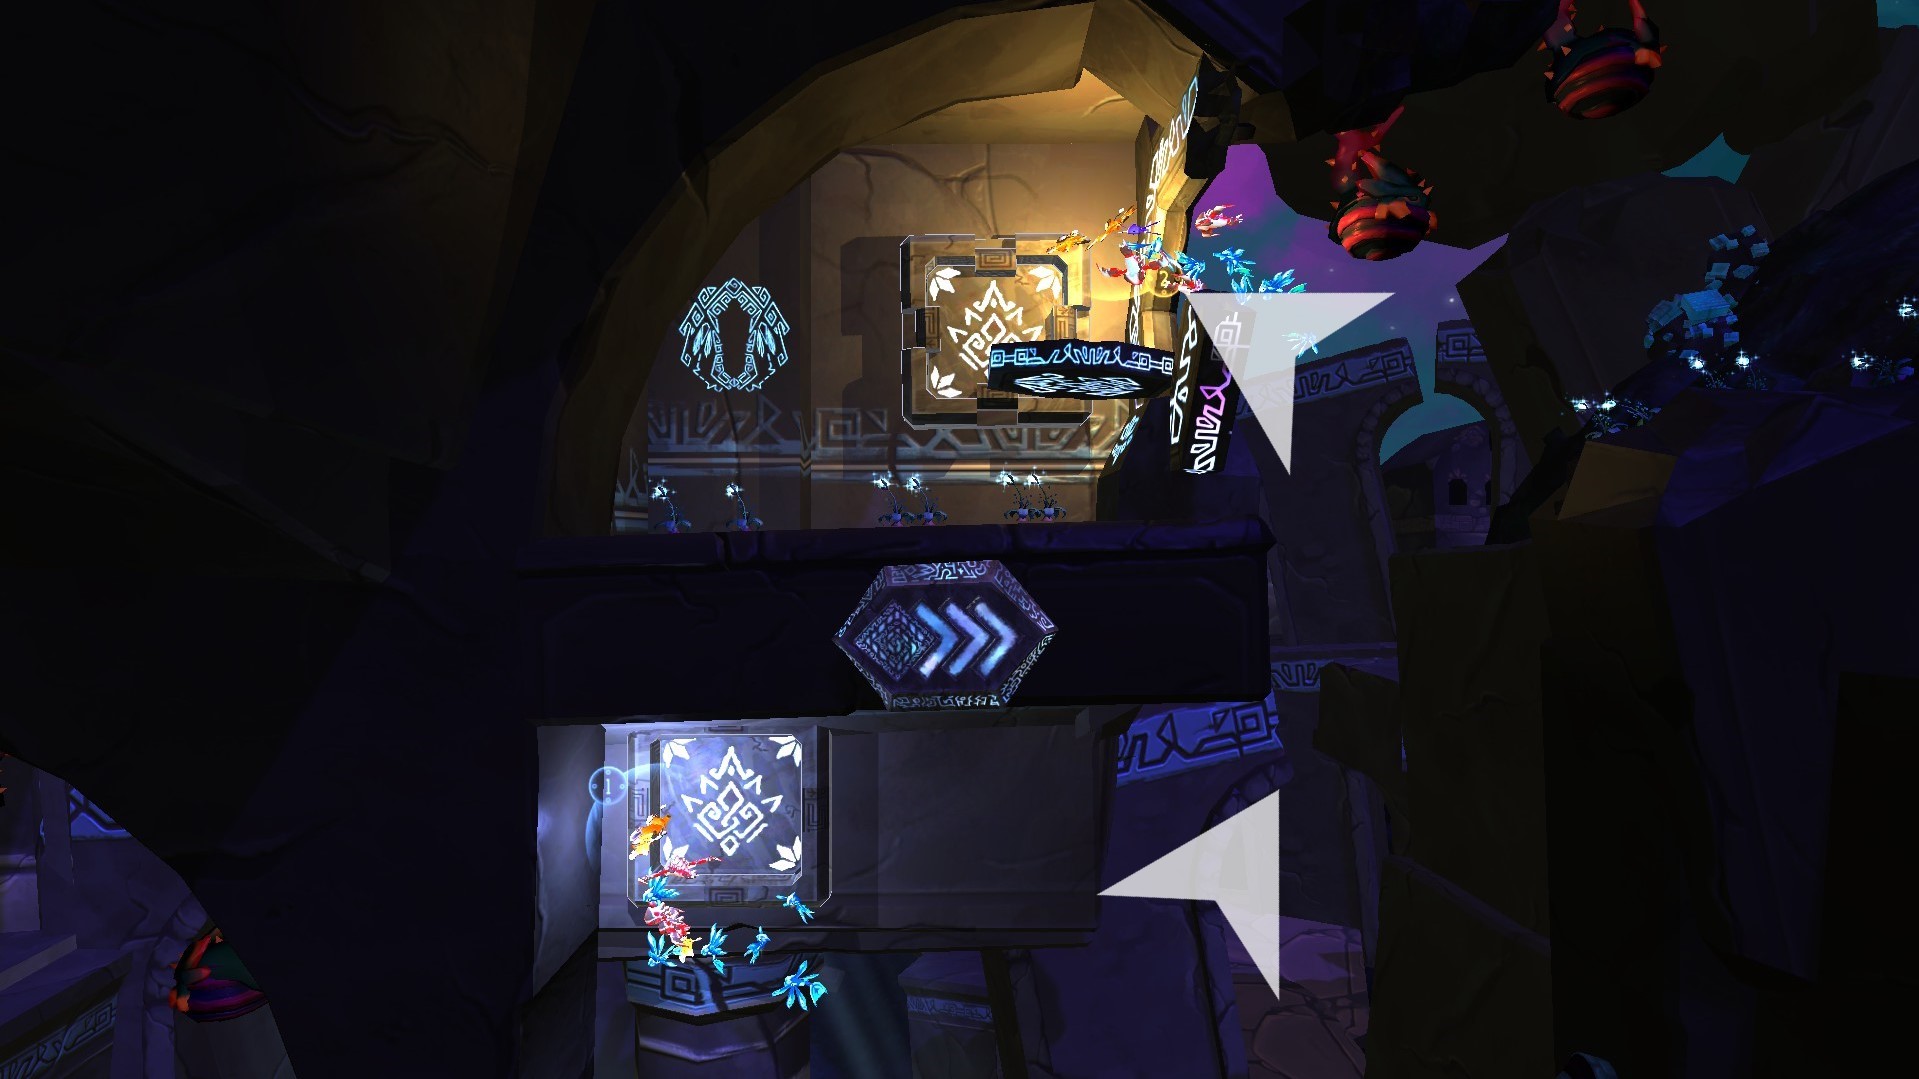
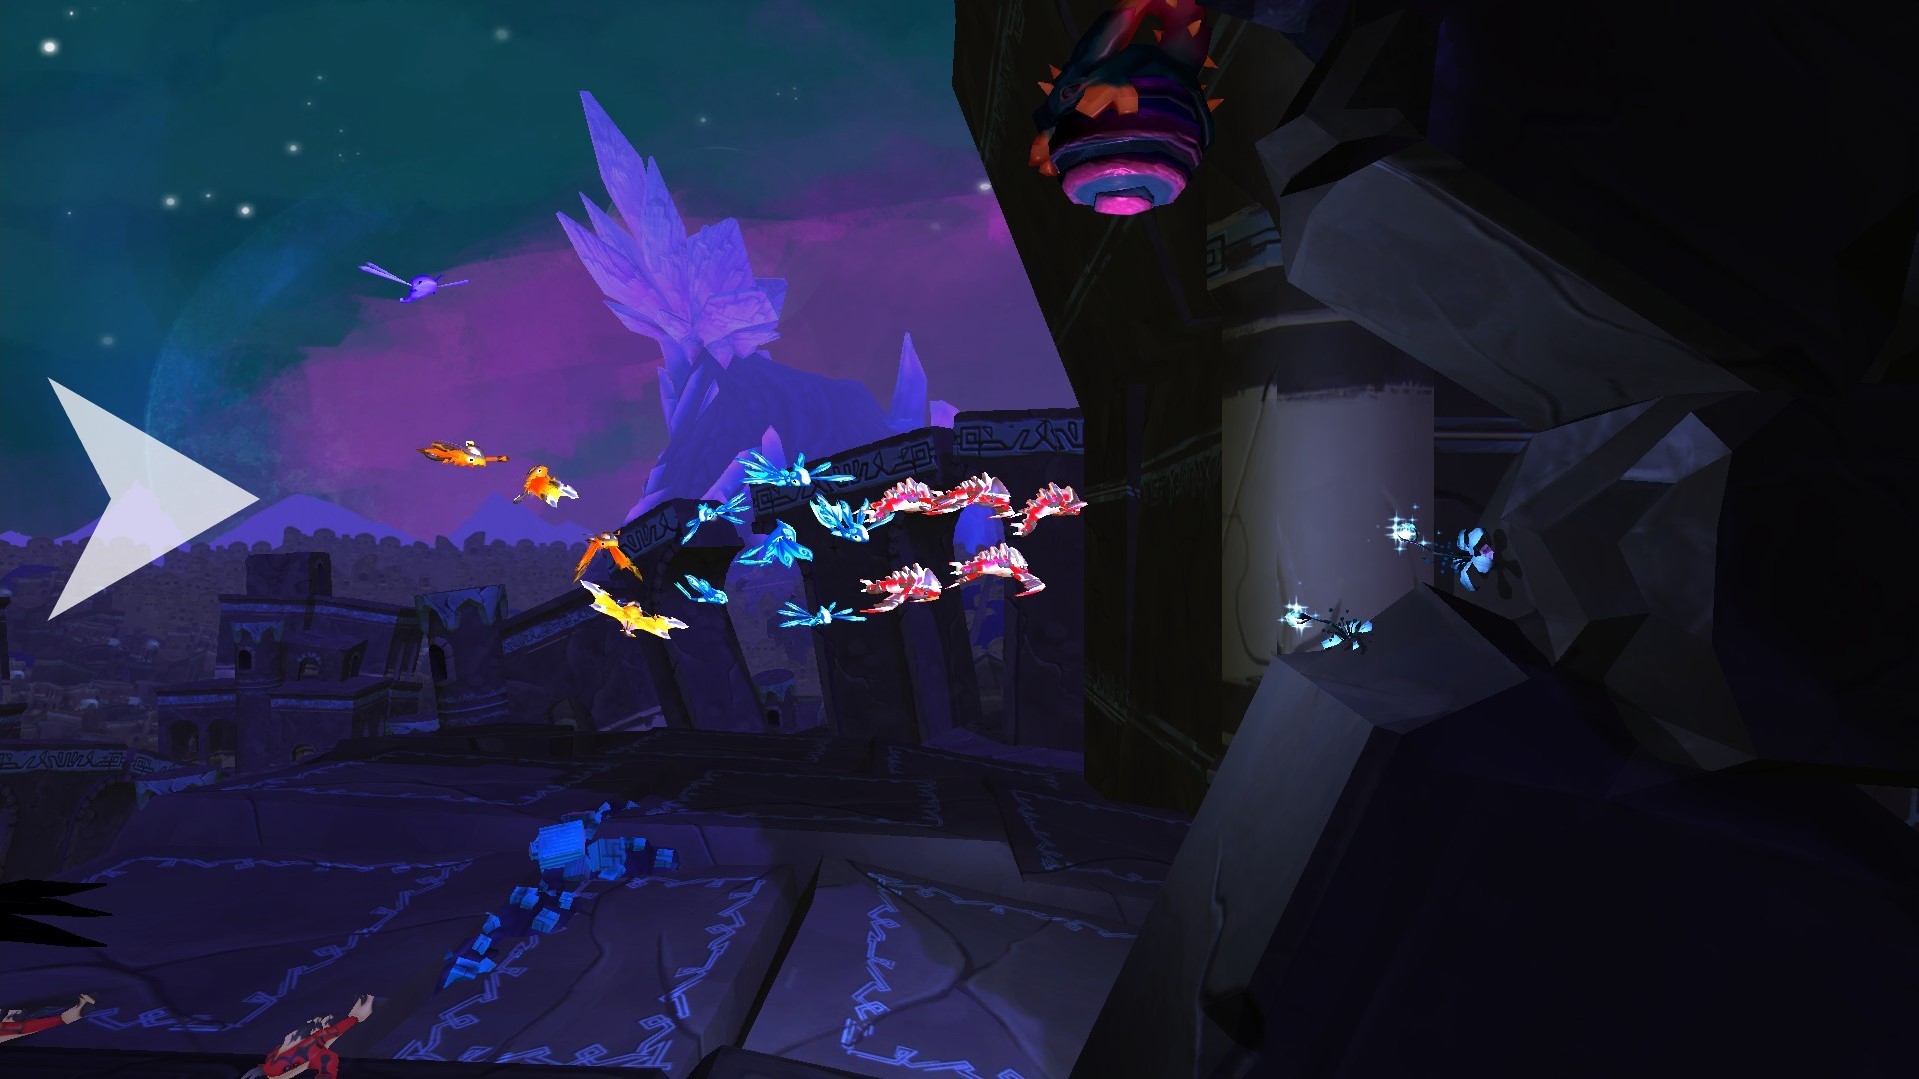
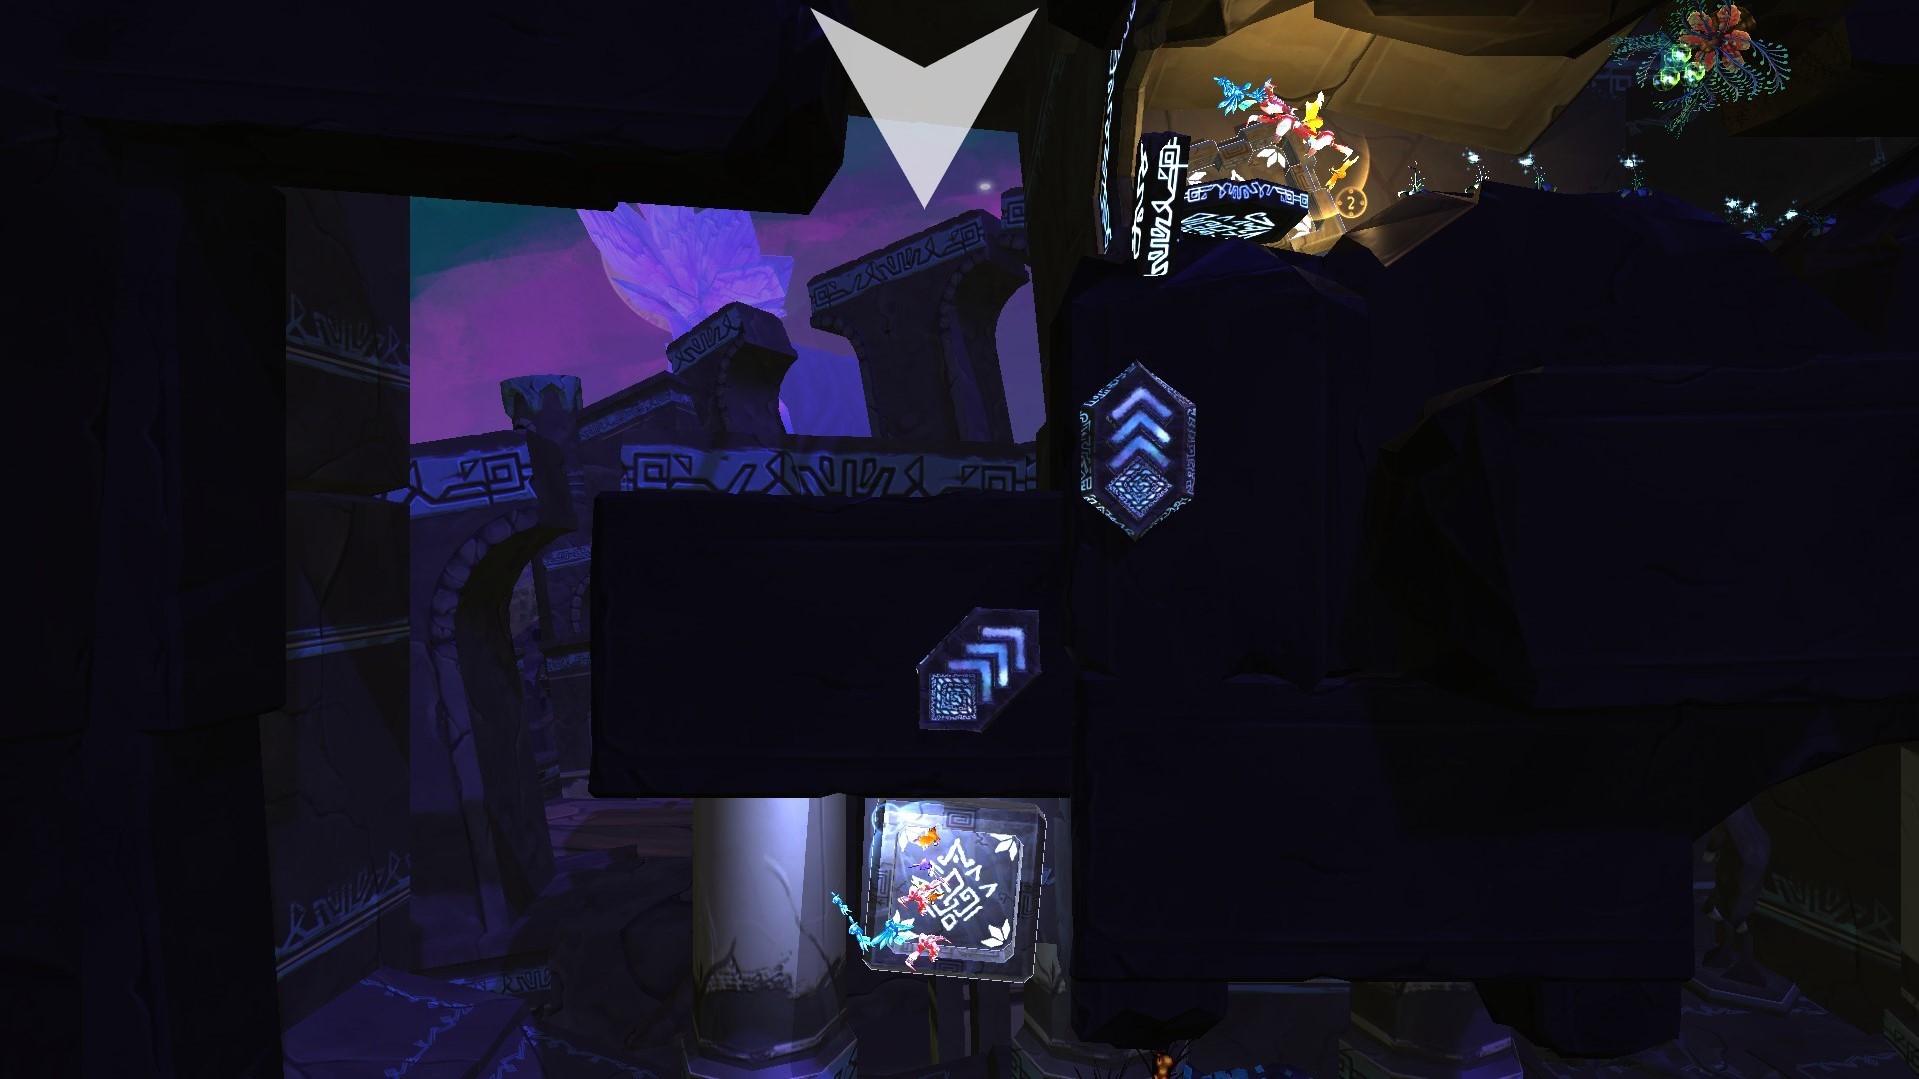
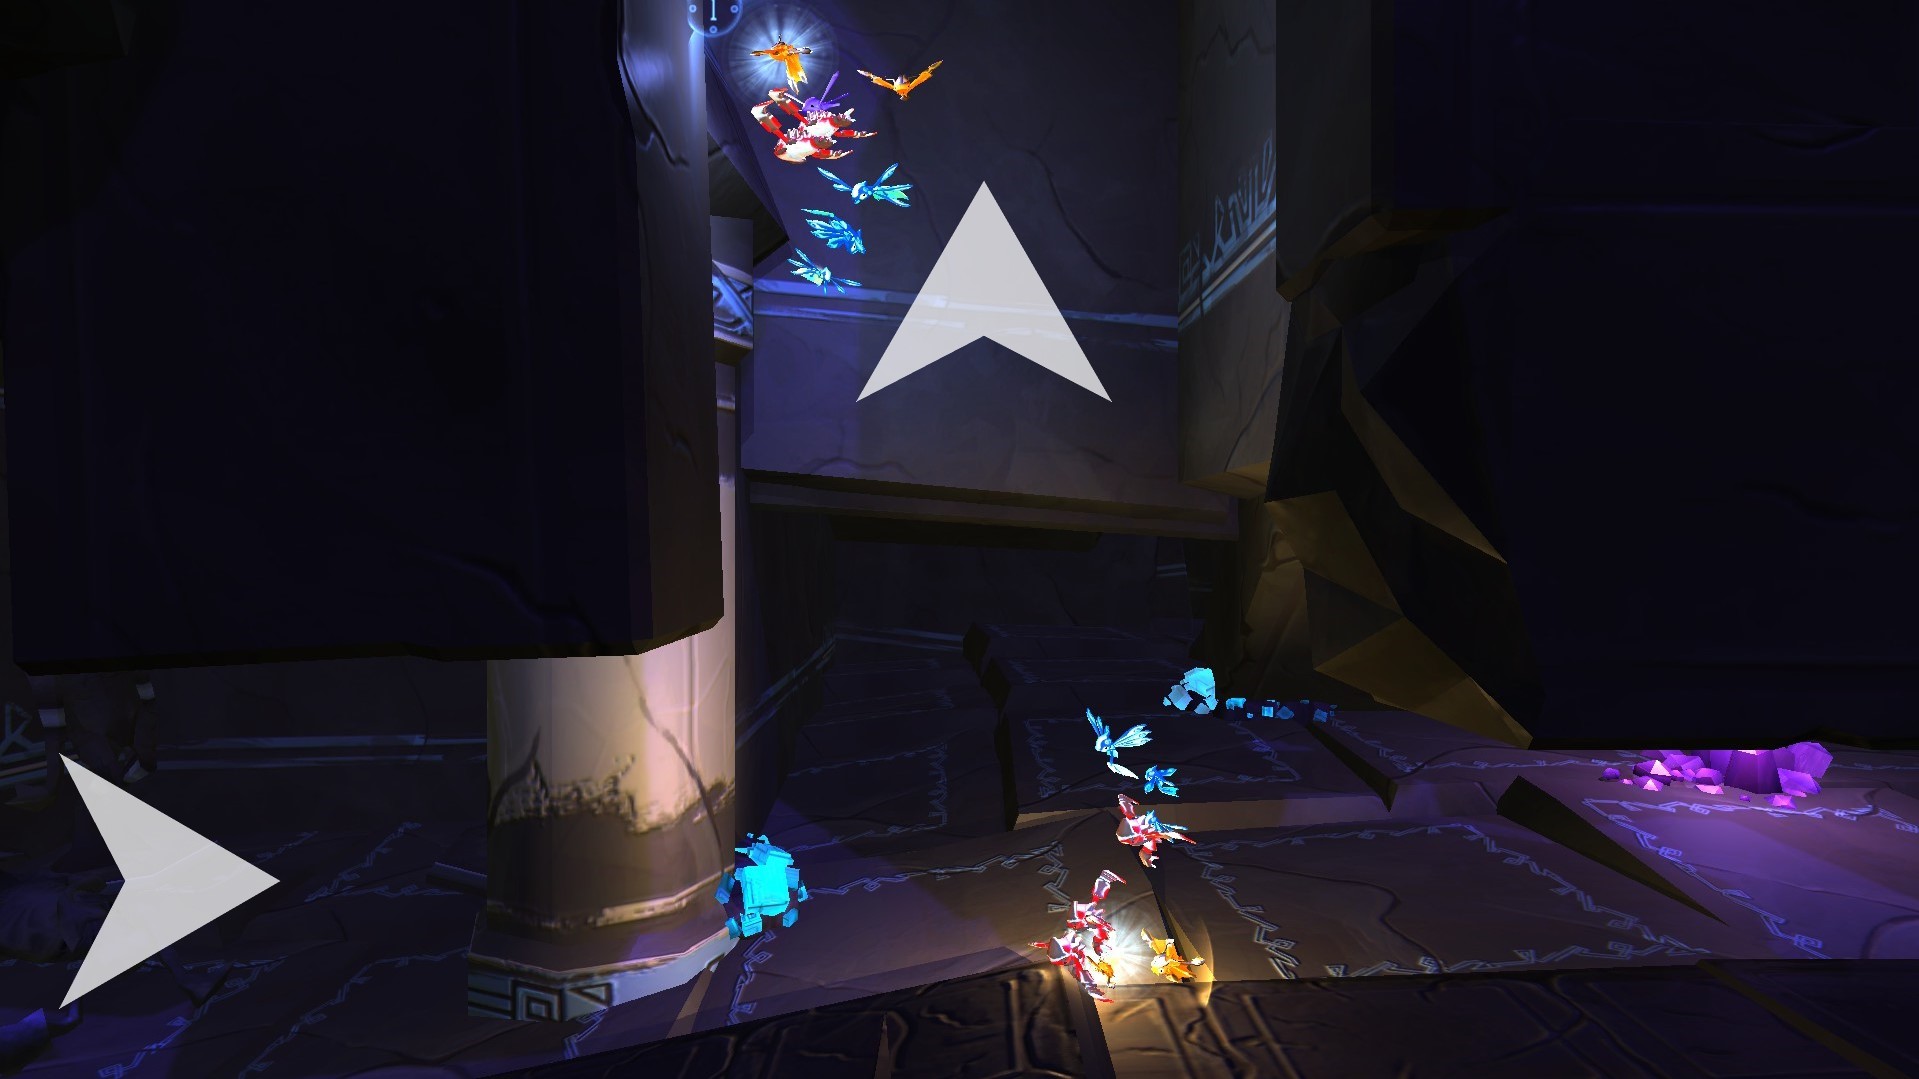
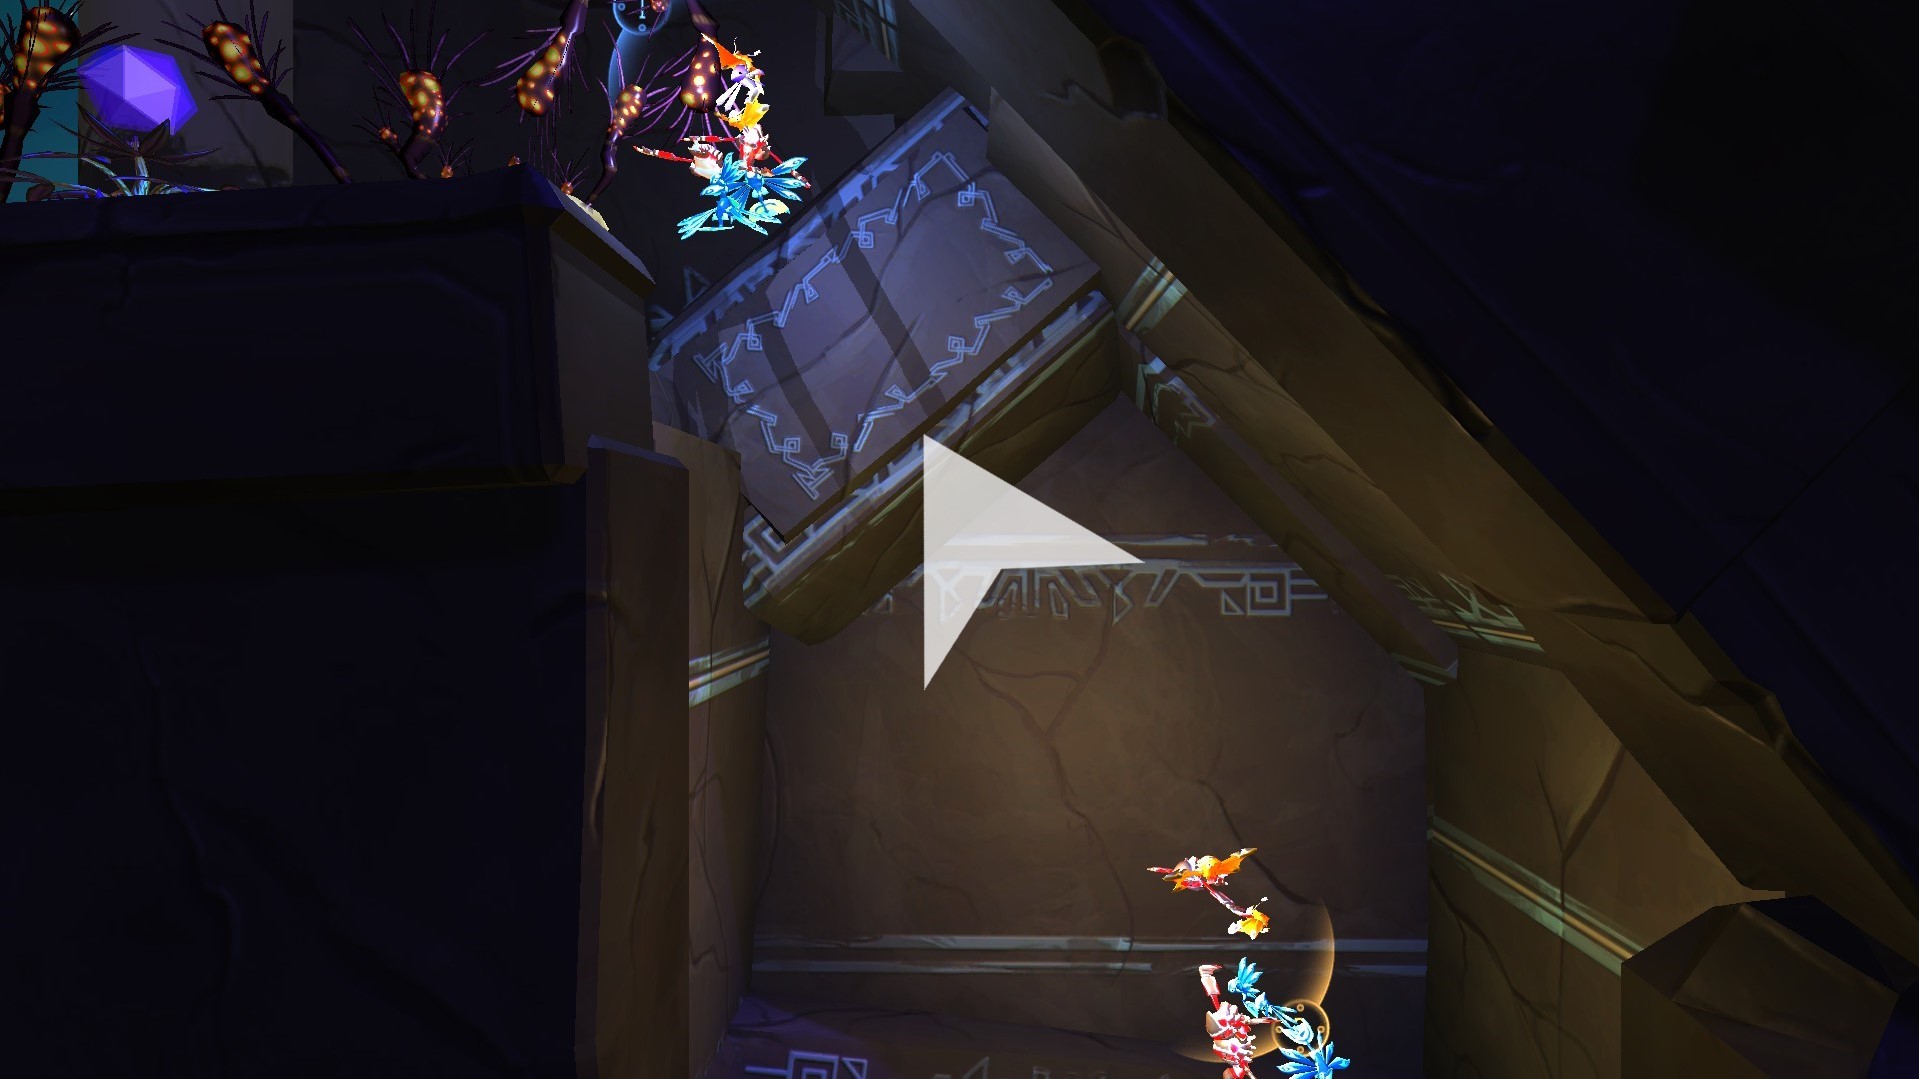
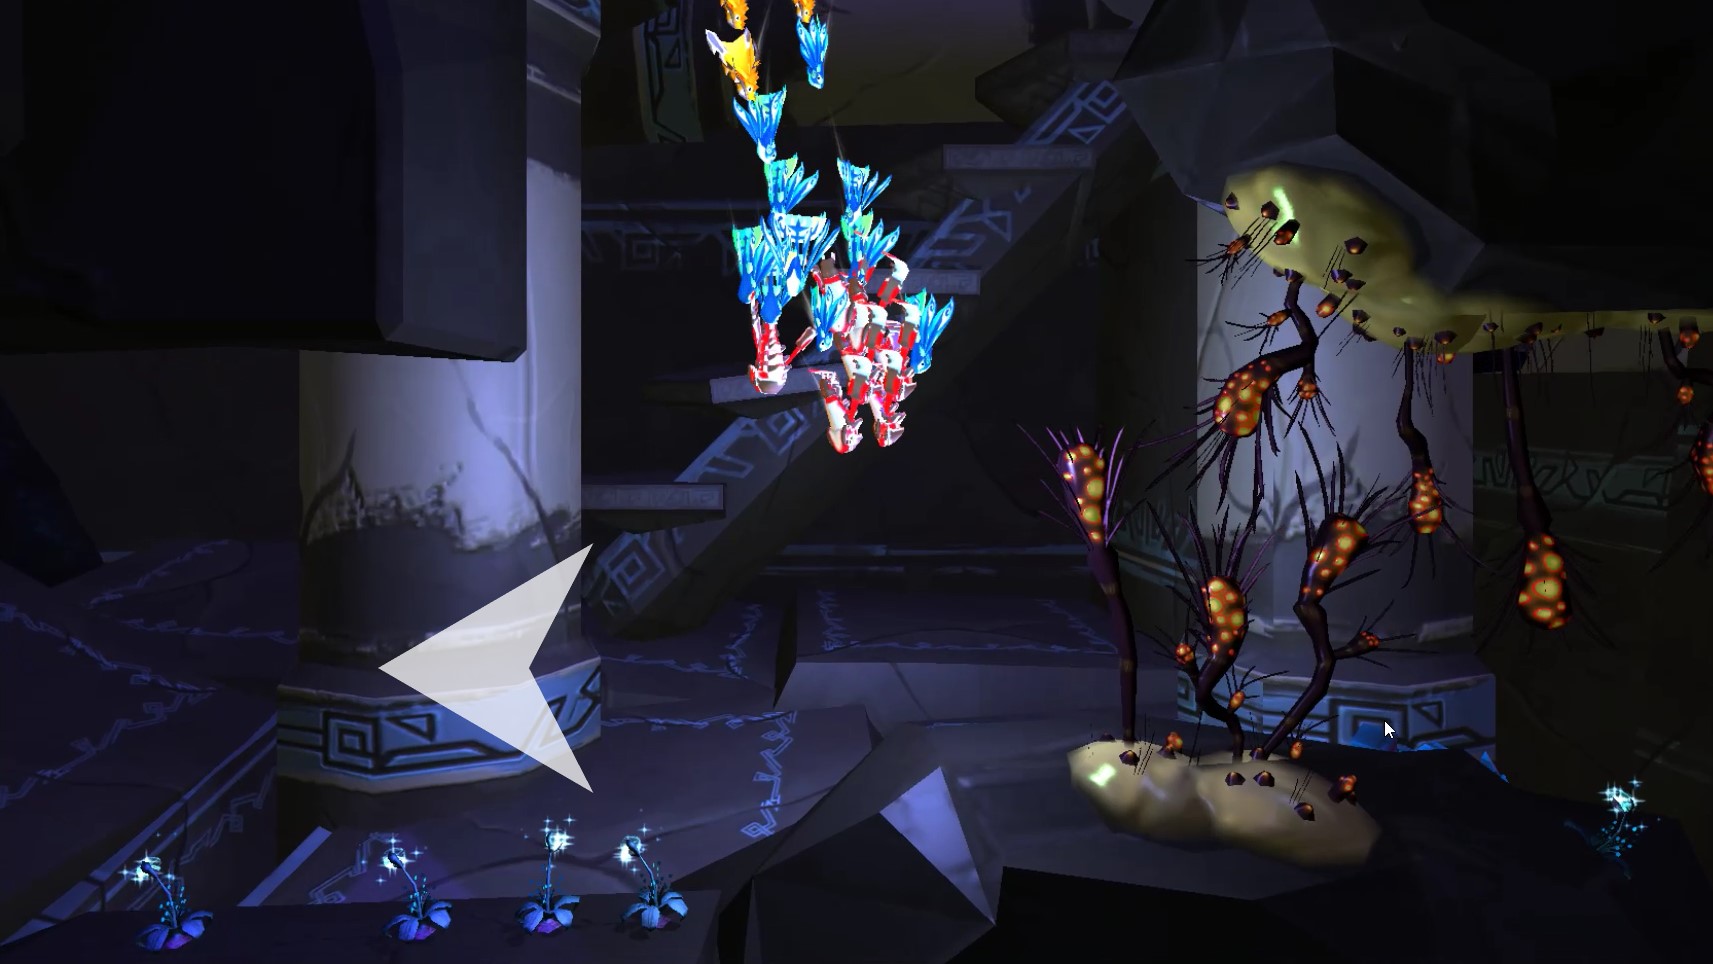
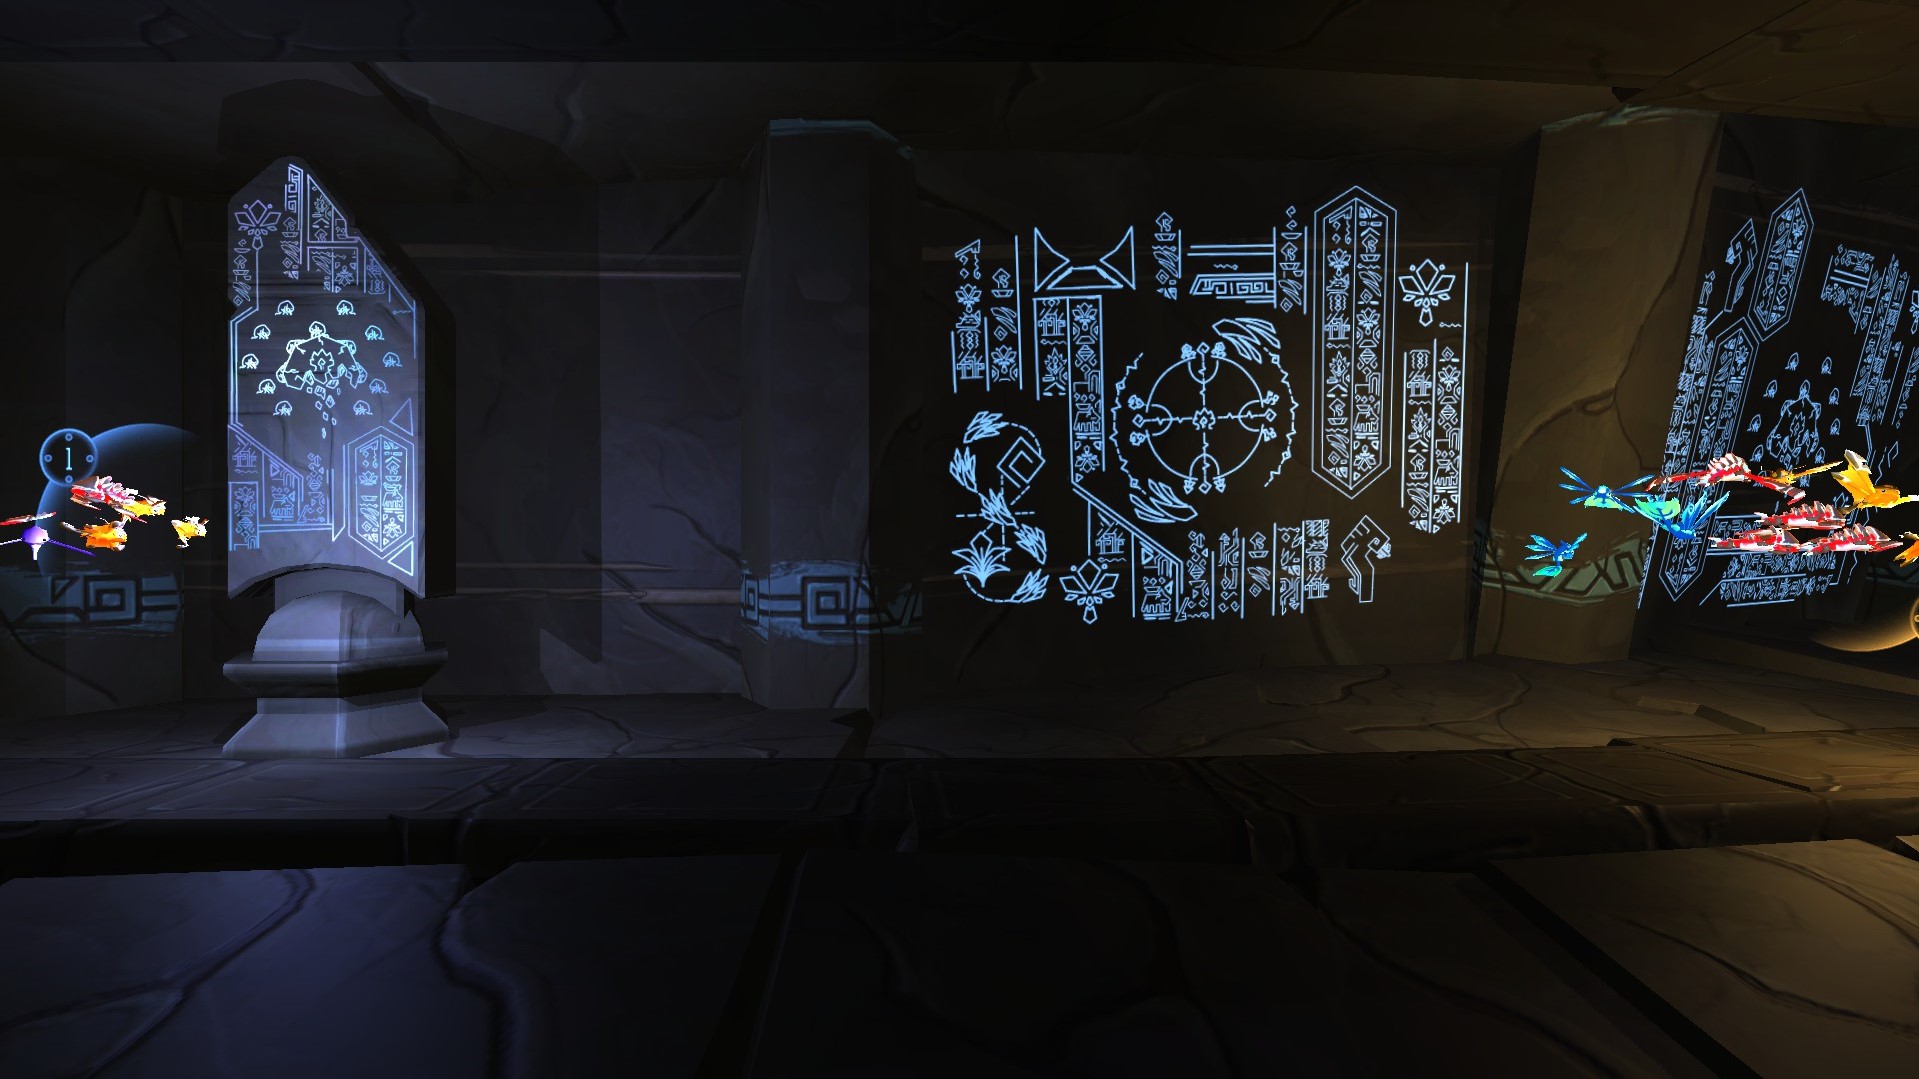
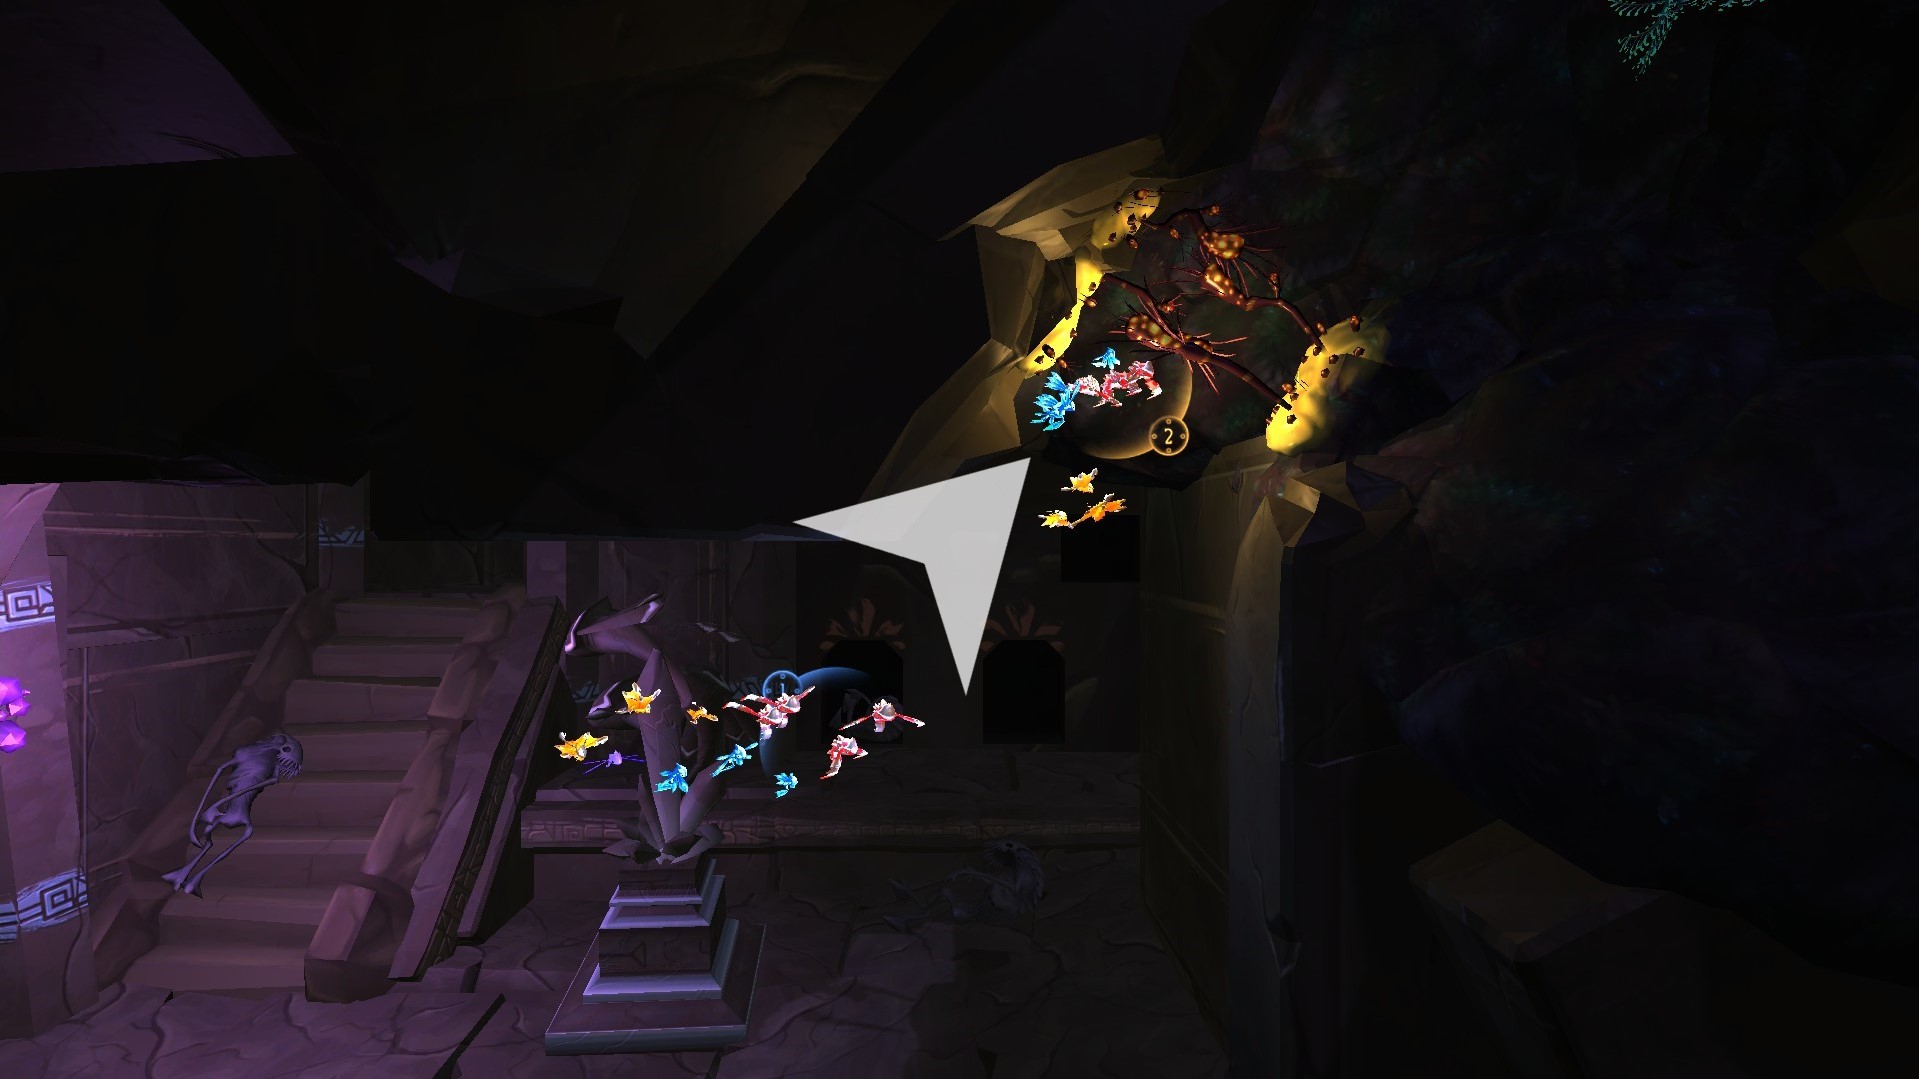
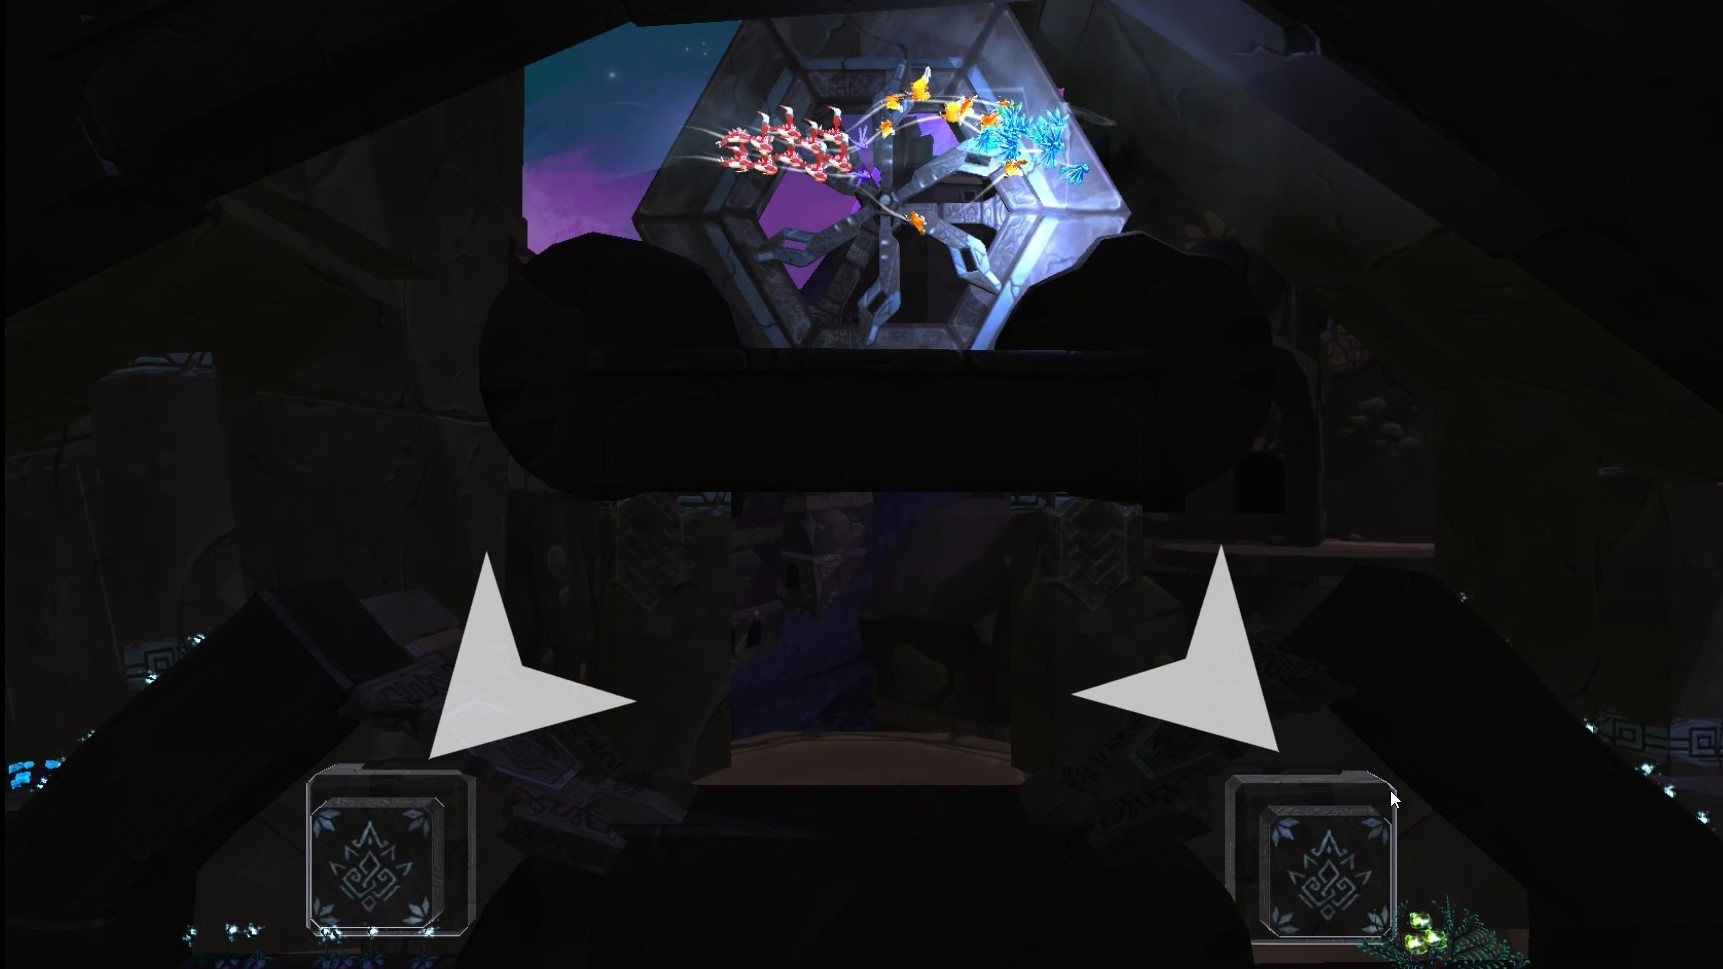
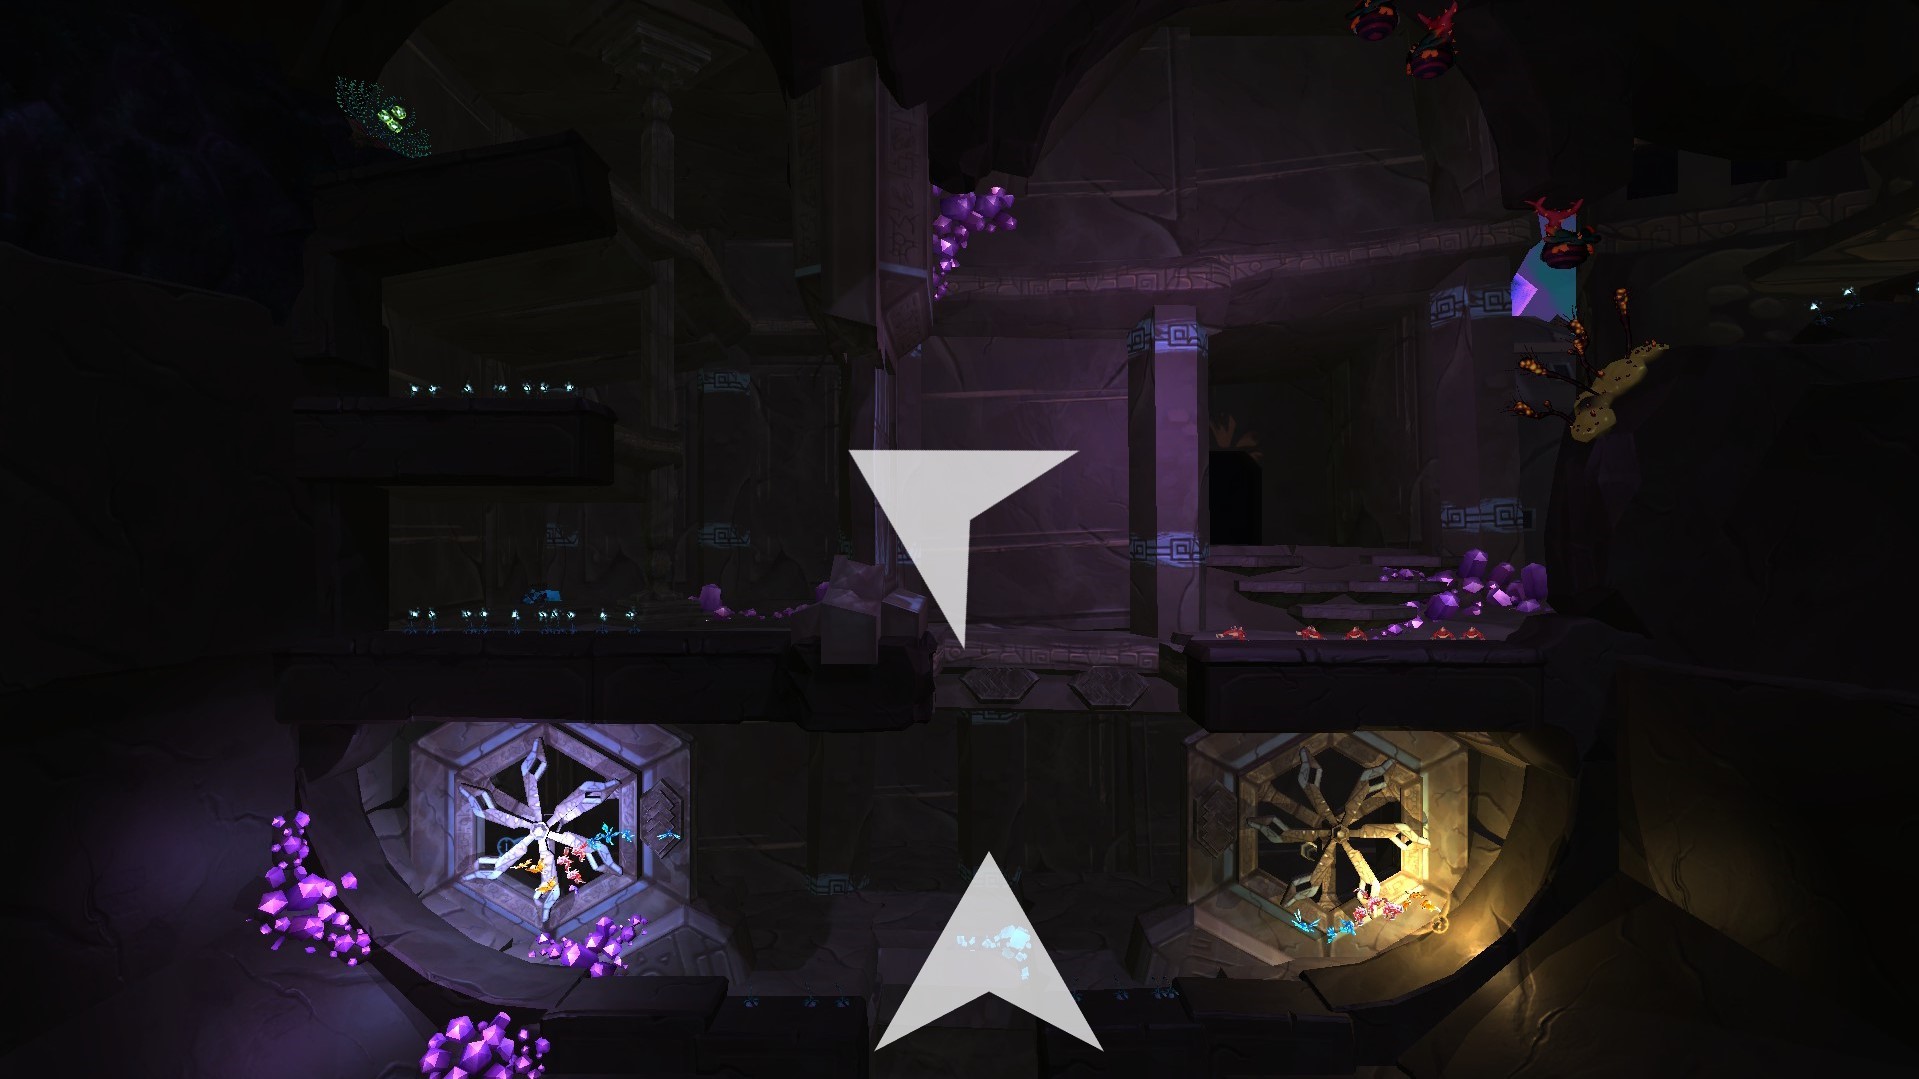
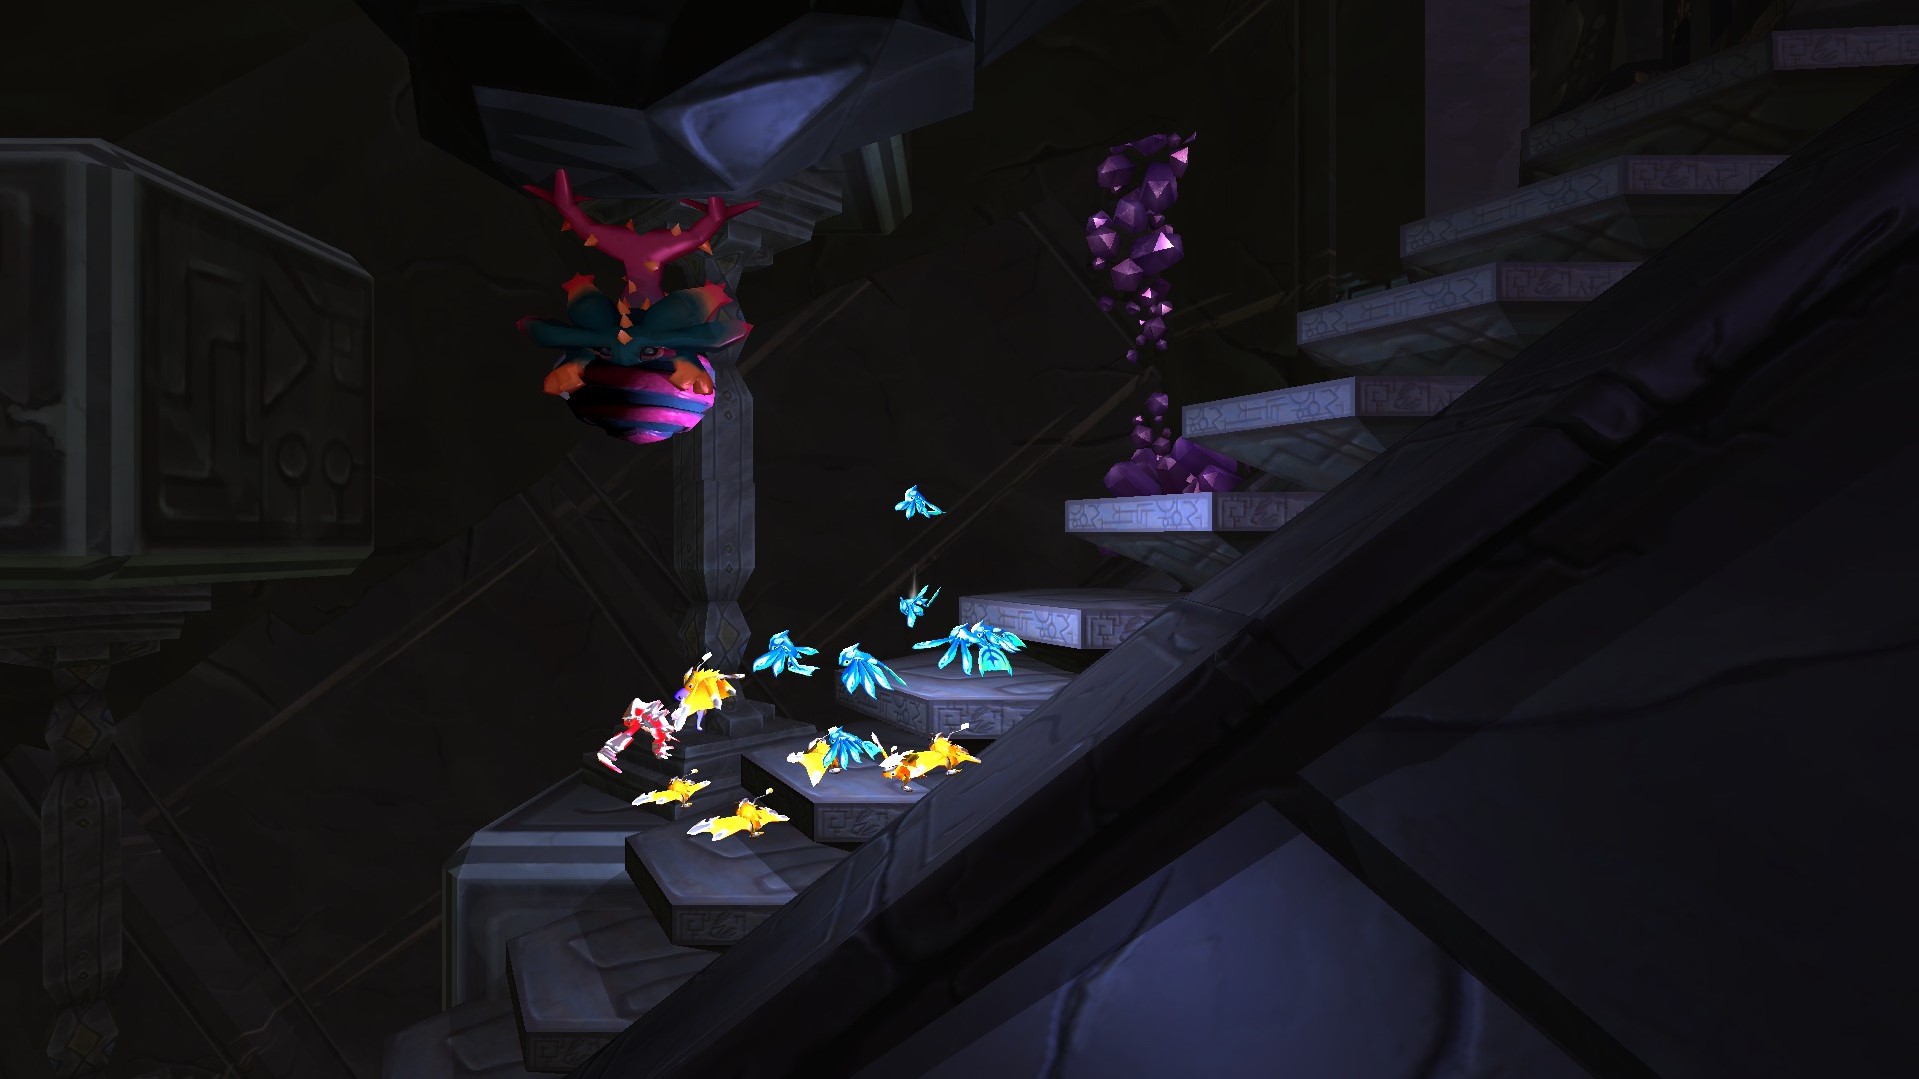
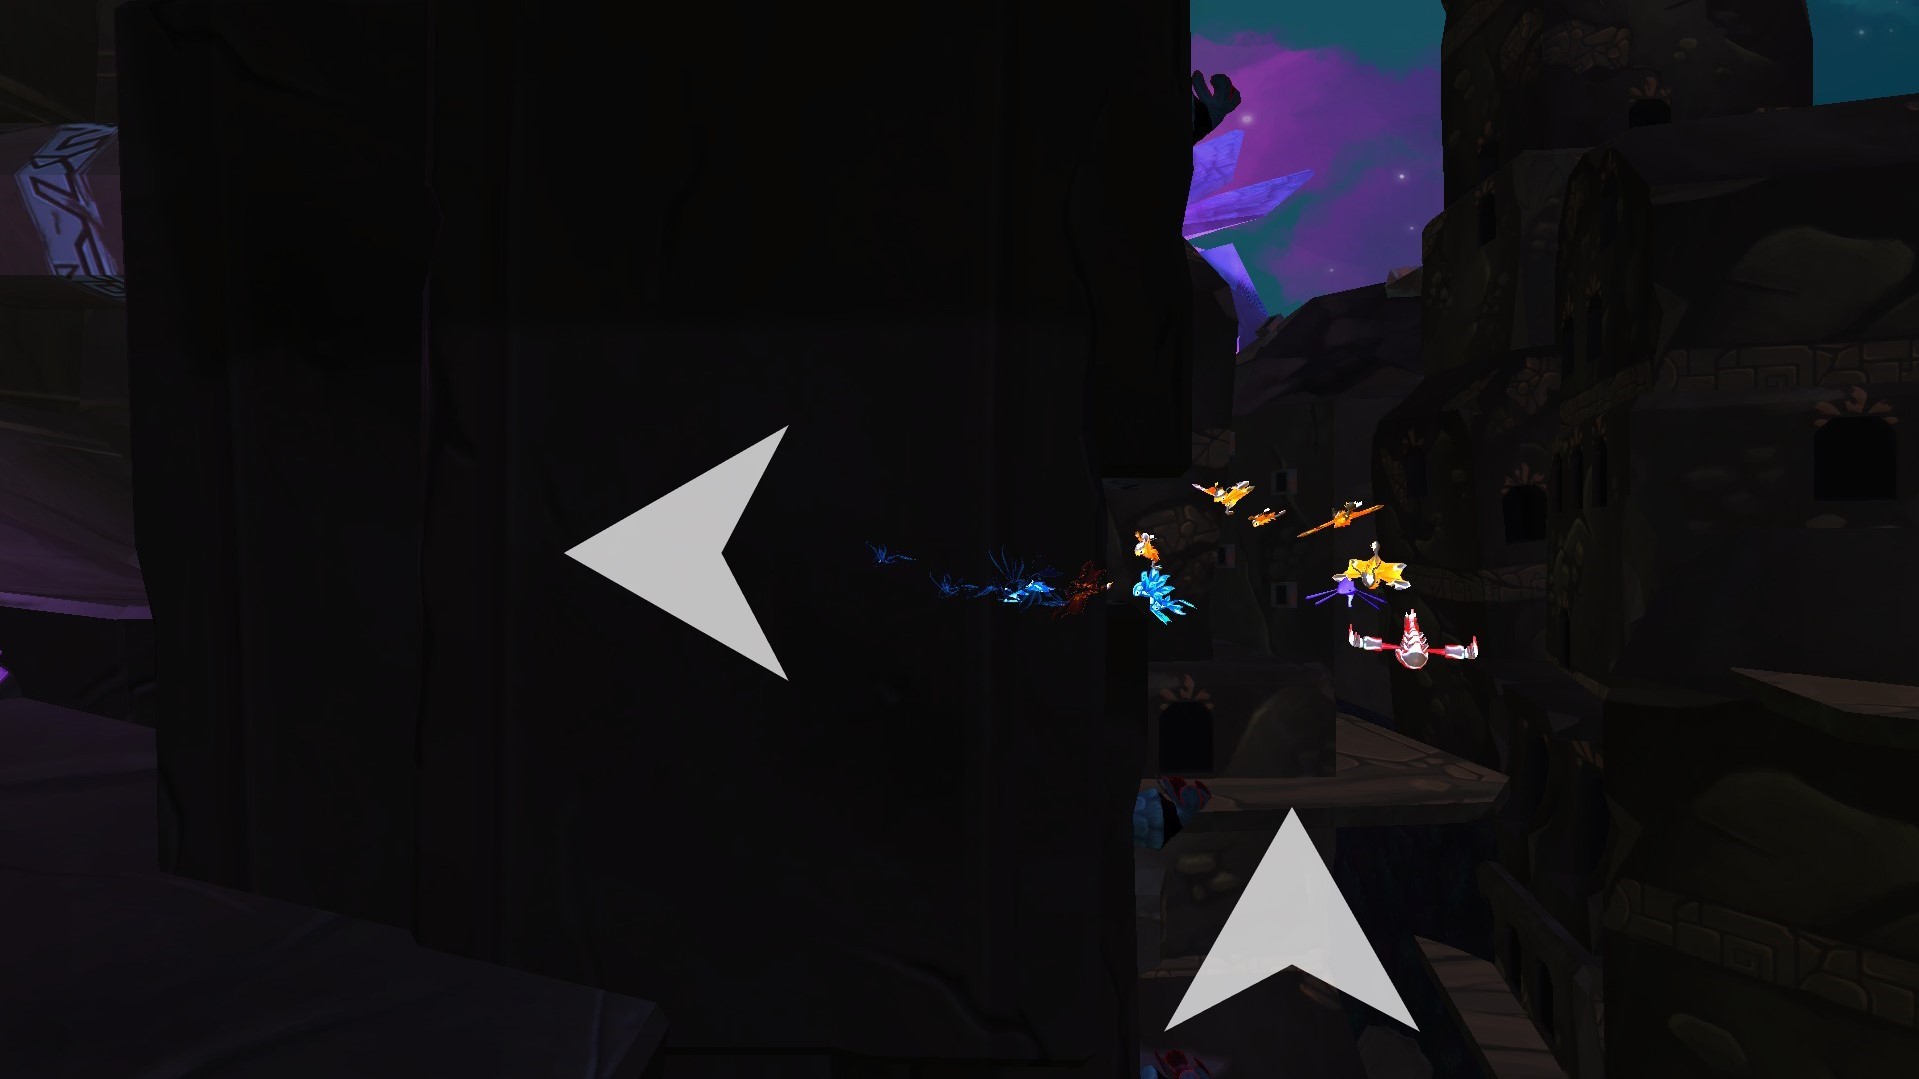
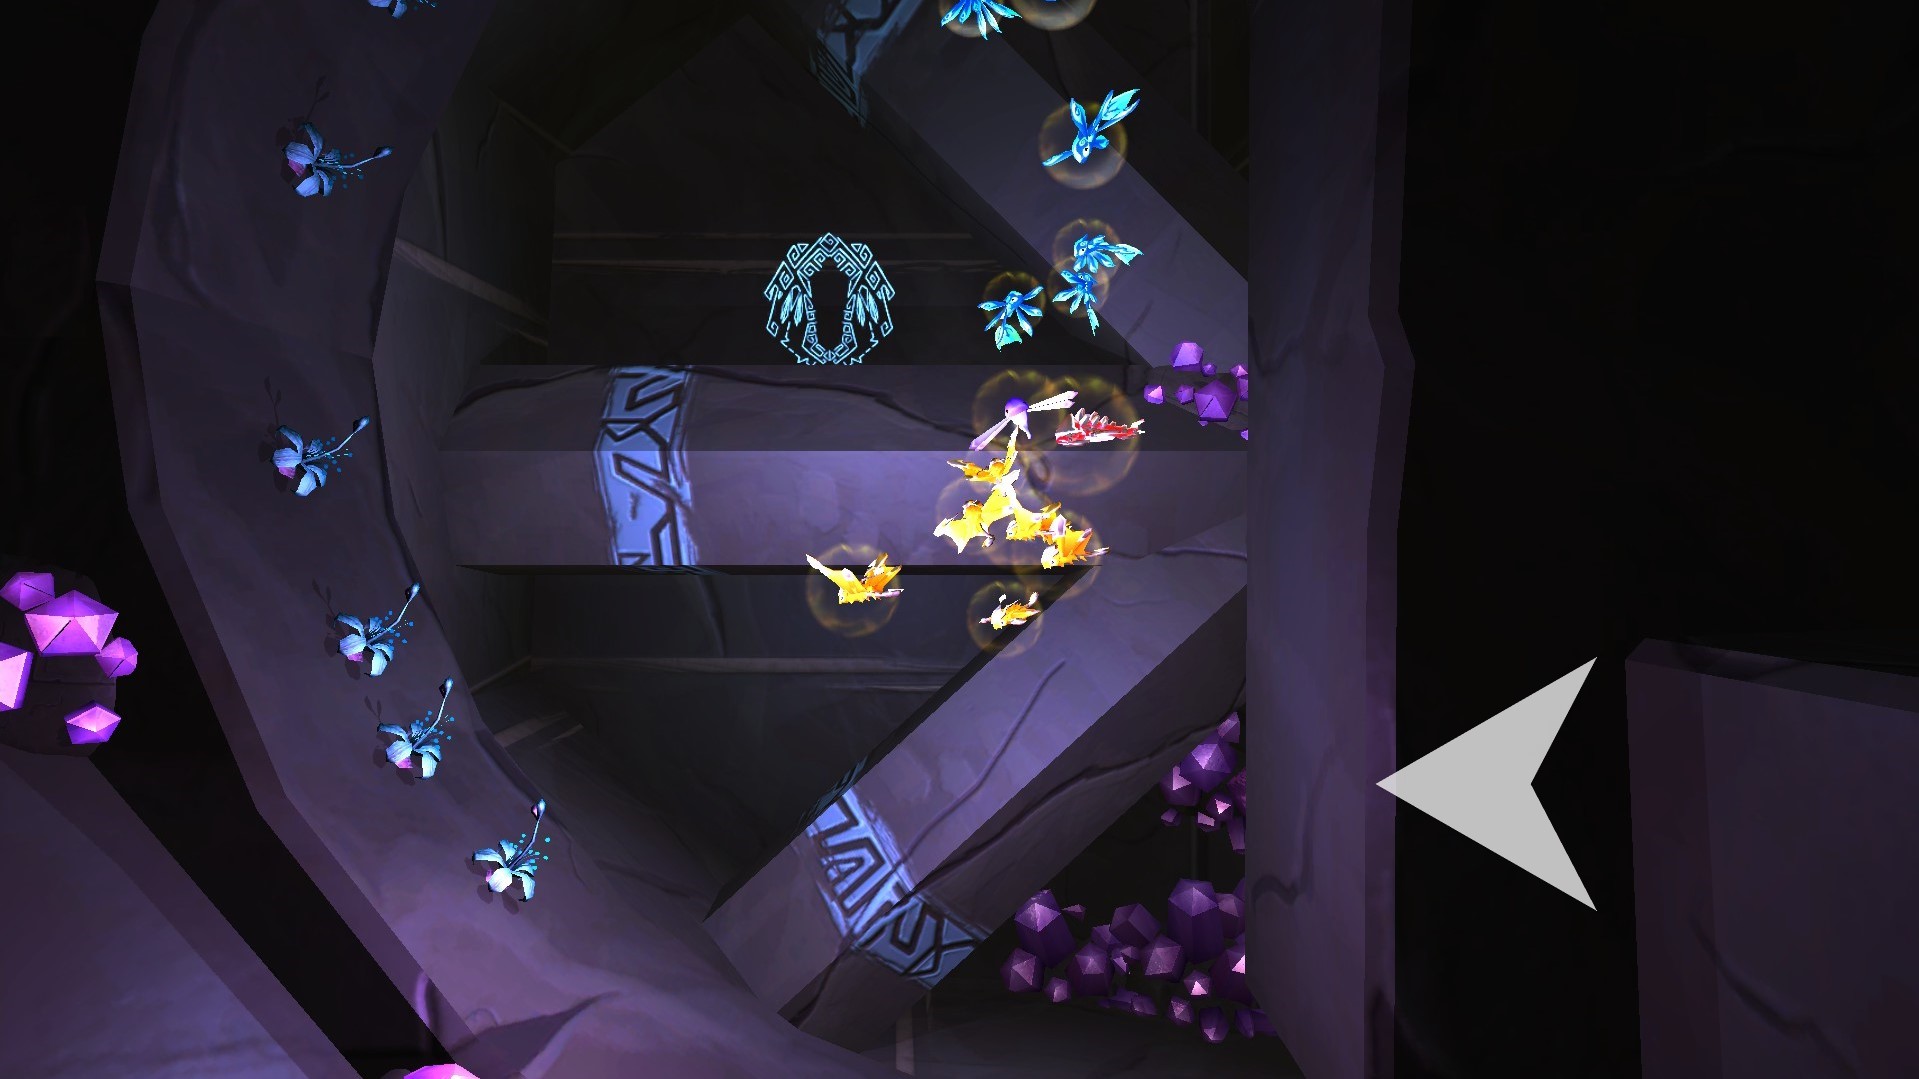
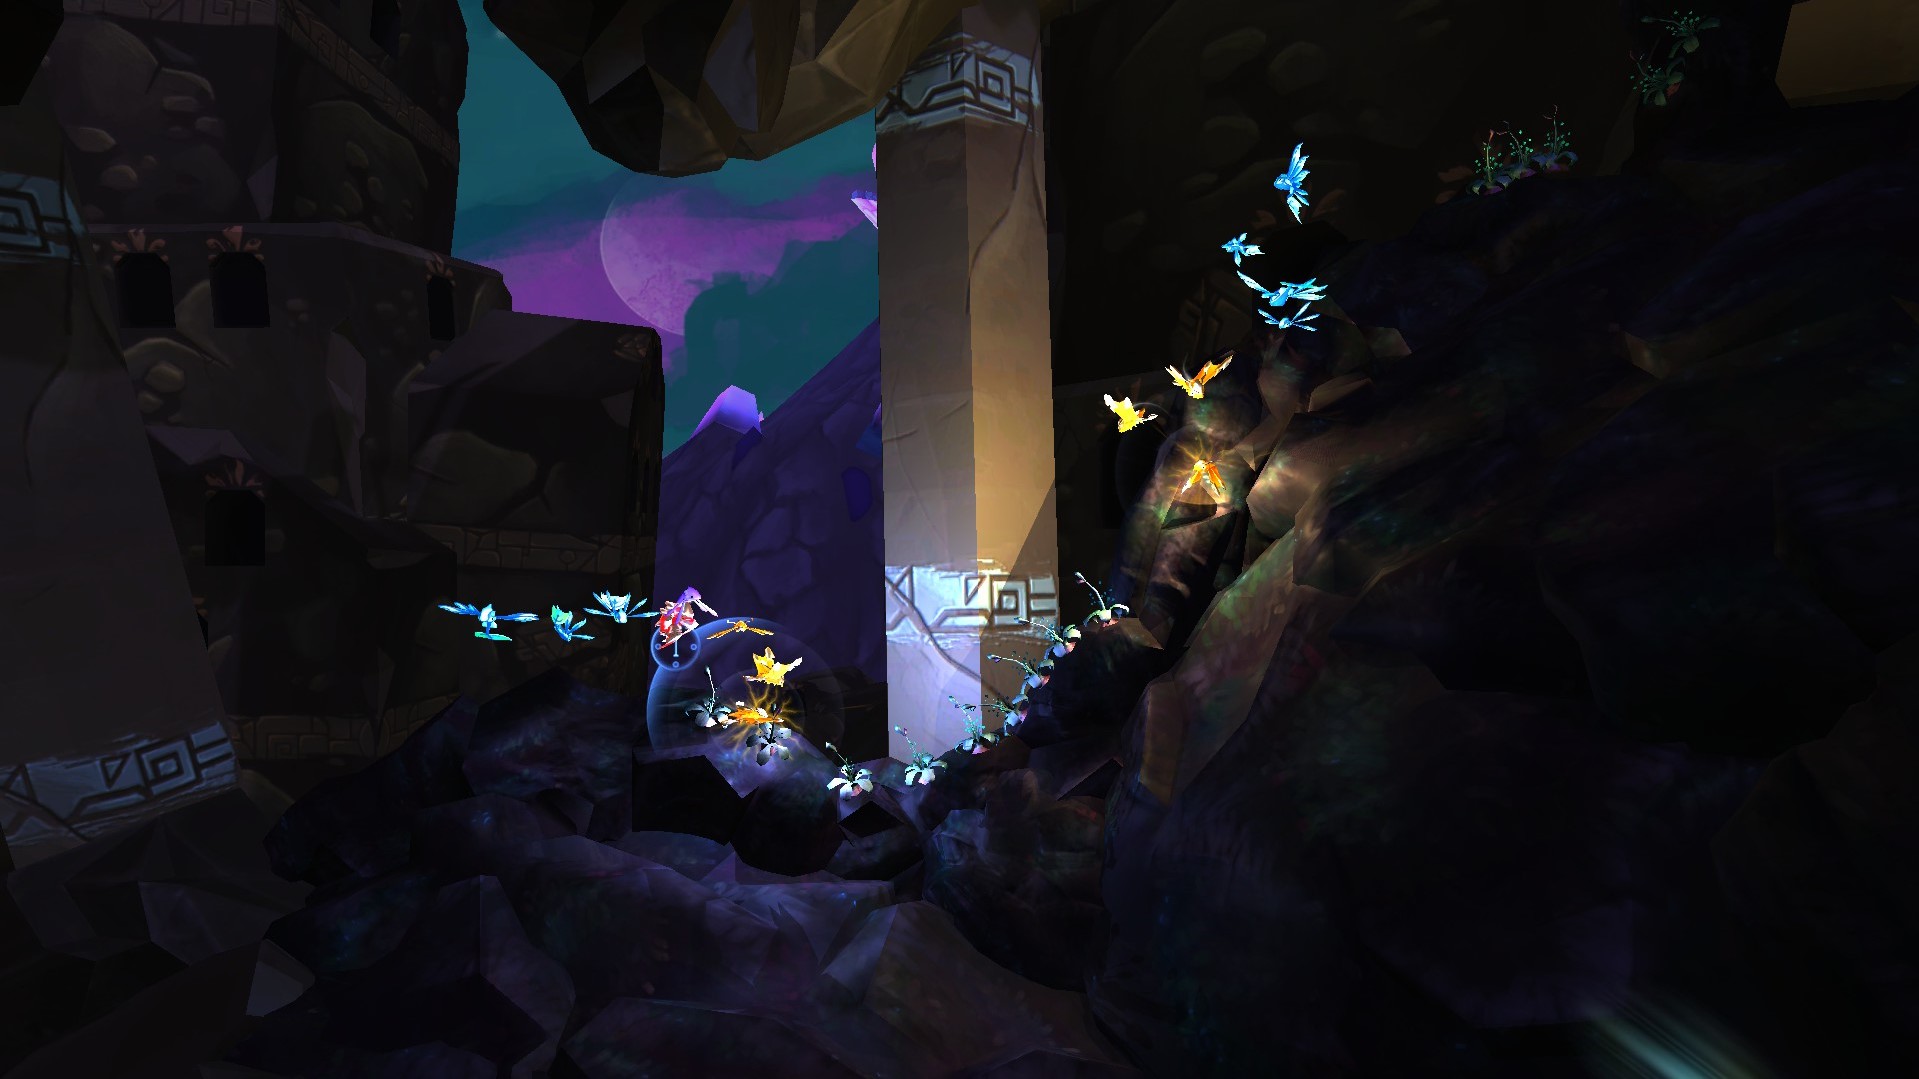
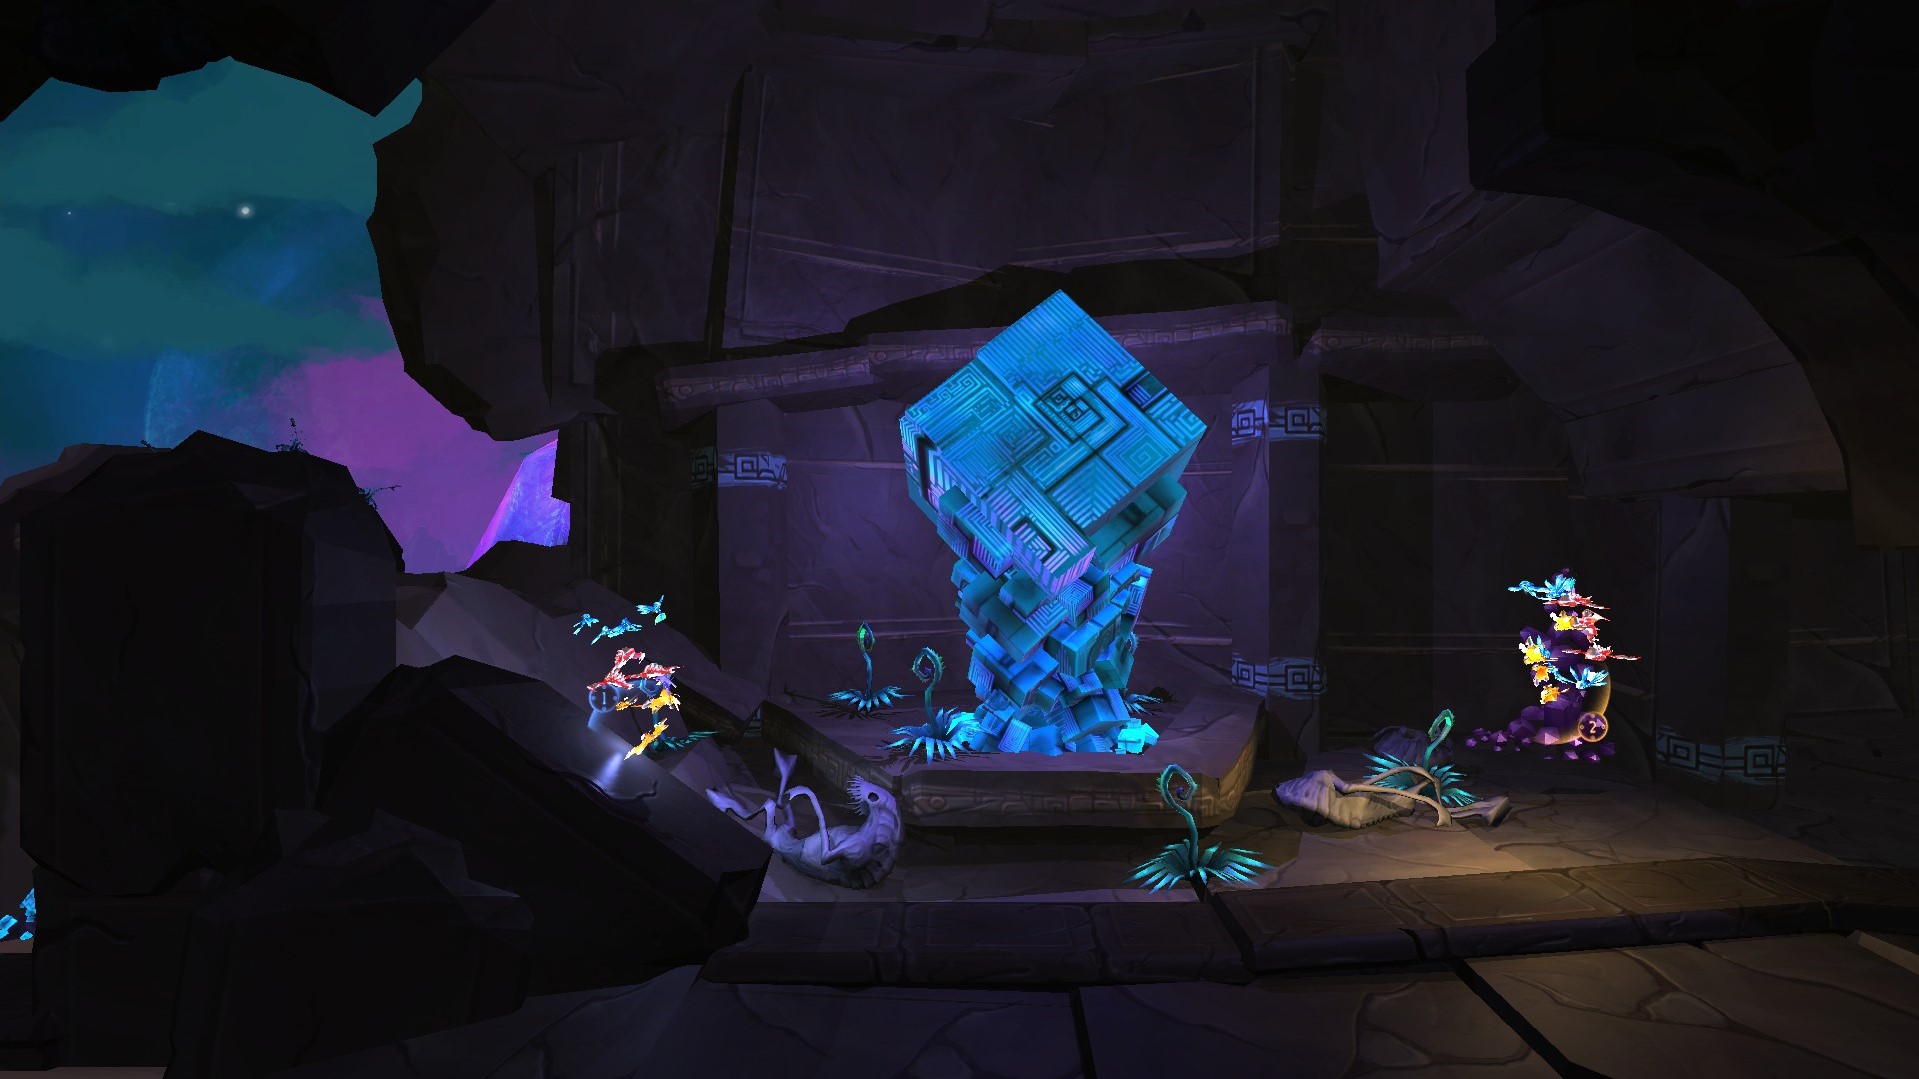
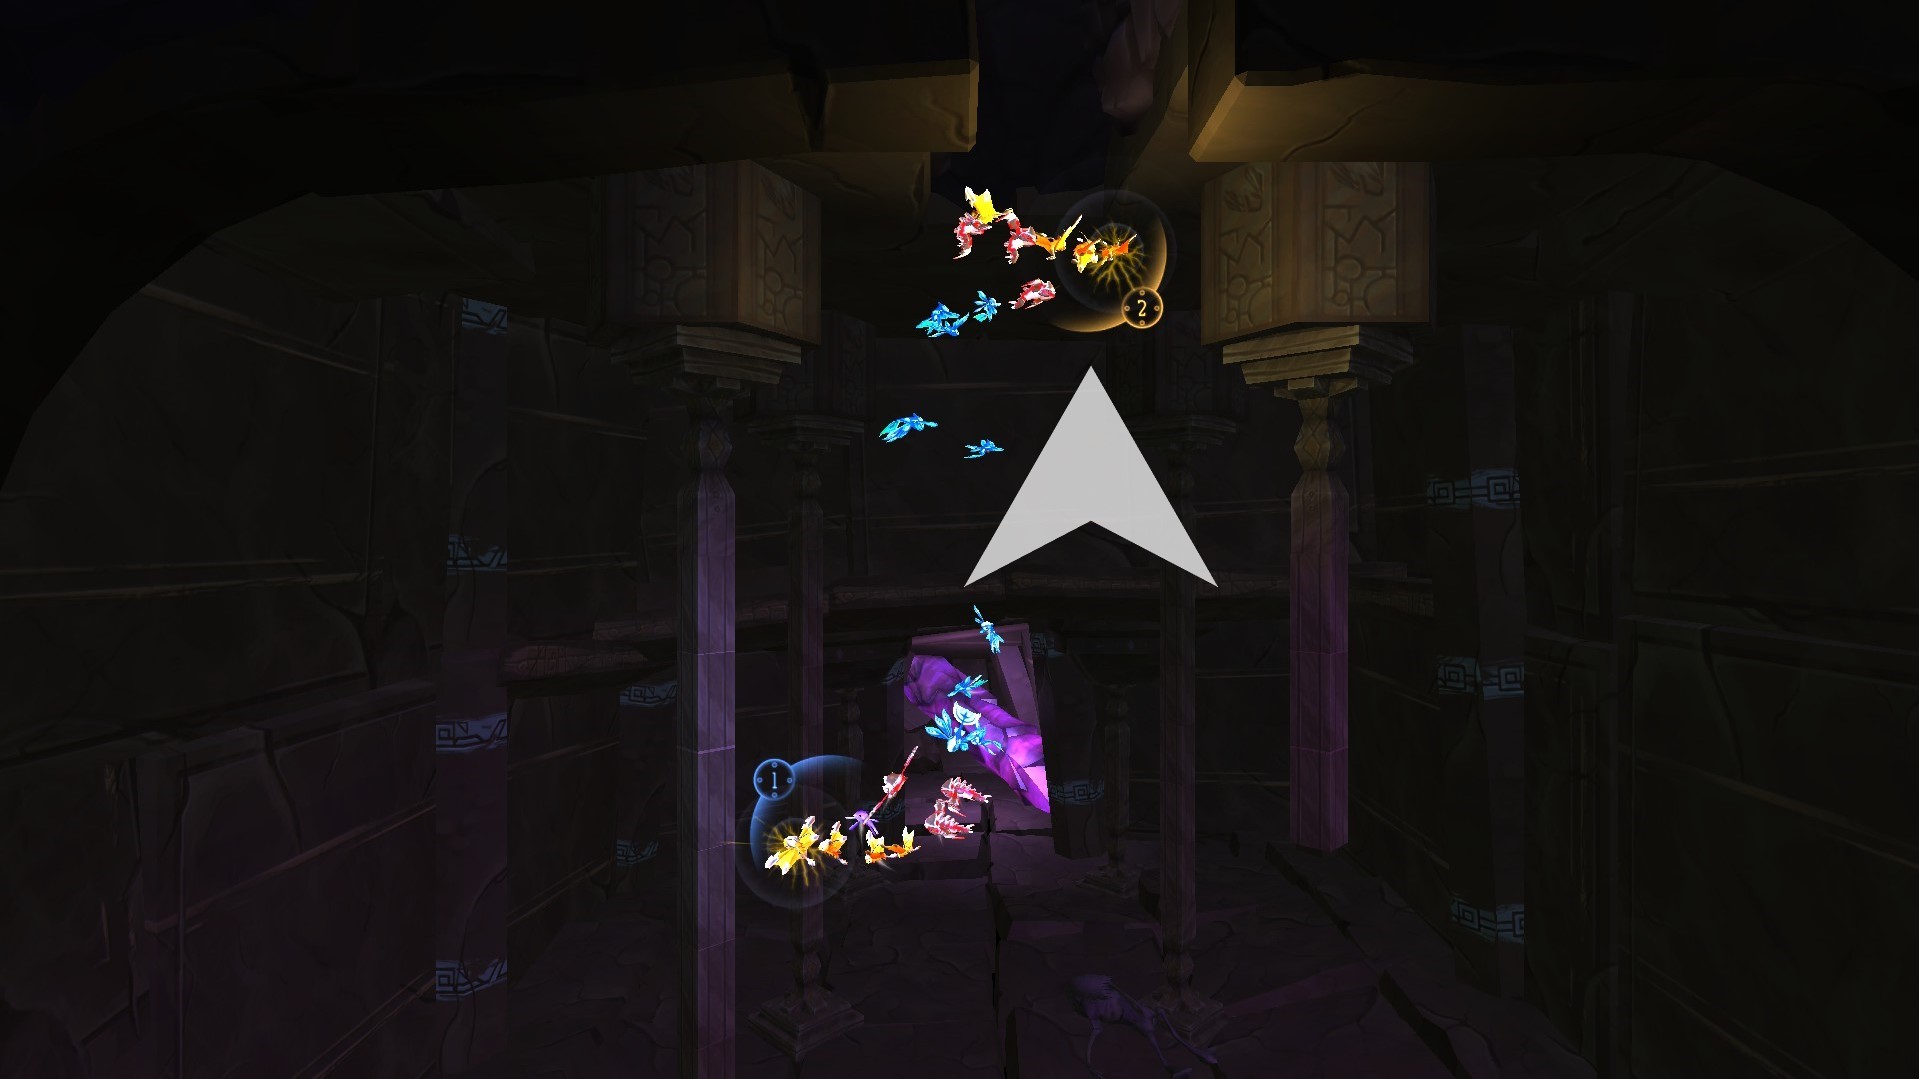
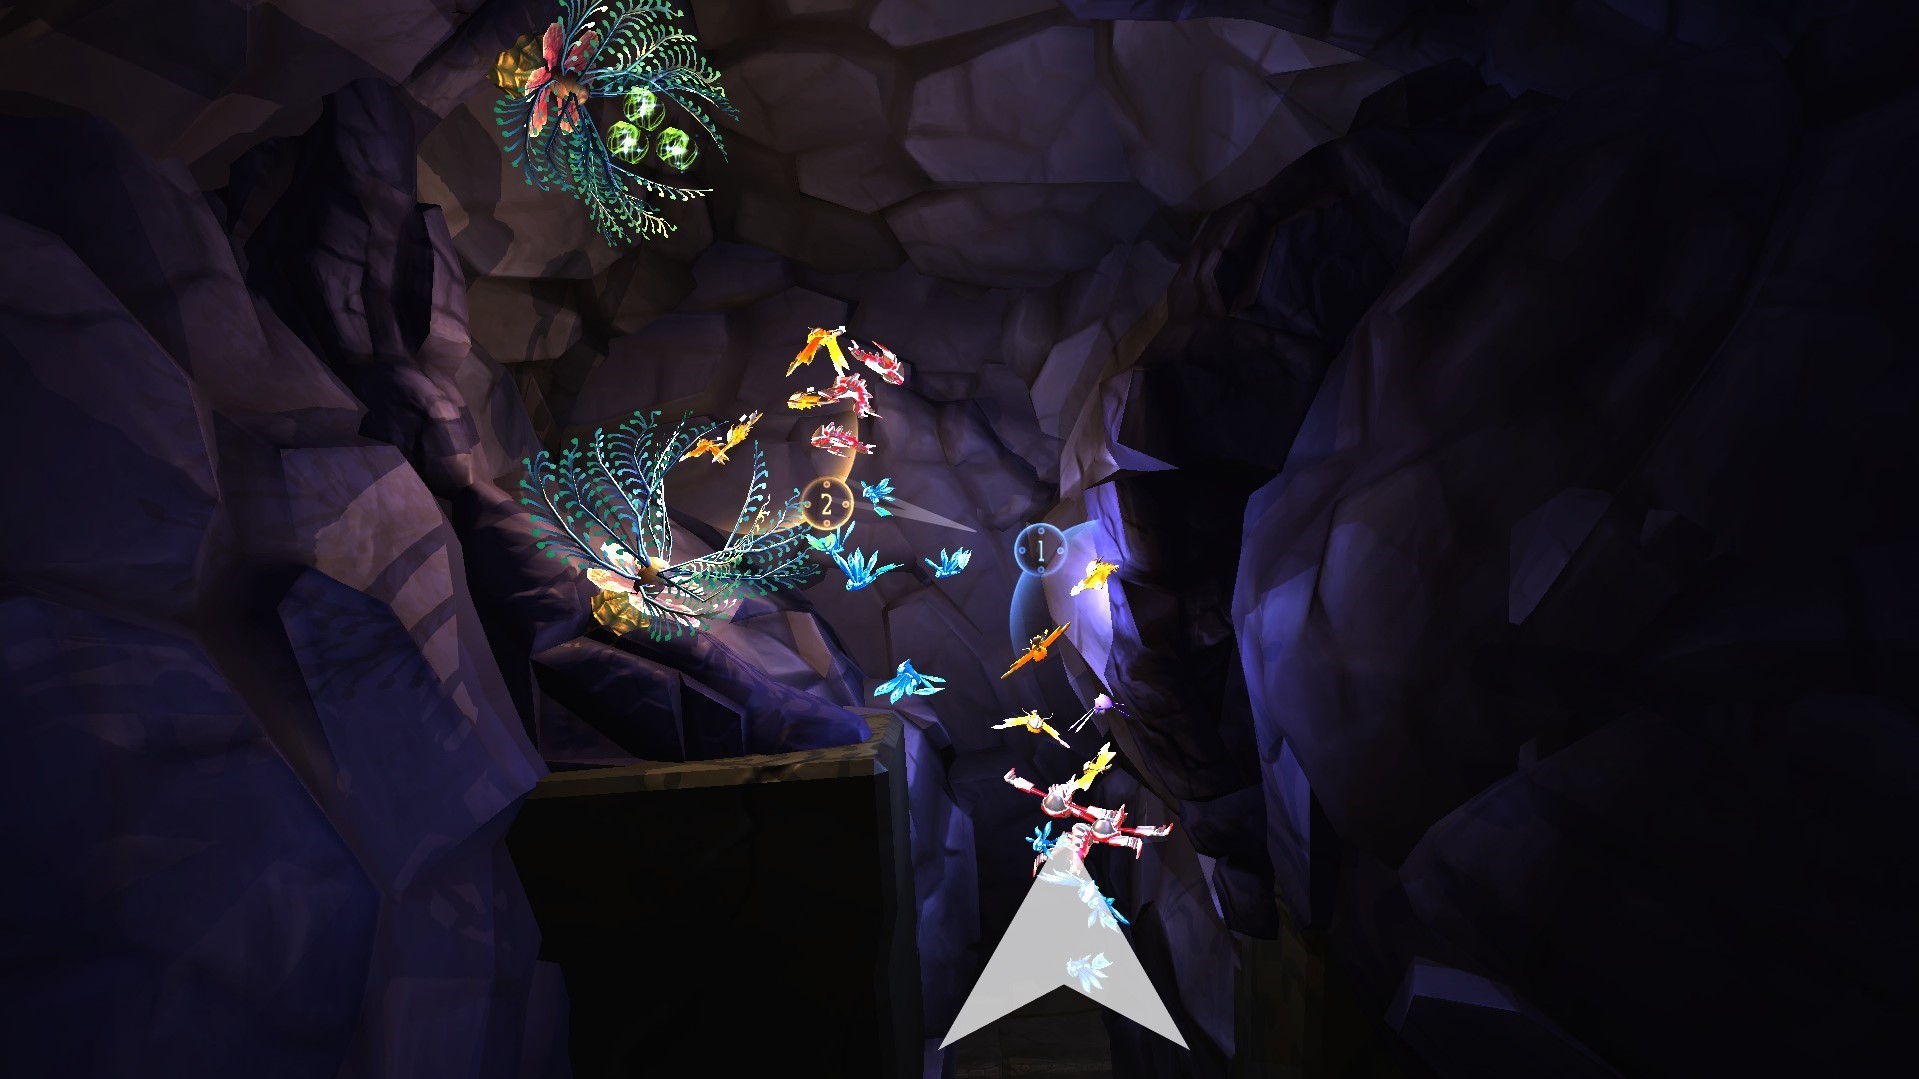
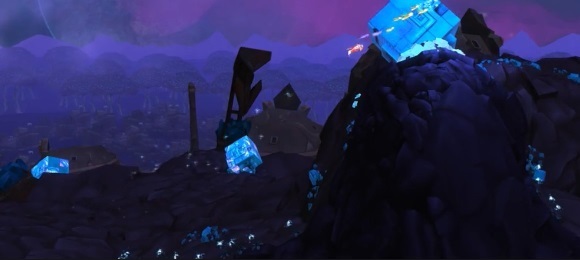
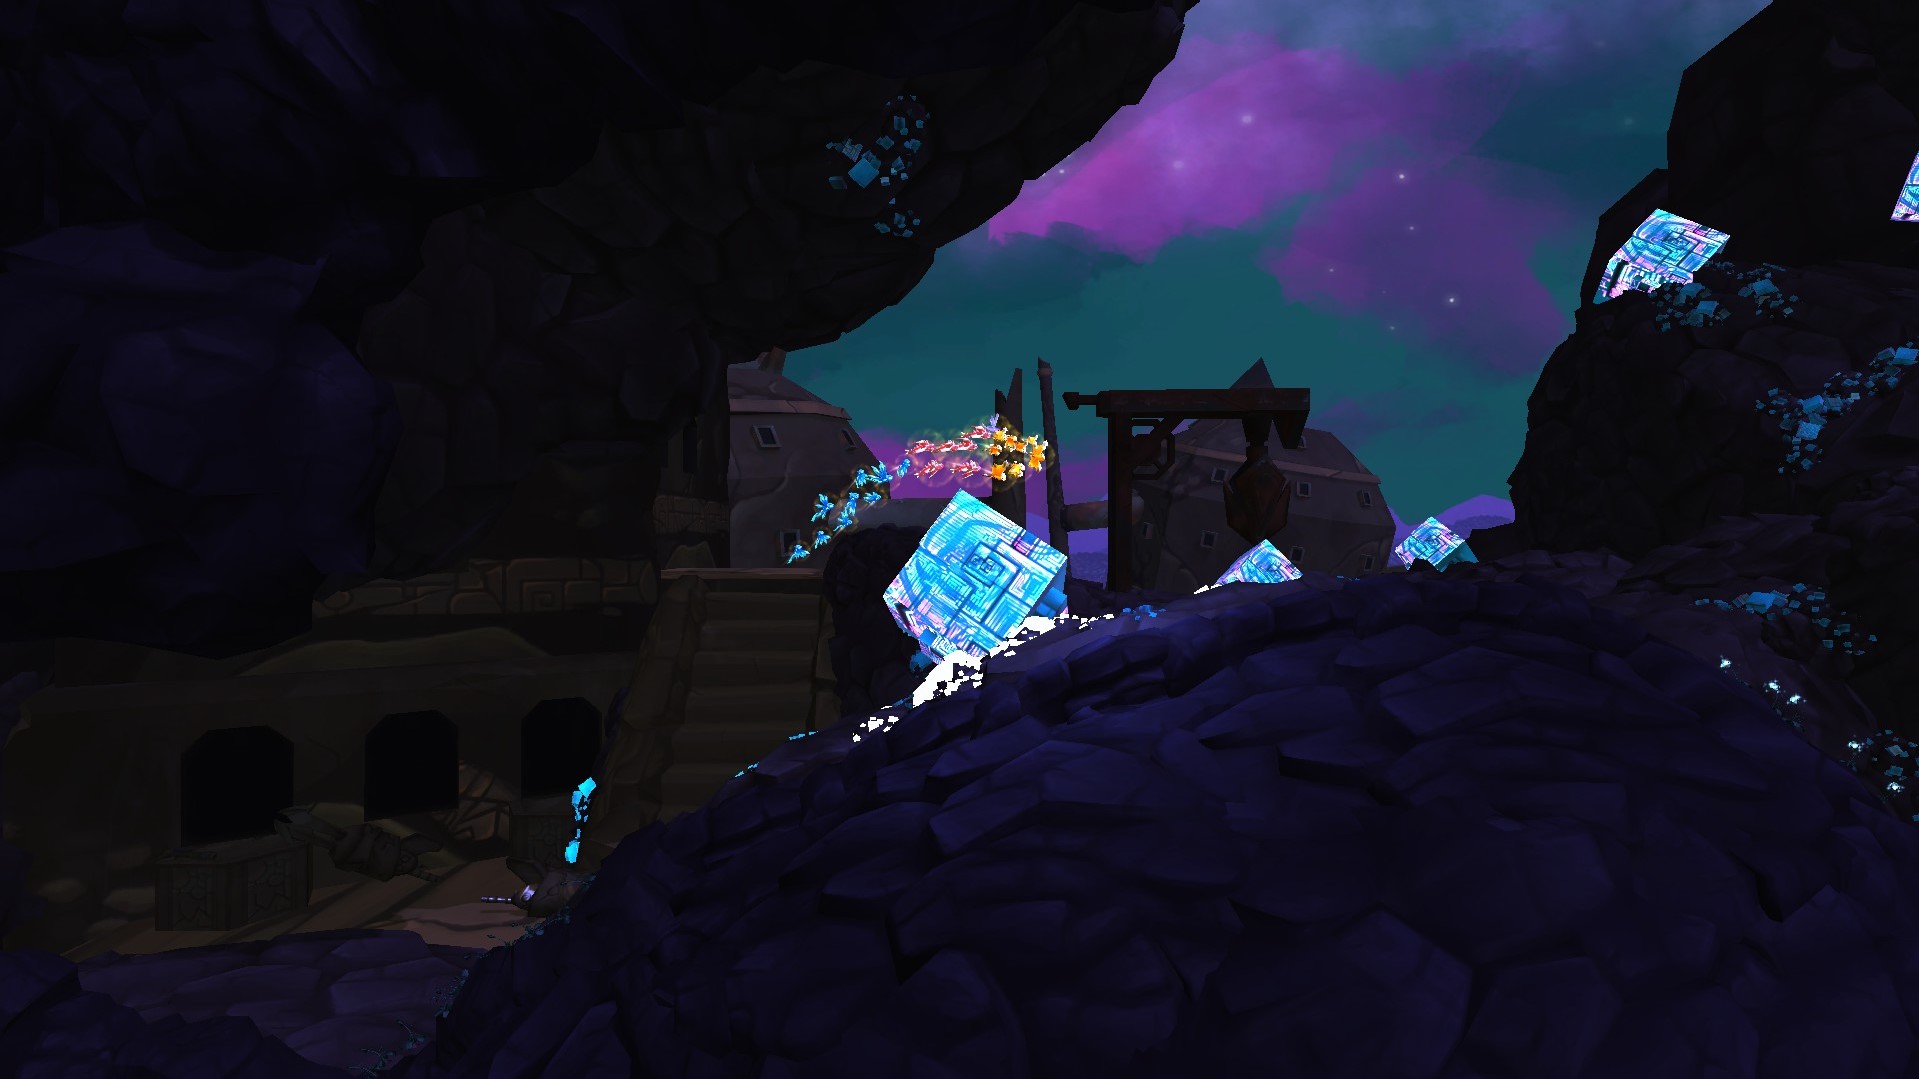
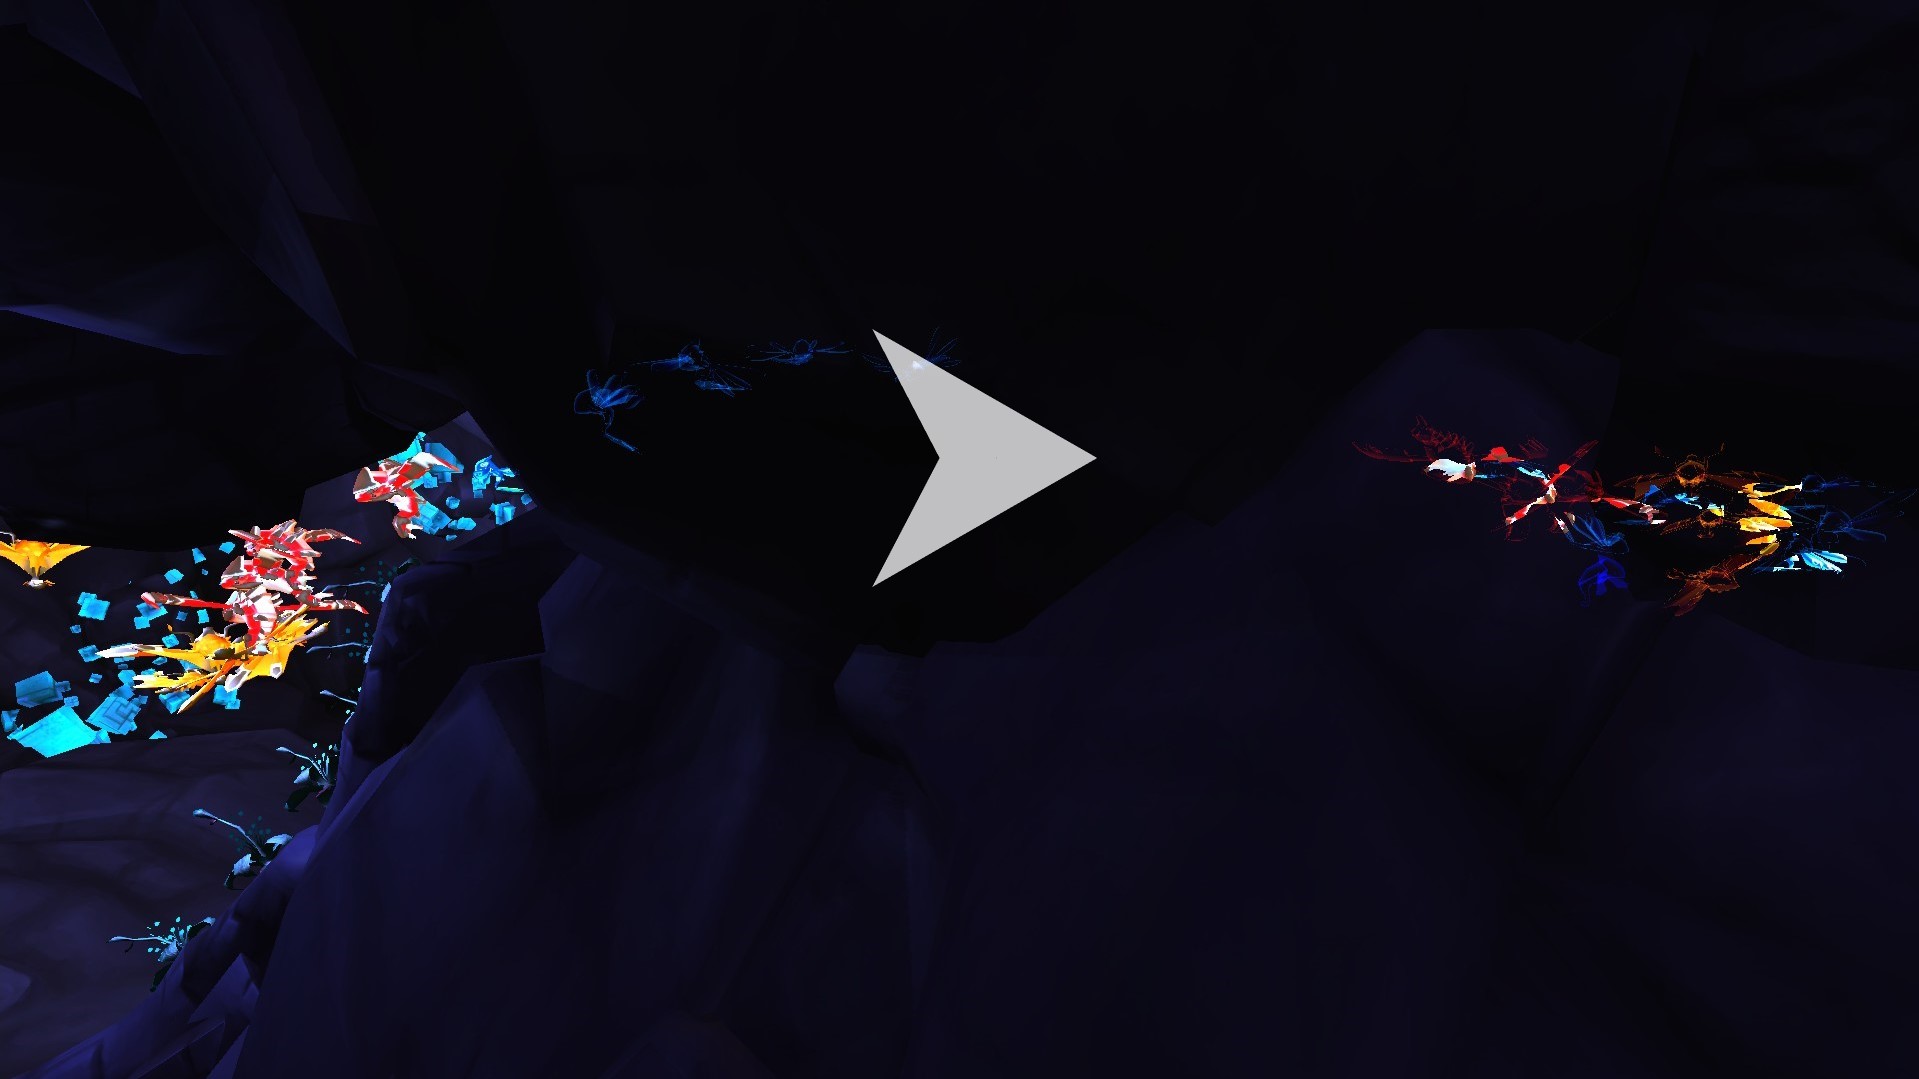
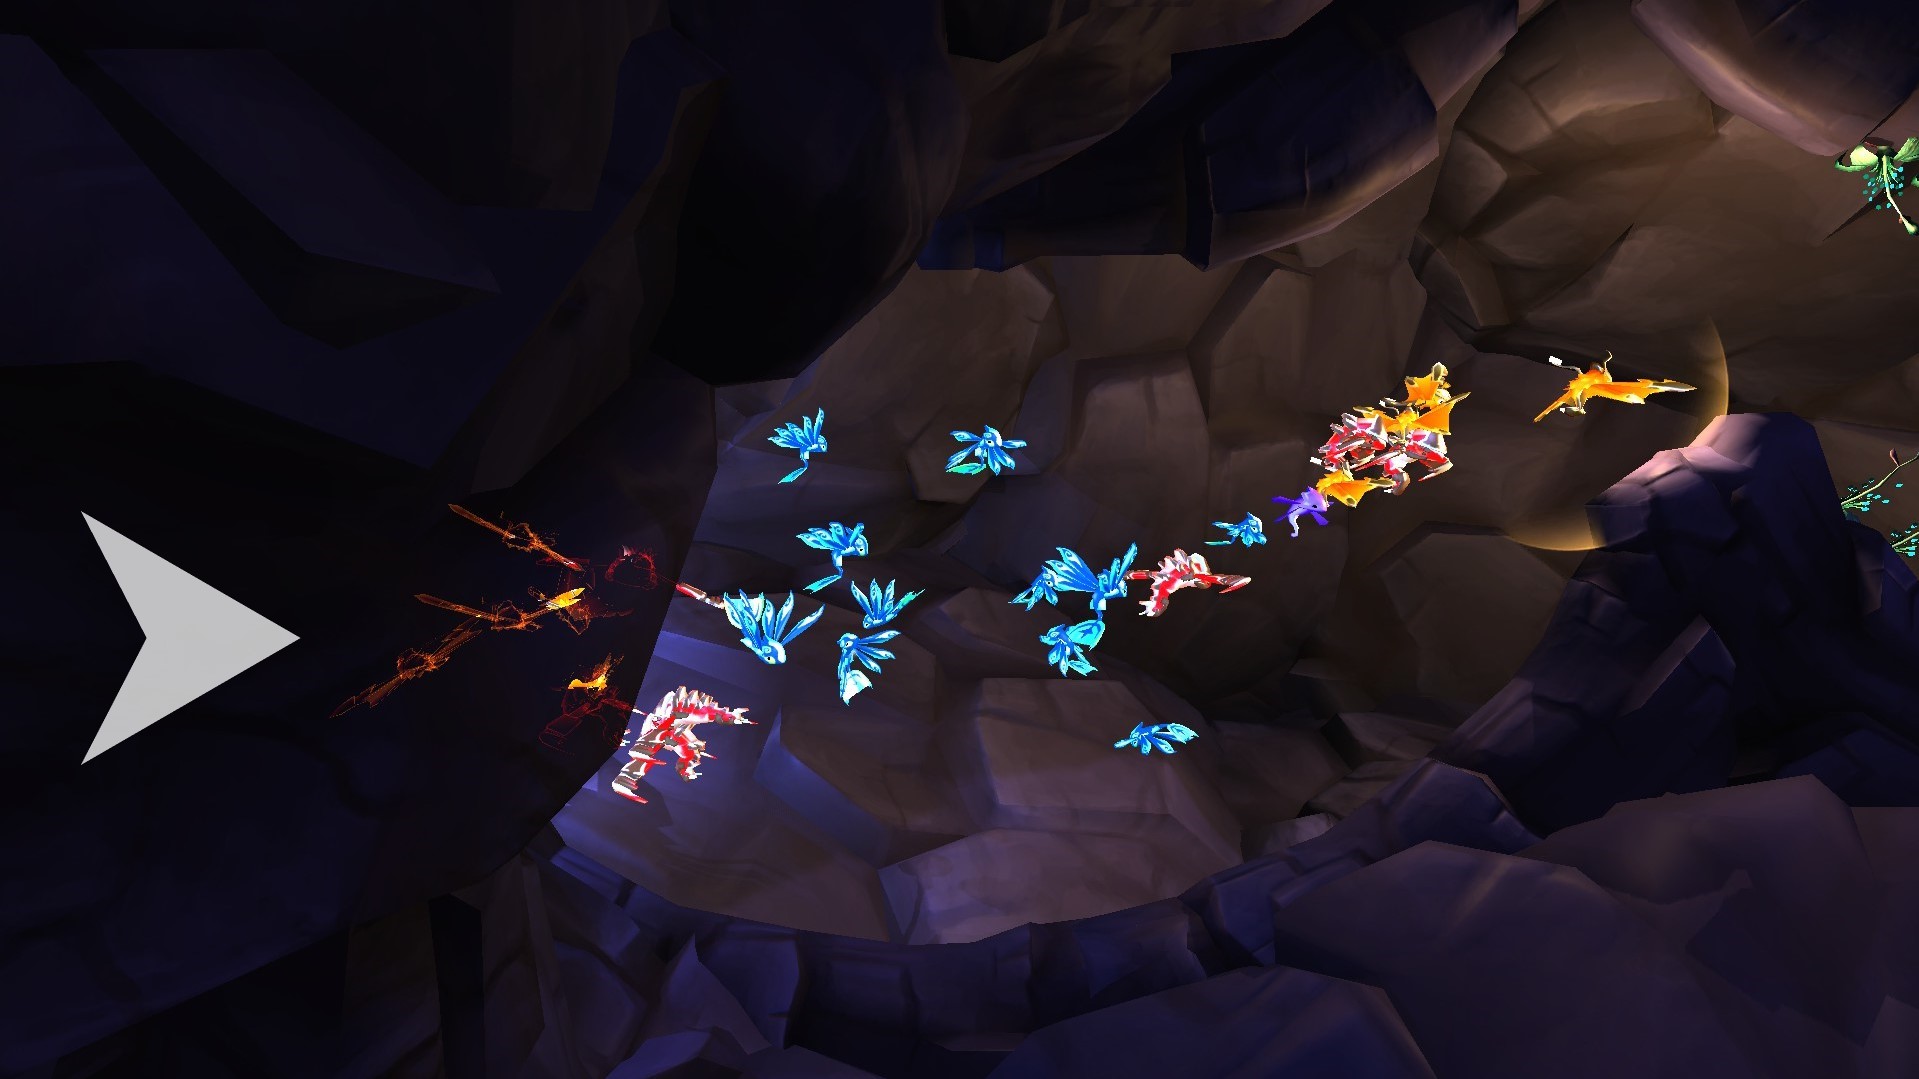
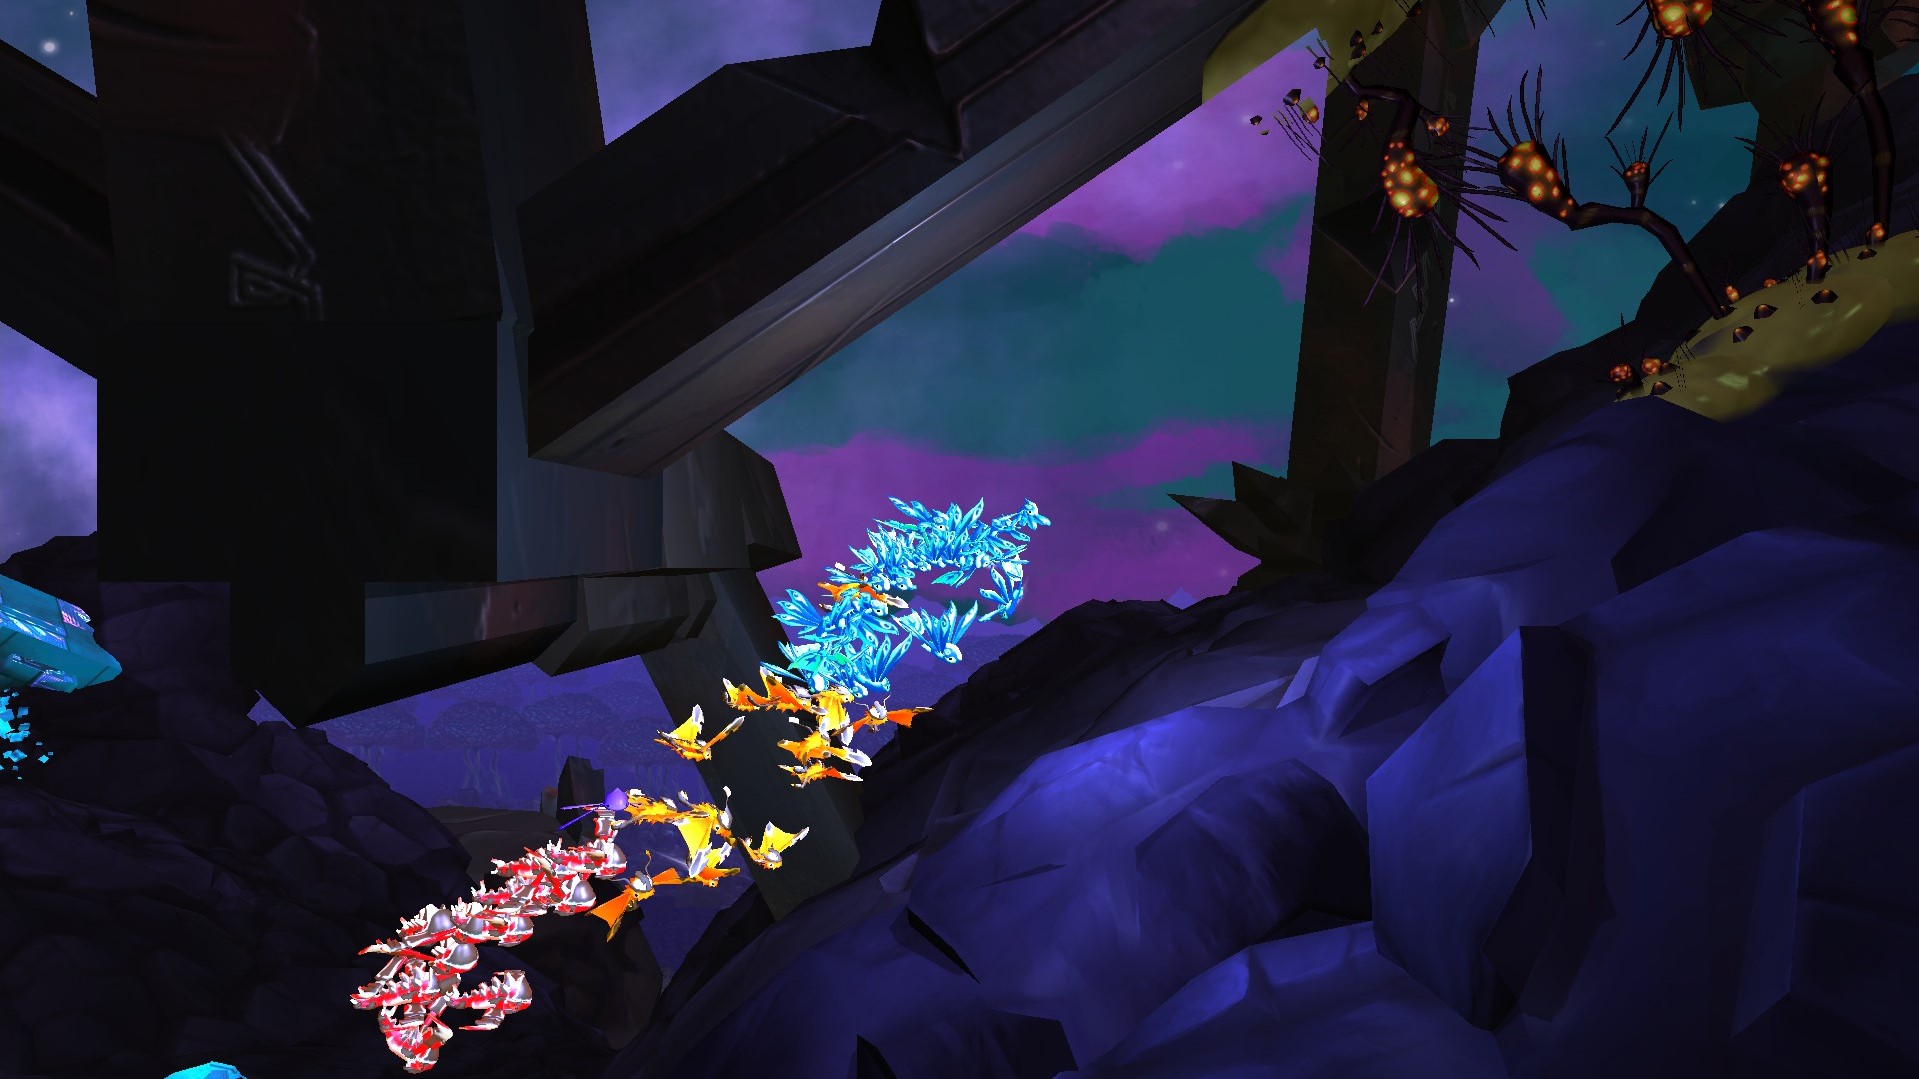
If you need more information if would help if you could provide some screenshots.
dzhinn  [author] 3 Oct, 2022 @ 6:04am 
Oh, it was unexpected! Thanks :)
⠀⠀:ohh:
:LegendaryLumini:

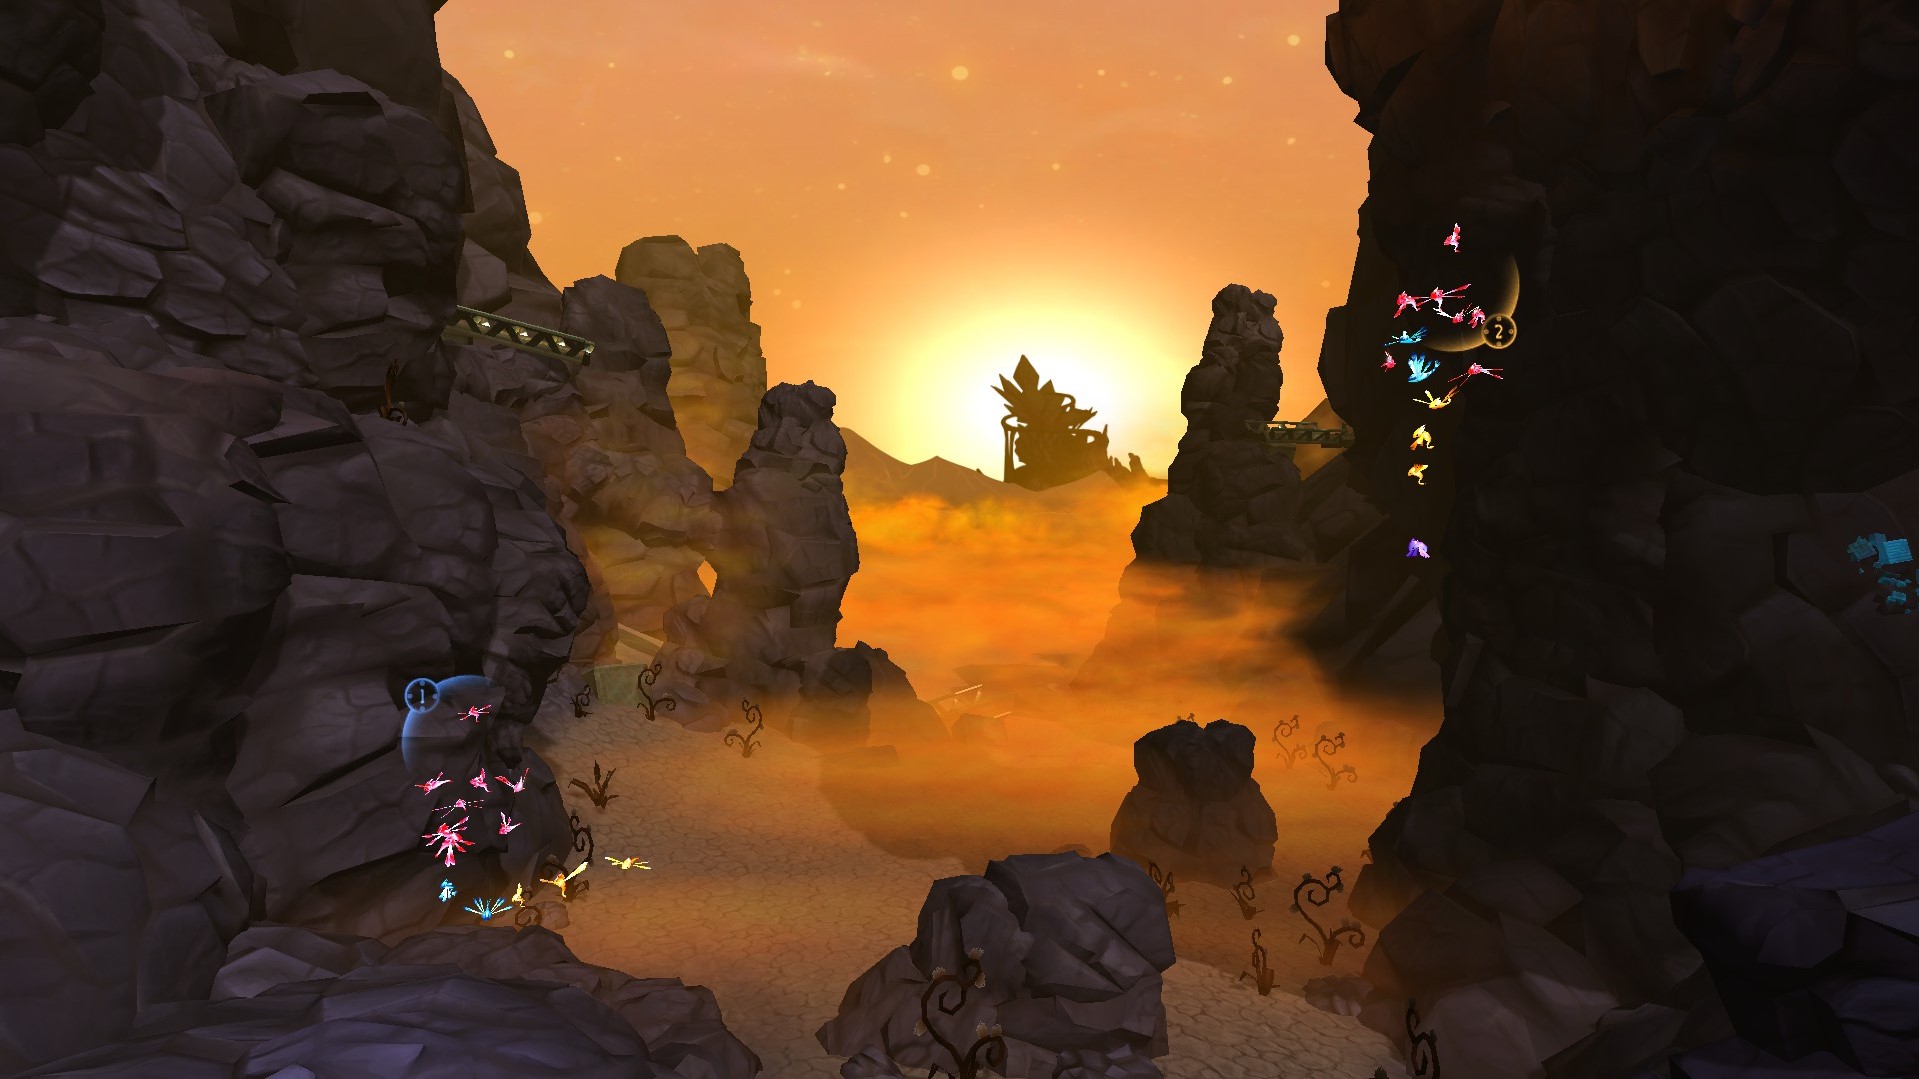
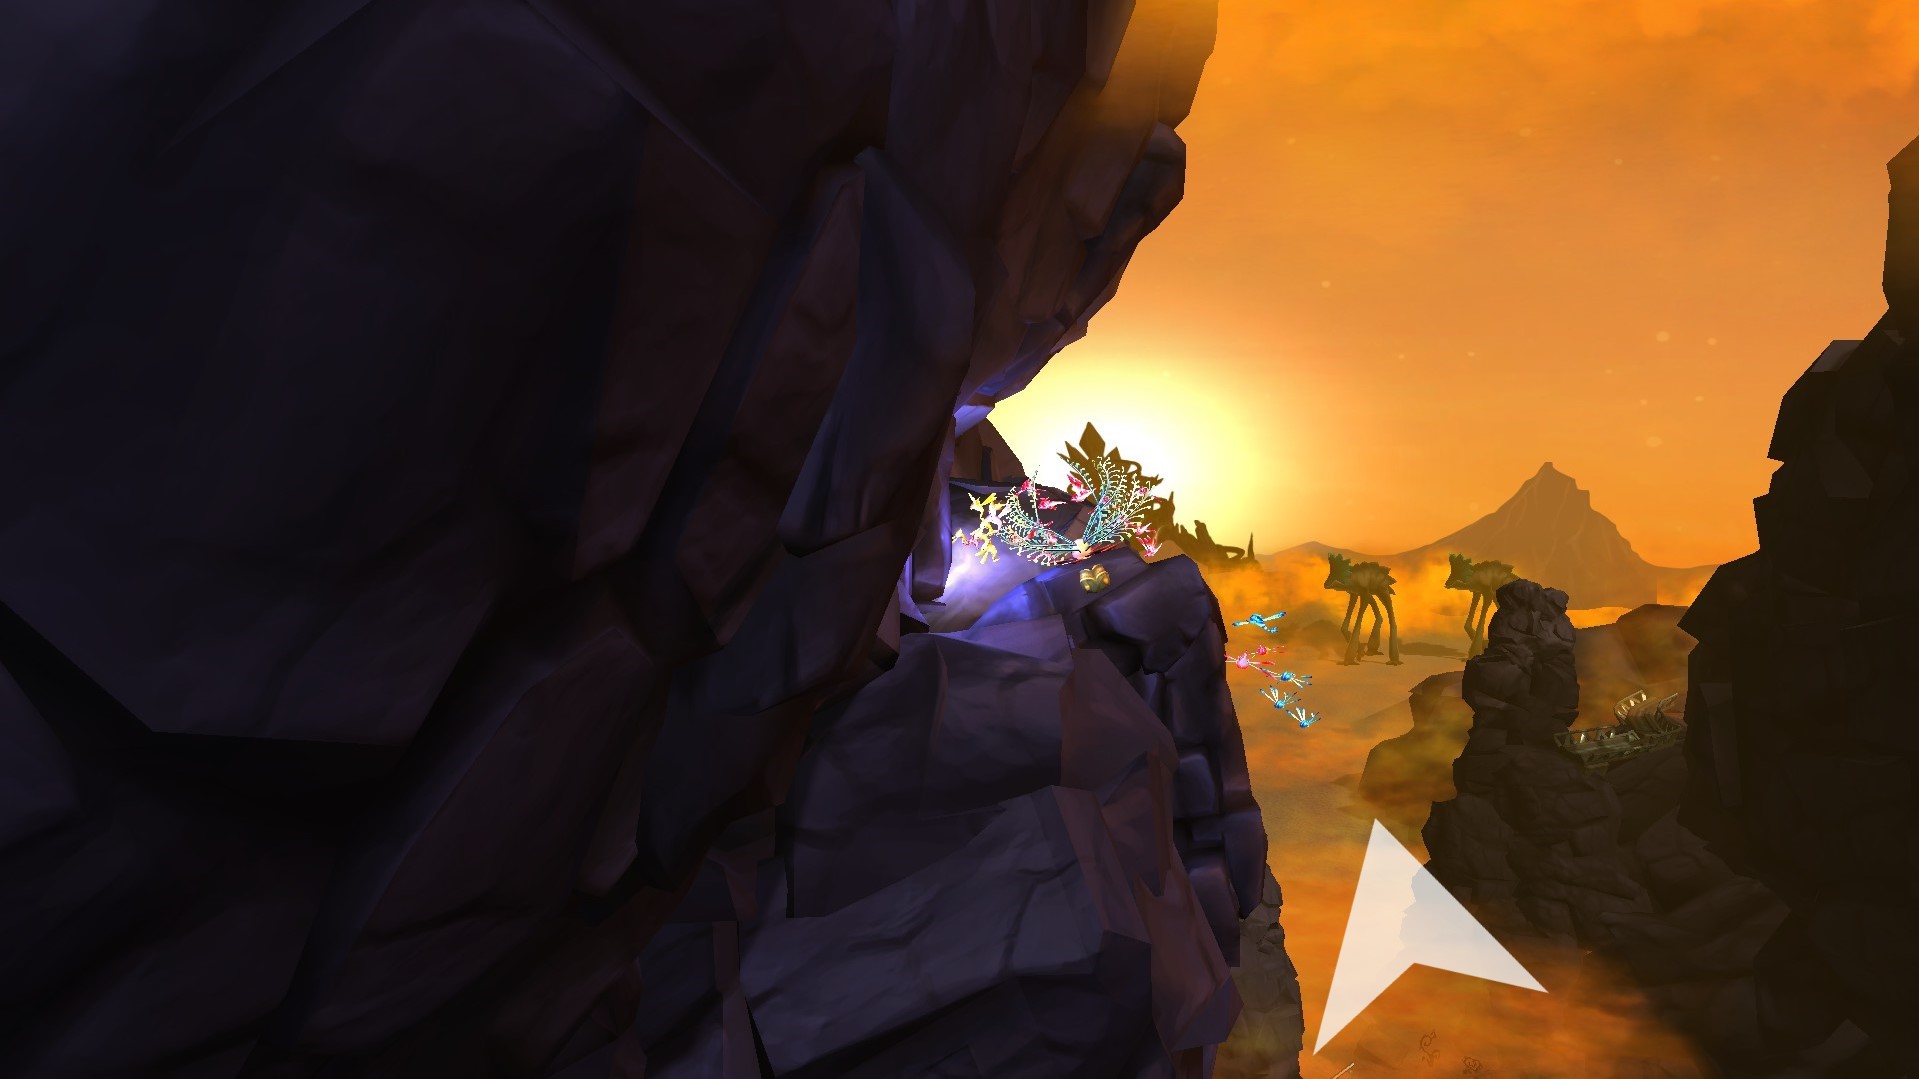
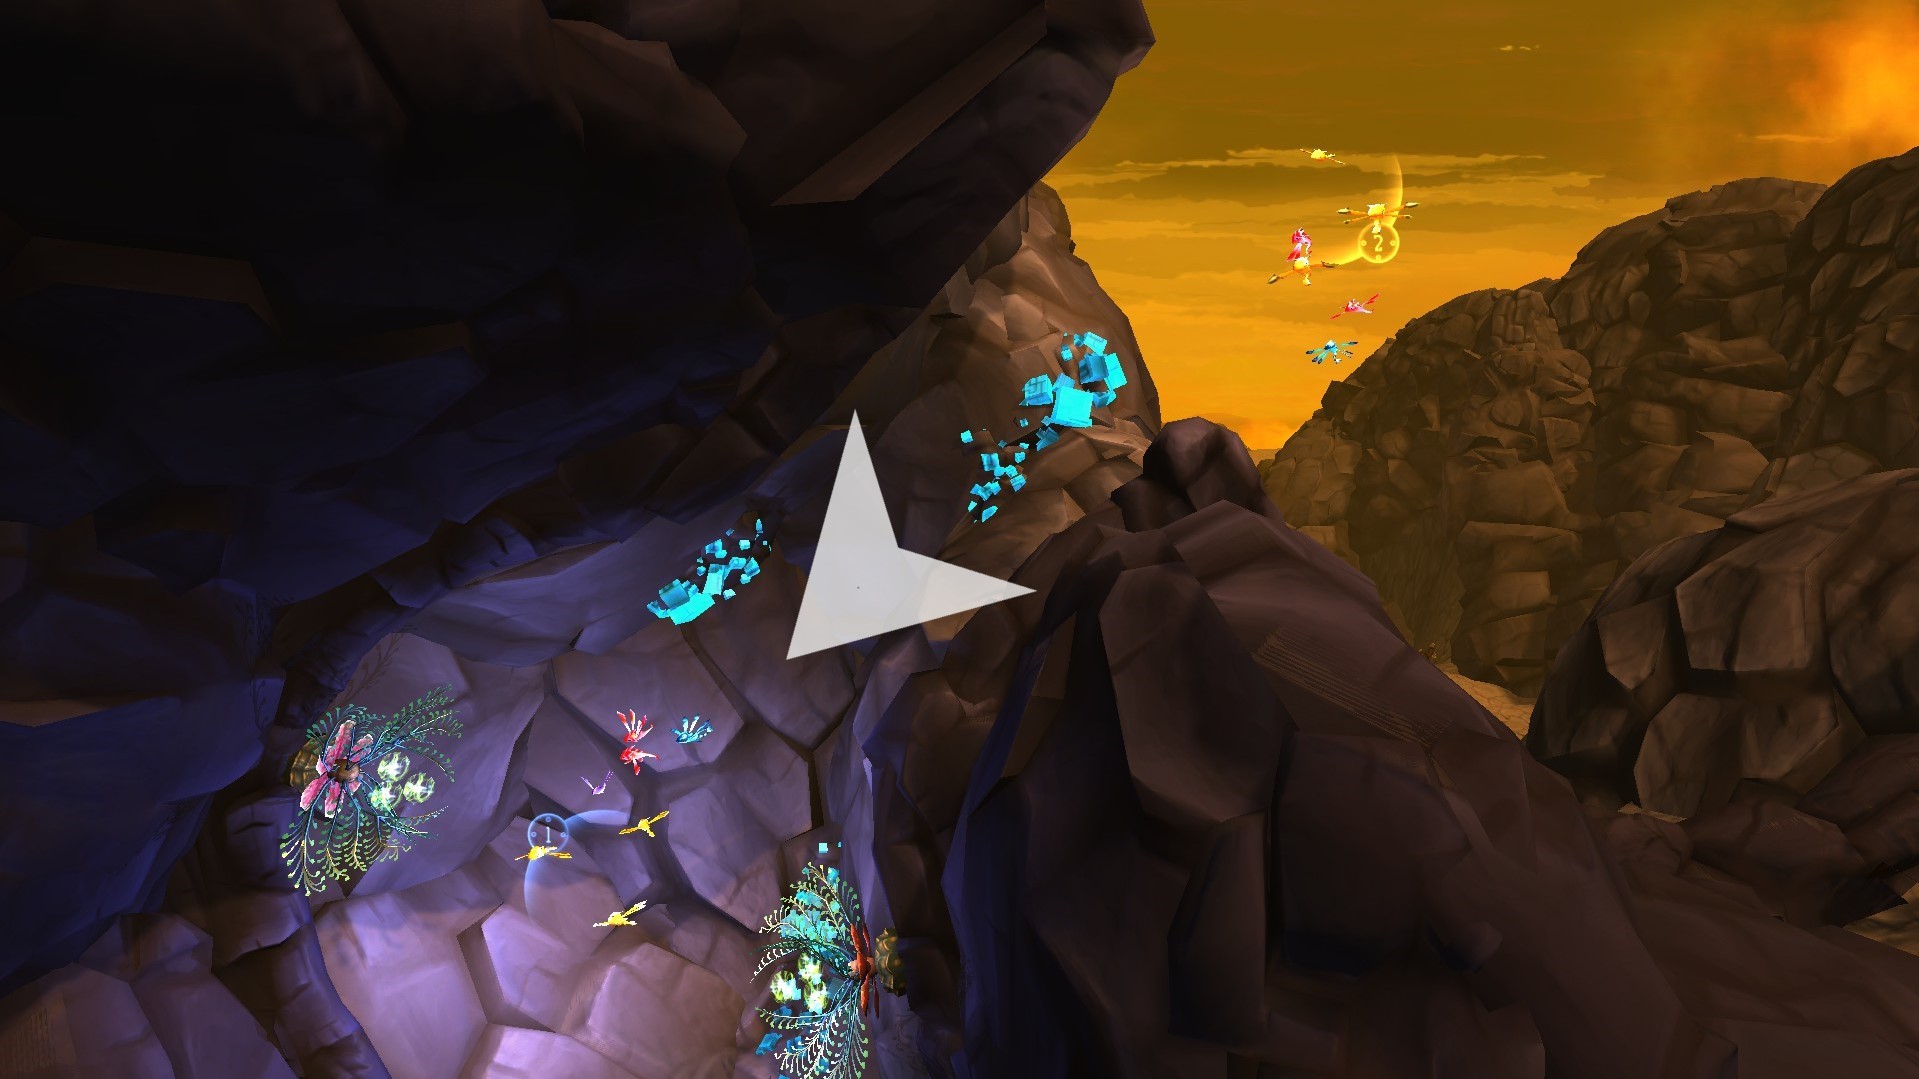
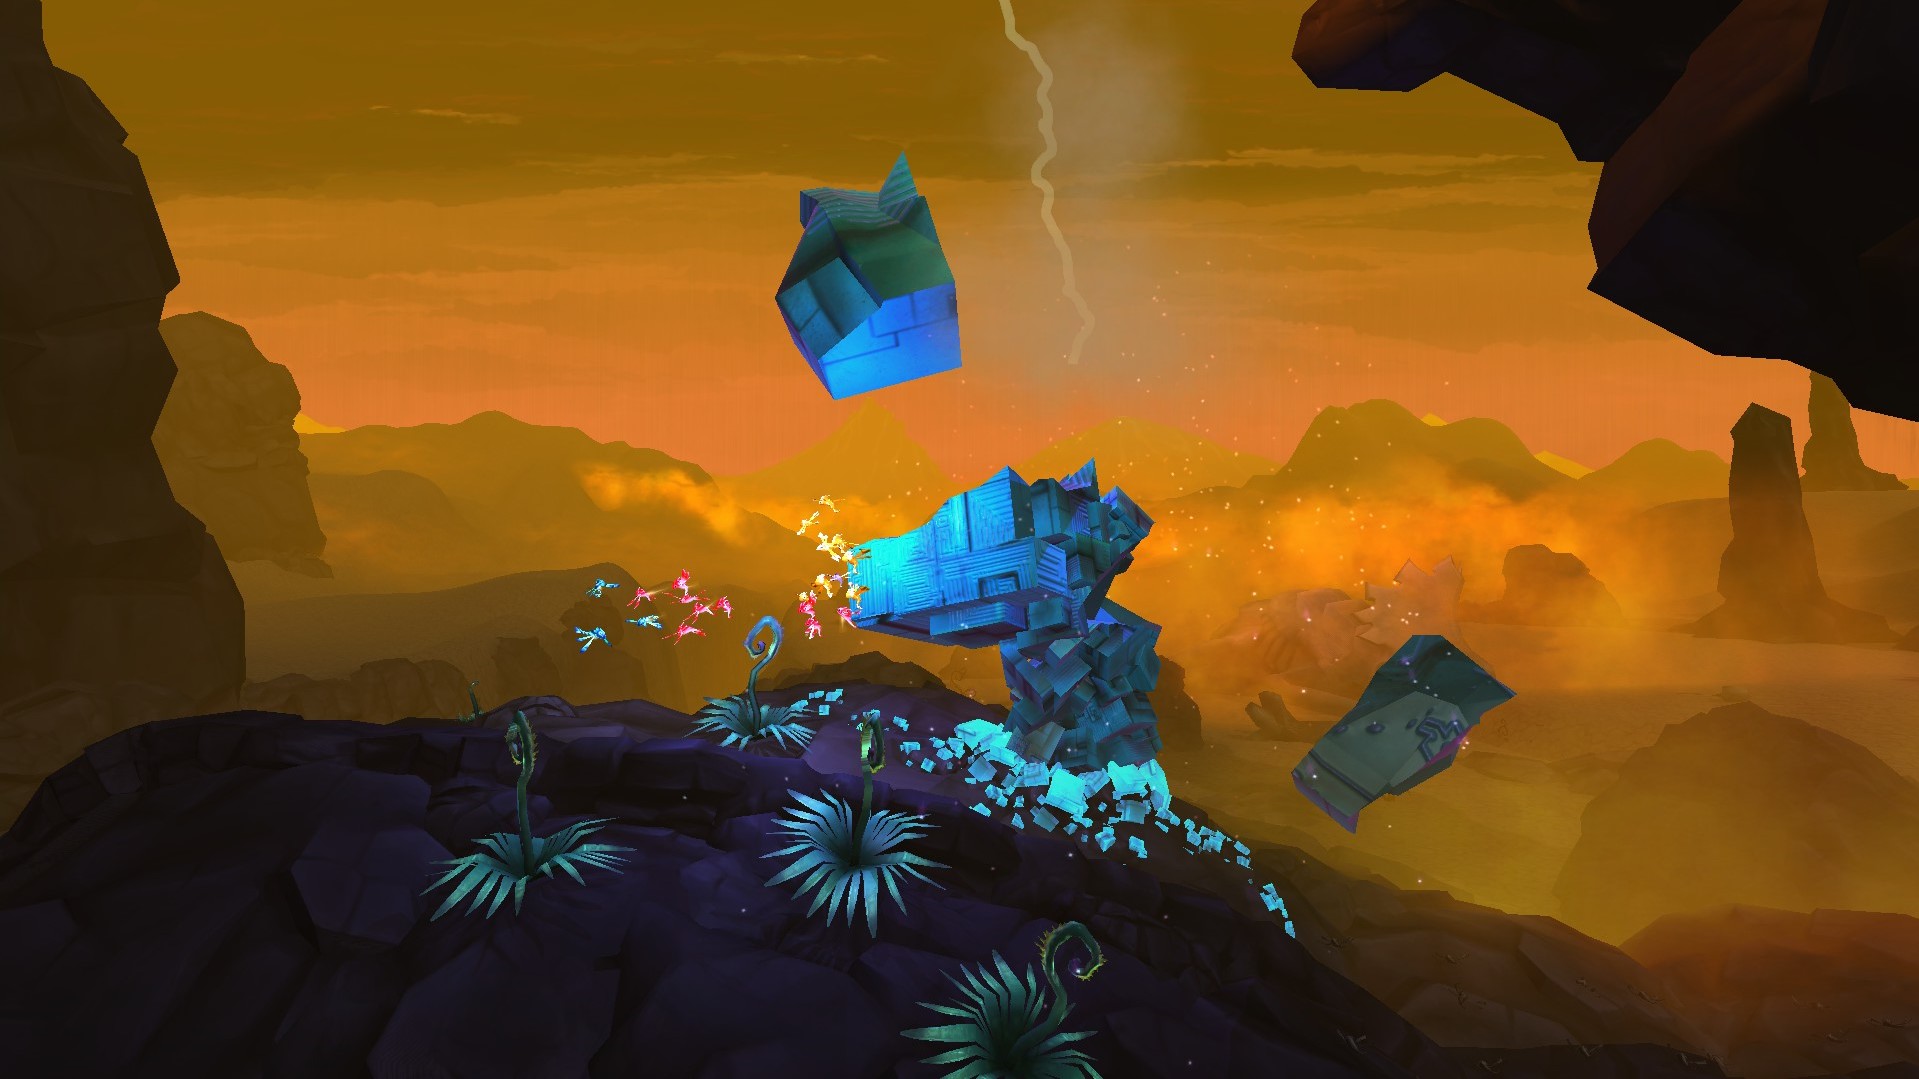
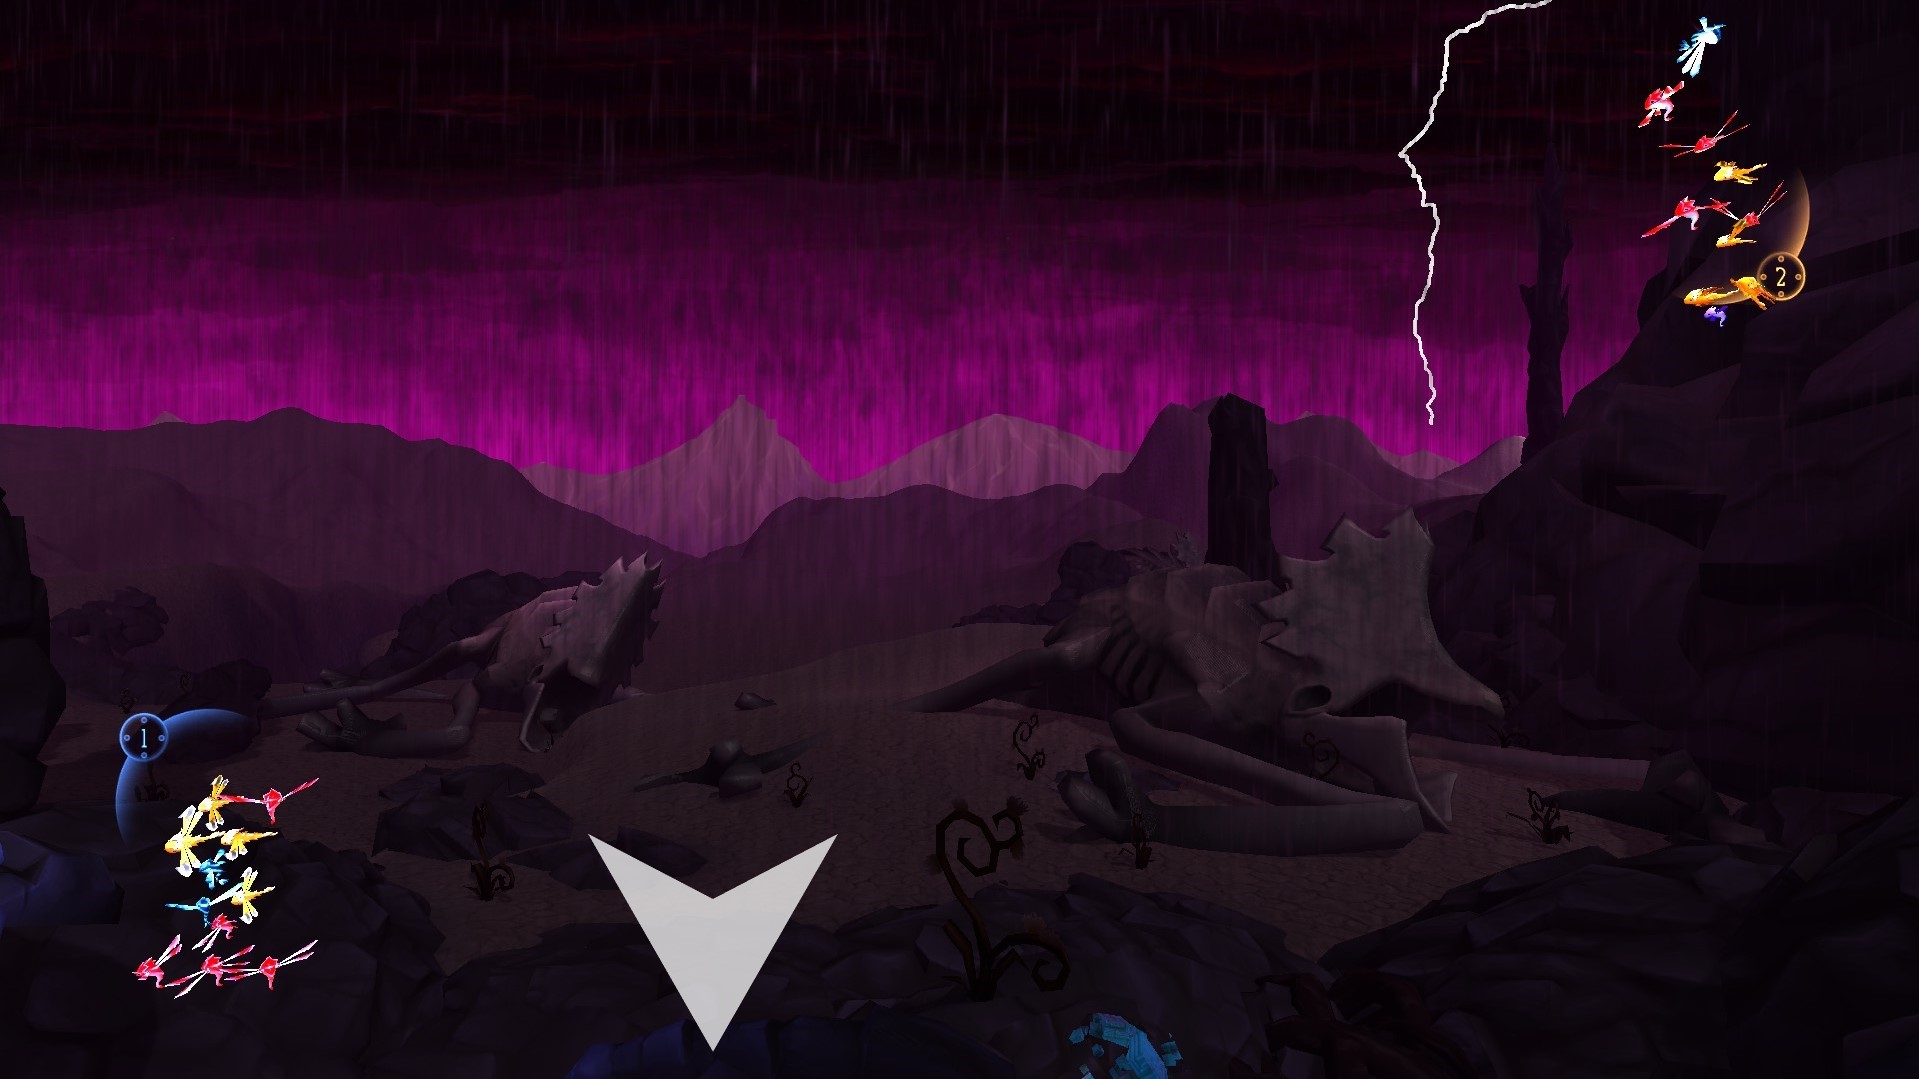
If you built the levels, could you possibly clear up my confusion in these two parts, please:
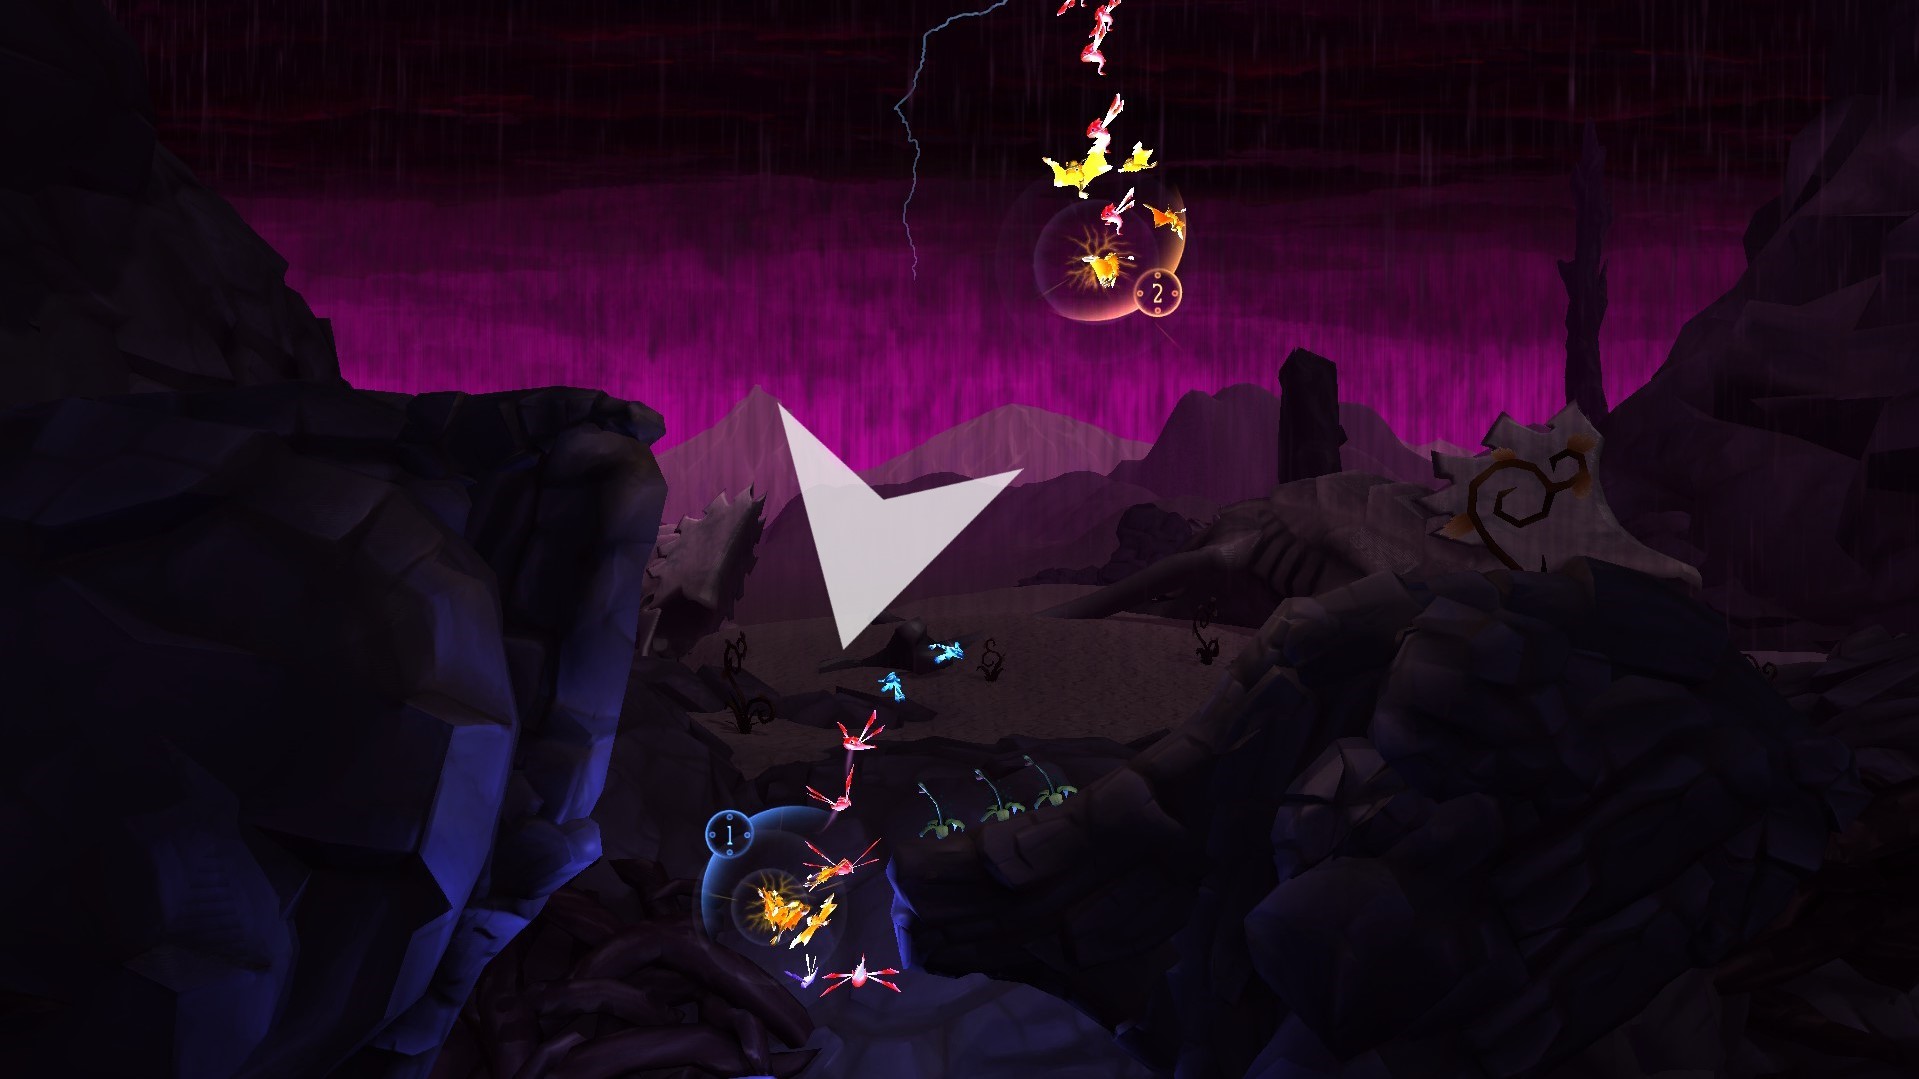
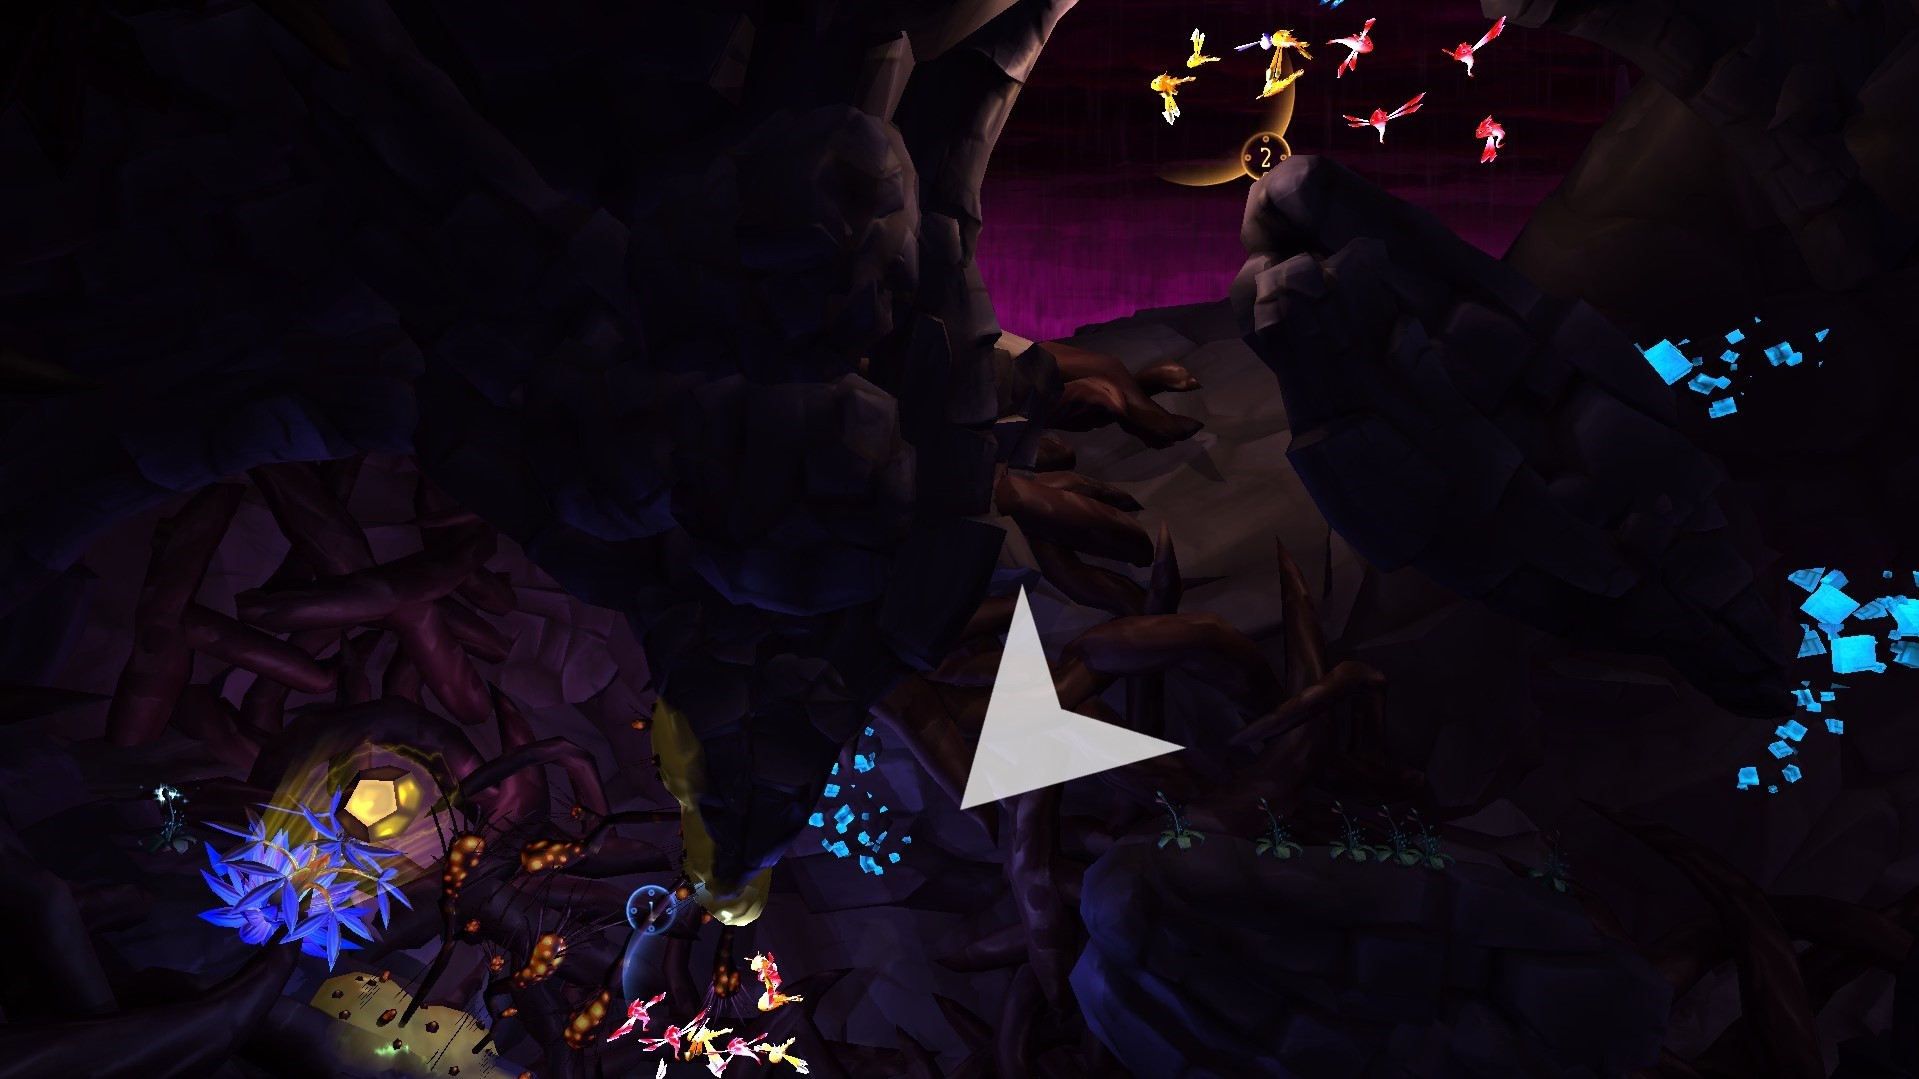
Desert - Area 18,
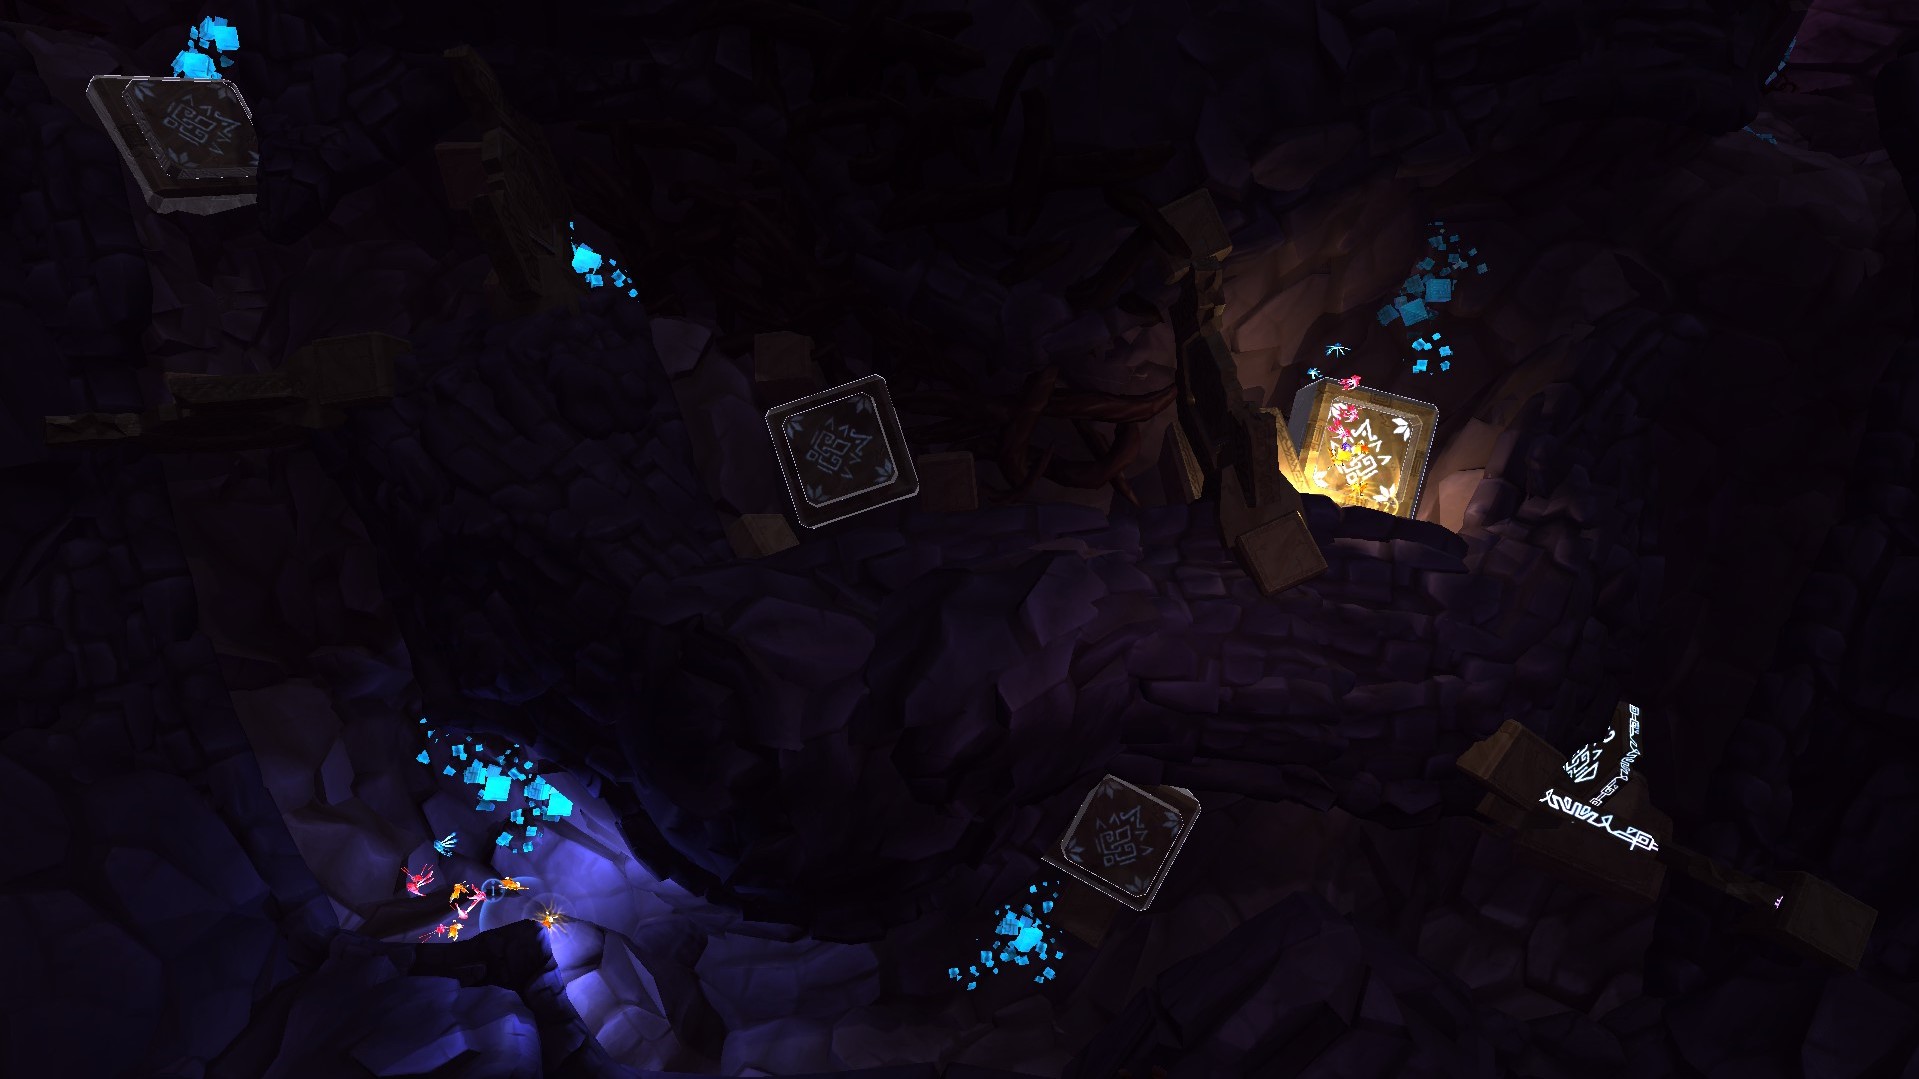
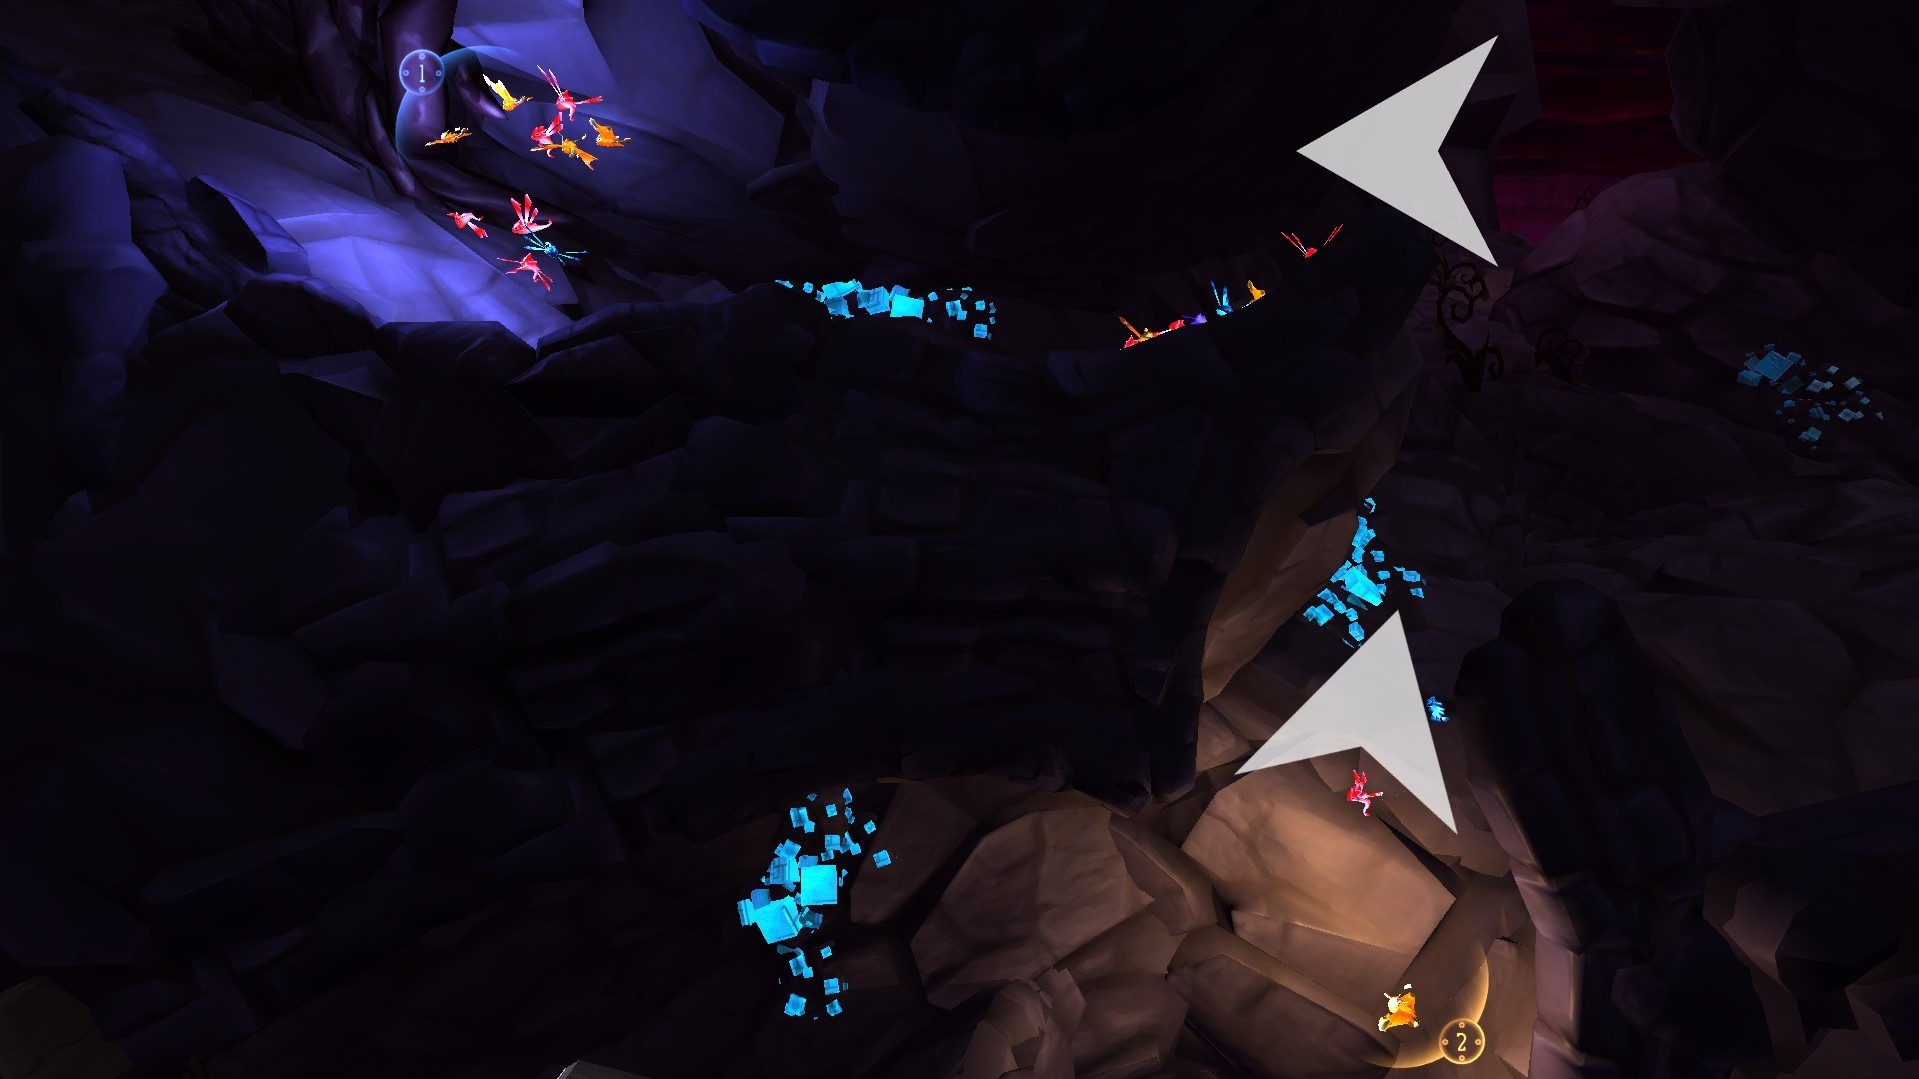
City Ruins - Area 69.
Are these collectibles supposed to be out of reach? To make The Hoarder unachievable?
Speelbaard 2 Oct, 2022 @ 12:09pm 
Dev here: Damn, that's an insane amount of work that went into this.

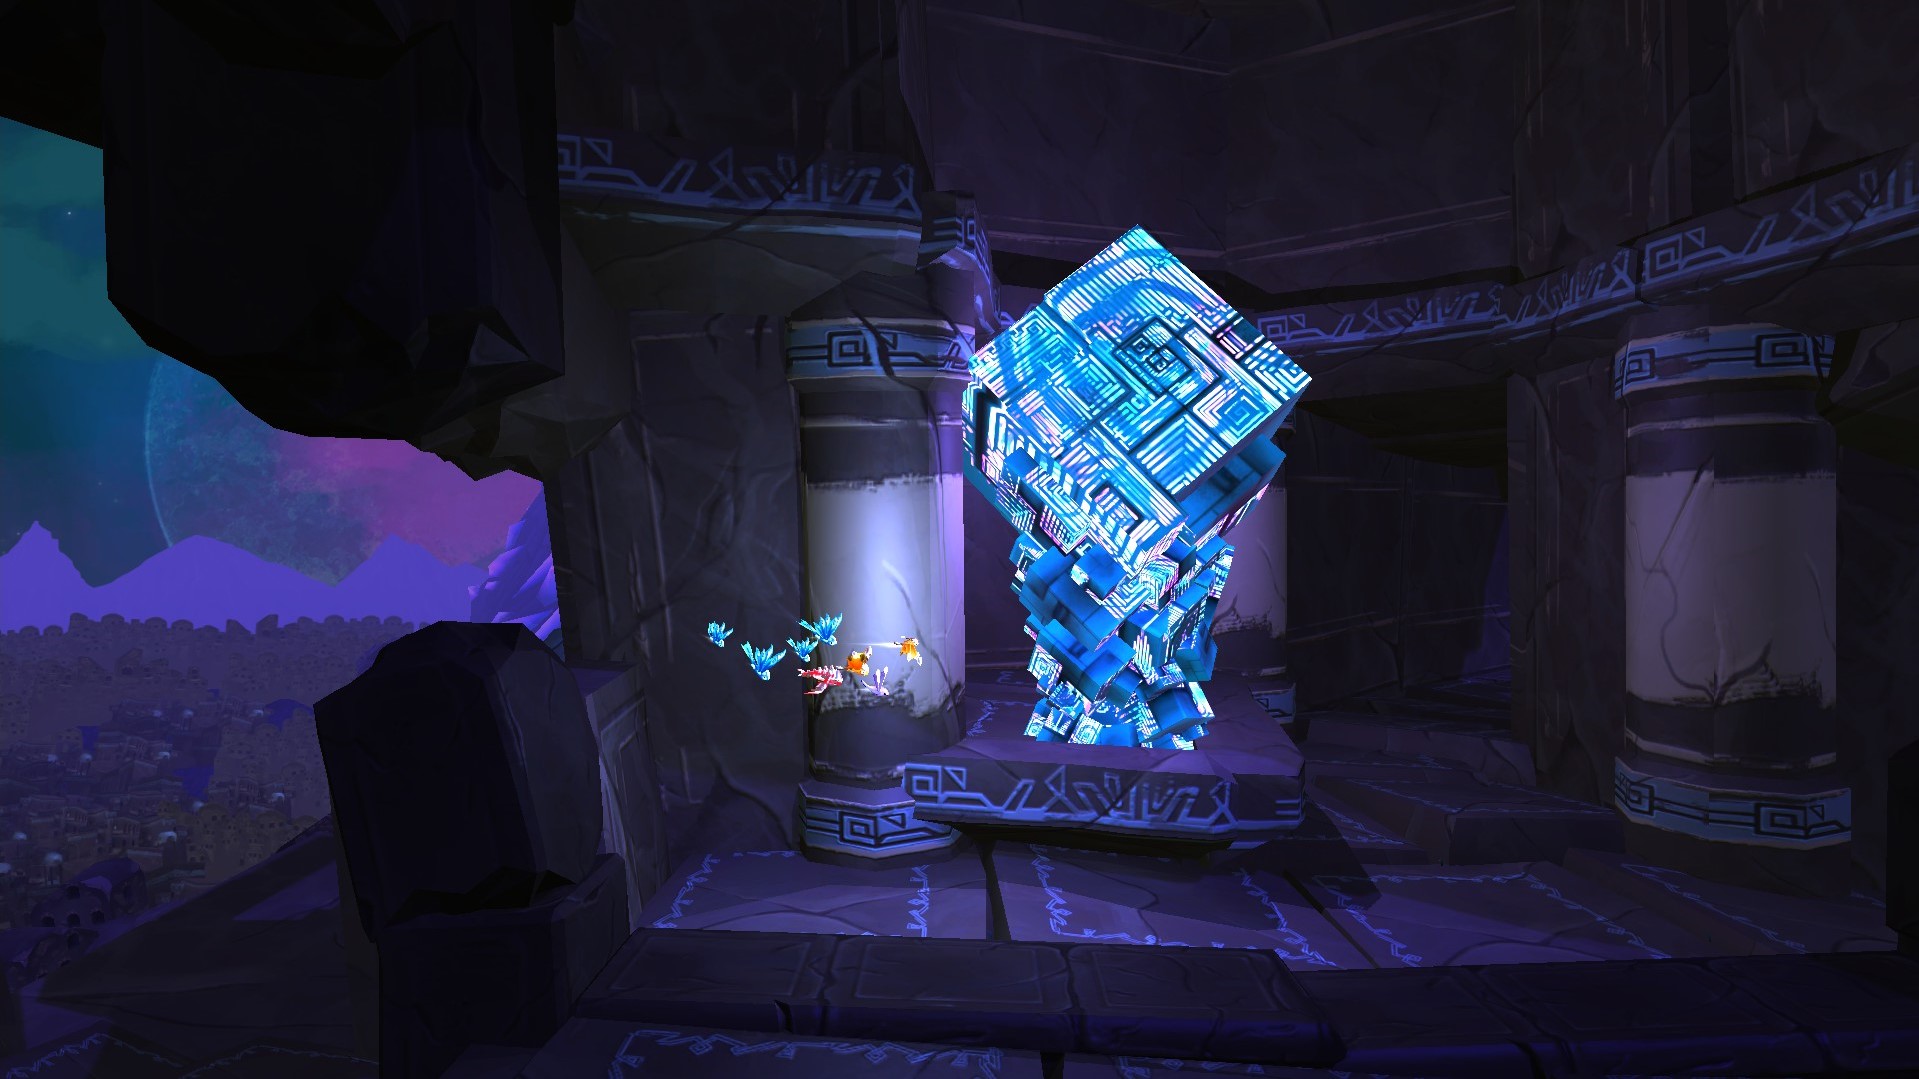
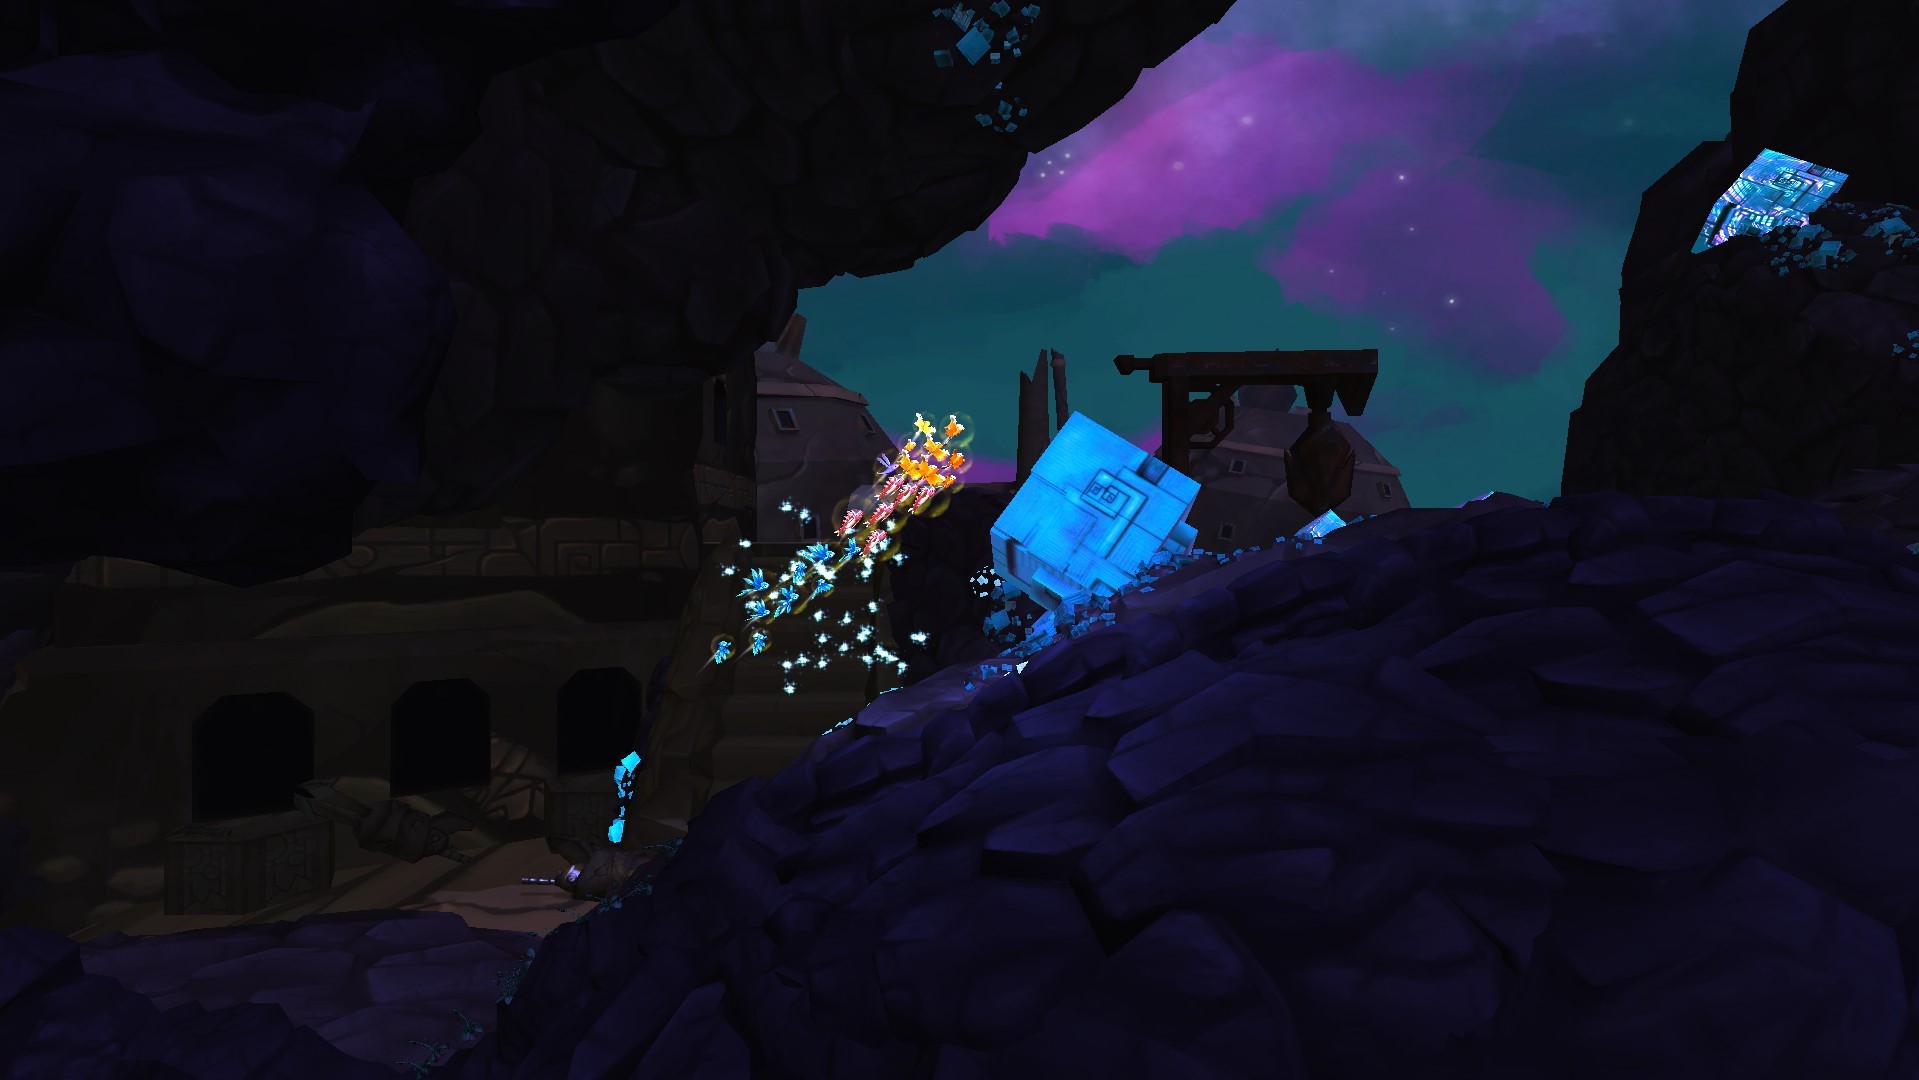
Kudos. Fascinating read, I wasn't even aware you could skip the rockfall trigger like that and I build the damn levels.
dzhinn  [author] 27 Aug, 2022 @ 2:53pm 
You're very welcome! I'm glad to get this feedback.
⠀⠀:lovebubble:
:LegendaryLumini:
Alpha_A 27 Aug, 2022 @ 9:41am 
I have been waiting for a guide to this game for a while now. Thank you so very much!