

Install Steam
login
|
language
简体中文 (Simplified Chinese)
繁體中文 (Traditional Chinese)
日本語 (Japanese)
한국어 (Korean)
ไทย (Thai)
Български (Bulgarian)
Čeština (Czech)
Dansk (Danish)
Deutsch (German)
Español - España (Spanish - Spain)
Español - Latinoamérica (Spanish - Latin America)
Ελληνικά (Greek)
Français (French)
Italiano (Italian)
Bahasa Indonesia (Indonesian)
Magyar (Hungarian)
Nederlands (Dutch)
Norsk (Norwegian)
Polski (Polish)
Português (Portuguese - Portugal)
Português - Brasil (Portuguese - Brazil)
Română (Romanian)
Русский (Russian)
Suomi (Finnish)
Svenska (Swedish)
Türkçe (Turkish)
Tiếng Việt (Vietnamese)
Українська (Ukrainian)
Report a translation problem


Thank you for looking up more about the food buff, however I intentionally avoided going into details with it so that someone else could commit a guide to it specifically because though the concept is simple enough, there's still a great deal of method and gathering and such involved to do it right.
And thank you for the compliment :).
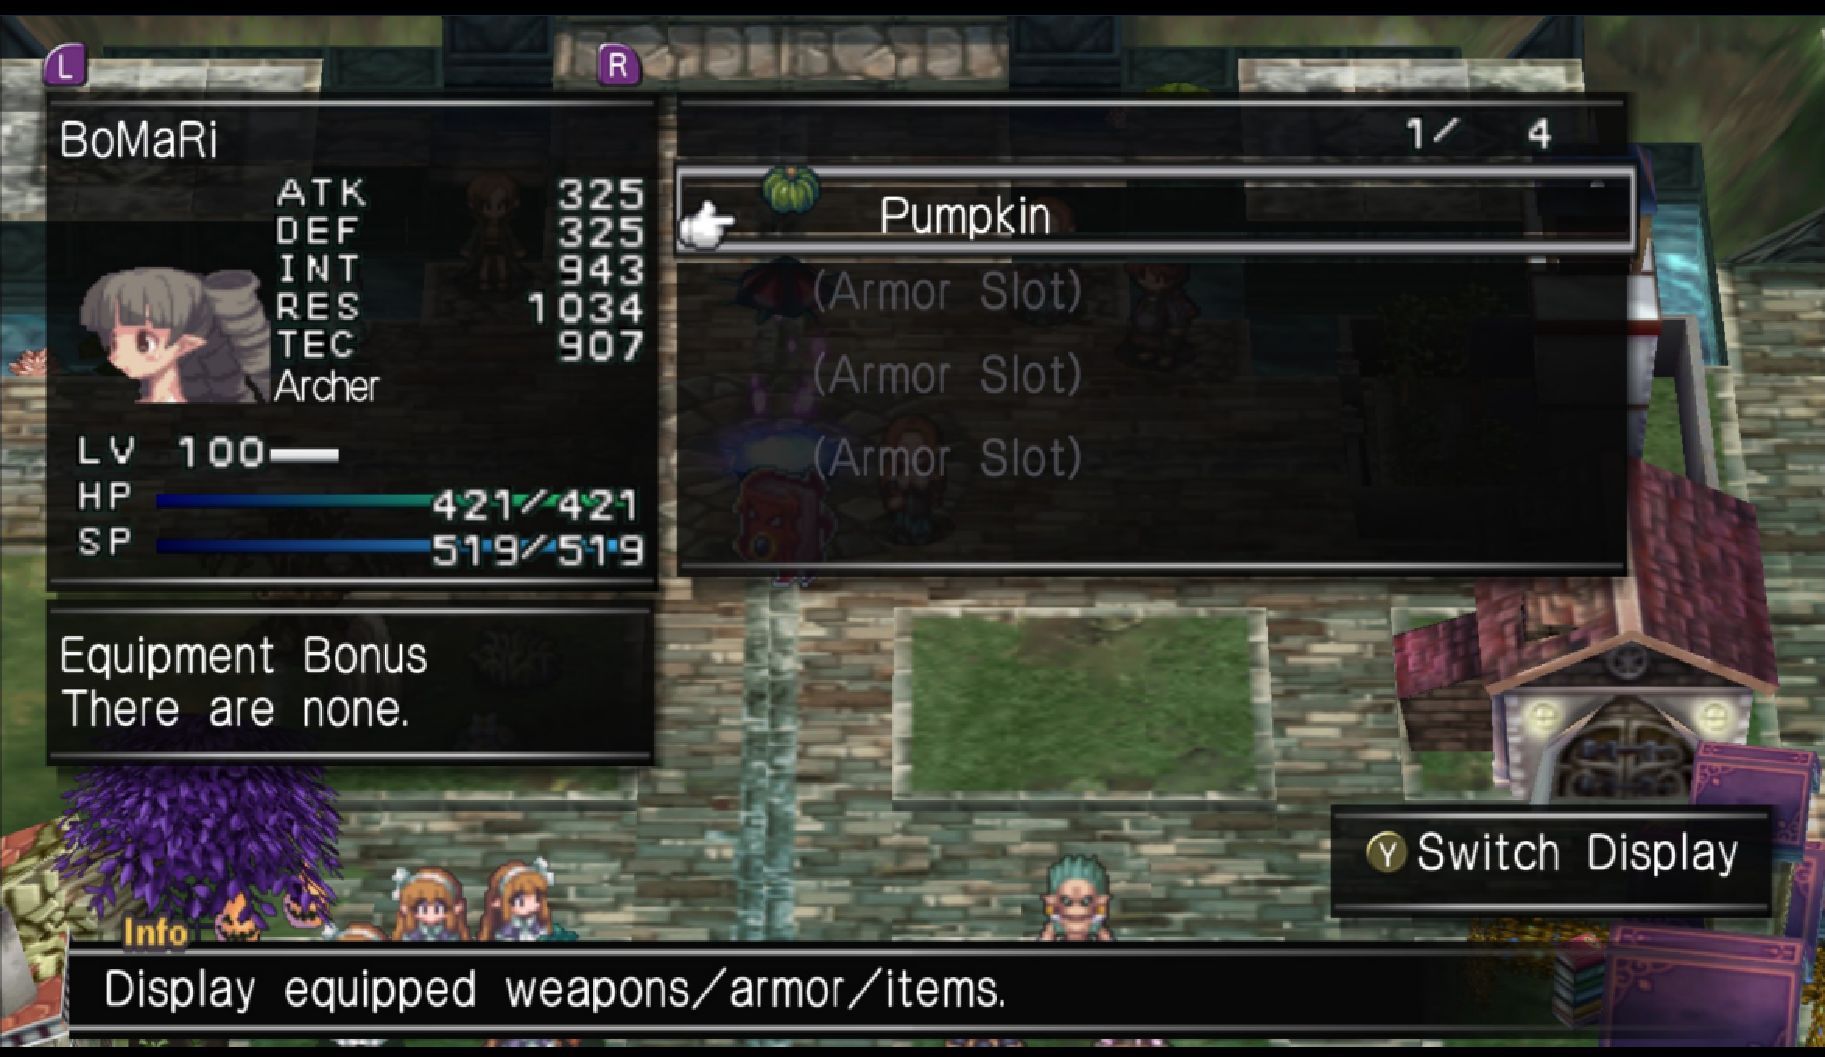
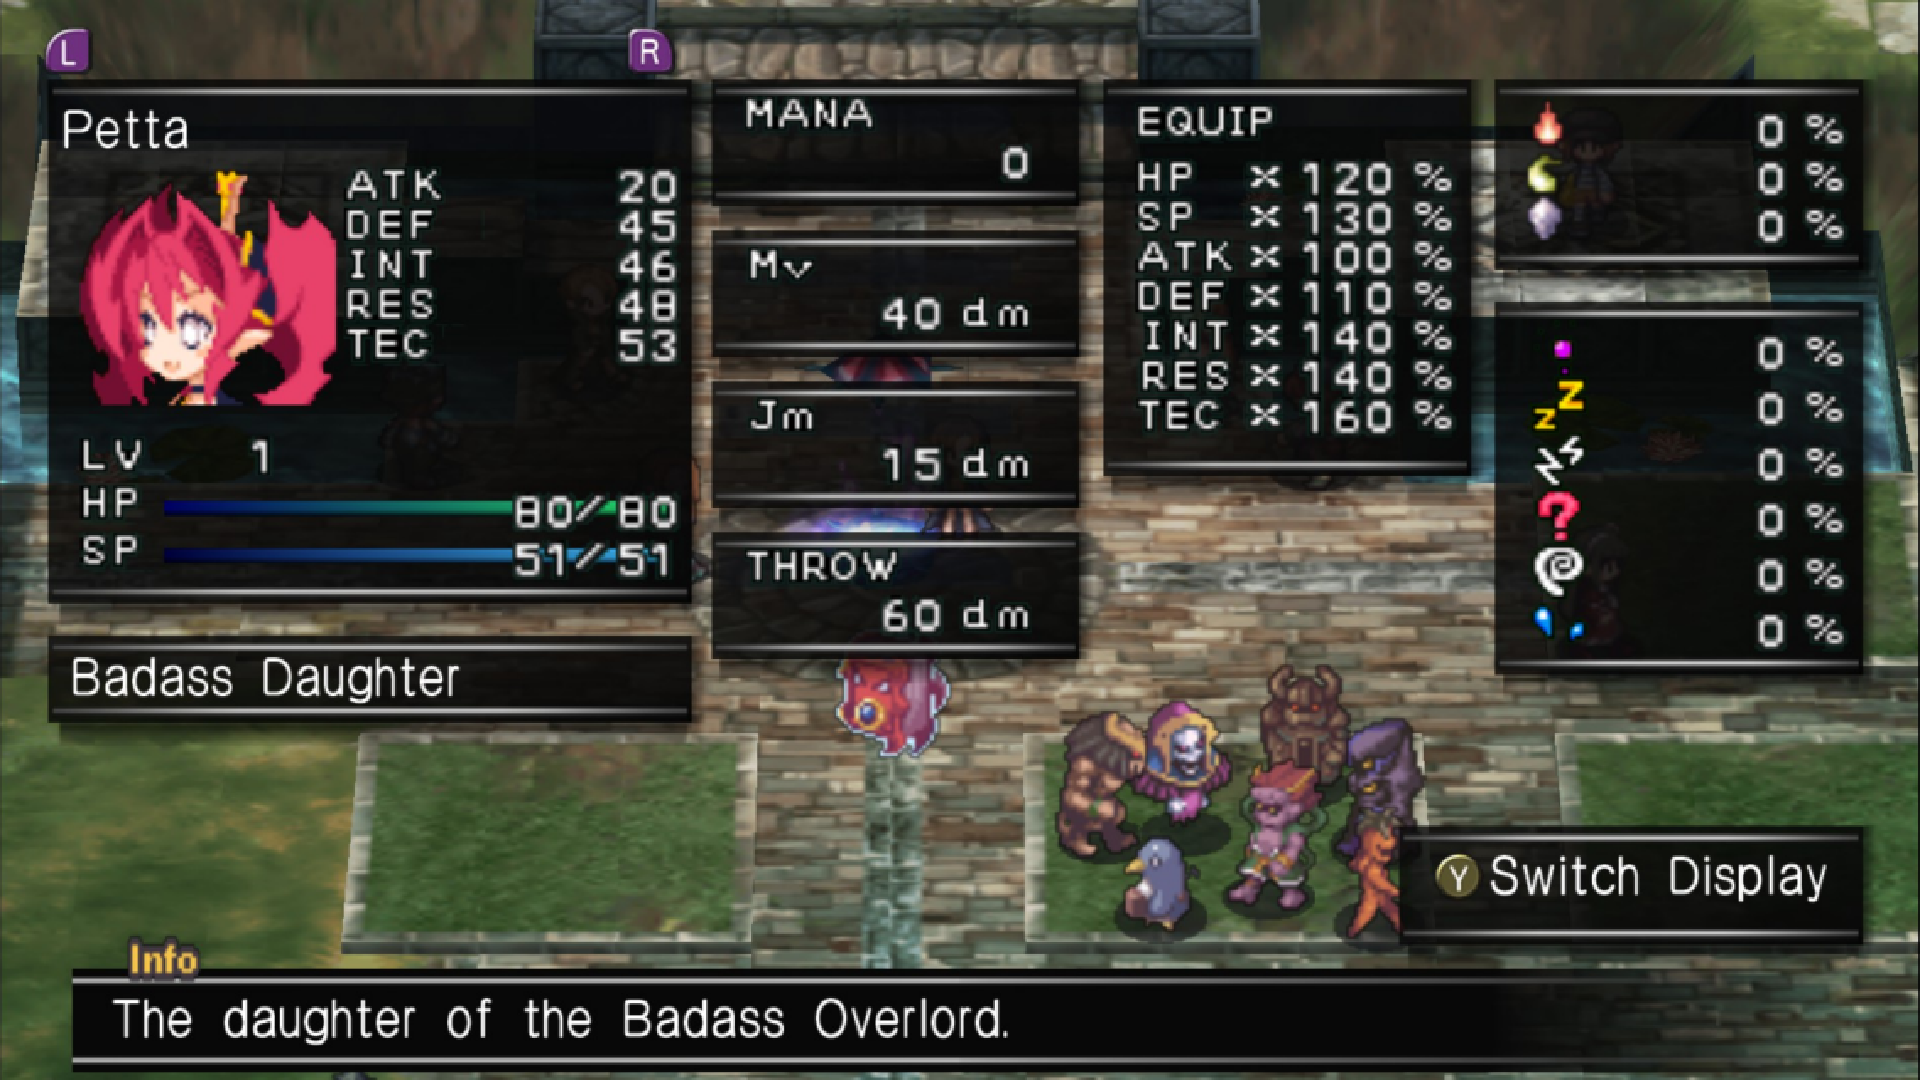
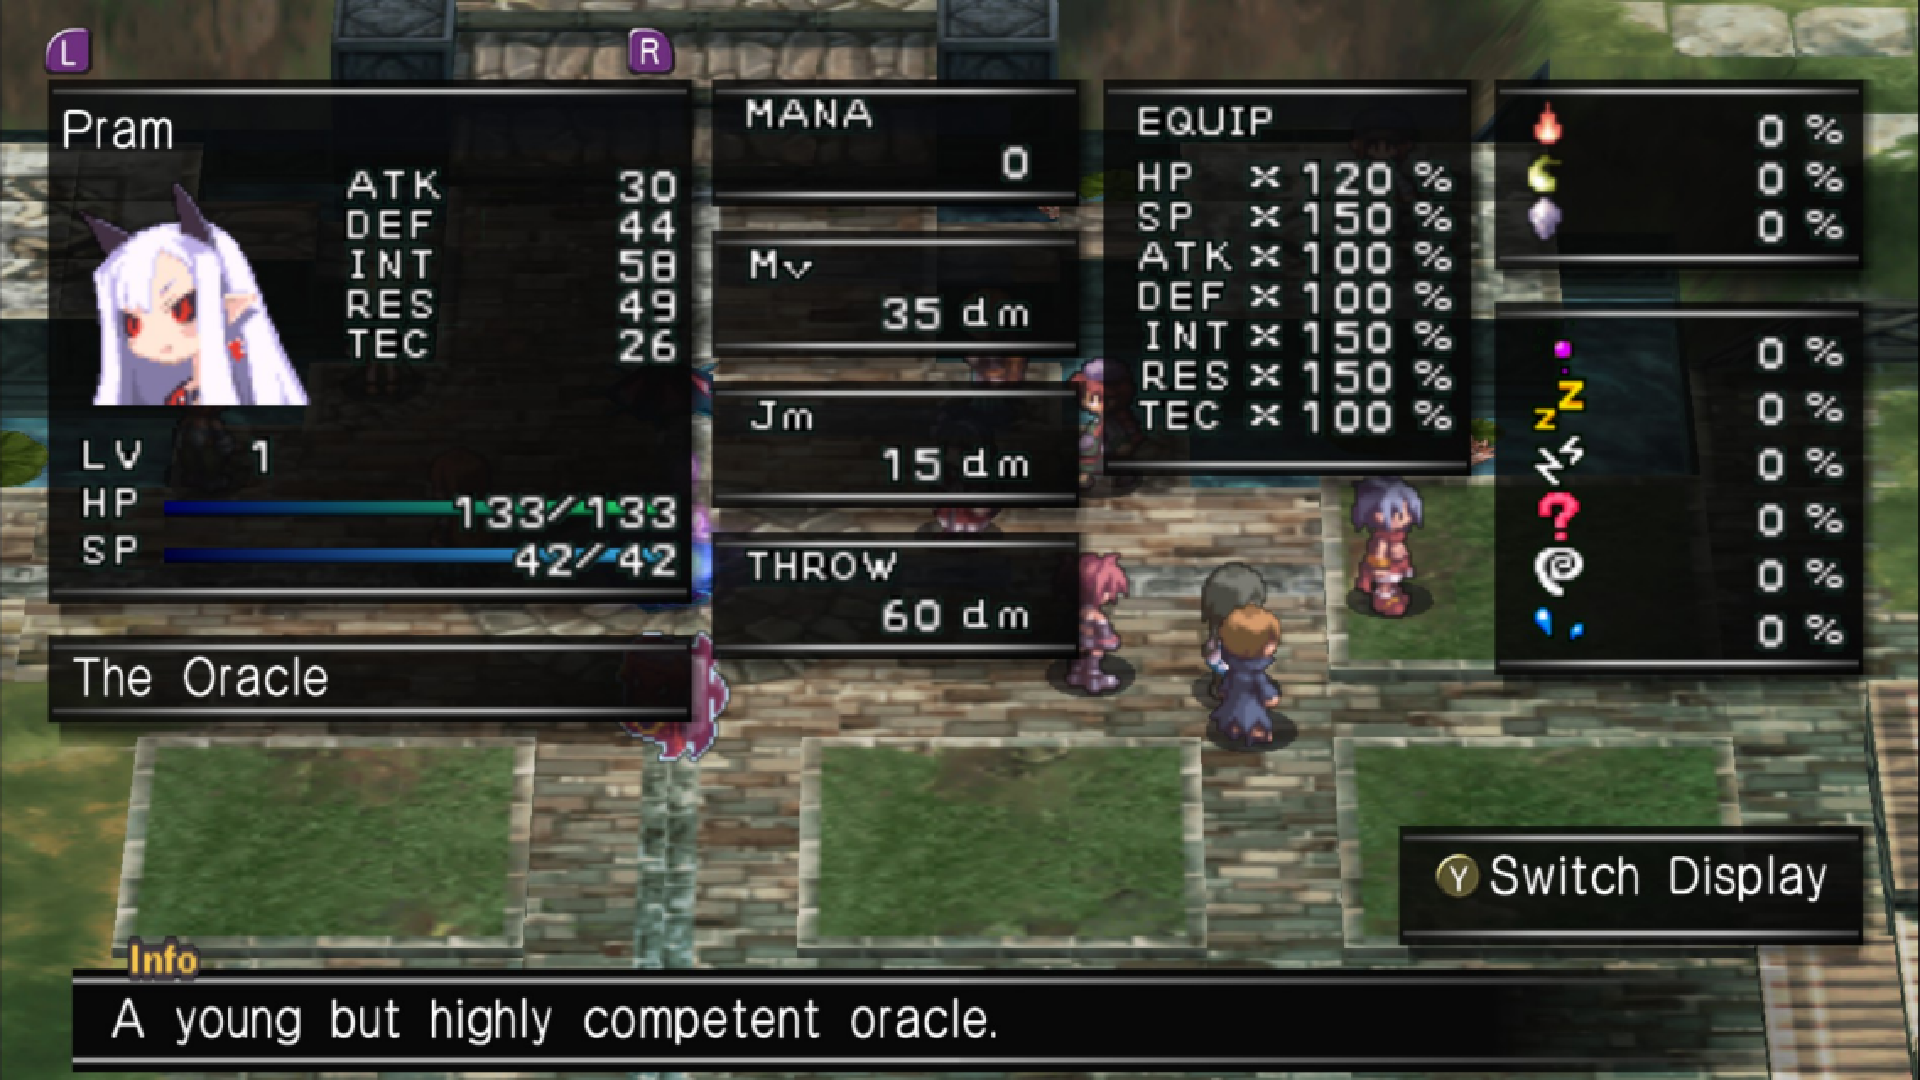
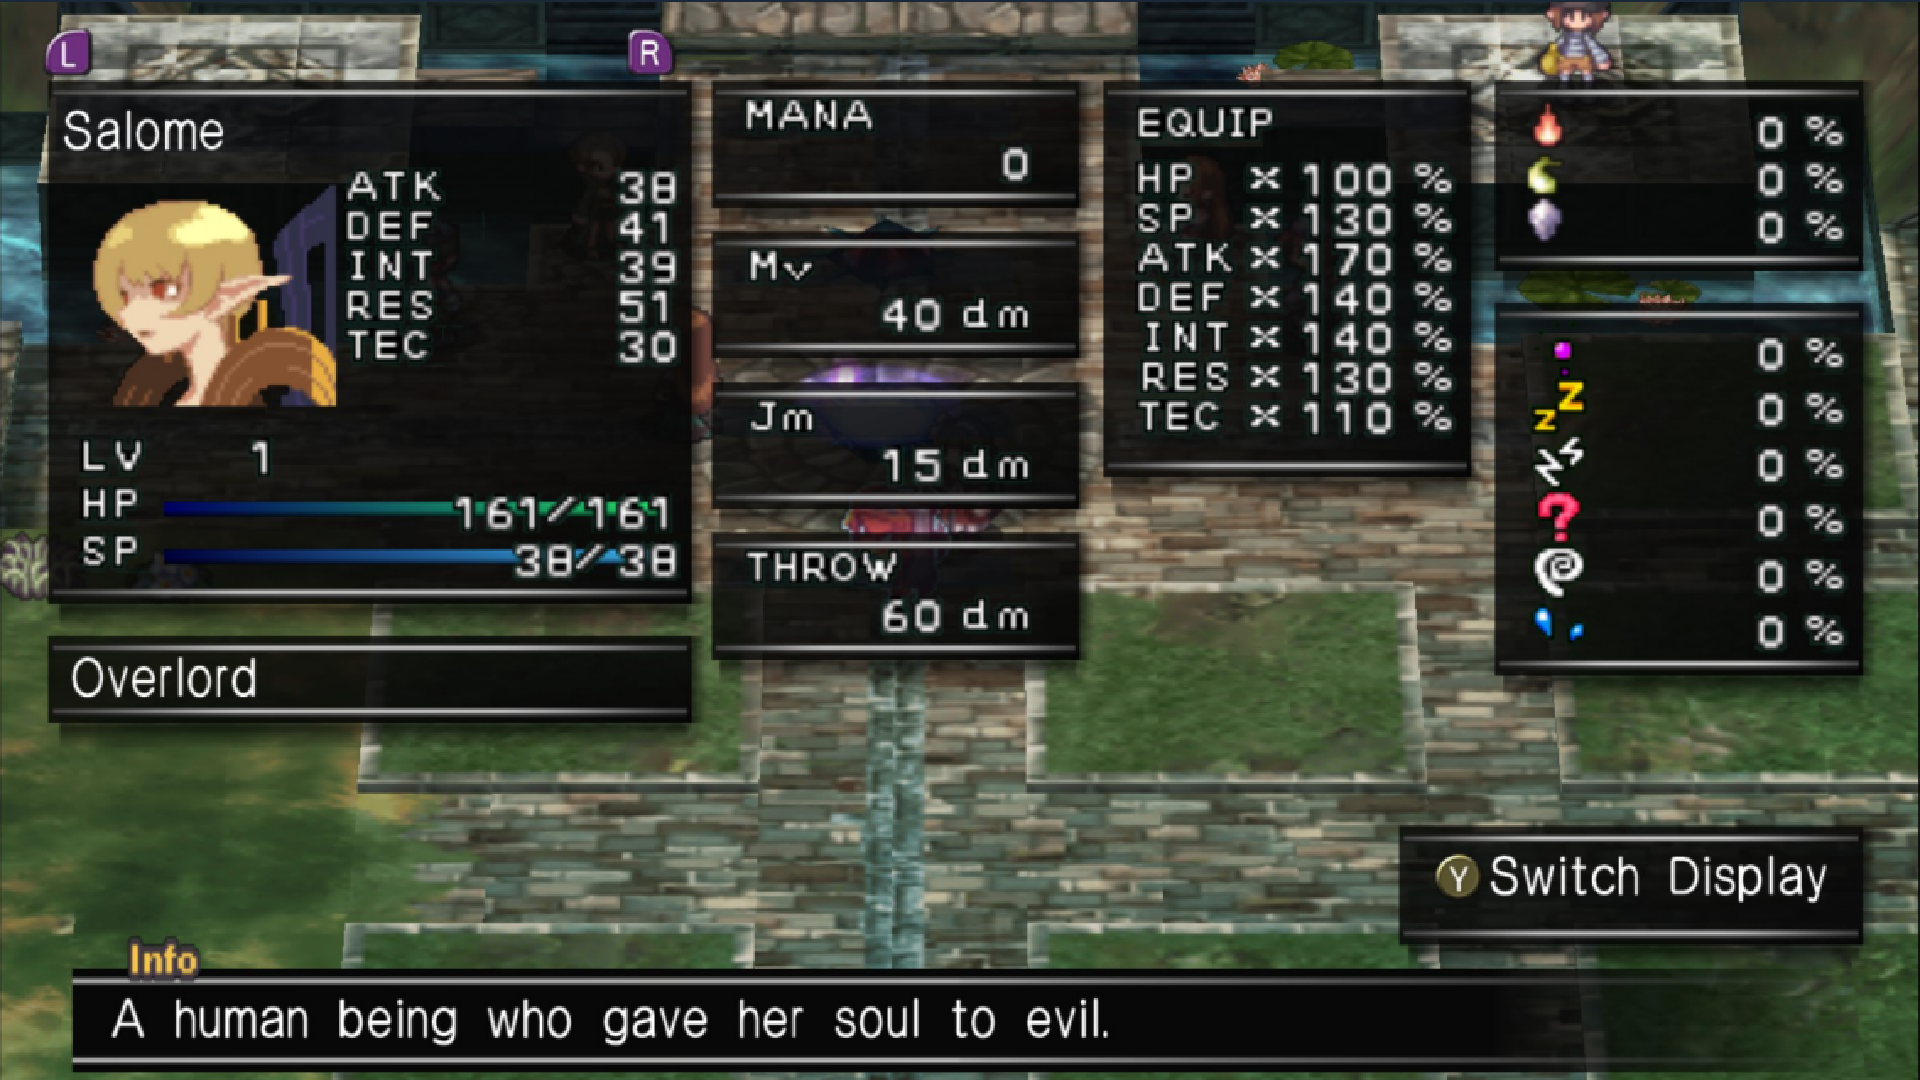
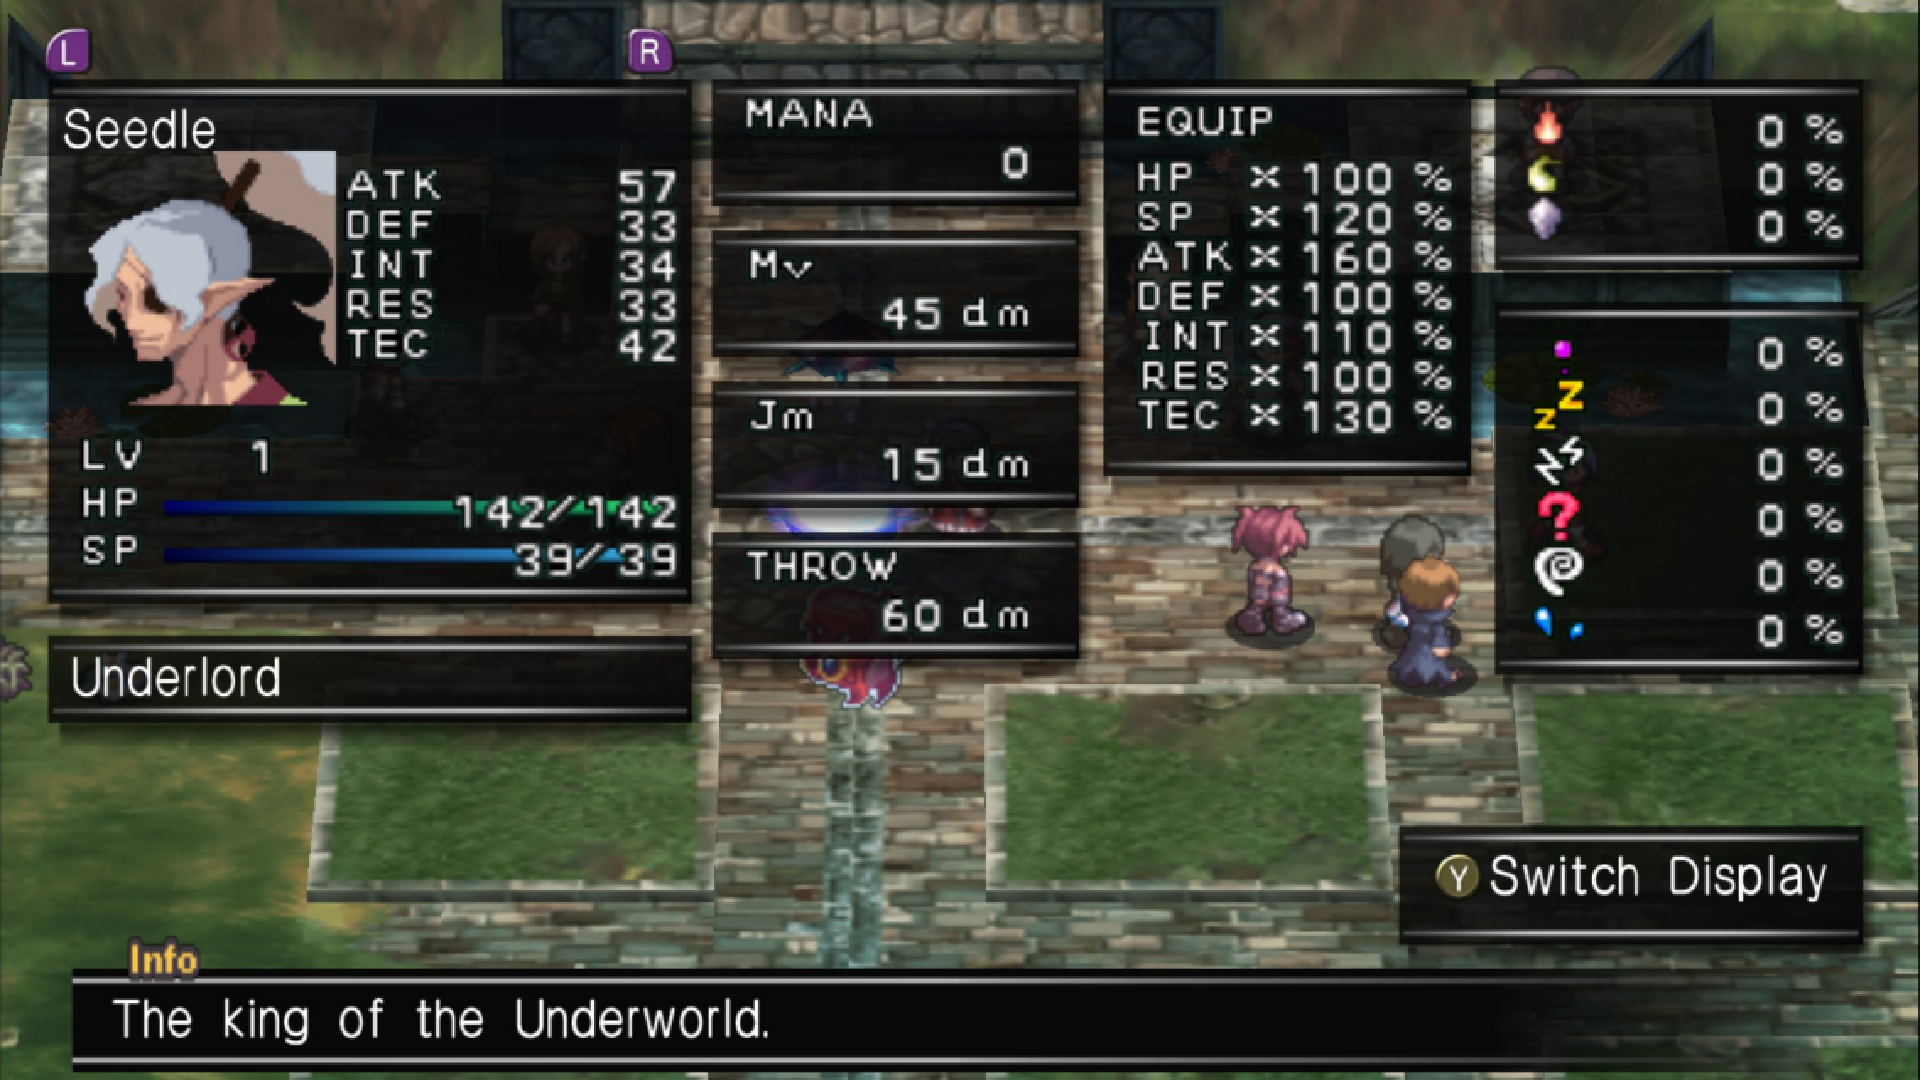
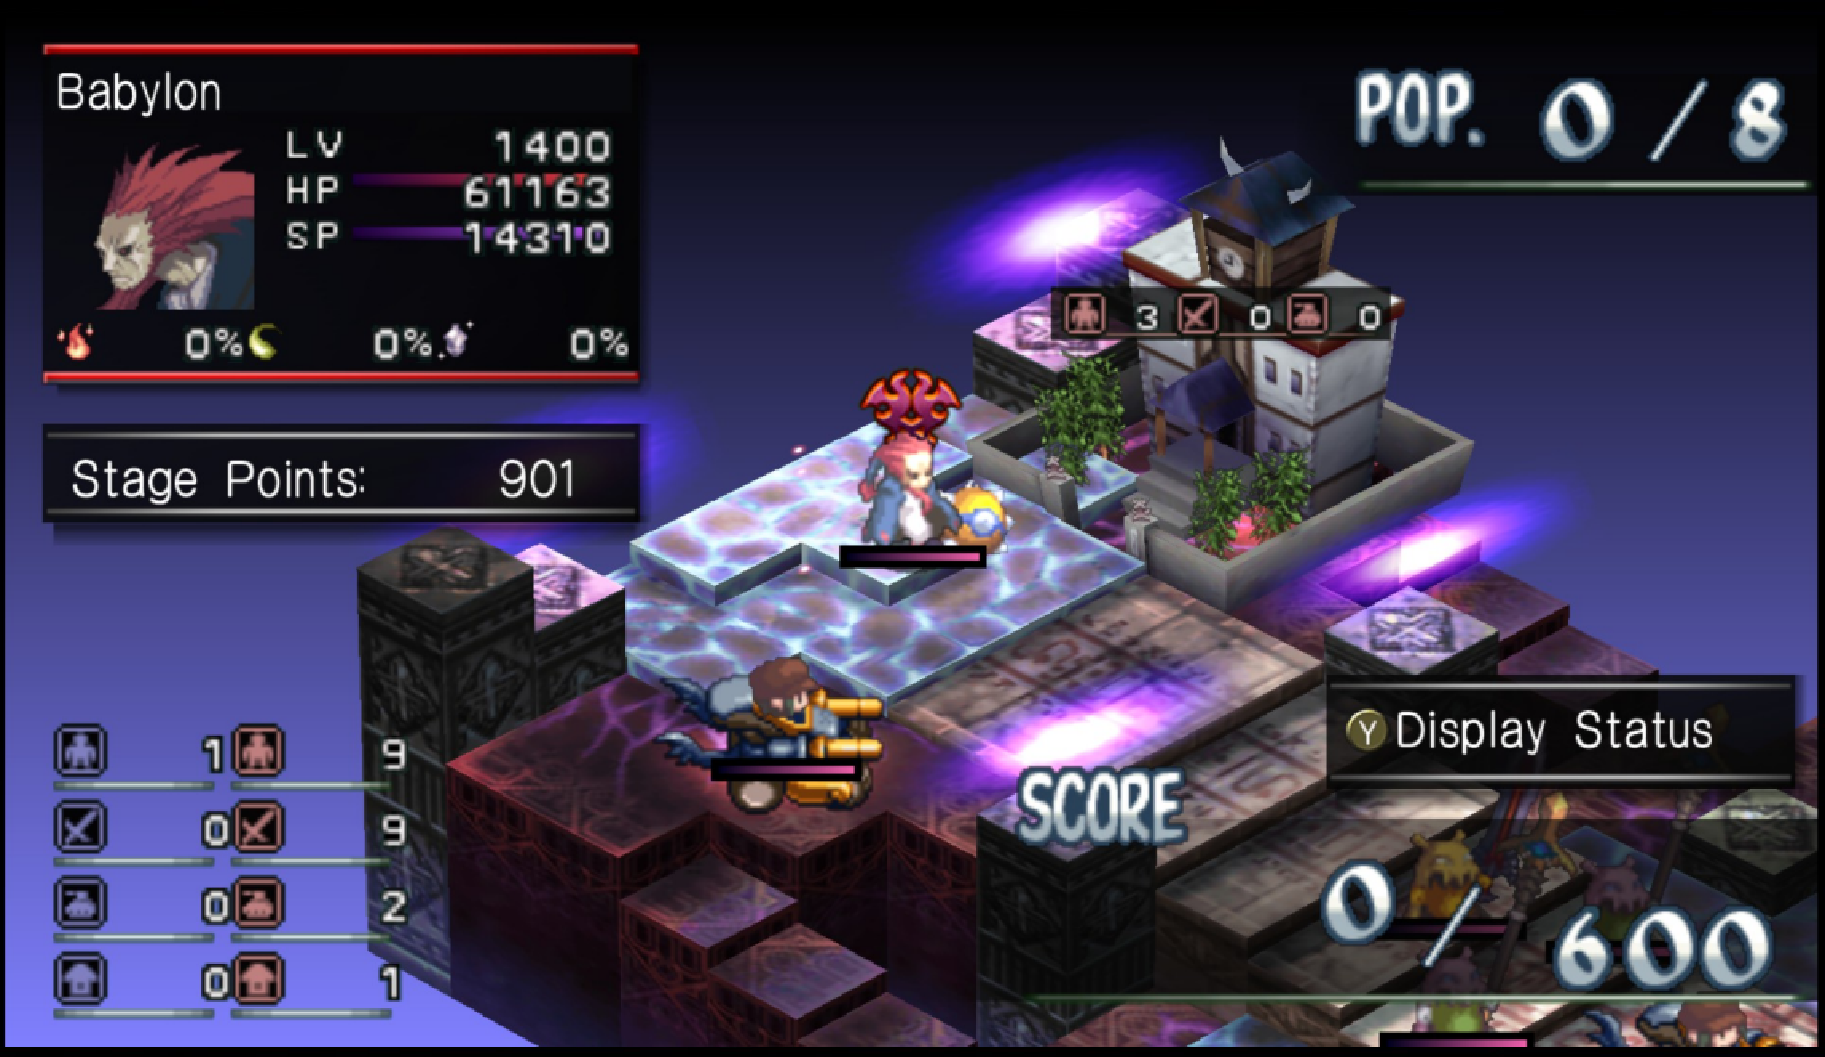
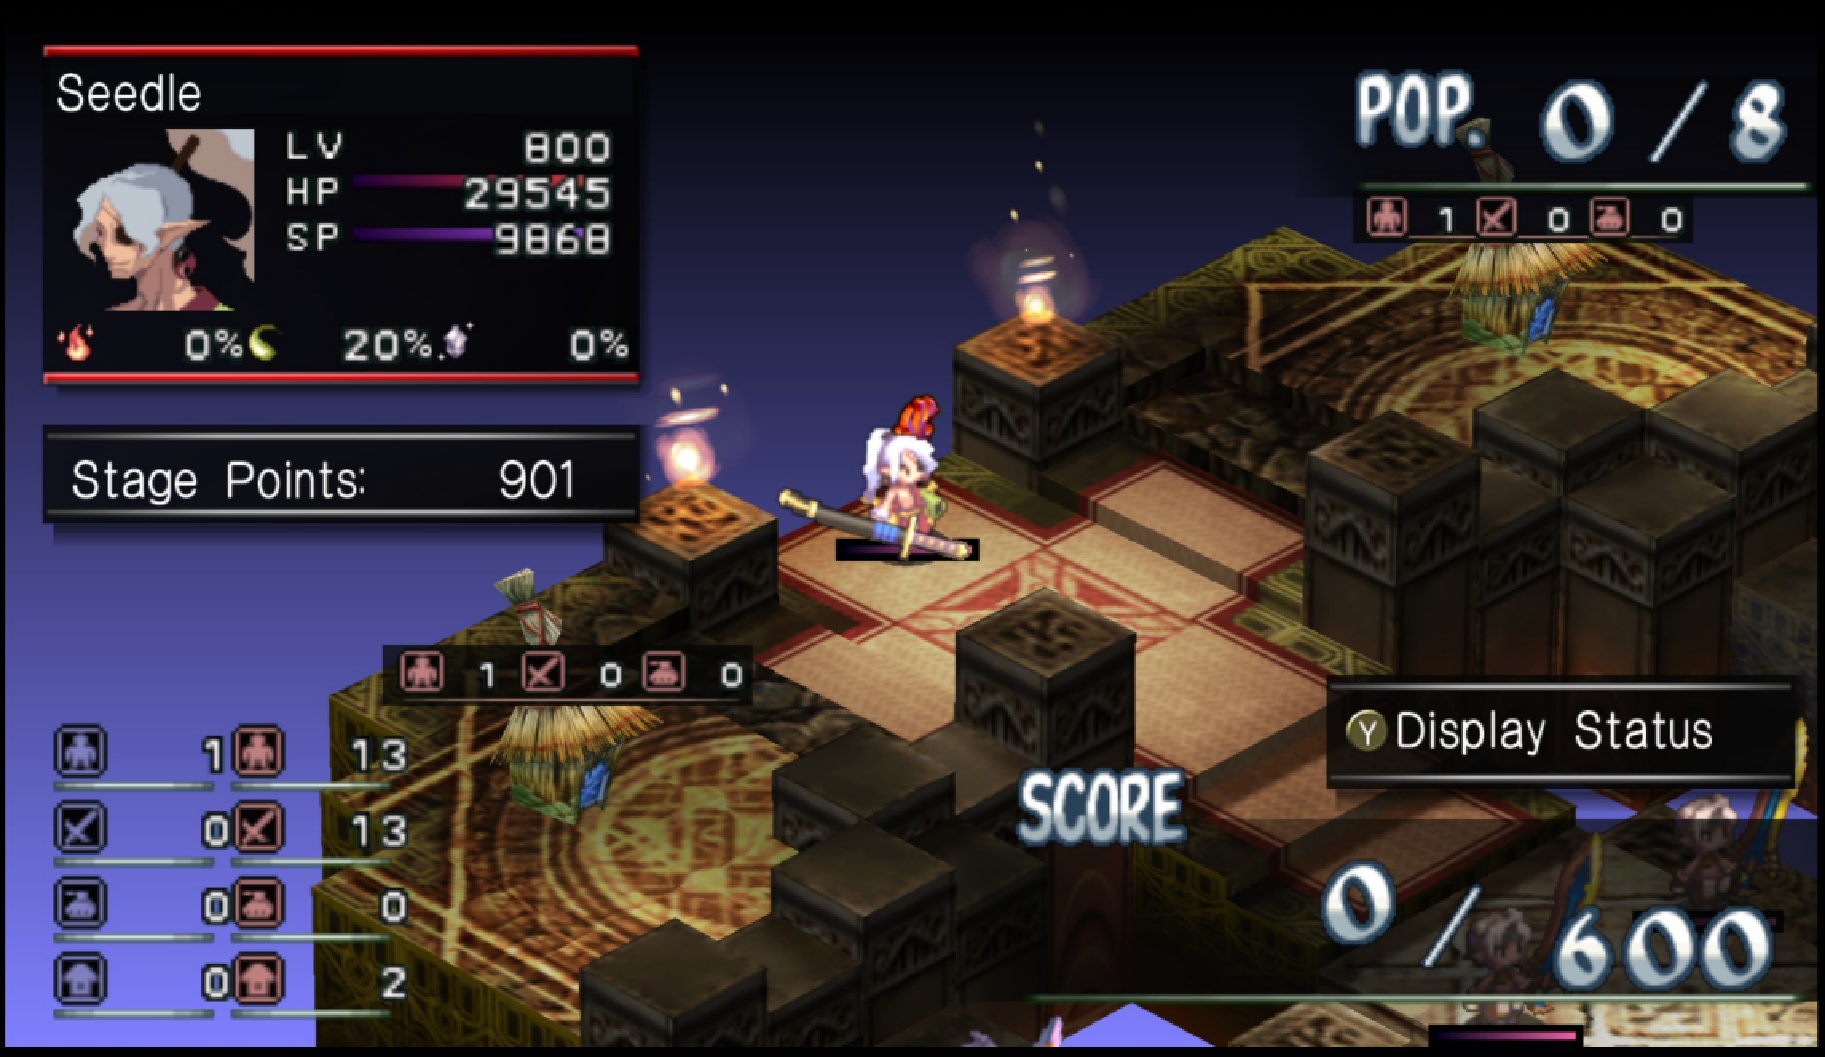
Food's own TEC-Stat is how much more EXP the Character gets from it. So a Food with 300 TEC makes you get 300% more EXP for example. What Chefs do is that when they Feed someone, then the Food's TEC (and thus the EXP Bonus Modifier) is counted as being doubled.
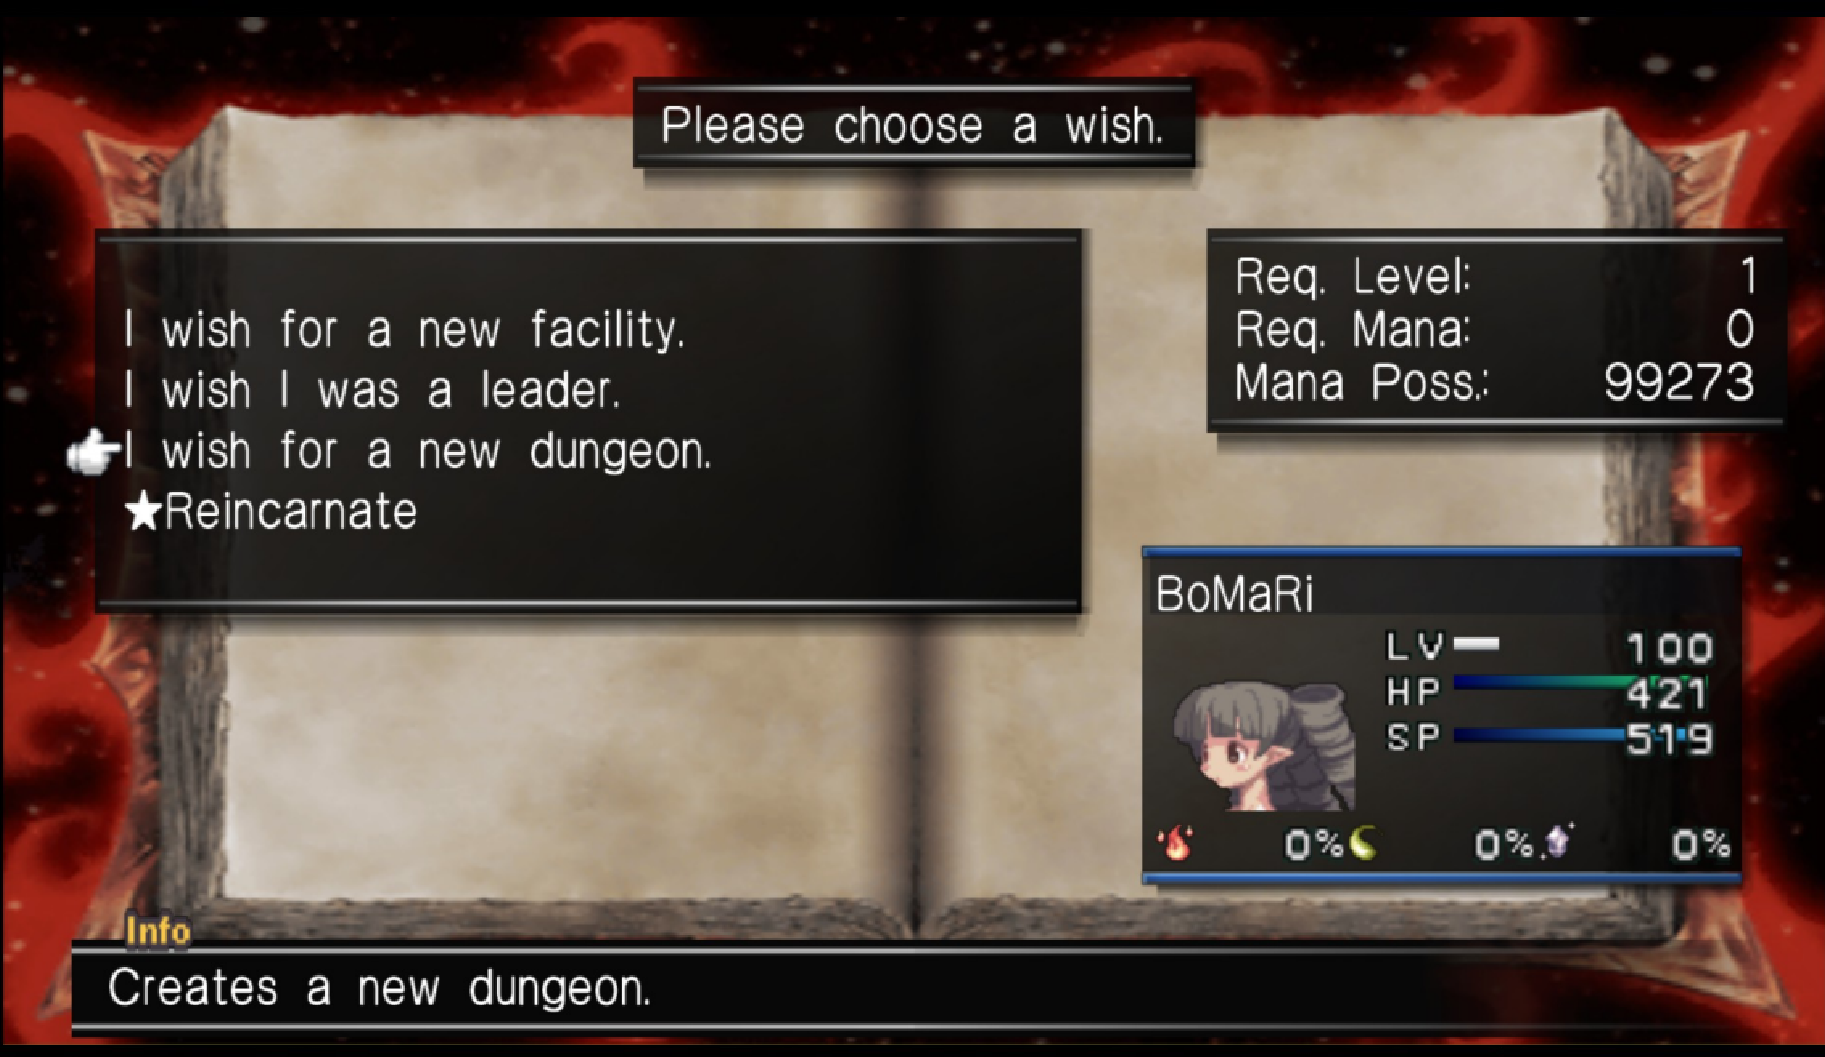
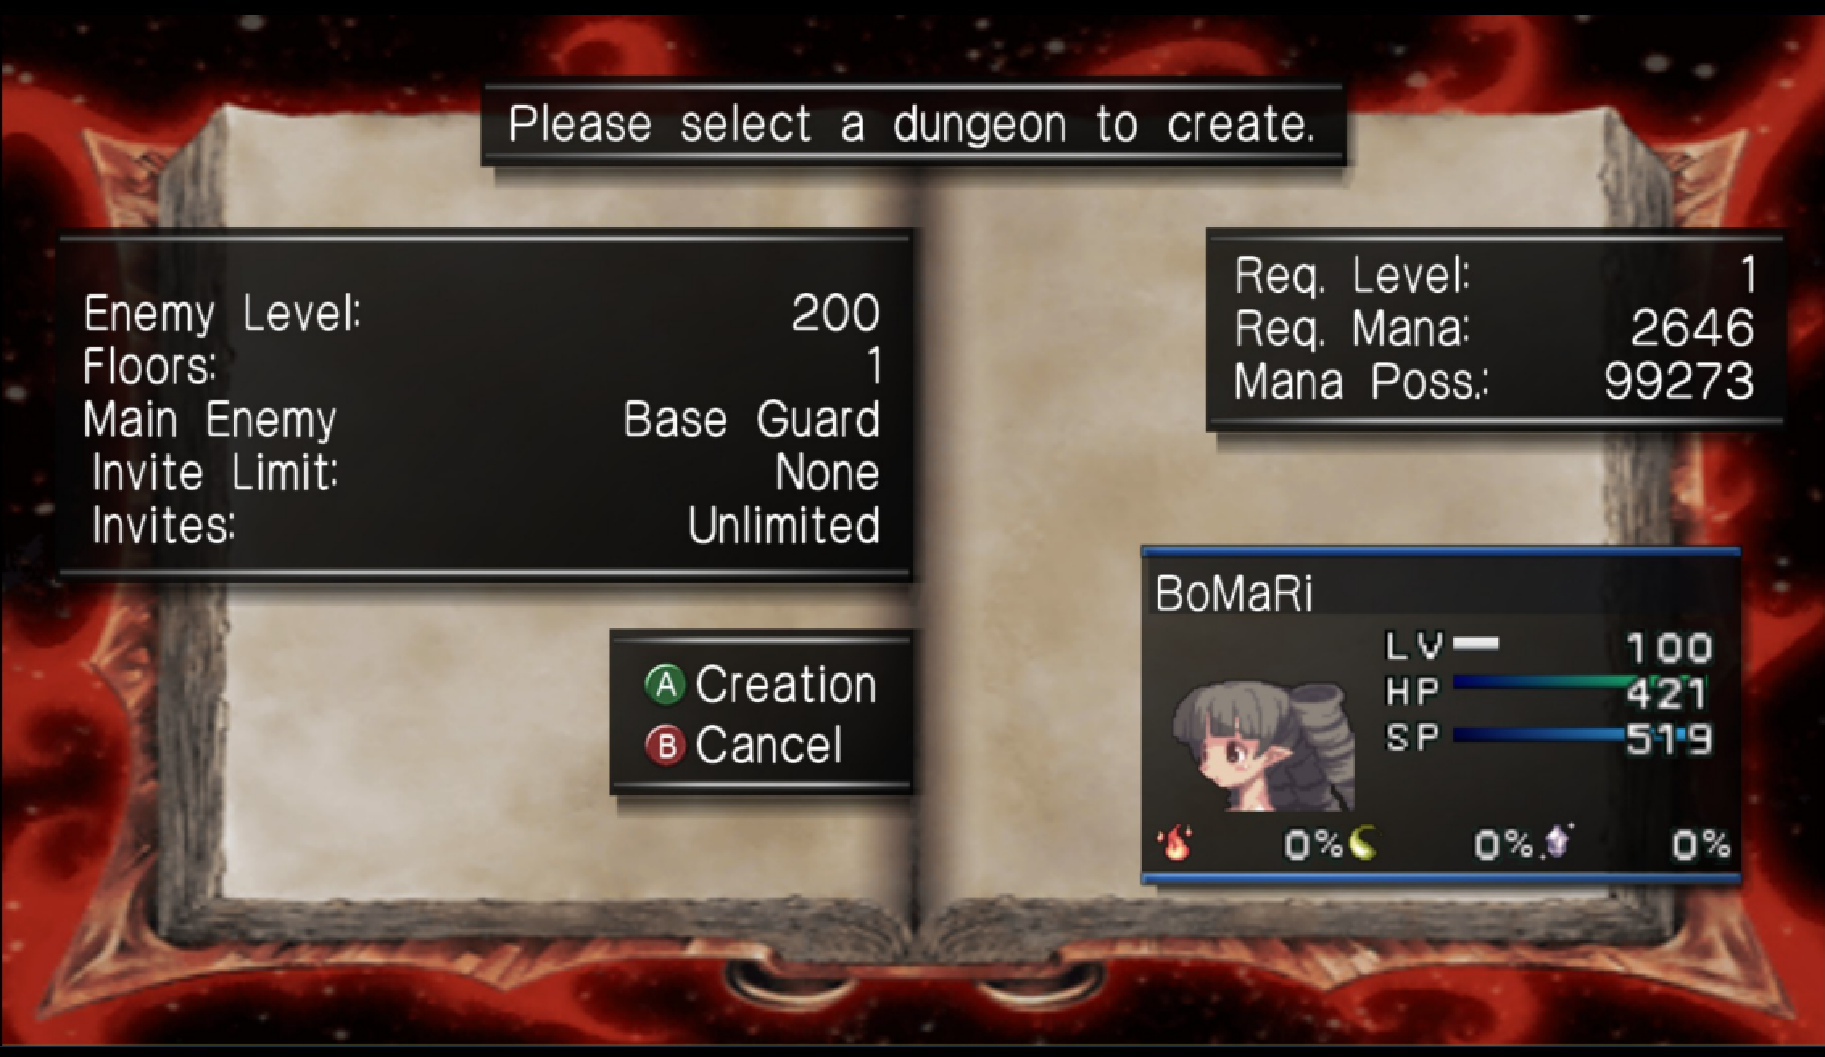
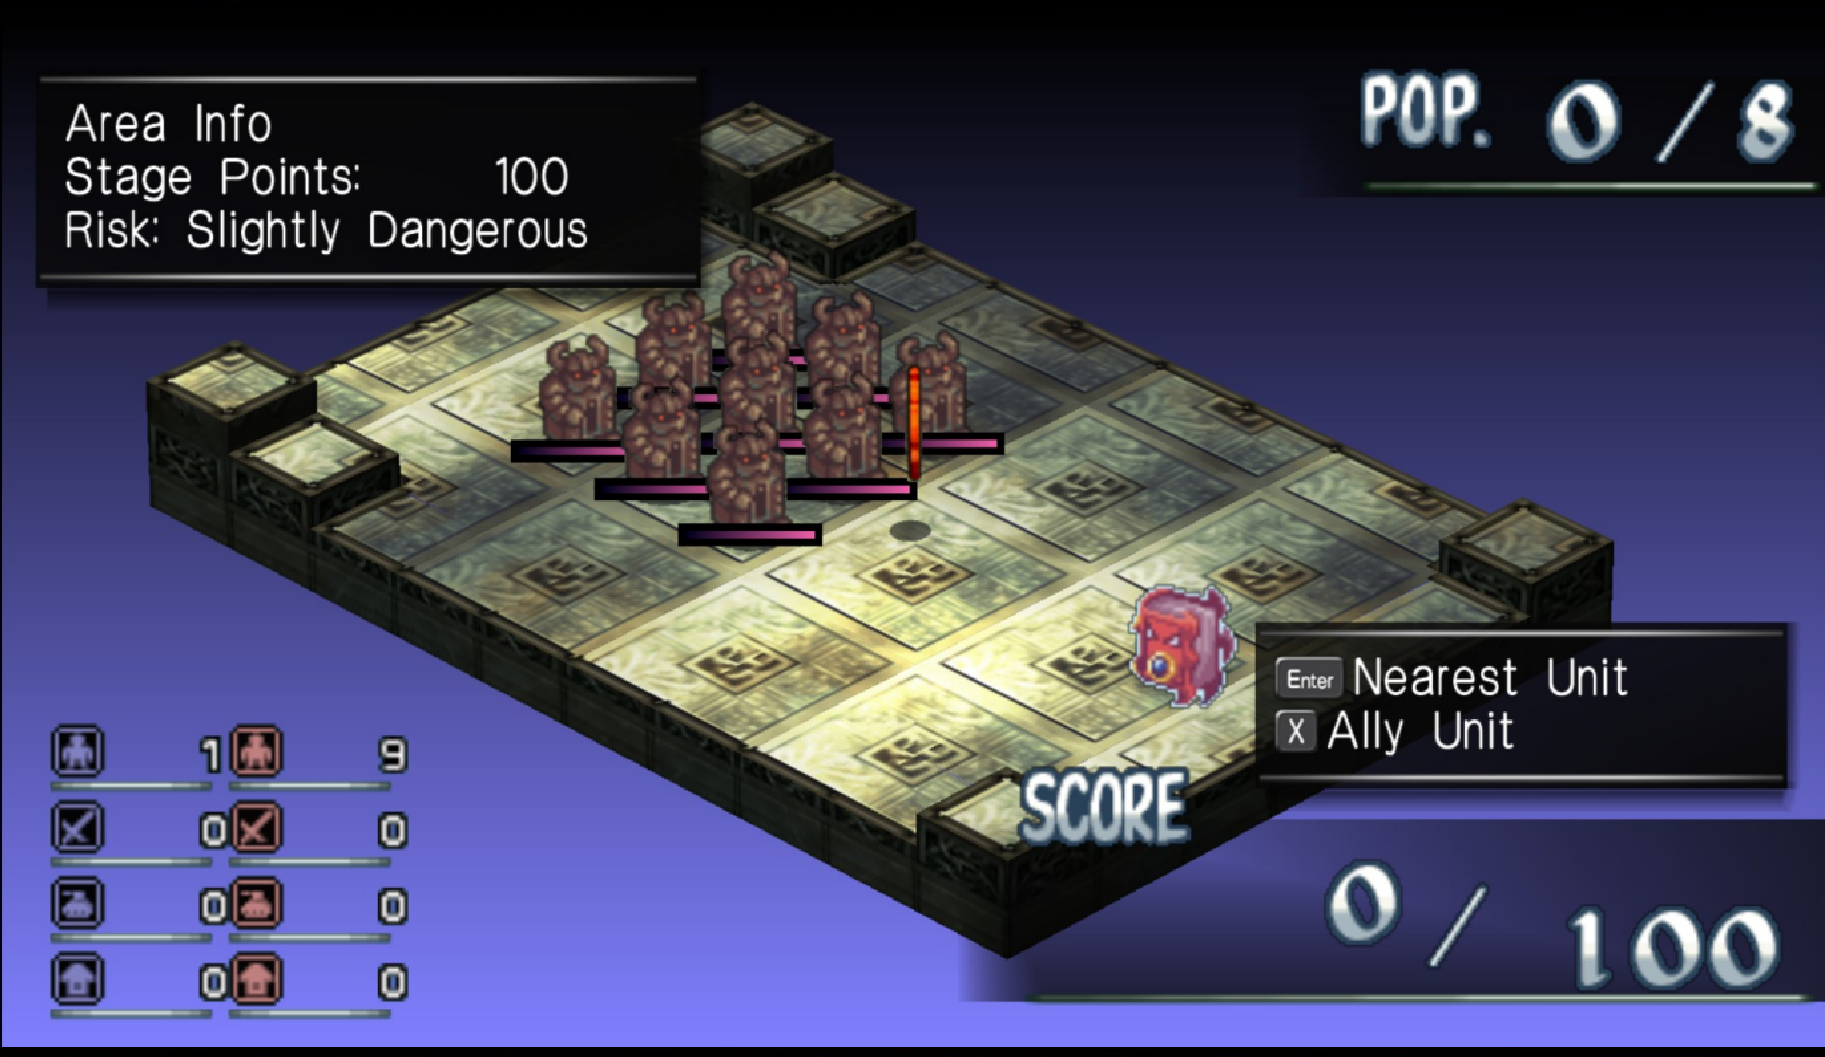
Normally, the maximum EXP-Modifier a Character can have is 900% (getting x9 EXP), however you can also Feed your Enemies to make THEM GIVE more EXP as well. When you do this, then the EXP% of the Enemy is multiplied with the EXP% of your Character, and doing this, you can get to the maximum of 5000% (x50 EXP) from one Enemy-Kill.
What you want to do for grinding is to combine this with a Food Dungeon. You feed all those enemies and the character you want to grind up, and then go to town.
Here's the link:
Credit to reddit user r/Ha_eflolli for the info
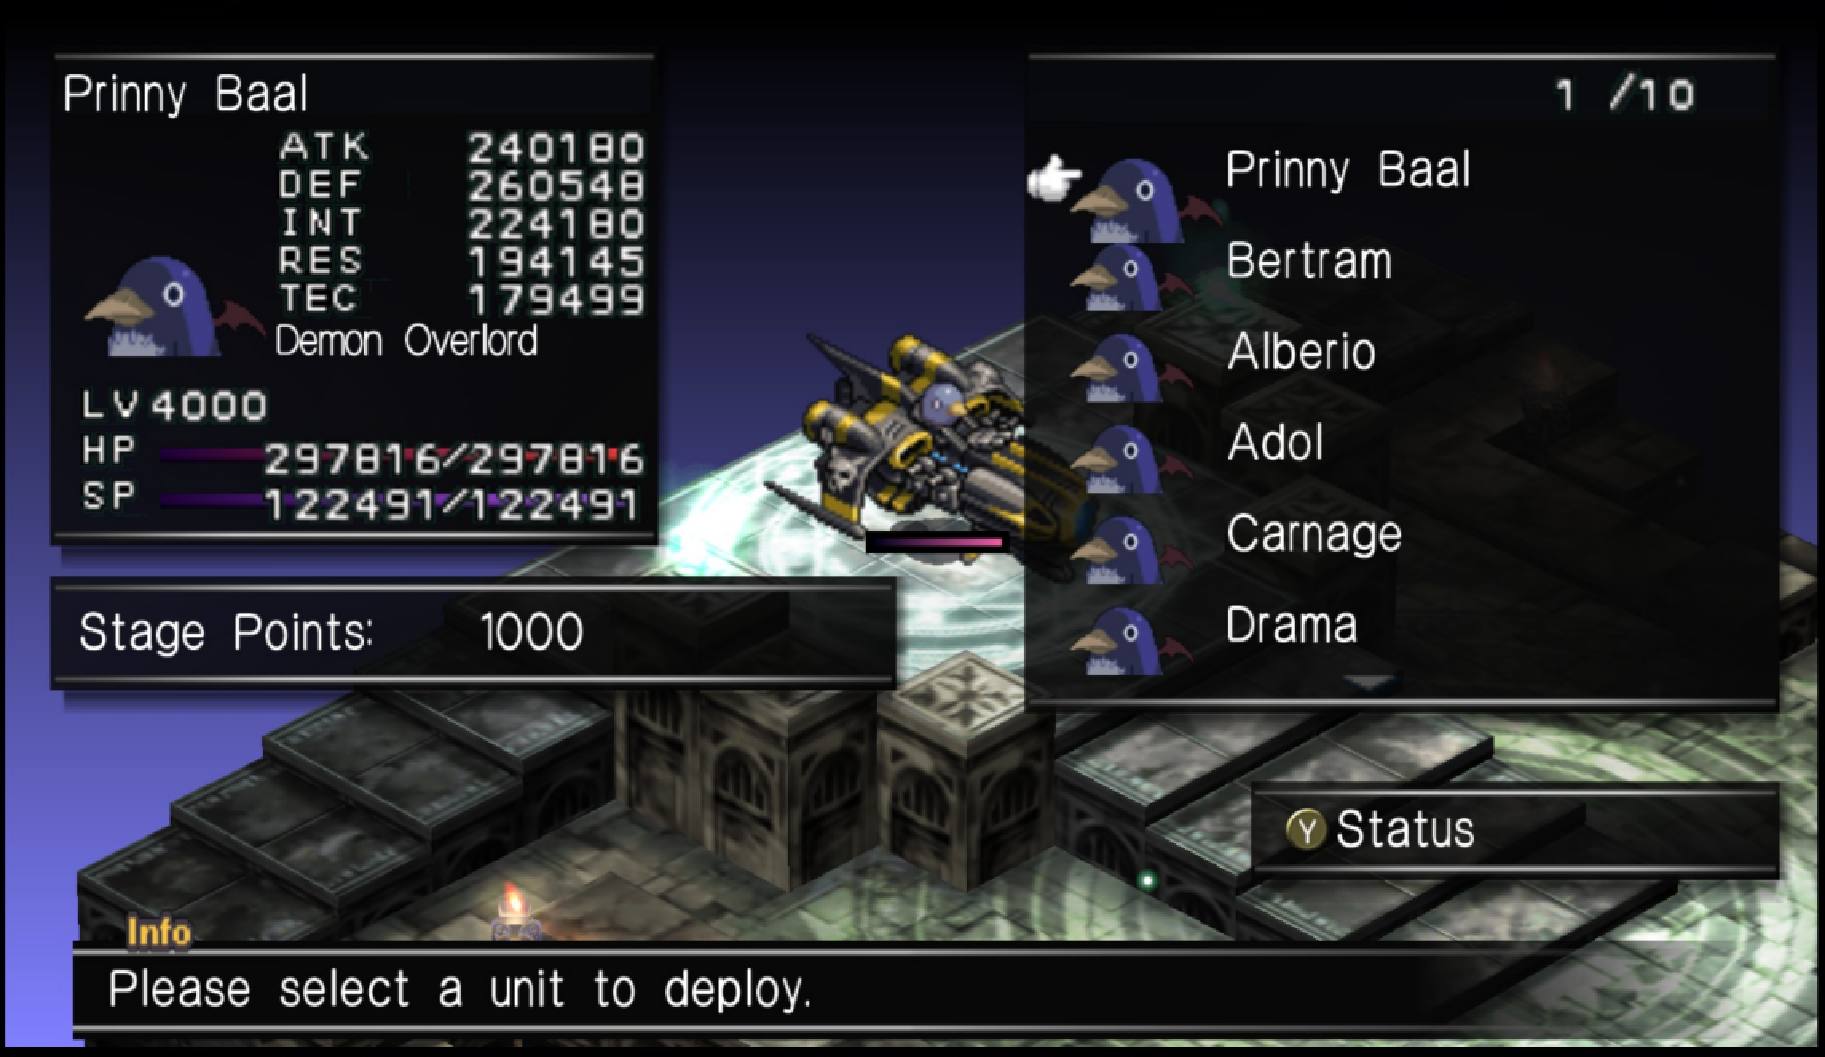
it's entirely possible that i just hit the wrong key, i'll check that after I finish dealing with Prinny Baal