Hydroneer

Hydroneer

178 ratings
Icehelm Forge: How-To
By Gromps
You wanna know how to use the amazing Icehelm Forge?
Then you've come to the right place. :b

In the following guide, you will learn how the forge works and what exactly it does.
4
12
6
   
Award
Favorite
Favorited
Unfavorite
Finding the Forge
The forge is located in the depicted area on the map below.


Once you've arrived, you will immediately notice two weird chutes to the right of the entrance:


You might ask yourself: What are these for?

These are travel paths that you can use for your loot, so you don't have to carry everything one-by-one to and from the forge.
The right one moves your resources from the outside to the forge, while the left one moves things you built—or bought—from the forge back outside.

Neat, right? c:

Next, move through the entrance on the left and go down the lift. You can also fall down if you don't want to wait for it, since currently there is no fall damage in the game.
Ooooohh, Elden Ring Icehelm Forge
Bathe in the glorious aura of the Icehelm Forge~ :b

In front of you, you will see the main part of the forge, the forge itself.

If you go right, you will get to the store.


In the store you can buy various goodies like pipes, conveyors, etc.


Now for the juicy bits:
You can also buy Masterwork Designs, which we will need.

Going from left to right, you can buy the designs for drills, harvesters, and intake boosters.
As you can also see, they are labeled T1, T2, and T3, which stand for Tier 1, Tier 2, and Tier 3, respectively. Those also correspond to the materials we need to make these. But more of that further down.

Keep in mind that you ONLY NEED TO BUY ONE of these designs. They do not disappear when you use them; they can be re-used as many times as you want.

Also, if you are wondering, the intake boosters boost your water pressure from your intake pipe. You can have up to four boosters per intake pipe, which are placed at the side of the intake pipe.
BUT REMEMBER: Iron Boosters can only be used with Iron Intake Pipes, and vice versa for the Cloutium versions; NO MIXY MATCH :C
Nevermind, apparently they CAN be mixed now. c:

Here are the prices for all designs, as of the writing date of this guide:
Name
Price

Tier 1
Iron Drill Masterwork Design
184c
Iron Harvester MD
122c
Iron Intake Booster Design
82c

Tier 2
Cloutium Drill MD
1320c
Cloutium Harvester MD
980c
Cloutium Intake Booster Design
454c

Tier 3
Corestone Drill MD
2460c
Corestone Harvester MD
1130c
Corestone Intake Booster Design
747c

Forgin' Dreams
With our newly bought design, we will go back in front of the anvil of the forge.

To the right of it, you can see a quick and easy picture-guide on how to use it:

I will still go a bit over the steps though. :b
1) Place Template on the Padestal next to the Stairs of the Anvil:
2) Put the Resource with the required Weight Amount in the Forge Crucible:

Wait a minute, what do you mean "weight"?

Weight is the second stat resources have, after the selling prices.
To forge our items, you'll need the weight of resources required by each design.

Here are the weight requirements for each design:
Name
Iron
Cloutium
Corestone

Tier 1
Iron Drill Masterwork Design
300
Iron Harvester MD
100
Iron Intake Booster Design
60

Tier 2
Cloutium Drill MD
1000
150
Cloutium Harvester MD
500
50
Cloutium Intake Booster Design
---
50

Tier 3
Corestone Drill MD
---
500
800
Corestone Harvester MD
---
200
600
Corestone Intake Booster Design
---
---
300

T1 designs require Iron, T2 designs Iron and Cloutium, and T3 designs Cloutium and Corestone, which can be pretty rare at the start of the game.

For example, in the picture above, the drill requires 300 weight units of iron.

Forbidden Chocolate Bars
I recommend smelting all of your iron or cloutium ore into bars, so figuring out the weight is easier.
This can be accomplished by putting them inside either a crucible and furnace and using the bar cast, or, which I use, utilizing a smelter, since it does the job of all three things above.

To see the weight of a bar, you will need a scale, which you can purchase at various stores, or at the icehelm forge itself, for 146c.

As you can see here, this iron bar weighs 316.3 weight units. Just enough for us to cast our drill. :b

If your bars don't weigh enough, you can always re-add them to a crucible or smelter to smelt them back down.
2.5) Finding the Resources in the Forge
Remember how I mentioned those transport paths earlier?

You can find the exit point of our outside belt in the area below the anvil.
Now, you can either go walk the way, which goes back along to the shop, or, if you want to get there faster, you can drop down between the grate. It's pretty easy to fall down, actually. :b


In the middle of the room, you can also see another transport path leading back outside.
This is due to the fact that you can also buy a vertical dig site for around 7200c right there.
3) Press the Lever and Enjoy~
If you did everything correctly so far, your item should now be cast.

If you don't have enough resources for the cast or accidentally threw a bar in, you can get it back by removing any template from the pedestal and then pulling the lever.


In addition to our finished product, you will also get back the excess resources that you put in the forge crucible. This can be found on the front-left side, when facing the anvil.


You can place all of your items on the transport path located left of the anvil to save time.
Finishing Words
Congrats!!!

You now got a new and shiny upgrade for your setup!

Also, if you wanna know how to build a pretty solid early-game ore farm, why not check out my other guide, which you can find below~ :b

https://gtm.steamproxy.vip/sharedfiles/filedetails/?id=2806172743

I hope I was able to help you with how to use the forge. C:
If you think this guide was helpful, please remember to rate and favorite it. <3


Lemme know your feedback and thoughts in the comments too. I'm always glad to receive them! ^3^
19 Comments
Mur 26 Sep, 2024 @ 1:57pm 
Good guide, should put what tier the dirt is and where. It also would be nice to see a picture of the whole area mined out.
Nautilus 13 Sep, 2023 @ 5:23am 
This guide saved my extramarital affair.
Kitsune 20 Apr, 2023 @ 3:09am 
I also bought a pallet to carry all the masterwork designs and other things I bought over to the forge, saves so much time running:

https://gtm.steamproxy.vip/sharedfiles/filedetails/?id=2964760182

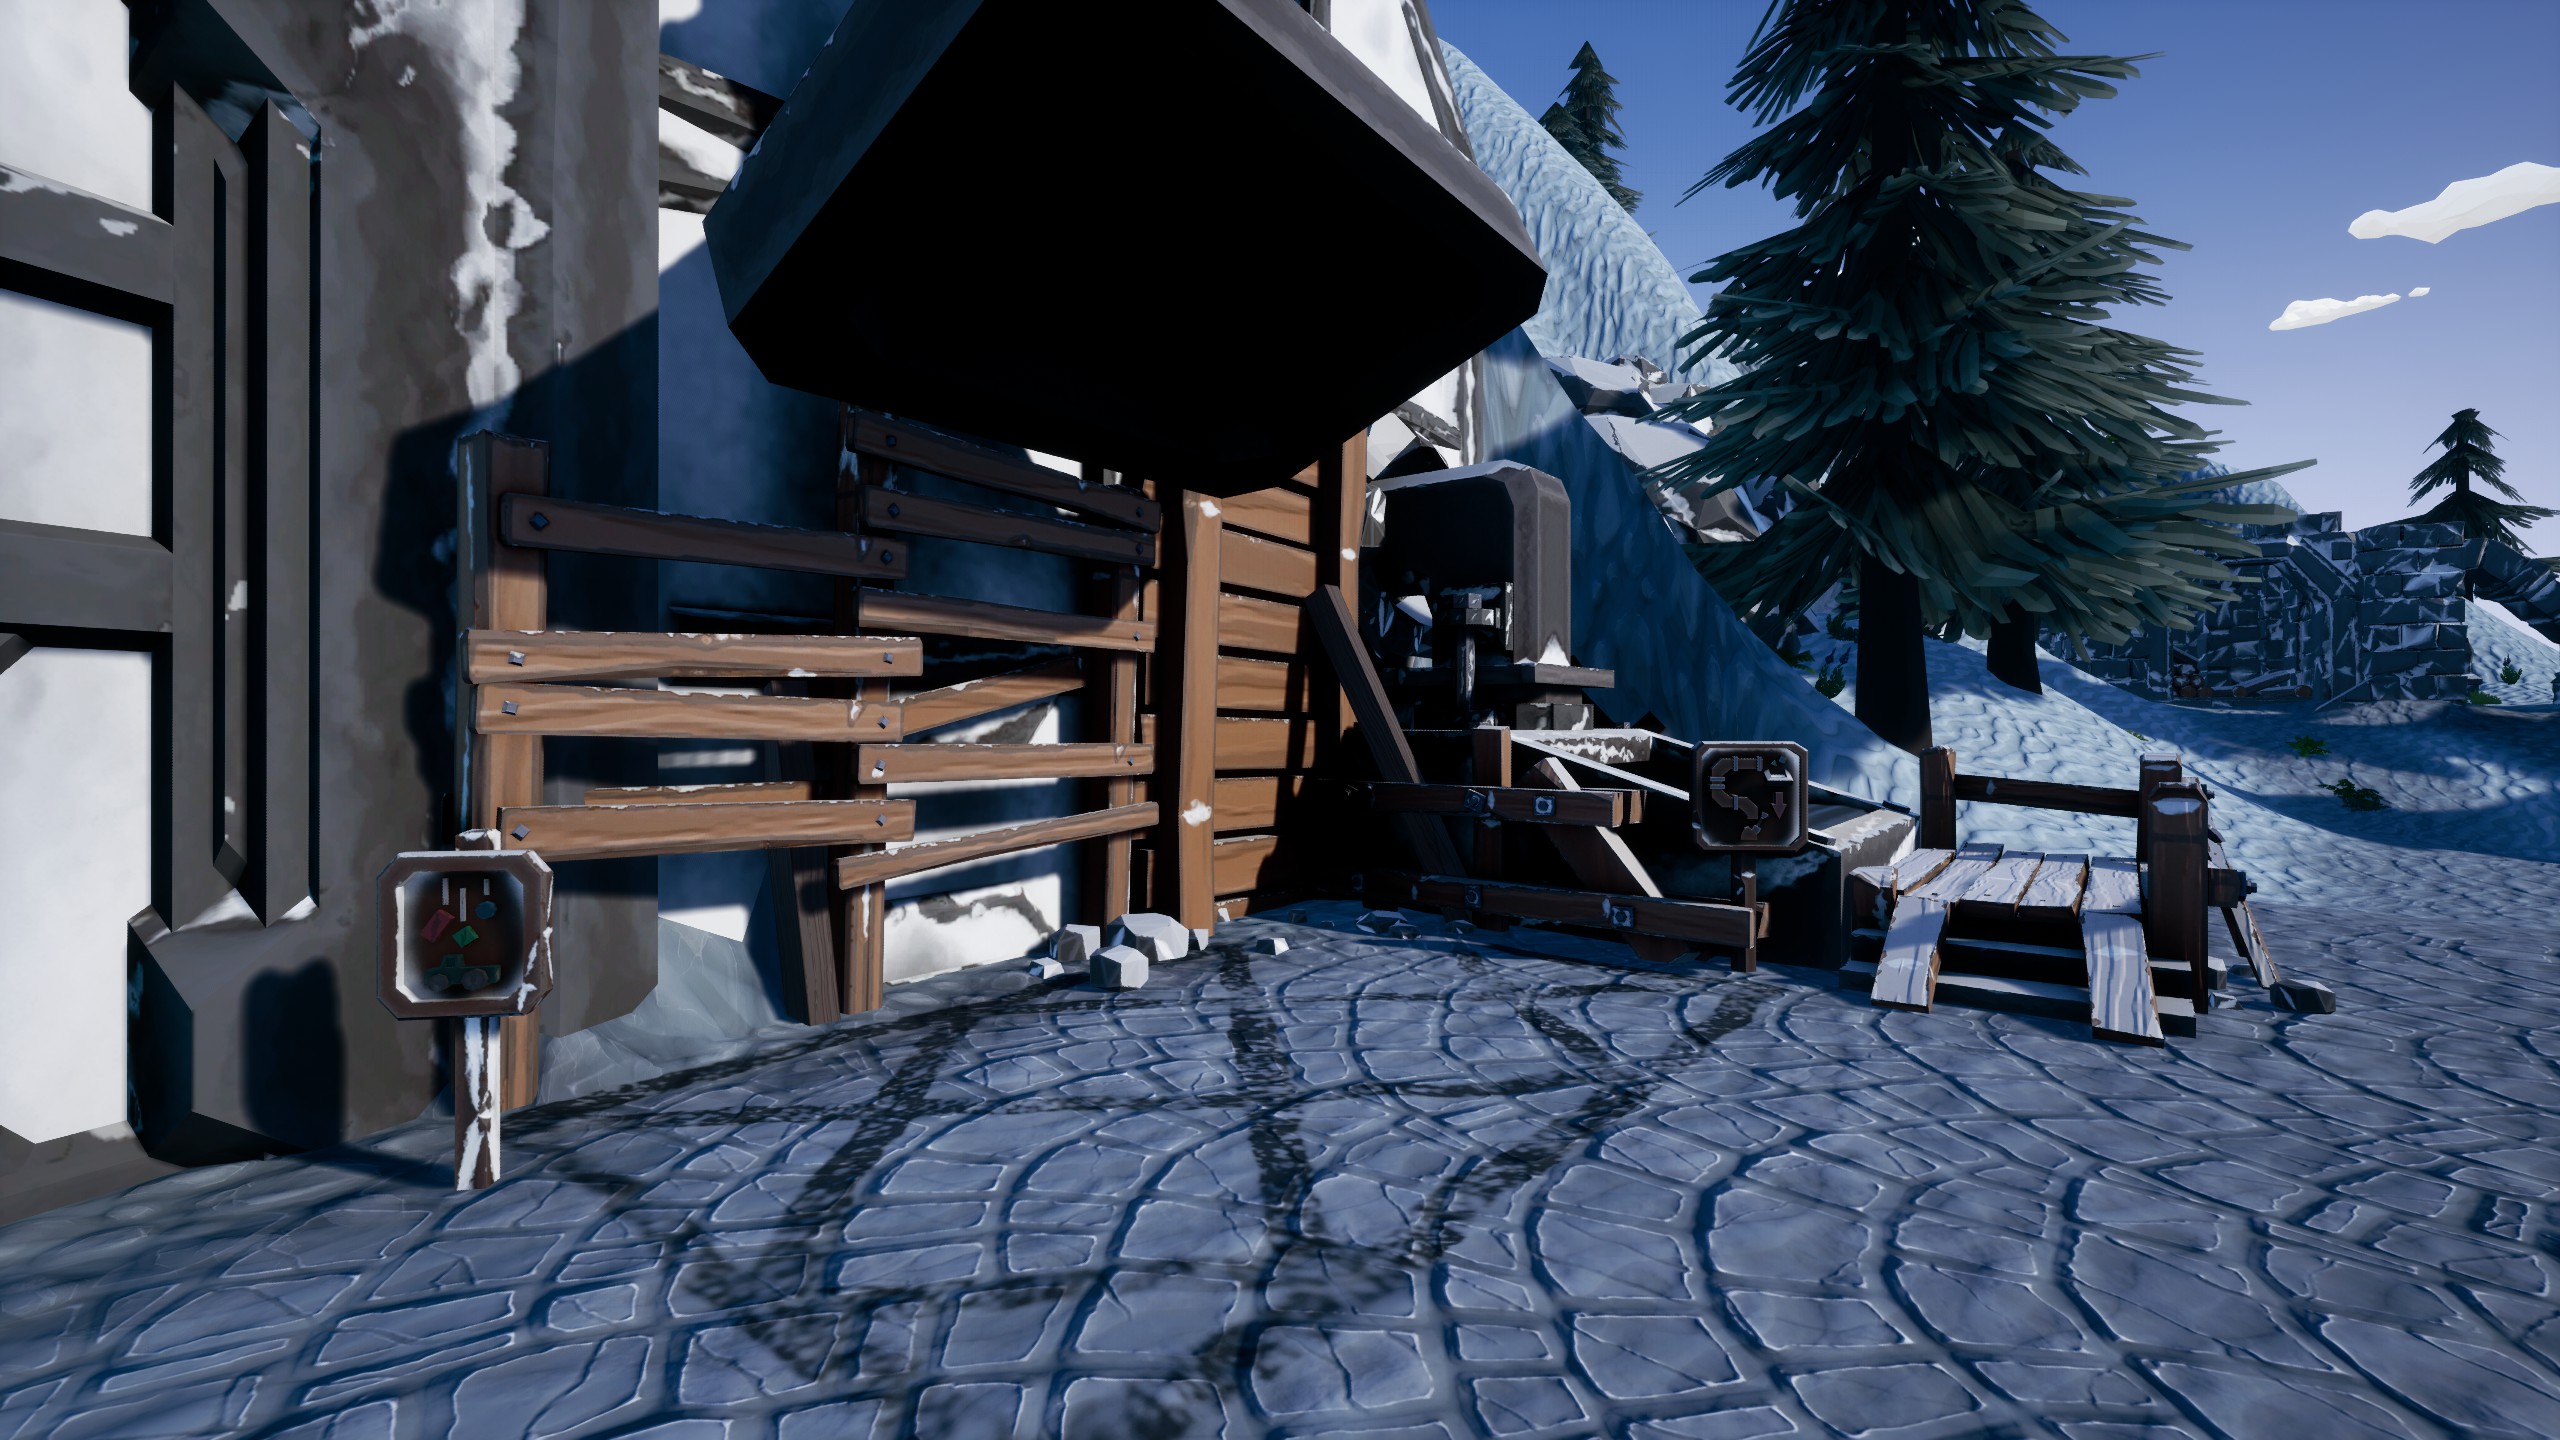
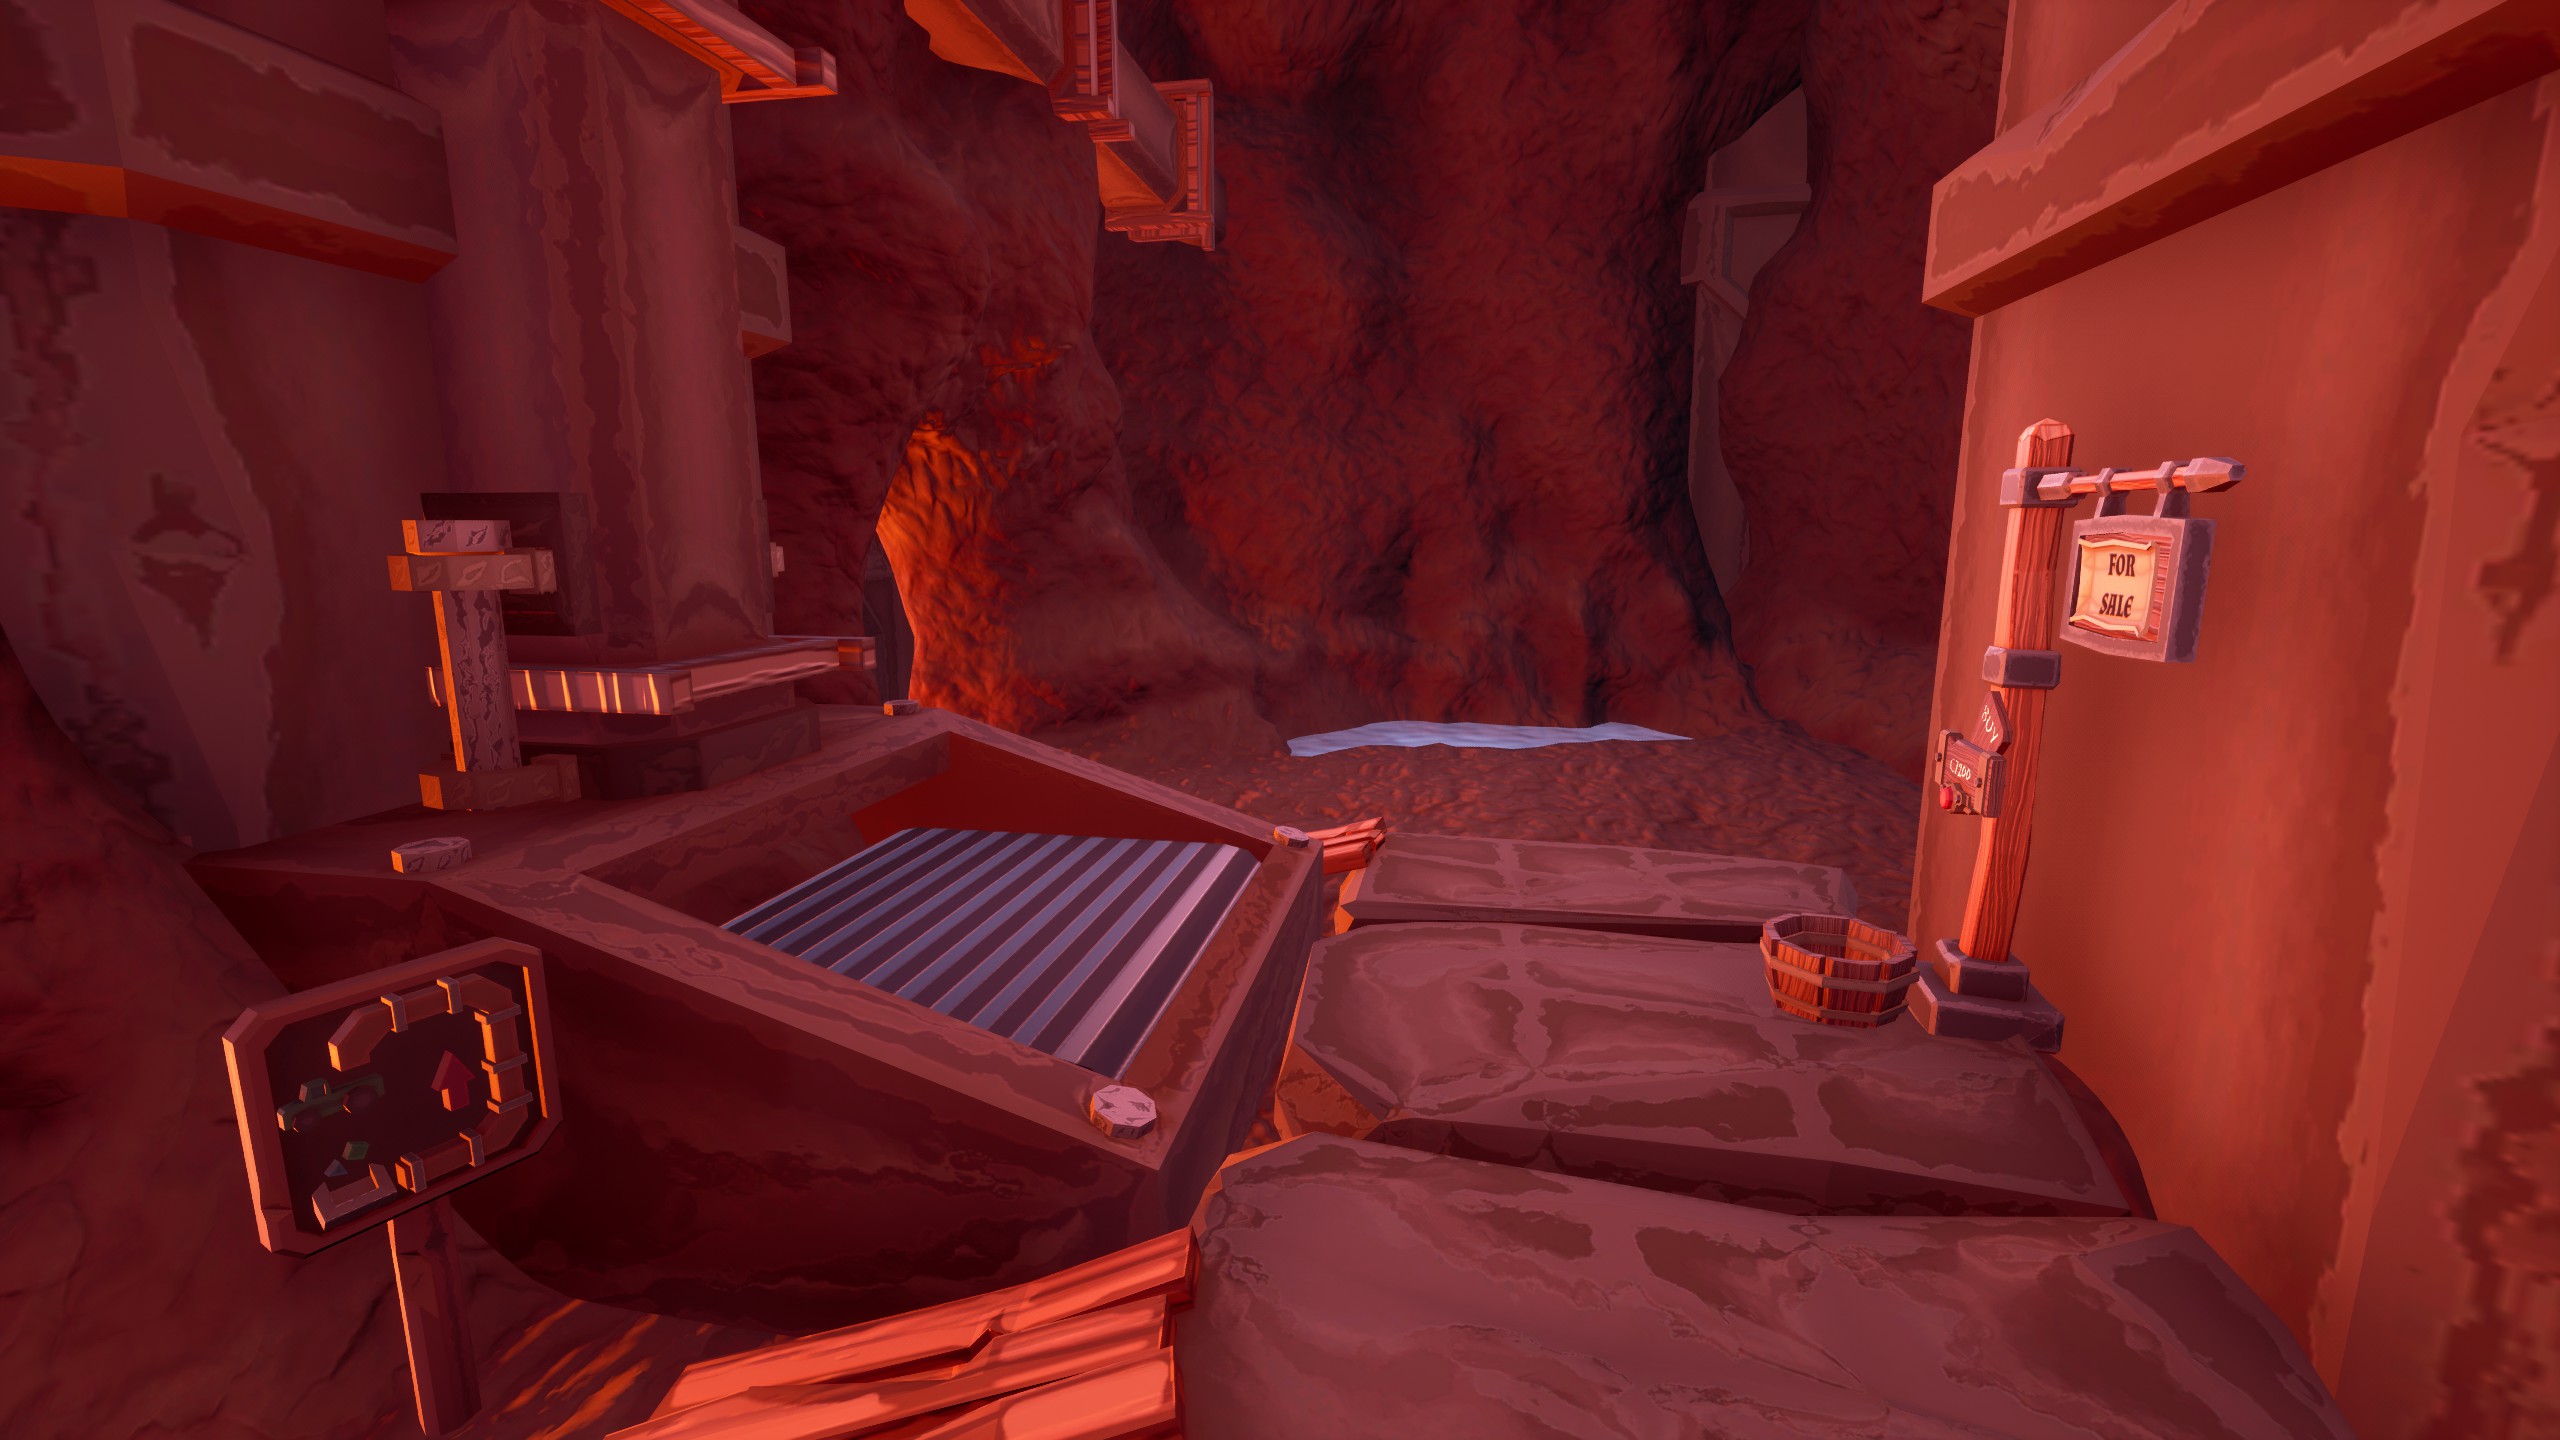
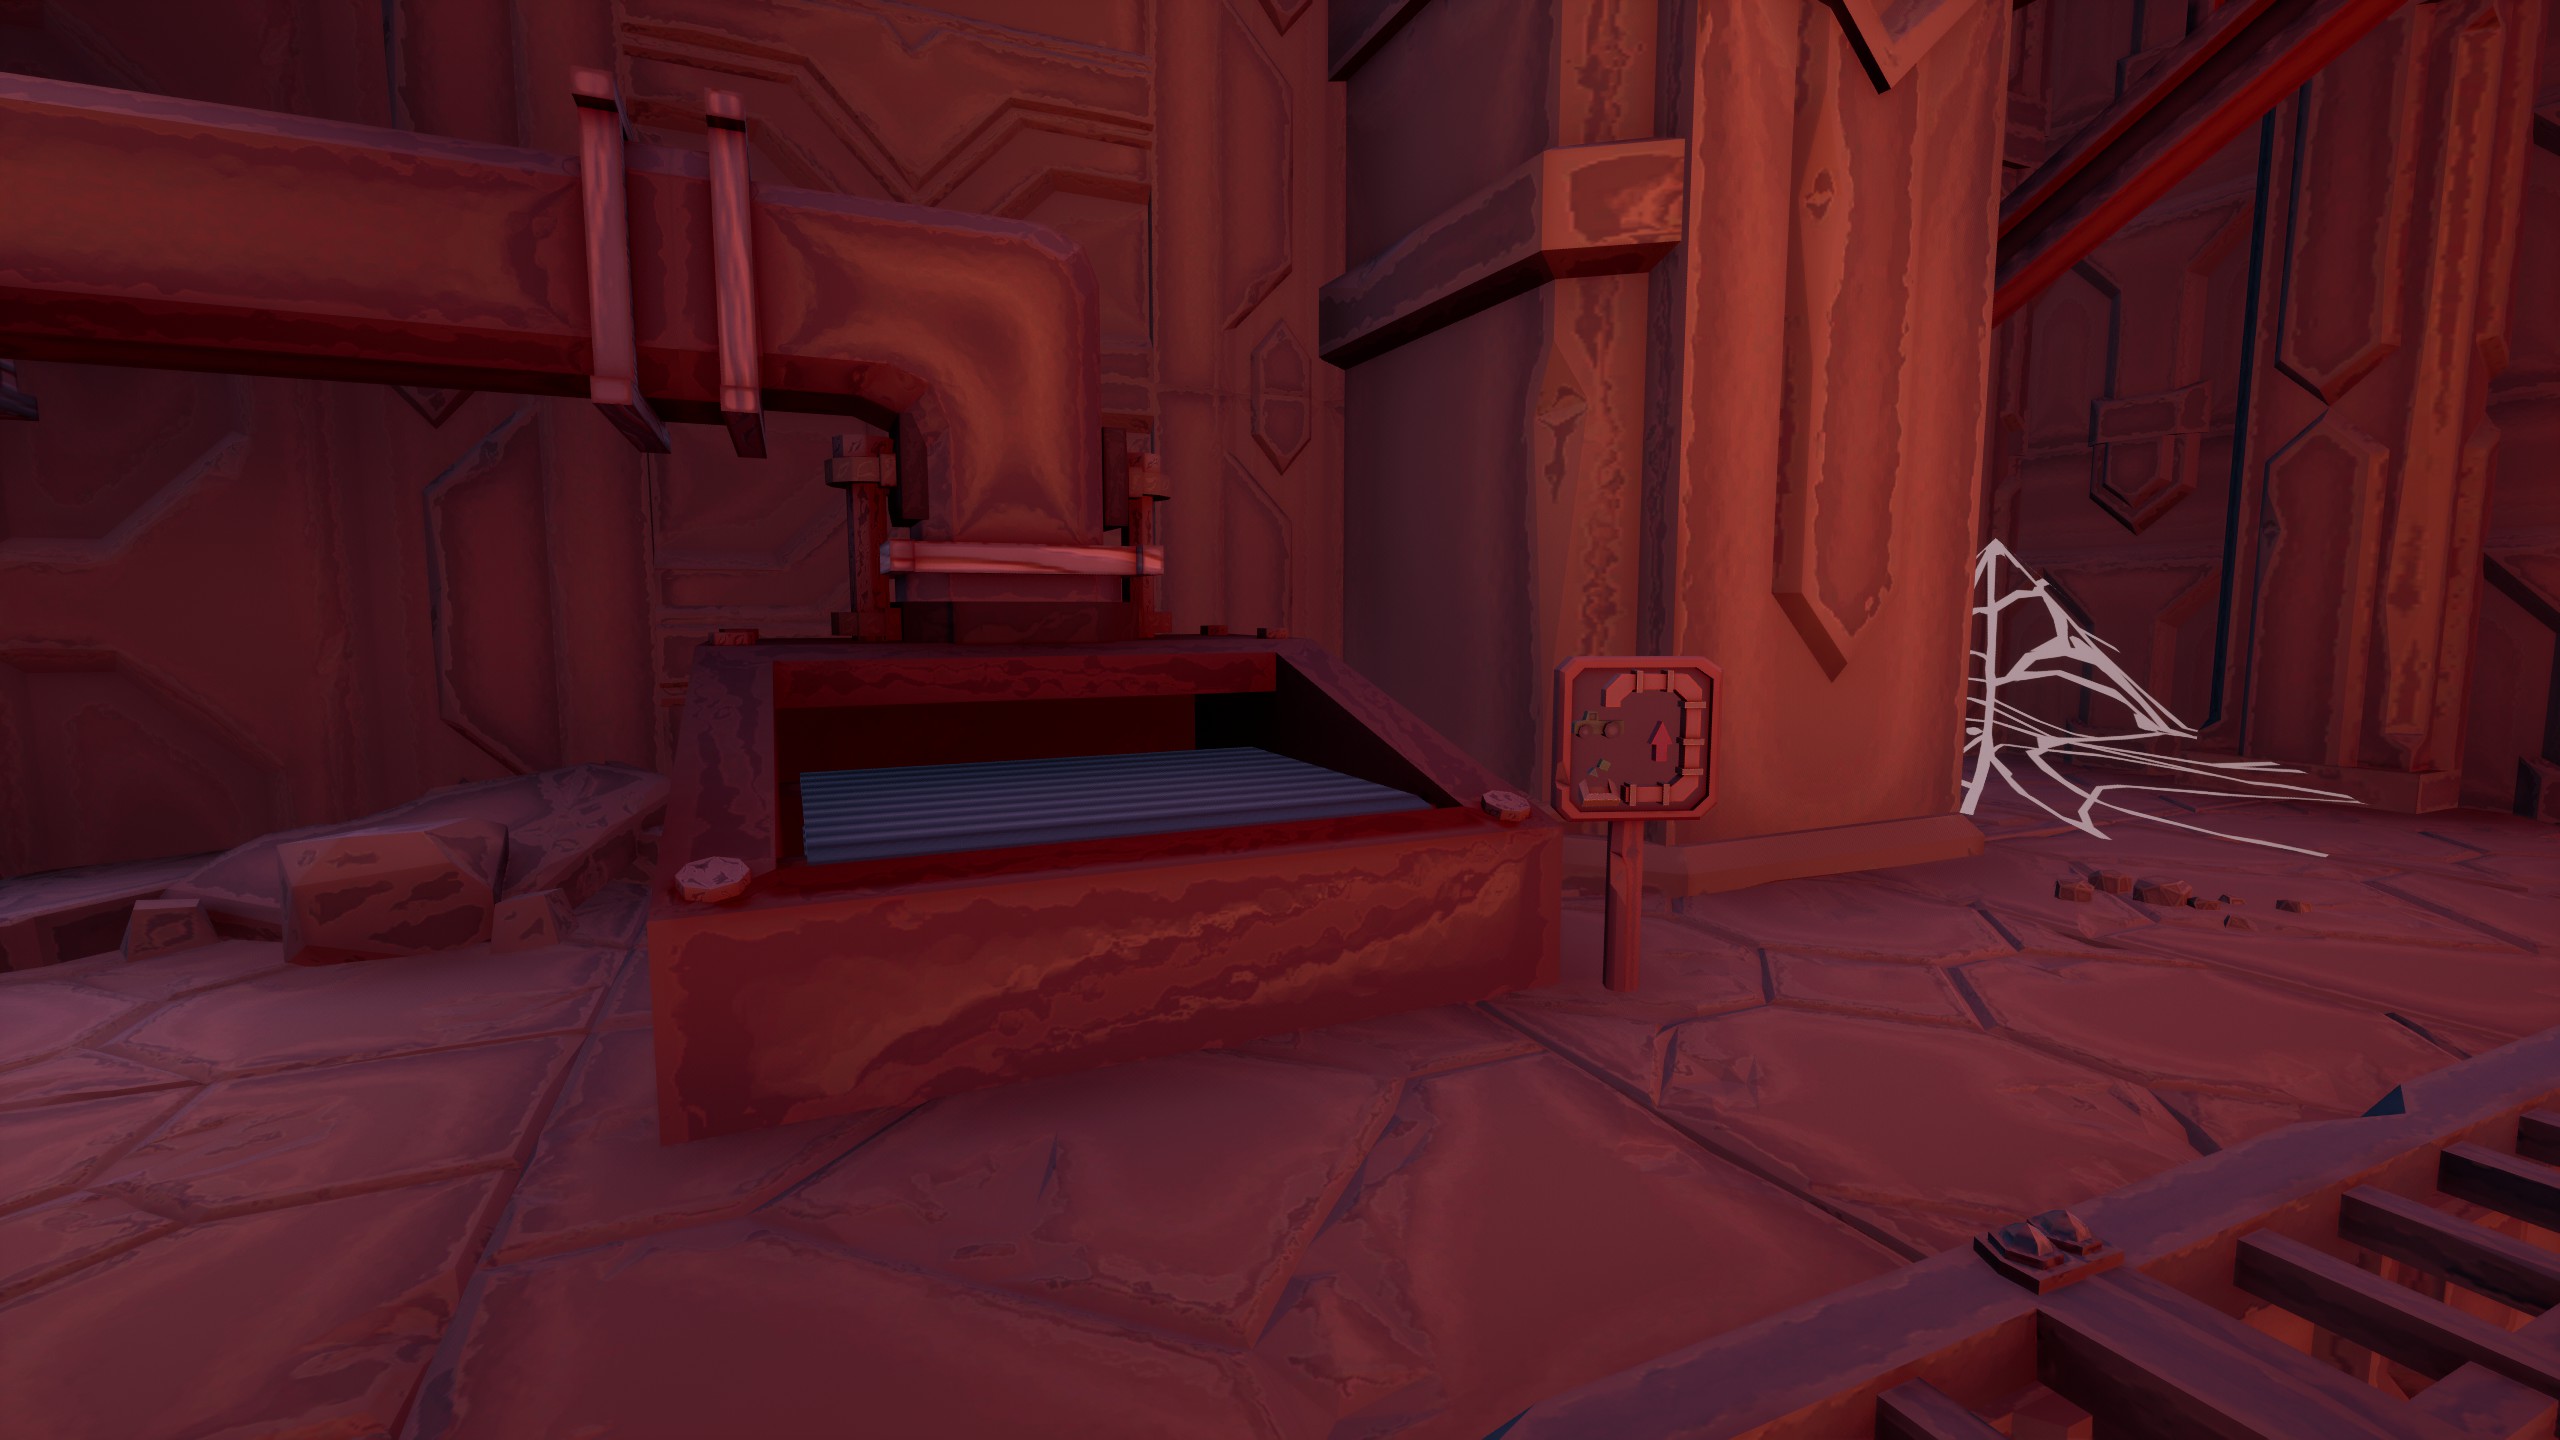
if you have the crates mod, placing one like shown in the image below, with the text part facing where the item is made, the item will go straight into the crate as soon as it's made, streamlining the whole process:

https://gtm.steamproxy.vip/sharedfiles/filedetails/?id=2964756937

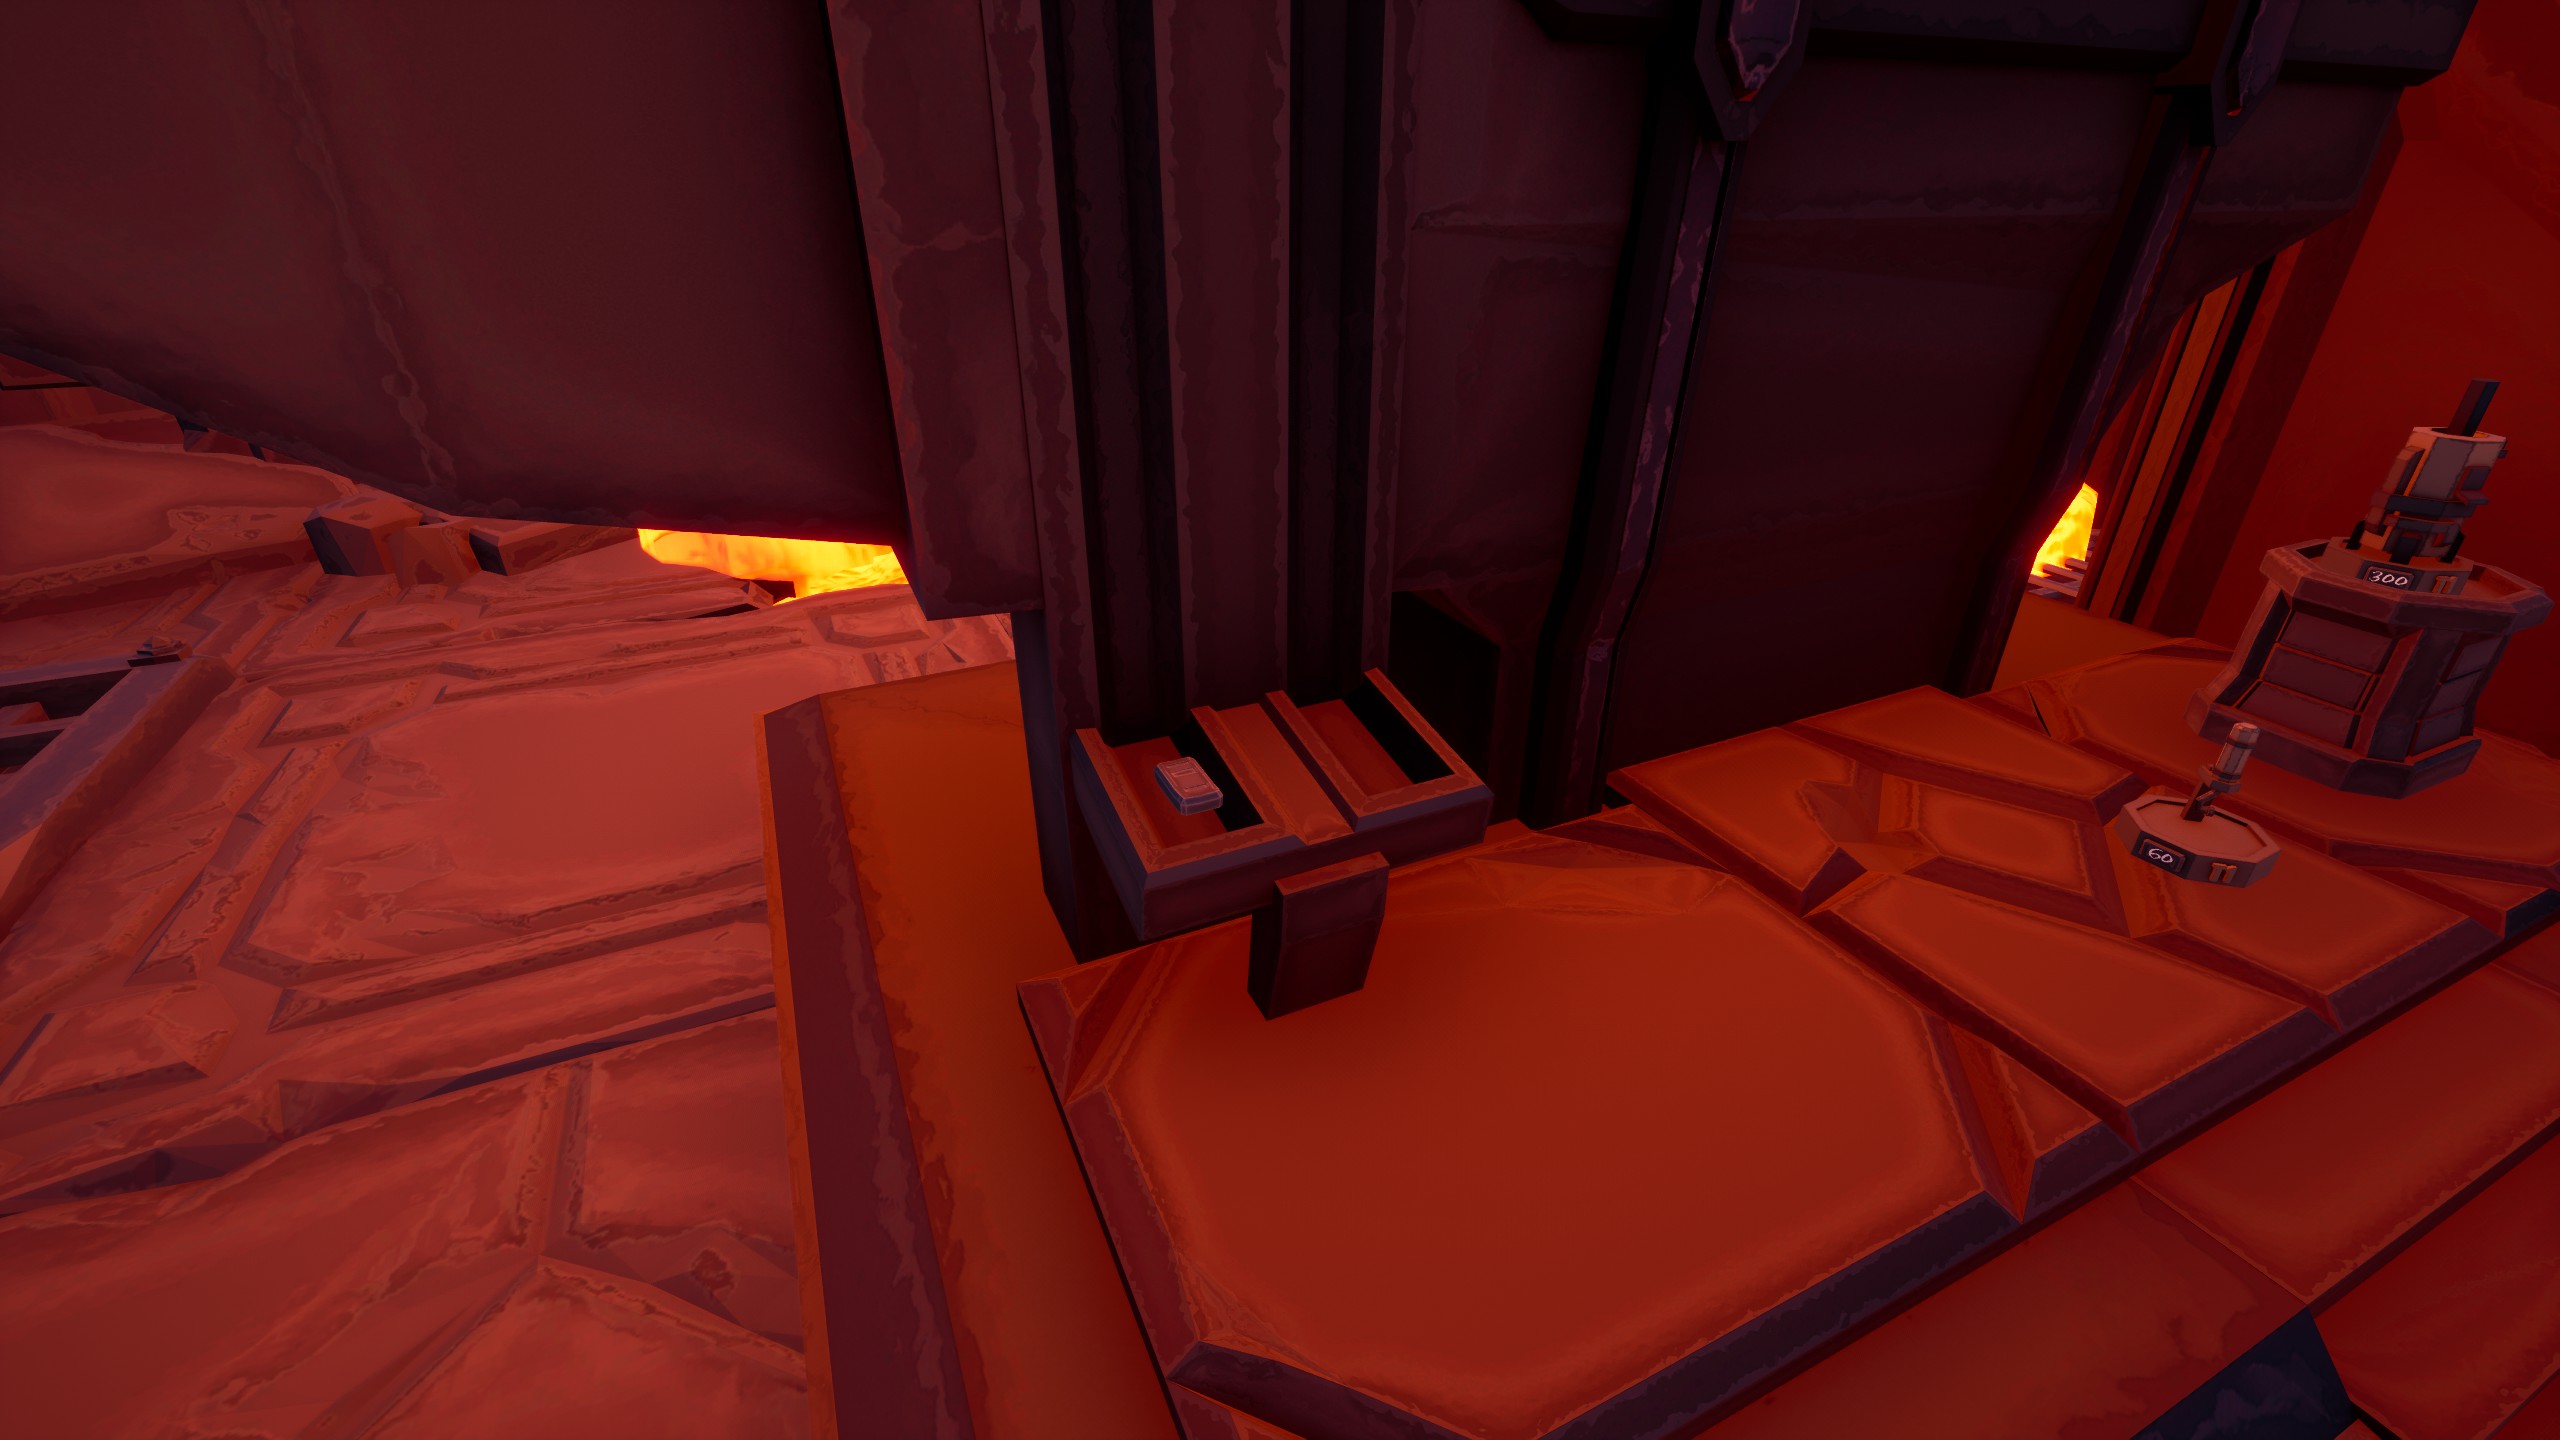
lastly, if you don't have the crates mod, simply run onto the anvil and drop the items off the end to also make for faster transport to the conveyor:

https://gtm.steamproxy.vip/sharedfiles/filedetails/?id=2964761539

hopefully these tips will help people out a bit! :steamthumbsup:

2/2
Kitsune 20 Apr, 2023 @ 3:09am 
a couple of tips that might also help people Gromps -

you can pick up bars from the anvil, saving time running down and around:

https://gtm.steamproxy.vip/sharedfiles/filedetails/?id=2964757112

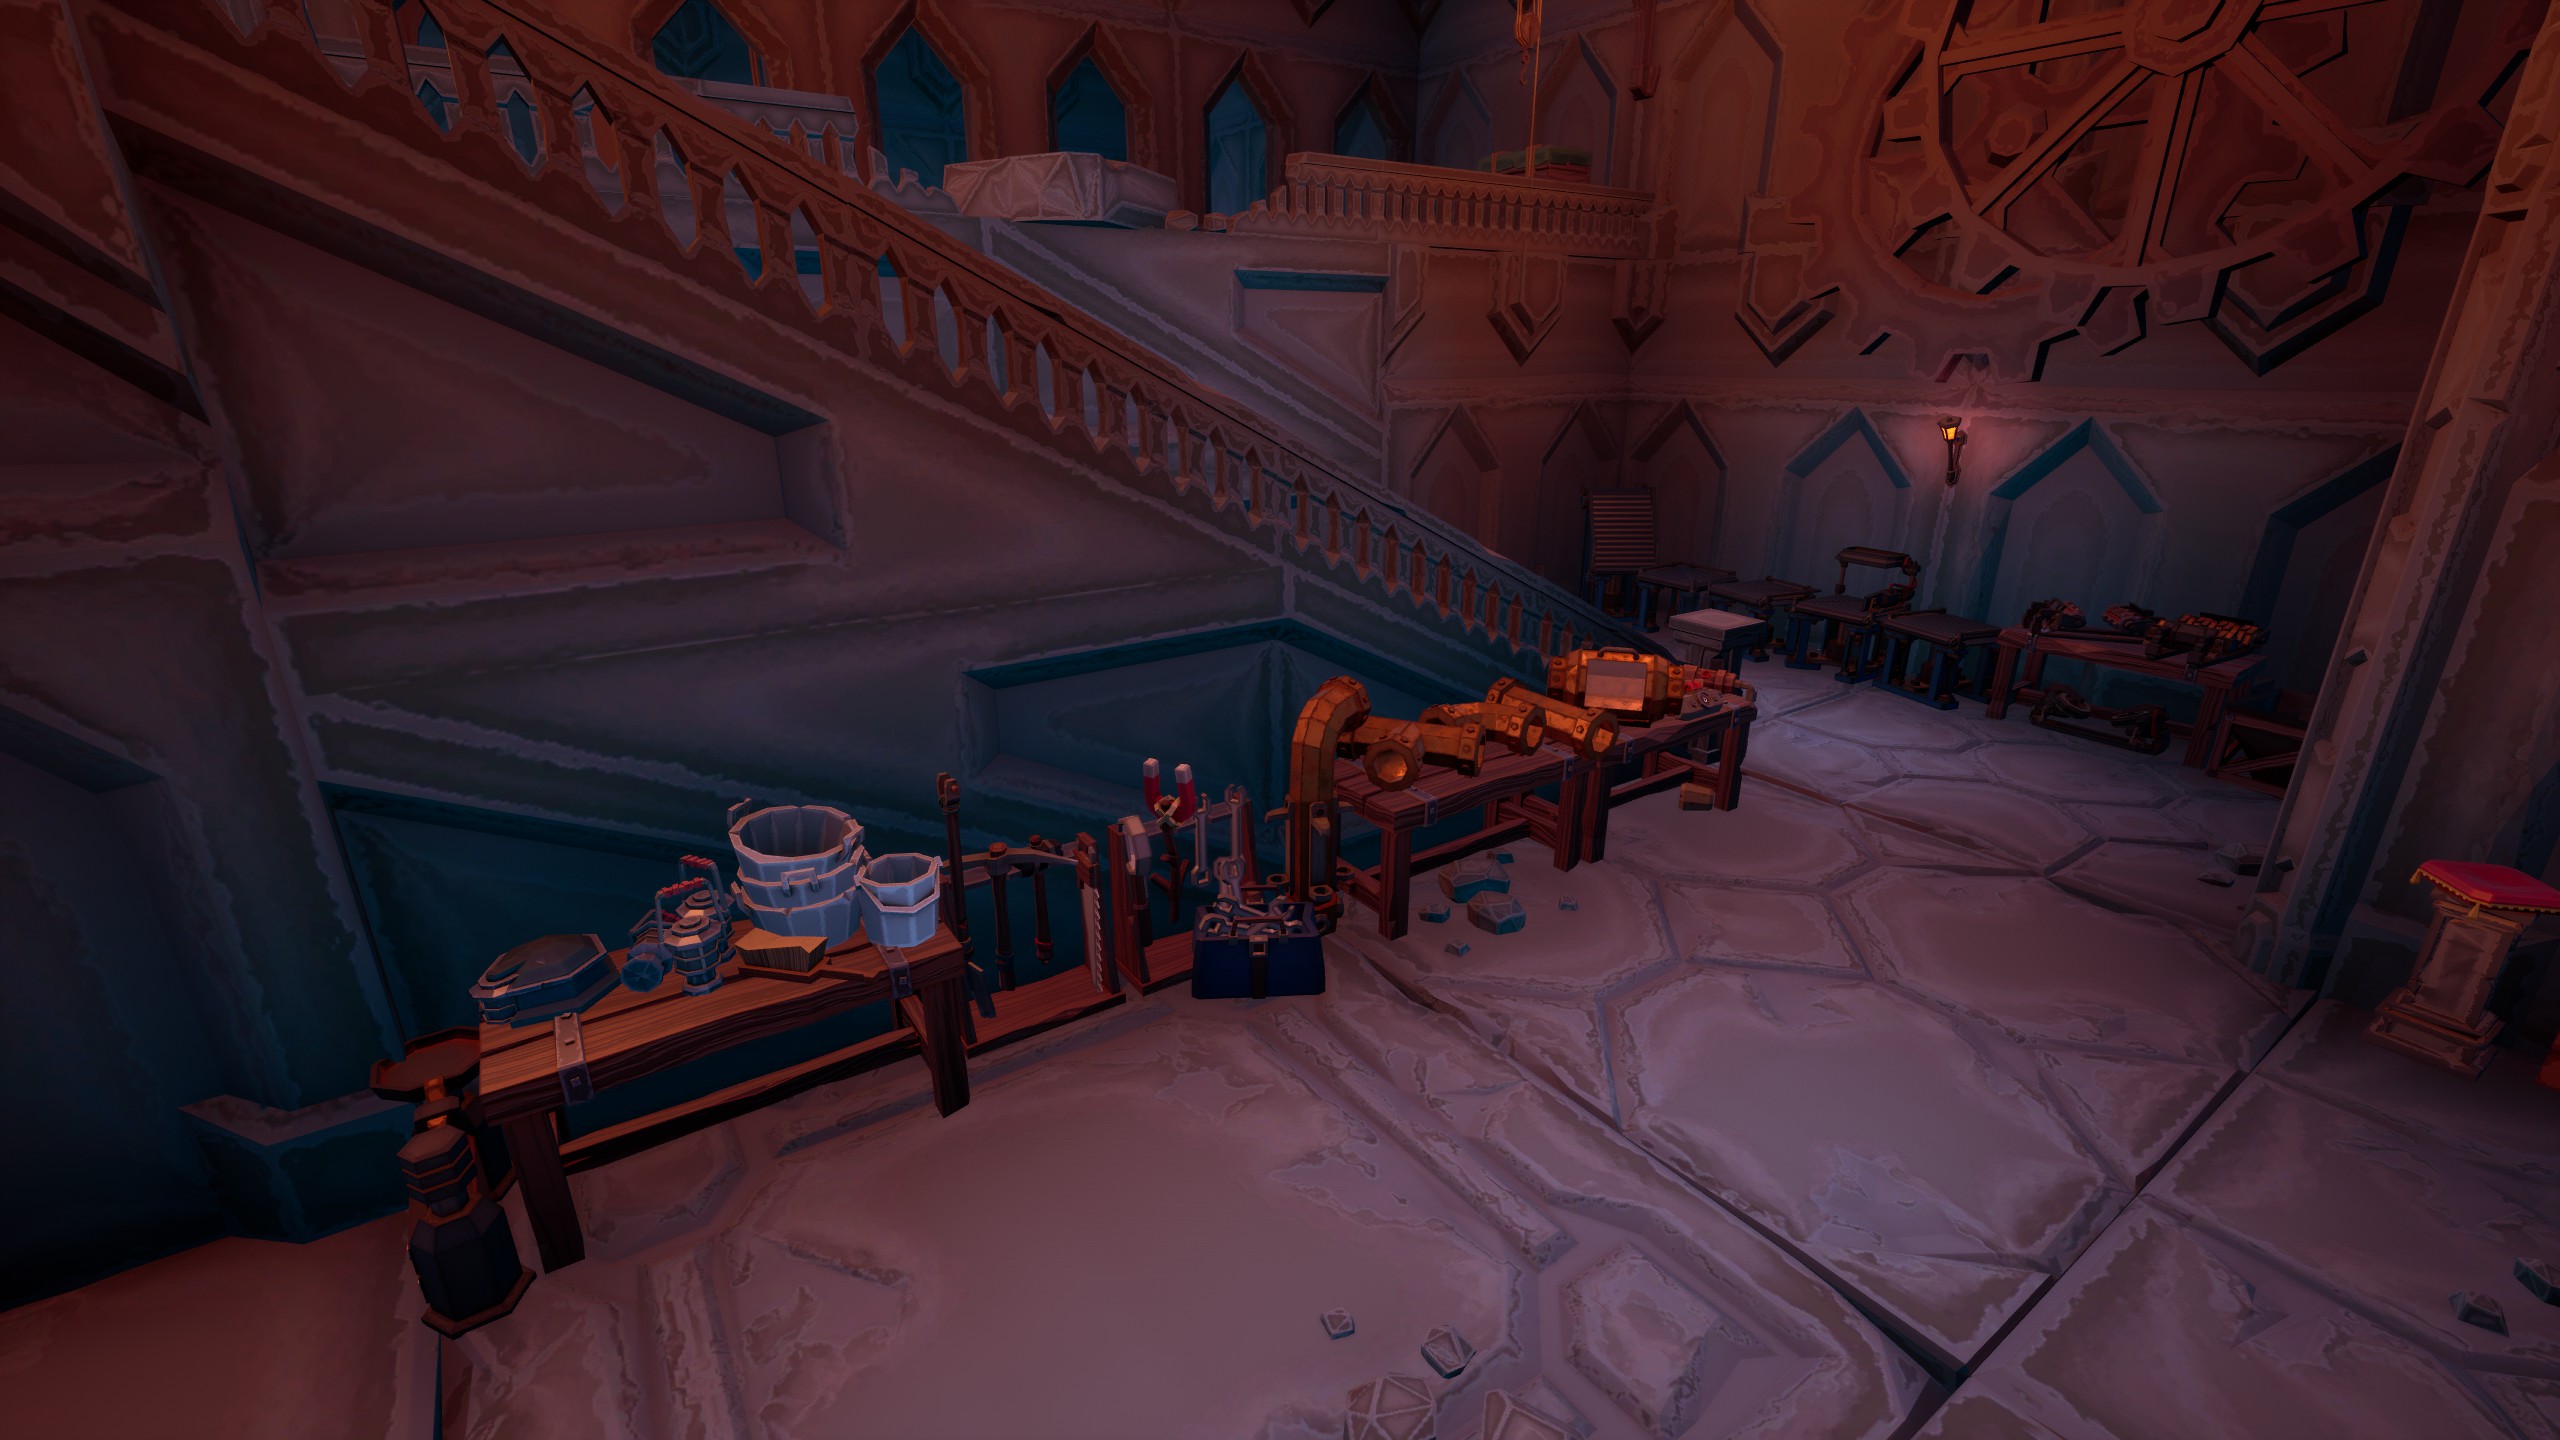
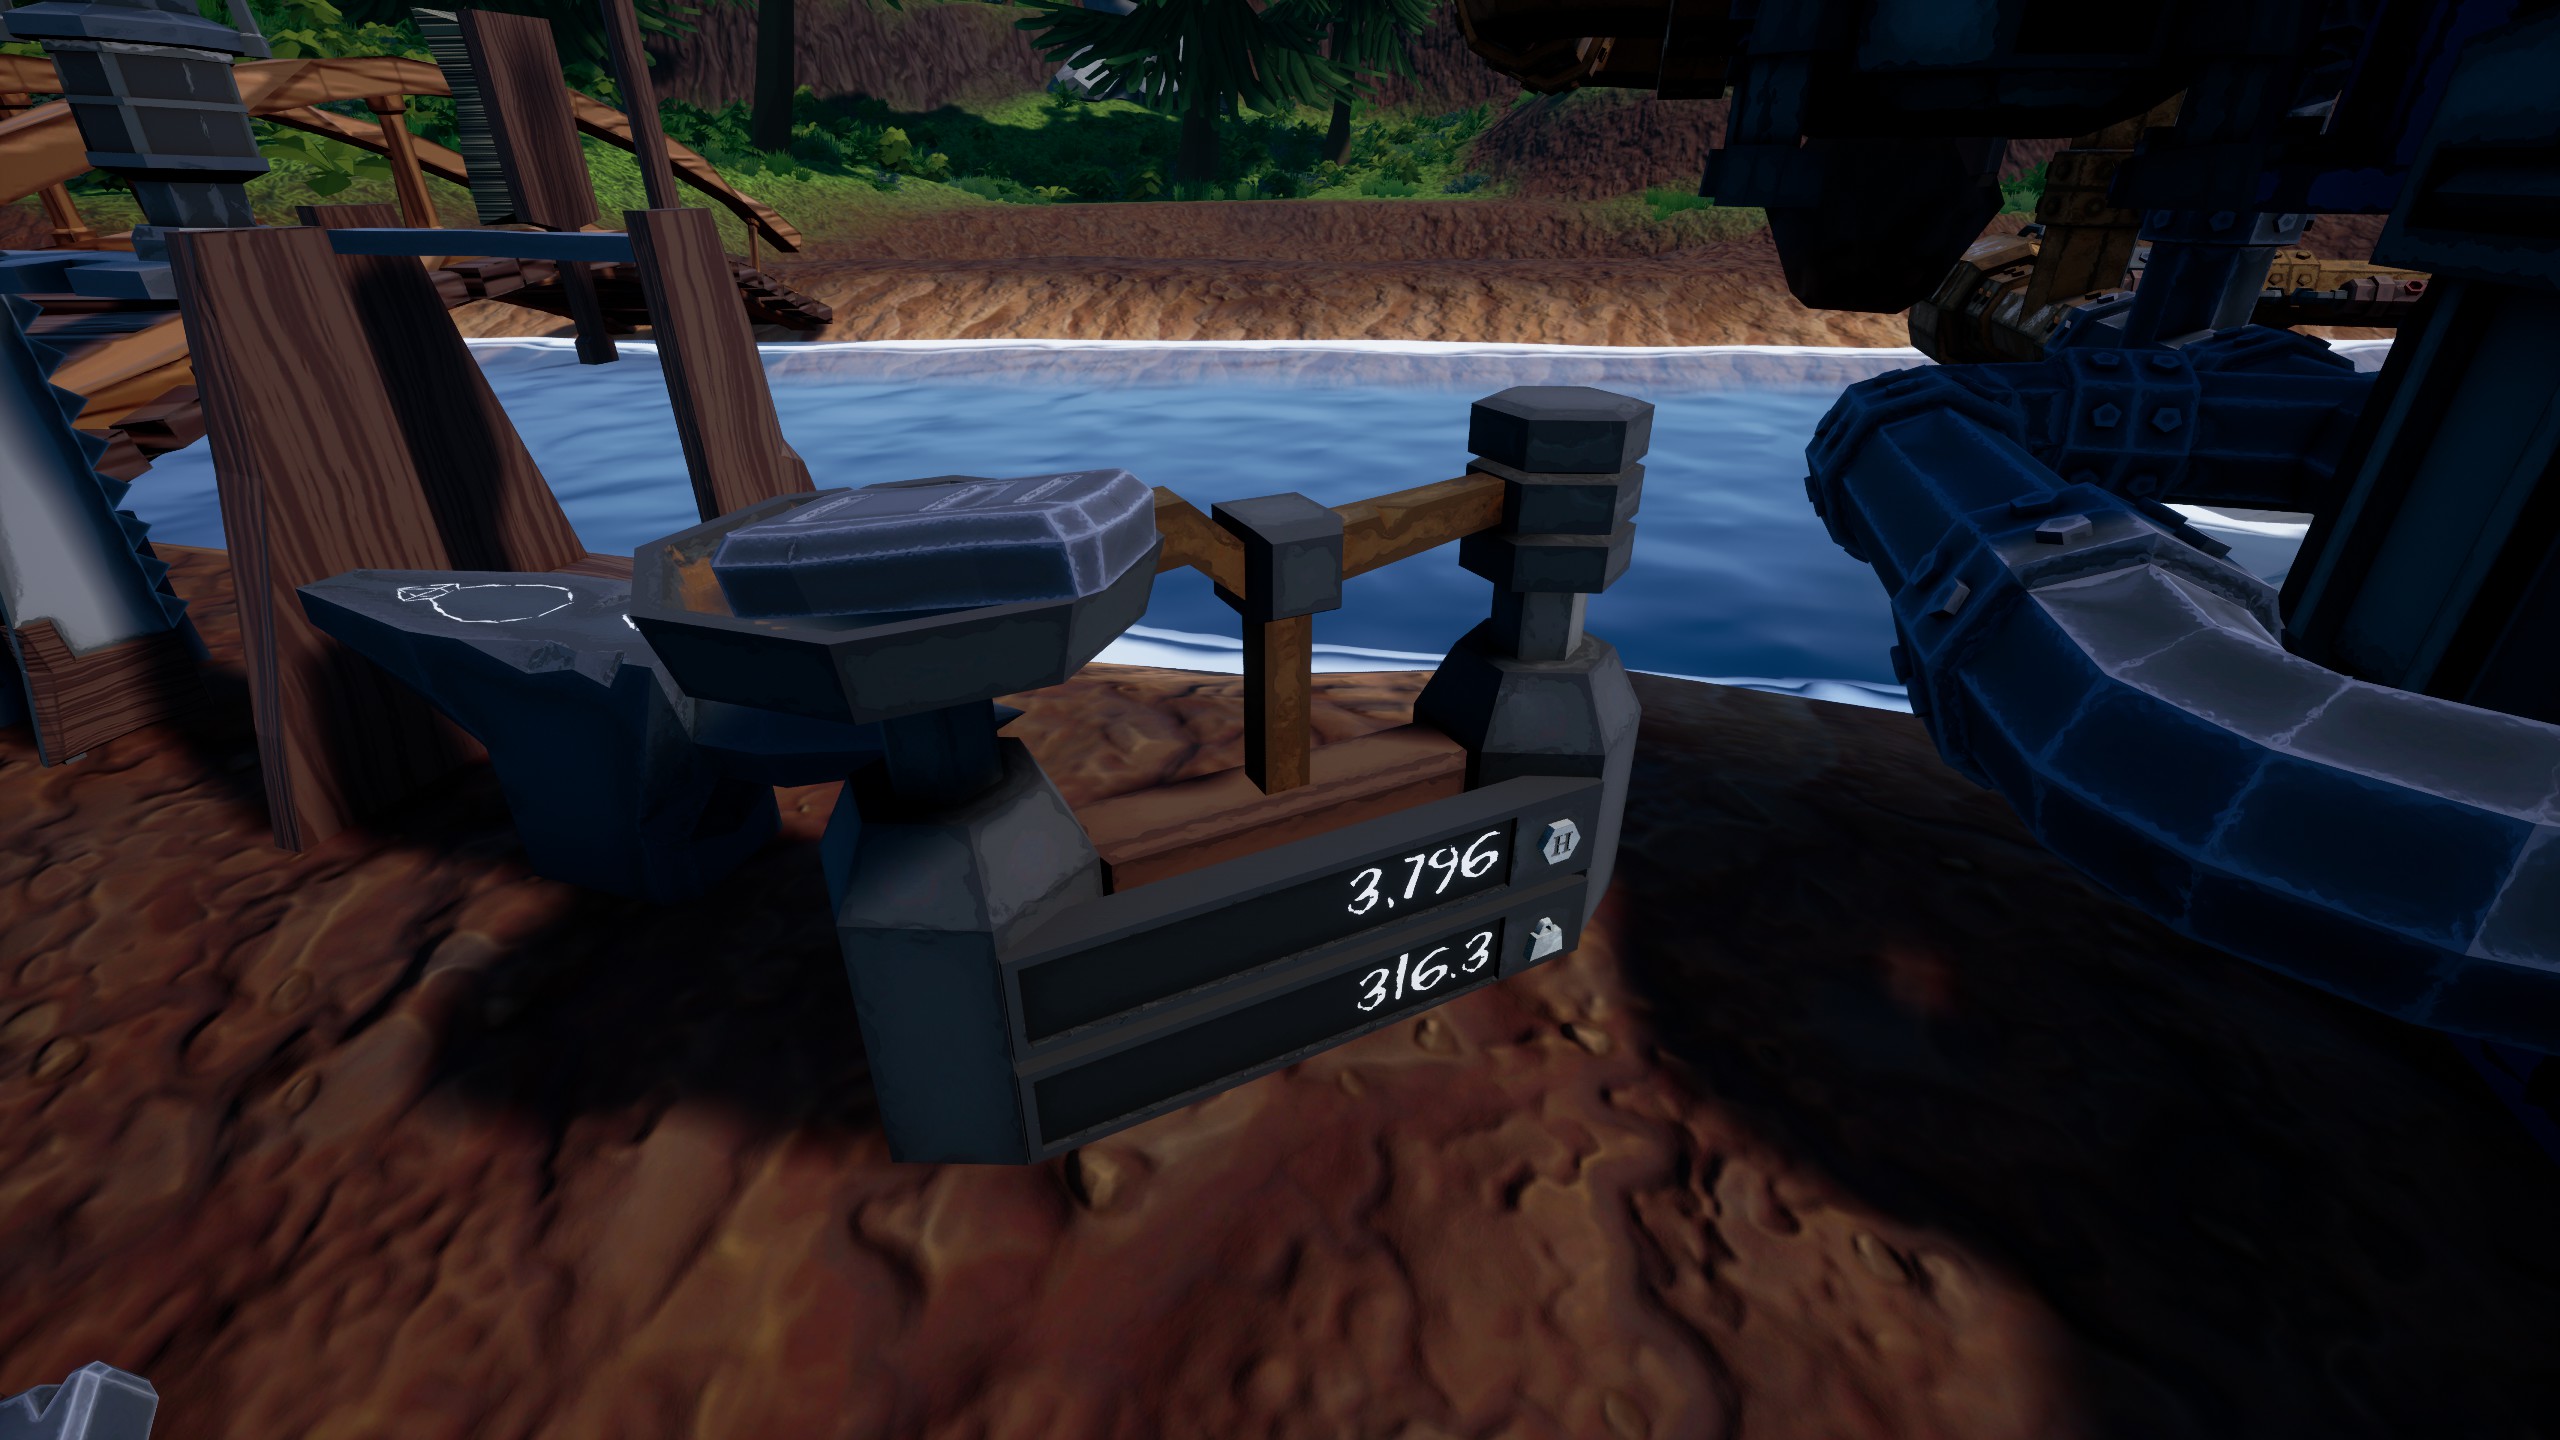
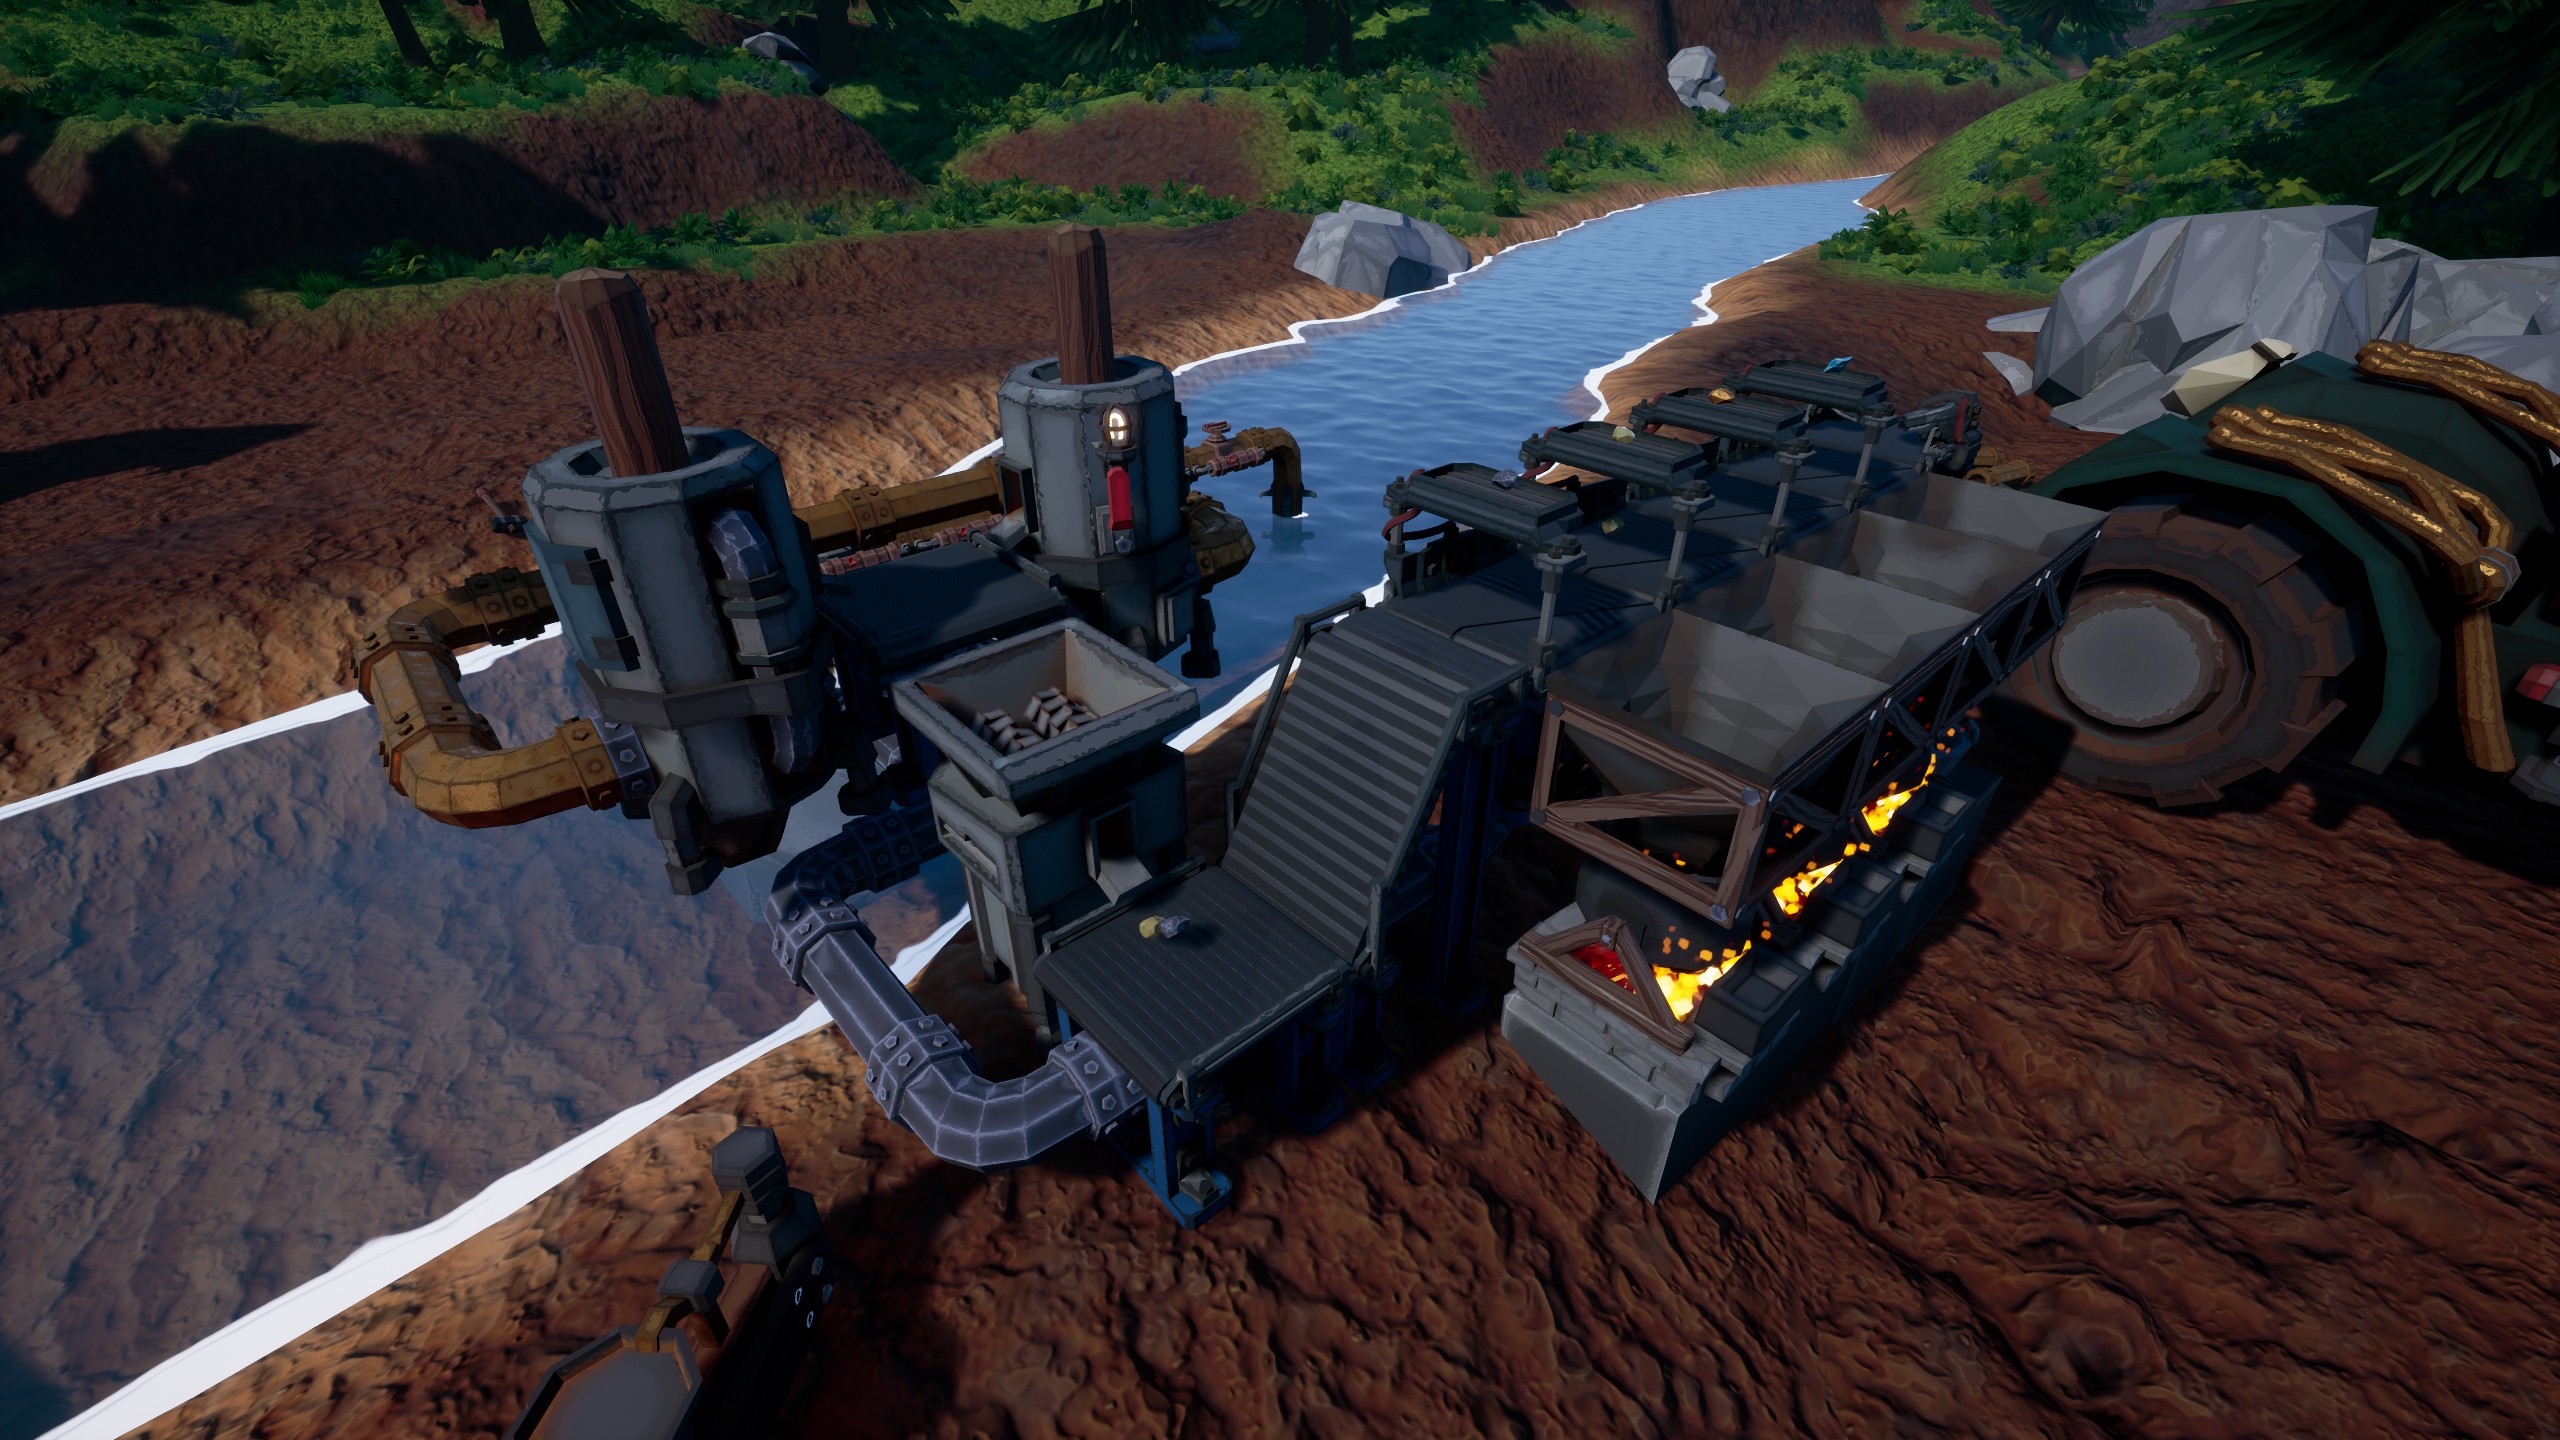
keeping a scale and a saw at the anvil area is very helpful so that you can split your bars to roughly the approximate weight before smelting, this makes it much easier to just toss bar after bar into the crucible for fast smelting of items:

https://gtm.steamproxy.vip/sharedfiles/filedetails/?id=2964760029
https://gtm.steamproxy.vip/sharedfiles/filedetails/?id=2964759971

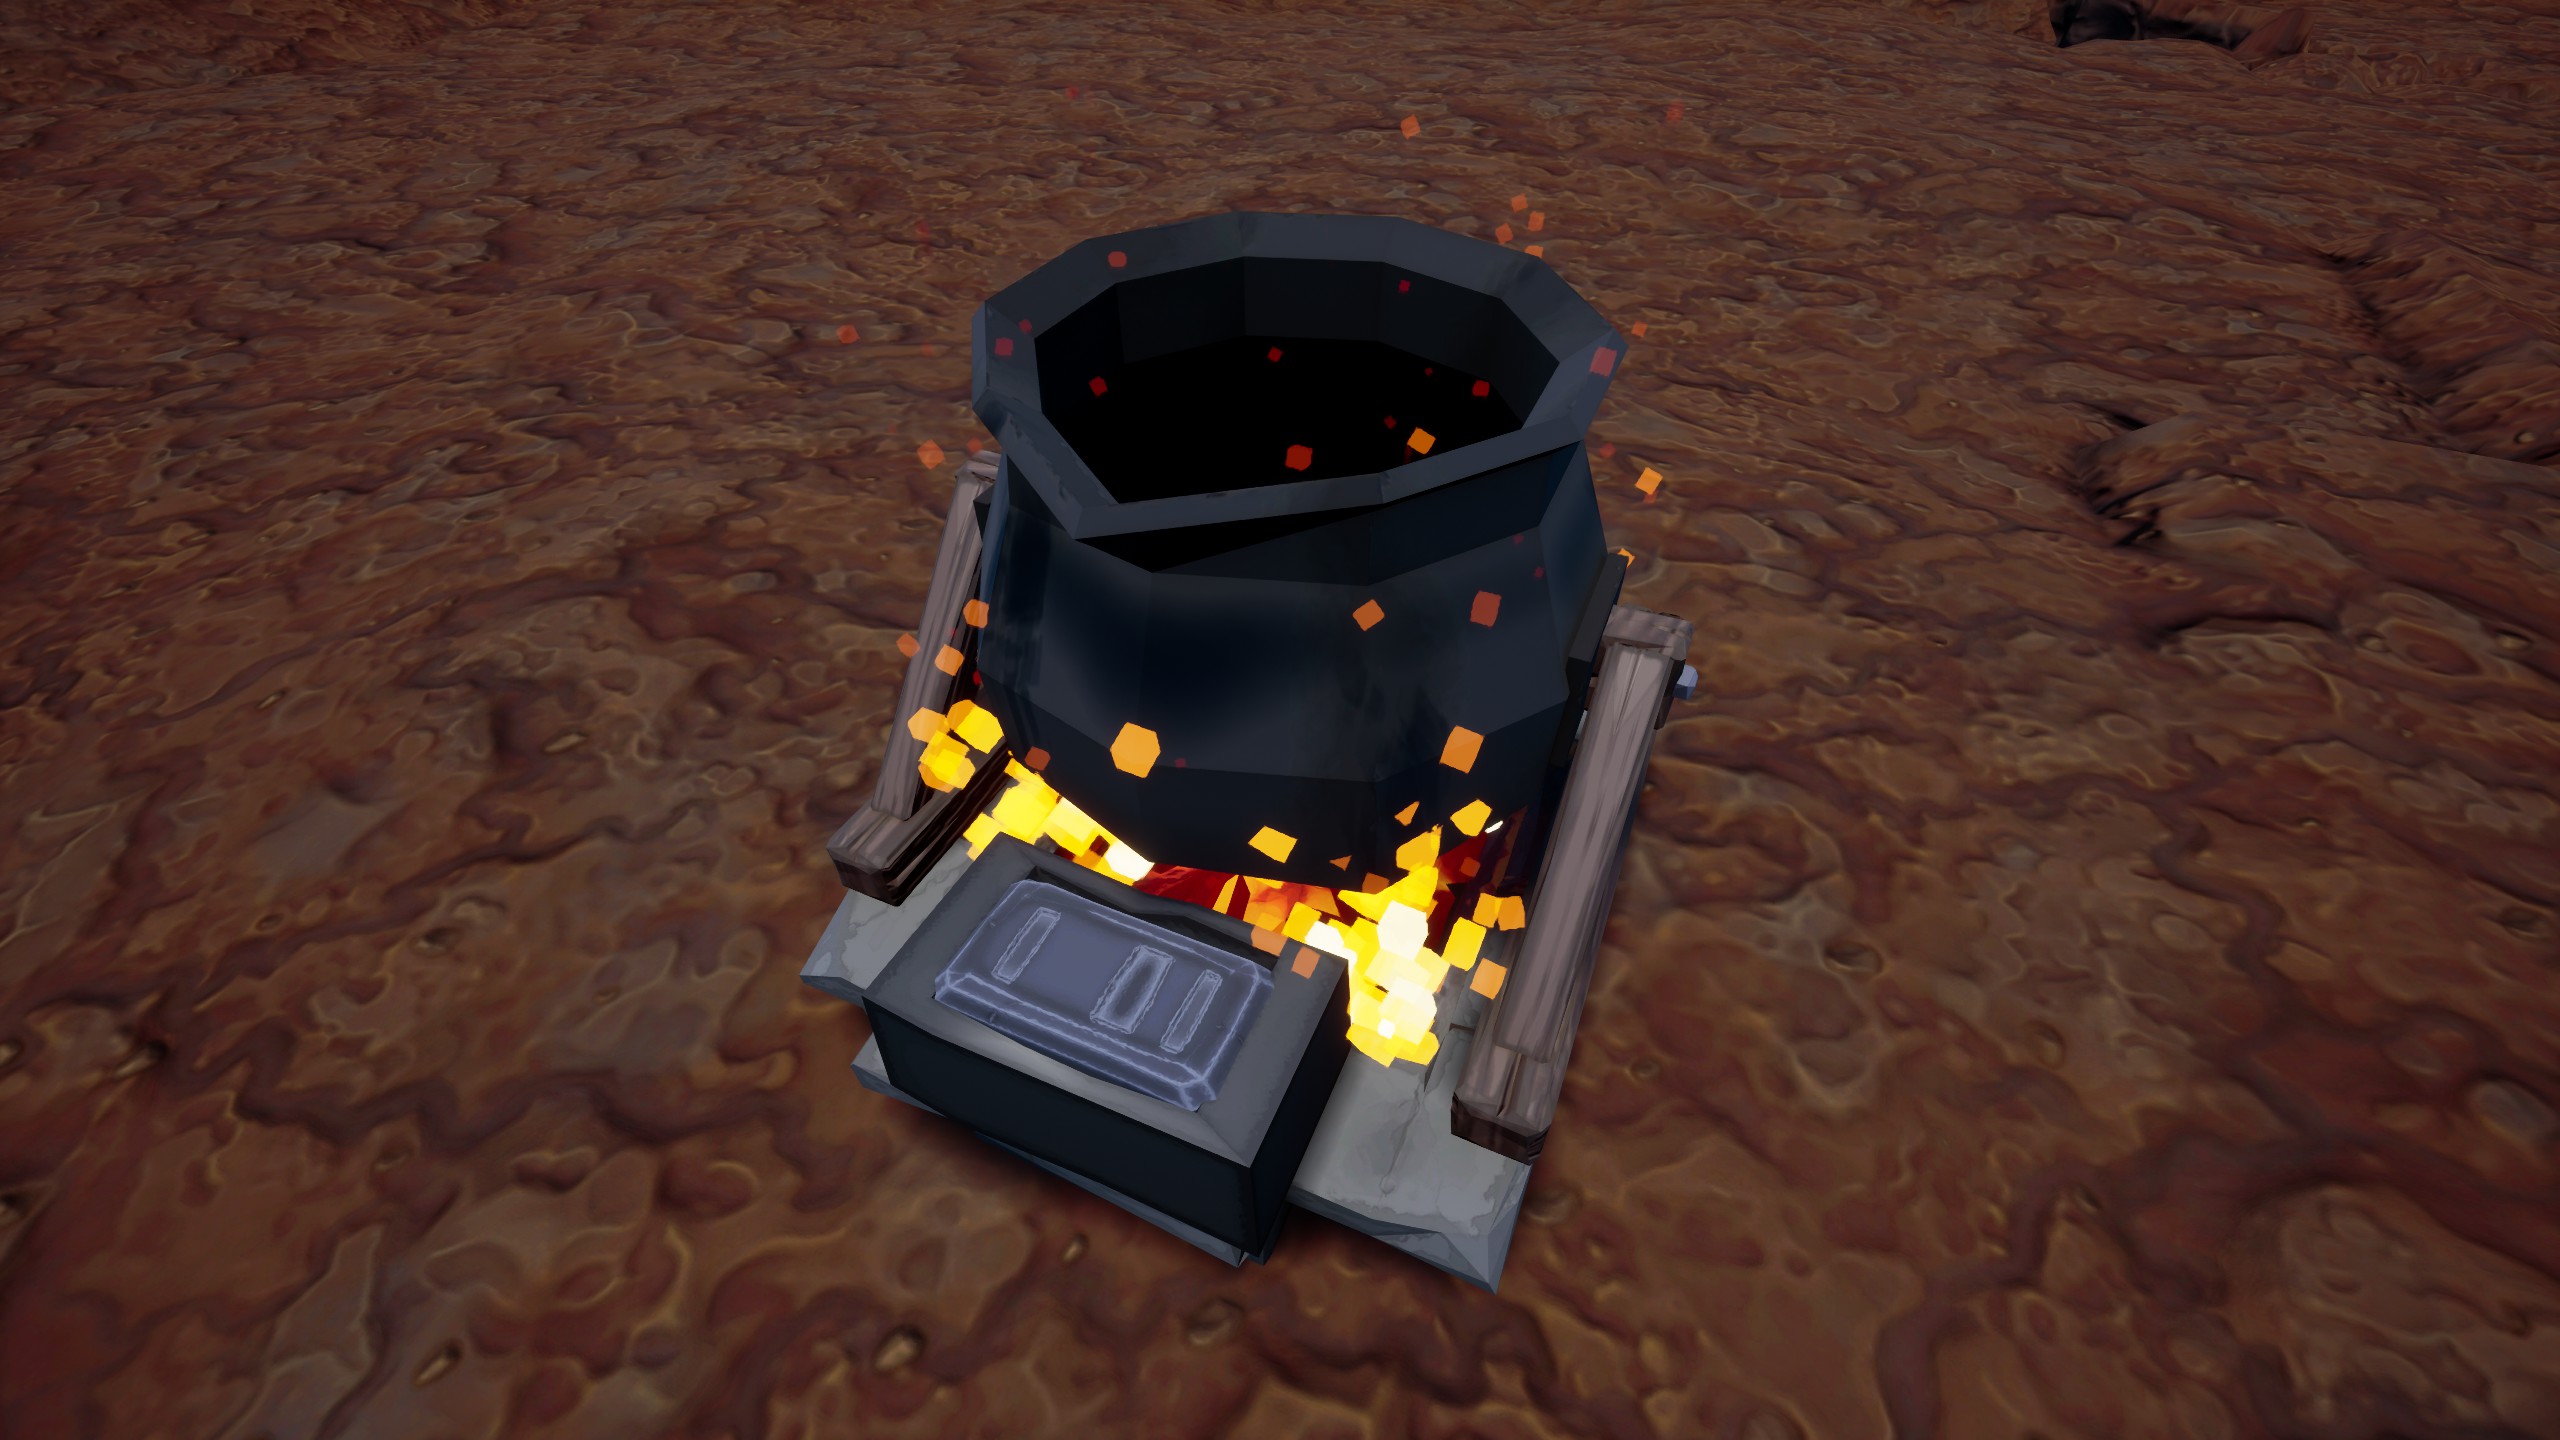
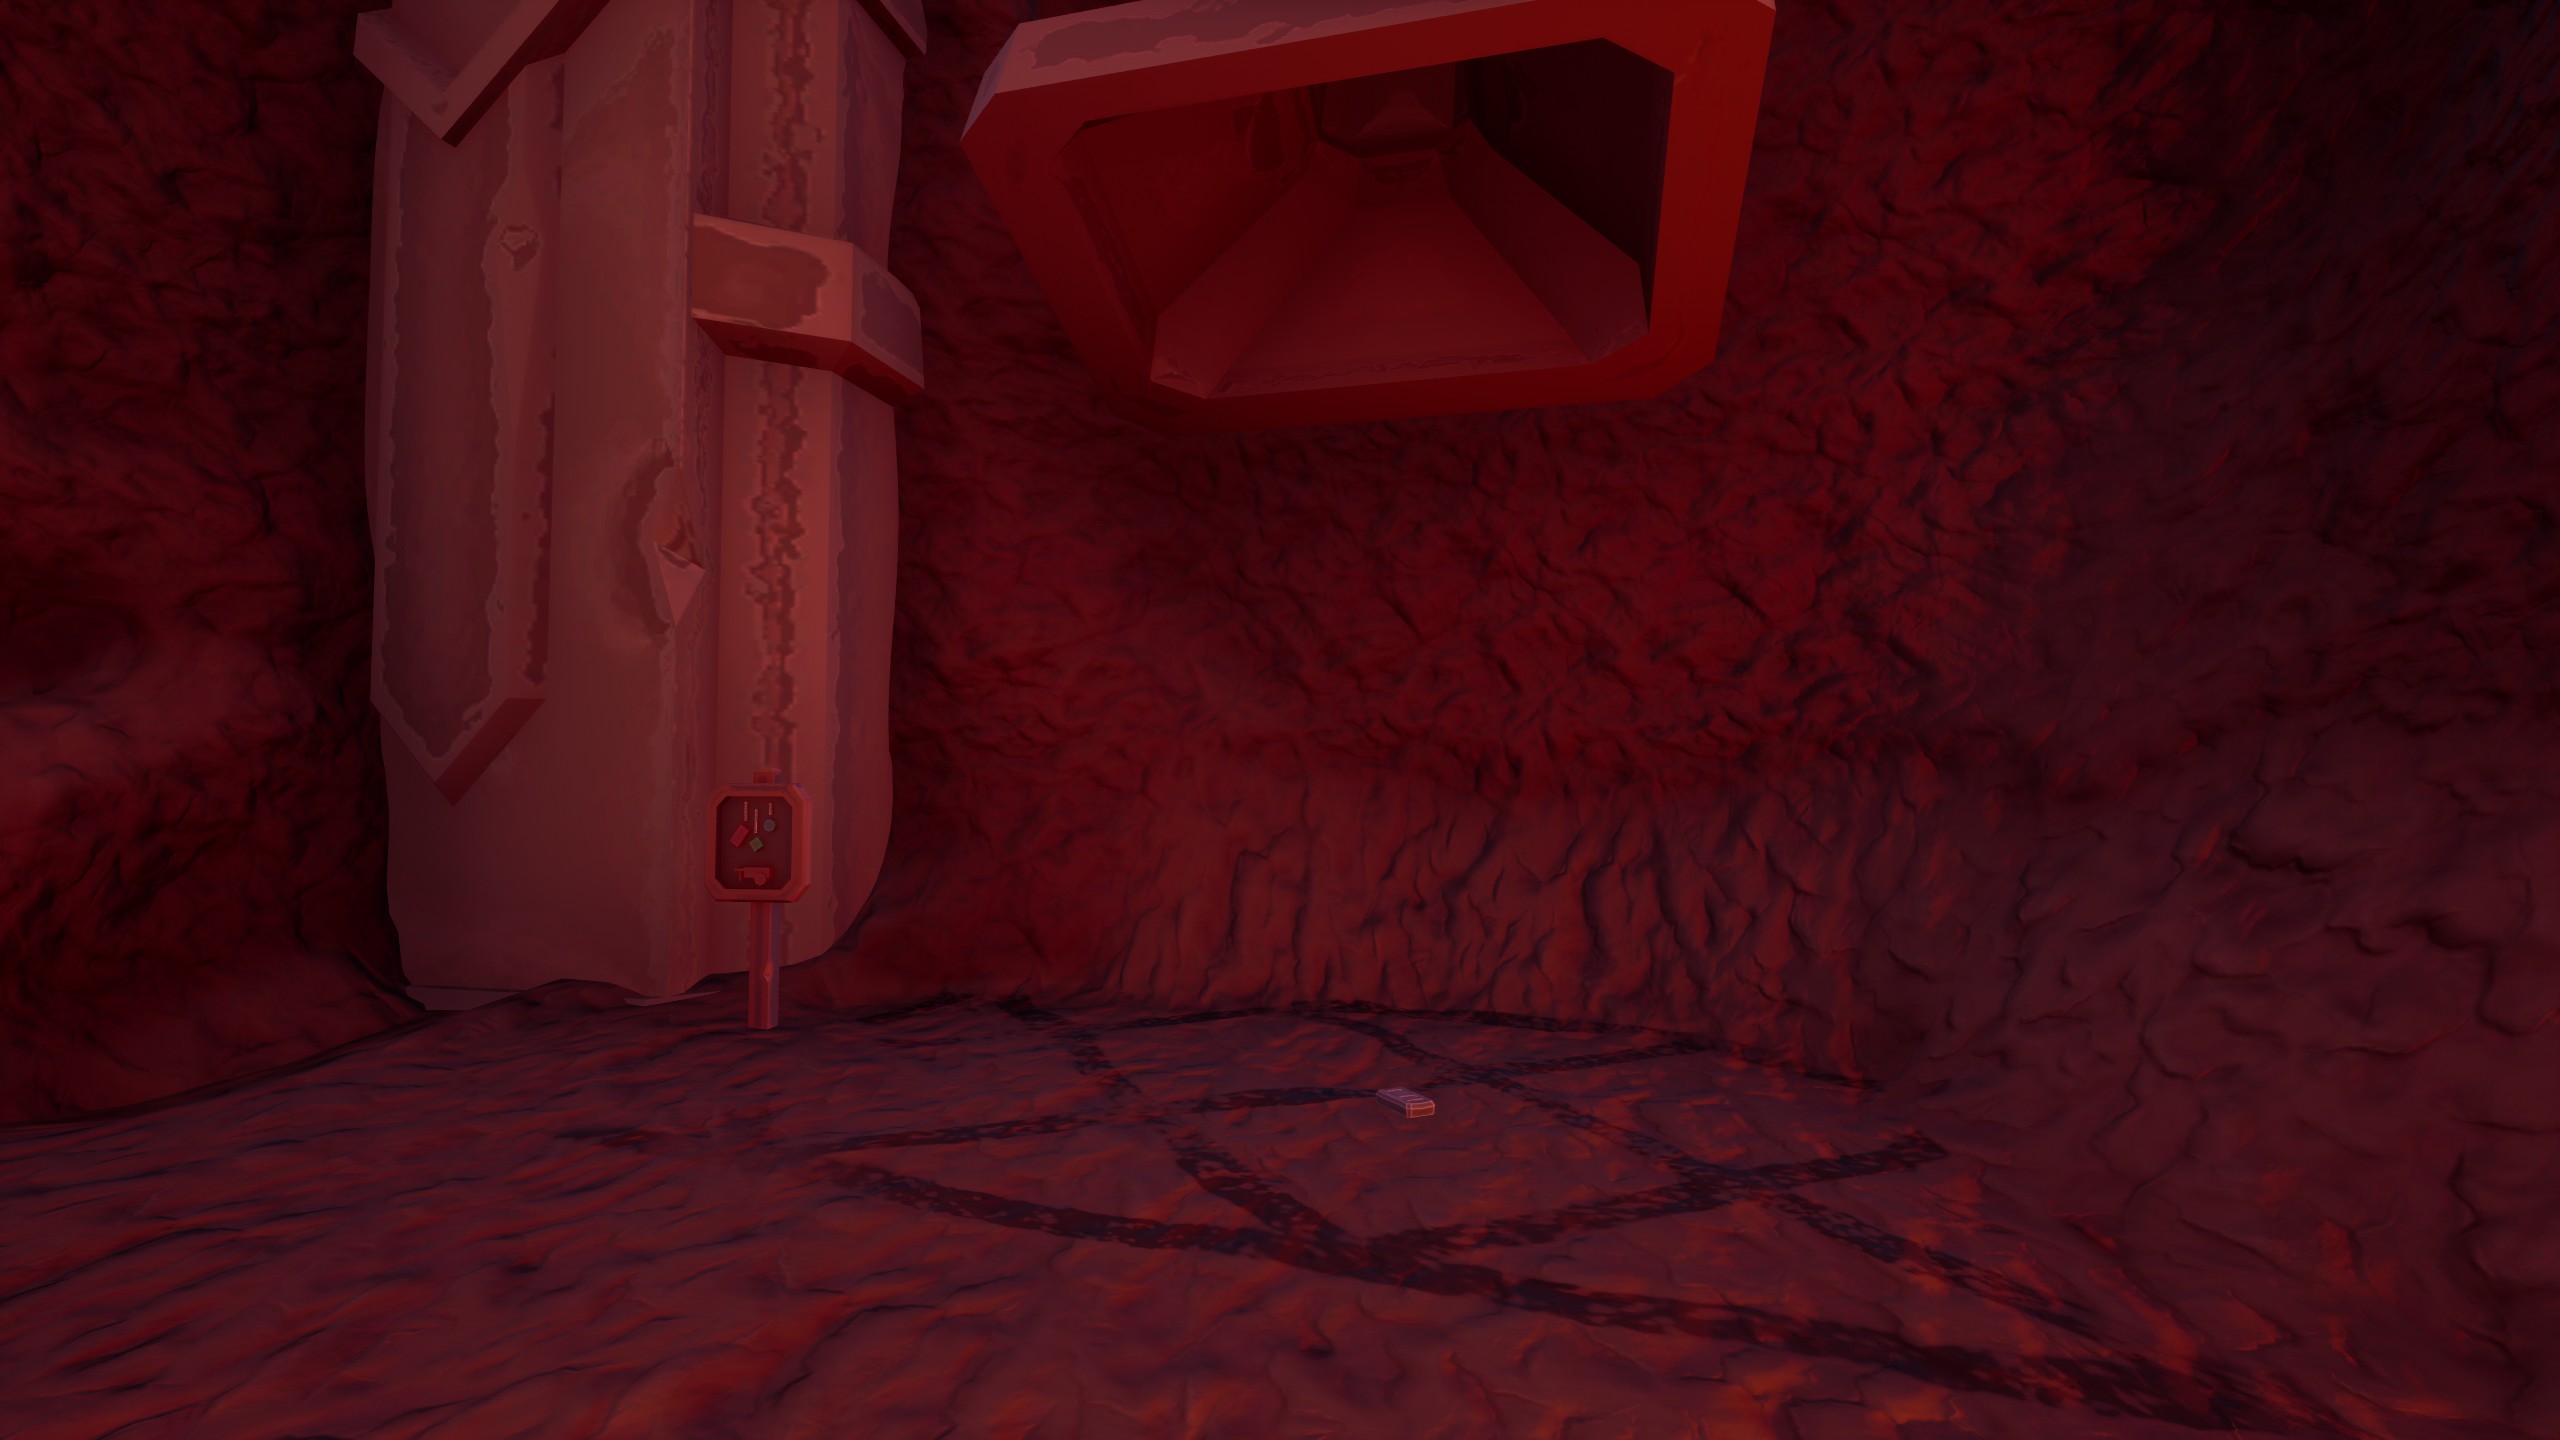
keeping a pan near the excess resource runoff is similarly helpful if you use the above method which generates lots of small bars - the pan allows for easy transport of all of them back into the crucible:

https://gtm.steamproxy.vip/sharedfiles/filedetails/?id=2964760084

1/2
bruh2017 20 Mar, 2023 @ 5:12pm 
i didnt know about the returned goods part as i couldnt find it originally this was quite helpful
Endar the Great 20 Jul, 2022 @ 9:56am 
I wish I'd found this earlier. I put thousands and thousands of dollars of cloutium in the forge to make a harvester. Didn't know I also needed lead. What a waste. Thanks for the tutorial.
Drunk Scottish Spyclops 25 May, 2022 @ 2:05pm 
does it just upgrade machines or does it mine if you buy it?
Triangles 18 May, 2022 @ 12:06pm 
Thank you man this will make the save I use for my stream look nicer :)
Sym601ETH 18 May, 2022 @ 9:33am 
Ok, I will create a separate chapter to put your link, which will also be mentioned in the overview

Thank you for understanding what I said:) Because English is not easy for me:steamsad:
Gromps  [author] 18 May, 2022 @ 8:23am 
Sure, that sounds fine. o3o Please credit, and maybe link this guide in your translated guide though.