Rogue Legacy 2

Rogue Legacy 2

77 ratings
FAIRY Room Challenges Guide
By Rhadamante
Quick guide on how to clear most of the Fairy Room challenges.


Just started the guide, I'm working on it alongside a lot of other things so don't despair if the challenge giving you trouble isn't there yet.
2
2
2
2
   
Award
Favorite
Favorited
Unfavorite
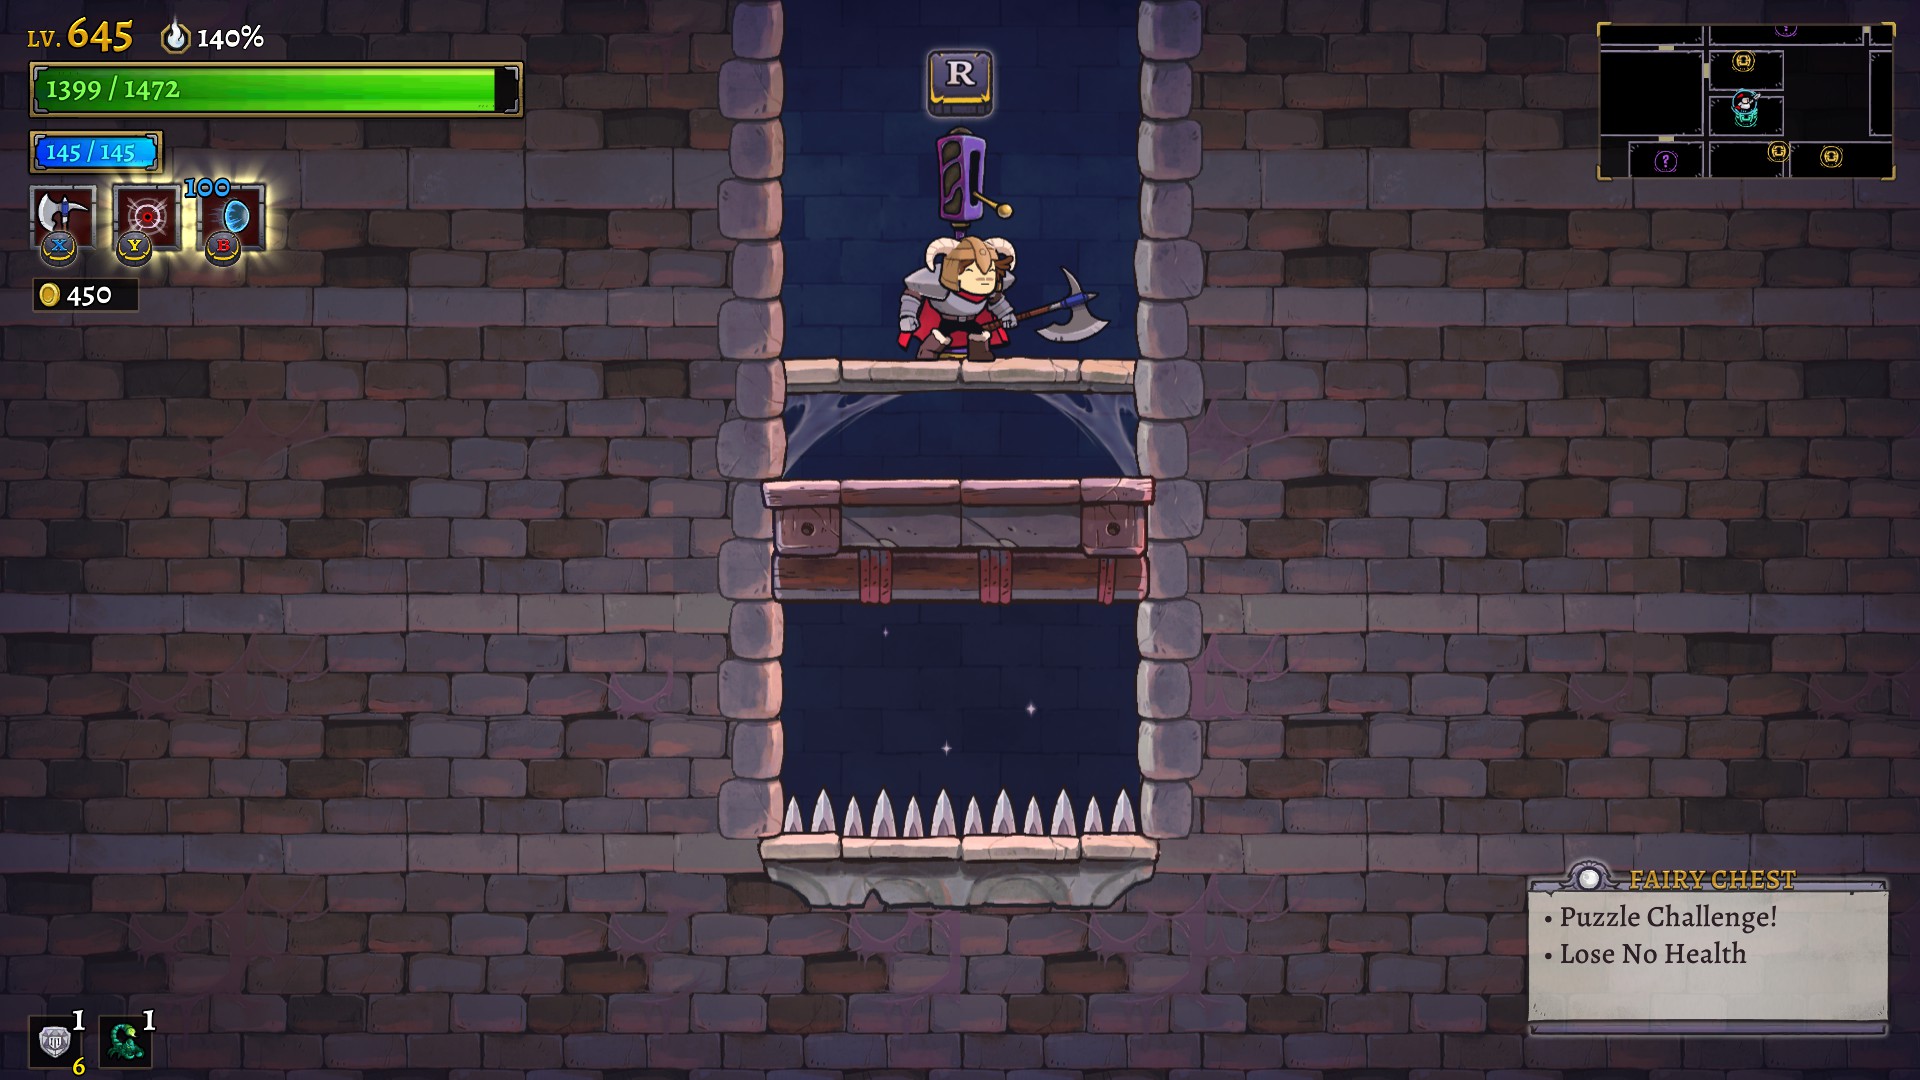
PUZZLE
Puzzle Challenges simply require you to reach the chest and open it to succeed.
Some of these challenges can also have an additional condition (like "No Jumping") that you have to respect to not fail it.
These tend to become fairly easy once you know at least one solution.


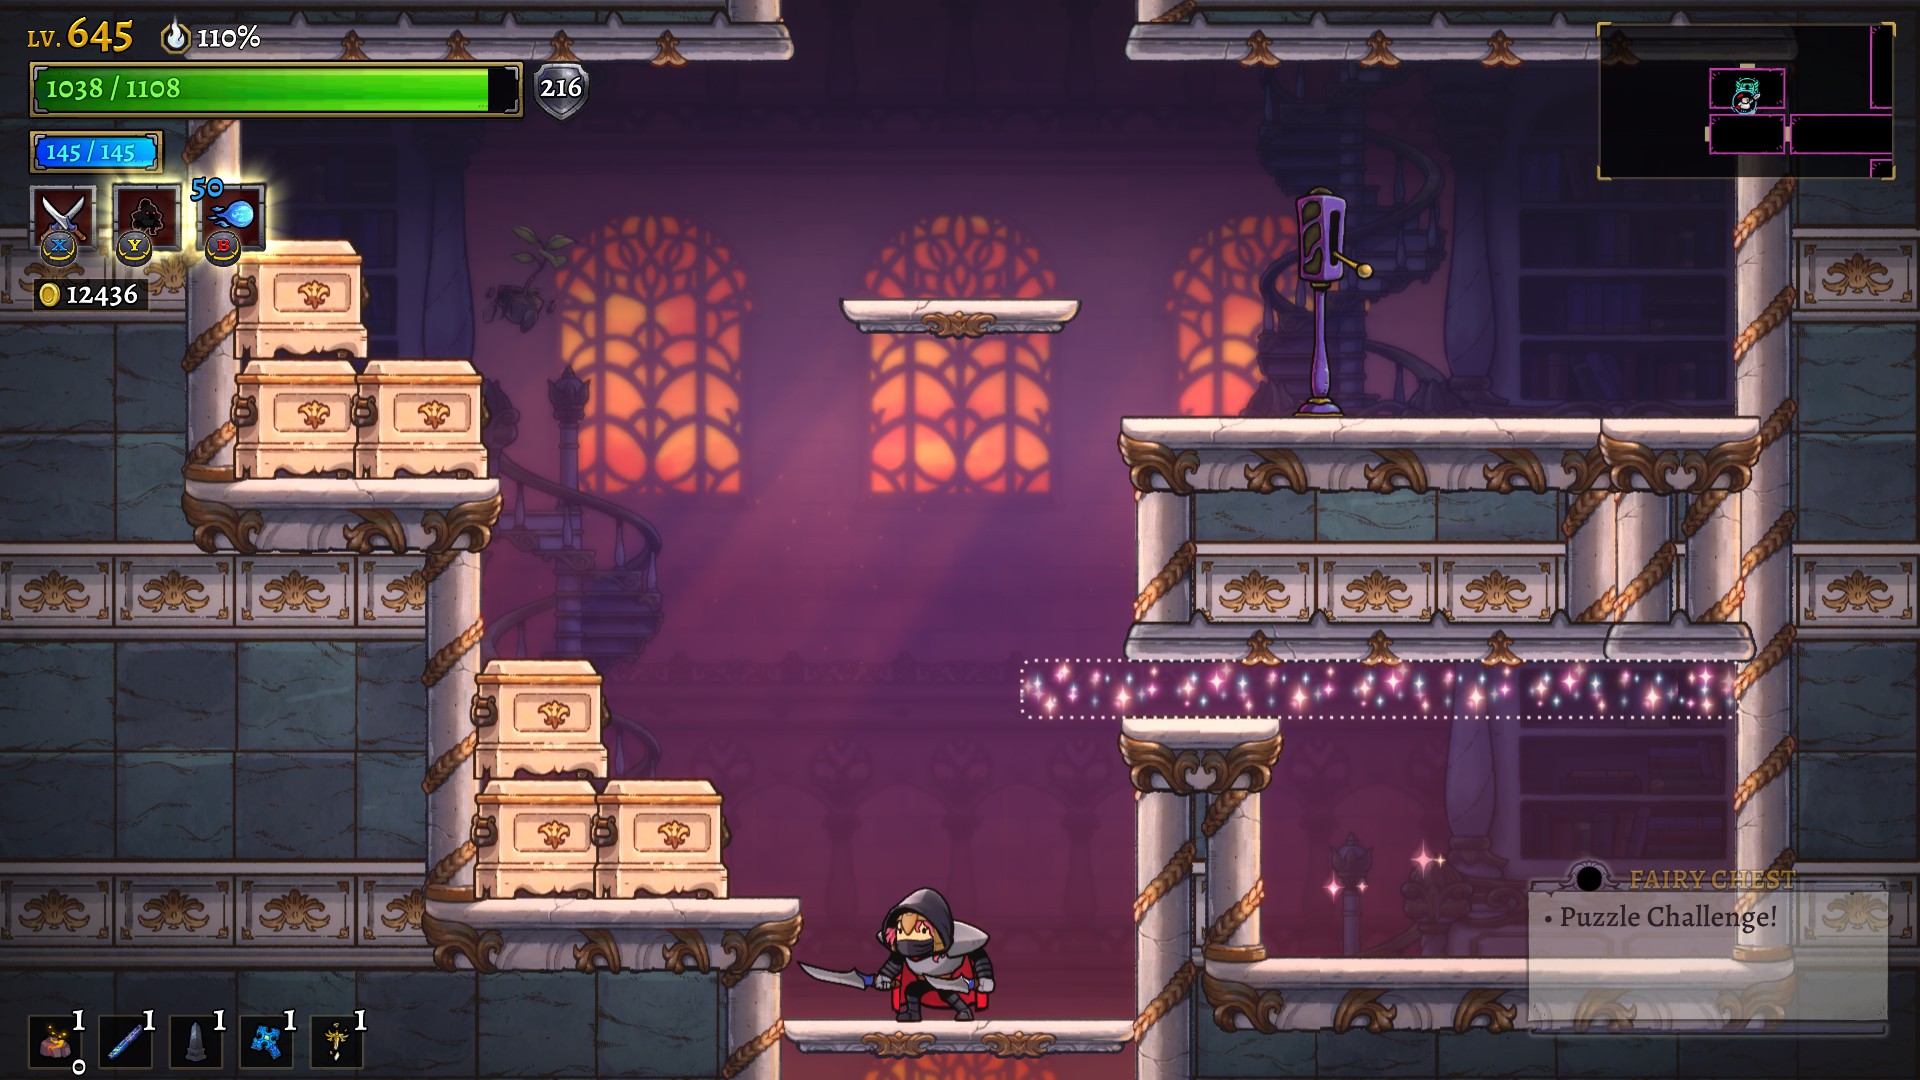
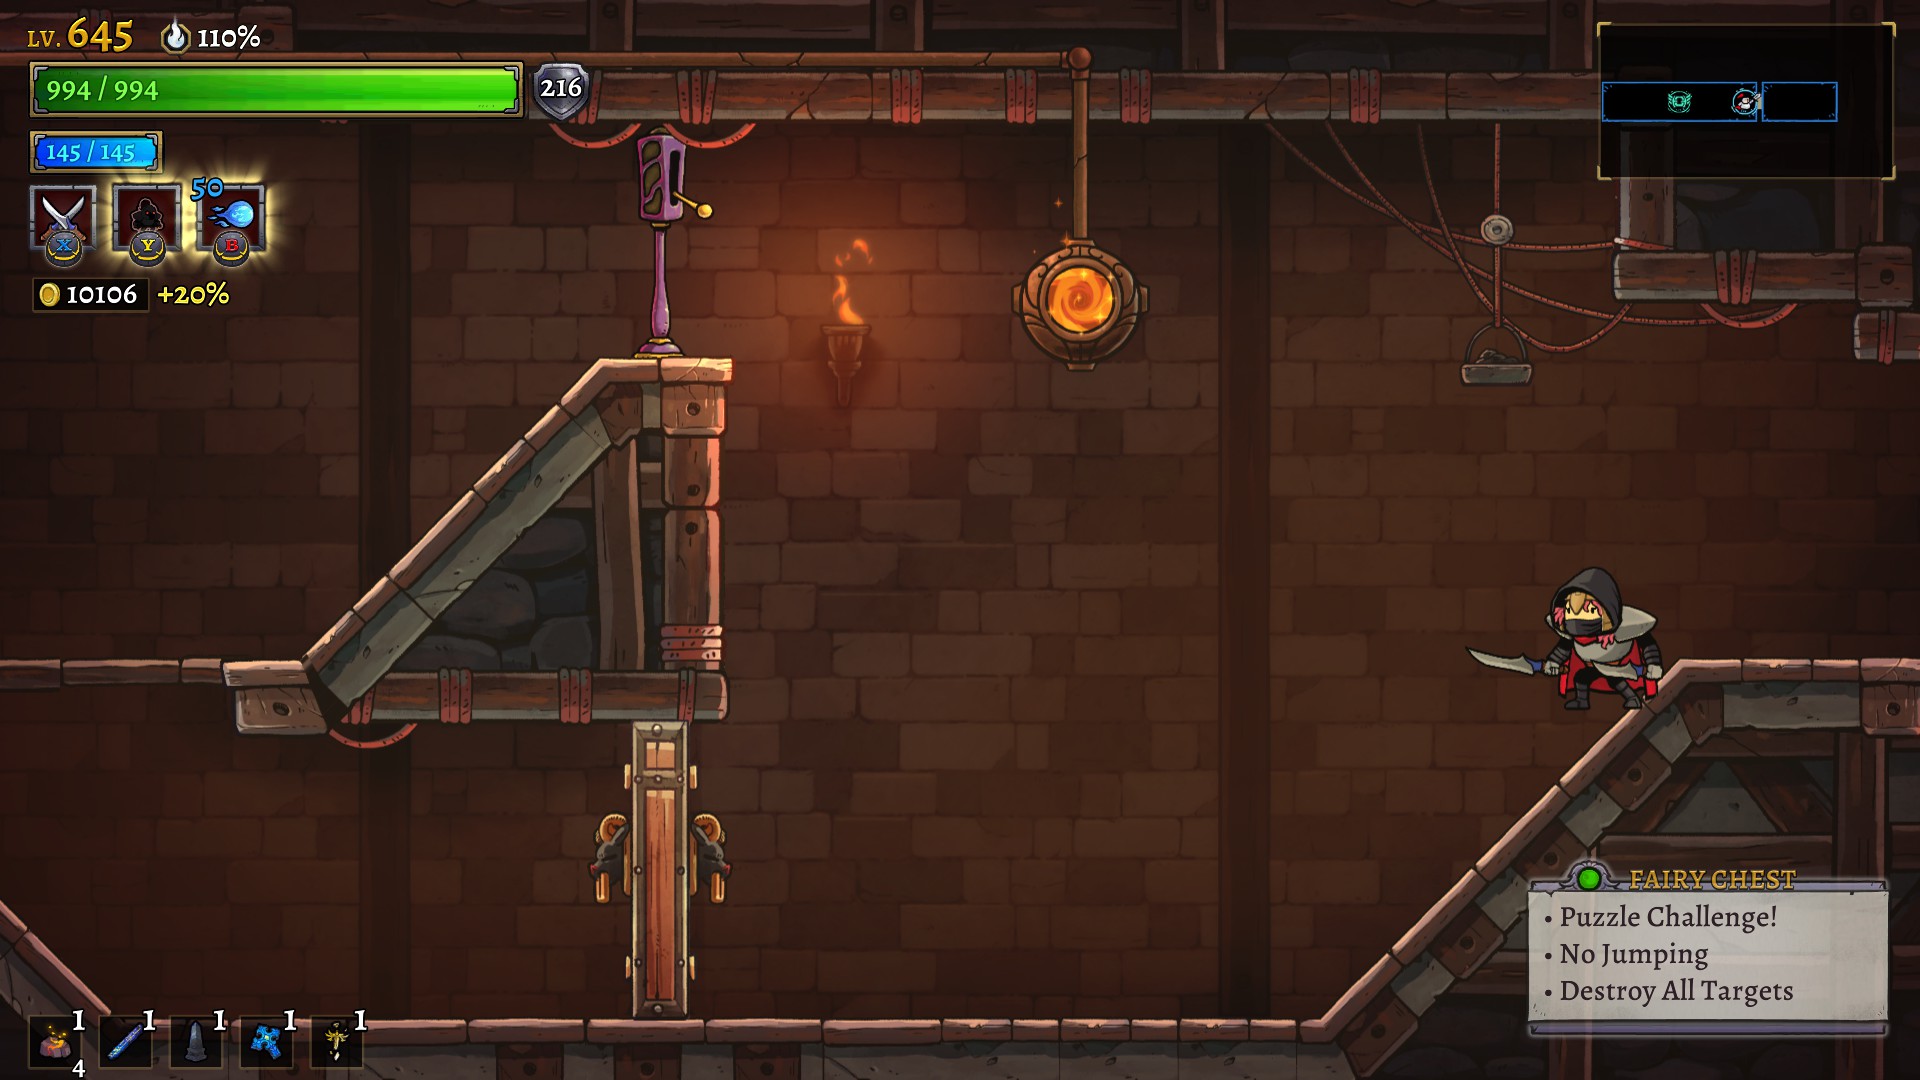
Magic Platform


This challenge is fairly easy so long as you understand how the Magic Platforms in the Study work: landing on any part of one will materialize it under your heir (the rest of the platform disappearing) and this solid part will remain in place so long as you do not jump or land on another platform.
You can then see that you need to make the platform solid on the part jutting away from the chest and reach it without ever jumping. This can be done easily using the Breakables in the room.
Spin Kick off of them until you have enough height to land on the top platform. You're then free to run to the chest and open it.
Ananke's Shawl (air dash heirloom) make this easier but is not necessary.


PUZZLE + Time Limit
Timed Puzzle challenges require you to reach and open the chest within the time limit. They usually have a unique solution which makes them really easy challenges to clear once you know what to do.

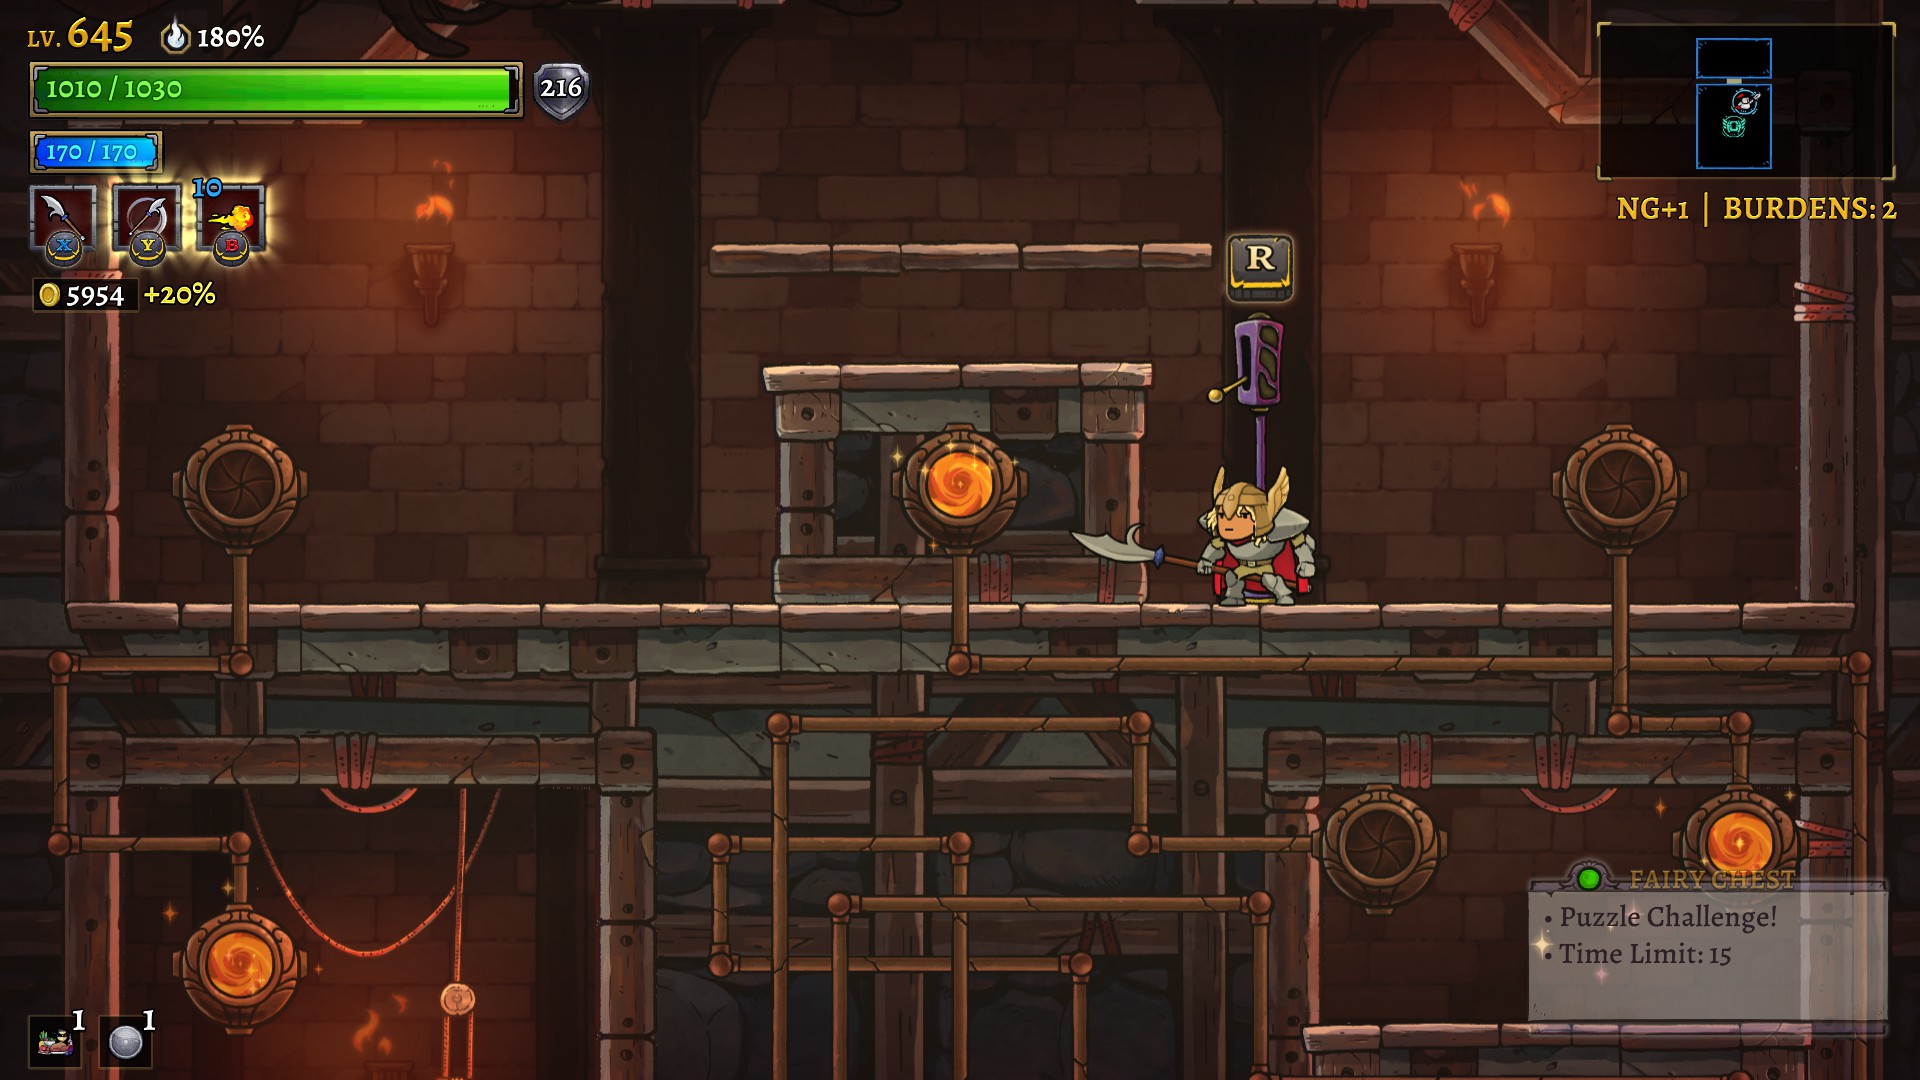
Diving Bell Choice:


First use the Diving Bell in the middle and then, choose one of the 5 other Diving Bell entrances. Only one leads to the chest.
It's a really easy challenge since the Diving Bell leading to the chest is always the same. Out of the 5 possible entrances, it's always the bottommost closest to the spike pit.


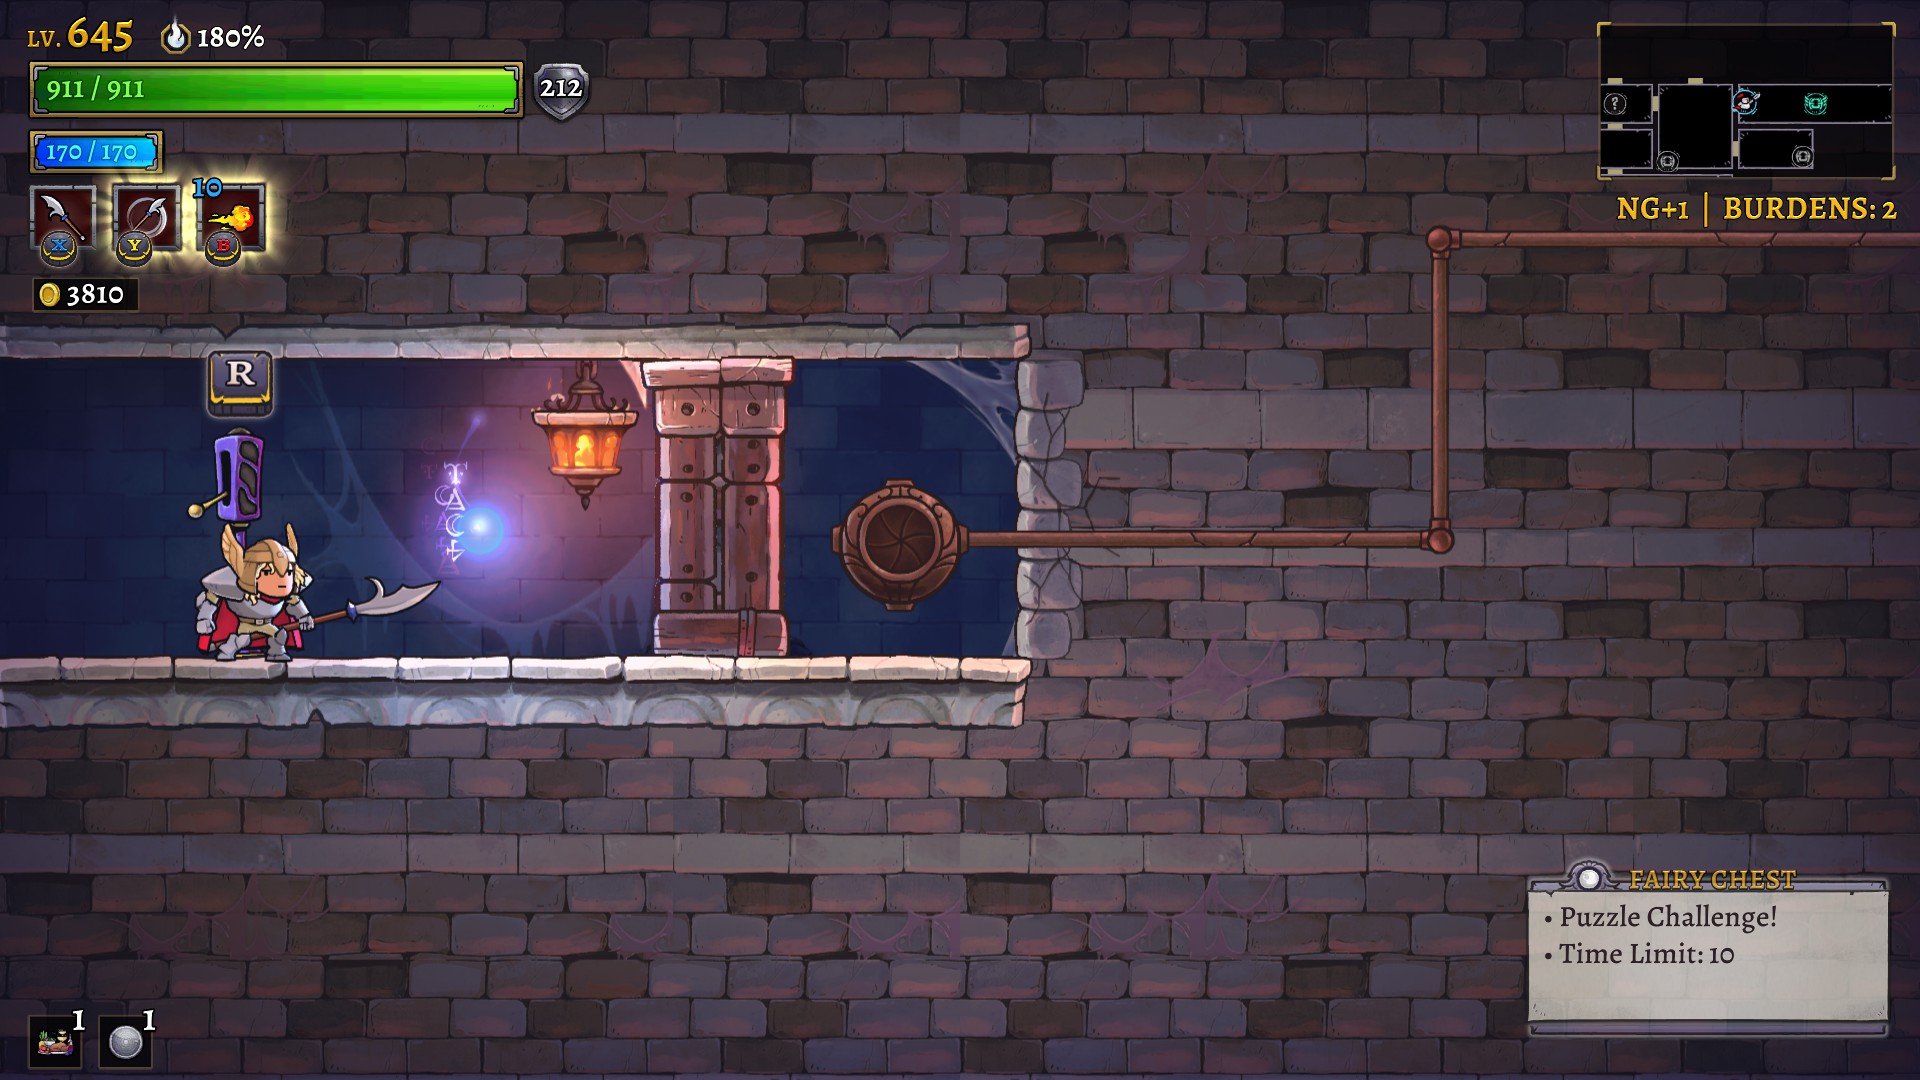
Mirror the Line:


All you gotta do after turning the challenge on is break the Trick Wall right by the Diving Bell exit and then navigate the hidden area beyond until you reach the chest which you should open ASAP.
The Memory found within the room gives you the clue as to how to quickly clear the challenge. It says "...I must mirror the line..."
What that means is simple: the path you need to follow is the mirror image of the Diving Bell line. If the line goes right, you need to go left, if it goes up, you need to go down.
Really easy challenge once you know that.
Note: it's possible to save a bit of time by breaking the trick wall before activating the challenge


TIME LIMITED
Timed Limited challenges require you to reach and open the chest within the time limit.
They may come with an additional condition (such as Lose No Health) that you have to respect to not fail them.


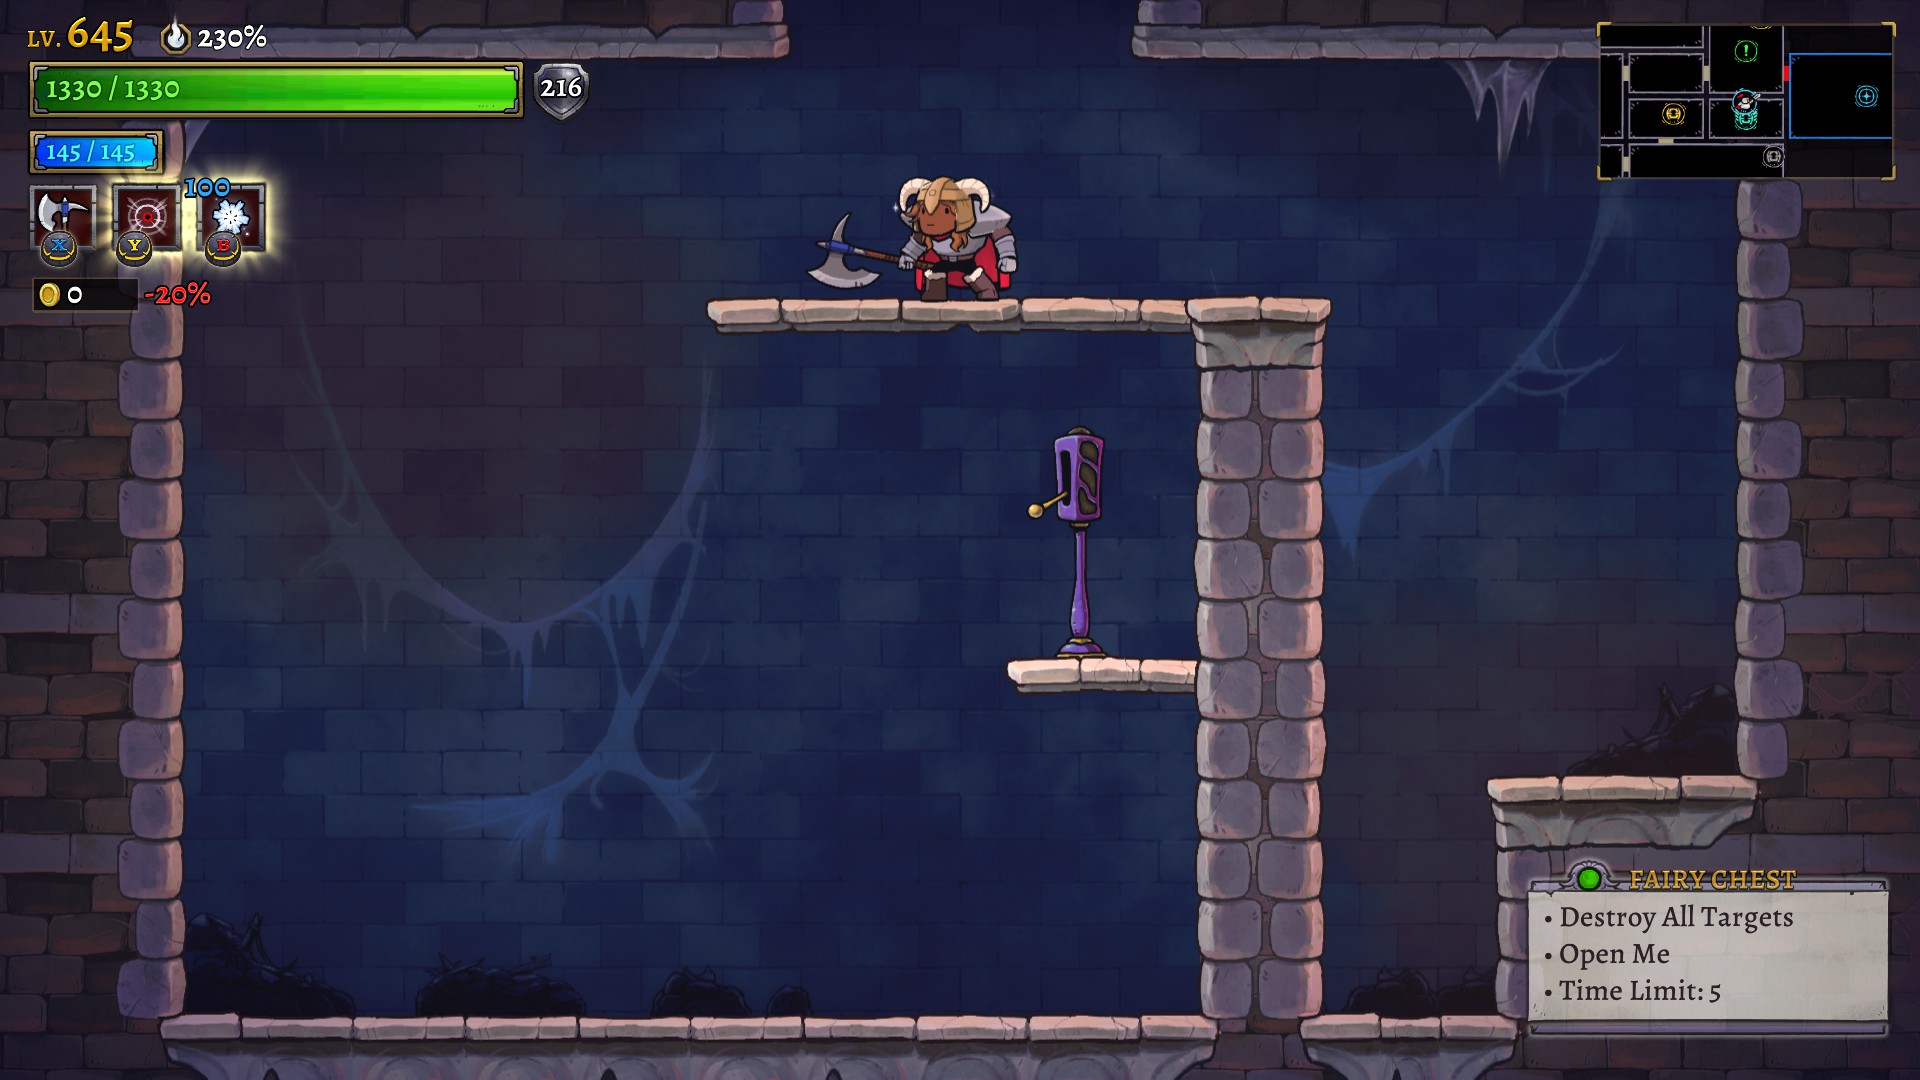
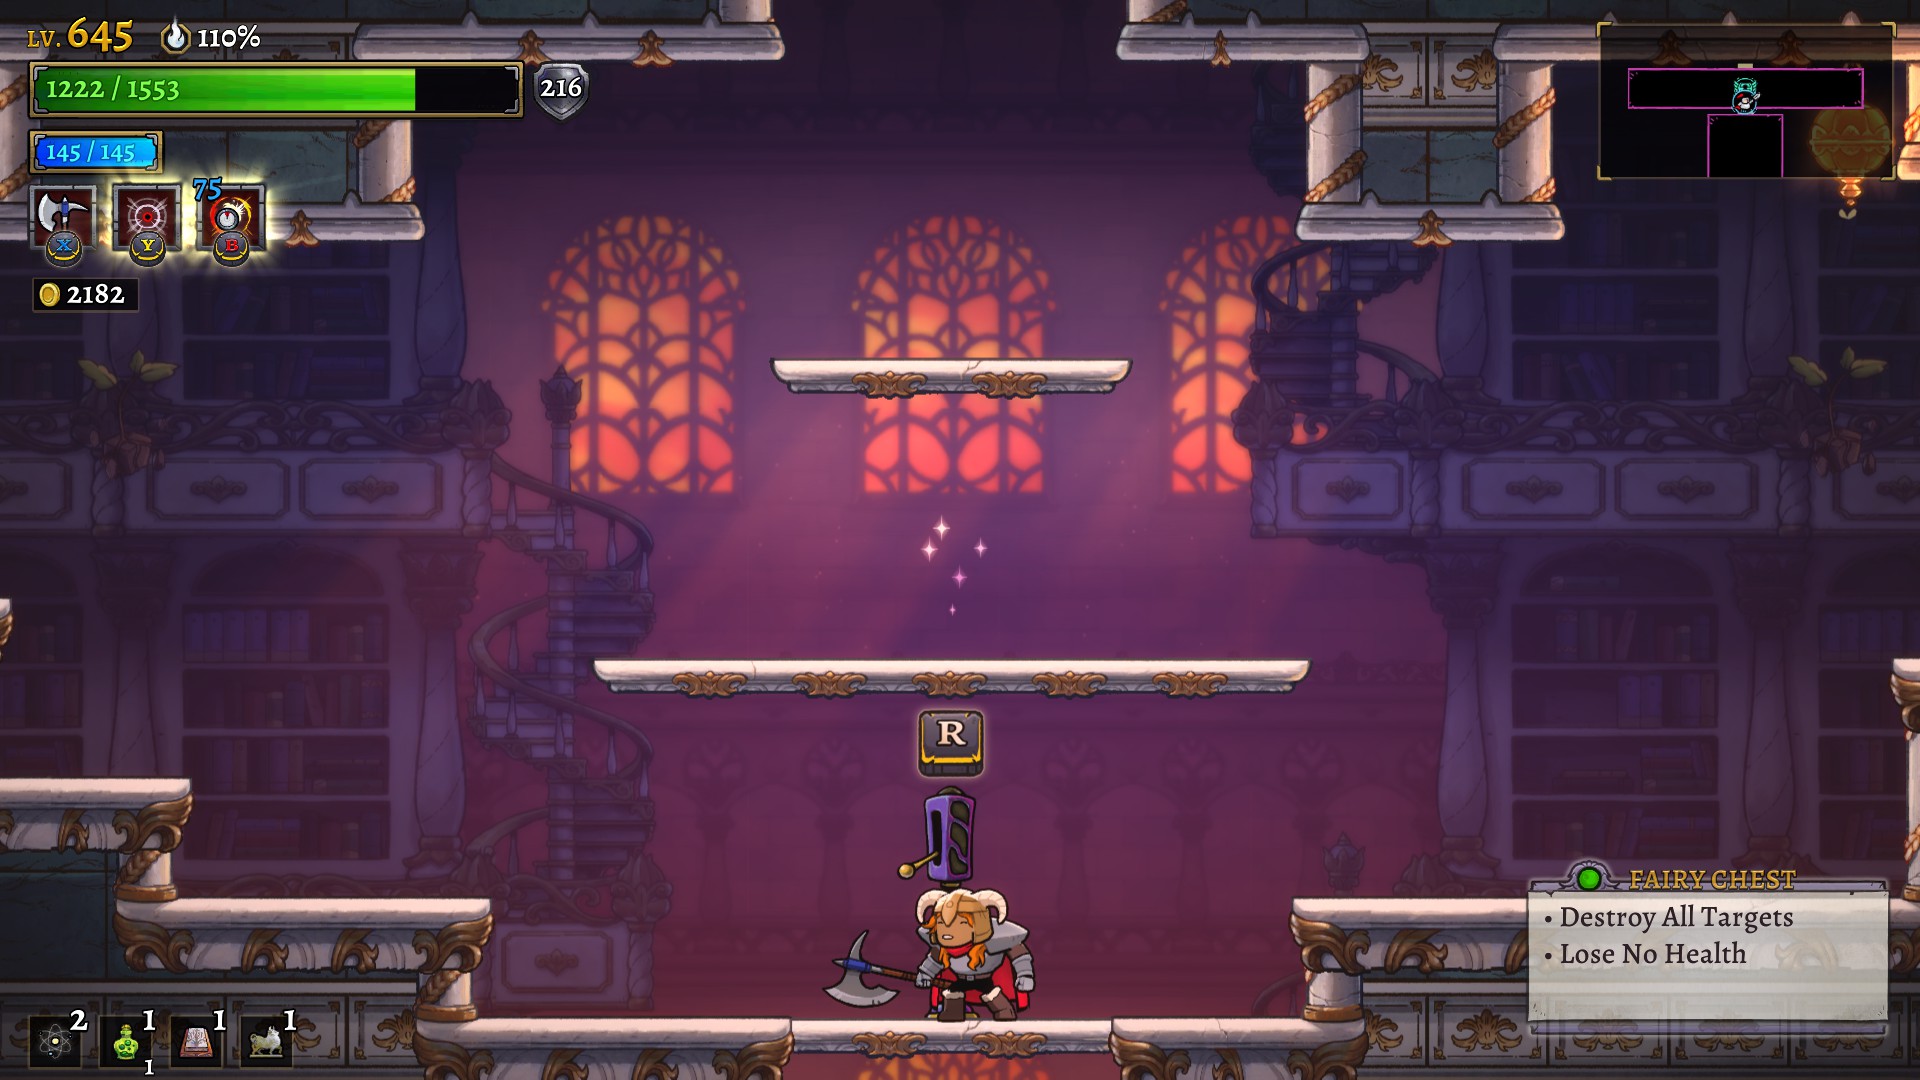
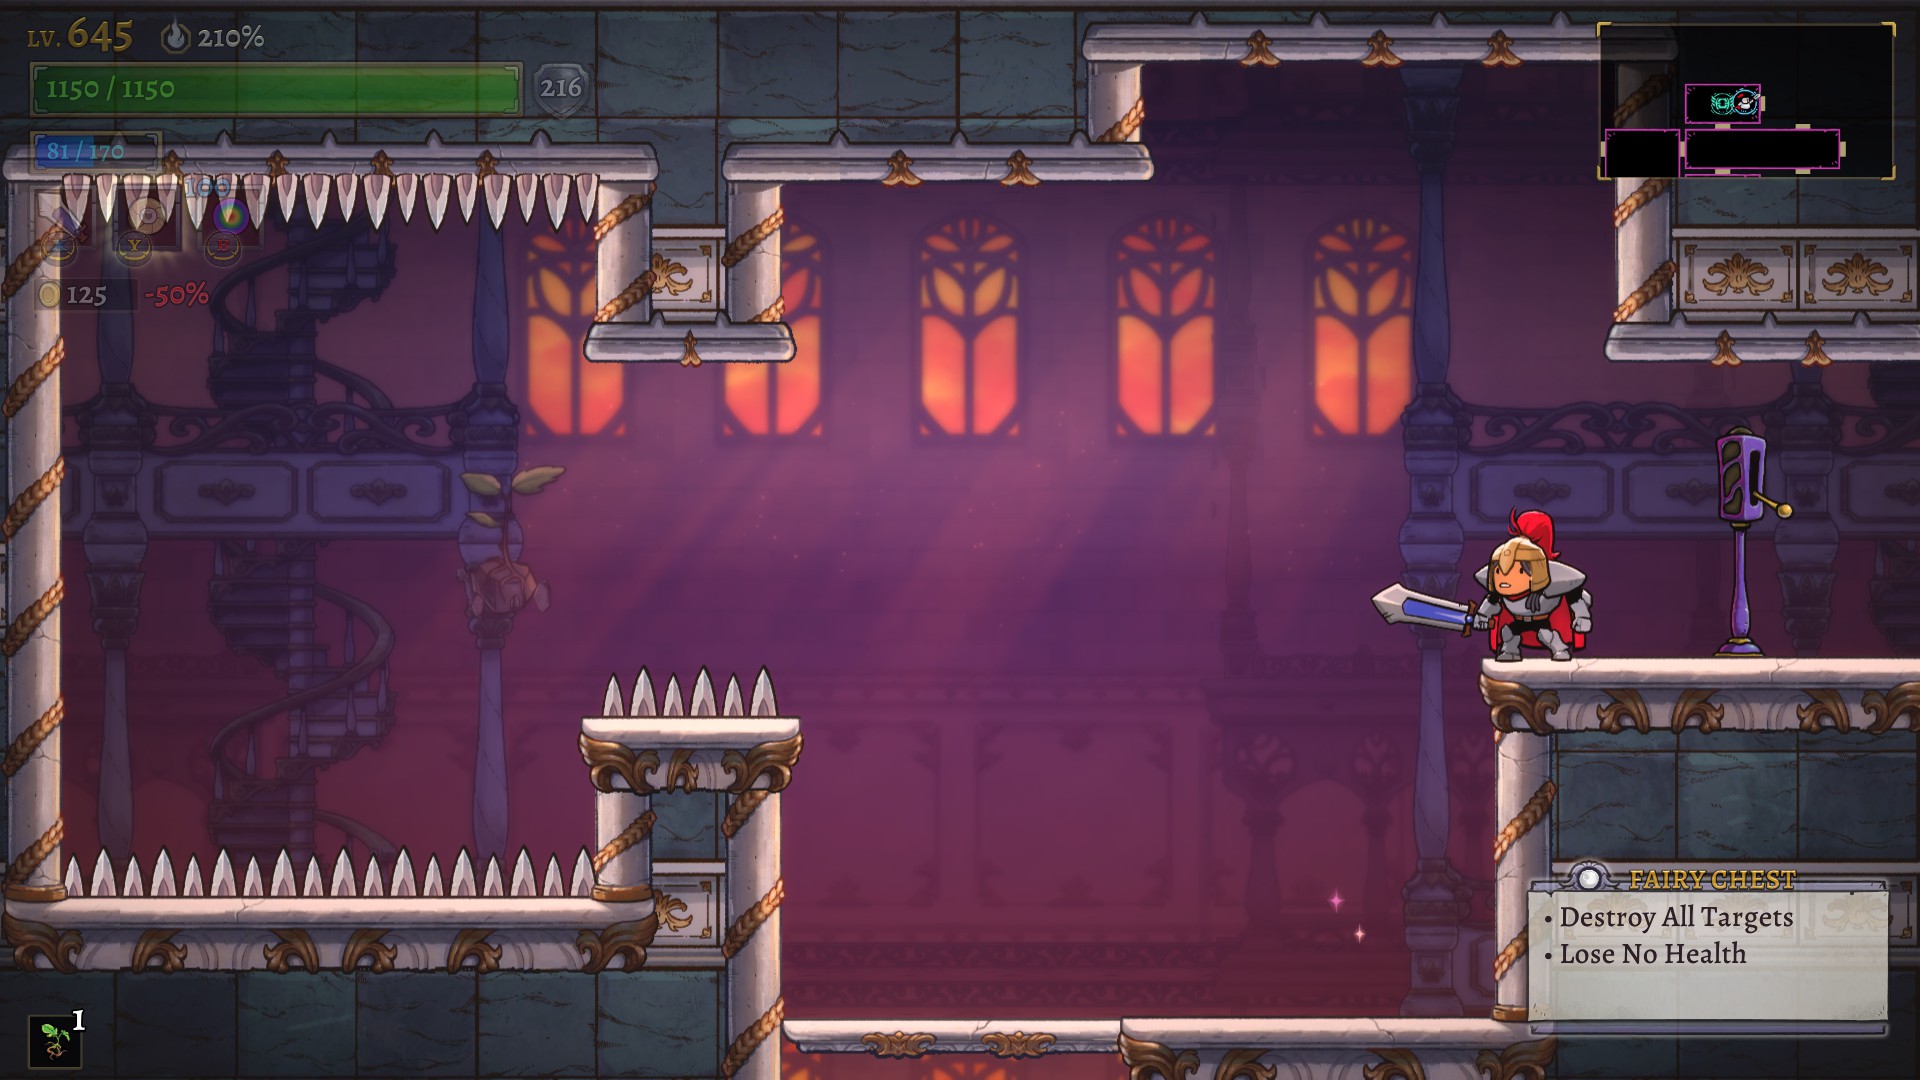
Destroy All Targets:


This challenge will spawn 5 targets for you to quickly destroy. Note that the timer doesn't stop after that, so you have to quickly open the chest to succeed.
There are multiple solutions to this challenge but the easier ones make use of large area of effect (AoE) attacks like:
- Barbarian's Winter's Shout talent
- Bard's Crescendo talent
- the Prismatic Spectrum spell


It's also possible (and depending on your platforming skills, really easy) to clear it using only spin kicks:


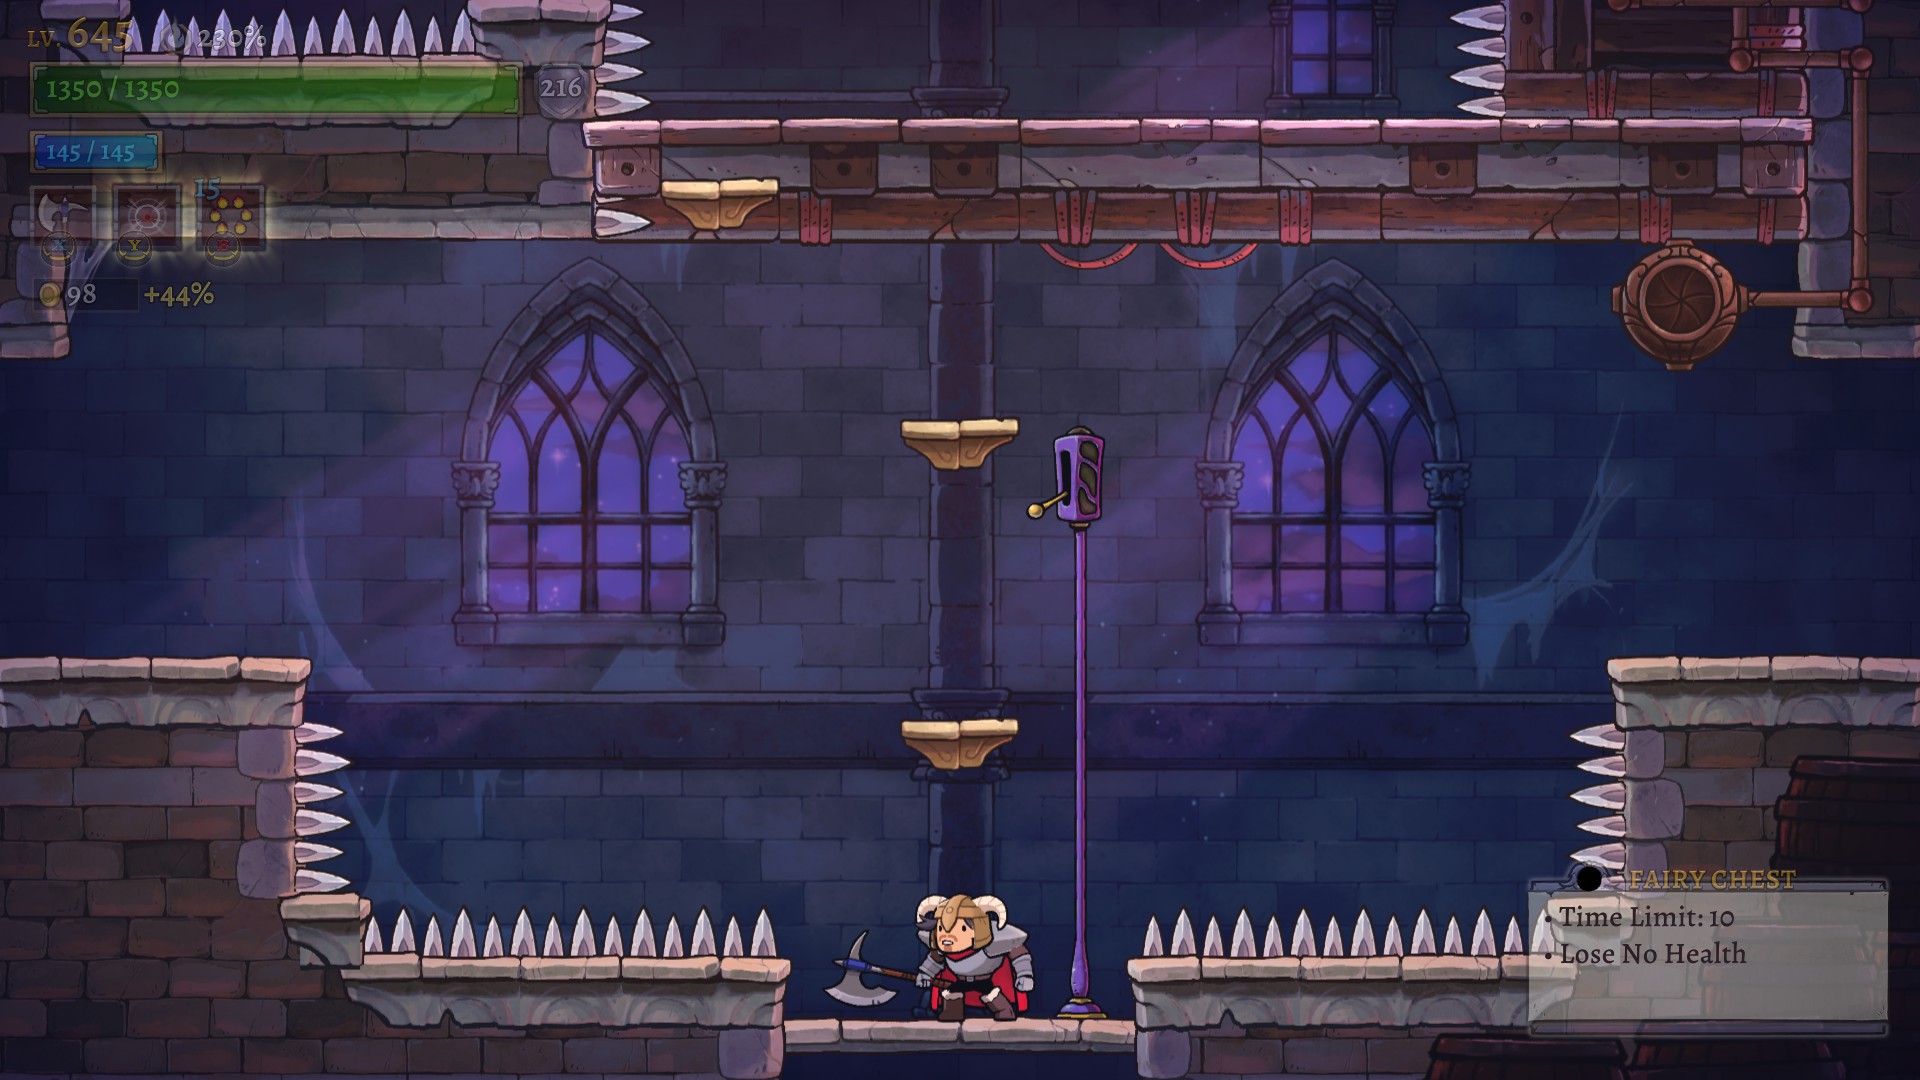
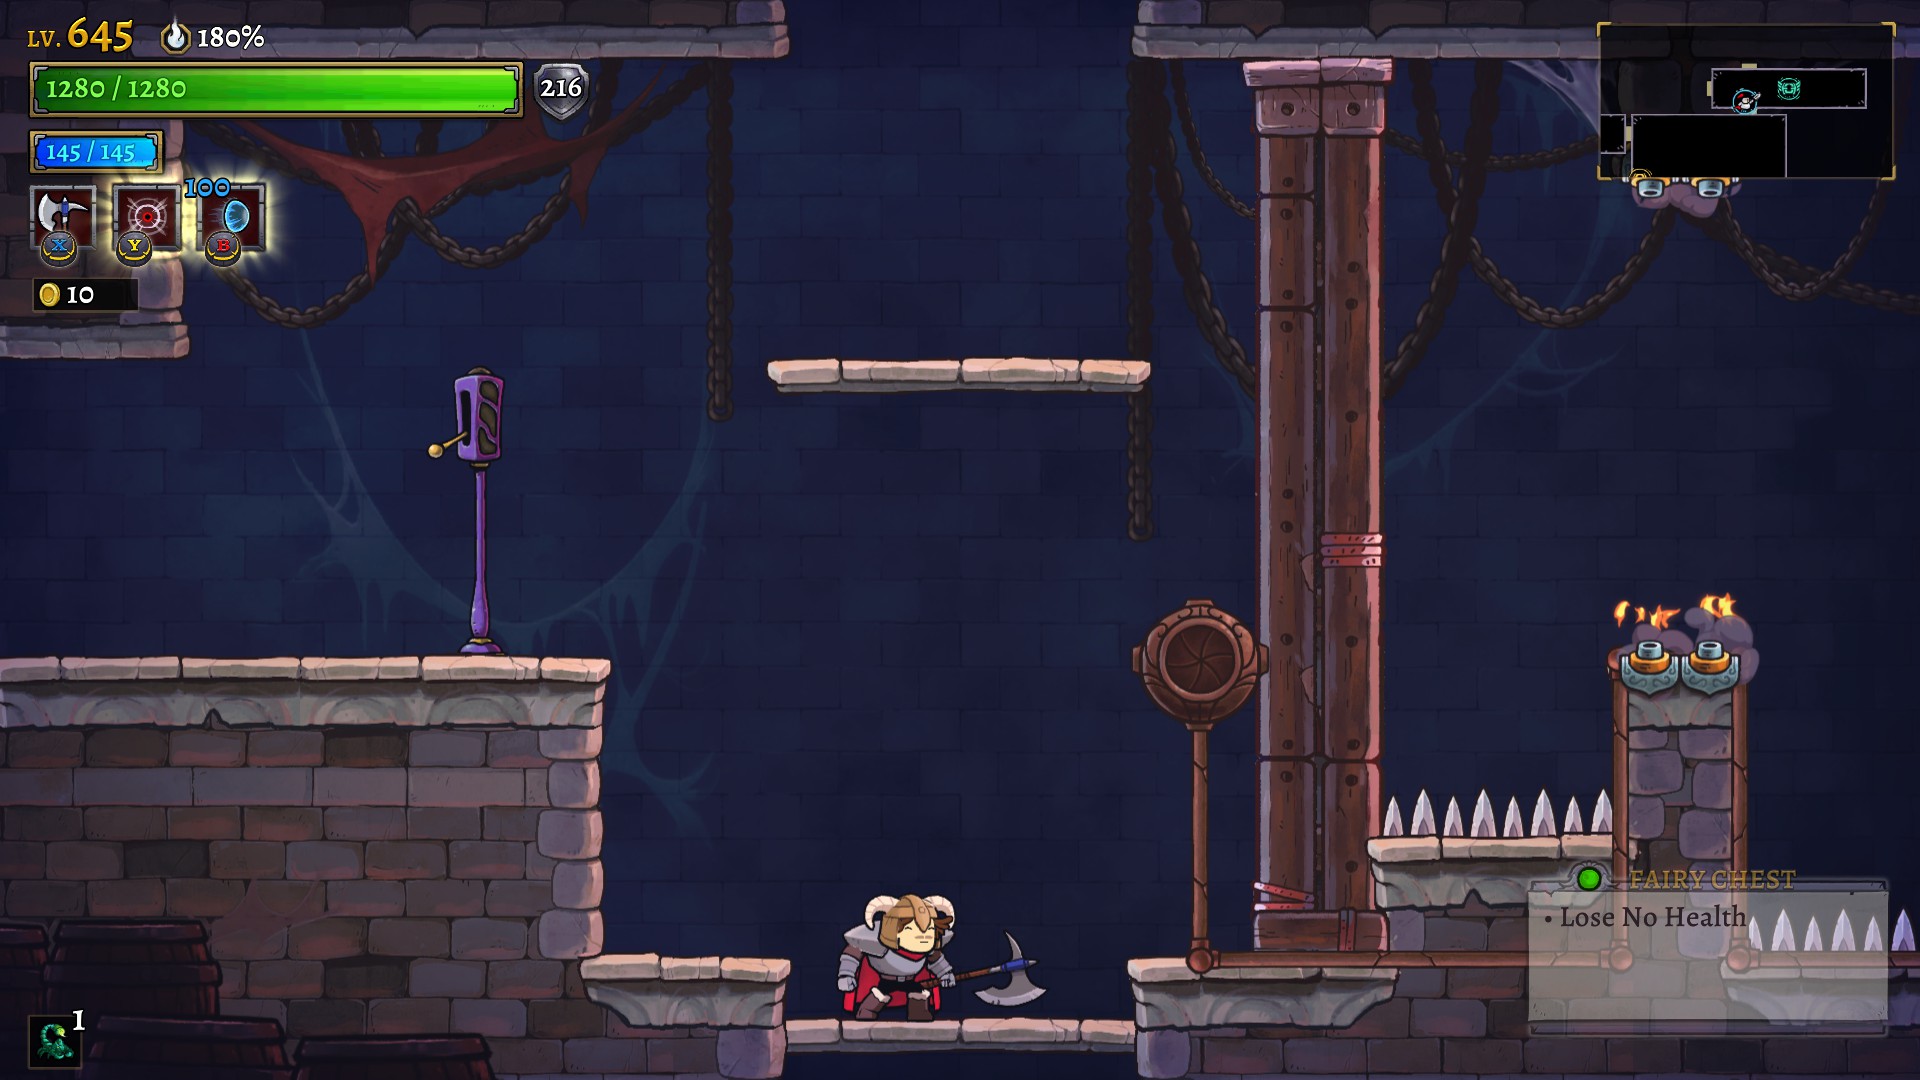
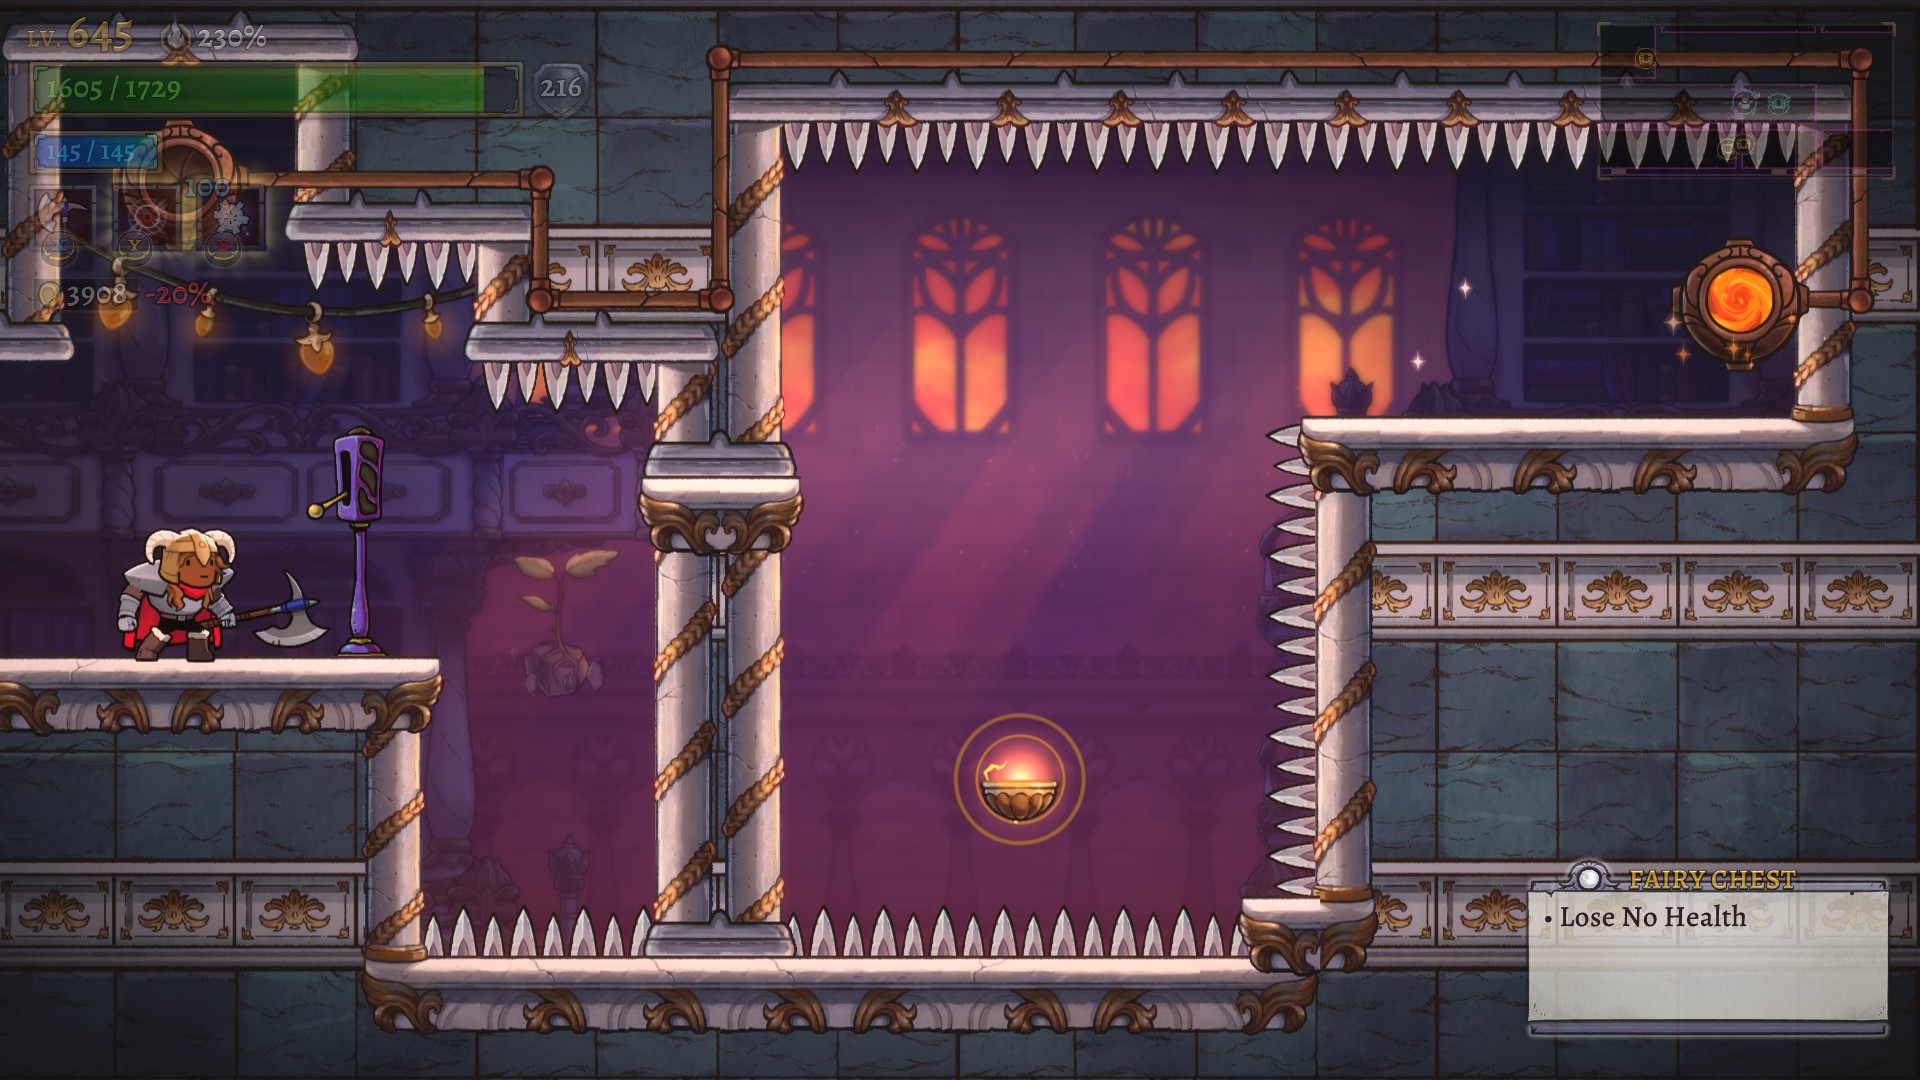
Lose No Health (spikes + diving bells):


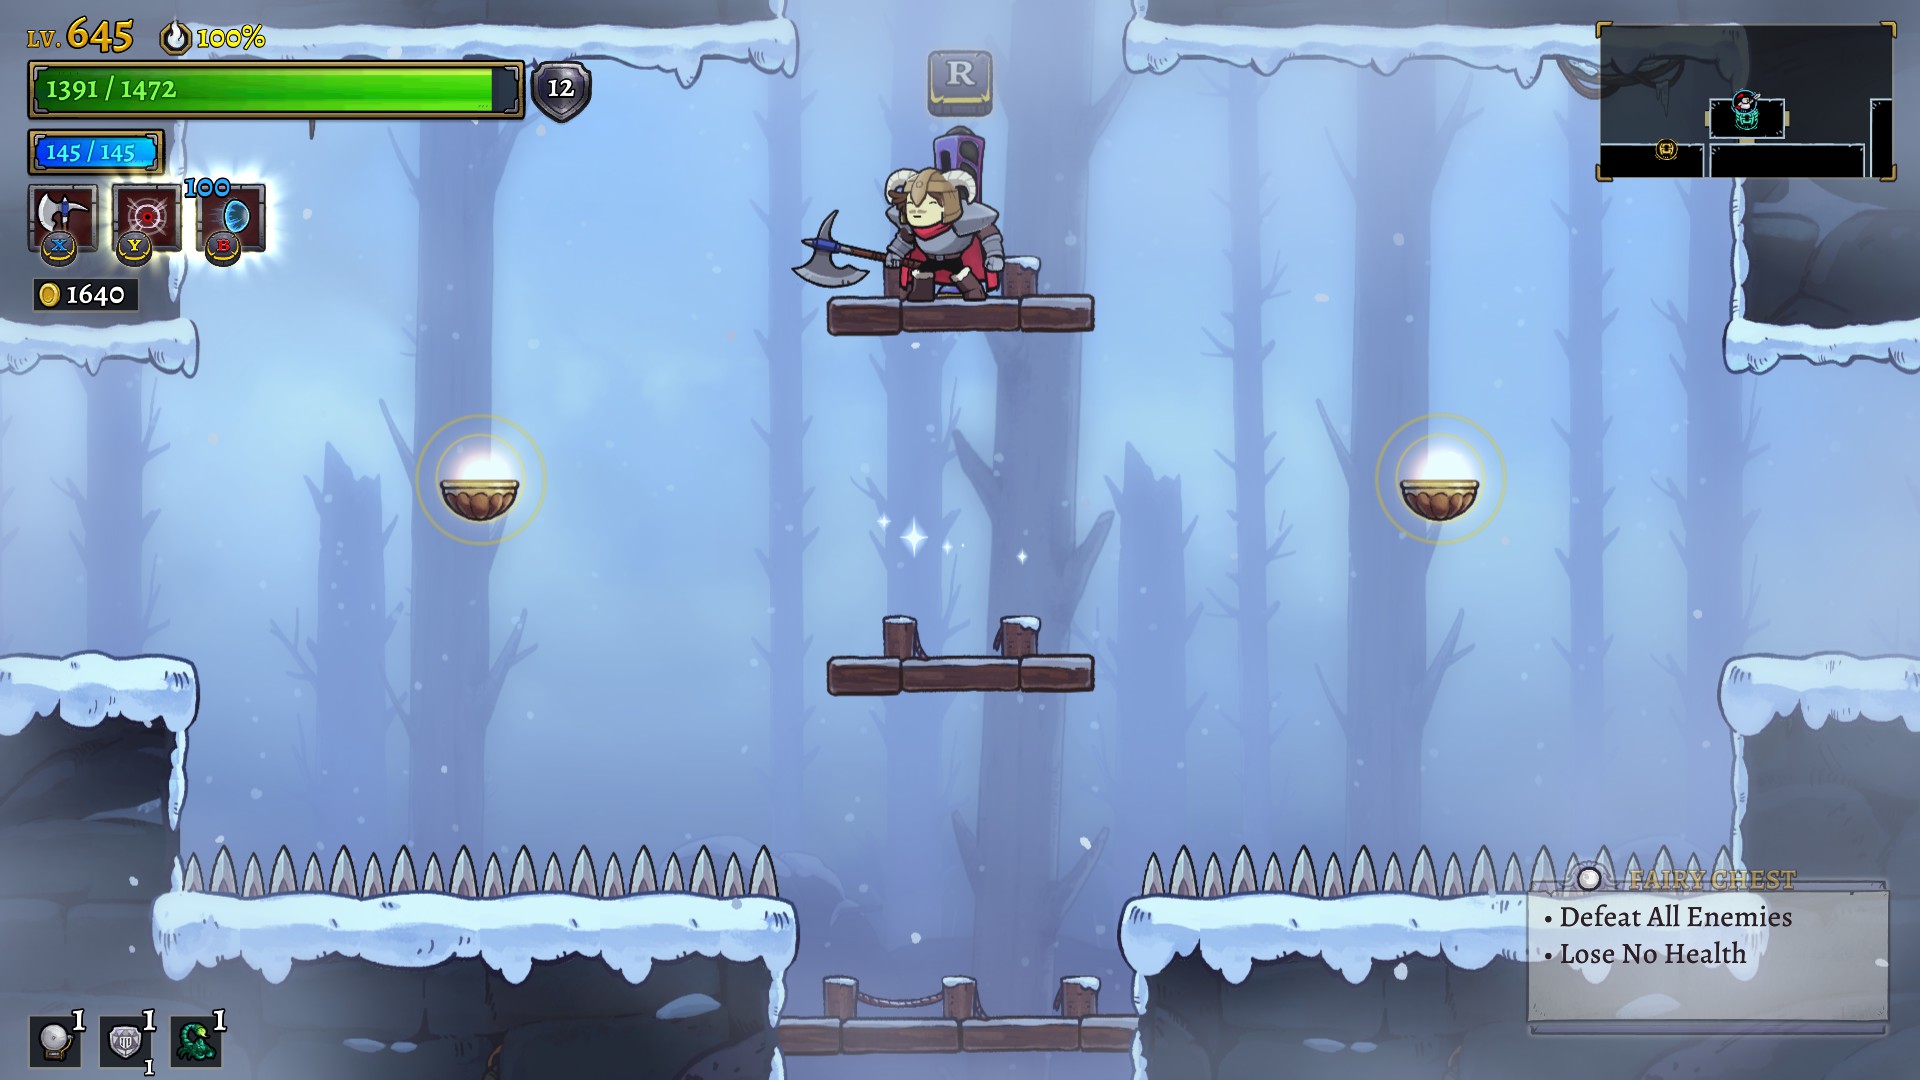
This challenge will test your basic platforming skills and can be cleared using only the regular jumps without any heirloom needed in its Citadel version.
It starts with a few crumbling platforms leading to two short diving bells one after the other. The area is almost entirely covered in spikes. You have to jump your way to the diving bells and then to the chest avoiding them.
Note that, depending on the biome in which you find this challenge, the crumbling platforms at the beginning can be replaced by resonant or void sconces making the challenge much harder.


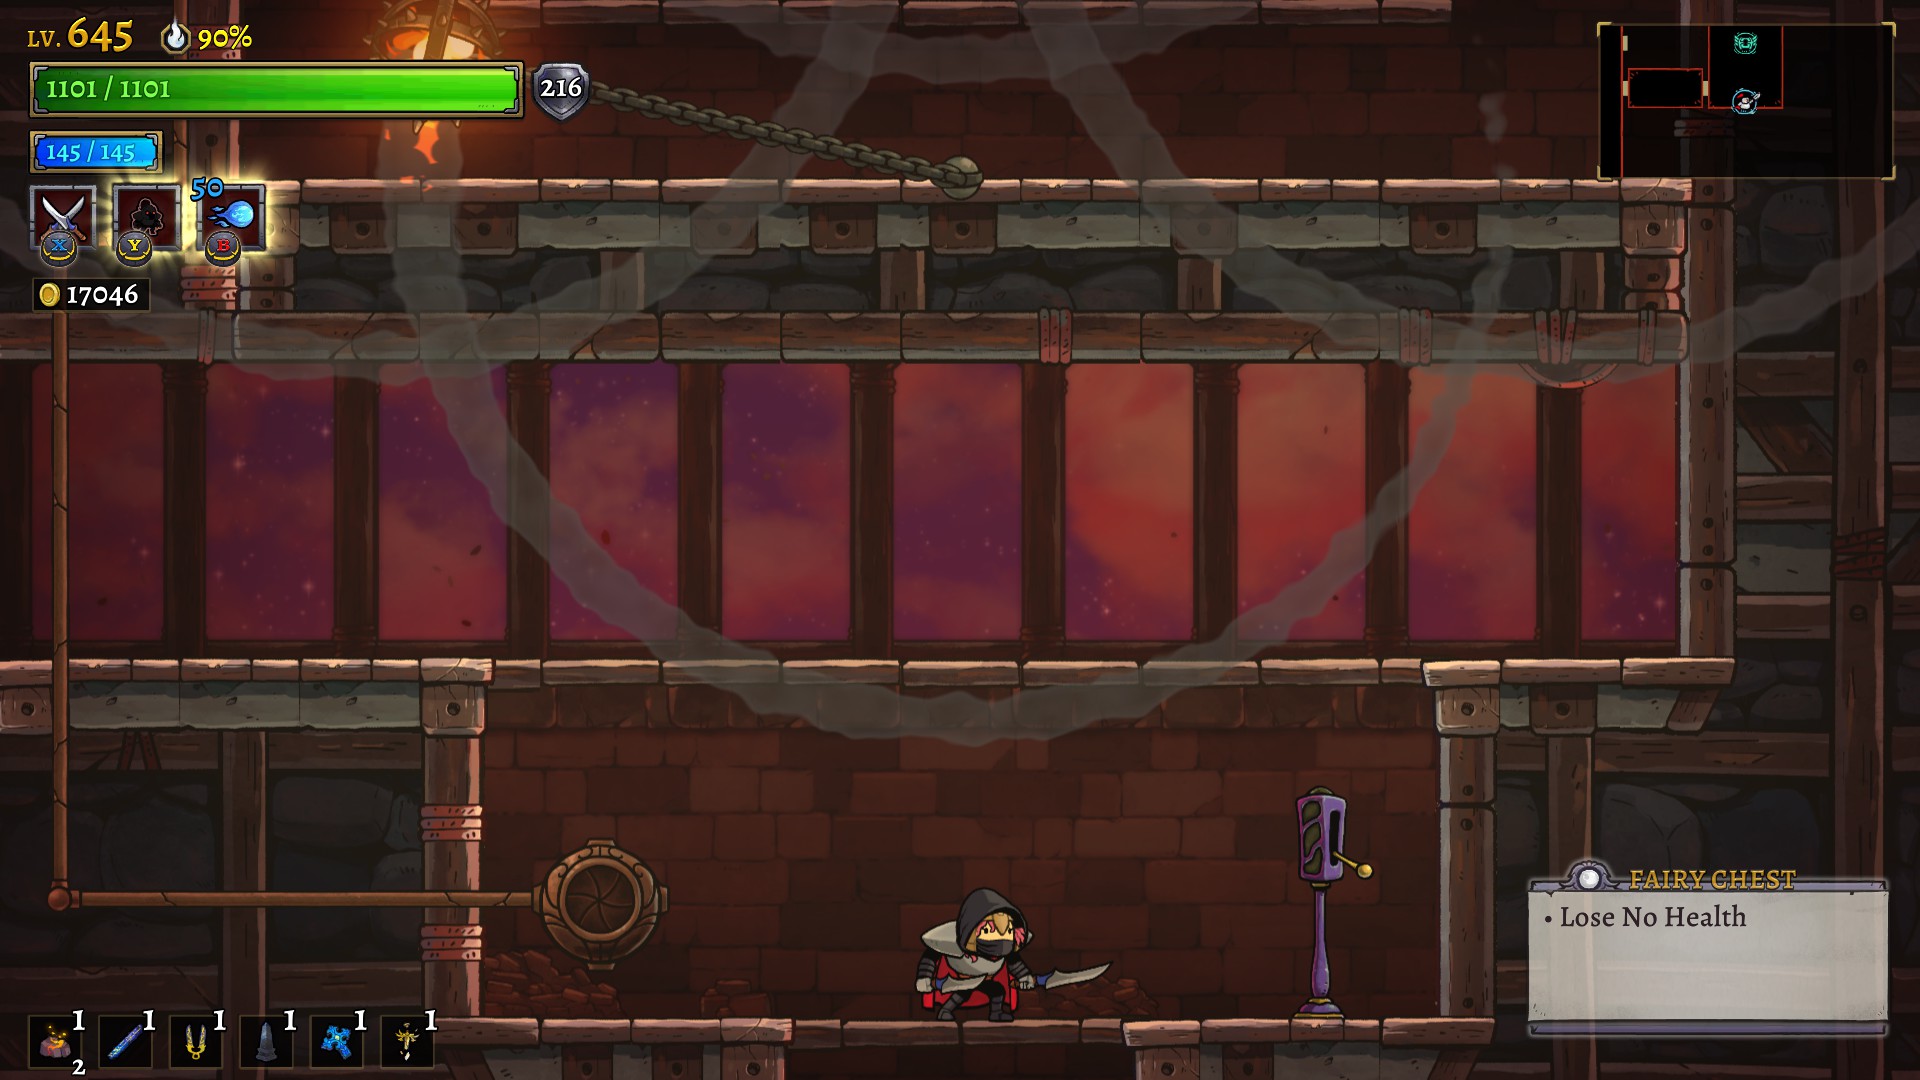
Lose No Health (many enemies):


This challenge seems hard until you understand that you're only required to open the chest to succeed.
Activating the challenge spawn many enemies, including a Commander, between you and the fairy chest. All you have to do is quickly reach it and open it. No fighting is necessary whether it's before you open the chest or after.
Depending on which enemy spawn and how, this challenge's difficulty can vary.


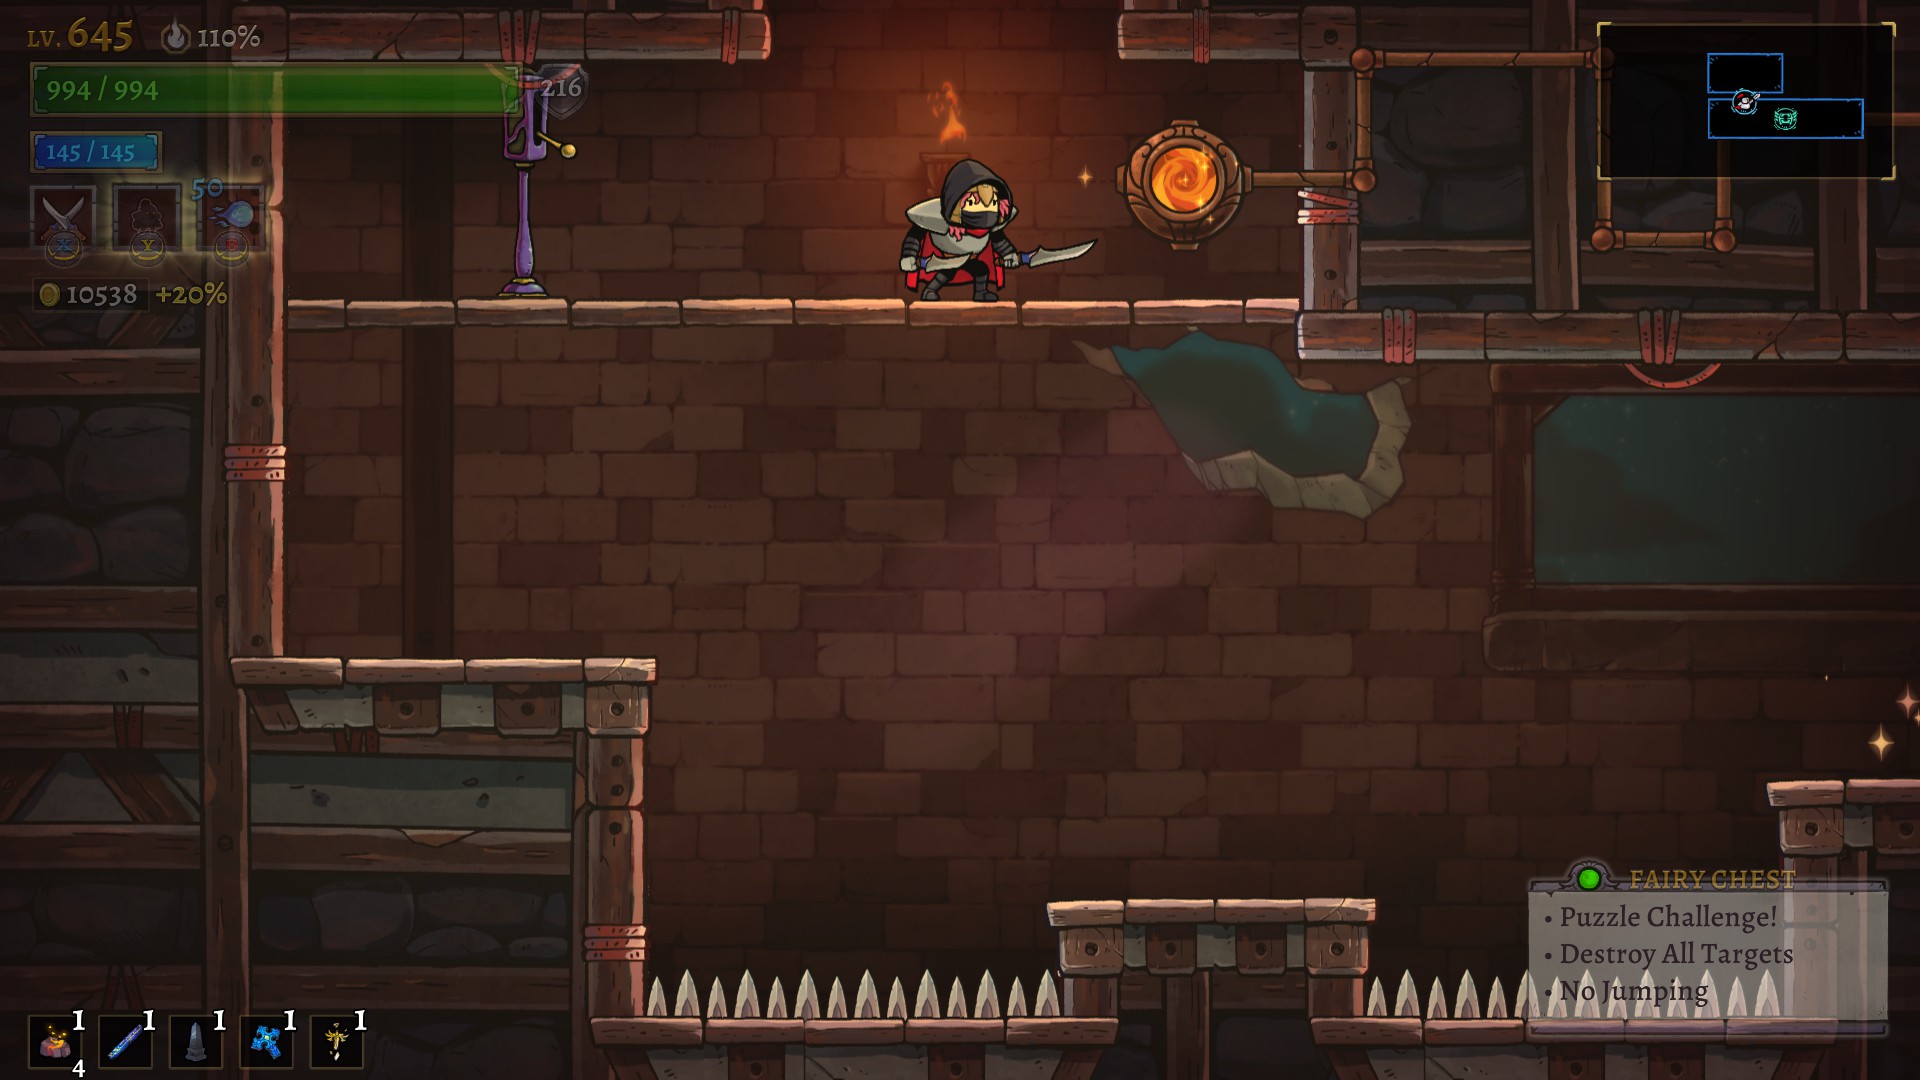
DESTROY ALL TARGETS
These puzzle challenges require you to destroy all the targets before you can open the chest. Some have added conditions (like "No Jumping") that you have to respect to not fail it.
These challenges sometimes have multiple solutions based on which class/weapon/talent/spell/relic you have; this guide will usually show the one requiring the fewer things.


Spin Kick Targets (spike pit):


This one is a No Jumping Challenge so you have to think on how to solve it using your other movement options.
After turning the challenge on, a long string of targets will appear that you will have to destroy before being able to open the chest.
The best and easiest solution to do that is to Spin Kick them in order. Be careful as you want to end up on the platform the chest is on since the challenge can still be failed even if all targets have been destroyed.
Ananke's Shawl (air dash heirloom) makes this easier (as does Pallas' Void Bell - void dash heirloom) but it is not necessary if you're careful enough.
It's also possible to destroy the targets using other methods than spin kicking (spells, ranged weapons, relics).


Spin Kick Targets (diving bell):


This one is a No Jumping Challenge so you have to think on how to solve it using your other movement options.
After turning the challenge on, a bunch of targets will appear that you will have to destroy before being able to open the chest.
The best and easiest solution to do that is to Spin Kick them in order. Be careful as you want to end up in the pit the chest is in since the challenge can still be failed even if all targets have been destroyed.
While Ananke's Shawl (air dash heirloom) is not necessary to complete this challenge, it makes it a lot easier.
It's also possible to destroy the targets using other methods than spin kicking (spells, certain weapons, relics).


Lose no health (many orbs):


This one is a Lose No Health challenge so you have to be careful not to get hurt. Getting hit but blocking the damage is ok.
This is one of the hardest fairy challenge that will require good control of your character's movement.
After turning the challenge on, a bunch of targets spread out within the long room along with a lot of orbs will appear. Destroy them before opening the chest to succeed.
There's no easy way out of this since the targets are so spread out, you'll have to carefully navigate the room and cleverly use your weapon attacks, spell and talent.


LOSE NO HEALTH
These challenges require you to reach and open the chest without losing health. You can still get hit so long as you have a way to block the damage. Relics like Coeus' Shell or Lotus Stem or the Knight's Shield Block talent can help tremendously.
The Assassin's Cloak talent can almost always be used to clear these challenges effortlessly.
Some of these challenges can also have an additional condition (like "No Dashing") that you have to respect to not fail it, they'll be covered in the following section of this guide.


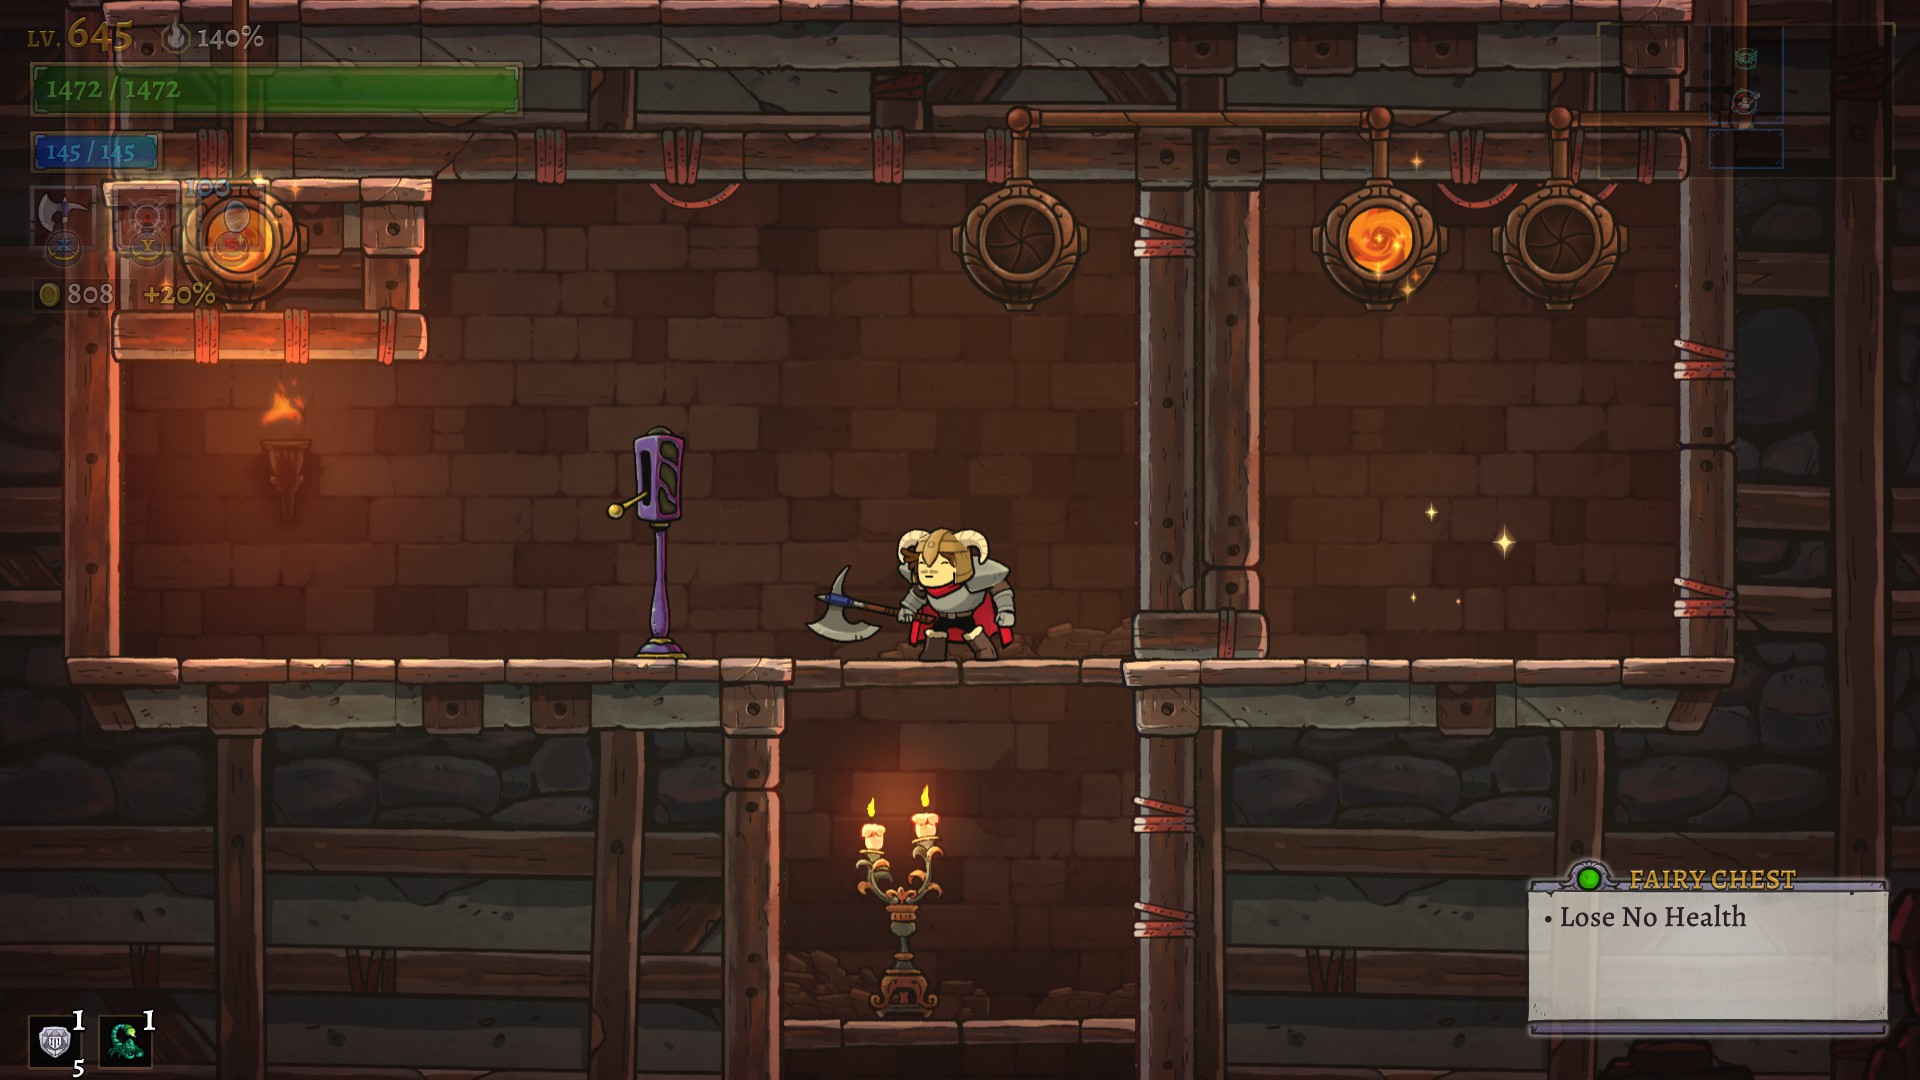
Swinging Spikeballs:


This challenge is simple: climb the room avoiding the swinging spikeballs (aka flaming pinwheels), open the trapdoor in your way, and finally open the chest.
How hard the challenge is for you depends on your reflexes and familiarity with the game (being able to open trapdoor other than with a spin kick also helps).
It also comes with a tricky part: while the room looks vertically symmetrical, one side is a dead end. The real path is, however, always on the same side as the Diving Bell exit.
The traps in the challenge can change depending on which biome you're in becoming nightmares in Kerguelen Plateau or explosive scrolls in the Stygian Study. Both of these can make the challenge noticeably easier.


Double Spike Pit:


This challenge requires you to enter the first Diving Bell which will drop you at the top of the first spike pit. At the end of the fall lies another Diving Bell entrance which will release you at the top of the second spike pit. Entering the Diving Bell entrance at the bottom will then bring you to the chest.
Simple in theory, much harder in practice.
For starters, while it's possible to complete this challenge without the Aether's Wings (double jump heirloom), it's extremely tricky and requires perfect timing, especially in the first spike pit.
Even with it, you'll want to bring at least one Vault rune (+1 double jump). You'll aslo need to be precise with your movement as the second spike pit isn't straight.
With enough double jumps and some practice, this challenge can however become really easy.
Note: a very useful tip (especially if you attempt this challenge without double jumps) is that any aimable spell will reset your fall speed if you aim/shoot it, giving you more time to react. (many thanks to Vilks for the tip)


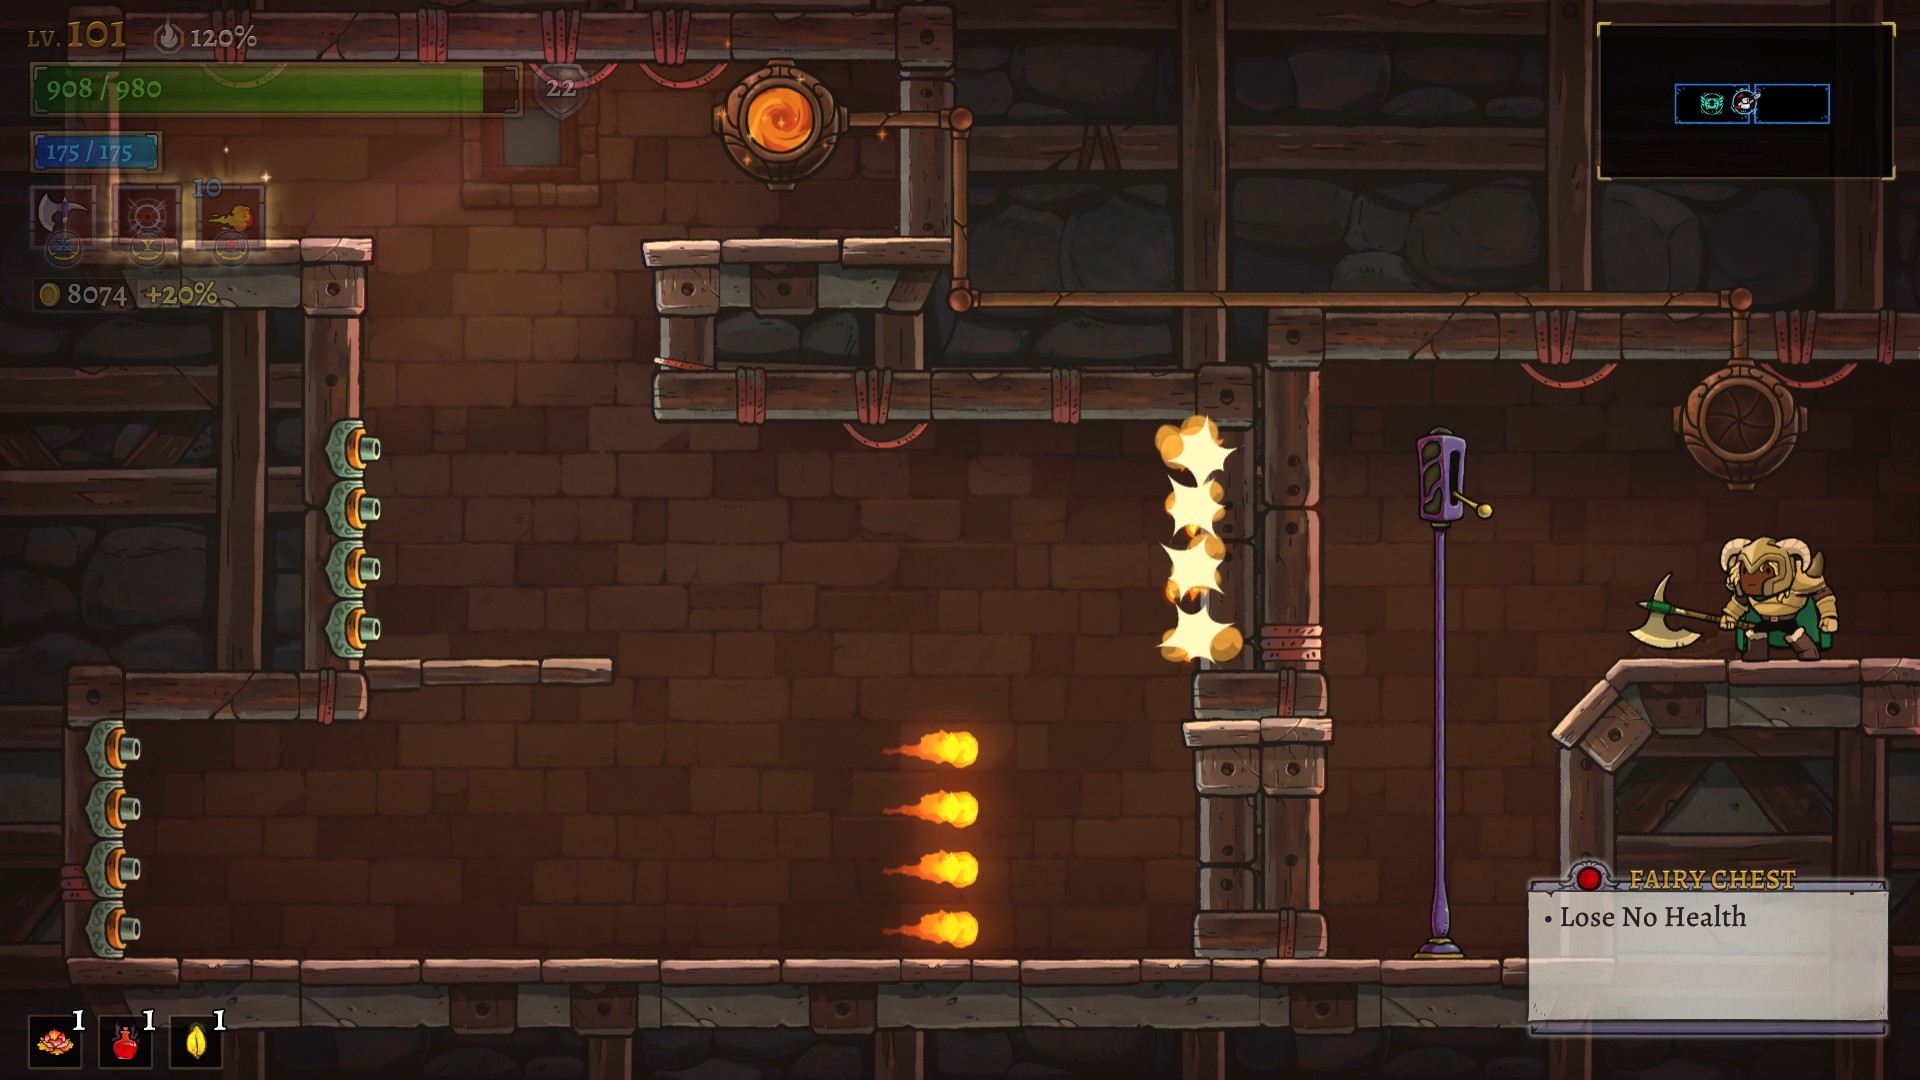
Vertical Shooters:


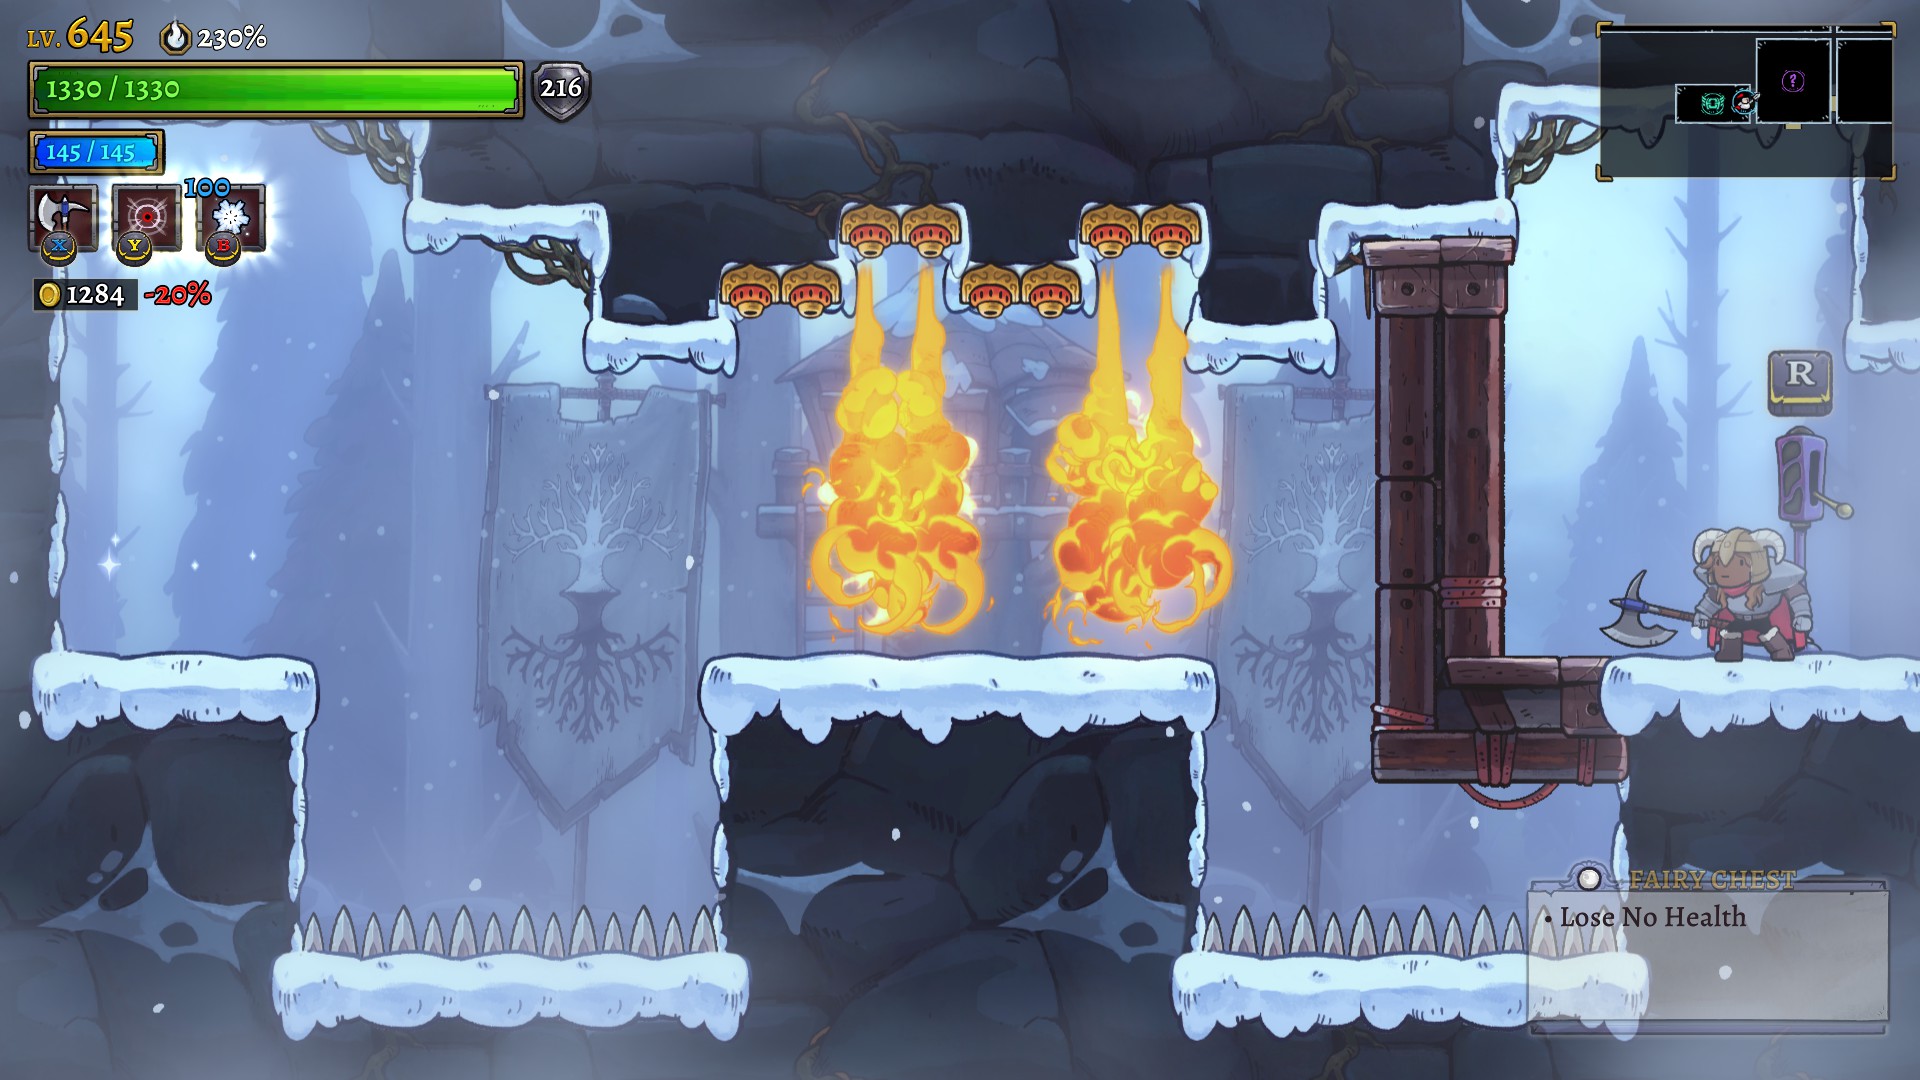
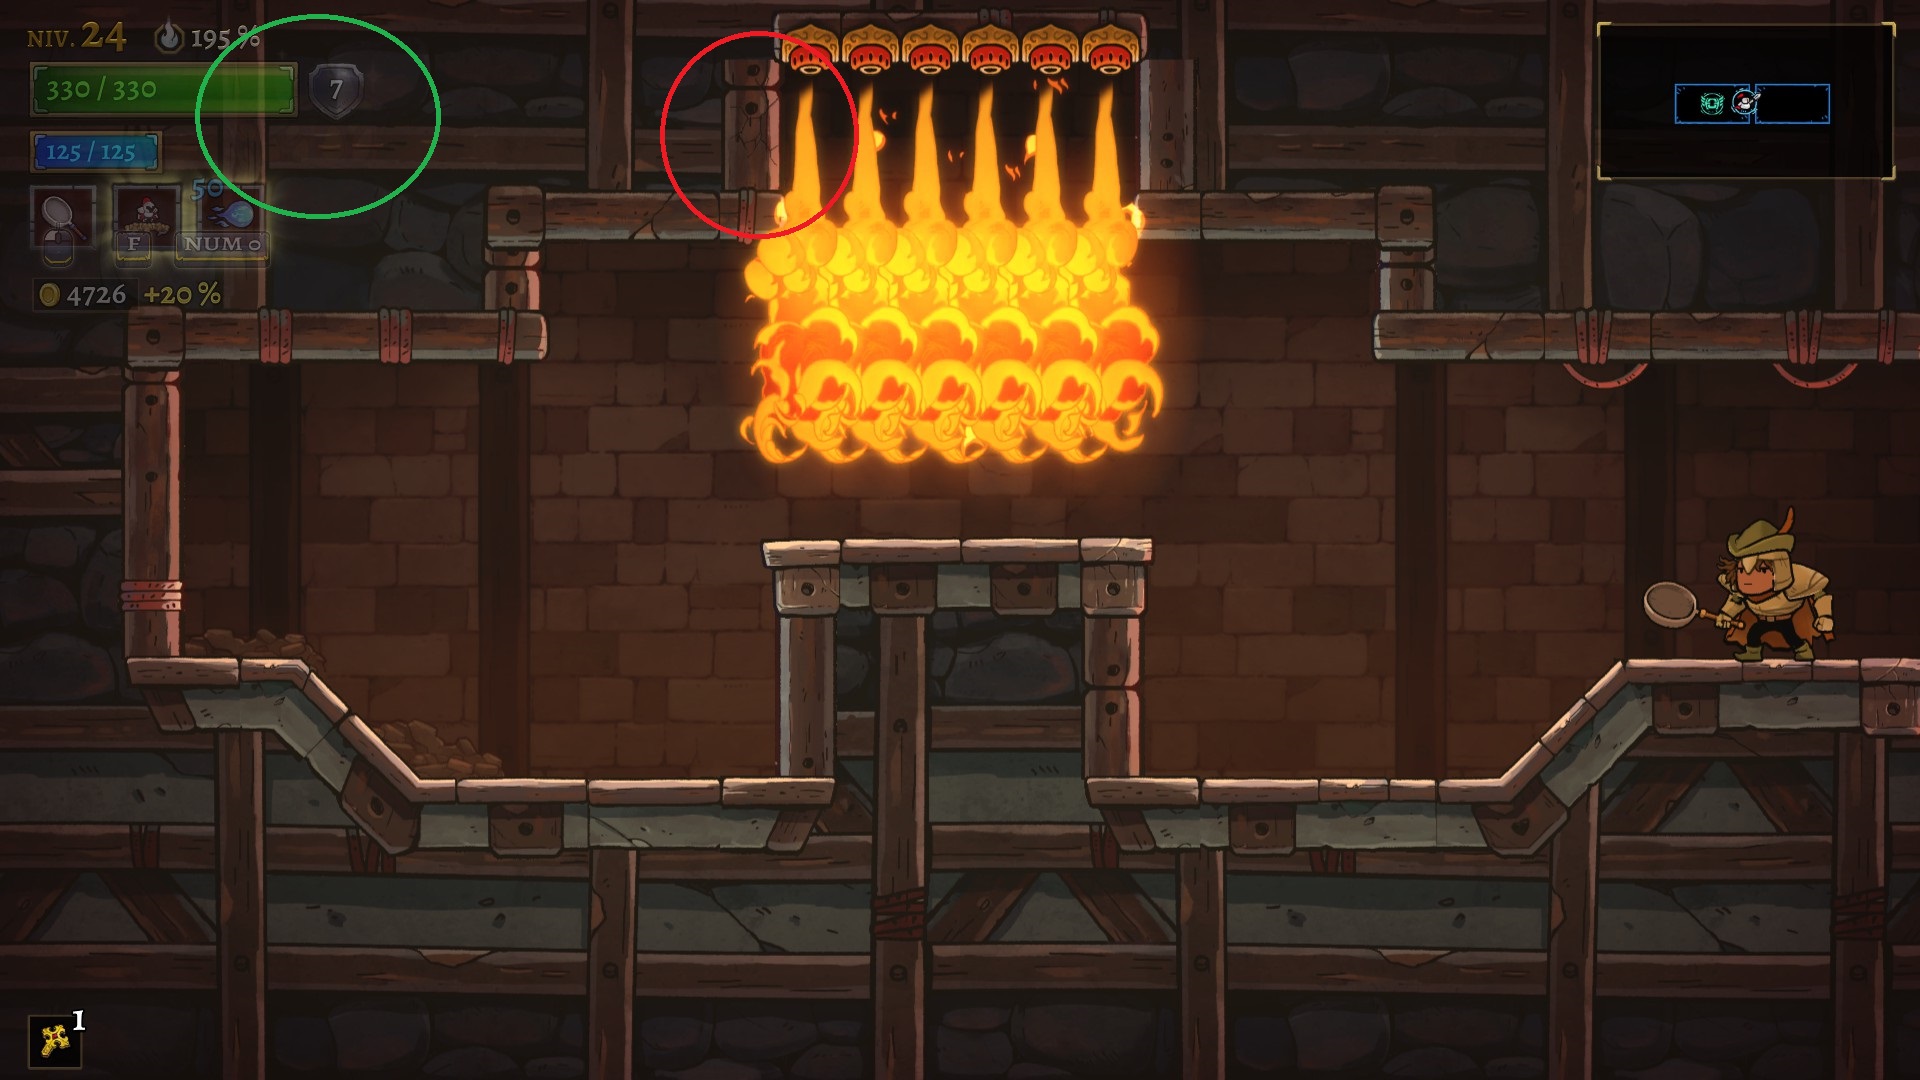
This challenge is simple: reach the end of a room whose floor is almost entirely covered in spikes. The only 3 safe platforms have 2 pairs of fireball shooters shooting in unison, 2 upwards, 2 downwards.
The hard part is to land on these platforms while avoiding their fireballs. It requires precise timing and a good control of your jumps.
While it's possible to clear the challenge without any heirlooms, additional movement options make it a lot easier.


Echo Kick (spike room):


This challenge require Echo's Boots (resonant spin kick heirloom). It's possible to complete the challenge without using that heirloom if you have at least one double jump, but normal progression makes it so you will most likely have the boots first.
This challenge is simple and is only a matter of reflexes: you must dash forward, spin kick the resonant orb which will send you upwards at which point you have to time another dash to reach the chest without touching any spikes above or below.


Flamethrowers small:


Really easy challenge that requires no heirloom at all.
You have to walk past a series of flamethrowers activating in turns. Timing is the only difficulty but the challenge is pretty generous if you're careful.


Horizontal Shooters:


This challenge doesn't require any heirloom or any special talents/spells, but is a lot easier if you have a way to either delete, or bypass mid-sized projectiles.
A series of projectile shooters will fire down a small corridor and cannot be dodged.
The simplest method is to activate the lever right as the projectile hit the blocking wall, quickly dash toward the chest and jump before a new wave of projectile can hit you.
The easiest method (which do not require good timing/reflex) is simply to either delete the projectiles at the right time, or simply go through them.
Some examples of options that remove the projectiles:
- Valkyrie's Deflect talent
- Chef's Frying Pan weapon
- Barbarian's Winter's Shout talent
- Bard's Crescendo talent
- the Vanguard's Banner and Marble Statue relics
- the Wind Wall or Shockwave spells
Examples of options that allow you to bypass them safely:
- Assassin's Cloak talent
- the Coeus' Shell and Lotus Stem relics (by taking a hit)
- Knight's Shield Block talent (with a perfect block)
- Duelist's Roll talent
- Ronin's Immortal Kotetsu talent


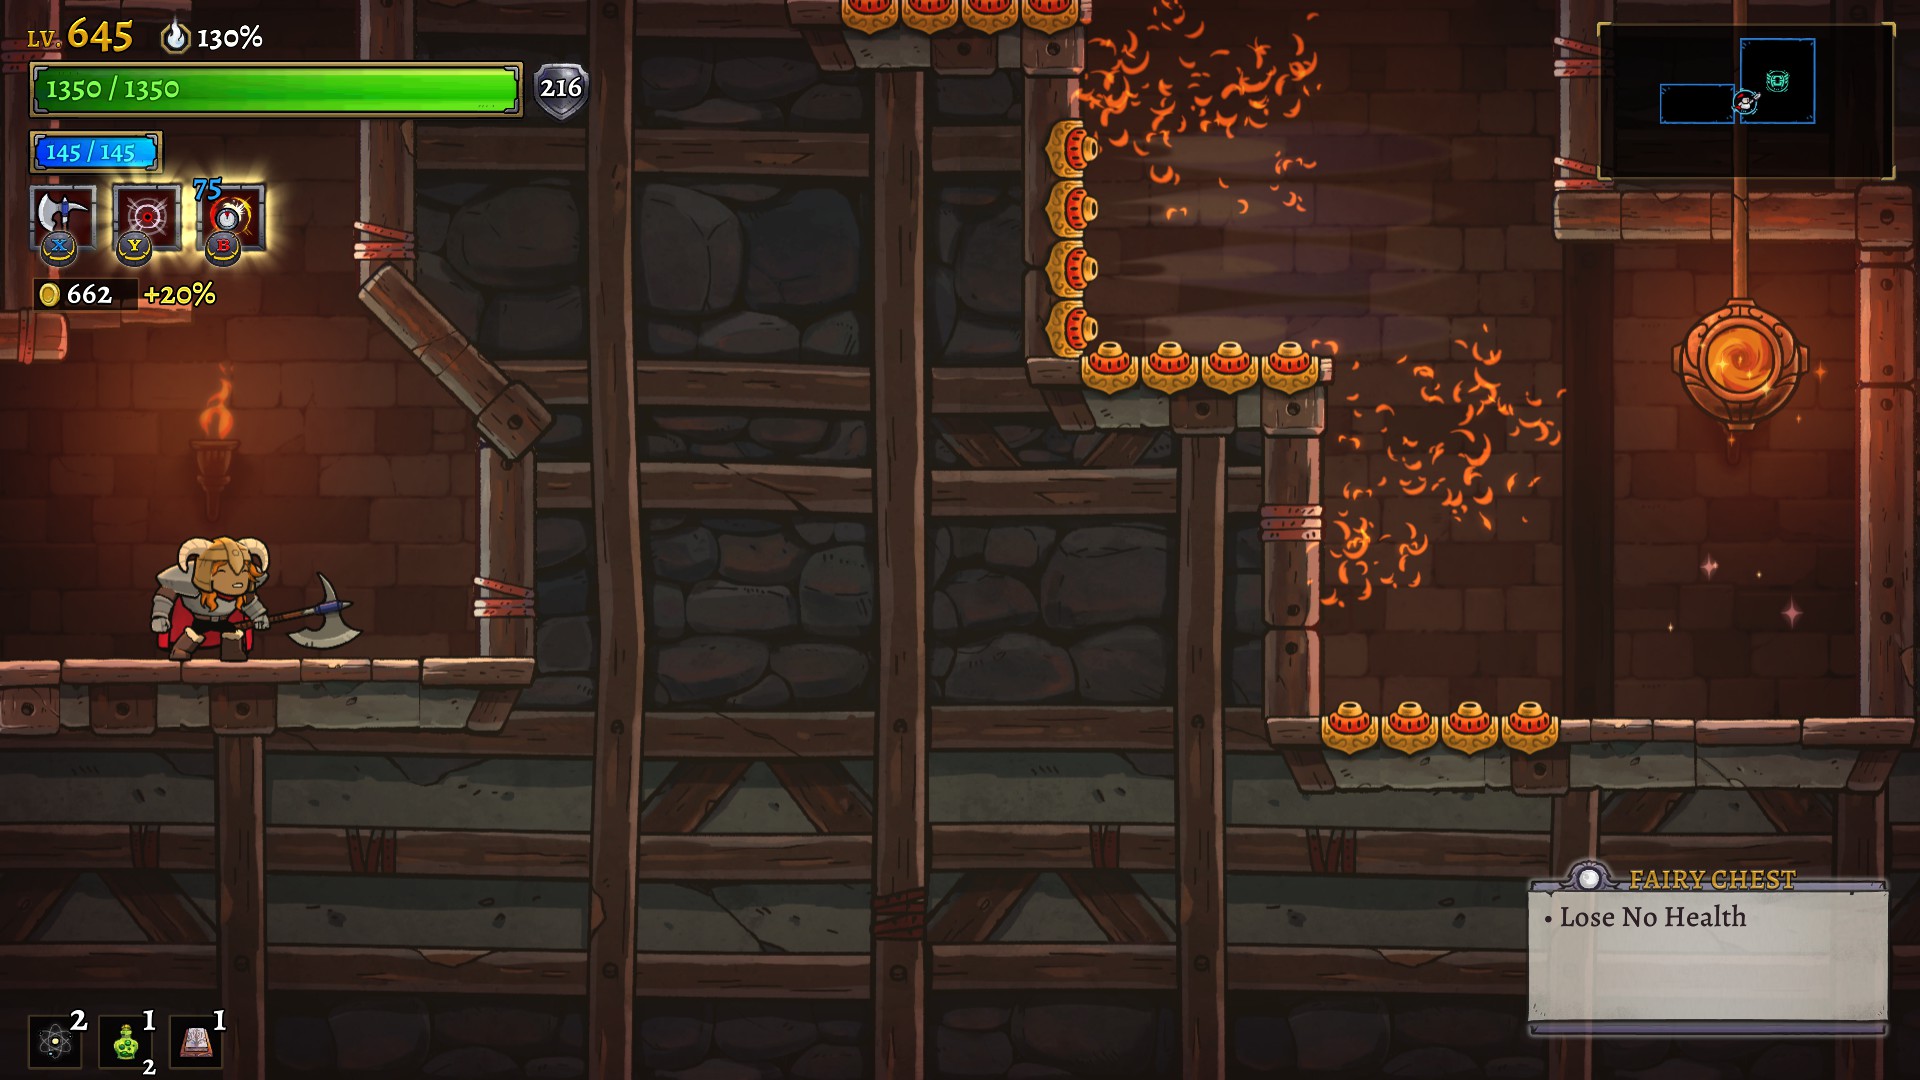
Flamethrowers Tall:


This challenge might require having all heirlooms to complete.
A series of flamethrowers will spew fire alternately in a tall, narrow room. You have to time your descent from the top without getting hurt.
This challenge is really the less mobility you have but can be cleared easily if you can block/negate damage.


Double Fireball Shooters:


This challenge doesn't require any heirloom, but is made a lot easier if you have a way to either delete, or bypass mid-sized projectiles.
You have to be careful when activating the challenge as you have to jump to reach the lever so you might need to time your landing.
Without a way to deal with the projectiles (or block damage), you'll have to be good at platforming to avoid getting hurt.


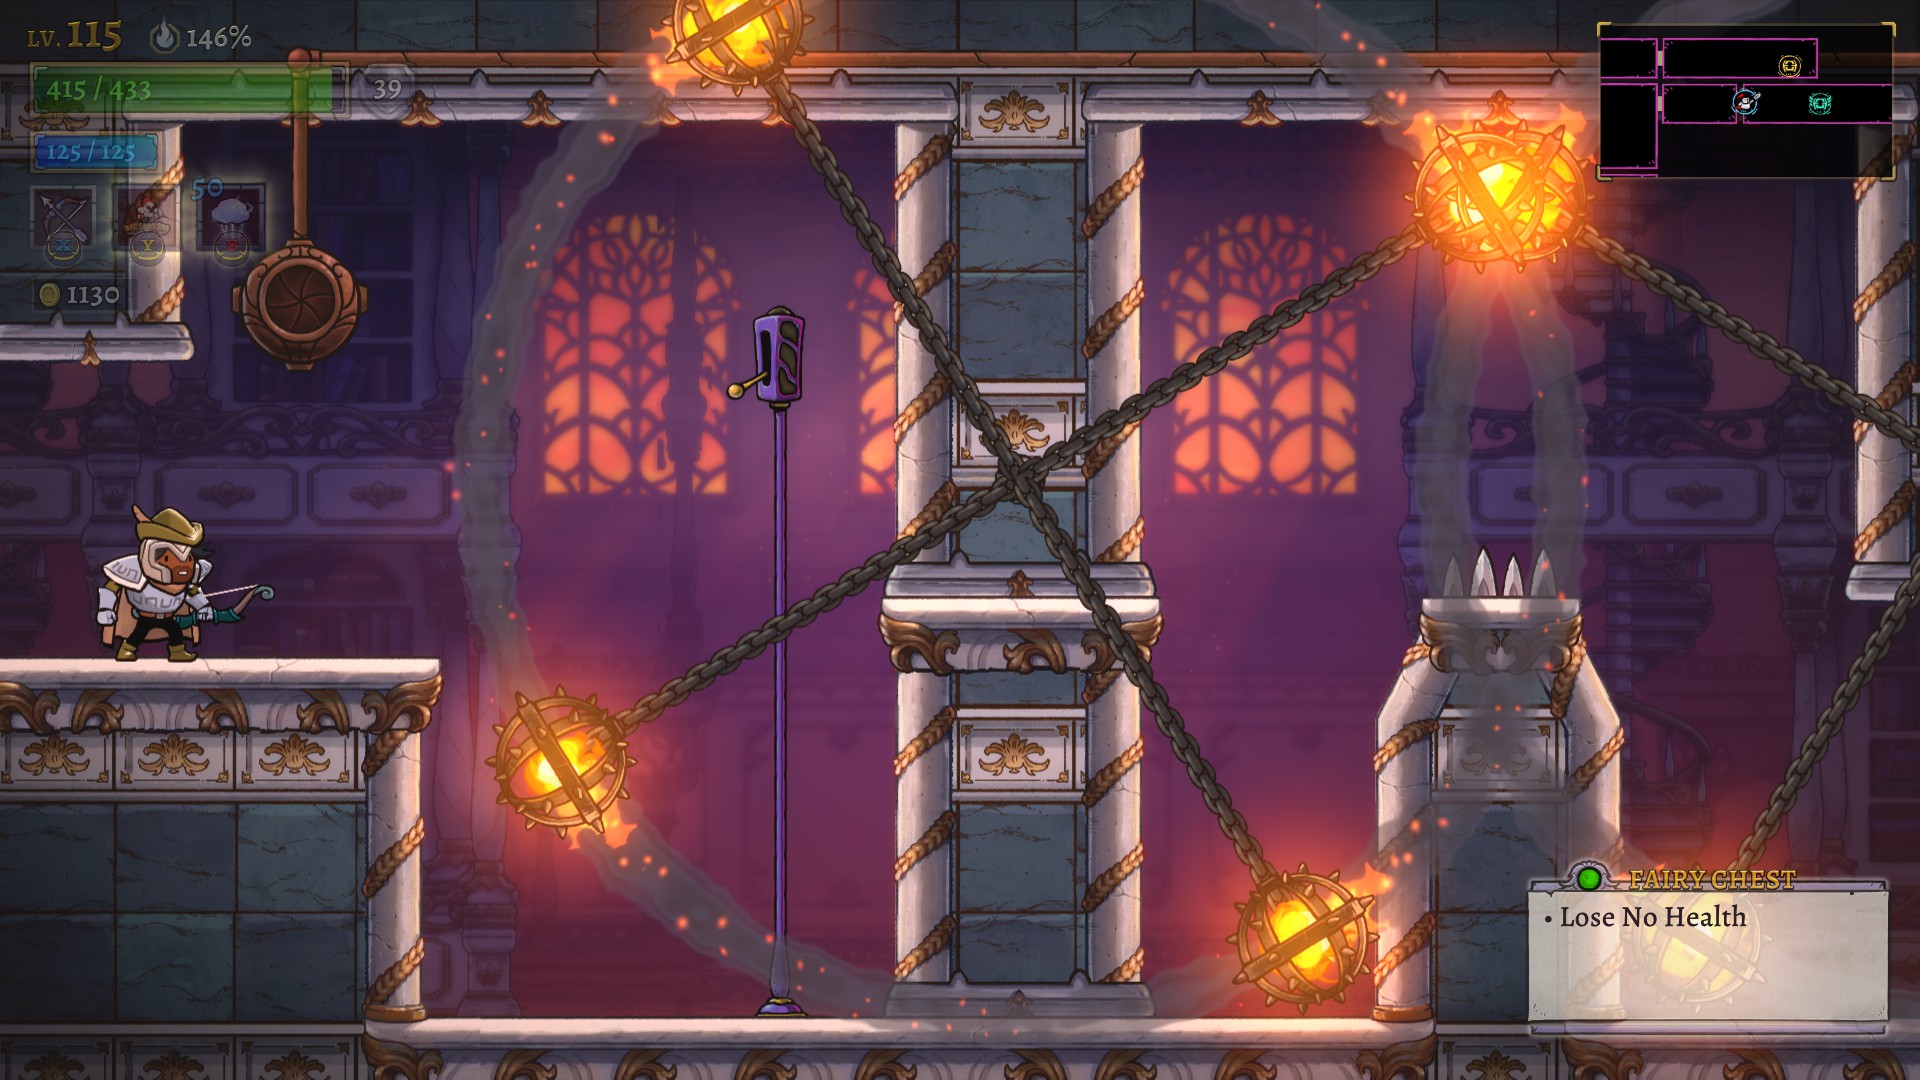
Quadruple Swinging Chainballs:


This challenge might be possible with no heirlooms, but is made a lot easier with at least one double jump.
This challenge requires being pretty good at platforming to time/measure your jumps to avoid the swinging chainballs and spikes.
You have to be careful when activating the challenge as you have to jump in the first swinging chainball's range to reach the lever so you might need to time your move.


LOSE NO HEALTH + other condition
Continuation of the Lose No Health fairy challenges, this time focusing on those that have an additional condition (like "No Dashing") that you have to respect to not fail it.


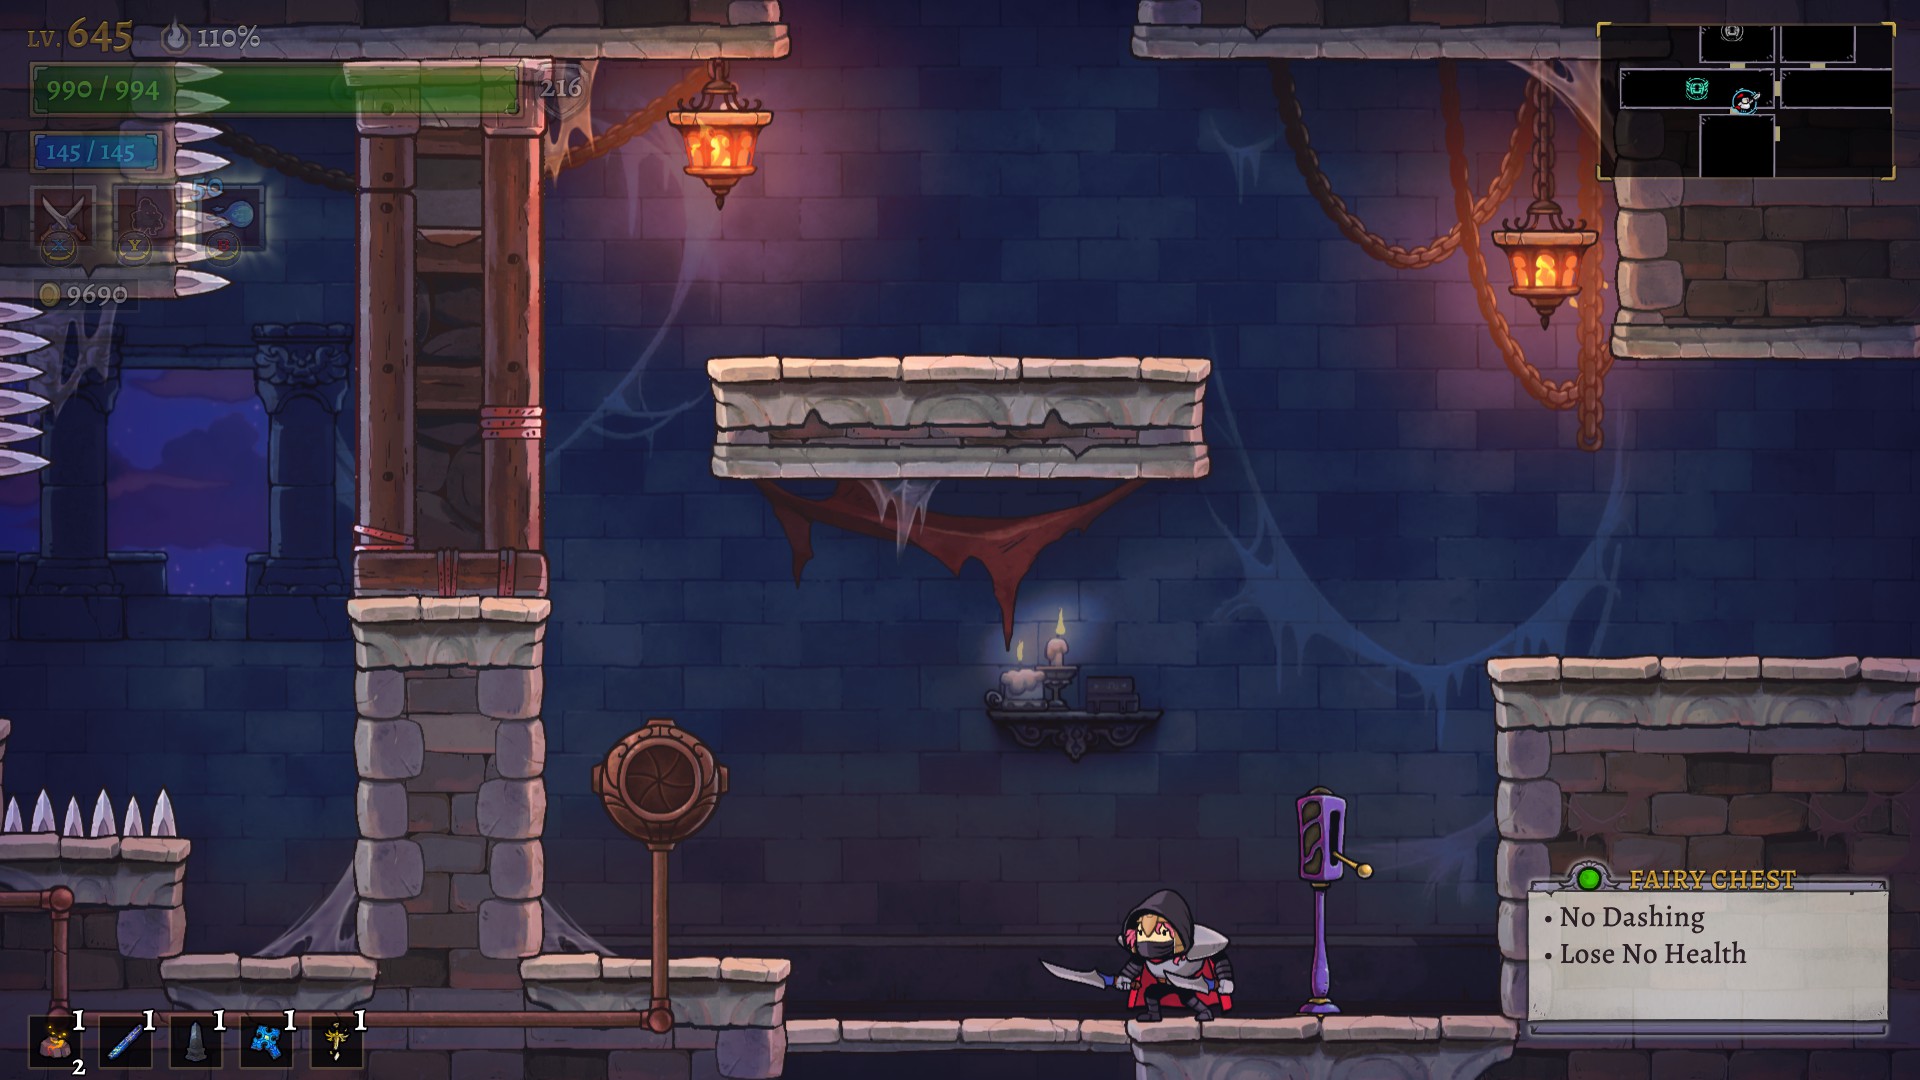
No Dashing (spike walls):


This one is a No Dashing Challenge so you have to think carefully on how to reach the chest using your other movement options.
While simple, all you gotta do is jump while avoiding the spikes, it can prove extremely hard if platforming isn't your forte.
Remember that the duration of your jump button press determines the jump height. Controlling that precisely is the key to clearing this challenge since jumping too high can result in you hitting the spikes.
The Hermes' Boots relic can make this challenge a breeze since it allows you to walk on spikes safely.


Puzzle Challenge (spike pit):


This challenge only requires you to open the chest but comes with a trick part: to open a chest, your character needs to be standing in front of it.
To do so without losing health thus mean you need a way to stand (on the spikes or other platform) without losing health (getting hit, if you can avoid the damage, is fine).
These are all the possible solutions:
- Assassin's Cloak talent allows you to avoid damage and stand on the spikes safely
- Ranger's Ivy Canopy lets you create a platform slightly above the spikes
- Pirate's Pirate Ship create a ridable platform from which you can open the chest
- Duelist's Roll gives you a short window of invulnerability, long enough to safely stand on the spikes
- Astromancer's Comet Form also gives a short invulnerability window when exiting it, long enough to open the chest
- Ronin's Immortal Kotetsu talent gives an even shorter invulnerability as you reappear which requires a better timing
- the Hermes' Boots relic allows you to safely walk on spikes
- the Ambrosia relic, by giving you an extended immunity window after a hit, allows you to get hit in the adjacent room, quickly enter the fairy challenge, activate it, and then open the chest before the invulnerability runs out
- similarly, you can take advantage of the immunity window after taking a hit by hurting yourself using the White Star spell or the Enkindled Gauntlets fabled weapon, and quickly rushing to the chest
- Knight's Shield Block talent, if you manage to get a perfect block while falling on the spikes, will prevent you from taking damage and give you the usual immunity window after getting hit
- On the same principle, the Coeus' Shell and Lotus Stem relics will block any damage but still give you a long enough immunity to open the chest safely
(- technically, the Grave Bell relic also allows the use of this strategy, but require you be one hit away from death, and for the relic to activate which happens randomly)


Defeat All Enemies (small room):


This challenge requires you to kill all the enemies it will spawn before you can open the chest. It will spawn four of them, in a sort of square formation. These enemies are always airborne and chosen randomly among all the possible enemy types of the current biome.
No particular strategy for this one as it depends entirely on your set-up. Several things can help though:
- Barbarian's Winter Shout talent and the Freeze spell which can give you time to react
- the Coeus' Shell and Lotus Stem relics which will block damage if you get hit
- the Wind Wall spell as it will delete all projectiles and knock targets back


Destroy All Targets:


This challenge will spawn 5 targets in a spike-covered alcove for you to destroy. There are plenty of weapons, spells, talents and even relics that can help you do so safely, so many in fact, that I will not list them.
Instead, the video provided shows a simple way that only requires Ananke's Shawl (air dash heirloom).
With enough experience, you'll be able to tell what can and cannot work.


DON'T GET HIT
Clearing these challenges require you to open the chest without ever being hit. Talents or relics blocking damage don't work in this case.


Come back later, I swear I'll have something here.
HIDDEN CHESTS
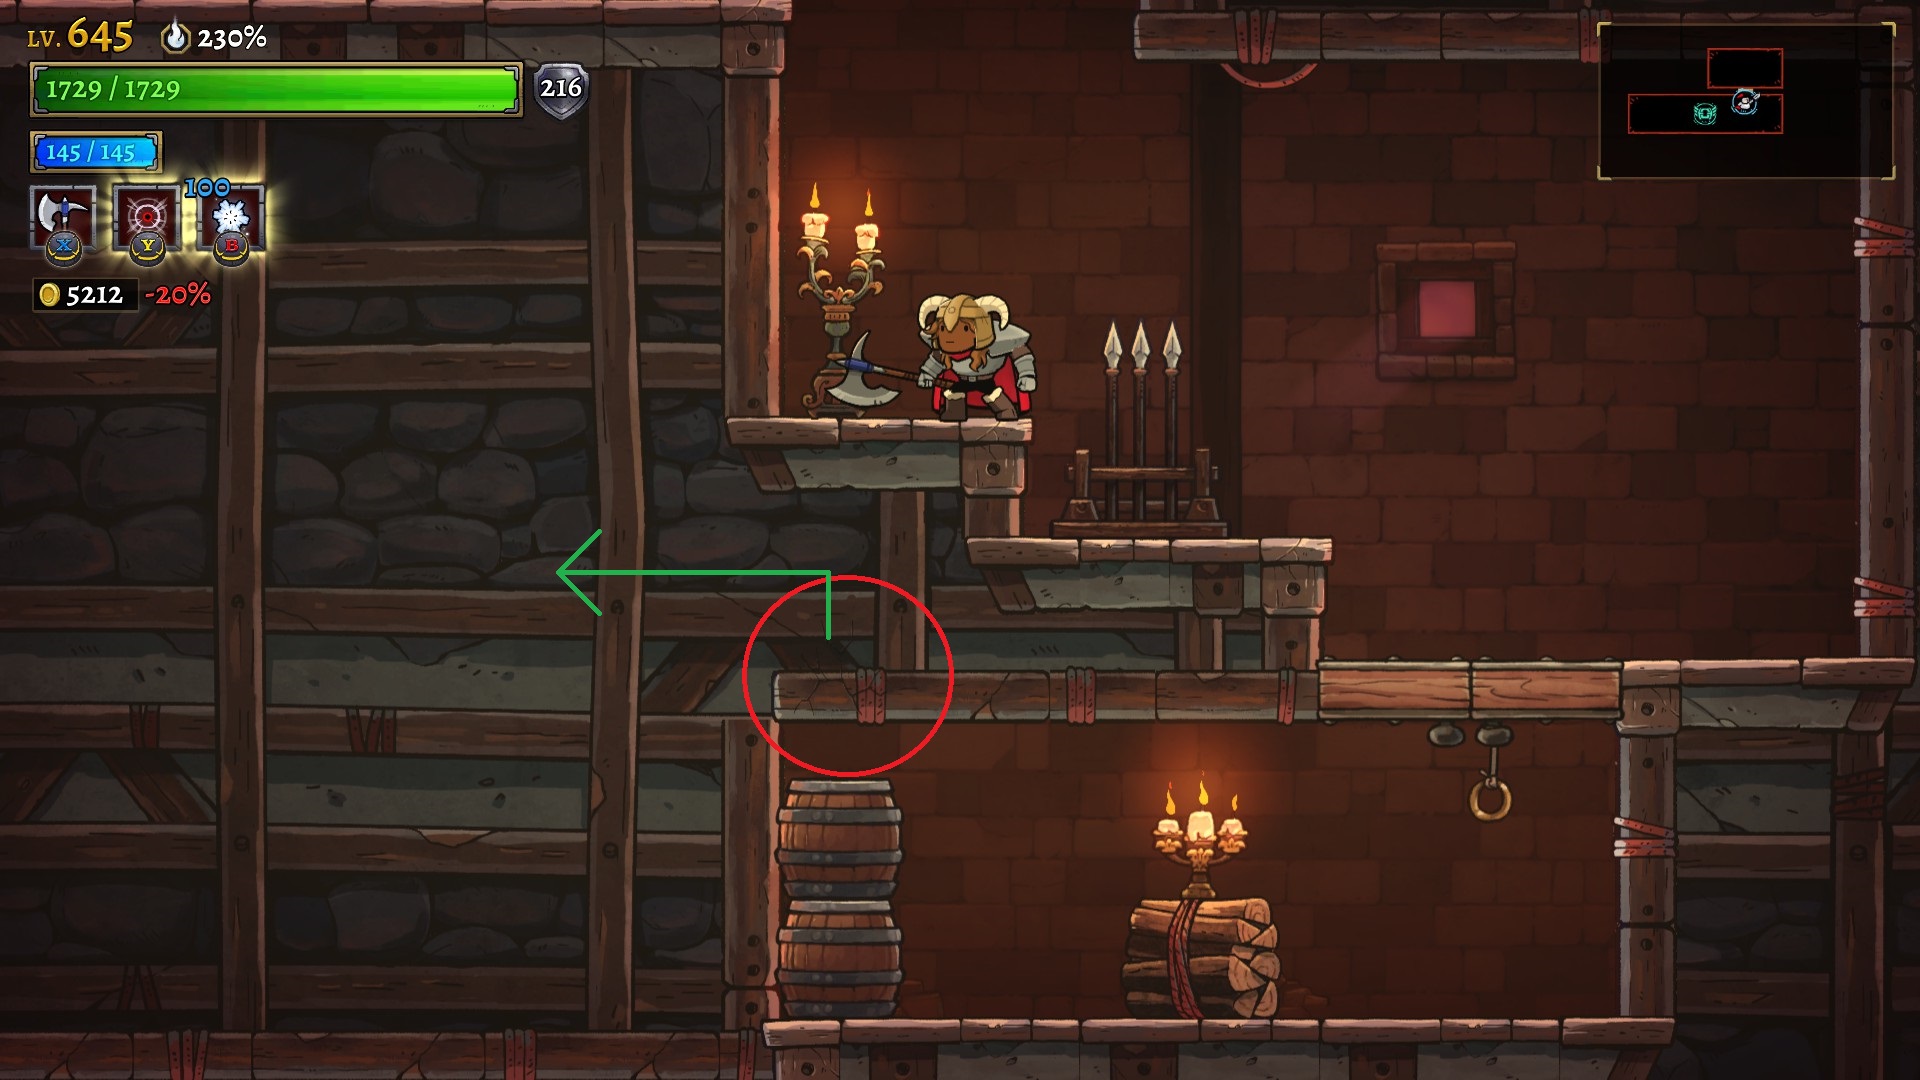
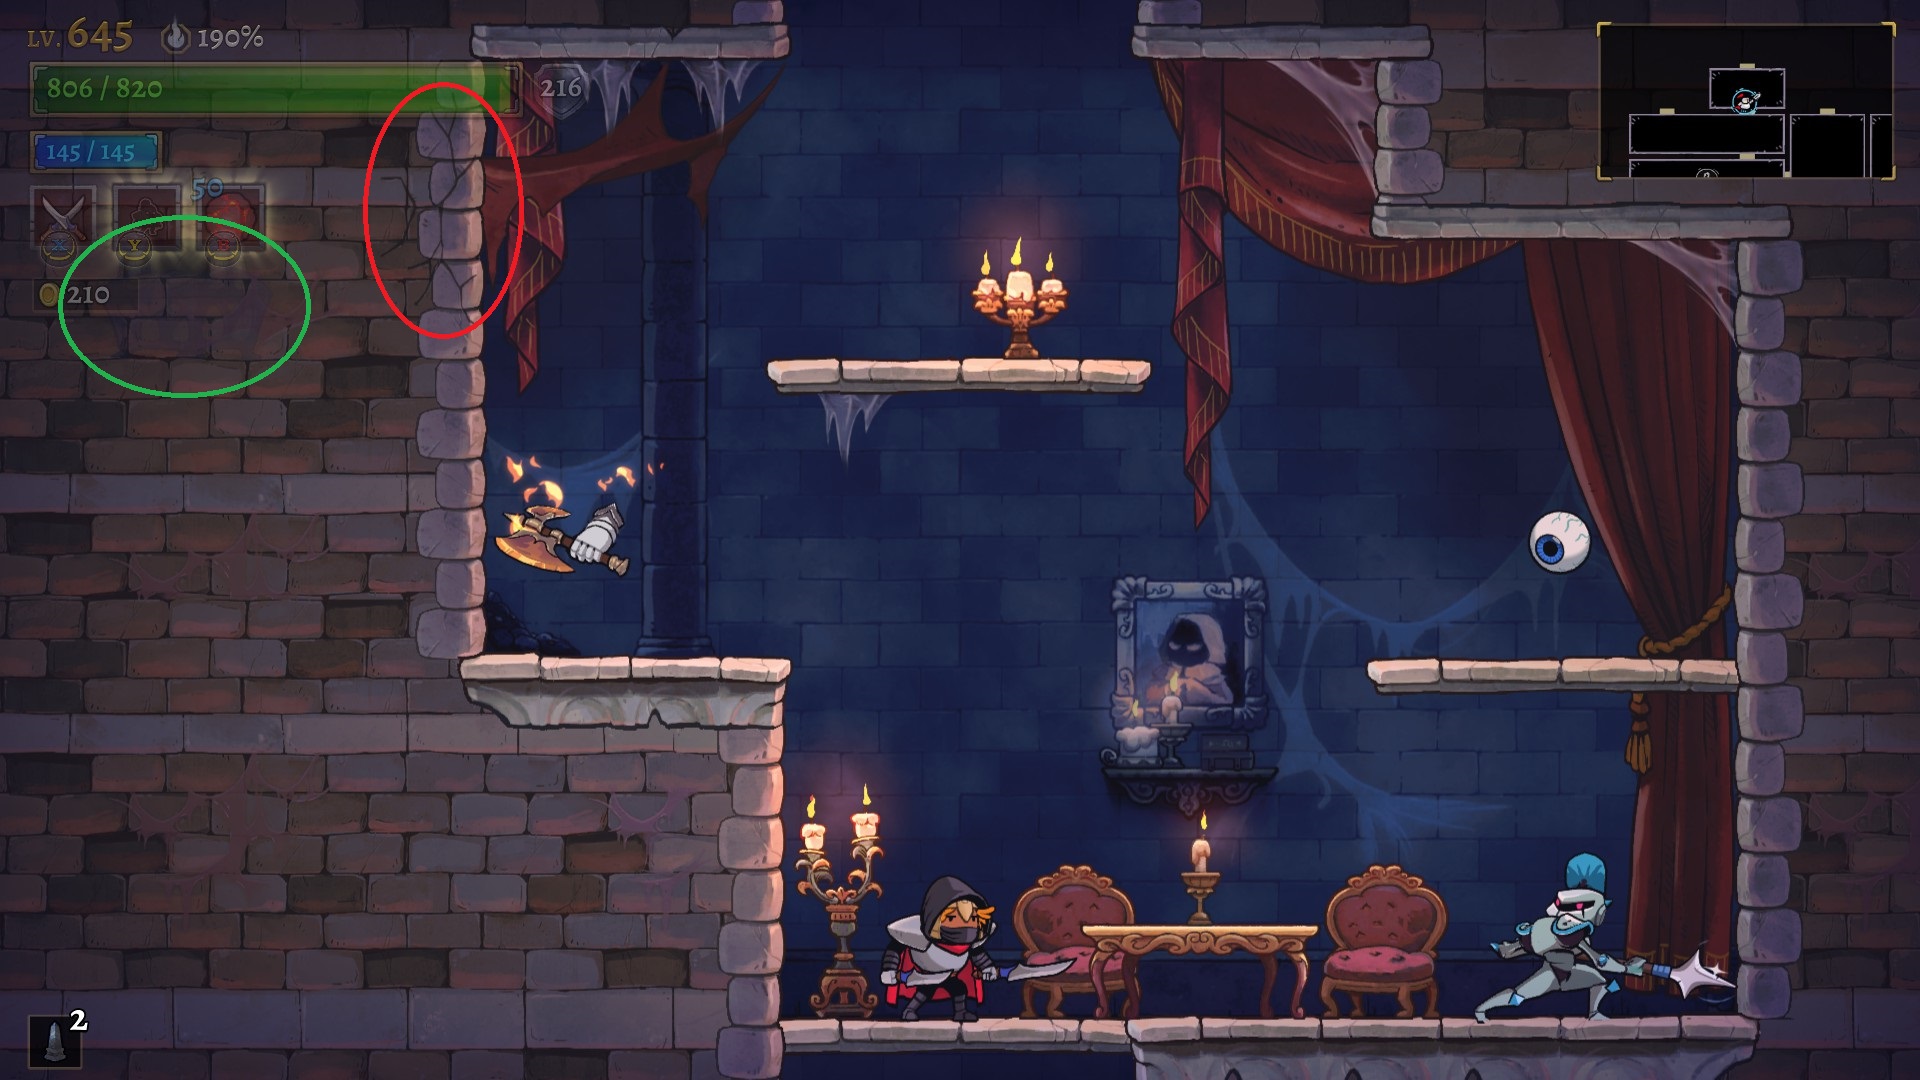
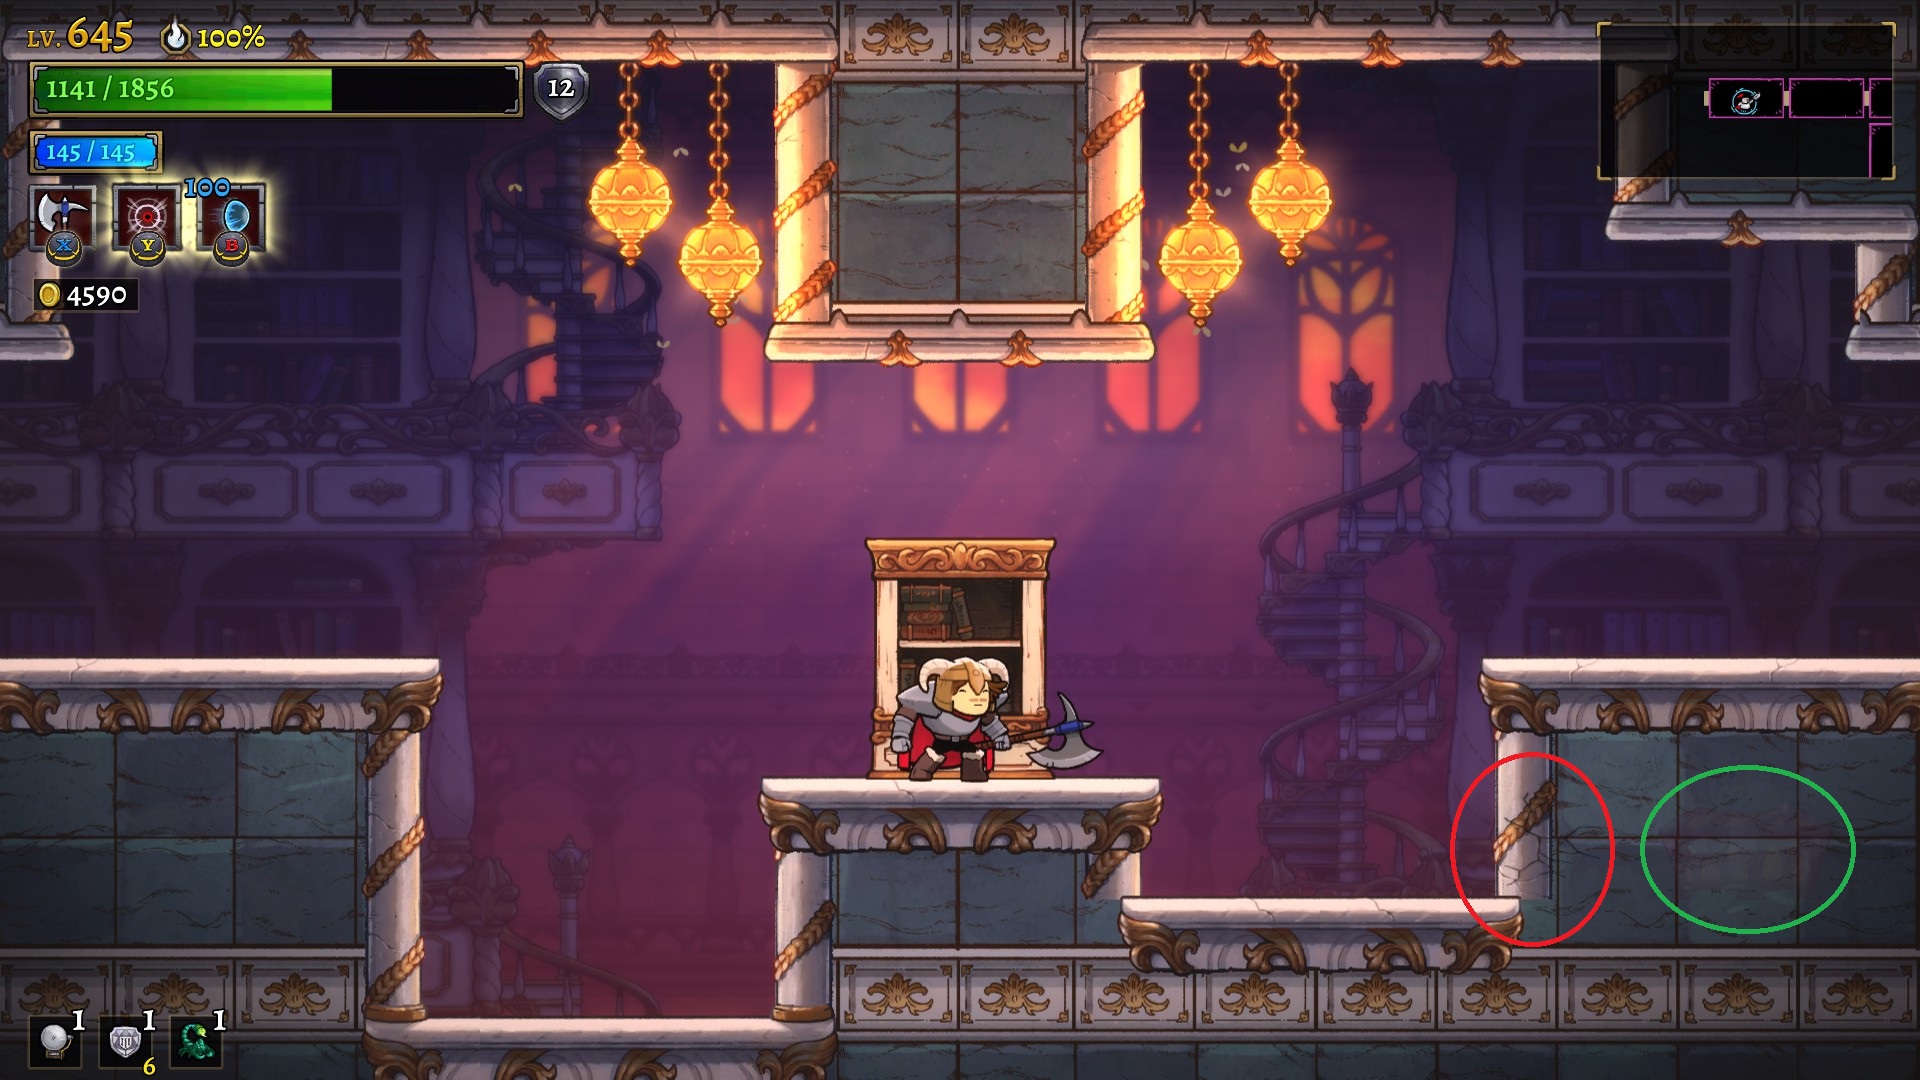
These are the easiest fairy chests of all as the only thing you need to open them is to find them. They're always hidden away behind a trick wall (that you can open using almost any talent or spells and certain relics).
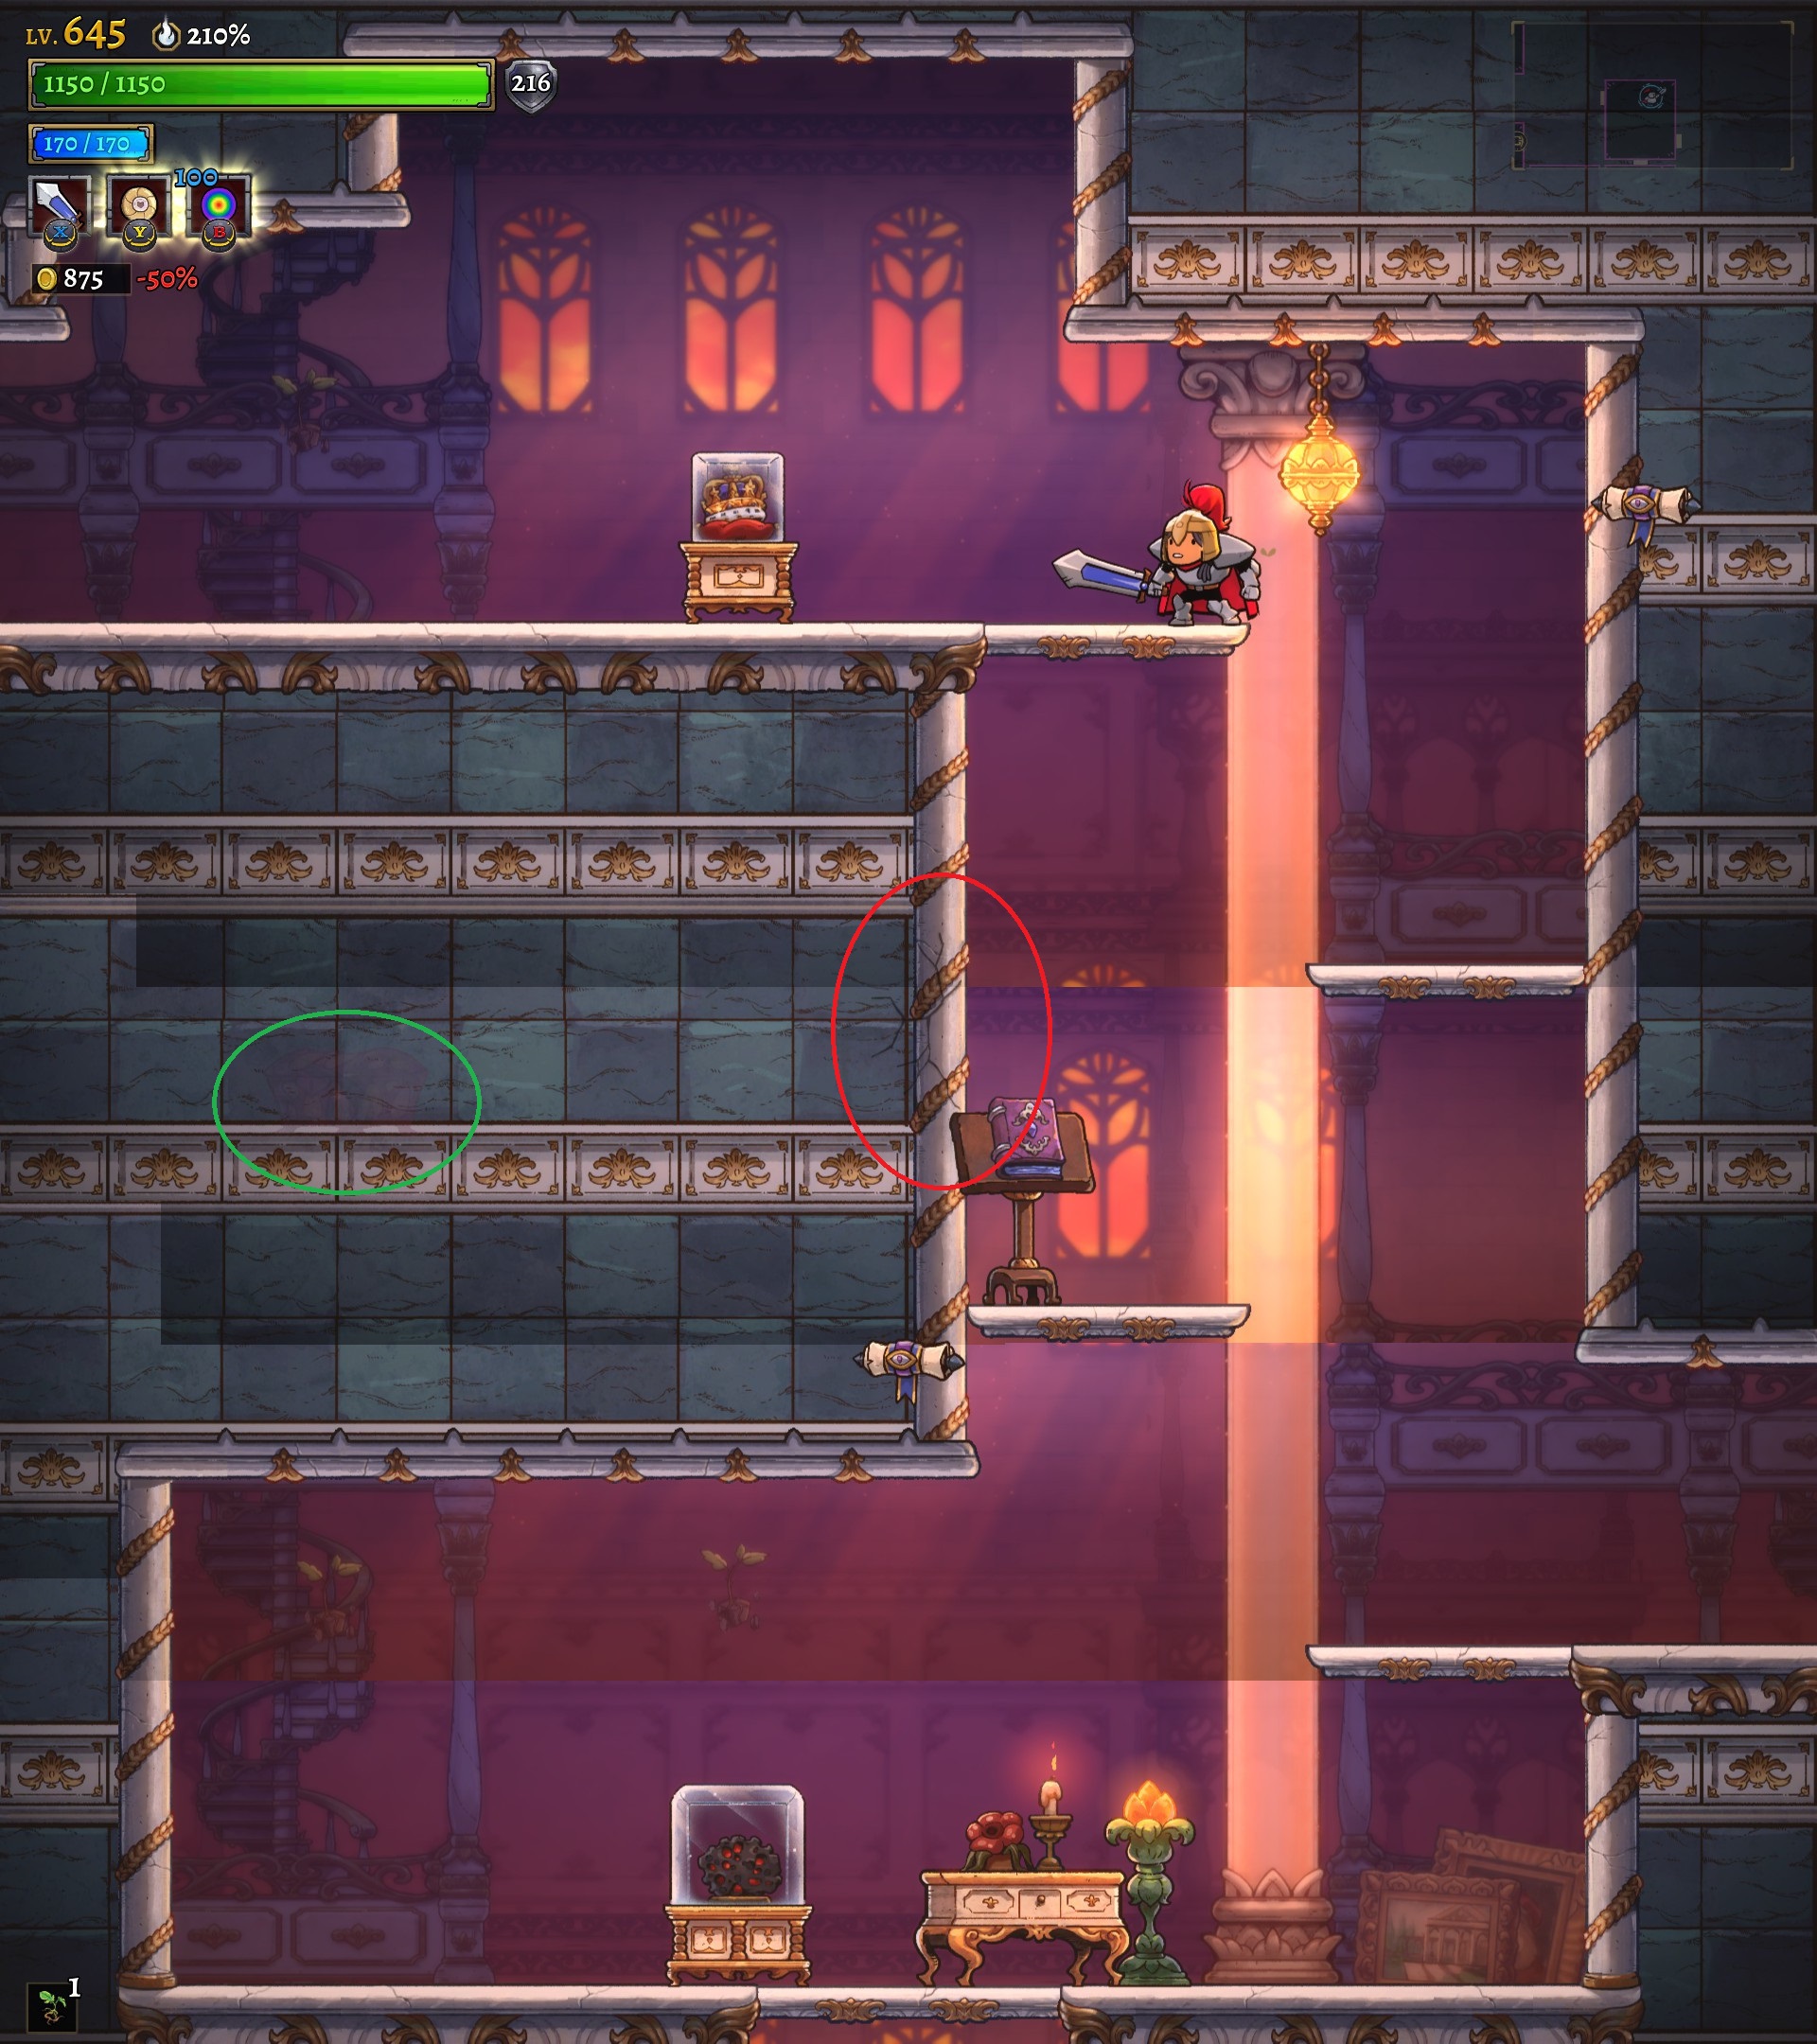
I'll usually show the trick wall circled in red, and the hidden chest circled in green.


This room is a little different as it doesn't hide the chest in a small alcove, but has a big room-sized hidden area:


Before you ask, no, this room has no other known purposes except the hidden fairy chest.
Dwarf character and the use of Ronin's talent can allow you to enter the small house thing in the middle, but still no real point to it.


(the weird artifacts in the picture are due to the room being 2-room tall so I had to combine several screenshots)


misc.
That's 17 challenges and 5 hidden chests so far. Adding them little by little as I come across them. Thanks for your patience.

2022-05-03: +5 challenges
2022-04-30: +1 hidden chest
2022-02-26: +2 challenges and +2 hidden chests
2022-02-23: guide started, 11 challenges and 2 hidden chests
2022-02-25: +4 challenges and +1 hidden chests


A big thank you to Vilks for the various tips!
11 Comments
yams4lunch 18 Nov, 2023 @ 6:29am 
Just wanted to say thanks for the guide, it's really good for reference.
Arkael98 17 Sep, 2022 @ 10:22am 
Ok thanks ! No problem, good luck.
Rhadamante  [author] 15 Sep, 2022 @ 2:25am 
Yeah sorry, I haven't been able to work on the guide for quite some time now. I don't have this one yet but the relics Soul Tether & Weird Mushrooms make it easy. So do the Barbarian, Astromancer and Bard's talents.I think it's possible to clear it with pretty much any class but I don't have a video of it yet, sorry.
Arkael98 14 Sep, 2022 @ 9:10am 
Hey ! What about the "destroy all targets" in a limited time, the room with 3-4 columns of targets and you have to destroy all of them in less than 10 seconds ?
Suneagle 6 Jul, 2022 @ 1:11pm 
Here's a fun fact: if you unlock the difficulty increase for the Study, the periodic attack does not occur in lore rooms or fairy rooms - including the "hidden chest" fairy rooms. So if you go suspiciously long without one, that might be why. It might also work in Pishon, but I haven't tested that.
Suneagle 17 Jun, 2022 @ 2:38pm 
A couple points:
1) There's a "destroy all targets" challenge with 3-4 targets in an alcove blocked by some gold bars. Requires some sort of ranged capability.
2) The "Lose no health (many orbs)" room - and presumably most other target challenges - are much easier with a Soul Tether relic. Just keep an eye on the cooldown.
Rhadamante  [author] 3 May, 2022 @ 3:16am 
Added it
Rhadamante  [author] 3 May, 2022 @ 3:01am 
I think I got this one, I need to add it to the guide
Sorry, with the 2 other guides I was making and the 1.0 release, I haven't been working on this one
dro 2 May, 2022 @ 11:46pm 
There's a really annoying one where you go down a stair like pattern with flame throwers shooting vertically and horizontally.
Rhadamante  [author] 24 Apr, 2022 @ 5:10pm 
Thank you, glad it could help you.