Hypnagogia: Boundless Dreams

Hypnagogia: Boundless Dreams

116 ratings
The (Hopefully) Comprehensive 100% Achievement Guide
By salem
A guide to all 45 achievements in Hypnagogia 無限の夢 Boundless Dreams! I organized it by world, with screenshots to help!
5
2
10
2
   
Award
Favorite
Favorited
Unfavorite
Before You Continue...
I played this game blind, and I feel it would be a disservice to you all to not suggest you do the same. It's a beautiful and lovingly-crafted experience and since there is a level hub unlocked after completion, it is not a chore to replay levels for achievements you may have missed.

This is also an (obvious) SPOILER WARNING for almost everything in the game. I would imagine most people are aware of that, given the nature of the guide, but... still.

Thank You To:

[TSOM] MannOfTheHour

Gator

Jeff Enjoyer


You helped me with the few achievements I was missing! I will mention each of them again in the section in which they helped me. Appreciate y'all a lot :)

⠀⠀⠀⠀⠀⠀⠀⠀⠀⠀⠀⠀⠀⠀
Bird's The Word
Bird's The Word
Gather Hypno's details on the situation


Yes, this one has it's own section. Why, you ask? Apparently, for some users it has not been unlocking properly and, as far as I know, is one of the few missable achievements that can only be done in the story mode.

Unfortunately, I forgot the exact steps I took to unlock it, but I do remember that when Hypno asked if I had any questions, I asked them all.

If you don't want to risk missing this achievement, I recommend taking a look at this guide.
Story Related Achievements
All the achievements in this section will be unlocked if you complete the game once, regardless of what you do or do not find throughout your experience. There should not be a way to miss any of these.

Your First Steps
Enter the portal in nowhere.


Cave Thief
Obtain the first dream shard.


Snake Eyes
Obtain the second dream shard.


Modest Mushrooms
Obtain the third dream shard.


Warm Reunion
Obtain the fourth dream shard.


Space Daze
Obtain the fifth dream shard.


Ethereal Crux
Complete Gogi's dream.


King's Melancholy
Obtain the sixth dream shard.


Ultimate Shopper
Obtain the seventh dream shard.


Ascension
Face your true self.


Shattered No More
Obtain the final dream shard.


What A Long, Strange Trip It's Been
Complete Hypnagogia: Boundless Dreams


Dream Hub Plus
Unlock the Level Select Mode

To unlock this one, you may need to go to the level hub from the main menu after the credits have finished rolling
Cave World
Under New Management
Complete the secret Hell World dream.


Finding the entrance to the secret world in Cave World is fairly straightforward. Progress the level up until you convince Sage Bernard to return to Foreman Fran. Then, instead of taking the minecart back up, jump into the pool of lava located behind him.


Complete this secret level, and you should be rewarded with the achievement!
Mist World
Misty Gallery
Find the secret fanart gallery in Mist World.


To unlock the first of the four fanart galleries, you will first need to complete the level up until you are imbued with the knowledge of the snakes' language. Then, make your way to each of the four corners of the map. Each corner will have a monument to a snake of a different color. In the corner behind each of them, there is a floating object.


(example)


For each of these you collect, the text will say something to the effect of "part of a path has been revealed". Once you collect all four, make your way up to where you talk to Water God Althos. Turn around, and you will see a set of platforms.


Jump across these and walk into the book to access the first gallery and unlock the achievement.


Fish Food
Complete the secret Underwater World dream.


Once you acquire both the red and green vials and bring them to Althos, he will present you with the second dream shard. However, instead of grabbing it, take a look down at the whirlpool again.


Huh. I can't put my finger on it, but something seems... different. There's only one way to investigate something like this. Take a big ole leap of faith and you'll be transported into the Underwater World. Complete it to unlock the achievement.

(Personal note: I found this secret world on my first playthrough and it marked the point that I absolutely fell in love with this game. Huge props to sodaraptor for creating something so beautiful.)
Mushroom World
NOTE: This one is going to require a reset
All of these achievements take place after you acquire the machete and cut down the bamboo trees blocking your path.

Frightful Freckle
Get the jump on Gardener Freckle.


HUGE THANK YOU TO Jeff Enjoyer FOR THEIR HELP WITH THIS ONE!!


On your way to the temple, you should reach a bonfire where you would turn right towards the temple. Instead, turn left and take the path until it reaches an overlook of the village.


From here, jump down and land near Gardener Freckle. You will know if you did it because she will react without any further input.


Vine Shrine
Find the hidden Vineshroom tribute.


Once you reach the temple, instead of interacting with the door, jump on top of it and go to the back right corner. If you look down you should see a small cluster of trees (they are in the direct center of the following screenshot)


If you walk into them, it will take you through a short tunnel and out to a single hut. You should receive the achievement upon entering, but if not, interact with Vineshroom.


Tsundoore
Charm the Weird Door in Mushroom World.


If this achievement is unlocked, Door-zoned cannot be unlocked in the same run, and vice versa. You will need to reset the level for this, sorry.

All this requires is a specific set of dialogue. Choose the following responses:

(for the last response, you can read the other ones without ruining this one, you just have to wake them up again)


Door-zoned
Get denied by the Weird Door in Mushroom World.


For this one, you'll just want to relentlessly flirt with Weird Door until you become too weird for them.


Pun-shroom
Listen to all of Advisor Mung's bad jokes.


HUGE THANK YOU TO [TSOM] MannOfTheHour FOR THEIR HELP WITH THIS ONE!!


After either opening the door or getting door-zoned (in which case you are down astronomically bad), return to where the bonfire was. Here, you'll find Advisor Mung. He's who will give you the solution to Weird Door's riddle, but he will also be there if you managed to woo them. Regardless, you will want to keep talking to him and hearing his Funny Jokes until the achievement unlocks.
Mushroom World (cont.)
I was afraid of running out of room in the previous section, which is what ended up happening. Sorry, but this is still the same world, and requires nothing else in terms of gameplay, steam just cut me off :(


The Ancient Update
All the achievements associated with the Ancient Update, which are located in the secret world, are able to be acquired after all other achievements in the section, so there is no need to worry about missing them.

After opening the door to the ancient temple and retrieving the inactive dream shard, you will hear the sound of a pillar falling (you should be able to see it as well).

Jump up through here and fall down the hole to access the secret world.


Labyrinth Atlas
Obtain the optional dungeon map


After you first meet Thera and retrieve the silver key, open the locked gate but do not enter. Speak with her again and once she asks if you would like the map she found, answer "Give it!". She will then ask a riddle, which you actually have to answer, rather than flirting your way through. The answer is highlighted in the screenshot (58234).


Get Quackin'
Obtain the hidden Duck Bomb upgrade.


Proceed with the level as normal until you reach the section with the waterfall that has you platform up to the top.


Enter the section as normal, but instead of grappling to this hook, drop down the ledge and turn around. Walk down the short ledge and down and to your immediate right should be a bombable wall.


The timing on this is a bit tricky. You have to drop a bomb, let it cook for a second, then pick it back up and toss it towards the wall. It may take a few tries (it took me an embarrassing amount), but it is possible, I promise. After the wall is bombed, jump from the ledge into the cave. You will walk around the corner and then bomb the ceiling (Just drop a bomb, then pick it up and hold it up). Grapple up through the newly-created hole, then the chest with the Duck Bombs should be awaiting you.


Forest Gallery
Find the secret fanart gallery in Forest World


After you have placed all four orbs, you will be instructed to find the Prismatic Ring. Backtrack towards the beginning of the level and retrieve it from the chest, but make note of the path that continues to lead back. That is where the gallery is (you should have seen the locked gate when you first entered the secret world).

Enter the tree and begin to make your way through it. For those who don't want to take a screenshot of the instructions or attempt to commit them to memory, here are the paths in order.

^ > ^ > o < ^ < < v < ^ ^ > > ^

After the first four splits, you will reach a room with a waterfall.


Speak with the fairy. Say that you are lost, then lean in closer (and then again), then reply "n-no" when they ask if you have lost something. A chest should spawn up and to the right of the waterfall. Retrieve the key, then make your way back out of the tree, from whence you came. I just purposefully picked the wrong doors until I found the room with the plaque again, then went out the "v" door. Make your way back to the chest where you acquired the Prismatic Ring.


Continue on back from here, and enter the locked gate. This is the fanart gallery! From here, you should be able to go back to the waterfall without needing to walk all the way back through the level. From the waterfall, you will bomb a wall and then take the paths as follows:

o < ^ < < v < ^ ^ > > ^


Written In Stone
Deliver the Prismatic Ring


I really don't want to spoil the ending of this, so I will hopefully give instructions that make it clear without sacrificing how neat it is. The final dialogue is what should unlock this achievement, as well as "Gather No Moss". The top option unlocks this one. IT WILL MOST LIKELY REQUIRE PLAYING THROUGH THE LEVEL TWICE TO GET THE NEXT ACHIEVEMENT AFTER THIS ONE. They are both tied to endings, so just be aware of that.


Gather No Moss
Escape the temple alone.


This is also tied to the final dialogue, but this is the bottom option instead of the top one.


Snow World
For this world, do everything in the snow area before you complete the secret world, because if not, you will need to reset the level. I would also recommend doing All You Need Is Love before acquiring the quest to find the dog, as the completion of that quest locks you out of this achievement.

All You Need Is Love
Find and hug all 6 shivering settlers in Ice World.


This one is probably the hardest one to explain without video, but I will do my best. The first two are relatively easy to find. Jump down until you reach the traffic light, and look to your right. There should be a ledge to jump up onto nestled against the wall (in the screenshot, it is in between the two streetlamps on the right).
Jump up onto it and follow it until you reach the first Settler. Once you warm them up, look across the street. You should see another fenced roof, and that is where the second Settler will be.
Continue on. Before you reach the frozen-over lake, enter the hollowed-out building to your right. Settler #3 will be there.
After you hug them, go around the corner. Before you reach the two children having a snowball fight, enter the hollowed-out building on the left. There's Settler #4.
Past this building, but before the final one, look to your left again. There should be a small portion of a building jutting out of both the ground and the wall. Jump on the car, then the truck, then onto the roof. Settler #5 is there.
Do not jump off this roof yet. The 6th Settler is on the second floor of the final building where the quest to find the lost dog is acquired. From the corner of the roof you're standing on, jump onto the fence. Then, walk to the ledge of the building and make your way into the second floor. The final Settler is waiting in the back corner.


Friendly Encounter
Pet the dog in Ice World.


If you didn't get this on your first playthrough, I am giving you the most disappointed look imaginable right now.


Winter Memories
Help the hidden Snow Child reassemble Mr. Snowman.


After rescuing Biscuit, leave the cave but do not jump down. You should see a small ledge to your left.
Follow this until you reach a cave. The child will want your assistance in building a snowman, so you need to find a head for him and a carrot for his nose. These are both located in this small cave. The head is on the right side and the carrot is on the left.


Desert Gallery
Find the secret fanart gallery in Desert World.


There are three achievements located in the Desert World, including the one for completion. To reach the desert world, make your way to the cave where you rescued the dog, and jump down onto the first building, then cross to the other, using the streetlamp as a bridge.
Continue along the ledge and you should see a wall that looks pretty fake.
Walk through it and stare deeper into the small monument located within to enter the Desert World.

To find the Desert Gallery, a key is needed. To locate this key, exit the cave you started in and make your way to the opposite corner of the map (You'll know you are at the right point if there is a purple monument there). From there, you should see a row of stone arches.
Walk through them and immediately inside the building should be the chest. Retrieve the key.
From here, turn right and walk out past the couch with the Napping Wanderer on it. If you look across the path, you will see a building. Walk alongside the path until you reach the arches.
Cross the path, jump onto the ledges on the left side of the building and use the key on the door to access the gallery.


One Last Ride
Ride the Strider before leaving Desert World.


After the monuments are activated and the Desert World begins its shift from Hot to... Not, talk to Trainer Val and ride the strider and recieve this achievement.


Shifting Sands
Complete the secret Desert World dream.


Finish the Desert World dream.
Space World
Callous Penchant
Press the Shapezoid's mysterious red button


As you make your way through this dream, you will come across a T-shaped intersection, the way forward being blocked by a locked door.

Go left first and speak with the Shapezoid. He makes some pretty interesting inferences and tells you to come back later. Return to the intersection and continue with the level until you have to come back through the previously-locked door. Speak with the Shapezoid again. Press The Button. Do It. Press It. It's A Big Red Button C'mon Dude You Know You Want To.
Haunted World
School's Out
Complete the secret School World dream.


There is two different entrances to this secret dream, both of which are before entering the mansion.

The first entrance is in the graveyard. If you go to the back left of the graveyard, there should be an open grave. Jump down it.

The other entrance is on the path leading to the mansion, so you'll want to get the key from Groundsman Grady. You can't really miss the well, but here's a screenshot if you were staring at the right wall the entire way up to the mansion.


School Gallery
Find the secret fanart gallery in School World.


The picture for this one's a pretty good hint. If you interact with the vending machine when you first see it, not much will happen. Continue until you get the absolutely terrible flashlight from the Utility Room. Go back to the vending machine and interact with it. If that doesn't work, either try interacting again or walk back up and into the room with the broken light, then back to the vending machine. Once you have the key from the vending machine, return to the double doors leading back where you came from.
Turn left past here and you will find the Principal's office, and inside the 3rd fanart gallery.

UPDATE: I was watching some people play this game on youtube and after watching SimpleFlips' video where he unlocked this gallery, it appears an easier way to do this is to just repeatedly interact with the vending machine when you first see it to drop the key.


Mansion Gallery
Find the secret fanart gallery in Haunted World.


Continue the level as normal until you get into the library. Talk to the ghost and then wait until you hear a distinct sound of something dropping. Go to where the ghost disappeared and it's our lucky day! They pooped out a key before ascending to The Great Void!

With this key in hand, return to the main room of the castle and use it on the locked door which I mistakenly opened before screenshotting, sorry :(


Grimthorn's Shadow
Read all 5 chapters of The Rapture of Grimthorn.


Page 1 is on the table in the room with the INSANELY LOUD clock
Page 2 is in the room with the ghost banging their head on the desk (you have to talk to them twice)
Page 3 is in the opposite room, on the end table
Page 4 is in the library, from the door go all the way back and to the left, it's on a desk.
Page 5 is on the left side of the elevator, in the corner.


Greedy Sweets
Complete the secret Candy World dream.


After you meet some new friends and take the elevator back up, you'll return Ghost King's freakishly large heart to it's bony vessel. Once you do so, you'll notice the painting above him change.
Use Ghost King as a stepping stool to reach it (it's okay, he's just a skeleton with a big heart so he can't feel physical pain).


Yeow!
Find the hidden meat.


So, for this one, we need to get into the basement of the castle again (y'know, where the elevator was). Head down the path and approach the castle.


It's pretty heavily fortified, so we'll need to look for another way in. Head to either the right or left and make your way around to the back to the secret entrance.


We just need to approach this pile of trash and interact with it to reveal the tunnel in. Do so.


Oh. Welp. Nevermind.
Mall World
You Weren't Careful
Clip out of reality


This one's pretty much at the start. After "Gogi" runs away, go to the diamond in the center of the room. Turn right and walk down the hall and through the wall.


Games Galore
Find the secret arcade in Mall World.


Once you manage to clip back into reality, head to Merrils. Near the exit behind one of the big pillars is a lever.
Flip it and head back towards the big ole globe.
The arcade should now be open.


Mall Gallery
Find the secret fanart gallery in Mall World.


Head back to Merrils and up to the second floor. Turn left at the top of the escalators and move towards the counter. You'll see a tastefully distressed hand-stained 1 of 2 t-shirt, and beside that should be another lever.
Pull that bad boy and head back out towards the globe. The last store on your right is the gallery.
Tower World
Spraytagged
Find the secret fanart graffiti in Tower World.

HUGE THANK YOU TO Gator FOR THEIR HELP WITH THIS ONE!!!


This secret is on the second tower you climb, near the top. Here is where you'll want to drop down.
The easiest way to know is to look down and, if it doesn't look like the top layer of lasagna, it's probably it. Another metric I use is if you jump past this and see the platforms for the next tower around the corner (like the following screenshot), you were at the correct spot.
Dream Hub
Showcase
Find the secret game model gallery.


This is last in the guide because ideally, it should be the last achievement you do. There is spoilers for pretty much everything in the showcase so I would only access it if you both have every other achievement and are satisifed with the amount of exploring you've done.
Go up to the cave world platform.
Behind it is a set of barely visible platforms that you have to jump across. Falling will give you a slightly better look at them.
Those are not lighting artifacts across the middle of the screen. Those are the platforms.
Conclusion
This is the first time I have ever attempted writing a guide like this, and although it took a good bit of my day, it was really fun to do. I got to play some more Hypnagogia and enjoy a lot of the beautiful levels again, which was a major plus, and I'm filled with the hope that this will be of some use to someone.

Naturally, since this is my first time writing something like this, I do not expect it to be without flaw. If there's something you see that is either lacking in information or is just plain wrong, please don't hesitate to let me know!

I'd like to give a thank you to everyone that worked on this game, there wasn't a single part of it that I felt was lacking. Honestly, I stumbled across this game randomly while browsing tags on the steam store and bought it on a sort of whim, and I don't think I've ever been happier with an impulse buy.

Thanks for reading and have a great day!

29 Comments
Mad Catter 28 Apr @ 10:05pm 
omg how tf do i get on the roof in snow world like there’s so much space between the fence and roof???
ashley 25 Jan @ 7:46am 
ty. good guide! :smile:
commonmash 18 Jan @ 9:16am 
good guide, helped lots
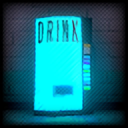
- with the key in the soda machine, you just have to spam the button 3 times
- with the listen to the vulture guy, you have to listen to everything he says just once without asking him to repeat until you get the option to say "you're ready" and that triggers it
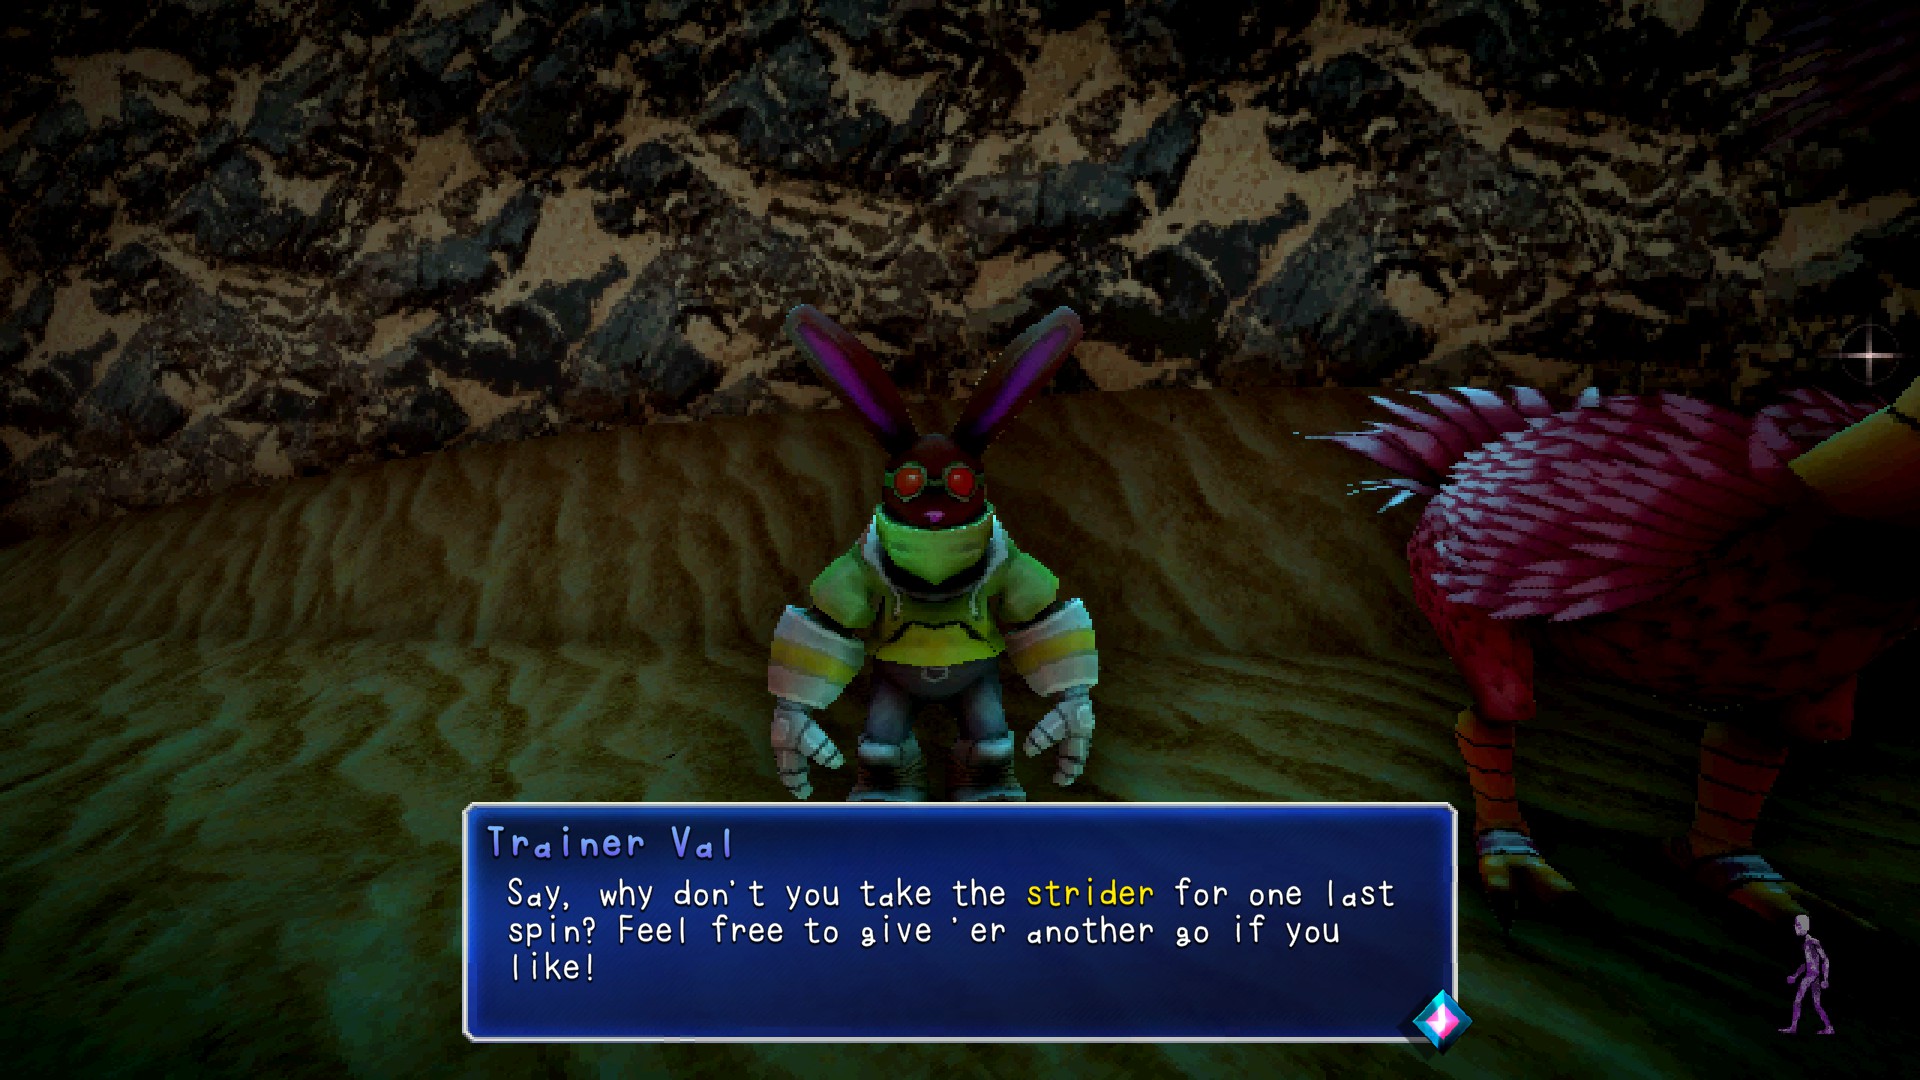
- I had one last ride glitch out, if it's not giving you the achievement just kind of jiggle and fidget around where the guy that gives out the striders and striders are, I think there's a trigger there
salem  [author] 27 Mar, 2024 @ 9:07pm 
that one and another set in the mushroom world both require a reset of the level
GearsRock 27 Mar, 2024 @ 4:37pm 
I don't want to know what will happen next, looking at the guide, tell me, Written In Stone and Gather No Moss are the only achievements that cannot be obtained in one playthrough? I want to replay it before it's too late to complete the game at 100%
salem  [author] 10 Nov, 2023 @ 8:31pm 
appreciate it, thank you :)
NightOwl Royal 7 Nov, 2023 @ 9:49pm 
I did all the achievements blind but what a time saver it would have been if I saw this. This guide was very well put together. You provided just about all the necessary screenshots someone could need.
salem  [author] 28 Oct, 2023 @ 10:05pm 
sorry, poor wording choice. i meant resetting the level, yes. didnt know you could do spraytagged that way though, thats kinda fun
Anxiety 25 Jul, 2023 @ 3:31pm 
Great guide for a great game, thank you! My heart is broken.
//heaven? 3 Jan, 2023 @ 2:47pm 
One of the few cases where 98% of completed achievements are better than 100%. My heart just won't let me to complete "Gather No Moss"