Abandon Ship

Abandon Ship

Not enough ratings
How to get the Fireblade Achievement
By BeardedS0ul
Guide on how to acquire the visual blueprint of the legendary Fireblade and earn
The Fireblade achievement.
2
   
Award
Favorite
Favorited
Unfavorite
Intro

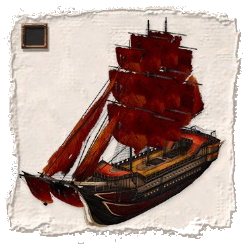
The Fireblade only spawns in Combat Campaign 2: Blade of the Assassin.

To get the Fireblade blueprint, you have to kill all of its crew without sinking the ship.

You’ll only get the blueprint if your own ship is of equal or large size than the conquered ship.

Now this is the main issue as we start with a Warship and the Fireblade is a Man O’ war.


Our goal is to make a ship/crew build that can take out The Fireblade crew without sinking the ship, while still getting enough gold to upgrade our own ship to a Man O’ War.

Campaign Basics and Preparations
Choose Combat Campaign 2: Blade of the Assassin

The campaign is built around 10 encounters, with The Fireblade being the final fight.
Depending on your speed and skill It will take between 30 minutes to an hour per attempt.

There is no saving during this campaign so you'll have to do it in a single playthrough.

To make it easier for yourself, set the difficulty to Casual, as this will not only make battles easier, but every fight will reward you with more gold as well, which is the important part.

Our strategy will be a crew killer/preoccupied build.

  • We start with 450 gold and a crew of 5 on a Warship.
  • Starting weapon loadout is a set of 4 Cannons, a Grapeshot and a Chainshot
  • For upgrades we have a Basic Crow’s Nest, Water Pumps and a Winch.

First Review Your Ship and Crew:
Edit your Weapon Layout, under Ship Management and switch it to the Strike-Layout.

We won't be using our starboard side (bottom of your screen) or use any weapon slots on this side throughout the campaign).

Visit the docks:

Under Weapons and repair:
  • Sell all 4 sets of Cannons.
  • Sell the Grapeshot.
  • Sell the Chainshot.
  • Now buy 1x Sniper (main damage).
  • Buy 1x Lightning Gun (stun/low damage).
  • Buy a Ship Smasher (Brace for Impact test and preoccupies the crew).
  • Buy a Time Bomb Mortar (preoccupy crew with defusing the bombs).

Upgrade and Supplies:
  • Sell your Basic Crow’s Nest, vision is highly overrated.
  • Sell the Water Pumps.

Remember to keep the Winch.

  • Buy the Automatic Water Pumps (With these we can go through the whole campaign without ever having to deal with water or hull cracks).

Go to the Tavern Quarters:
  • Buy a Gunner (if you're have a hard time getting enough gold, you can pick a sometimes cheaper option of a Marine.)
Combat and Strategy
Now sail To Battle:
Our main goal in every battle is to kill the crew without sinking or destroying their ship or fort. As this gives more gold than winning by destruction, as less is lost to the sea.

Till we get the full build up and running the best choice is to move closer and board the enemy.

When in melee, remember to focus down targets and pull out your low health crew member, as getting a negative trait or in the worst case losing a crew member will be detrimental to your performance and gold chest.

High Priority Targets:
  • Crew on Sniper, Berserk Gun, Web Gun, Acid Bomb Mortar, Ship Smasher and Time Bomb Mortar, anything that preoccupy our crew with other task.
  • Any crew on the wheel, If your aim is to get closer for vision or just to get into boarding range. When nobody is on the wheel you close the distance fast. This applies to our ship as well.
    The Lightning Guns stun is made for this.
  • Crew trying to winch a crew mate back onboard, again the lightning gun works great here.
  • Captain for the crew-wide bonus he gives to skills.
  • Melee if you want to board, don’t board before we outnumber our enemy and be wary of Anti-Boarding Spikes.

I personally take my snipers and lighting guns off autofire for the first 1-3 kills, so I can burst fire an enemy down and then switch them over to autofire later, when the enemy crew is overwhelmed.

For the Mortars, I aim the timebomb at the wheel as it's in the rear and takes longer to get to and often it is the navigator on the wheel that tries to disarm it.
With the ship smasher I normally aim it on a crew manning a high priority weapon, but this is up to you and your playstyle.

We want our enemies to be off their weapons as much as possible, while we whittle them down. As any damage we receive has to be repaired at a gold cost, and we want to have as much gold as we can.

Because we only care about killing the crew, dealing hull damage is of no importance.
Therefore I highly recommend to never use Ramming, especially vs a ship with spikes, as this will only up our repair cost.

Remember you can pause the game (Spacebar) to plan your course of action.

Most things in the fight are static, such as ship type, crew size and map modifiers.
But every fight can roll a different weapon loadout, making the fight either easier or much harder.

1. Twin Brothers
Map Modifier: A Fort is bombarding us throughout the fight.
Crew Size: 5.
WoI (Weapon of interest): - (Loadout is random but often in a specific category, these are just a hint of what you might meet in your game.
Note: Has no winch, overboard is a death sentence.

  • Move your crew into their best suited roles and save their position, for quick return to these spots.
    Main focus is to have your gunners on Sniper and Lighting Gun.
    I prefer to have the sailor as our +1 for his faster repair.
  • Set your range to move into boarding range.
  • Shoot the guy on the wheel with your sniper and lightning gun to accomplish this.
  • Board and kill whomever is still alive

Crew positions.

Intermission:
  • No port visit, we only visit the port twice after setting out.
  • We'll visit the port after the 2nd fight and again after the 9th fight.
  • We'll end the game with +3 spare port visits, use one if in desperate need of repair. But using to much gold on repairs will mean you can end up with insufficient gold to buy the Man O' War in the end.
2. Fort of the Second Brother
Map Modifier: -
Crew Size: 3.
WoI: Mega-Mortar: which temporarily freezes your ships movement.
Note: It's a fort fight, easiest fight in the Campaign.

  • Set your range to move into boarding range.
  • Aim every weapon you have at a single target.
  • Board and reap your reward.

Intermission:
  • Sail to the nearest port
  • Buy 1x sniper
  • Buy 1x Lightning gun
  • Repair if its heavily needed, you shouldn’t have lost much more than ⅓ of your ships HP currently (these first two mission will likely give you more damage then the rest combined, depending on how well you play).

Visit the tavern
  • Buy a Gunner more.
  • If you have the gold for it then buy a Marine as well (if not then make a bonus visit after next fight and buy a crewmember more).

This will be our crew and weapons for the rest of the game.

So now we just have to gather enough gold to upgrade our ship to a Man O’ War

3. Spiky Rocks Everywhere
Map Modifier: Spiky rocks appear at times, which forces you to stay in your lane till they’re gone. A non-issue.
Crew Size: 5.
WoI: -
Note: Has no winch, overboard is a death sentence.

  • Move your new crew members into their best suited roles and save their position.
  • Now depending on how you like to play you can either choose to go max range and shoot everything down at a distance or shoot everything down while moving closer to gain vision.
  • Boarding really isn't needed after this point.

I prefer to go into the 2nd closes range as it gives me vision for targeting specific classes down.

This is up to you for the rest of the campaign.

  • Wait for your Snipers and Lightning Gun to be ready to fire, then focus down a target, repeat till you’ve won. This is the main strategy for every battle following.

Full Crew and their positions.

4. The Howling Sea
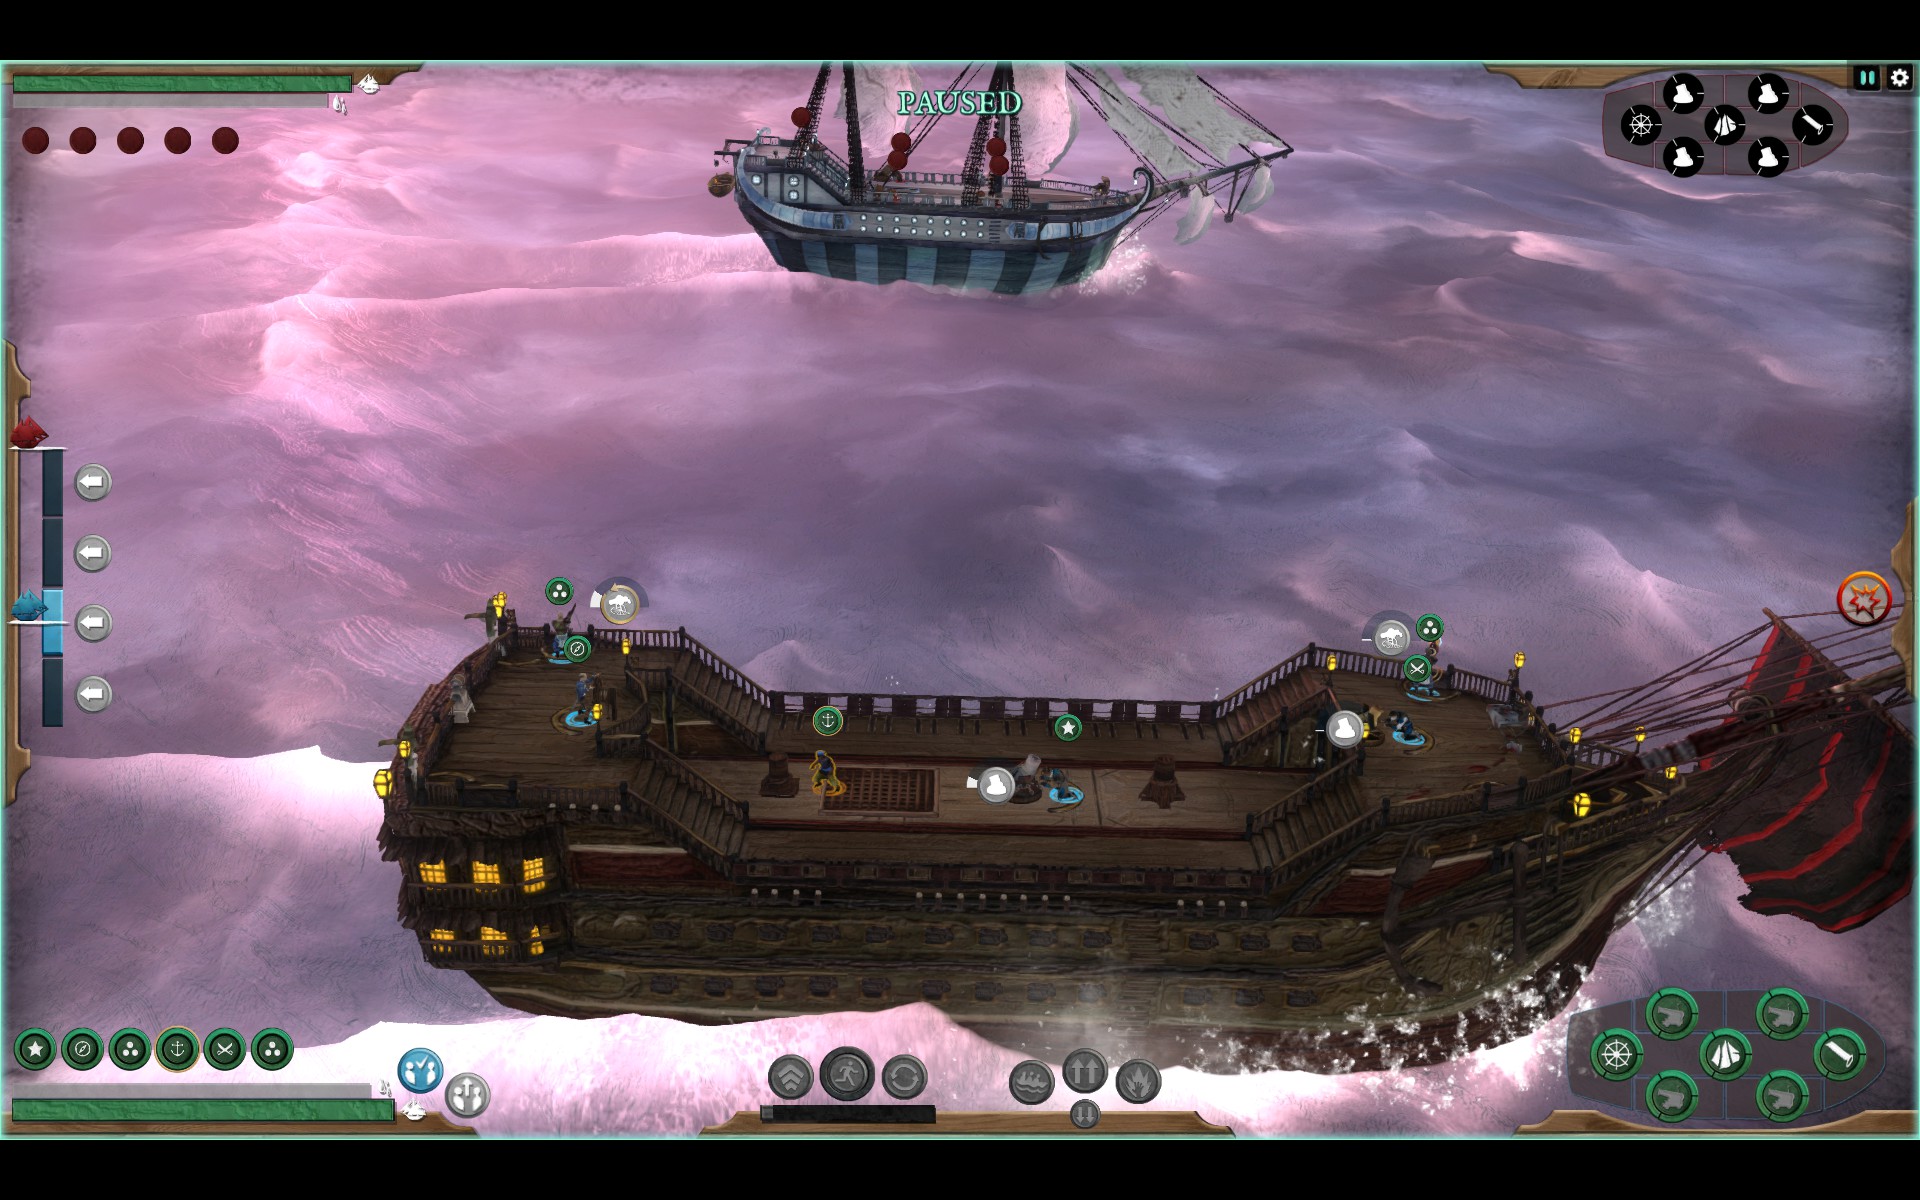
Map Modifier: Howling Blizzard hits both ships causing a brace test. Just be ready to click Brace for Impact and it will actually helps us more than it damages us.
Use pause if you have a hard time getting it in time.
Crew Size: 6.
WoI: Web Gun, catches one crewmember into a web for a set amount of time, the timer can be decreased by cutting them out of the web. I mostly just ignore the trapped crew.
Note: Has no winch, overboard is a death sentence.

5. Cannibal’s Lurk
Map Modifier: Cannibals board your ship at the start of battle.
Crew Size: 6.
WoI: Sniper.
Note: Getting too close, may make the ship try to ram us, stay at range..

  • I pull off every crewmember to deal with the cannibals swiftly, the faster we get back to fighting the other crew the better.
6. Forsaken Seas
Map Modifier: Poisonous gas, Crew members health will slowly decrease till it enters the red portion. This is a blessing in disguise as the enemy crew gets overwhelmed faster and must heal more often, while being more vulnerable to our guns.
This same vulnerability applies to our crew, so make sure they go heal when they hit the red potion.
Crew Size: 7.
WoI: Time Bomb Mortar.
Note: Much lower visibility due to the fog.

7. Heaven’s Strike
Map Modifier: Lightning strike. Lighting will strike both ships and starting fires and stunning nearby crew. Mostly a non-issue as long as the fires don’t interfere too much.
Crew Size: 7 + 2 Haliphrons.
WoI: Acid Bomb Mortar.
Note: This ship often likes to stay at max range from us.

  • Pull off x3 crew mates to deal with each Haliphron, when they board.
    There is no reason to shoot them when they're on their own ship, as they'll come to us in time and don’t fill any roles on their ship.
8. Spider Islands
Map Modifier: Fog lowers our visibility and spiders will periodically attack both ships.
Crew Size: 8.
WoI: Ship Smasher.
Note: Maybe the most annoying of the fights.

  • Every time the spiders drop I pull everybody to clear them out as fast as I can.
    Be wary of the red coloured spiders death explosion. Try pulling them to spots where the acid won't block a weapon spot.
  • The other crew will lose to the spiders when we have thinned their ranks.
9. Wild Sea, Handler
Map Modifier: Strong winds, creates a periodic brace test and at its max speed it will damage our sails, good thing we don’t need our sails.
Crew Size: 8.
WoI: x3 Snipers, Acid Bomb Mortar and Gargoyles.
Note: Has no winch, overboard is a death sentence.

Intermission:

  • Last port visit and last chance before the Final Fight with The Fireblade.
  • At this point you should still have 4 visits remaining, so if you needed it you could've visit the dock 3 times more then I did, but there should be no need for it.

Depending on your earlier repair cost, you should have around 1100-1200 gold. (I had 1183g)

My ships HP was just below half health, so good amount of HP that I could have worked with if it was needed.

Now go to the Shipwright in the docks:

Now this is very important, do not repair your ship.
When upgrading to a new ship, the new ship starts at full health. It's a free repair.

Transfer all items to the Man O' War, and trade in you old ship for the new one.

It should cost 1154 gold in total, with the trade in.

10. The Final Battle, The Fireblade
Map Modifier:
  • A nearby volcano will occasionally erupt, raining destruction down on everything.
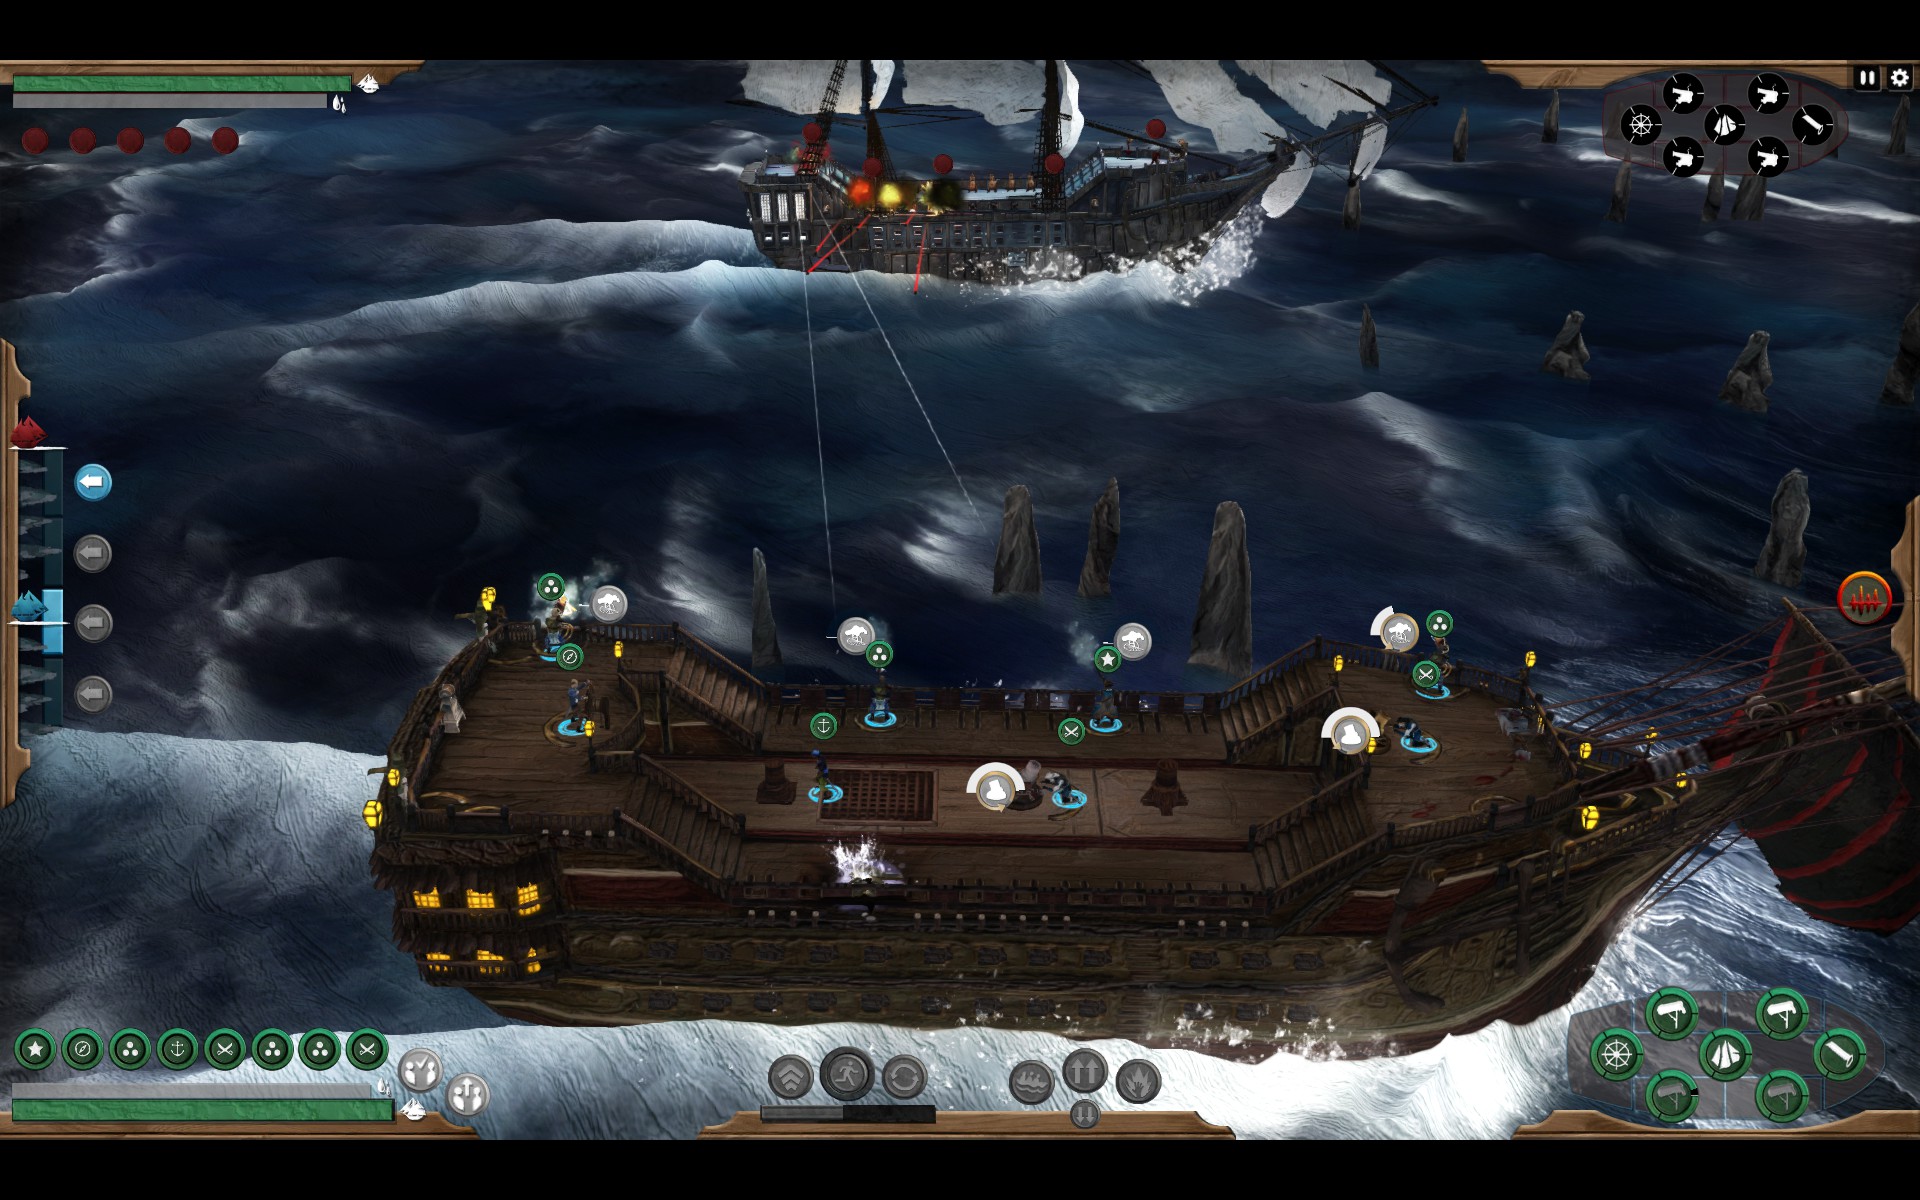
  • The fight takes place in a heavy storm. Lightning will now and then hit the ships, but the fire will be put out by the rain.
    Now the storm is a big boost to our damage as it increases our lightning guns damage to near sniper level, while being both faster and able to chain through enemies.
  • Monstrous wave. Periodically a large wave will wash over the ships and force a brace test.
Crew Size: 9.
WoI: x2 Ship Smasher and a Acid Bomb Mortar.
Note: The Fireblade can spawn with a Lightning Gun loadout that can decimate you really fast if not careful, utilizing our own strategy against us.
  • Because of the rain empowering our Lightning Guns we can wreck the Fireblades crew with ease. Making them overwhelmed that much quicker and making you the proud owner of the Fireblade Blueprint.


Quickguide Checklist
1. Play the Combat Campaign 2: Blade of the Assassin.

2. Preparations before the first fight:

Sell:
  • 4x sets of Cannons.
  • 1x Grapeshot.
  • 1x Chainshot.
  • 1x Basic Crow’s Nest.
  • 1x Water Pumps.
  • 1x Gunner (or Marine).

Buy:
  • 1x Sniper.
  • 1x Lightning Gun.
  • 1x Ship Smasher.
  • 1x Time Bomb Mortar.
  • 1x Automatic Water Pumps.

Keep the Winch.

10 encounters, visit port after the 2nd fight (Fort) and again after the 9th fight (Handler).

Never use Ramming.

3. After the 2nd fight (Fort), visit shop:

Buy:
  • 1x Sniper.
  • 1x Lightning Gun.
  • 1x Gunner Marine.
  • 1x Marine.

This is the only time we repair our ship.

Full Crew & Weapon loadout.
  • 2x Sniper.
  • 2x Lightning Gun.
  • 1x Ship Smasher.
  • 1x Time Bomb Mortar.

4. After the 9th fight (Handler) last shop visit:

Do not repair the ship.

Upgrade the ship to a Man O' War

5. Beat the crew of the Fireblade and earn the blueprint.

Notes
This guide won't go over core mechanics of the game, such as Brace for Impact, Rangebar and more.
Only what is important to know for this achievement.

Shops/Tavern stocks:
You’re limited to buying only 1 of each item or crew. So you cannot save up your gold and buy x2 snipers in one visit.
Every time you visit the port, the shops will be restocked.

Crew Classes:
Buying any other class than Gunner or Marine is a waste as we’ll only use range, melee and boarding, while melee helps out with specific fights events see: Fight 5,7 & 8.

Port Visits:
After leaving port for the first time you’ll have a limit of 5 port visits afterwards.

Afterwords
Following this guide will also unlock the following achievements:

Cocky Captain
Win the Combat Campaign with a spare port visit.


The Broken Blade
Break free from the Far Haven Assassins.


This same strategy can be slightly modified to be used to achieve:

Iron in the Blood
Win the Combat Campaign on the highest difficulty.


Don’t upgrade your ship to a Man O’ War and use the extra gold and spare port visits for repair and/or section upgrades.

If you have any questions, feel free to leave a comment.

9 Comments
BeardedS0ul  [author] 14 Mar, 2023 @ 10:04am 
@Maggy Good to hear it helped you out Maggy and interesting variation of build you ended up with.
Maggy 14 Mar, 2023 @ 6:41am 
Thanks a lot for this guide, it helped me a great deal for getting these achievements. I did only some minor changes which is acid bomb + time mortar instead of the ship destroyer, that kept the enemy crew busy and if the acid goes to the wheel of the other ship, they lose navigation for a few secs, because their crewmen always run away from the acid. Also I was using the knocking-cannon instead of one lightning gun from the beginning onwards, because since so many ships do not have a winch, that nice cannon kicked over a lot of crewman, was much easier for me. The rest of your guide I followed completely and helped superb!

Thanks a lot for putting this together!
Jedidiah 15 Feb, 2022 @ 9:02pm 
Thanks, I made a few more attempts after posting my first comment here, once trying out using the acid bomb. But with expecting to coordinate the acid with the swivel guns manually, it was getting overwhelming, especially late at night.

What finally worked was your loadout, with the mortars on automatic and being sure to have all four swivel guns ready to fire at once at a single target. The Fireblade was still a long, brutal fight though (on Casual of all things!), armed with a berserk dart and multiple different mortars, including the acid bomb. My surgeon was busy running around while everyone *tried* to keep their posts, what with the frequent darts despite killing several crew who tried to man it.

I went in with full hull health, and finished the fight down in the red and littered with gushing hull cracks, but I finally did it. Thanks to you.:2018bestaward:
BeardedS0ul  [author] 15 Feb, 2022 @ 6:39am 
The build of the guide's strength is that it builds up an cascading effect, with periodical high single target damage and low incoming damage on a consistent basis.

But its weakness is if you lack the pressure, being behind or overwhelmed, it takes time to apply the build up, and the high damage intervals becomes longer between, while the incoming damage rises, it is hard to turn around.

By no means is the fight easy in that case or with a hard roll on loadout, the Lightning Gun mentioned in the guide being the King of Decimation.

Hope it helps :)
BeardedS0ul  [author] 15 Feb, 2022 @ 6:38am 
@Jedidiah As you rightly pointed out random rolls play a part and you hit a heavy crew focus one.

You could add a Surgeon instead of an Marine if you feel it helps you.

With crew intensive loadouts it is much more important to focus fire than not, attack is the best defense in this case.

Both our build and theirs in such a case aim for the same thing and gains effectiveness when the other crew falters, it becomes a race to overwhelm the other and being too defensive means you're playing catch up.

If you have to heal frequently and the enemy don't then you've already given them too much ground and will end up looping to heal.

Repairs shouldn't really be a problem during fights, only weapon slots and maybe the wheel/sails, especially less so vs. crew focused loadouts.

The weather do its part on the final mission but if you have to focus on hull breaches more then your enemy has to, then you lack pressure for sure.
Jedidiah 14 Feb, 2022 @ 10:14pm 
Your guide worked well, but you mention random rolls? It was relatively smooth sailing all the way for me until the Fireblade herself, with her only weapons of note being two snipers and a tackler. Maybe I didn't focus my fire enough, but just those three weapons were able to keep me seriously off-balance and lose all my crew.

Perhaps have a surgeon as the free-roaming crewman, who can heal or repair as needed.
DarkExcalibur42 19 Dec, 2021 @ 1:54pm 
Ahahah, oh god, yeah I did see a lot of medics on my runs!
BeardedS0ul  [author] 19 Dec, 2021 @ 1:28pm 
Most things fall into a category and is then chosen at random, this goes for equipment like the winches as well.

It's a weighted chance base on your loadout. So if you use weapons that causes Brace for Impact ships without Winches occur more frequently (If you swapped for Acid Mortars your weighted roll should be on medic crew members).

preoccupied is suggested build over A/L-combo as it is more reliable with both killing and keeping damage low, thus making the monetary goal more attainable while requiring less micromanagement.

Since the preoccupied makes enemy damage close to nothing, the speed at which you kill the crew is not a factor to be considered on most maps, while a missed kill or intervening medic has a higher chance to to disrupt a A/L build at a loss of consistency.

While the guide is focused on ease of use and reliability, many playstyles can work and random rolls and luck can both help or hinder.

Thanks for information about maximum mission rewards.
DarkExcalibur42 19 Dec, 2021 @ 11:19am 
On missions 1, 3, 4, & 9 your guide says they have no winches and that crew knocked off the ship are insta-dead. I don't know if this is a random chance thing, or if this was a bug that the devs patched out, but this is not how these fights behave anymore sadly.

Each mission rewards a maximum of 169 gold (except for the Sea Fort that offers up to 368). That was important info for me to plan around how much I could afford to repair.

I used Acid Mortars instead of the ones you suggested because of their synergy with the Lightning gun's stun effect. That allowed me to get as many as 3 crew kills all at once in some instances.