Wrench
Not enough ratings
Piston Assembly Guide
By RumHam
In this guide I will run you through the process of assembling a piston and installing it into an engine block, including piston head assembly, conrod mounting and block installation.

This guide was created as a result of my own time spent playing this game and as a compliment to those developing it.
   
Award
Favorite
Favorited
Unfavorite
Piston Head Assembly
This section of the guide will teach you in complete how to either assemble a piston head, this is the first part in assembling a complete piston which can later be mounted to a conrod and installed into the engine block.

Piston Ring Installation
Parts Required:
1x piston
1x piston ring (oil control)
1x piston ring (compression
1x piston ring (intermediate)

To create a completed piston head assembly all you need to do is install the piston rings onto the piston itself, to do this, begin by installing the oil control ring around the piston head, then the compression ring, followed finally by the intermediate ring. Once all three of these piston rings are installed onto the piston you have assembled a piston head that is ready to be mounted onto the conrod.
Conrod Mounting
The next step in creating a complete piston assembly is to mount your new piston head to the conrod, the conrod is what will connect the piston and the crankshaft when installed into your engine block.

Conrod Insertion
Parts Required:
1x connecting rod

The first step in mounting a piston head to it's conrod is to insert the conrod into the underside of the piston, to do this simply place the connecting rod anywhere on a flat surface and align the closed ring on the top end of the conrod with the two holes on either side of the piston.


Securing the Piston
Parts Required:
2x pin clip
1x wrist pin

The final step in mounting a piston head to the conrod is to insert the wrist pin and secure it with pin clips, the easiest way to do this is to start on the side of the piston where an "f" can be seen to have been machined onto the side of it, from here insert a wrist pin into the hole as shown.
Next place a pin clip over the end of the hole with the wrist pin fitted to secure it in place.
Repeat the previous from the other side of the piston to finish securing the piston to the conrod.
Once all of these steps are completed you have successfully secured your piston to the conrod, the next step is to mount the piston to an engine block.
Engine Block Installation
The final section of this guide will teach you how to install your new piston assembly into the engine block, before starting this part of the guide take note that I have already installed 3/4 pistons required in the engine, and will be installing my new piston into the cylinder marked.


Piston Assembly Insertion
Parts Required:
1x complete piston/conrod assembly
1x rod bearing

The first step to installing your new piston assembly into your engine block is install the first rod bearing into the open end of the conrod as shown.
The next step in installing your new piston assembly into your engine block is to insert it into the required cylinder through the top of the engine block. To do this, first pick up your new piston assembly via the conrod and bring it over to the cylinder you will be installing the piston into, you will know that the piston is aligned with the cylinder when an orange piston insertion tool appears around the circumference of the cylinder. Once this tool appears, simply place the cylinder and inside of this tool and it will fall into place inside of the engine block.


Securing Piston Assembly to Crankshaft
Parts Required:
1x rod cap
1x rod bearing
2x connecting rod cap nut

The final step in installing a piston assembly into an engine block is to secure the conrod to the crankshaft, the first step in preparing to do this is to install a rod bearing into the rod cap as shown.
Next you are going to want to flip the engine block up-side down so that the crankshaft can be viewed from above. (this step isn't compulsory but makes life allot easier)
Now, turn on your flashlight and look for the two threaded studs that are on the bottom of the conrod, I've marked mine in the image below, but warning, these studs will be in different places depending on cylinders and crankshaft angle, so it may be worth rotating the crankshaft to find the studs if you are struggling to find them.
Next, pick up your rod cap and place it onto the studs.
Next you are going to want to place the connecting rod cap nuts onto the studs, these will hold the rod cap and conrod together around the crankshaft when fastened.
Lastly, it is time to torque the connecting rod cap nuts, however, due to the nature of the parts we are installing the bolts should be torqued in three phases, this means torquing to three different amounts before reaching the target amount of 50nm. First torque both nuts to 15nm, then 30nm, followed by 50nm for the final phase.
Once both nuts are properly torqued you have successfully assembled and installed a piston into your engine block.

3 Comments
EssBee 6 Sep, 2021 @ 5:31pm 
Sorry to crash in on Rumham's guide. I'm sure he won't mind though.
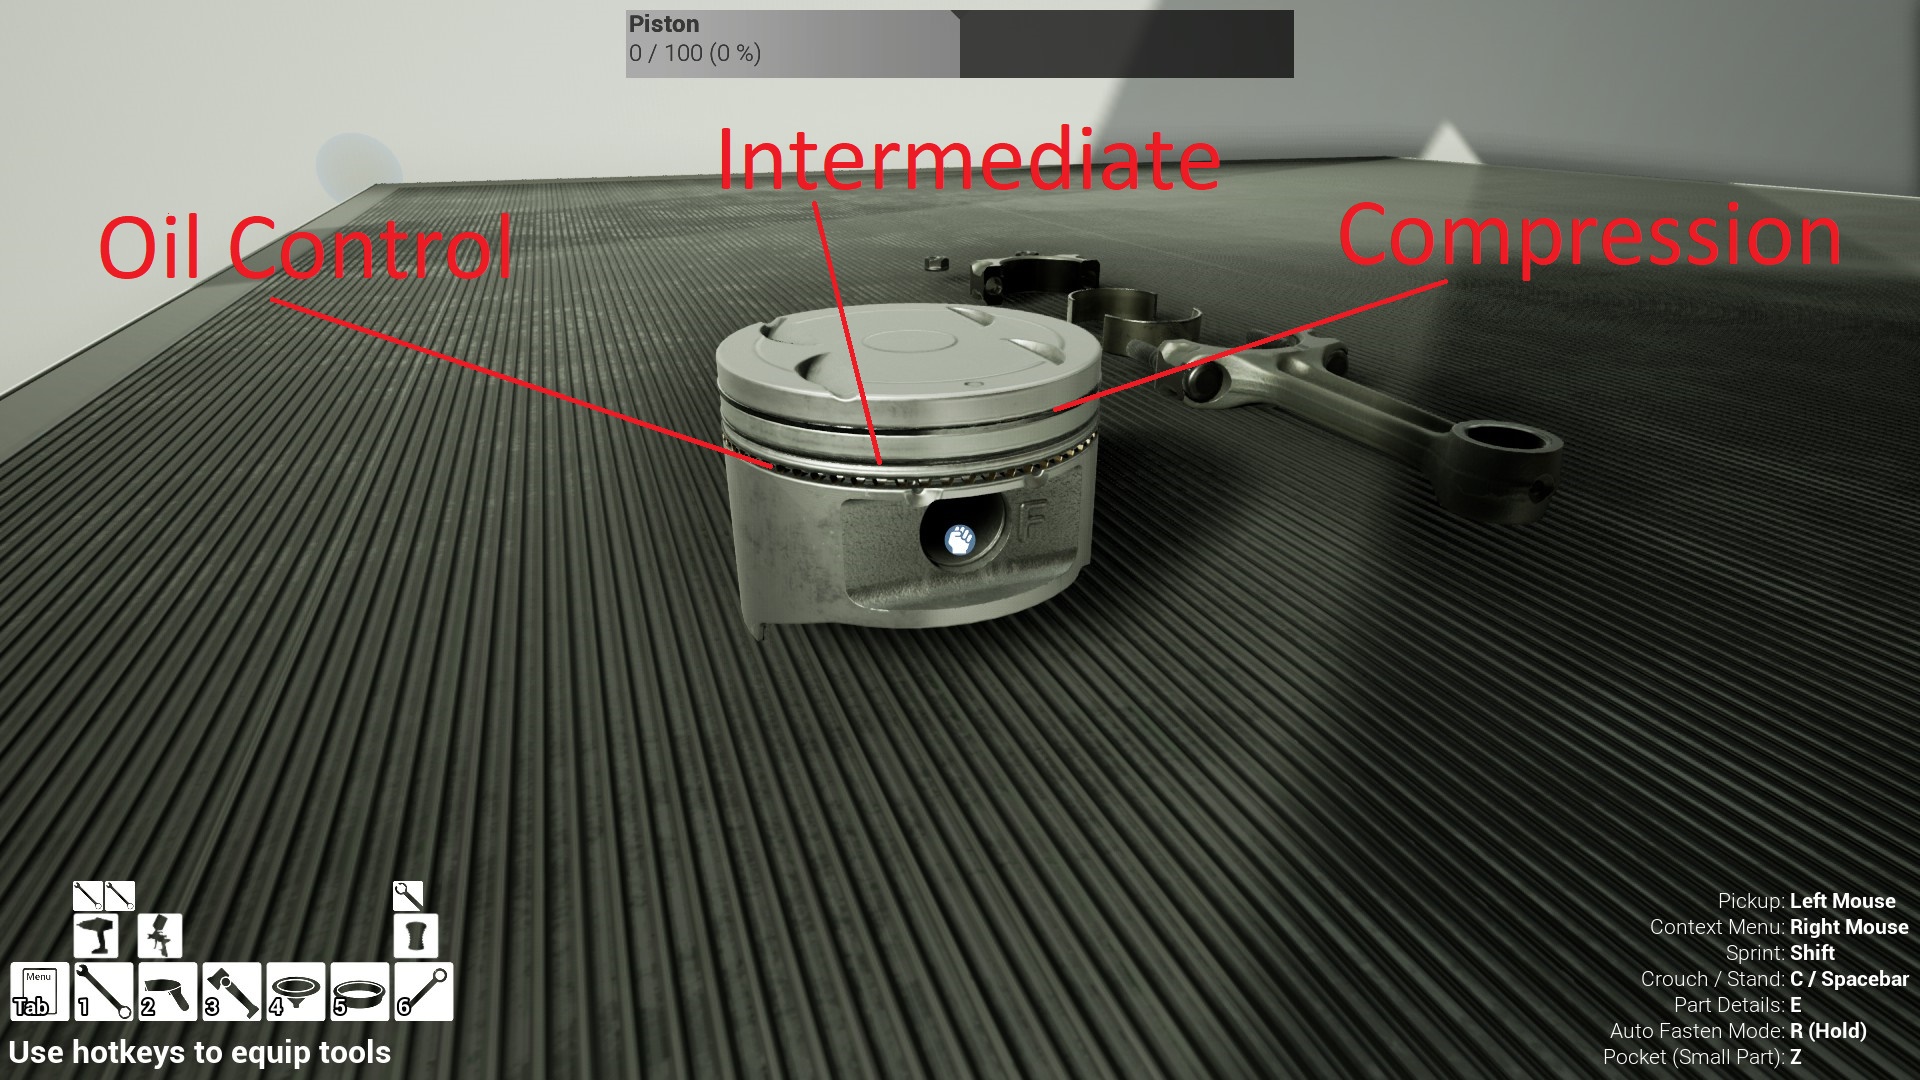
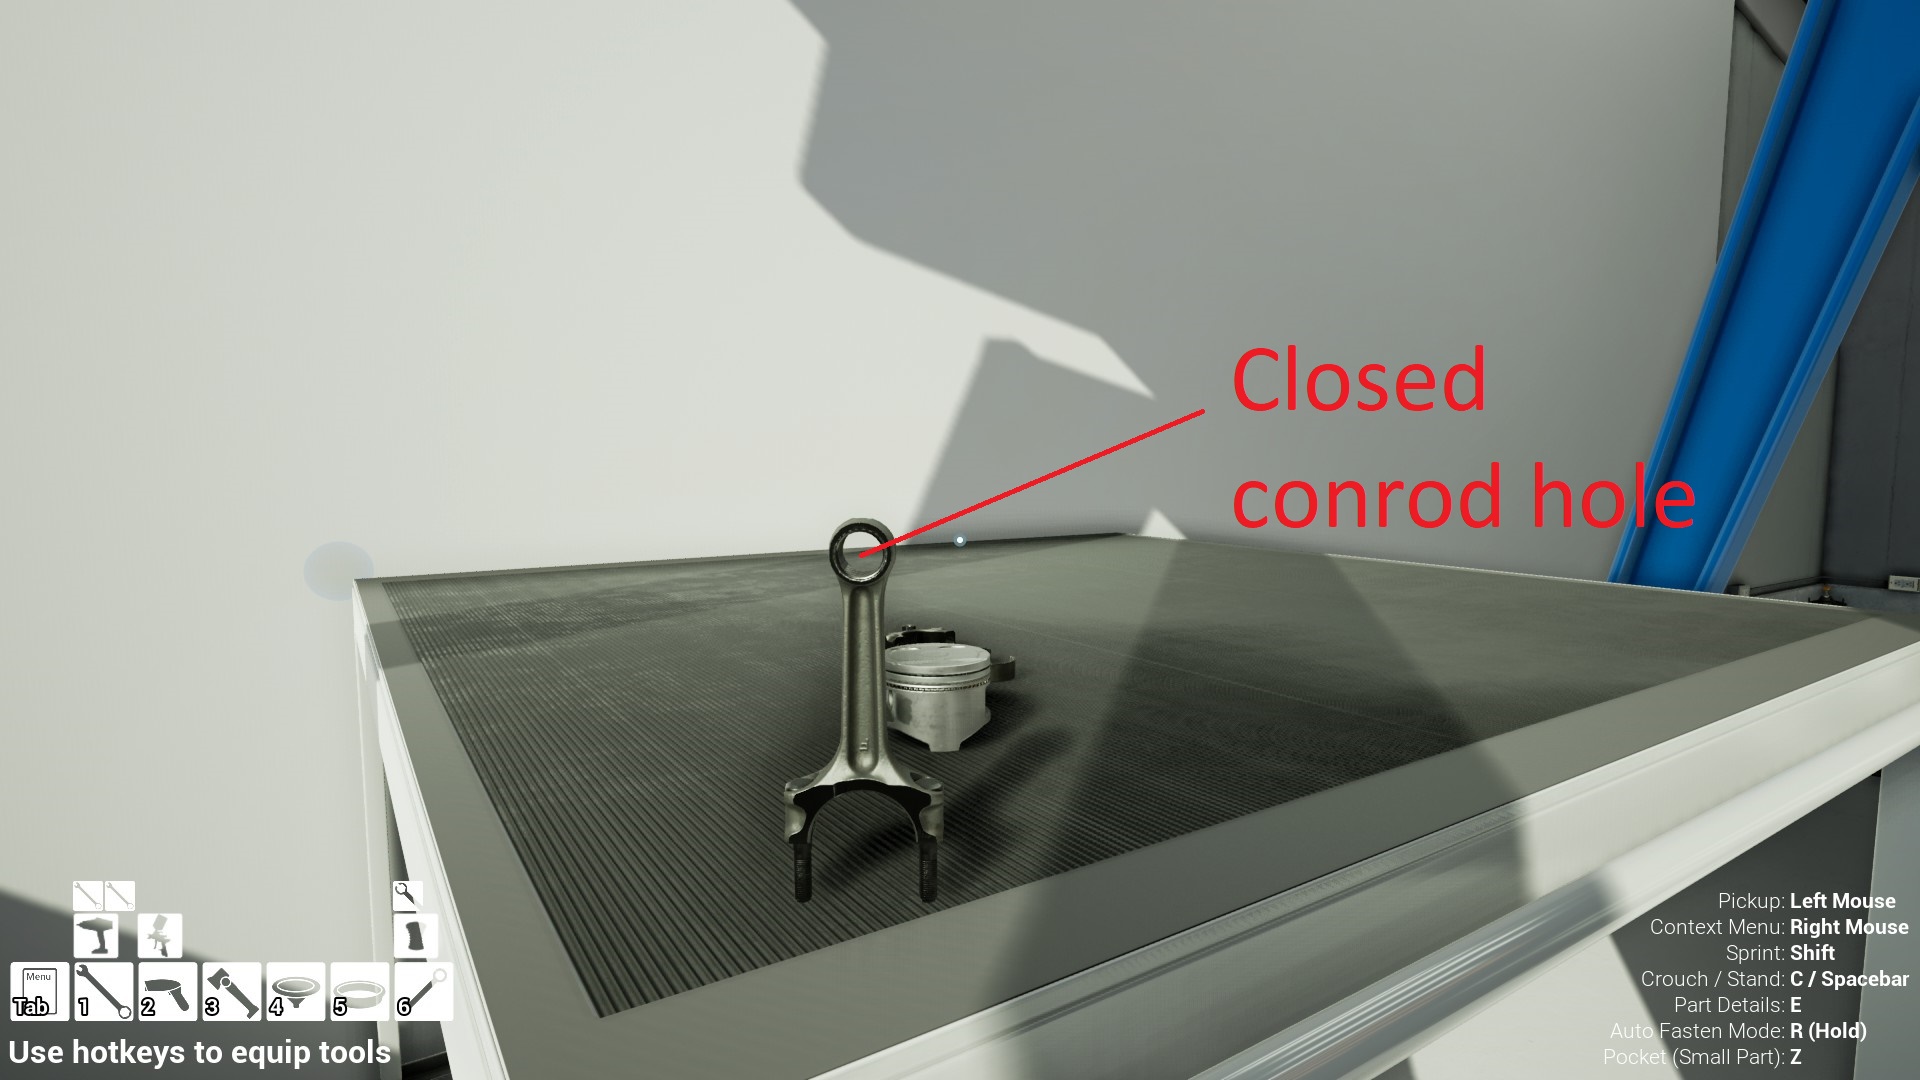
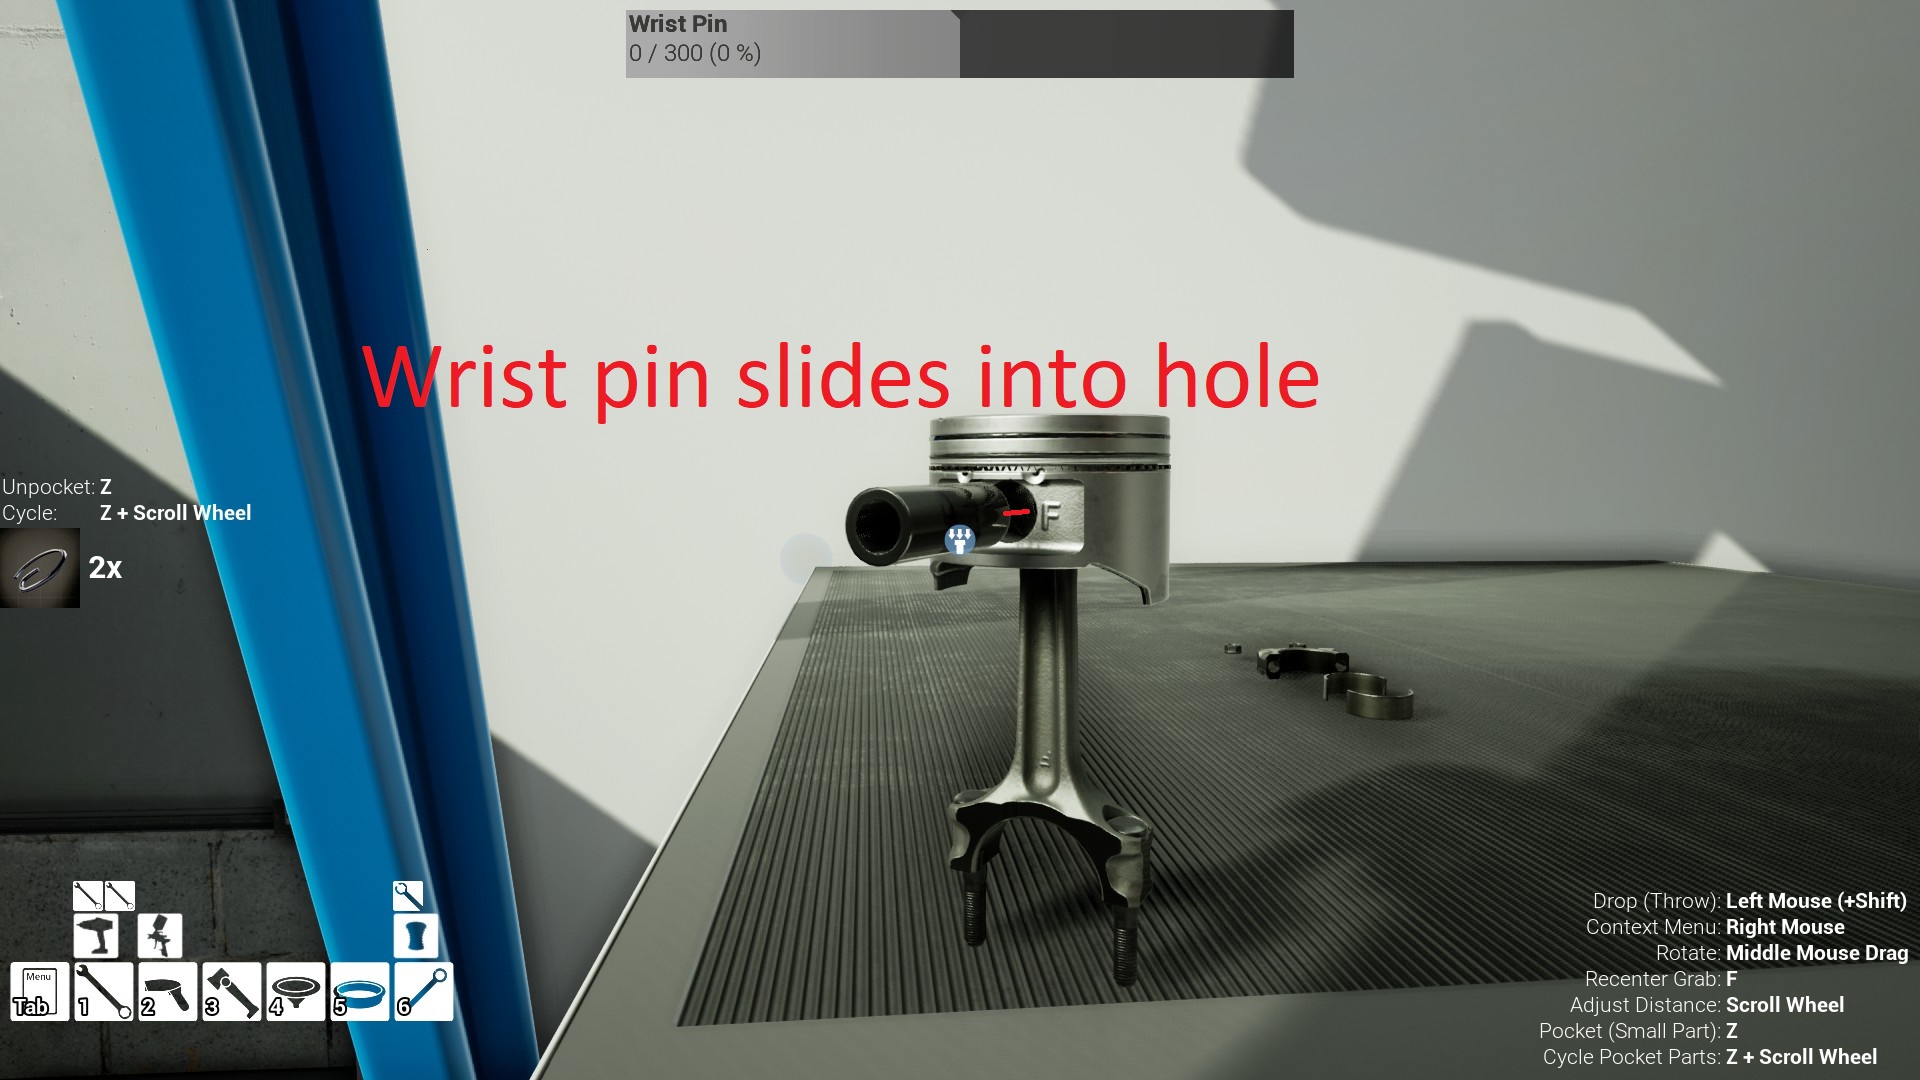
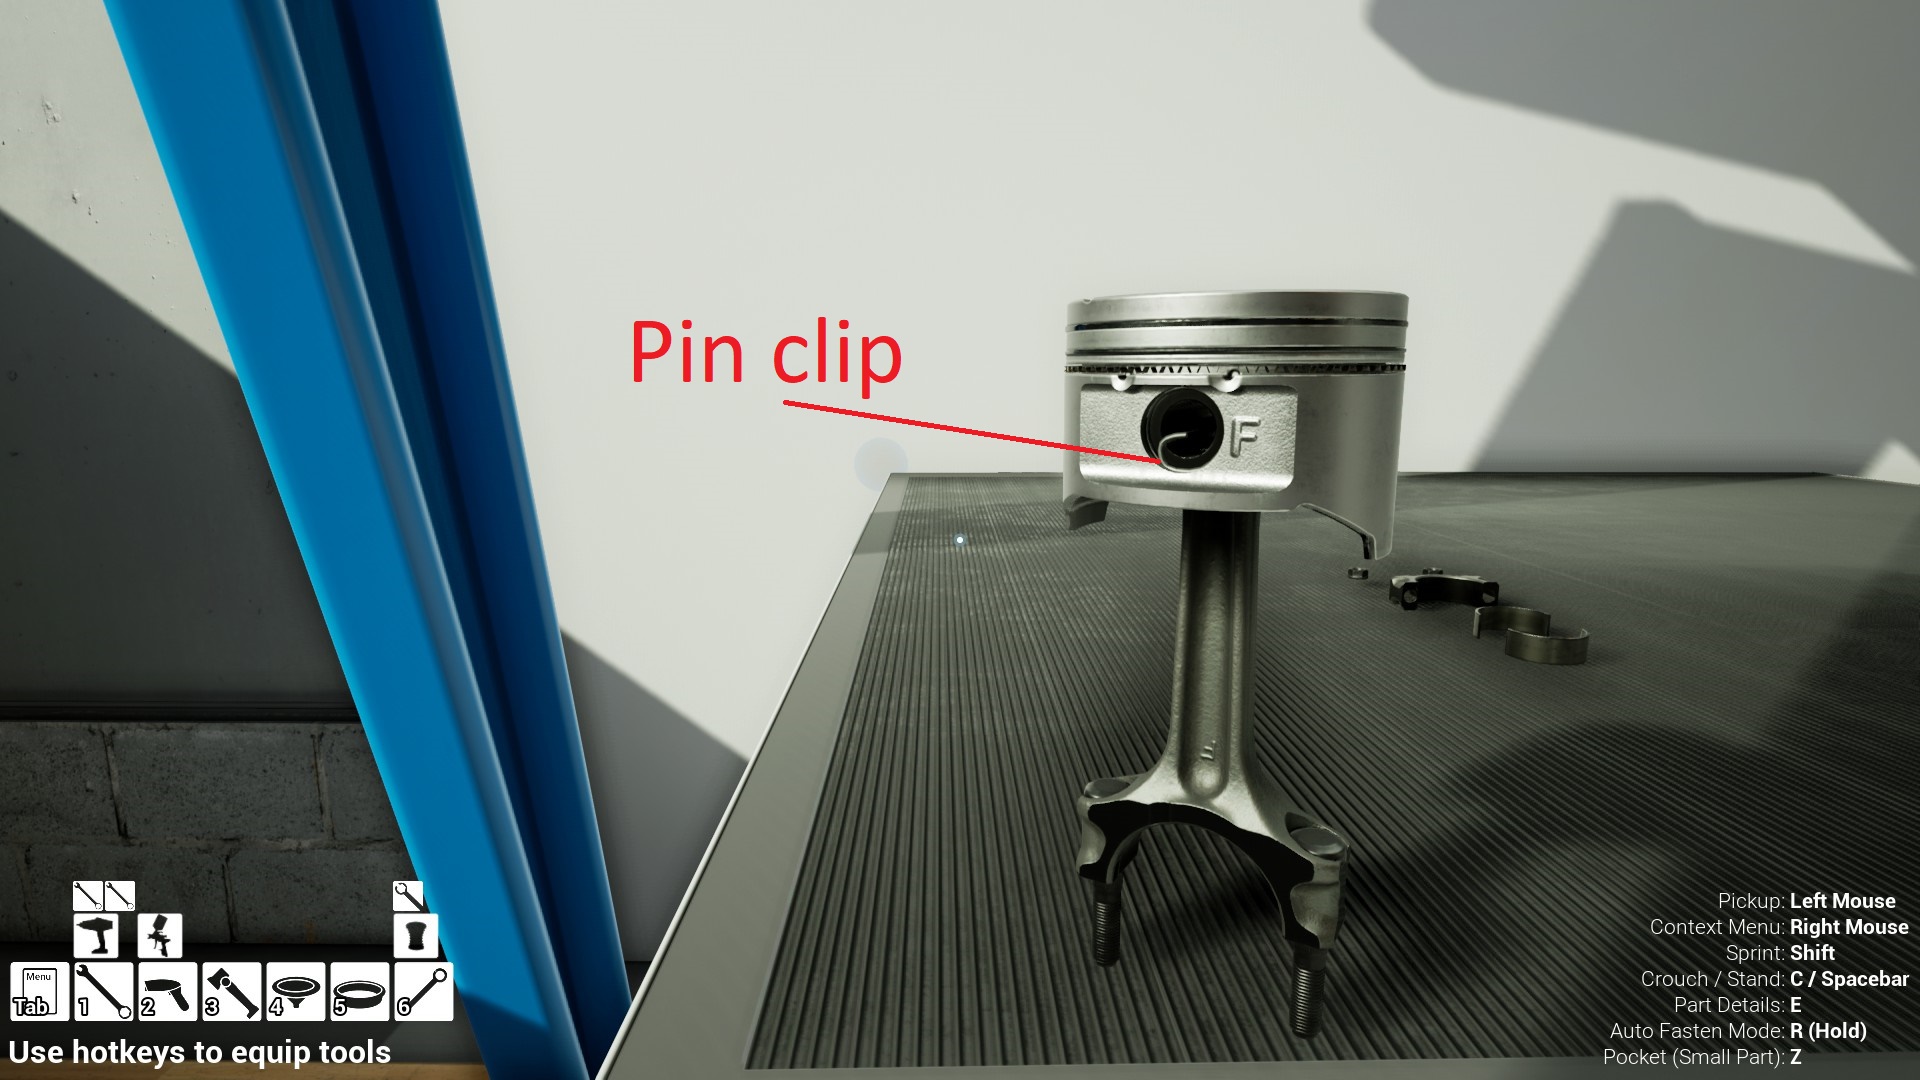
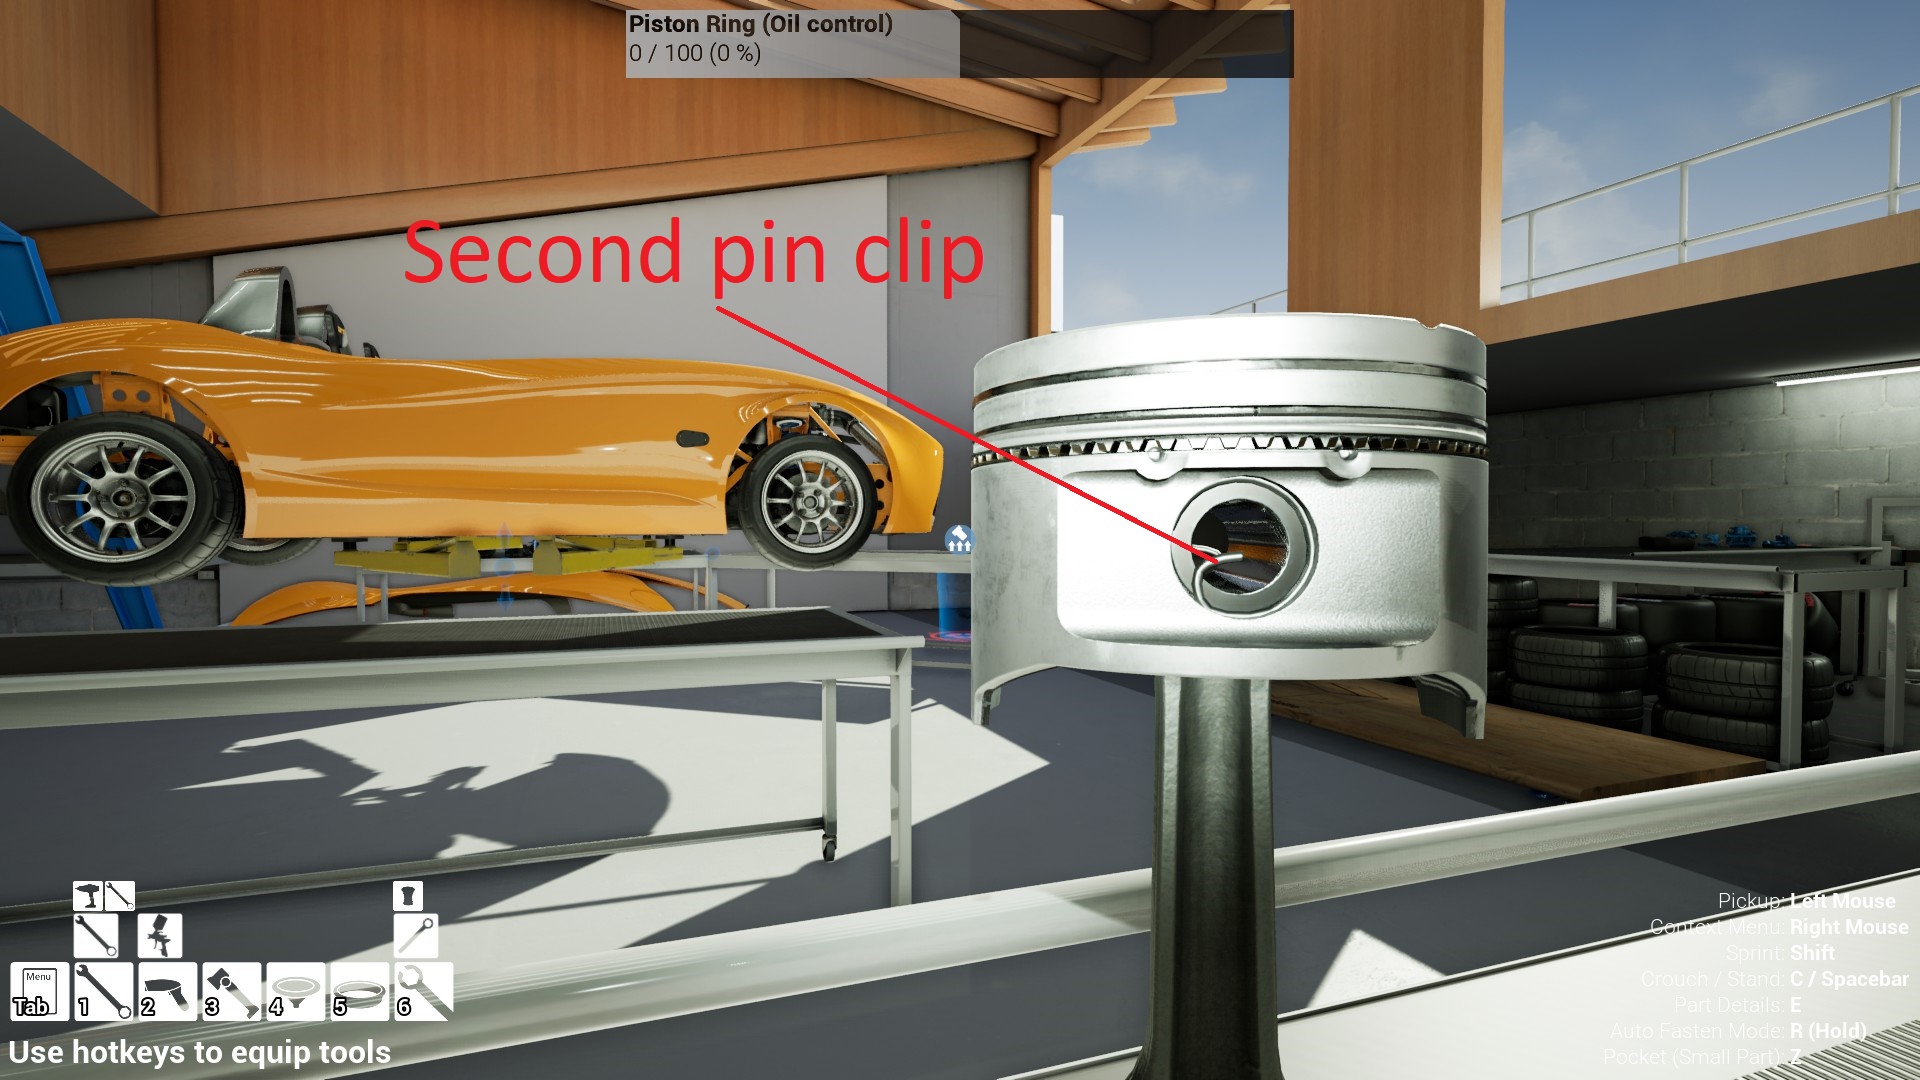
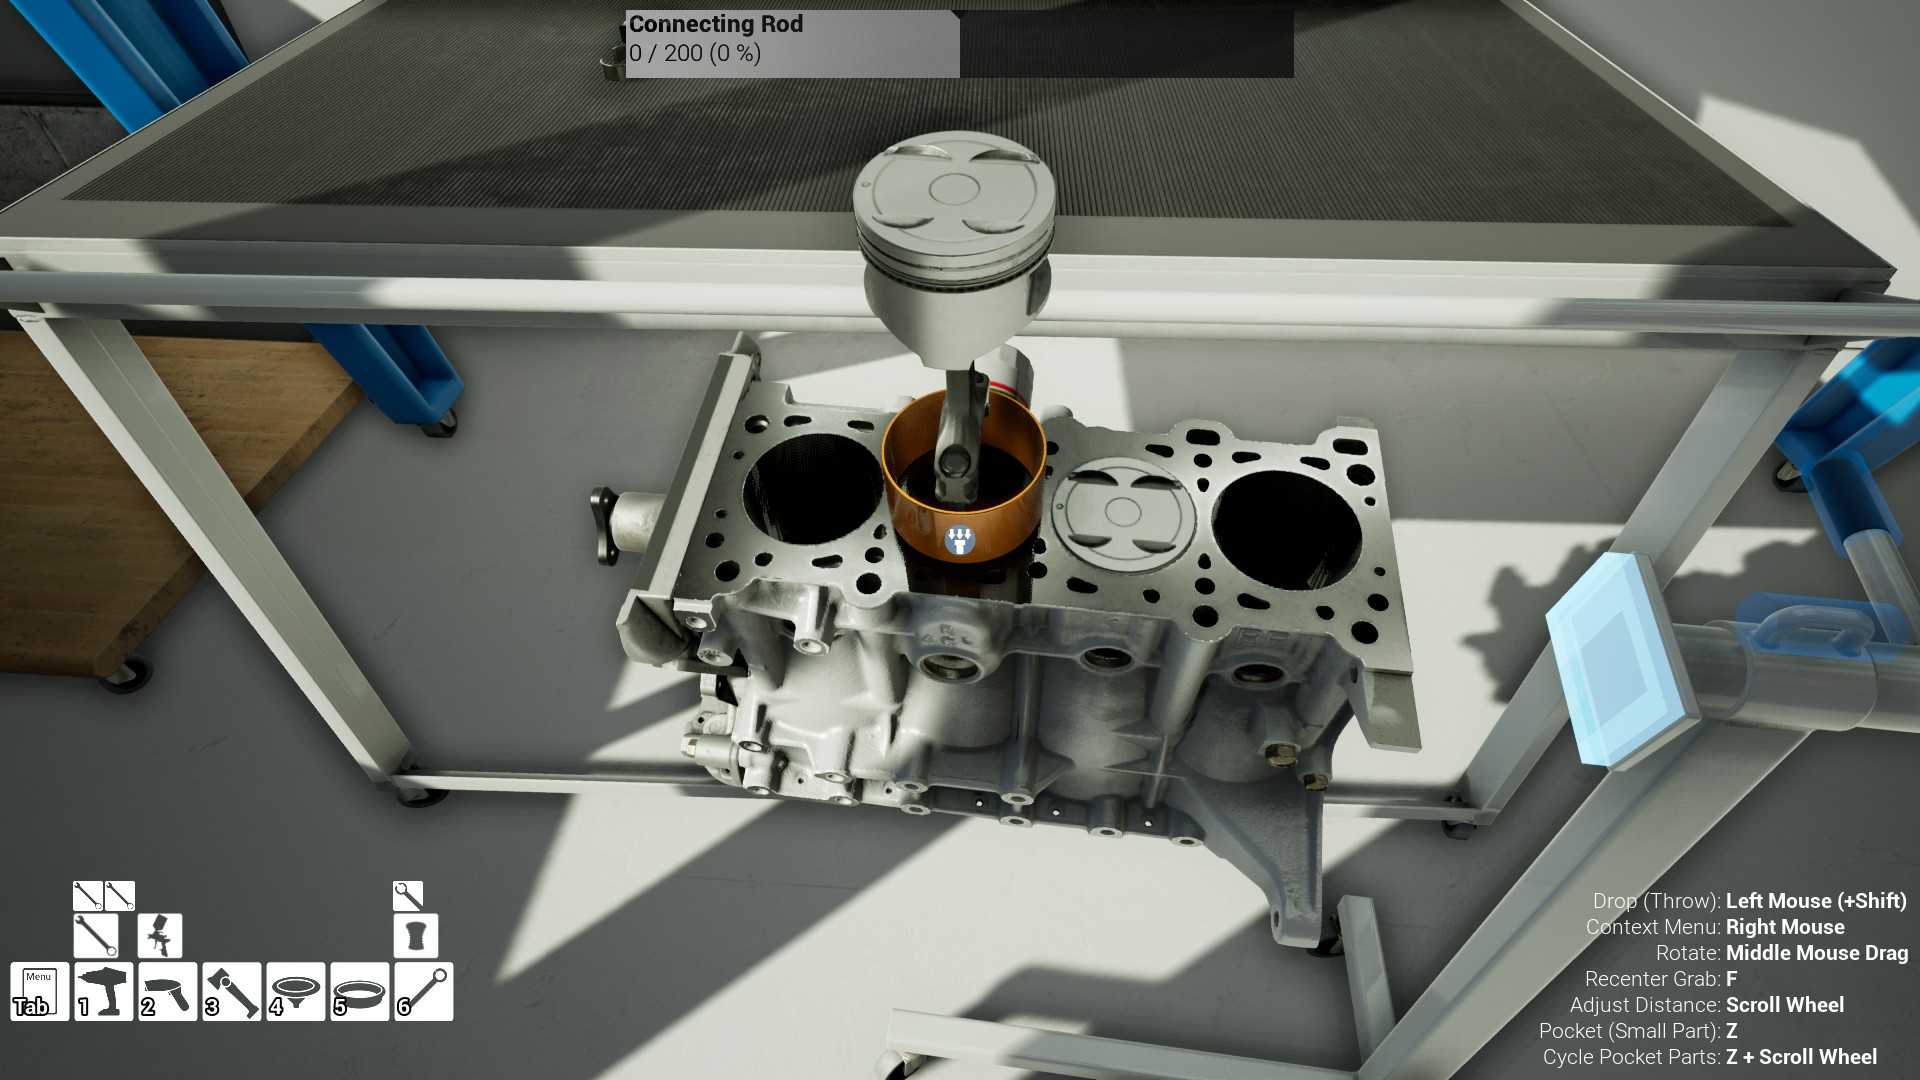
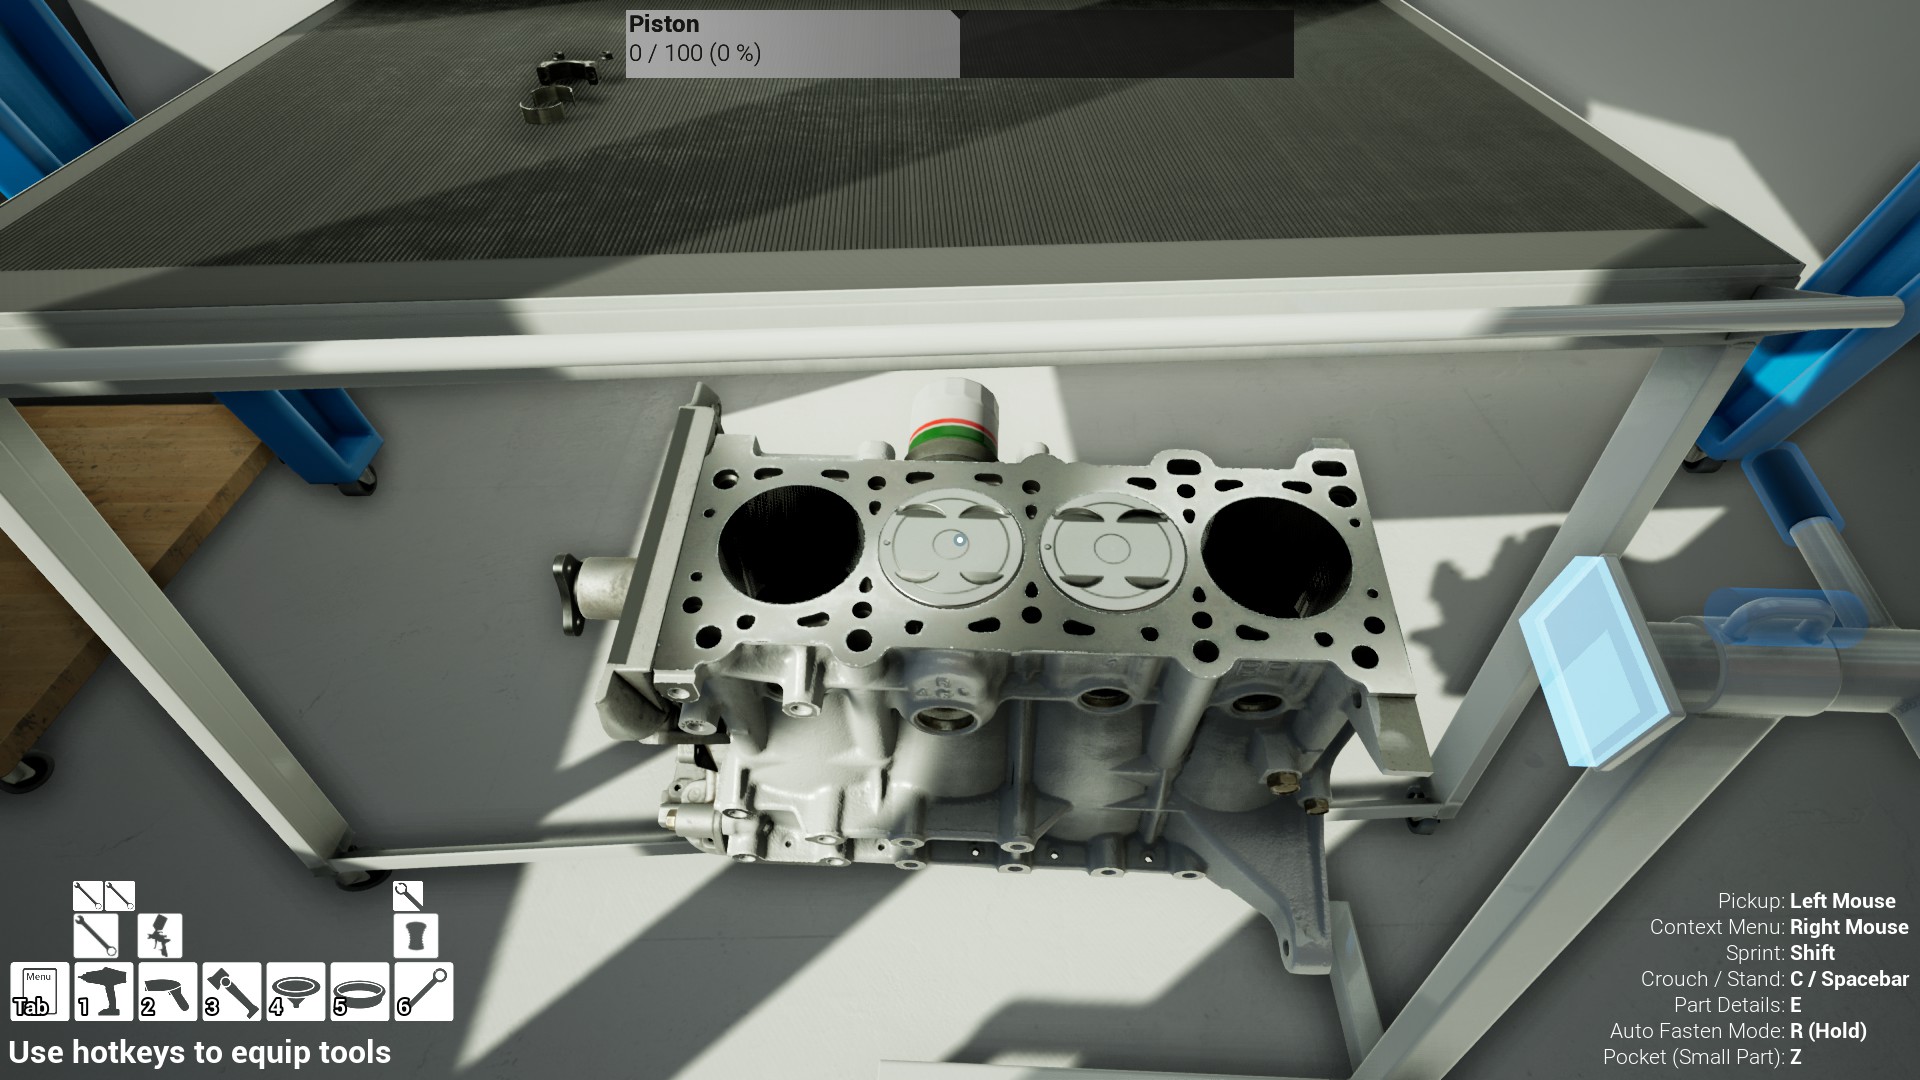
There's currently a newly formed bug regarding pistons and rings after the latest update (B134) which the devs know about. (See the Wrench Discord server for more details.)
Although it's a bit of a bind, all we can really do at the moment is either skirt around the problem for now or hold fire until a fix is released.
Hopefully it won't be too long as the one of the devs has confirmed he's recreated the issue and seems to have an idea on the probable cause.
Viper_Electric 6 Sep, 2021 @ 4:17pm 
I'm having the same issue as vonk, can't uninstall piston rings or pin clips to disassemble them.
vonk 6 Sep, 2021 @ 10:51am 
Are you having any issues with installing/removing piston rings? I can't remove them at all after the most recent update. Thanks!