
Install Steam
login
|
language
简体中文 (Simplified Chinese)
繁體中文 (Traditional Chinese)
日本語 (Japanese)
한국어 (Korean)
ไทย (Thai)
Български (Bulgarian)
Čeština (Czech)
Dansk (Danish)
Deutsch (German)
Español - España (Spanish - Spain)
Español - Latinoamérica (Spanish - Latin America)
Ελληνικά (Greek)
Français (French)
Italiano (Italian)
Bahasa Indonesia (Indonesian)
Magyar (Hungarian)
Nederlands (Dutch)
Norsk (Norwegian)
Polski (Polish)
Português (Portuguese - Portugal)
Português - Brasil (Portuguese - Brazil)
Română (Romanian)
Русский (Russian)
Suomi (Finnish)
Svenska (Swedish)
Türkçe (Turkish)
Tiếng Việt (Vietnamese)
Українська (Ukrainian)
Report a translation problem


So yeah, I need to quickly farm lvl100 talismans with nice stats in endgame, is there any shortcut...?
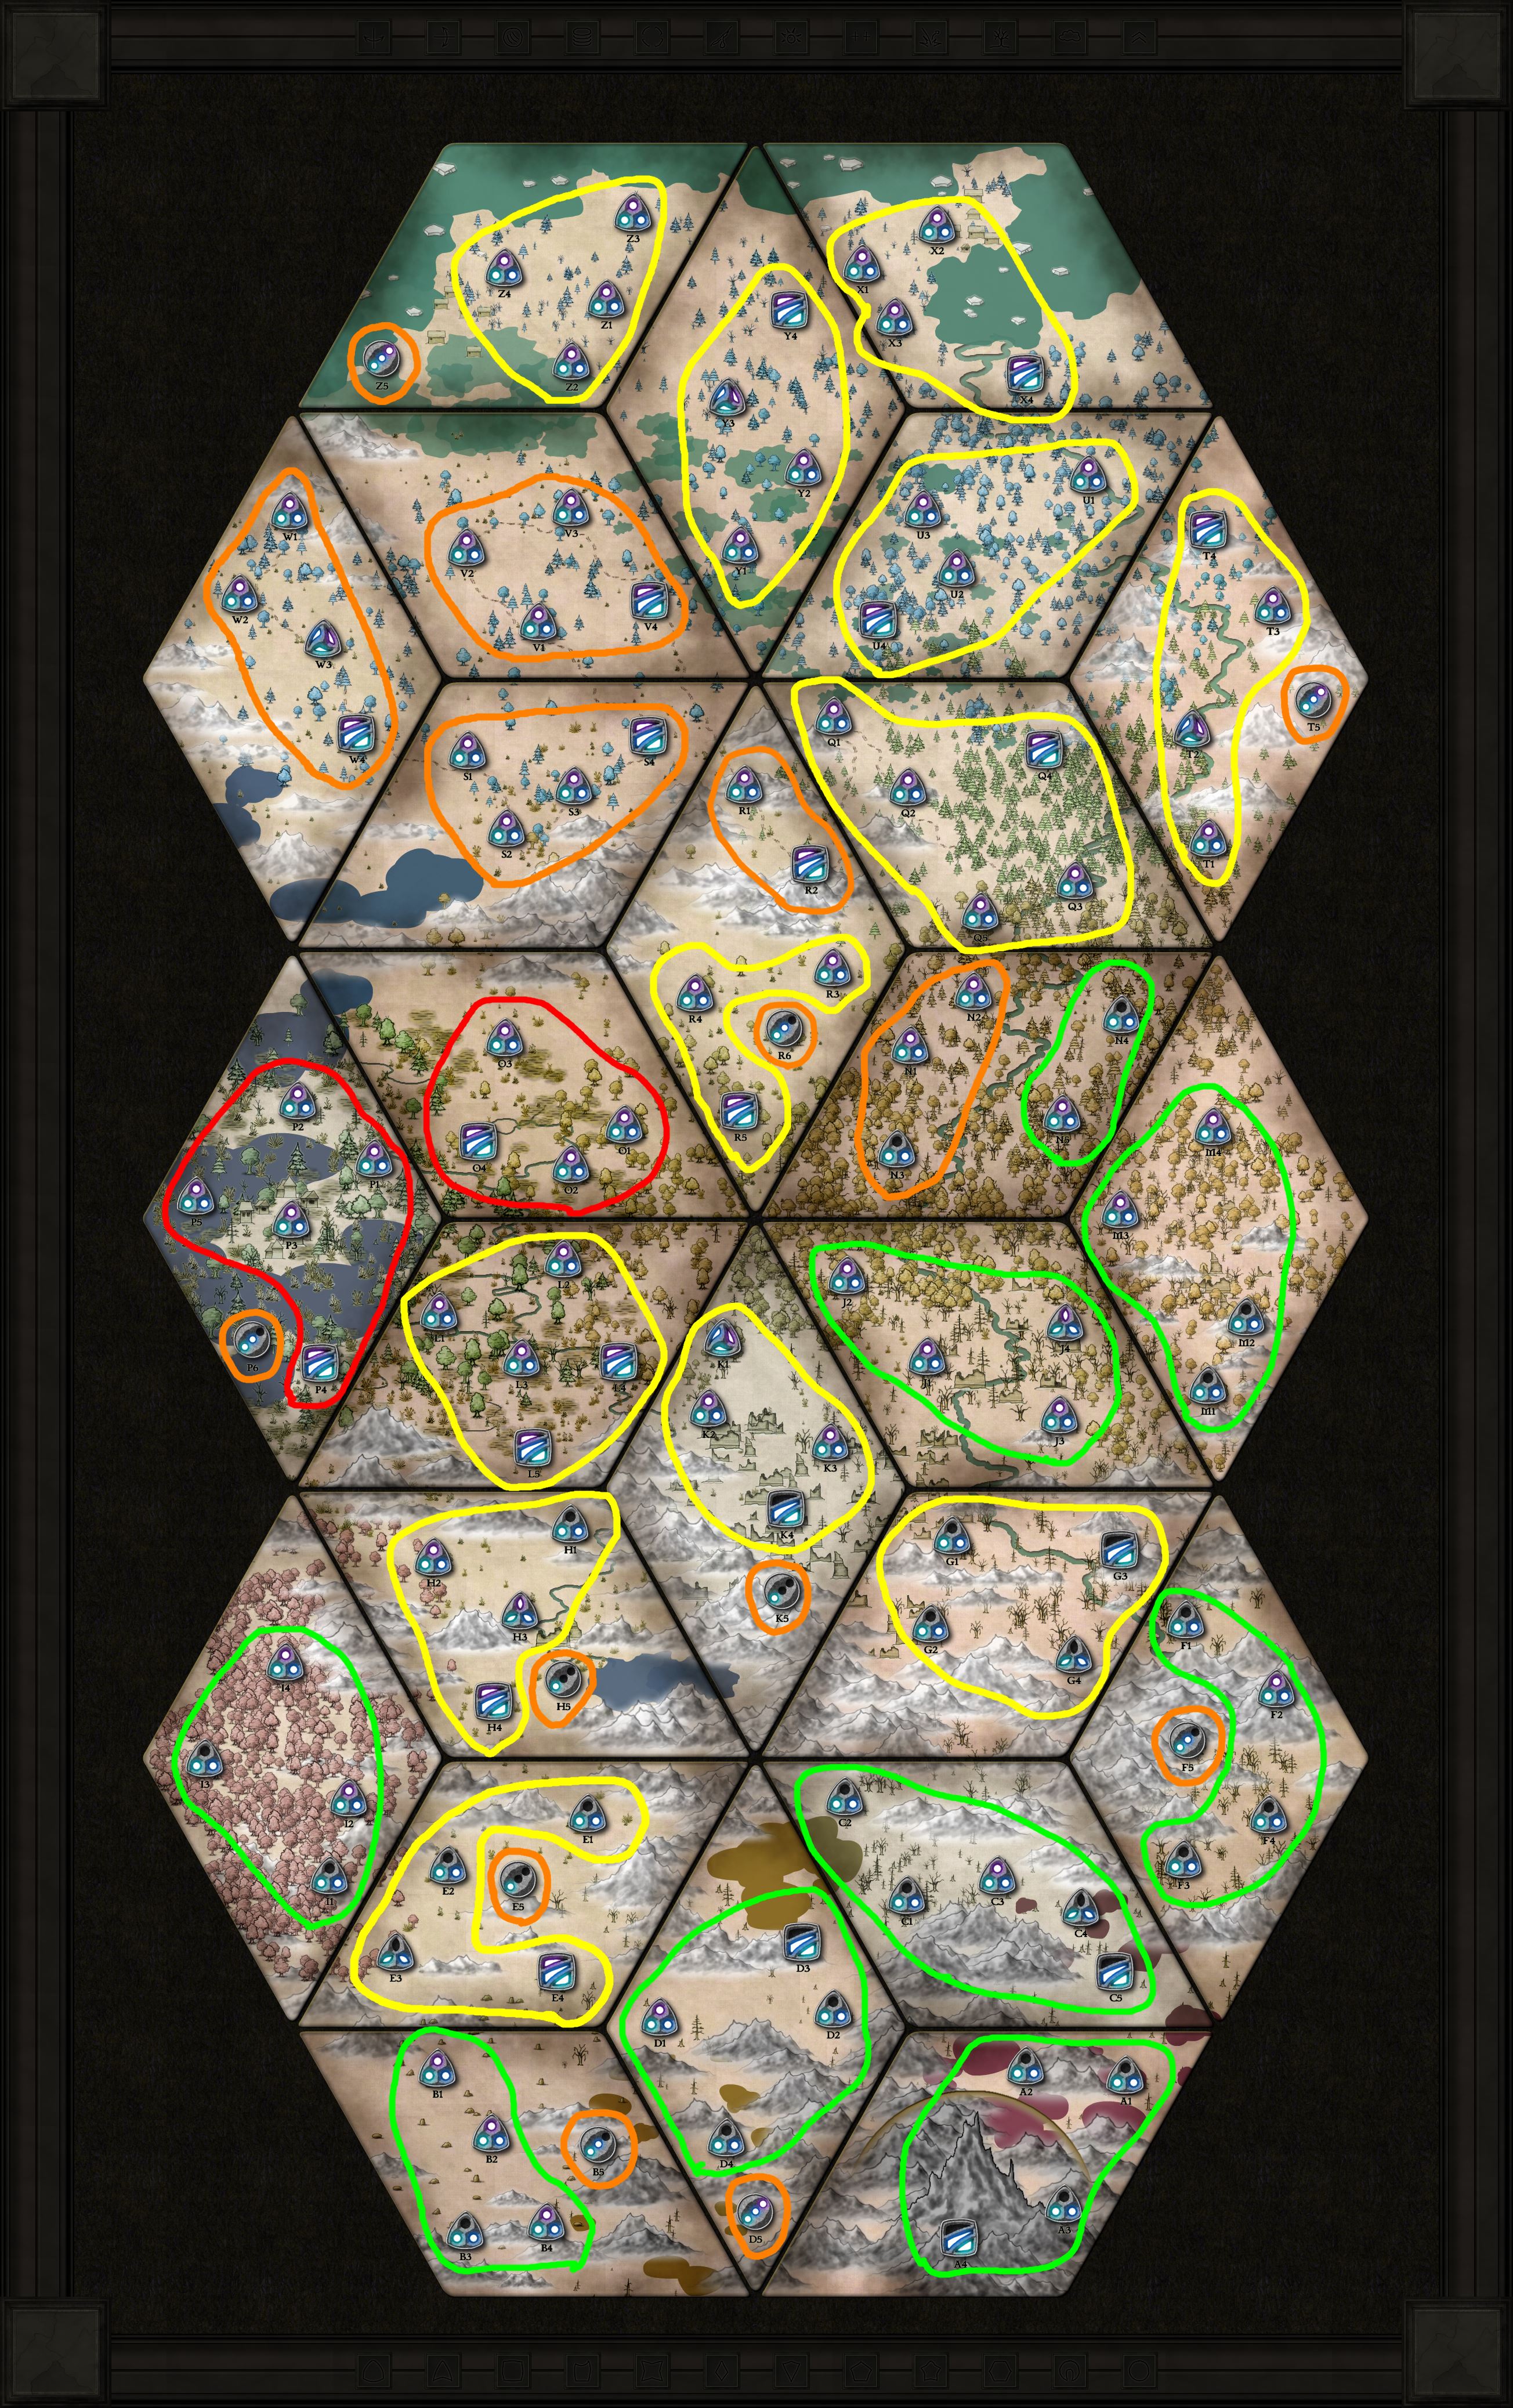
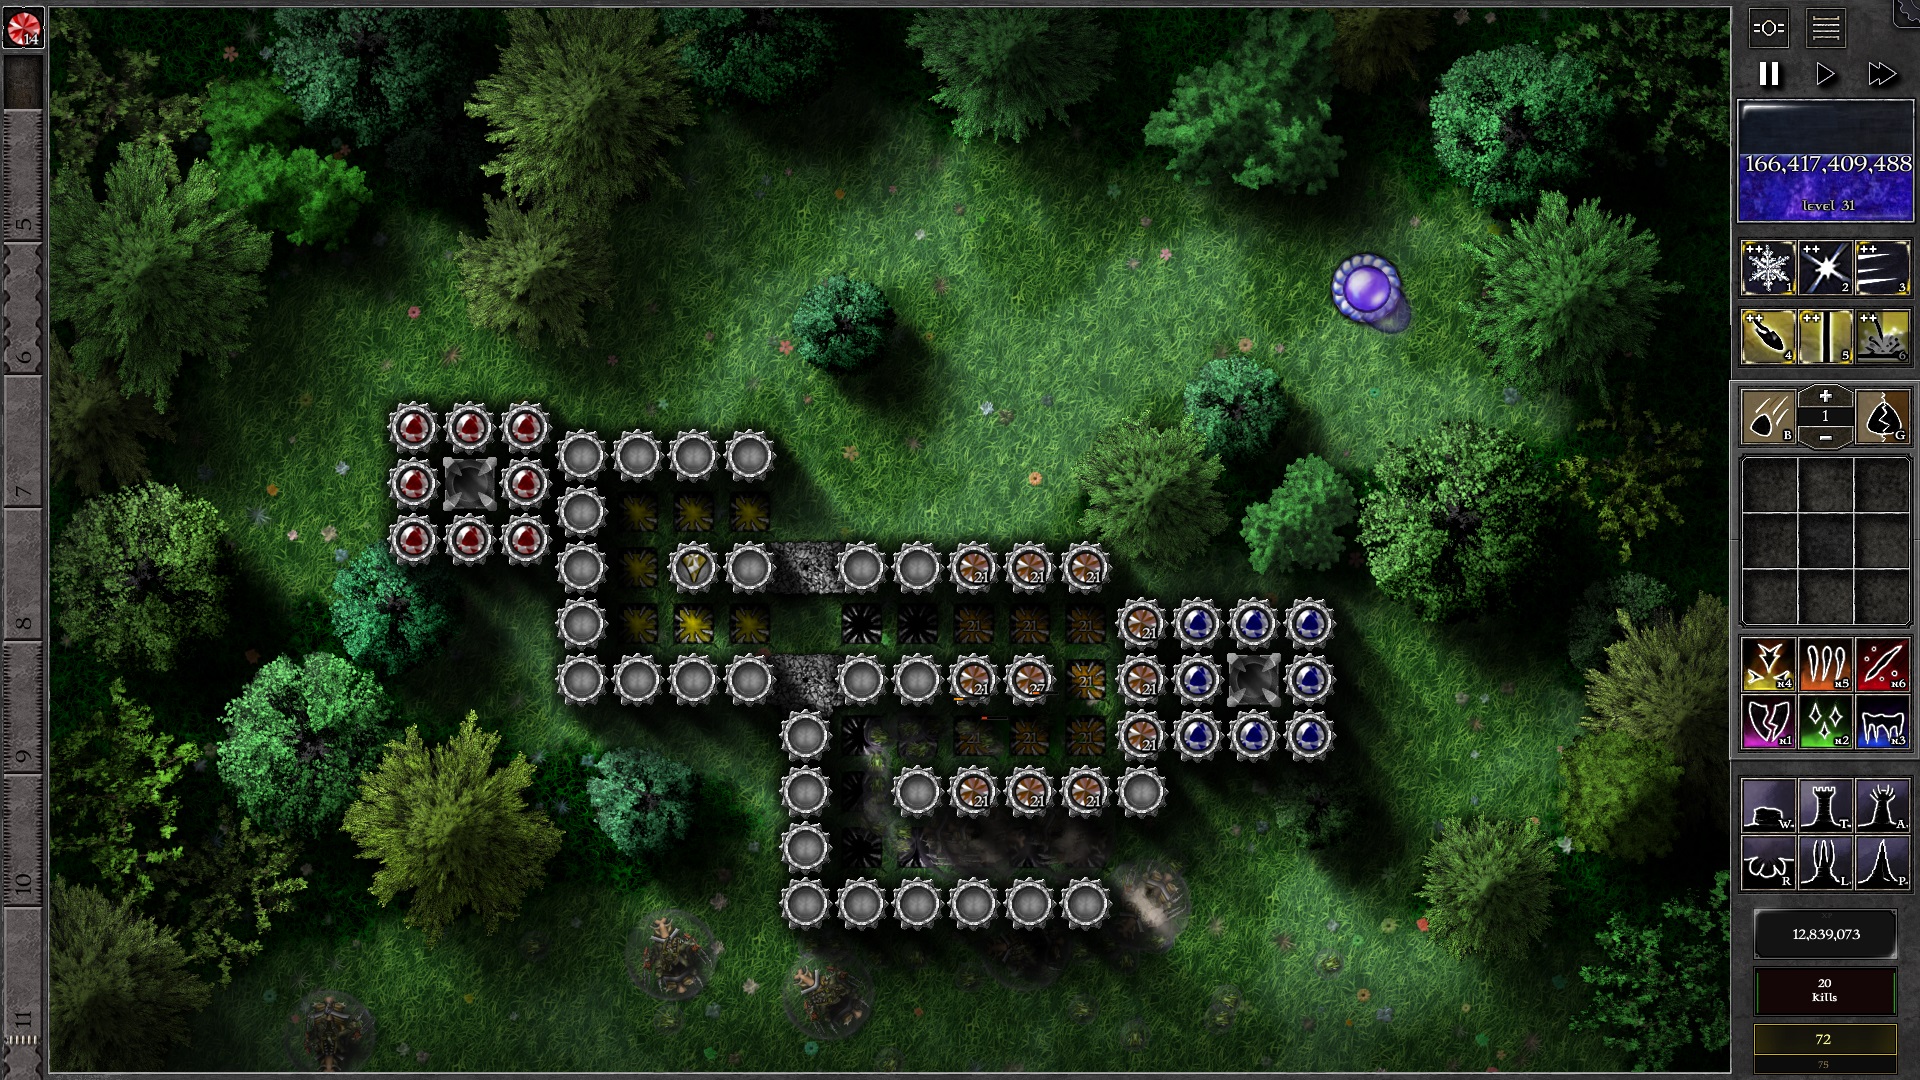
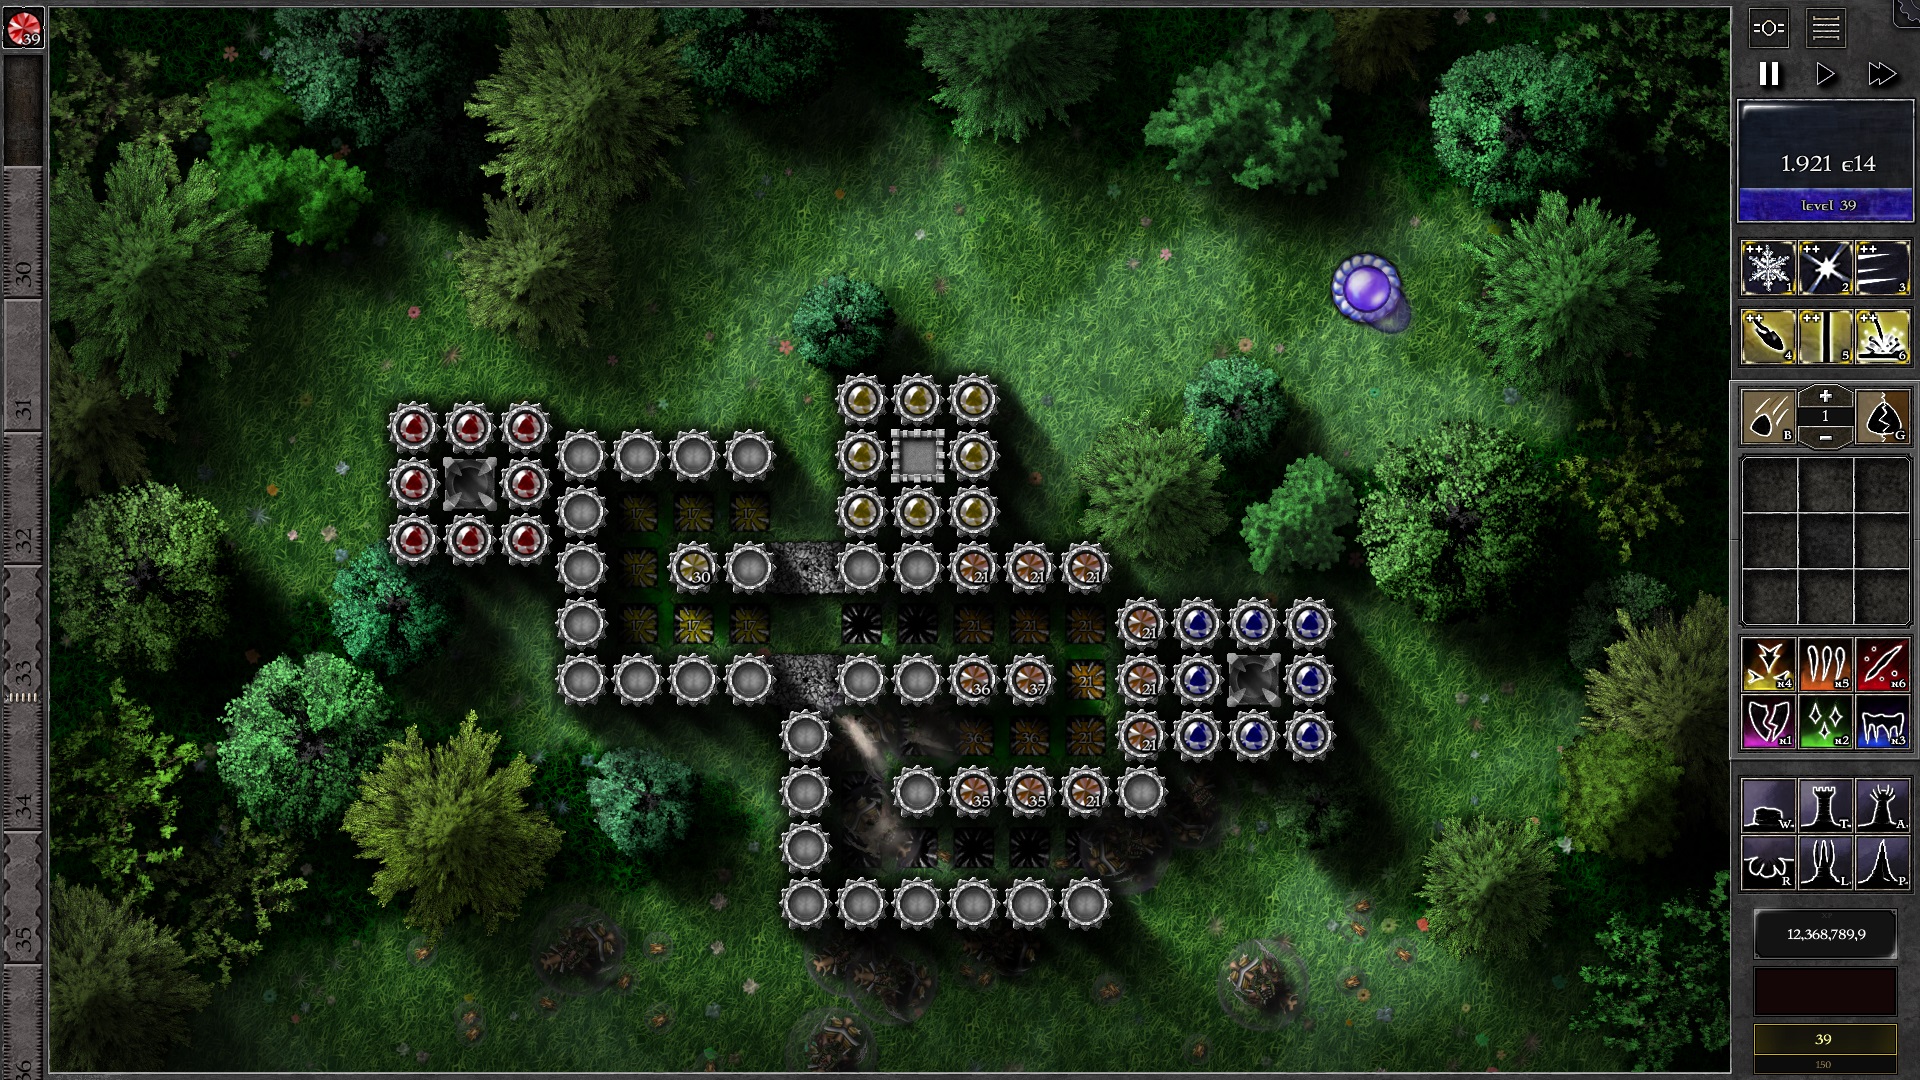
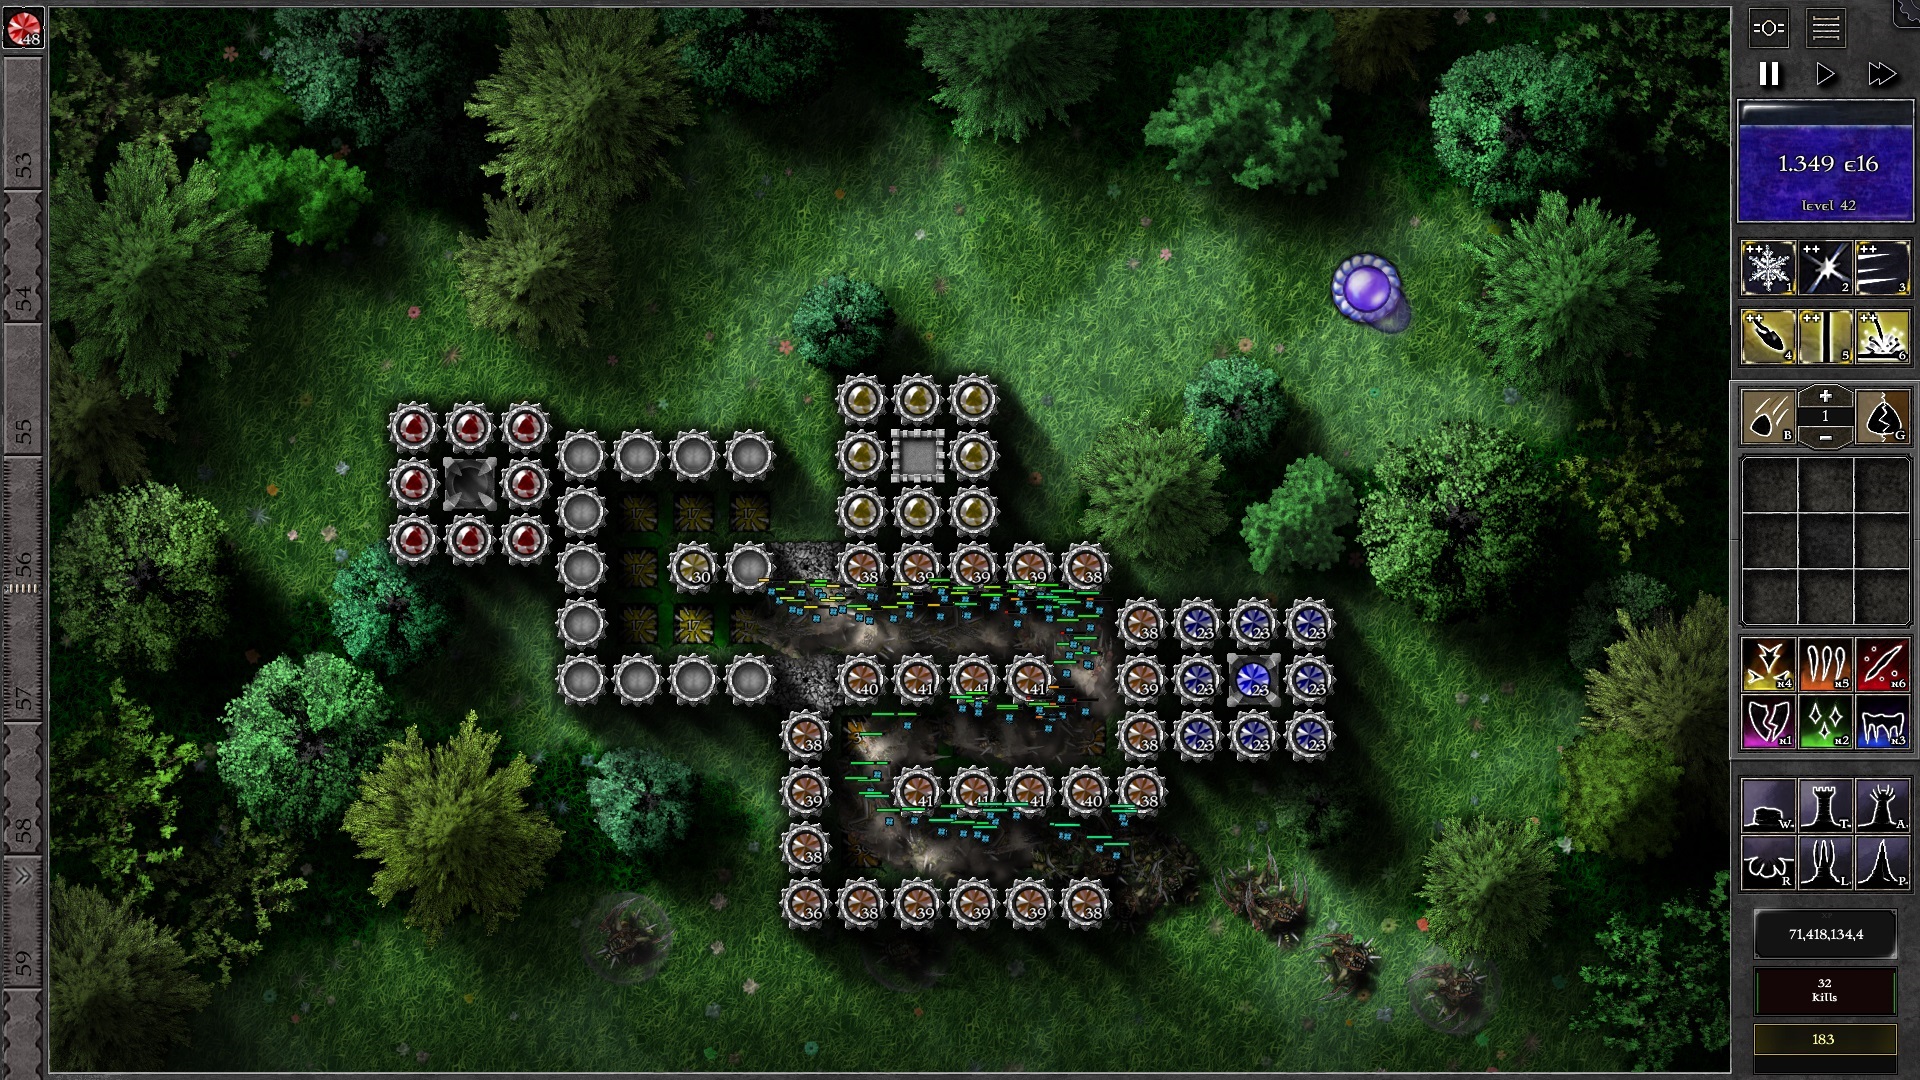
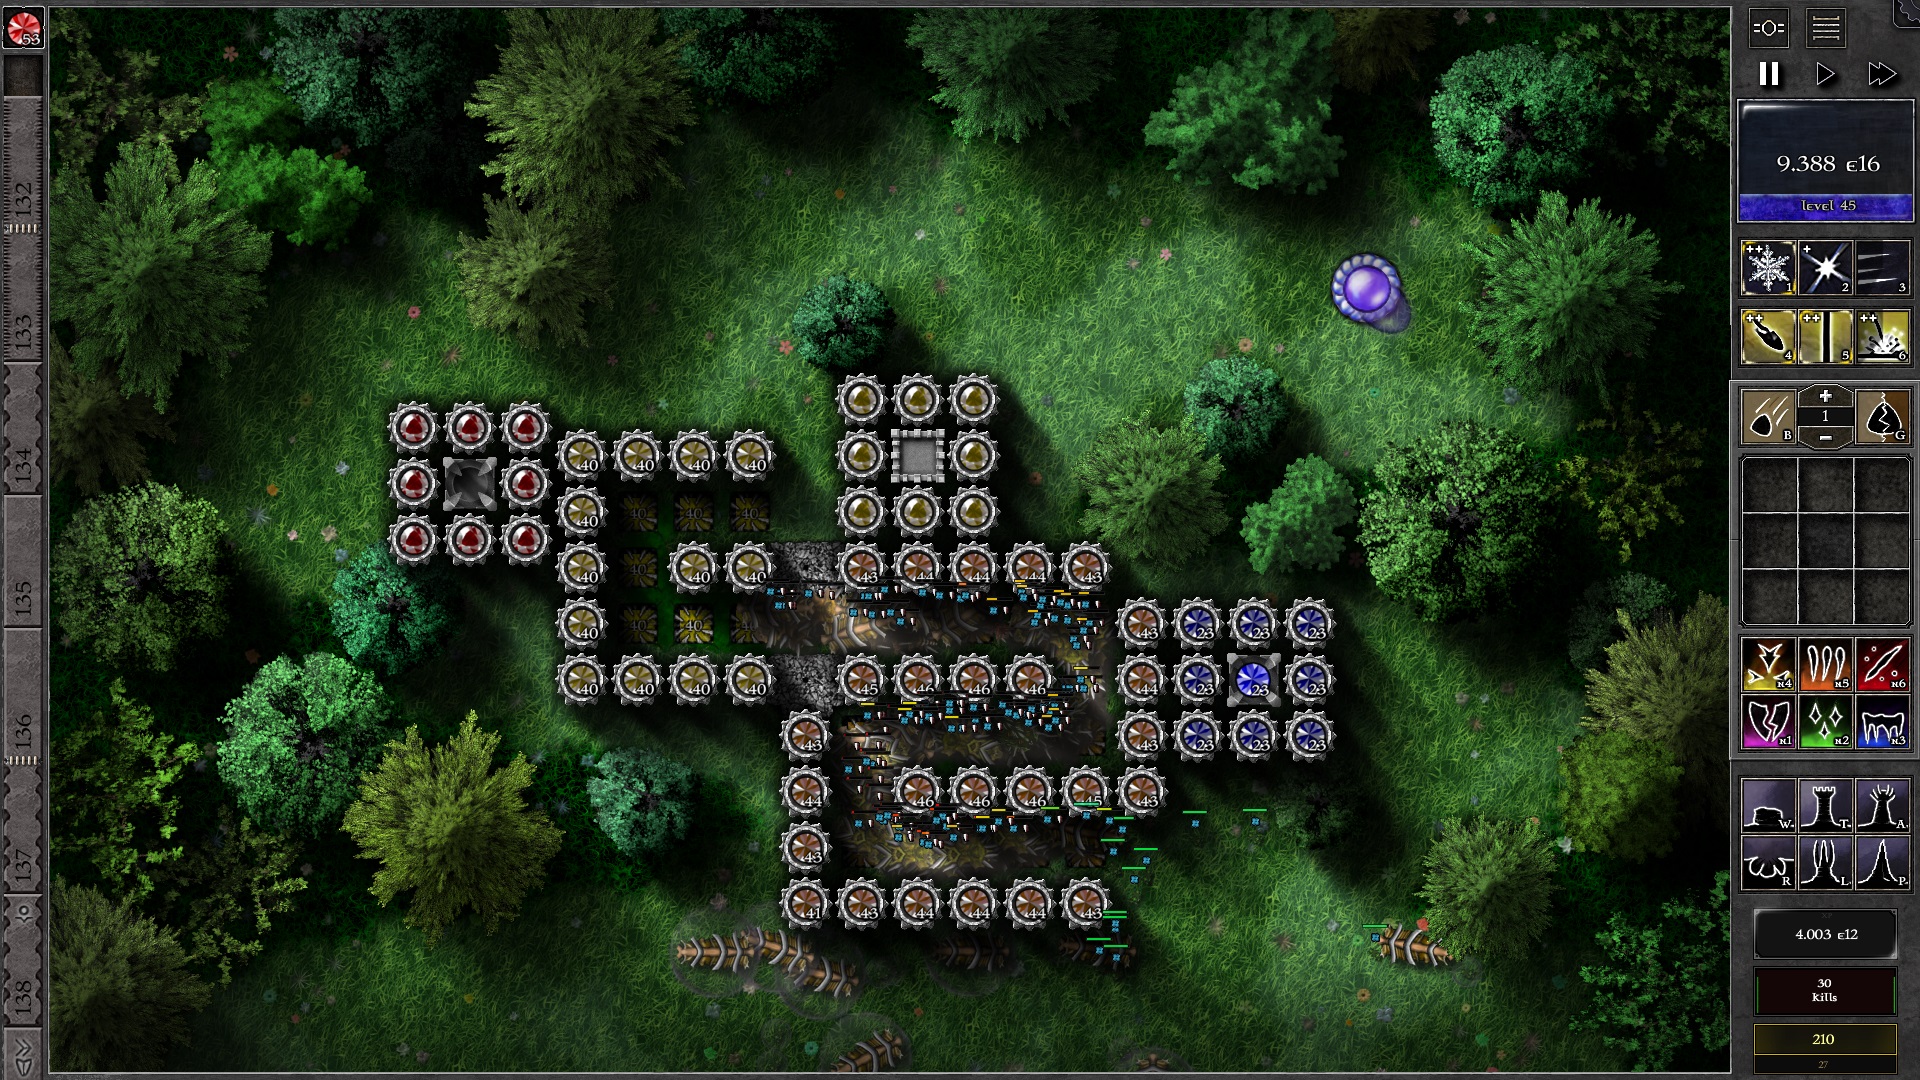
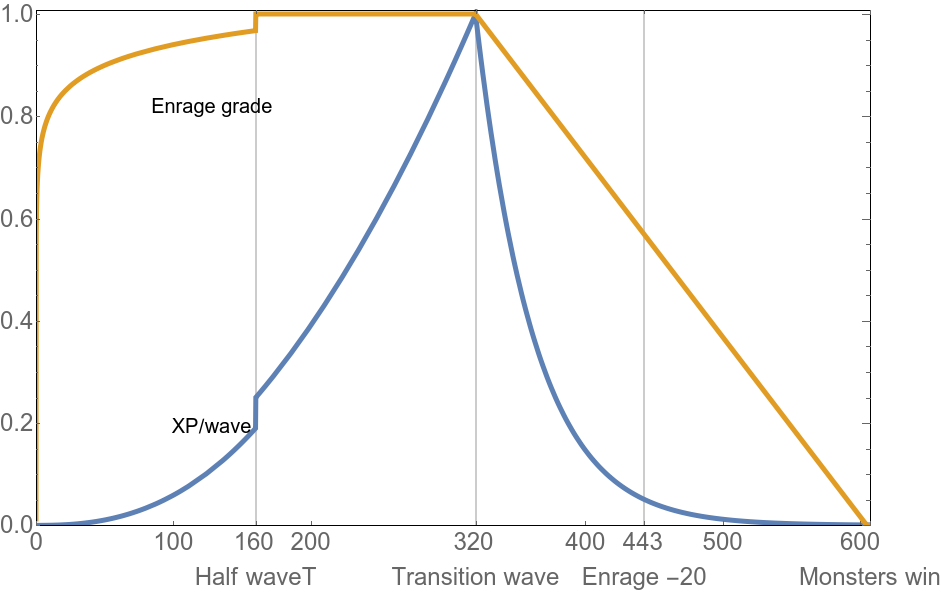
once you get into the flow, you will grow at insane speeds. i used this guide around 400, redid my skills as closely as possible and cleaned up my talisman. finally i took the correct handicaps i'm starting to jump levels, like hundreds of levels for finishing one map. within two days of casual play i've gone from level 1000 and broke into level 8000. it's not efficient for lower levels, but everyone can get something significant out of this excellent guide.
But when I read "take a look at <LOW LEVEL GUIDE THAT DOES NOT YET EXIST>" I stopped reading inmediatly.
I mean, I've spent the last 3 weeks to reach level 380, and this guy tells me to be higher than 10K?? No thanks, I have a life to live, I don't want to get old and tell my grandsons that the only thing I did when I was young was play Gemcraft.
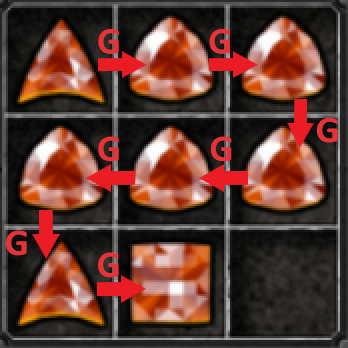
The recipe says to dupe the base gem 4 times and then combine 2 together, then add the 3rd, then the 4th.
The resulting gem has 1.92x the leech, 2.47x the max damage and 1.89x the crit mult.
This is in contrast to using U twice, which is ((g+g)+(g+g)), still costs 4x, but has 1.90x the leech, 2.50x the max damage and 1.90x the crit mult.
It doesn't cost the same at all, and it costs vastly more (4x the cost) to upgrade to better numbers.
Level 2 4c gem cost = 30+30+30+30 (4 base gems)+168 +168 + 168 = 624 mana for a gem that has 8.38 mana per hit
Level 2 upgrade gem cost = 30 (base) + 198 = 228 mana for a gem that has 6.01 mana per hit.
So we only see a ~30% increase for a tripling of cost.
Also ((g+g)+(g+g)) would be a level 3 gem, whereas combining a (((g+g)+g)+g) makes a level 2 gem as the combination of any lesser gem never upgrades it.