Team Fortress 2

Team Fortress 2

66 ratings
Engineering in MvM - a comprehensive guide.
By Tree
This guide aims to help you well on your way as an engineer in Mann versus Machine. Destroy those pesky robots with some machinery of your own, and be a great asset to your team.
   
Award
Favorite
Favorited
Unfavorite
Introduction
Playing the engineer in MvM is quite different from playing in a casual server. There are certain things you need to keep in mind, and a certain playstyle that suits MvM best.

However much butt you might kick as a combat engineer in casual, toting your Frontier Justice and Gunslinger, tipping your cowboy hat as you go - MvM requires a more passive playstyle. There's no way you'll get through the endless waves of tin-can troglodytes by saving up some crits with a mini-sentry.

In view of that, this guide also covers engineer as the support class he's meant to be. This guide encourages an effective, defensive playstyle.
Loadout
Primary
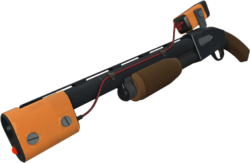
Your primary weapon is going to be the rescue ranger. Not only does this help with repairing your buildings at a longer range (especially your dispenser, considering that one is pretty much at the front lines where you don't want to be), but I cannot count the times that I have been able to save a building in a pinch by right-clicking.

Overwhelmed by a surprise sentry-buster? A robo-soldier flung you away from your sentry? No time to pick it up? Just equip this, aim at your sentry and right-click.

Admittedly, once you've fully upgraded your buildings' health, the long-range healing is simply too time-consuming (as one shot is fixed at 60hp and does not scale) and you're better off hitting it with your wrench - but the long-range picking-up of buildings is still a utility that outweighs all other options.

Secondary
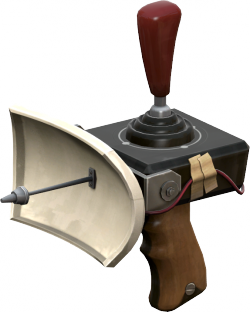
The wrangler is, by far, the best option here. Its ability to tank damage is so strong, it's almost broken.

The best way to counter an engineer using the wrangler in casual is shooting the engineer. However, we're dealing with dumb robots. They'll keep shooting your sentry, not caring about you one bit.

In addition to making your sentry a powerhouse to counter those big robots, it's also wonderful in a pinch as it greatly boosts the fire rate of your sentry. If they're getting a bit too close to the hatch, just whip this bad boy out and hold your mouse buttons down.

Melee

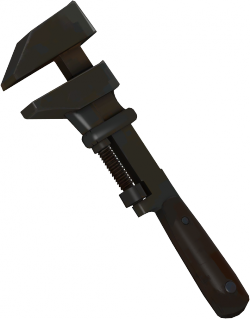
The wrench is my personal favourite. In my opinion, the faster construction speed the Jag offers does not outweigh the slower repair rate. You can upgrade the swing speed of the stock wrench and, considering it doesn't have a damage penalty, doing so will not only prove useful in repairing your buildings but in dealing with spies as well.
Buildings
Movement
Move your buildings with your team. Don't be that engineer building on last. Sit down next to a safe ammo box, whip up a dispenser, and move it over to your team.

Keep an eye on the wave when you do so. Is there a small break? Can we move up? Walk right in with that dispenser. However, if your team is fending off a big robot, it's worth setting up shop a few steps back so it isn't immediately shot down.

Watch out for sentry busters. If you see one coming, pick up your sentry and move away. Trigger it somewhere where it won't bother your team, your buildings, or you. Then just stick the sentry back where you originally had it - provided your team didn't need to fall back.

Dispenser
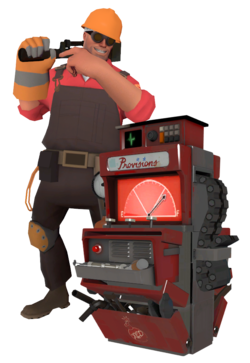
Your dispenser is not for you but for your team. Your medic cannot heal everyone at once. Your soldier and especially your heavy rely on your dispenser to provide them with ammo. View your dispenser as being half of of your engineering duties.

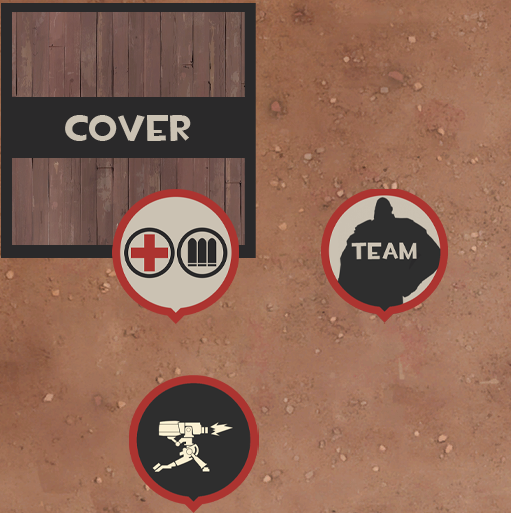
Your dispenser should be where your team is, but (slightly) behind cover. Your team needs to be able to access the dispenser with ease and preferably stand right next to it, but robots shouldn't be able to easily take it out upon spawning. You can put it behind a box, just around a corner, or behind a ledge. Anywhere where your team can still shoot at the robots while benefiting from the dispenser without the first big robot immediately taking it out.

Remember that sentry busters can simply walk through your dispenser to take it out on their way to your sentry. Make sure it's not in the middle of the path.

Sentry
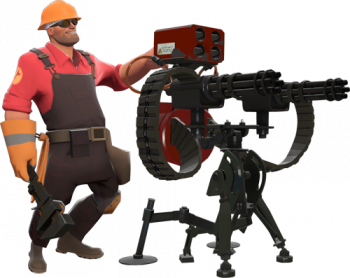
Your sentry is an area denial tool. You know those pesky scouts that slip past your team? Getting rid of them is your job - or more specifically, that of your sentry. Is your sentry down? Then you're probably down, too.

Put your sentry behind your team - but not seven miles off. Ideally, your team should be within range, but not so close that a misplaced sentry buster takes them all out. For the same reason, make sure your sentry is also far enough removed from your dispenser.

If you need to assist your team with a big robot, don't depend on the range of your sentry but whip out your Wrangler. Have the sentry shoot on its own for large groups of small fry. If you've purchased the right upgrades, you can also tank a great deal of damage.

If you're dealing with a large majority of close-range classes (think fist-of-steel heavies, pyros or demoknights), consider putting your sentry on a low ledge. Avoid putting it on a roof.

Teleporter
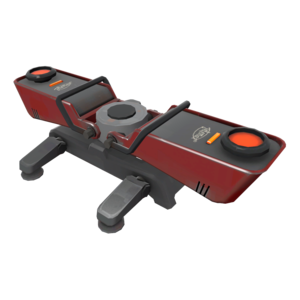
Your teleporter is a great asset to your team, especially if your medic is having trouble keeping everyone alive.

Taking that scenario in mind, it's not wise to place your teleporter directly at the front lines. Put it a little bit back, make sure it takes care of roughly 75% of the walking distance needed to get to the front. Any more is excessive, and likely to turn your teleporter into a death trap.

Place it somewhere where you don't have to worry about repairing it. Small houses, roofs or props all suit your teleporter needs. If the frontline gets pushed beyond your teleporter, destroy it. Otherwise, a team member might go through, kill a robot, which will then drop some money that no-one can gather (messing up the A+ money rating).

Placement
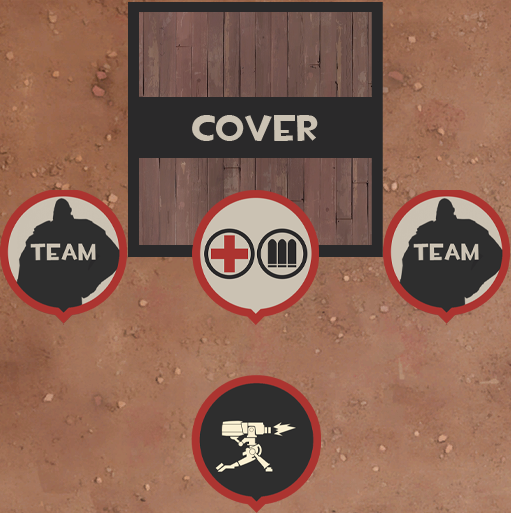
Taking note of the tips above, your placement should resemble something like the images below. Note that this is a general outline, there are always map-specific spots that may suit your needs even better.


Look for windows or other props on the map that partially cover your sentry (not the guns, of course). You may also be able to exploit slopes to gain some elevation. If you can, don't put your stuff down where snipers can get to you. Getting shot in the head while a sentry buster walks towards you is an awful feeling.

Is there an ammo crate that you can sit on top of? Use it! Make that ammo spawn your very own personal dispenser substitute.
Upgrades
What not to buy
In general, you can skip primary and secondary weapon upgrades. Your main focus will be on your buildings.

However tempting, do not buy a disposable mini-sentry. It's simply not worth the 500 price tag, and is inferior to the upgrades listed below.

Upgrades
In (rough) order of importance, buy the following upgrades:
  • Dispenser range
Max this out immediately. Full dispenser range means that your dispenser provides health and ammo to your teammates over a wide area. Not only does this give your teammates more room to move around, but this also means that splash damage is less likely to damage your dispenser, saving you trips to the front line for repairs.

  • Building health & metal capacity
Level these two up simultaneously if you can. Building health has the benefit of applying to all your buildings, making you much more of a bullet sponge. Metal capacity, in addition to being able to carry more, also impacts the amount of metal you pick up from ammo boxes. A medium ammo box is a 50% metal refill, a large ammo box tops it up completely (that's 600 metal if you've fully upgraded your metal capacity).

  • Wrench attack speed & sentry firing speed
Wrench attack speed comes in handy when you're facing spies - or when you need to tank some damage using your sentry. It helps keep your sentry alive, effectively increasing the speed at which you can whack your sentry to repair it.

Sentry firing speed sounds like a great way to increase your damage output, but there's a catch.
First, only the first level does exactly what it says on the tin. The second level only applies to a wrangled sentry, so only purchase that if you're using the wrangler a fair amount. Furthermore, as things are right now, the last (third) level of sentry firing speed is bugged. It does nothing. As such, you may want to purchase only the first level of sentry firing speed and leave the rest of the money for other upgrades.

  • Blast resistance and crit resistance
Only buy these if they're applicable to the wave you're in. Remember to check the icons on your screen for the robots you're facing. If you suddenly end up needing this over another upgrade in a later wave, you can always refund the credits spent so far and redistribute them towards resistances.

You can tank most other forms of damage using your buildings. You can have your sentry tank bullet damage for you by sitting behind it and giving it a good whack. Fire damage doesn't quite apply to you as pyros need to get close. Flares are also destroyed upon hitting a sentry.

Canteens
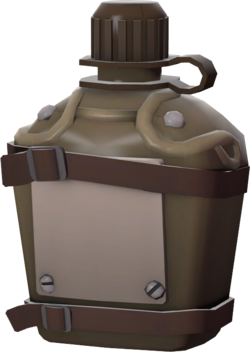
Building upgrade canteens are incredibly useful and can save a wave. If your team is having trouble and is slowly falling back, being able to instantly erect a level three dispenser and sentry is often enough to bring it back to a standstill.

Try to always have one on standby but don't overdo it. You need your money for lasting upgrades, otherwise you won't be able to make it through the final waves. Try not to use more than one canteen for each wave during the first few waves - but preferably use none at all.

In the end, this also depends on your team. You might purchase an upgrade canteen on the first wave but end up not using it at all.
Afterword
Conclusion
Take care of your buildings and they'll take care of you. Help your team and they'll help you. Such is life in Team Fortress 2.

Comments and contributors
If you feel there's something in particular that I need to include, please do leave a comment below. If it's insightful (not "haha, wrench is stinky"), I'll likely incorporate it in the guide and add you as a contributor.

Changelog
  • 12/05/2020
Swapped wrench attack speed and sentry firing speed (cheers, Pastapockets!)
Clearly specified the sentry firing speed levels and what they actually affect (cheers, PDA Expert and mentorgaemoc!)

  • 11/05/2020
Included reference to the disposable mini-sentry (cheers, rupert!)
Included destroying teleporters as the front line shifts (cheers, This.. Is a bucket!)

  • 08/05/2020
Included reference to the third level of sentry firing speed being bugged (cheers, Toki!)
  • 01/05/2020
Uploaded the first version of this guide.
Updated localisation files.

23 Comments
noki 12 May, 2020 @ 8:22pm 
You should explore some of the dumb glitches with the buster that I love to abuse in TC especially (Instant-blow up when spawning, unable to blow up after reaching sentry...etc etc.)
Peril 12 May, 2020 @ 12:16pm 
leopard
Gativrek 12 May, 2020 @ 4:22am 
You can also add a section for using the Frontier Justice specifically for the Disintegration mission. It is vital for the engineer to one-shot uber medics that come with the engineers. Rescue Ranger, Widowmaker and Frontier Justice are pretty much the only options for engineer's primaries, being the Widowmaker and Frontier Justice the most situational ones.
Tree  [author] 12 May, 2020 @ 2:51am 
@PDA Expert
I did some digging, turned out you're absolutely correct! Guide updated.

@Gatrivek
Cheers, noted. I'll put this in the yet-to-be-made Tips and Tricks section, considering it's a strategy specifically for dealing with tanks (that is, unless we're talking offensive ballsy engineer, which this guide doesn't cover ;-) ).
Gativrek 11 May, 2020 @ 6:25pm 
You should add a note on primary weapon talking about the Widowmaker. It is the best primary for Bigrock and Rottenburg. It does insane amounts of damage to the tank when you have max firing speed and crit canteens.
PDA Expert 11 May, 2020 @ 2:04pm 
but at the same time I might be wrong so don't take my word for it.
PDA Expert 11 May, 2020 @ 2:03pm 
The secodary upgrade for the sentry firing speed only applies when the wrangler is pulled out, making a drain of ammo but yet a powerful giant buster (Atleast from my experience) , if you for whatever reason don't have the wrangler equipped (Or simply don't have it in your inv.) don't buy it, it could be a waste of 350$
Pastapockets 11 May, 2020 @ 3:26am 
Building health should always be maxed before firing speed along with two points of wrench swing. There's no sense having a fast firing sentry if it's dead.
Tree  [author] 11 May, 2020 @ 1:55am 
Updated and added you lads in the afterword. Cheers!
This... Is a bucket 10 May, 2020 @ 9:05pm 
It's advisable that if the front line gets pushed behind the teleporter, engineers should destroy the teleporter entrance so teammates don't go through, kill one robot, and mess up the A+ cash for that round.