State of Decay

State of Decay

50 betyg
Basic Modding - Changing a character's appearance and portrait.
Av Proph
A simple guide which will explain the basics of modding State of Decay, as well as explain how to change the model appearance and portraits of "story characters."
   
Utmärkelse
Favorit
Favoritmarkerad
Avfavoritmarkerad
Basic Explanation of State of Decay Modding
Modding in State of Decay is rather simplistic, but understanding the basics will help you to troubleshoot what's going on in your game and why or why not you may be having difficulty in getting your mods to work.

Essentially the way State of Decay (SoD) works is that you execute the game engine, whose job it is to run the appropriate scripts in order to make gameplay happen. Those scripts then in turn call upon the game's resources in order to create the environment--things such as animations, character models, audio files, etc which are all located in the game's data archives (.pak files). For the purposes of modding, modifying either the game engine or the scripts that the game uses is tedious and complicated. However, we can change the aesthetics of the game rather easily by simply replacing the existing game resources with those of our own design. The game will then use models/animations/whatever of our choosing instead of the one that is already present.

Fortunately for us the developers of State of Decay made it very easy for us to overwrite the existing resources in the game. You will not have to archive any files that you create or edit, all you'll have to do is place them in the game folder with the correct directory. The game engine will use resources that are in the folder before it uses resources that are in the data archives. This essentially means that we can make rather simple changes to the game with very few resources or time investment on our part.

In a nutshell that is what you'll be doing when you mod SoD. All you have to do is either pick new files or edit existing ones, rename them, then create the appropriate directories and drop the file in. When you next start up the game it will use the files you put in the directories instead of the default ones.
The Tools Needed
The programs that you'll need for editing are essentially determined by what you want to edit. For the purposes of this guide I'll only be listing two, since we'll only be doing minor texture editing.

The first program that you will need is the "State of Decay Extraction Tool" otherwise known as SoDET. It can be found here: http://forums.undeadlabs.com/showthread.php?34609-State-of-Decay-Extraction-Tools

The SoDET will allow you to extract the files from the data archives (in this case the .pak files). The reason we're using SoDET and not WinRAR, 7-Zip, or any other archiving utility is because they will not always have the necessary scripts to properly extract the files. If you use WinRAR or 7-Zip instead of SoDET then the files will all be blank and obviously useless.

The other tool you will need is GIMP which is a free image editing program. It can be found here: http://www.gimp.org/ After you download GIMP you will need a DDS plugin (found here: http://registry.gimp.org/node/70). Copy the plugin into the plugins directory (default C:\Program Files\GIMP 2\lib\gimp\2.0\plug-ins). Without the plugin you will be unable to open and edit DDS files, which is the format used for all SoD images.
Editing Character Appearance
State of Decay creates new characters through a character generation system, so modding these characters is essentially impossible for us. However we can edit what are known as "story characters" which are characters that are the same in every game (Marcus Campbell, Ed Jones, etc.). For this tutorial we'll be editing Marcus.

First you'll want to use SoDET to extract the "character.pak" file located in C:\Program Files (x86)\Steam\steamapps\common\State of Decay\Game Simply open the extraction tool, click "open," browse to character.pak, and then hit extract. It will now extract the contents of the character.pak file into a folder on your desktop.


Now we have to choose the model that we want to use. You can find a full list of the models as well as the appearance they have by clicking here[community.wemod.com]. I chose male hoodiejacket_jeans variant 4, but you can of course pick any one that you like.

Now to change Marcus' appearance to instead be the guy I chose with the hoodie jacket and hat, I navigate to the characters archive that I extracted, then go to Pak Extraction\characters\male\human\body\hoodiejacket_jeans\variant and then find v04.mtl and v04.cdf and copy them to clipboard.


I now create new folders in my steamapps\common\State of Decay\Game directory to create the new directory Game\characters\male\human\story_characters and paste v04.mtl and v04.cdf into the new directory. The next step is to rename them to marcus_campbell.mtl and marcus_campbell.cdf respectively.


This will make the game read our versions of the marcus_campbell for display modeling, which is actually the model for hoodie jacket jeans variant 4. See how it works? Now the next time you start up the game Marcus will have a completely different appearance.


You can obviously do this with virtually any appearance in the game to make your character look like the Shark Hoodie guy, a soldier, wear a hazmat suit, etc. It couldn't be any easier.

So to summarize what you do is:

1. Extract the character.pak file using SoDET.
2. Copy the .mtl and .cdf file of the model you want to use for your character.
3. Paste the .mtl and .cdf file to C:\Program Files (x86)\Steam\steamapps\common\State of Decay\Game\characters\male\human\story_characters
4. Rename the files to replace the appropriate character (make sure the file name is the same as the one you're replacing in the files you extracted, e.g. "marcus_campbell" not "marcus campbell")
5. Start up the game and enjoy.
Changing Character Portraits
I'm betting that if you came to this guide you probably have found a slew of mods that change how your character looks but not how their portrait appears in the journal, right? Well that's because changing character portraits is not as straightforward as it seems. You see there actually is a folder filled with character portraits which is actually called "portraits" but I really have no clue what this is used for, since the portraits used in your journal are actually derived from the game user interface.

Basically the way portraits work in SoD is that certain characters have a set portrait and others have a randomly selected head which is then combined with a random hair style. If we want to change the portrait of a character like Marcus we'll have to actually edit the file which has his portrait for the journal.

The archive we want to edit is gamedata.pak, and the file is going to be located under libs\ui in whatever folder that you're extracting the archive to. The file we need to edit here is called "class3_journal_i1a.dds"

A DDS file is a type of image file, so you'll need to use GIMP 2 or any other image editor that has the appropriate plugin (very important that you have the DDS plugin if you're using GIMP or Photoshop). Now when you open up the file it should look something like this...


Notice that all the texture elements for the journal are there, including the portrait of Marcus and all the other characters. What we want to do is cut out Marcus' picture, and then copy and paste the portrait that we want over his vacant spot. Either save the file as a .dds, or if you're using GIMP do "Export..." and choose to export it as a dds (make sure the file extension says .dds and not .png). Here's what mine looks like.


As you can see I just copied one of the other portraits and used it in place of Marcus'.

The next step is very similar to what we did for changing the character model. Go into your steamapps\common\State of Decay\Game folder and create a new folder called "libs" and then a folder inside that called "ui" then just copy and paste your edited class3_journal_i1a.dds file into the folder. Here's what it looks like in game.


Much better. Now it's actually believable that the portrait is one of my character. The only thing that you need to be aware of is that if you don't line up the new portrait correctly when pasting it into Marcus' old spot then the portrait won't be perfectly centered when you open the journal. It may take a couple attempts to get the portrait where it needs to be.

So to summarize...
1. Extract the gamedata.pak file.
2. Open up the libs\ui\class3_journal_i1a.dds file using an image editor.
3. Cut out the portrait you want to change.
4. Copy and paste the portrait you want into where the old portrait was.
5. Export the file as a .dds with the same name.
6. Copy and paste the new .dds to the location C:\Program Files (x86)\Steam\steamapps\common\State of Decay\Game\libs\ui
7. Start up your game and enjoy.


That's all you need to do to edit a portrait. Now if you want to make Marcus look like the Shark Hoodie guy you can have a portrait to match.
33 kommentarer
AbysS 7 aug, 2021 @ 18:59 
could help me well i use SODTools but
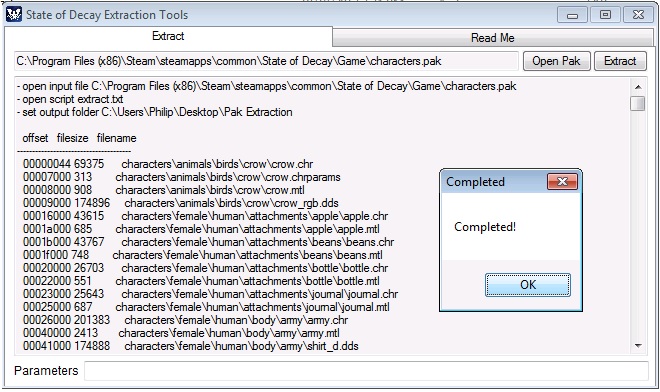
the extracted files have a .CGF and .MTL format, I think the correct one would be .obj and .mtl
I wanted to import them into 3ds max to edit
Proph  [skapare] 11 maj, 2021 @ 13:26 
Thanks for the updated link! Should be working now.
Chubby Chocobo 27 apr, 2021 @ 10:44 
Here is the link to where each model looks like. Credits to MEATNBEANS for compiling them. https://community.wemod.com/t/state-of-decay-character-model-images/2871
jkraem12 21 jan, 2016 @ 11:45 
the link you have for the models is not working by clicking here[ www.xboxmb.com ]
Modified Cleaver 28 feb, 2015 @ 1:19 
Hi, I've modded this game before, turns out there's a way of changing portraits without the use of GIMP or pictures, instead you can change it in the characters.xml files.

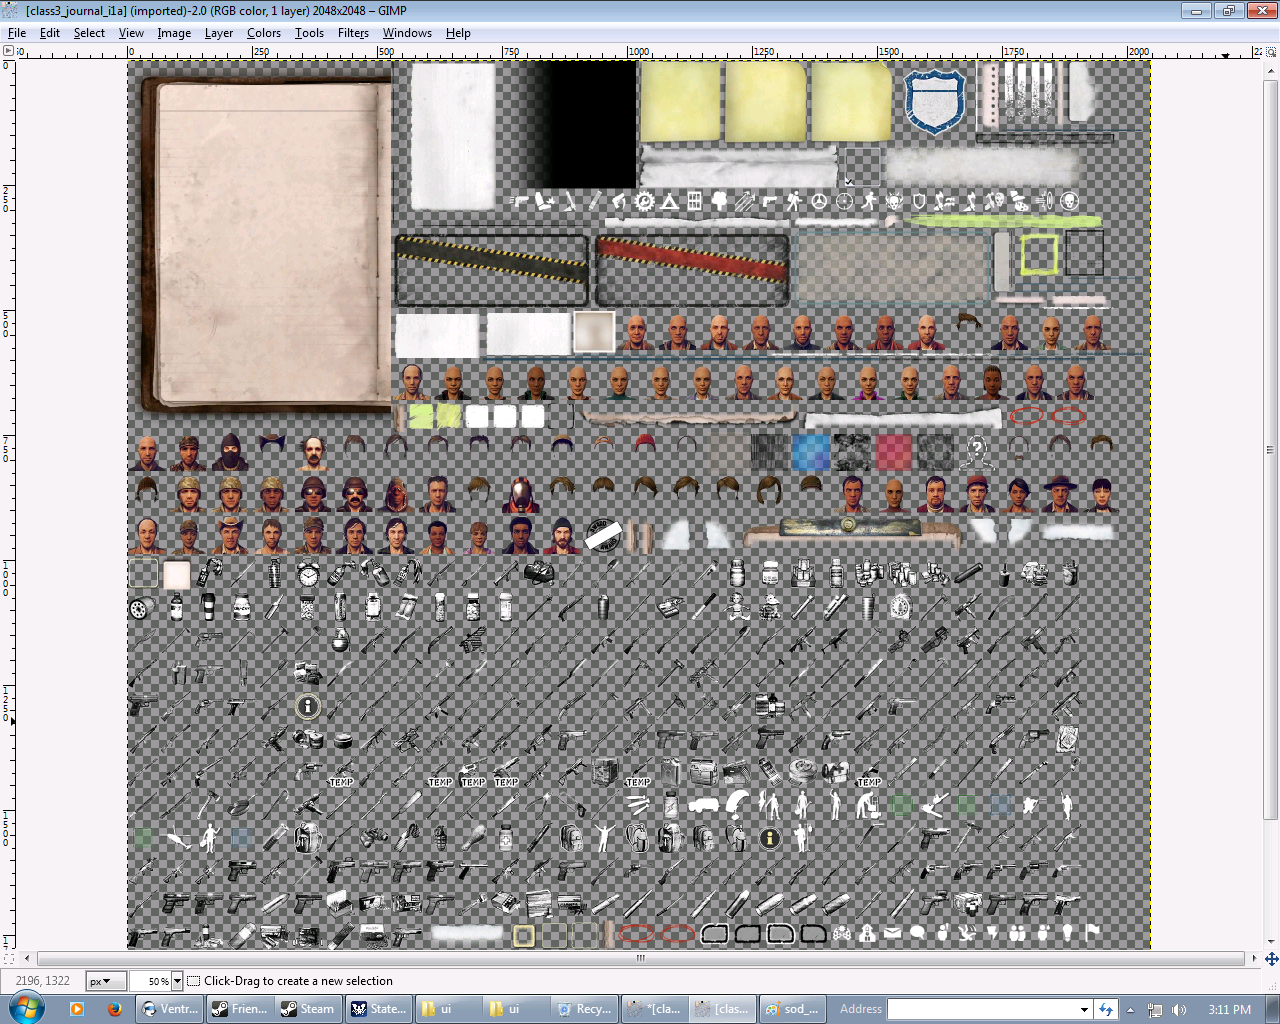
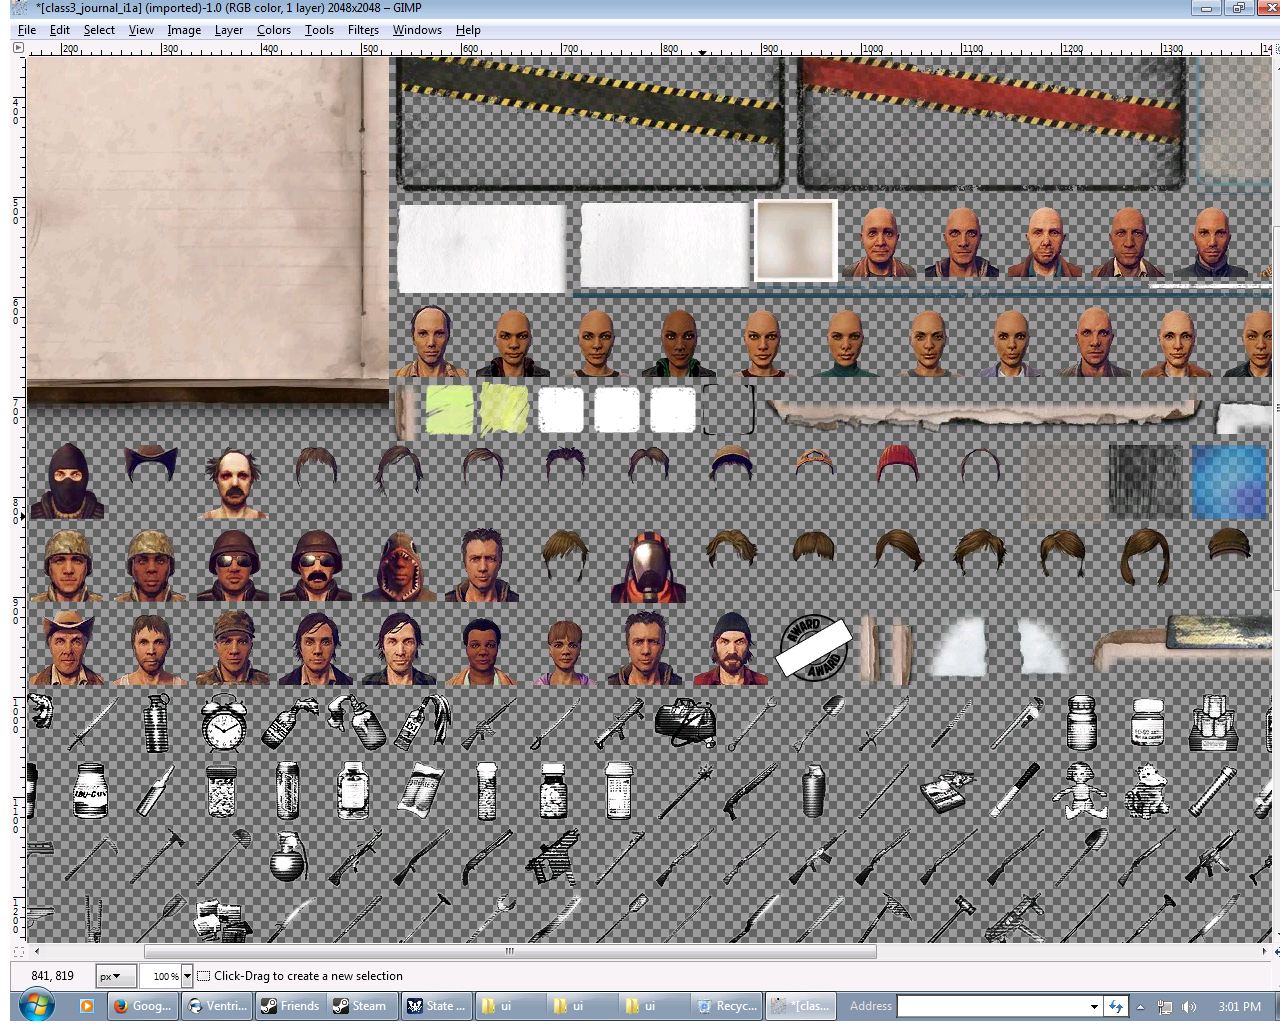
However I'd like a list of every portrait piece with a picture next to it, because I have a hard time finding out what it looks like without starting up the game to find out.

@waterdrop far down in the thread he relisted the links for pirated game players.
King Engine 3 dec, 2014 @ 9:19 
How about characters traits like Powerhouse, Reflexes, etc?
BTW thanks a lot for this mod you give ^_^
Proph  [skapare] 6 jul, 2014 @ 14:21 
@waterdrop66 You need to edit the file directories to the ones you want. So for example if you want Marcus to wear the "combat" pants, then you would find the "legs" attachment in the CDF, and change the directory to point to the that file, so it would look like this:

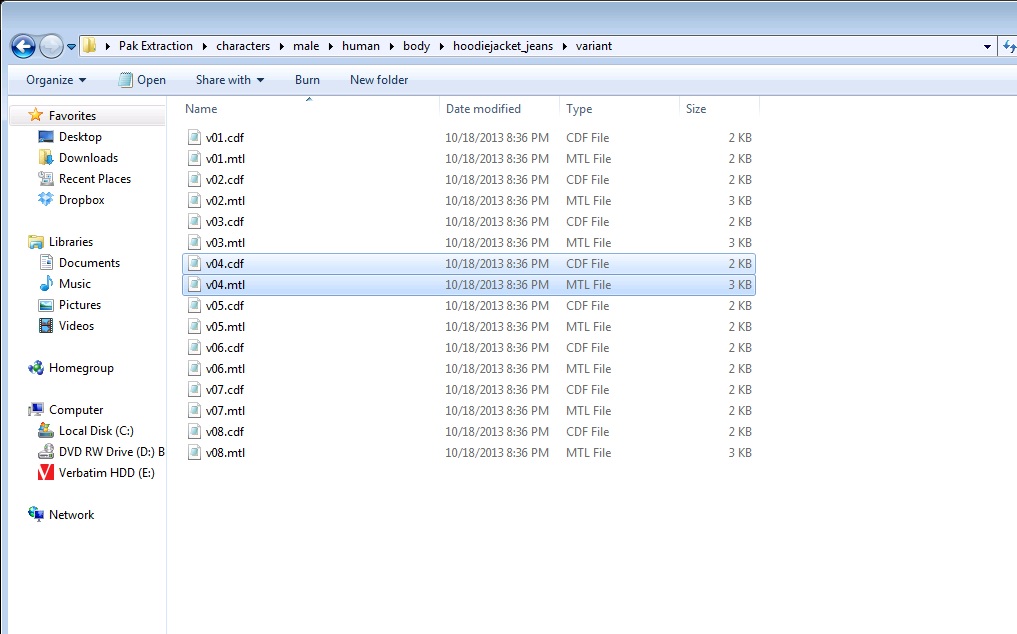
<Attachment AName="legs" Binding="characters/male/human/legs/combat/combat.chr" Material="characters/male/human/legs/combat/variant/v01.mtl" BoneName="" Flags="0" Position="0,0,0" Rotation="1,0,0,0" Type="CA_SKIN"/>
Iguanaparrots 4 jul, 2014 @ 20:02 
@Proph
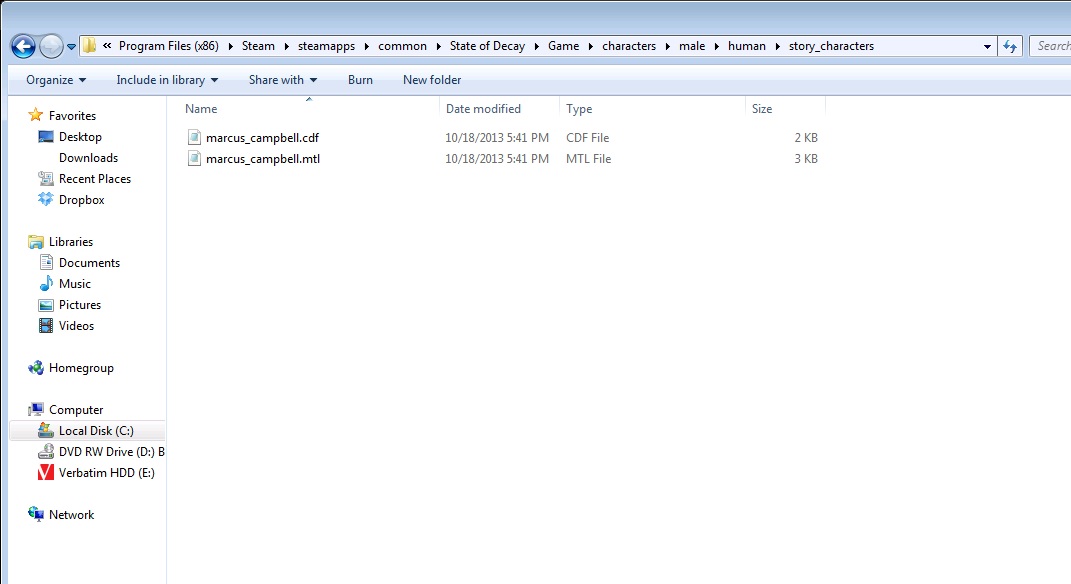
How do I edit the actual .cdf? Is there a program for that? Last I heard, Smashley's character editor was outdated and taken down.
Proph  [skapare] 3 jul, 2014 @ 21:33 
@waterdrop66 Yes it is. You can edit the desired character's .cdf file to change attributes like skin tone and clothing. Here's a couple pictures of my "Marcus" rocking a shark hoodie and an alternate textured pack. http://i.imgur.com/vkaDadJ.jpg + http://i.imgur.com/YAXYrO1.jpg
Iguanaparrots 3 jul, 2014 @ 19:46 
Is there any way to change individual things like hair, legwear, skin, or shirt?