Risk of Rain 2

Risk of Rain 2

91 ratings
REX: A Guide
By Δ
REX: It ain't exactly a dinosaur, but it's kind of like a Metal Gear, just really, really tiny. This guide will give you the basics on REX and tell you what items are good choices to build with them. Soon you'll be able to REX the competition!
4
2
   
Award
Favorite
Favorited
Unfavorite
Introduction
NOTE: I haven't played REX that much yet. I only unlocked them a couple days ago, which I guess isn't much more than anyone else at this point. Do not take this guide as the be-all-end-all of strategy for this character; this is just what works for me and should hopefully give some insight into the character in general. If you build your own play style off of this, then arguably I've done my job even better than just telling you all this.

Also NOTE: plural pronouns and verbs are used for REX throughout the guide because the lore indicates that REX is both the plant and the robot. Don't get on my case for this.
How to Unlock
Oh boy, this is a tough one. You cannot unlock REX as MUL-T (presumably for balance reasons) but you can do it on any difficulty.

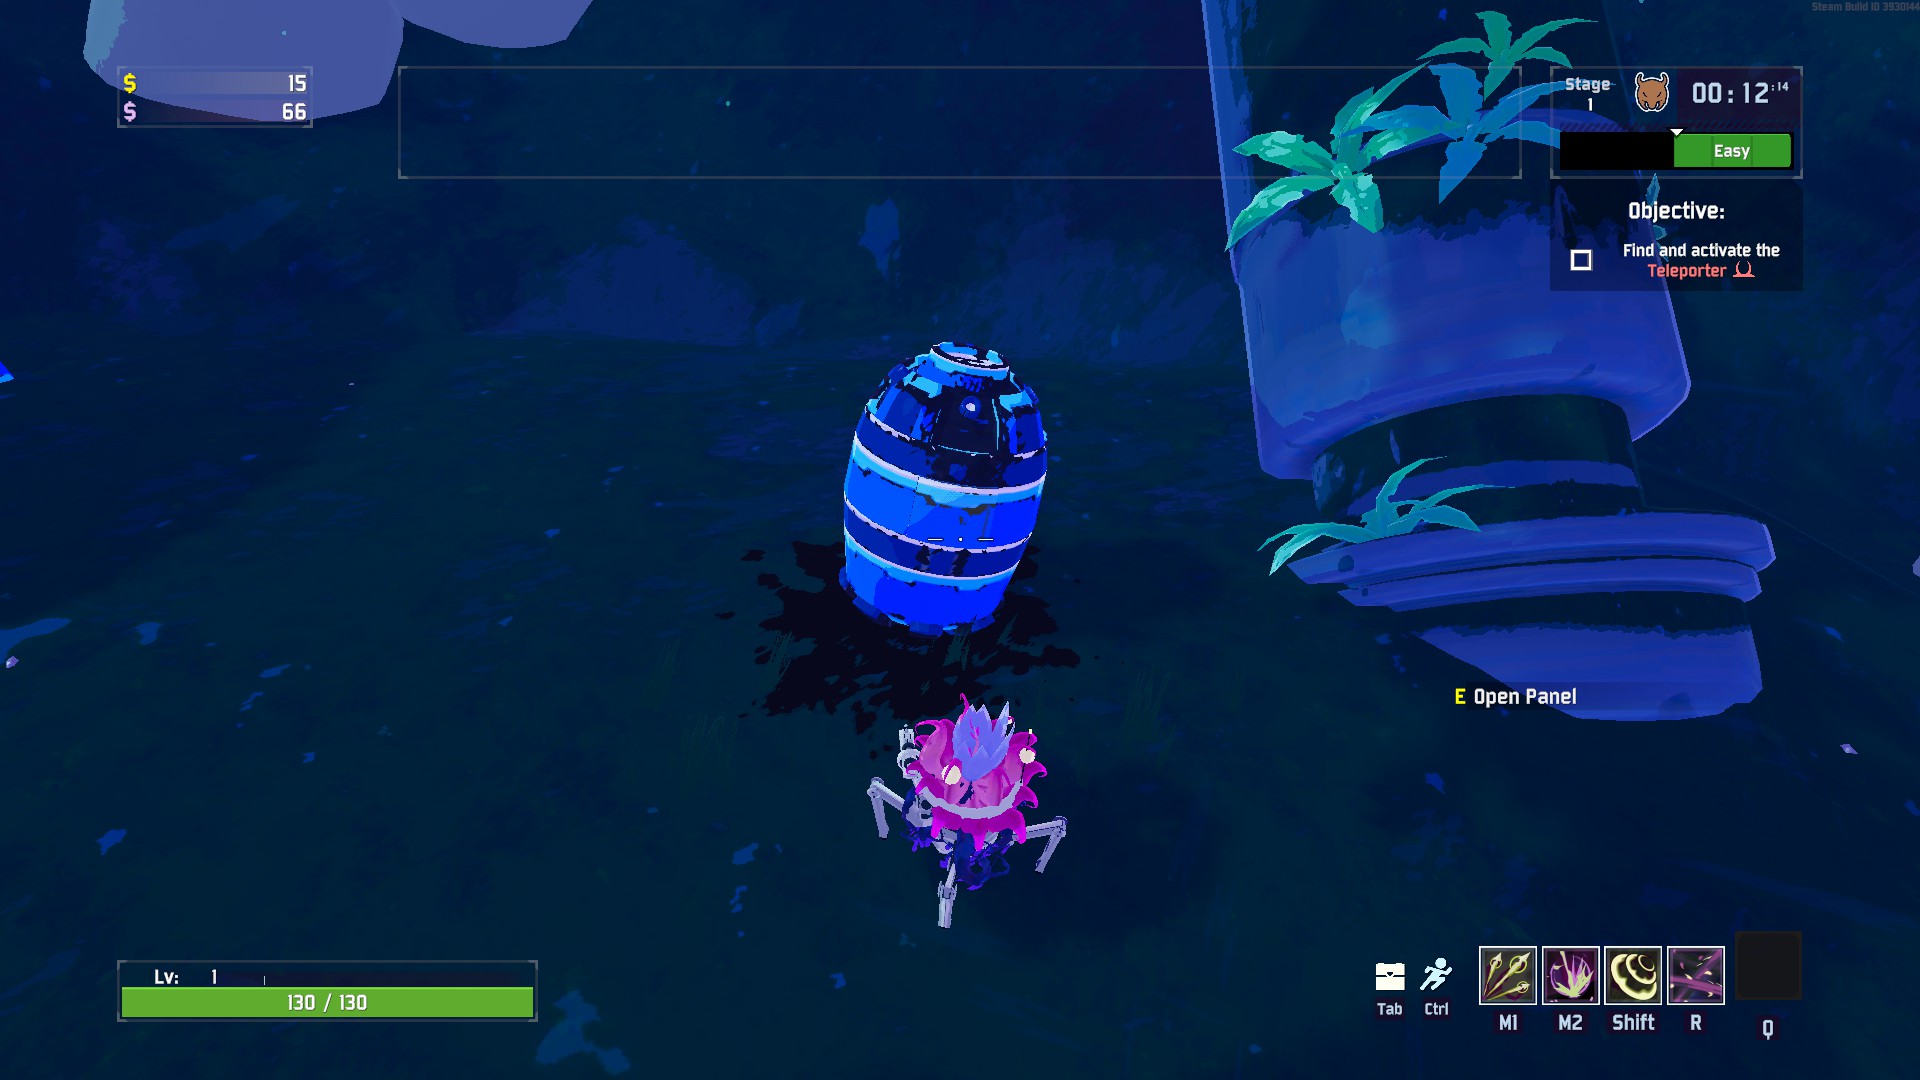
So, first of all, once you get out of the pod, look around the back for a panel.


Open the panel and take the Fuel Array inside. This takes up your equipment slot. You must carry the Fuel Array all the way to the fourth level. This is made more difficult by the fact that the Fuel Array will explode if you go below 50% HP or take too much damage in a single hit, killing you. I highly recommend doing this on Drizzle and playing a durable character like Engineer as a result.

You have to get to the Abyssal Depths stage to unlock REX; I recommend getting to the Bazaar if possible at level 3 and spending the lunar coins to select the stage in order to make sure that you get REX. Use the jump pads to get to the upper level. You should see a taller plant on this level that you can interact with. Hit E to use the Fuel Array on it.


Congratulations, you've just unlocked REX! Now all you have to do is finish the run (in whatever manner you choose) and you can play as your new character.
Basic Abilities
REX carry a unique status effect with them called "Weaken," which reduces enemy's movement speed, defense and damage for a little bit. You can spread this in a couple of different ways (through your primary and your utility skills), and doing this is a huge boon for your team. Who doesn't like to take less damage and deal more in turn? Exactly. This gives REX the feel of a support character, but REX can carry by themselves thanks to this and their most prominent feature, the ability to heal themselves with several of their attacks. This also helps to offset the HP cost of two of their abilities, as well. (NOTE: As a result, longer games can be very difficult because Malachite elites inflict a heal block status that can mess you up very, very badly. I somehow forgot this was a thing when I first put the guide together. This also means that playing REX while your party has the Artifact of Death on is a very bad idea unless you're stacking Dio's, because you'll just naturally end up being the highest-risk.)

REX's primary talent as fighters is in dealing with tightly packed enemies due to their secondary and ultimate skills both affecting an AoE (the ult is pretty big; your secondary, less so). If someone gets a bunch of enemies into a group for you (or, say, everything goes after an Engineer's turret -- less common in RoR2 than the original, I've found, but still a possibility), you can set up for some huge damage potential. Alternately, you can use your skills to set this up for you because they can help move enemies around, then spam your secondary for lots of DPS.

Overall, REX form a strong, versatile character that can fit into almost any team build, with different needs from a lot of other characters (thus making them easier to fit them into teams). The challenge to unlock these little guys? Well worth it.

BASIC ABILITIES:

Primary (M1): DIRECTIVE: Inject - "Fires 3 syringes for 3x80% damage. The last syringe Weakens and heals for 30% of damage dealt." This actually might not be your bread and butter depending on how you build, not unlike the Artificer, who often has to juggle all her skills early on due to running out of fire blasts. However, your primary is pretty good, but the refire rate is not amazing. It used to be so much worse, though; I thought you couldn't hold the mouse button to get a refire rate when I first used REX, it was that bad at release! Note also that the proc coefficient of the shots are only 0.5 a piece, cutting your proc chances in half per hit (but each attack is three shots, so that's a little offset).

Note that the three syringe shots fan out slightly in a horizontal line, so the second syringe goes right down the middle of your aim, while the first is slightly to the left and the second is slightly to the right. If all you want to do is land the debuff, keep this in mind.

Secondary (M2): Seed Barrage - "Costs 15% of your current health. Launch a mortar into the sky for 450% damage." Well, "mortar" is misleading. You target an area and a thing drops out of the sky and explodes on that. This ignores ceilings and stuff, otherwise it would probably be useless in some levels. Importantly, Seed Barrage does a ton of damage, and its low cooldown (a second or less!) makes it incredibly spammable. So it's kind of an actual barrage.

15% of your current HP sounds intimidating, but it's not horrible with some recovery items -- this self-damage procs on-damage effects for items like Medkit and Brittle Crown -- and with the effects of your healing skills. REX have a surprising amount of sustain despite hurting themselves constantly. If you're using this, due to its high rate of fire, Razorwire is always a good get if you can, for defensive purposes.

Seed Barrage has a ridiculous range, by the way, so it's not a bad idea to get into a position and play sniper. Not... not like RoR1 Sniper, your damage ain't quite that high, but you know what I mean.

Utility (Shift): DIRECTIVE: Disperse - "Fire a Sonic Boom that Weakens all enemies hit." I don't use this a whole lot, but it's very good for increasing the distance between you and enemies or, better yet, pushing them all together so you can hit them all with one big attack. This is a good way to apply Weakened and shove enemies into traps, or toward your more powerful allies -- or even off of cliffs for free kills! (I would advise against doing that if you have the Artifact of Sacrifice on, though, because you're not getting those items.)

It's also very good for getting to hard-to-reach places because it knocks you back. You can even get the Newt Altar on top of the tall archway in Titanic Plains (the original version) with enough practice.

Disperse does not proc on-hit effects.

Ultimate (R, "ult"): Tangling Growth: "Costs 25% of your current health. Fires a flower that roots for 200% damage. Heals for every target hit." Using your utility move to push enemies into this if you can is a good idea. Be aware that while most enemies can't move around inside the tangle, you can shove them around with your utility move. I think they're subject to other knockback, too. Note that while Magma Worms will stay tethered to the center of the tangle, they can still move around and will generally go in a circular motion for a little bit while you have them chained.

Note that you will continue to leech from dead enemies in the area of your ult. Not sure why this is, but every little bit helps, because 25% of your current HP is a pretty intimidating cost even with a lot of healing.

Your ult does a ton of damage over time (it lasts for 8 seconds or so) over a decently-sized area. This means that early game Trials of the Mountain are very easy, most of the time, since you can usually easily snare multiple bosses. If you see one on the first level, take it, because it's basically free real estate -- although your life will still not be terribly great with Wandering Vagrants due to how spaced-out they'll be.

With an 11-second cooldown and an 8-second duration, this ability has a great uptime. It's a good choice any time there's a large group of enemies clustered nearby, and you can usually get away with having it down for a second or two. Even so, don't waste it too freely unless you're stacking Purity or have an Alien Head or two; you should try to use it almost exclusively when you can catch 4+ enemies at once. Even if your cooldown is reduced, watch your HP!

Ticks have a proc coefficient of 0.
Unlockable Abilities
Secondary (M2): DIRECTIVE: Drill: "Launch a series of seed bullets into the sky, raining down for 450% damage per second." Unlock by completing REX: Bushwhacked, by clearing a teleporter event while constantly under 50% HP. You might have to avoid using Tangling Growth and stick mostly to Seed Barrage to pull this off.

This is like a smaller AoE version of the default Huntress ult that you can spam more readily, and which you can stack up with Backup Magazines. This is a better choice for a more support-oriented REX or if you primarily work as a boss-killer and nobody's DPS is so high that they can just erase an elite Titan or whatever you end up against. Be aware that this kind of sucks against Magma Worms, though.

You can do a good amount of damage over time with this -- the RoR2 wiki reports 16x90% damage over the three-second duration of the rain if you have an enemy stuck during all of it, for a total of 1440% damage. Each hit has a proc coefficient of 0.5, meaning you shouldn't rely on it to spew out a storm of Mk1 missiles or anything, but you can easily lay down a few stacks of bleed on a sturdy enough enemy.

Picking these will massively increase the priority of Backup Magazines since you'll want to rain down on a big enemy pretty hard.

Utility (Shift): Bramble Volley: "20% HP. Fire a Sonic Boom that damages enemies for 550% damage. Heals for every target hit." Unlock by completing RES: Dunked, by shoving a Clay Dunestrider into a pit on the Abandoned Aqueduct stage. My advice for this is to just keep doing short runs and hoping it lines up. Clear the first stage, then reset if you don't get AA, then hit the porter, then reset if you don't get dunestriders. Don't even bother spending lunar coins on it, because you might still get screwed.

Bramble Volley costs 20% HP for a quick nuke and a getaway if you're in the air. It heals you, too, so this doesn't sound too bad, and a lot of my advice about Disperse applies to this. However, you do not apply weaken with this ability -- and that's not exactly a small loss in later stages! I suggest playing around with both and seeing what you like more. I tend to use Bramble Volley since its damage is pretty high and it gives me two ways to proc self on-damage (mostly to trigger Razorwire, one of my more commonly-chosen items for REX), but another fast source of weaken is great to have.

Unlike Disperse, though, Bramble Volley does apply on-hits, albeit at a reduced rate thanks to its 0.5 proc coefficient.
Items: Preamble
Items are sorted by rarity, then by priority. "Priority" refers mostly to how high priority they are for you to get vs. the rest of your team in multiplayer; purchasing priority is usually discussed in the item notes.

REX have some flexibility in terms of build, and a few unique properties that throw the priorities of some items out of whack. Just like how the Engineer's stationary turrets make the Bustling Fungus a high-value item, REX's HP-cost skills proc Medkits and make them a lot more appealing of a pick-up, but means you should absolutely avoid Brittle Crown unless you never want to have money or end-of-level EXP again.

Like anybody else, REX can build for equipment use. You should only do this if you picked up a really good piece of equipment, like the Royal Capacitor (although a Capacitor-oriented build is definitely best left to the Acrid if your team has one). Enough cooldown reduction makes the Lunar equipment Spinel Tonic extremely viable by basically making it so you don't have to ever worry about dealing with the potential debuff. However, you should leave this build to a harder DPS unless things line up where you can also take it (or you are the team's hard DPS).
Items: Common
TOP PRIORITY COMMONS:

Medkit: I've explained this one already, but you are basically assured to get the most out of it, and making your skills "cheaper" is never a bad thing. Medkits have gotten constant buffs, and now with stacking they can heal a percentage of your maximum health over time. If you can stack these high enough, you can potentially recover your entire health meter when you get hit!

HIGH PRIORITY COMMONS:

Paul's Goat Hoof: You are slow. Fix that. (Don't hog 'em, though.)

Energy Drink: You are still slow. Fix that more.

Soldier's Syringe: Your M1 is strong, but kind of slow; picking up at least a couple of these will patch things up.

Backup Magazine: Backup mags are extremely high priority if you're using Drill, and slightly less if you're using Seed Barrage because its refire rate is already solid for its damage -- but they don't hurt. If there are other players on your team who rely heavily on their M2 skills, offer these to them first, maybe waiting to start picking them up until later in the game. But if you're partnered with, say, the Engineer, Captain and MUL-T (who's probably already got something else going on even though those grenades are strong), you're probably in the clear to pick these up.

AVERAGE PRIORITY COMMONS:

Lens-Maker's Glasses: Crits are never bad. Obviously, don't bother picking these up if your crit rate is maxed; Lens-Makers provide 10% crit a piece, Harvester's Scythes provide 5% no matter how many you have, and Predatory Instincts provide 5% for the first and 2% for each afterward.

Tougher Times: Blocks self-damage, which might be relevant depending on the rest of your build. Take these early on, but you should let the rest of the team pick them up later, because you'll definitely end up with better sustain options. Note: These are not affected by Purity or by 57 Leaf Clover.

Monster Tooth: Thanks to the buffs to Monster Teeth, these are a much better pick-up as of 1.0+, but they're still a bit on the weak side, so you should not prioritize them from shops, command essences or 3D printers. Unless those shops have nothing else to offer anyone. If you build around Forgive Me Please, getting at least one of these should be higher priority.

Warbanner: As discussed, your M1's refire rate sucks eggs. Getting one of these set up is useful in an area where you need to make a stand, such as around the teleporter; which is now very easy thanks to a new buff. However, anyone can fairly carry this, and you never need more than one per team. It also, to my knowledge, provides NO bonus regeneration.

Tri-Tip Dagger: Share these evenly with the rest of your team, because basically everyone uses multi-hit attacks in RoR2. These are very good with DIRECTIVE: Drill, since you should get a few stacks in pretty easily.

Gasoline: Okay, hear me out, though: AoE damage effects are super good with your ult. You really only need one of these, so I'm not putting them at a higher priority bracket, but bump it up early on.

Armor-Piercing Rounds: More overall bonus damage to bosses than the Crowbar. Not a bad choice for you, and excellent if you're using Drill, since you'll want to be able to hammer bosses more.

Bundle of Fireworks: If you have a 3D printer on a level with these, you have yourself the most hilarious level in the game (and probably a ruined build, but nonetheless, hilarious). Otherwise, this is mostly just a nice sweetener that makes doing normal stuff in the game have a little extra reward. Choose these if there are no better options in a shop.

Bustling Fungus: Actually pretty good on you, since REX can entrench somewhere and M2 until the cows come home from afar... for a little while. Eventually you're going to have to start kiting some big attacks, so late in the run these are scrap fodder.

Topaz Brooch: This is extra-nice for REX because they tend to kill large groups of enemies all at once. One well-placed ult gives you basically a second health bar for a few seconds. Barrier can be spent to pay for your skills. The major problem is that you need a little setup, otherwise this mostly just makes a little corner of your health bar turn a funny color for a second and a half. They get better the longer the run goes as long as your DPS holds.

Crowbar: I forgot these in the previous guide for some reason. These should be given to anyone who is using a Royal Capacitor-oriented build, but they can still be reasonably effective with Bramble Volley to destroy anything in front of you, or with Seed Barrage to cause a decent chunk of damage with the first hit. Most of your other moves, though, deal small damage over multiple hits and are not ideal for the crowbar.

LOW PRIORITY COMMONS:

Repulsion Armor Plate: With that fixed damage reduction, it's more like "Repulsive" Armor Plate, am I right? Repulsion Plates are great early on due to their ability to reduce and sometimes almost neutralize small early damage, but later on, you'll probably just prefer to scrap these because, even heavily stacked, you're only likely to get so much mileage out of them. Unless you hit a VERY late-game Shrine of Order, at which point they end up around 100 stacks and are extremely good again.

Cautious Slug: In my experience, this isn't active often enough to warrant choosing over other items in the shop if available. Late in the game, you will be "in combat" so much that you just should not bother.

Stun Grenade: Due to your poor proc coefficient on your damaging skills and the base activation rate of this being very poor (and the stacking not being linear, but hyperbolic, giving diminishing returns), this is not going to work for you very much. If you use Drill and have a lot of backups, stacking these could conceivably be a better choice due to just being able to pile hits on an enemy and having a much better chance to land a stun.

Sticky Bomb: Strong, but a 5% chance of activating makes this not a great choice, even if stacking raises the odds. Their damage also does not scale, making stacking these unrewarding. Also note that most of your skills have poor proc coefficients anyway, so this is definitely not that great for you.

Personal Shield Generator: I'm pretty sure they changed how this works. Anyway, since your shield gets spent in addition to your "real" HP, I now realize this causes more problems than it helps with.

Rusted Key: Pick them up if you see them, but buying them is unnecessary. It doesn't matter who holds them, the chances on items you get out of the boxes count how many keys the whole party has.
Items: Uncommon
HIGH PRIORITY UNCOMMONS:

Razorwire: This procs on self-damage, so stack them to the heavens. You don't deal more damage per stack, you just get more range, but that's still very helpful. Be aware that Tougher Times proccing will stop this going off -- and also that Artifact of Vengeance doppelgangers, unlike any other enemy that gets items, do get to use these.

Harvester's Scythe: This is great if you've been stacking Lens-Maker's Glasses...es. Even if not, it's a sustaining effect, so that's still pretty good. This works oddly from what I know. I've been told this only stacks up to 5 but I'm not sure about that. Healing is also multiplied by proc coefficient, so most of the time it's going to be cut in half from the value you "should" be getting. On the other hand, if you're using Drill, this has some strong healing potential.

Leeching Seed: Lower-risk but lower-reward version of the above without the 5% crit chance. Very useful. Be aware that much like the Scythe, this is also multiplied by proc coefficient, but you'll still often get a good amount of healing from anything that hits multiple times.

Bandolier: Anybody can use this and you can benefit. It might be best to let them all stack on one character. These are great for refreshing your ult on a dime, letting you sustain yourself better in a fight. Later on, the ability to throw out multiple ults is a huge help.

Will-o'-the-wisp: Useful for the same reason as Gasoline, but noticeably stronger and, of course, doesn't deal its damage over time, but all at once.

Death Mark: Not only do you come with a special debuff you can easily inflict, you come with two that you can apply at once -- even better than what the Acrid gets to start with. This makes Death Mark an extremely good choice for at least someone on the team to pick up. Plus, one of your debuffs makes enemies take more damage anyway, so the synergy is perfect for tearing up larger enemies.

Old Guillotine: What was I doing putting this in the common section? Everybody will want these because they make elites die faster -- always important. These should be shared around equally because they stack slowly.

AVERAGE PRIORITY UNCOMMONS:

Kjaro's Band, Runald's Band: These are no longer chance-based, which means that they're good all around. They can do catastrophic damage with Seed Barrage or Bramble Volley. You really want to get both of these, though, since they always activate together.

AtG Missile Mk. 1, Ukulele: On-hit items. It's good to pick these up, sure, but keep in mind your low proc coefficient. Also, everybody else will want some, too.

Fuel Cell: If you have good equipment and are hoping to build an equipment-oriented build (Gesture, etc.), this is a good choice to get as many as you can. Otherwise, it's hard to place this because getting good equipment is down to RNG by itself.

Berzerker's Pauldron: Getting this to proc can be hard, but it's a nice buff when you land it. The explosive effects (Gasoline, Wisp) help a lot with this.

Infusion: Compared to the comically busted infusion of Risk of Rain 1, this thing is pretty underwhelming, but an extra 100 HP is still good. It just shouldn't be your highest priority.

Hopoo Feather, Wax Quail: Eh, why not. If you have no other options, go for it.

Red Whip: The speed boost from this is huge, but by later parts of the game, you'll mostly be using this to get from fight to fight since you'll spend a lot of time trying to deal damage. As an escape item, it's pretty worthless.

Predatory Instincts: The stacking for this was reduced, but it's still an okay item. Collecting one gives you 5% crit chance, and each one afterwards grants an extra 2% crit chance plus the ability to stack the buff 2 more times. In bulk, they can be powerful, but you'll usually end up in a position where you want one or, like, ten, and no option in-between.

Old War Stealthkit: These are primarily useful because your self-damage can proc them, giving you some time to get into a better position. However, it's not usually important to get more than one.

War Horn: Do you have a really good piece of equipment? Preferably with a very low cooldown or you stacking lots of Fuel Cells? Then this is a very, very nice add for you. It provides a massive +70% attack speed buff, roughly equal to four and two-thirds Soldier's Syringes while it's in effect. Stacking these is not a bad choice, especially if you're not finding many Fuel Cells. However, this is very situational, so it's ended up down here.

Chronobauble: The benefits are small and short-lived, but they are guaranteed, making this not a total waste. They're more important if you have a Death Mark.

LOW PRIORITY UNCOMMONS:

Rose Buckler: This is only active while you're sprinting, so unfortunately, 99% of the time that you're in the thick of combat, this won't help you very much.

Lepton Daisy: The heal is pretty solid, but it only works during the teleporter event, so for a large part of the run, this is a dead item.

Squid Polyp: In my experience, this is worse than the Bundle of Fireworks. However, it does have one very specific niche: activating a Shrine of the Woods to full will summon three, and they will be regenerated by its effect constantly, keeping them alive for much longer than the 30-second time limit (which is based not on a true timer, but on a constantly-draining health meter). This makes them decent choices for gathering artifacts because Shrines of the Woods can spawn in Bulwark's Ambry, and as support against the Alloy Worship Unit until they get blown out (because of the high number of Shrines of the Woods that spawn on Siren's Call usually). Otherwise, though, this really only has an effect in Scorched Acres or Distant Roost, so they're not much to write home about.

Ghor's Tomb: Ooh, a double-whammy! This triggers too rarely for too small an effect, but at least it makes a mighty fine scrap.
Items: Rare
YOU TELL THE ENGINEER HE CAN KISS MY DINGY METAL ASS TIER RARE:

N'Kuhana's Opinion: Oh come on, you knew this would be up here. You heal all the time! This is probably the item that will add the most damage to your general play.

HIGH PRIORITY RARES:

Shattering Justice: Oh yes. You'll get the full armor reduction debuff going in no time -- especially with Drill, which applies it in like a second -- which works very well with your weaken debuff and Death Mark, if you picked those up. This will help you and your team tear through even the sturdiest enemies without breaking a sweat.

Rejuvenation Rack: If you can get this and N'Kuhana's Opinion, you're pretty set. If not, this is still a great item to boost your sustain by a lot.

Aegis: This converts excess heals (not regeneration!) to barrier, which makes this one of your best defensive items and an incredible way to become tankier.

Brilliant Behemoth: See Gasoline and Will o' the Wisp. It's just that this procs on every hit you land. Helps you kill groups much easier, which is one of your biggest specialties.

Sentient Meat Hook: Since this pulls enemies toward the one the proc happened to, this is really good with your ult to suck more enemies in, or just to deal bonus hits to them.

AVERAGE PRIORITY RARES:

Brainstalks: As the game goes on, you'll face more elites, so this just gets better with time, letting you place your ult over and over for tremendous damage, and healing, per second.

Alien Head: Possibly an alternative to Backup Mags that will take some of the burden off of the rest of your team, especially if there's multiple characters dividing those up (if there's, say, just an Artificer, or you already have Brainstalks, leave this for them). Mostly, this lets you ult more often, which is extremely useful for clearing groups.

Ceremonial Dagger: You kill a lot of things, so these are nice, but everyone benefits just as much from them. Notably, don't bother stacking them if you find them at a bazaar because they no longer shoot more daggers per stack.

H3AD-5T v2: Remember in RoR1 when you could stack Headstompers to incredibly goofy results? It's a lot harder now. Unless you or someone on your team is building a specifically gimmicky build, these will probably go to whoever runs into them first, or maybe the Huntress, Mercenary or Artificer, who will appreciate the improved airtime. They also remove fall damage entirely, which is sweet.

57 Leaf Clover: If you pick this up, consider skipping Purity, because the two items will interfere with each other.

Soulbound Catalyst: Goes great if you're doing an equipment-oriented build. Otherwise, you don't particularly need this.

Dio's Best Friend: Honestly, you'll probably want to give this to someone squishier, but you can still use this if nobody else grabs it first. You are probably playing as the highest-risk character in the game.

Hardlight Afterburner: This depends on your playstyle a lot. I don't use the shockwave a lot, so I don't consider the HLAB that big a deal on REX, but you might abuse the hell out of it, and thus want this for three charges on a four-second cooldown each.

Wake of Vultures: This is good if you have Death Marks, because you'll add more debuffs and get that much closer to guaranteed deathmark while you have a buff active. However, it's not a huge necessity and most characters benefit equally from it. Also, Hopoo needs to do something so that allied Malachite spikes are easier to differentiate from enemy spikes on the fly. This has been a problem for a while and it has not been fixed. Why. The nation demands answers.

Interstellar Desk Plant: At least this isn't like it was in RoR1. They keep buffing this, but this is still one of the jankier healing items in the game. You usually want to stay far away from your enemies, so you will probably not benefit much. Your allies, however, will like this a lot.

LOW PRIORITY RARES:

Unstable Tesla Coil: As someone who prefers to get in close with most characters, I love the UTC on everybody usually, but REX doesn't want to get close. So, let someone who gets in closer have this.

Happiest Mask: It's okay, I guess. I never really liked the Happiest Mask in either game, although in this one, at least the illusions can do a bunch of damage.

Frost Relic: Even with the buffs extending its range, the Frost Relic is not a good choice for you. This needs to go back to being an uncommon so you can reasonably stack them and do some silly things with it. Also, for some reason, Forgive Me Please doesn't interact with this at all. Don't bother.

DEFENSIVE NANOBOTS:

Defensive Nanobots: As of 1.0.0.6, you're only going to get these from a very lucky drop from a Captain doppelganger with the Artifact of Vengeance active (and no Artifact of Command), so they're in a separate tier. If you get these to drop, the Nanobots are a very good choice for you because they're a defensive option that directly eliminates projectiles instead of reducing damage or anything like that. If you get this, you should get things to increase your attack rate so you can destroy projectiles more often.
Items: Lunar
Information on choosing Lunar Equipment is in the Equipment section.

GET IF YOU WANT OR IT HELPS YOUR BUILD:

Shaped Glass: High risk but high reward. This technically makes your skills cheaper by reducing your health pool, therefore reducing how much they can take, but you have less HP overall for other times, and REX aren't that tanky out of combat. It does add more healing to your M1 and more damage to your M2, though, so if you feel like taking the risk, do it.

Corpsebloom: Stored healing allows you to tank some big hits, in a way, with good timing. However, the big problem here is the rate limiting, which is fairly tight, and only gets more painful with multiple stacks. Approach with caution.

Gesture of the Drowned: REX are just as good at using equipment as anyone else. If you have a good attacking equipment and plenty of fuel cells, this is a worthwhile purchase.

Beads of Fealty: If you go to obliterate yourself in the Celestial Portal, this will let you fight the Twisted Scavenger to obtain some extra lunar coins. Otherwise, this item doesn't really do anything, but you can carry it around if you're hoping for some Cleansing Pools to get some Pearls. Unfortunately, this means you can't really pick up other Lunar Items, lest you risk losing them to a Cleansing Pool, because Lunar items can't be scrapped.

Mercurial Rachis: This creates an area of high risk, where enemies deal more damage, but so do you. If you can keep the area safe, e.g. with Razorwire, this is a worthwhile pickup. Even then, it can be worth it just for the small gain you'll occasionally get.

Focused Convergence: The zone size reduction is usually worth the speeding-up, at least at one stack. If you would have to move out of the smaller zone, you probably would have to at full size anyway. It's probably better to use this with Disperse as opposed to Bramble Volley to shove enemies away while not risking as much of your HP.

Purity: A strong contender that will change how you build your character very heavily. The ability to stack cooldown reduction heavily is very useful because you can then use multiple Tangling Growths very effectively, but it also reduces how often any of your chance-based effects happen. Due to low proc coefficients, this might not hit you as hard as it sounds like it will. If you pick this up, you'll want to focus more on effects that are guaranteed, like Leeching Seed and Will-o'-the-Wisp.

DON'T PICK UP:

Defiant Gouge: I've only found this to be useful with the Artifact of Sacrifice on. It also applies a much greater risk to use of Shrines of Blood. This is more of a "there's not much point" than a "this will kill your run" as a lot of items in this tier are.

Strides of Heresy: Not completely useless, but this removes your repositioning skill, which can be extremely detrimental. However, if you have issues getting around with it, stacking Strides can enable you to get to hard-to-reach places much easier.

Visions of Heresy: One of the better things you bring to the table is your weaken debuff on your M1. Visions of Heresy takes that away, making you one of the worst characters to pick these up!

Brittle Crown: I avoid this item anyway, but THIS IS A RUN-KILLER. Self-damage triggers gold loss.

Transcendence: Despite what I'd heard, this doesn't make your M2 or ult unusable, but you pay out of your shield, and it doesn't seem like the cost goes down any. It also makes all your healing you've been stacking and that you have naturally completely worthless. This isn't quite the run-killer that the Brittle Crown is, but it's not a good idea to take it.
Items: Boss
All of the boss items are good for you (except for the Mired Urn in multiplayer, which is dangerous no matter who has it unless the devs make it not tether to allies).

You're a good character to carry pearls. Everyone is equally good to carry irradiant pearls. They aren't in the main list because they're not technically boss items, and I suspect most players will deal with them using a simple method of "if you traded for them, they're yours."

HIGH PRIORITY:

Genesis Loop: Needs no explanation. This is easy to trigger.

Shatterspleen: If you're using Drill and have any other sources of bleed, you want this for the secondary effect more than for the bleed-on-crit -- which is nice and all, but making enemies explode on death is great, especially since Shatterspleen scales to their max health. Land this on a boss and you can clean house nicely.

Mired Urn (single player): This is an excellent sustain tool provided you can't hurt your allies.

MEDIUM PRIORITY:

Titanic Knurl: A lot of the boss items are equally-good on everyone. Yeah, more max health and regen is great for you, but it is equally great for everyone else. Distribute these according to need.

Queen's Gland: Usually kind of a letdown compared to other items.

Halcyon Seed: Pile these all into one player. You sadly cannot spawn multiple Aurelionites with multiple players having Seeds, which would be both hilarious and probably more effective than just having one super-beefy golem.

LOW PRIORITY:

Little Disciple: It's not like this is bad for you, but you aren't likely to spend a ton of time just sprinting around, so I'd recommend this going to a more mobile character first.

Molten Perforator: Even with your good hit counts, you still suffer from lowered proc coefficients, so you might not want to bother with this and let someone else have them.

SCRAP IMMEDIATELY OR IGNORE:

Mired Urn (multiplayer): Why, Hopoo. (I don't know if this can trigger your on-damage effects, but even if it can, it's hard to control who gets targeted by it, so don't even foist these off on other players.)
Items: Equipment
So, there's not really a lot of variance in terms of how good or bad equipment is for characters, but I will note that the Primordial Cube is extra-good for REX to set up ults, and that I like having the Gnarled Woodsprite for early phases for the bonus regeneration. Combine it with a Gesture of the Drowned and a War Horn for a permanent War Horn buff -- definitely good. Super Massive Leech is also excellent for you due to how much health you spend -- this can help keep you safe, as can the Jade Elephant, but given the choice, I think I'd rather take the Leech.

Lunar equipment, when I first wrote this guide, was mostly bad on REX, unless you had a build for the Spinel Tonic specifically set up, then it was as good as it was for anybody else. The Effigy of Grief has been reworked so you now place them further away and can place multiples per map. If you have a party of all ranged characters, this is an excellent way to get an additional debuff for your death marks. Hellfire Tincture is also now a good choice if you have enough Razorwires to deal damage over a large range; it can do colossal damage at close range with even just one. Ignore the Glowing Meteorite as per usual.

If you have the Death Mark, Elite equipment that you're lucky enough to find are worth equipping, although Silence Between Two Strikes is not as good for you because you'd rather have health than shield, and I don't think the added effects properly inflict status effects.
Conclusion
Hopefully, this should give you a pretty good idea on how to play REX and let you strategize a little in advance of choosing them. REX aren't the most versatile character in the game, but they're one of the most useful with the right build. Poking around some other guides, I've seen a surprising amount of variance in build -- like, more than I'd even guessed when I first took REX for a test drive. So, by all means, play around with REX and see what works for you, because it will probably be different from what works for me.
19 Comments
Δ  [author] 6 Mar, 2022 @ 10:05am 
Alca: Dio IS on there, sitting in mid priority for reds. either way: I haven't revised this in a while so I should consider going back to this at some point to update for... god, for anything after the character released lol
kazumakiryu 6 Mar, 2022 @ 12:22am 
tf are dios?
PancakeRain 17 Oct, 2021 @ 4:24pm 
Did you look at the harvest special attack?
Unexplained Species 3 Jun, 2021 @ 7:32pm 
Personally, I think that high attack speed mixed with high crit chance and any on-hit items are god-tier on Rex
Lunacy 31 Aug, 2020 @ 5:58am 
I enjoy going glass+corpsebloom on my Rex, just get a crowbar and some backup mags and m1-m2-m2-m1 everything. Worked better when medkit was a 1 second delay instead of 2 seconds though.
Also defiant gouge is great if you can kill the elites it spawns, free gold from any shrine. If you've ever played Diablo 3 and got the gloves that spawns an elite pack when you use shrines, then you know how good it really is. Usually I only need money for 1 shrine charge then I'm set for the rest of the level.
Redrum 17 Aug, 2020 @ 7:23pm 
Thank you so much! I'll check it out.
Δ  [author] 17 Aug, 2020 @ 8:26am 
So after about three hours of juggling this and a couple other things, testing out something I had never done before, and looking a bunch of stuff up on the Risk of Rain 2 wiki, the guide SHOULD be 100% up-to-date for all of the items and unlockable skills and all as of 1.0.0.6. Let me know if I missed anything.
Δ  [author] 17 Aug, 2020 @ 5:02am 
I have everything unlocked and am working on it now. I hope I don't have to split more sections up because I've already had to do that with abilities due to the character limit.
Redrum 16 Aug, 2020 @ 3:12pm 
So umm...is there a chance you've got around to updating this? :demoneye::demoneye:
I'd like to main Rex, but am having trouble giting gud, and this is a pretty thorough guide.
Thank you for writing it! :steamhappy:
ForKarl 13 Aug, 2020 @ 9:26am 
No worries, and best of luck to you!