Super House of Dead Ninjas

Super House of Dead Ninjas

44 ratings
Ridiculously High Score Guide
By JC Denton
Best practices for overflowing the score counter
   
Award
Favorite
Favorited
Unfavorite
Overview
Why this is possible
Despite what the score counter may imply, scores in SHODN do not actually go up to 10 billion; they max out at just over 2 billion. This is because the game stores your score as a 32 bit signed integer. Thus the maximum score is 2^31 - 1, or about 2.147 billion.

Some math
This score may seem unattainable, but all it really takes is some determination and a lot of time. The secret is that the amount of points you get from a cash pickup increases by 100 points each time you collect one. That means that your total amount of points is determined by the equation 100*(n^2 + n)/2, where n is the number of pickups. That's right, your score scales quadratically, not linearly! If you have 9 fairies, you can get even more points. A simple calculation will tell you that with 9 fairies, you'll need 4754 cash pickups to overflow the counter.

What happens then?
Once you exceed 2^31 points, your score will overflow into the sign bit of the score variable. The sign bit indicates whether the number is positive (0) or negative (1). So your score will now be close to negative 2^31 points! Pretty cool.

shortly after overflow
Preparation
Game Mode
This run MUST be done in Transdimensional Leakage. I suppose it's possible to do in Abarghus' Domain, but it would be much more difficult. After 2 or 3 cycles through Transdimensional Leakage, you'll start seeing a lot more enemies than before. This makes it easier to maintain your rage, which will be essential (since it will be very easy to die, and you don't have any continues!).

Weapons
I strongly recommend using the Boomerang and Remote Bombs for your run. Why? Because these weapons will allow you to eliminate ammo and bomb pickups from your run. Less other stuff = more cash. The Boomerang only has 1 ammo, so ammo pickups wouldn't make any sense. Fortunately the devs took note of this and removed them.
As for bomb pickups, there is a glitch you can exploit to remove them. At the end of your first run through Transdimensional Leakage, drop a Remote Bomb after killing Disgust. Then, enter the door to return to Floor 1 without detonating the bomb. You should see the "!" indicator above your head, but you will be unable to detonate the bomb. In addition, you will not be able to throw more bombs. This makes the game harder in some aspects, but not terribly so. The advantage is that this glitch also causes enemies to stop dropping bomb pickups!


get used to seeing this

The main weapon is up to you; I prefer to use the lightsaber. Ditto for magic, though I wouldn't recommend Kamikaze magic (I use lightning).

Items
You'll want to have almost everything unlocked to make your run as easy as possible. However, I would caution against unlocking the following items if you can avoid it:
  • Magic Duck
  • Infinite Ammo
  • Randomizer
  • Flash Bomb
  • Freeze Time
  • Smart Bomb
  • Ammo Pack
These items do not benefit you significantly, except for maybe the Freeze Time and Flash Bomb if your rage meter is empty. They are harmful because they are "single-use" items, meaning they will not stay in your inventory permanently and will continue to drop throughout your run. Magic Ducks are especially harmful because they make enemies unkillable and remove any cash pickups they might have been carrying.
If you've already unlocked these items, there is another glitch you can use: if Disgust drops one of them, grab it and quickly return to Floor 1 before its effect runs out. For certain items, this will cause the item to stay in your inventory indefinitely (though the effect will not last longer than usual).

Other precautions
This run demands a significant investment of time (my run took just over 8 hours). I recommend breaking up your run into several sessions. Be aware that you will not be able to run other Steam games in the meantime.
It is safe to put your computer in "sleep mode" during your run. You can resume where you left off afterwards. Obviously, don't start your run if Windows is complaining that it needs to update; it will eventually force a reboot!
You will probably be leaving the game paused idling in the background a lot. When you do this, I suggest going into Video Settings and changing the detail level to "Low." SHODN consumes a lot of CPU time (30% of my i7!!) and this change should lower it to about a third of that.
One last thing: DO NOT PLAY OTHER GAMES THAT USE A JOYSTICK AT ANY POINT DURING YOUR RUN. SHODN appears to respond to joystick input even if the window isn't in focus. I learned this the hard way when I heard "GAME OVER" when I was playing another game entirely! Personally, I use the keyboard, so on my next attempt, I unplugged my joystick entirely just to be safe.
The Run
Cycle 1
Your first 350 floors may wind up being the hardest. There will be fewer enemies than at any other point in the run, and you won't have any items yet. Fortunately, that means if you die and have to start over you won't have lost a significant amount of time.

It's crucial that you collect as many permanent items as possible. Also be on the lookout for fairies. They'll be more important later in the run, but it will be easiest to get them now. Why? Because after this cycle, you won't have bombs, which means you can only get fairies if you have a Guardian.

Obviously, you should be collecting every cash pickup you come across. It's easy to skip past them when they're worth so little, but remember that they will eventually be worth over 1 million points each. Try to treat them as though they're already worth that much.


this one pickup is worth more than the first 100 combined

After beating Disgust, drop a Remote Bomb (unless you don't have a Guardian yet) and head through the doorway.

Cycles 2-5
Here is where things begin to pick up. Enemies will become much more plentiful, and you can rage consistently. After Cycle 4 or 5, you should have no problem raging for minutes at a time. Your goal should be one continuous rage between two boss fights. Here are some general tactics for preserving your rage:
  • Don't stop moving. This should be pretty obvious. Your rage will be depleting very quickly. It's usually a bad idea to go back for a cash pickup if it puts at risk of losing your rage.

  • If you lose your rage: this is the only time when there is a real threat of you dying, so handle these situations carefully. You should be able to fill your rage meter by killing 4-5 enemies within a few seconds. A shield is a big help here, because you can take a hit without it resetting your rage meter. If you don't have a shield, you can use magic to make yourself invincible for a few moments (just try to avoid killing too much with the magic, otherwise there won't be anything left to gain rage from). It may take 3 or 4 lives for you to get your rage back; don't sweat it. 3-ups aren't terribly rare and as long as you can keep your rage going, you should be back to full health in no time.

  • The timer is your biggest enemy: when it runs out, you lose your rage, which usually means instant death here. If you're feeling brave, you can spam magic to evade Death and try to find extra time, but usually it's easier to just die. This is especially true if you have a shield, because Death does not destroy your shield when he kills you -- other enemies do.

  • Bats and moss do not add to your rage meter! They don't usually carry items either, so just run right past them.

  • If you're about to run out of time and there is an opportunity to get to full rage (via pickup, lots of easy enemies, etc.) then it might be in your best interest to just let time run out. All considered, trading one life for full rage + full timer is a pretty good deal.

Cycles 5-40
This is the long haul. Keep doing what you've been doing, and do it a lot.

The bosses shouldn't give you much trouble; mainly they're just annoying, because you'll have to refill your rage meter after you beat them. You won't be making much use of your magic elsewhere, so consider just spamming the bosses with it.

Do your best to stave off boredom. If you're inattentive (or just unlucky) you may lose all your items and fairies to a Skull pickup. If this happens, don't despair: you can get them all back eventually, though it will take a while. At least it's a break in the monotony, right?

Wrapping Up
Sooner or later, you'll reach your goal of 2^31 points. It's up to you to decide what you want to do from there. If you're just going for a high score, you should know that your highest score before overflow is what gets counted. Because cash pickups will be worth over a million points, you may want to steer clear of them if you want to get close to the maximum. This is quite a challenge in itself though, since they will be everywhere.

this is your goal. good luck!
8 Comments
Masker.C 1 Feb, 2023 @ 10:34am 
I just want the Ninja mode high score achievement, 500K and 1M. But I try many times still can not get it. Is it bugged?
AdApt* 22 Oct, 2018 @ 10:37pm 
Hi. What is Transdimensional Leakage? I haven't played in years now.
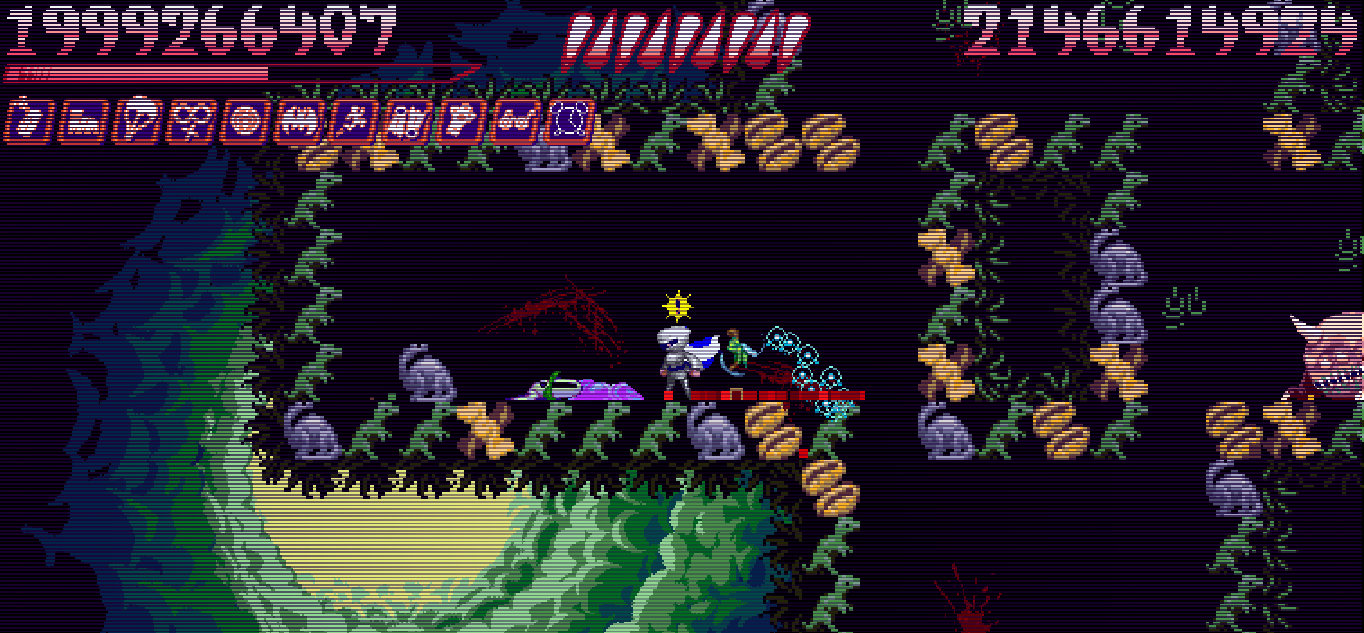
I know how to get tickets but forgot what this game mode is about.
Sojiro 22 May, 2016 @ 10:11am 
Oh yeah, another thing. You don't get any ammo or bomb pickups when you are already at max, so you don't need to use Boomrang and Remote Bomb. I find it much easier to get equipment that makes slaying bosses easier and just reload after killing them. For the vast majority of the run, only $ bonuses drop since you're not using your special weapons.

When in rage you slaughter everything easily, so reach and speed is what's important. That's why I've found the whip to be the best by far.
Sojiro 22 May, 2016 @ 10:07am 
After trying both TDL and AB, I've found the former to be wayyy easier. AB is much harder than the Transdimentional Leakage. And in the TDL the mobs start piling up much faster for easy rage stacking. The bosses aren't an issue since they are easy to beat once you know how to take them on. They're just a source of life (and other drops).

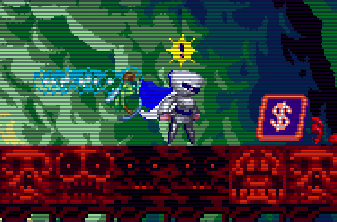
AB also has a number of large rooms with obstacles but no enemies, and those are murder on the Rage bar.
Chronon 15 May, 2015 @ 4:45pm 
Nice! Wasn't planning to read the whole thing but it was really well written ^_^
rpgamer987 12 Aug, 2013 @ 7:30pm 
Why recommend TDL? AB might be a little tougher to start, but there's no bosses to get in your way. And enemies start doubling up around floor 500, if I remember right, and still have a ways to build up. Much easier to keep rage going for the entire cycle. Although I guess you have a point about spamming magic at the bosses since it isn't useful otherwise. Plus they just about always drop a 1-up, and usually lots of cash pickups...

Interesting to see how this might change with the DLC. One Armed Ninja also removes magic pickups, more room for cash?
Multi+ 12 Aug, 2013 @ 12:43pm 
Interesting guide.
{o,o} Mr Hobo with a shotgun 19 Apr, 2013 @ 2:07am 
sick!