

Install Steam
login
|
language
简体中文 (Simplified Chinese)
繁體中文 (Traditional Chinese)
日本語 (Japanese)
한국어 (Korean)
ไทย (Thai)
Български (Bulgarian)
Čeština (Czech)
Dansk (Danish)
Deutsch (German)
Español - España (Spanish - Spain)
Español - Latinoamérica (Spanish - Latin America)
Ελληνικά (Greek)
Français (French)
Italiano (Italian)
Bahasa Indonesia (Indonesian)
Magyar (Hungarian)
Nederlands (Dutch)
Norsk (Norwegian)
Polski (Polish)
Português (Portuguese - Portugal)
Português - Brasil (Portuguese - Brazil)
Română (Romanian)
Русский (Russian)
Suomi (Finnish)
Svenska (Swedish)
Türkçe (Turkish)
Tiếng Việt (Vietnamese)
Українська (Ukrainian)
Report a translation problem


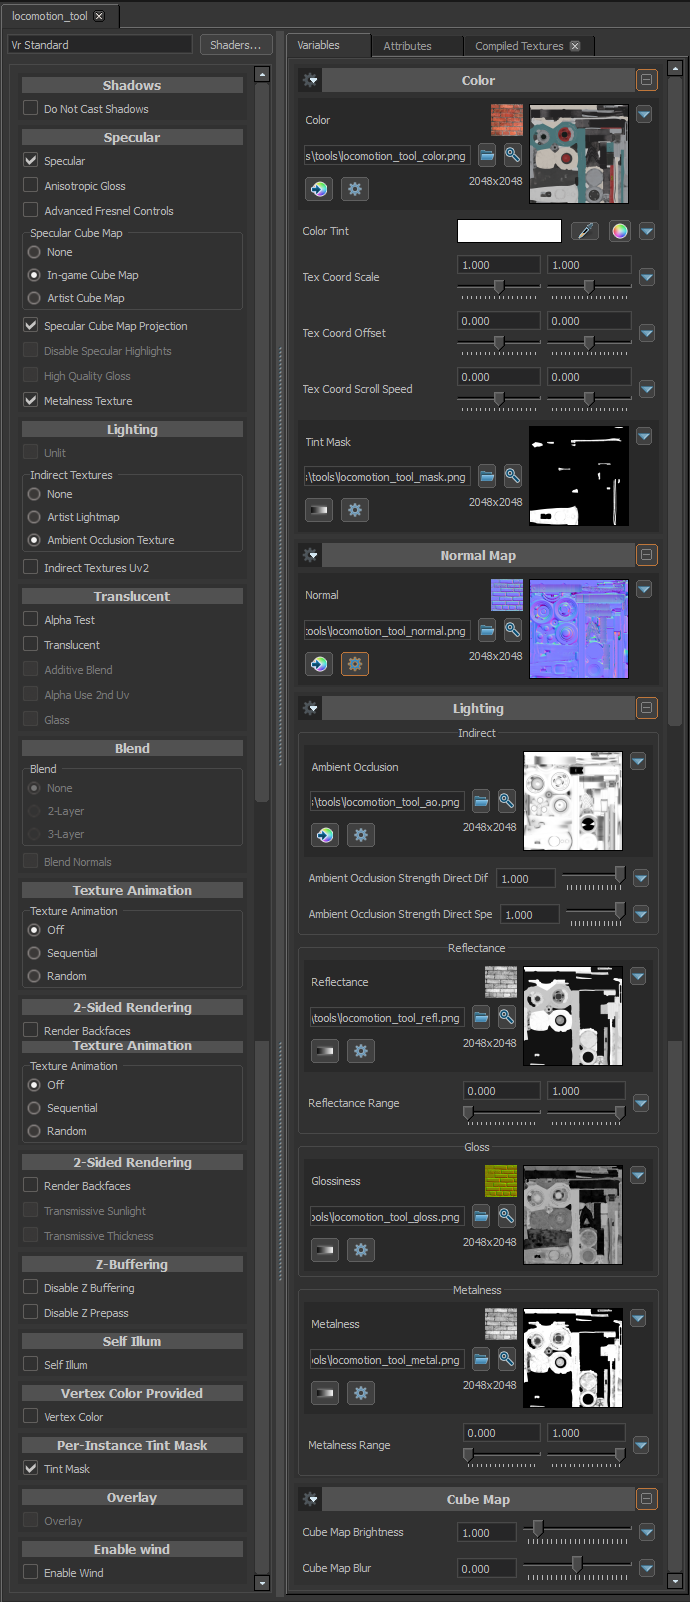


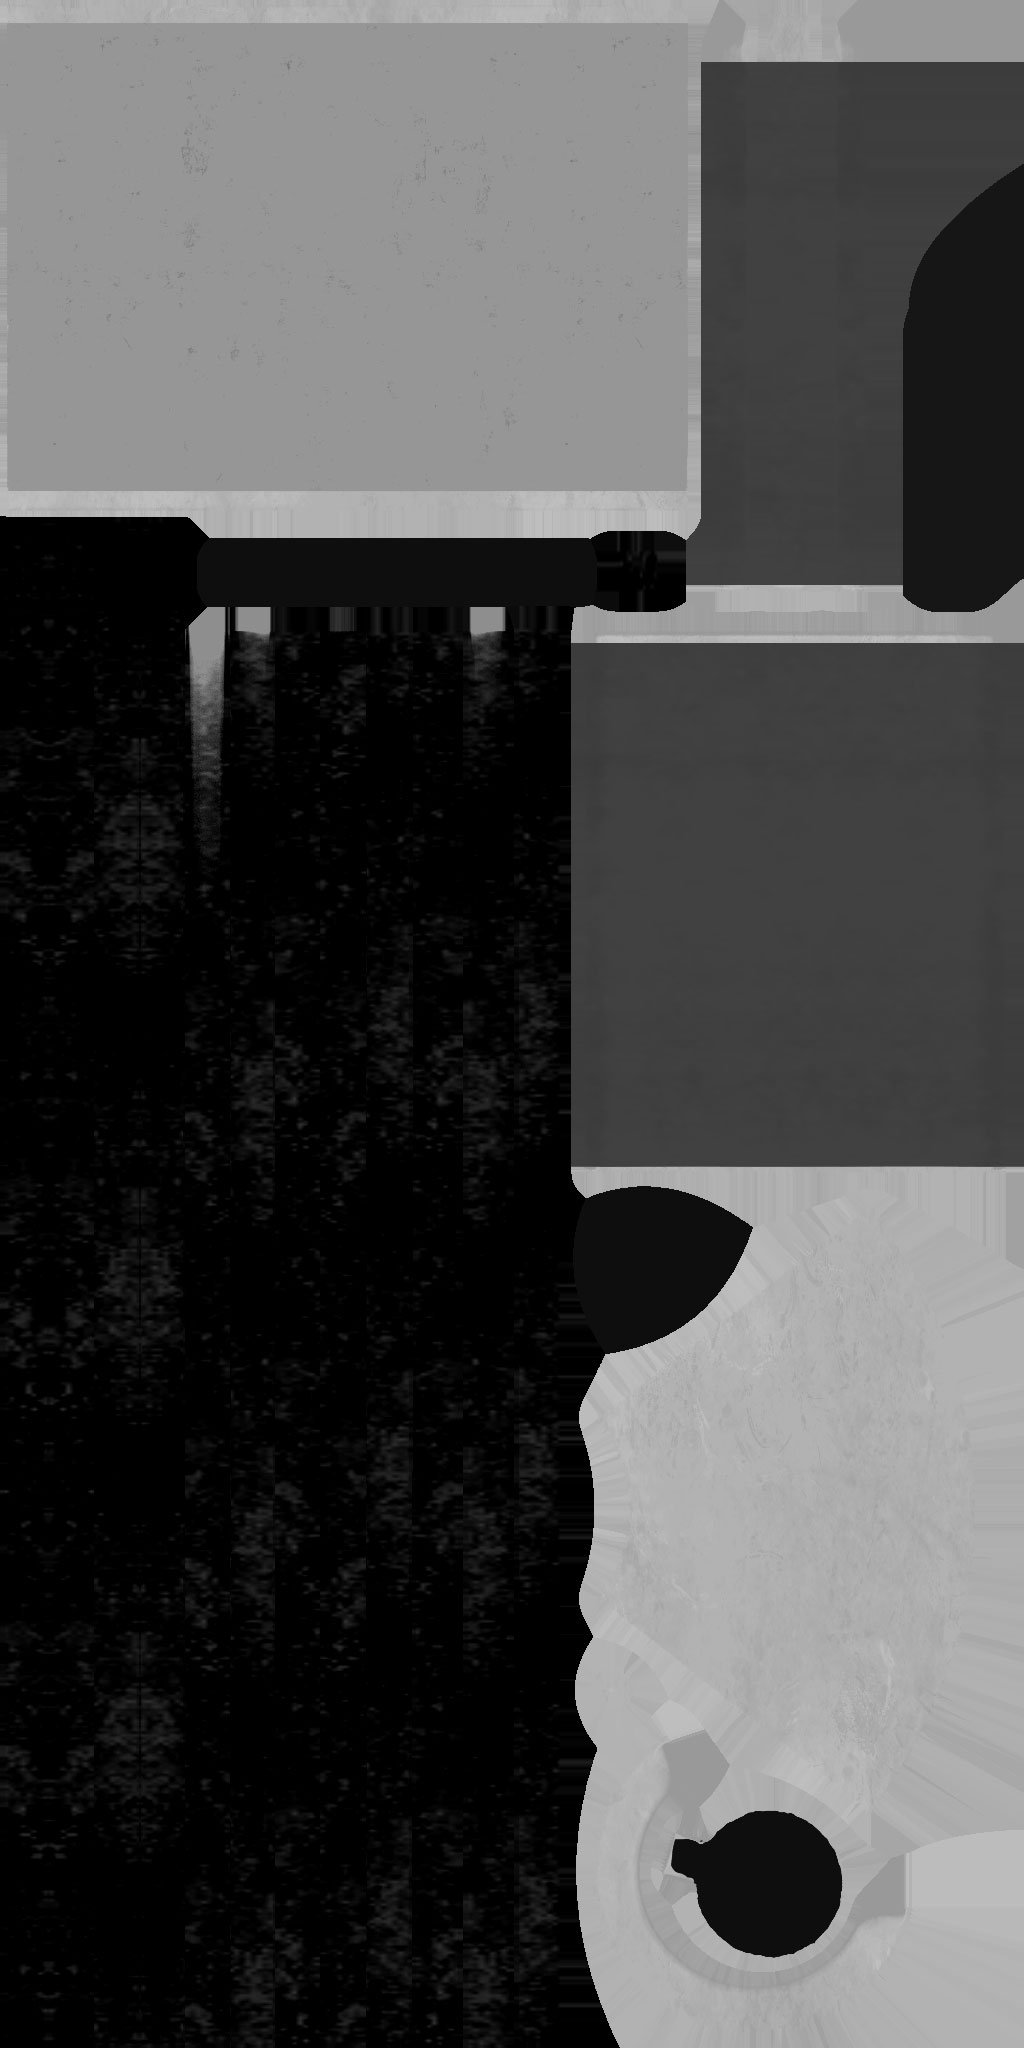


Spec is usualy the same as reflectance in a PBR context. It should be very dark on non-metallic surfaces.
Is the 'Emissive' map meant to be assigned to SelfIllum?
Is the 'Spec' map meant to be assigned to Reflectance?
ty!
In-game cubemap should be used for anything glossy that can reflect the environment.
The reflectance can often be the default value unless you have things like metals. It doesn't really matter if it's a textue or slider value then.
I haven't really used GIMP much, so I don't really know what the settings do. You'll likely have to tweak the settings anyway to get a good gloss value, so better to eyeball it than bothering with modifying color spaces. Looking up reference images of similar materials can help a lot.
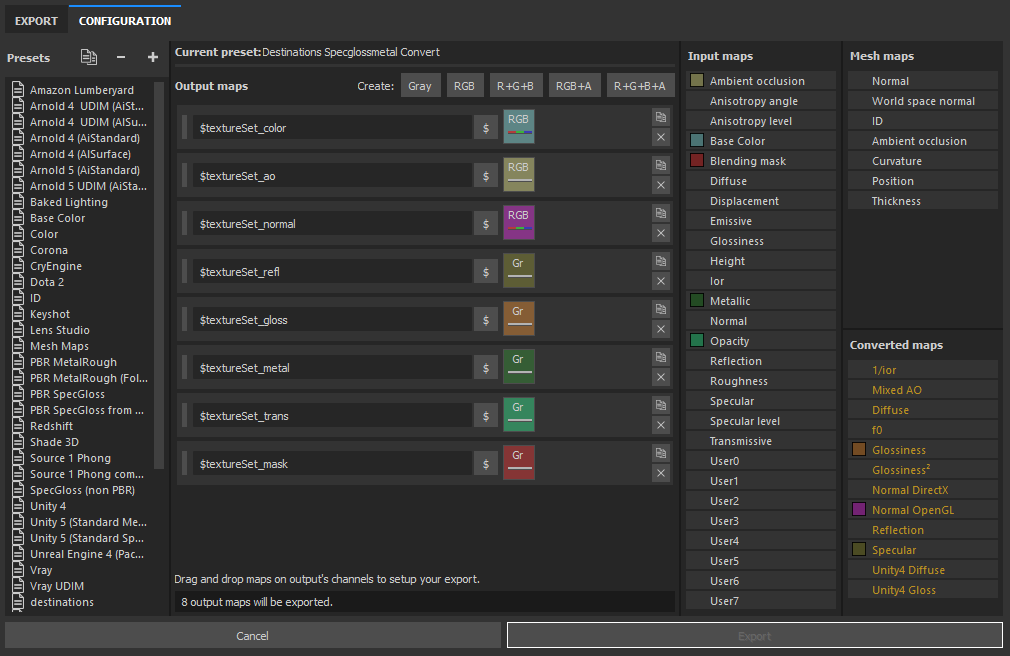
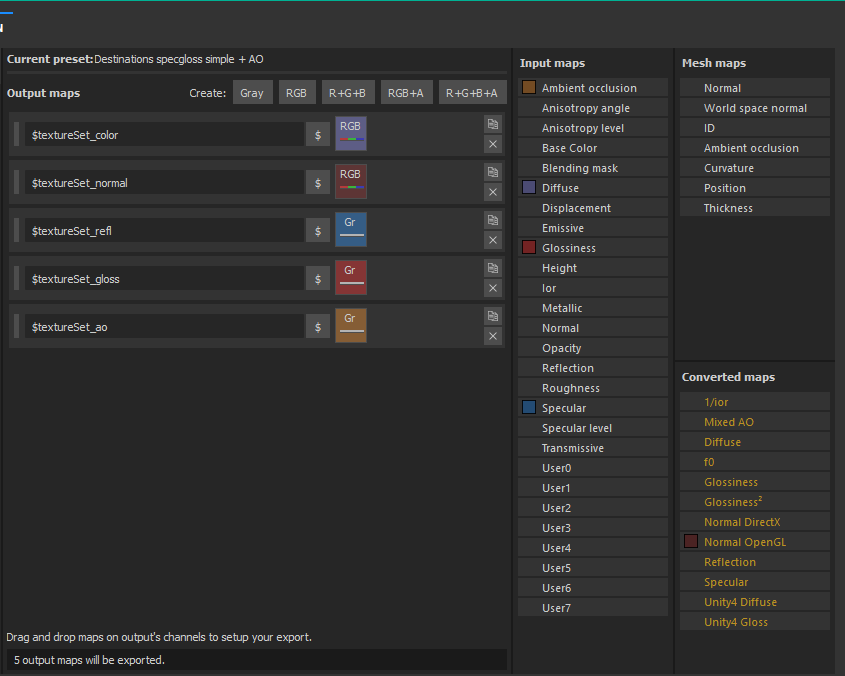
So I suppose I know where to put the AO/COLOR/METAL/NORMAL files.
- Is the height map therefore going to go unused?
- Should I use 'In Game Cubemap'?
- Set reflection to the default value, instead of the default or other map
So lots of unity zips dont have the roughness, the UE's do...
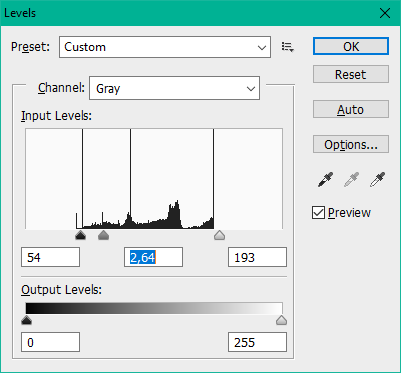
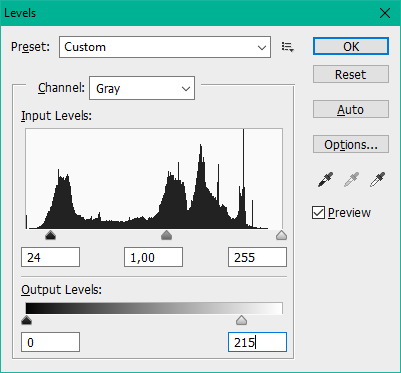
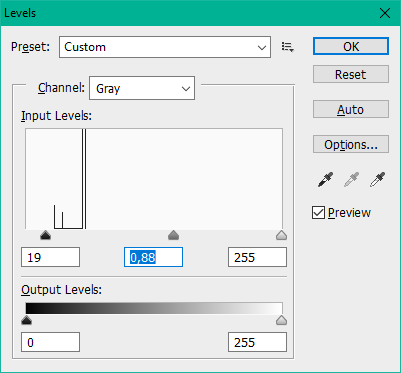
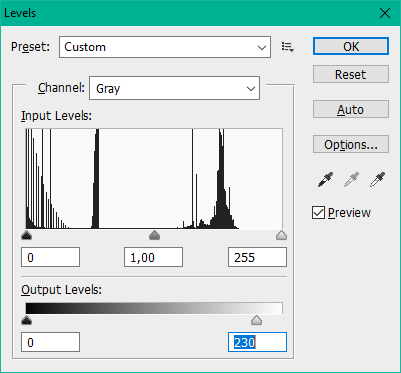
- I take the roughness map and invert the colors with Gimp. I figure I should use the 'Linear Invert' menu item instead of just 'Invert' colors. I then set the Precision to Linear, and not sGRB. This new file is used for gloss map.
- Gimp also allows me to specify whether it uses an integer or floating point number of various widths, and some files seem to be grayscale instead of srgb I can change it to 'srgb' or 'grayscale'. Should I just leave all this alone though and just make sure it is using 'Linear Precision' (whatever that means :p).
Hopefully I want have to convert lots of textures to linear, but I suppose I should?