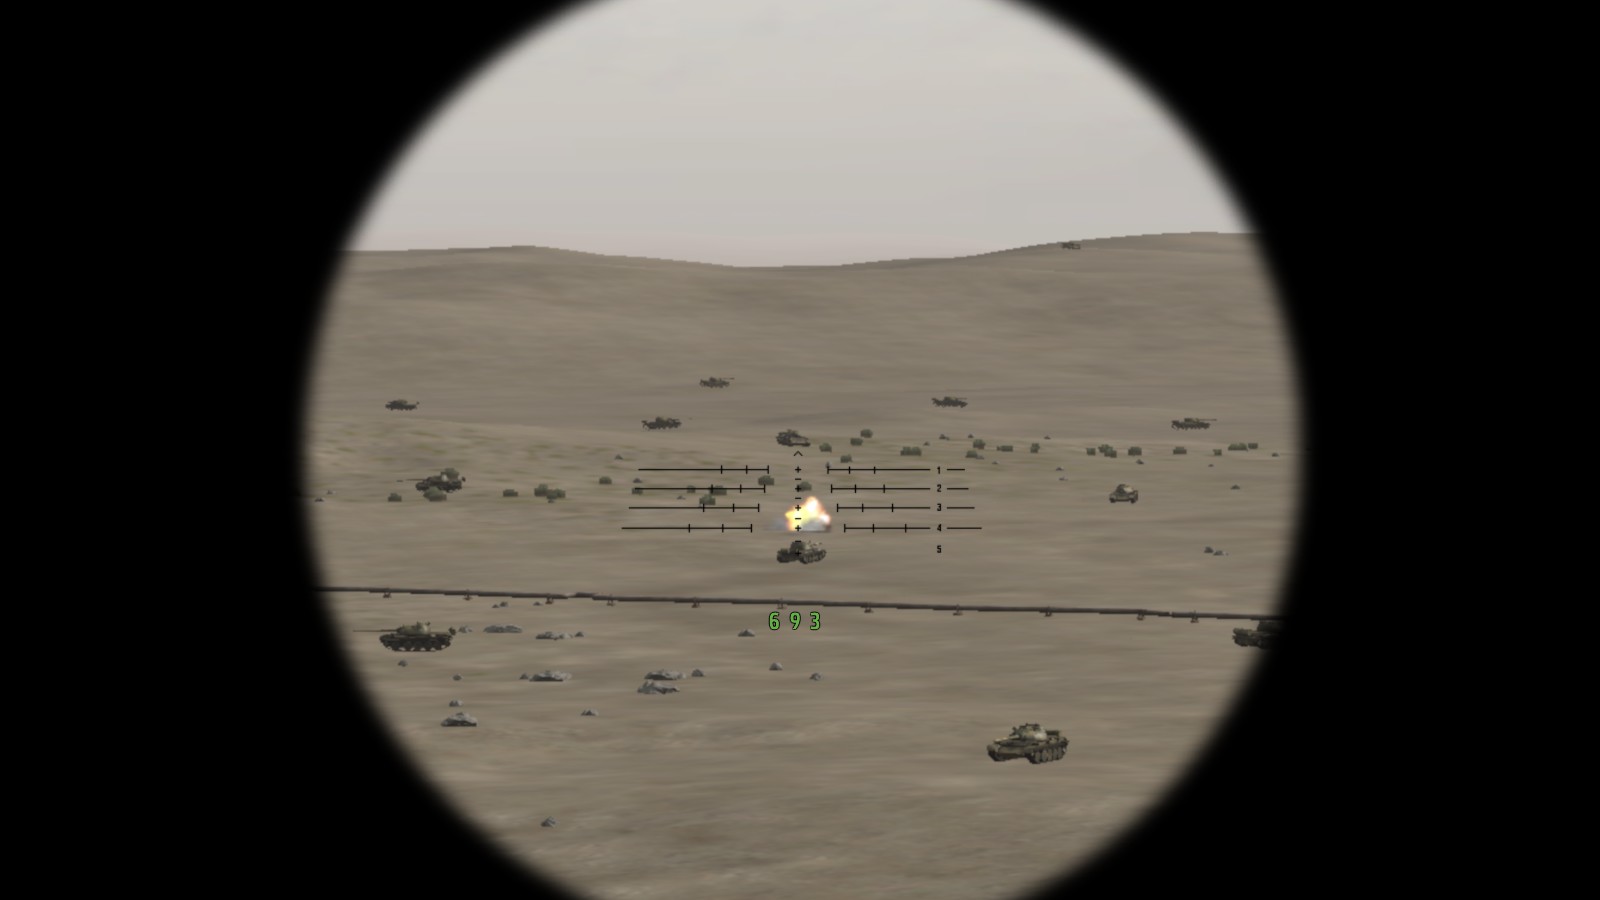
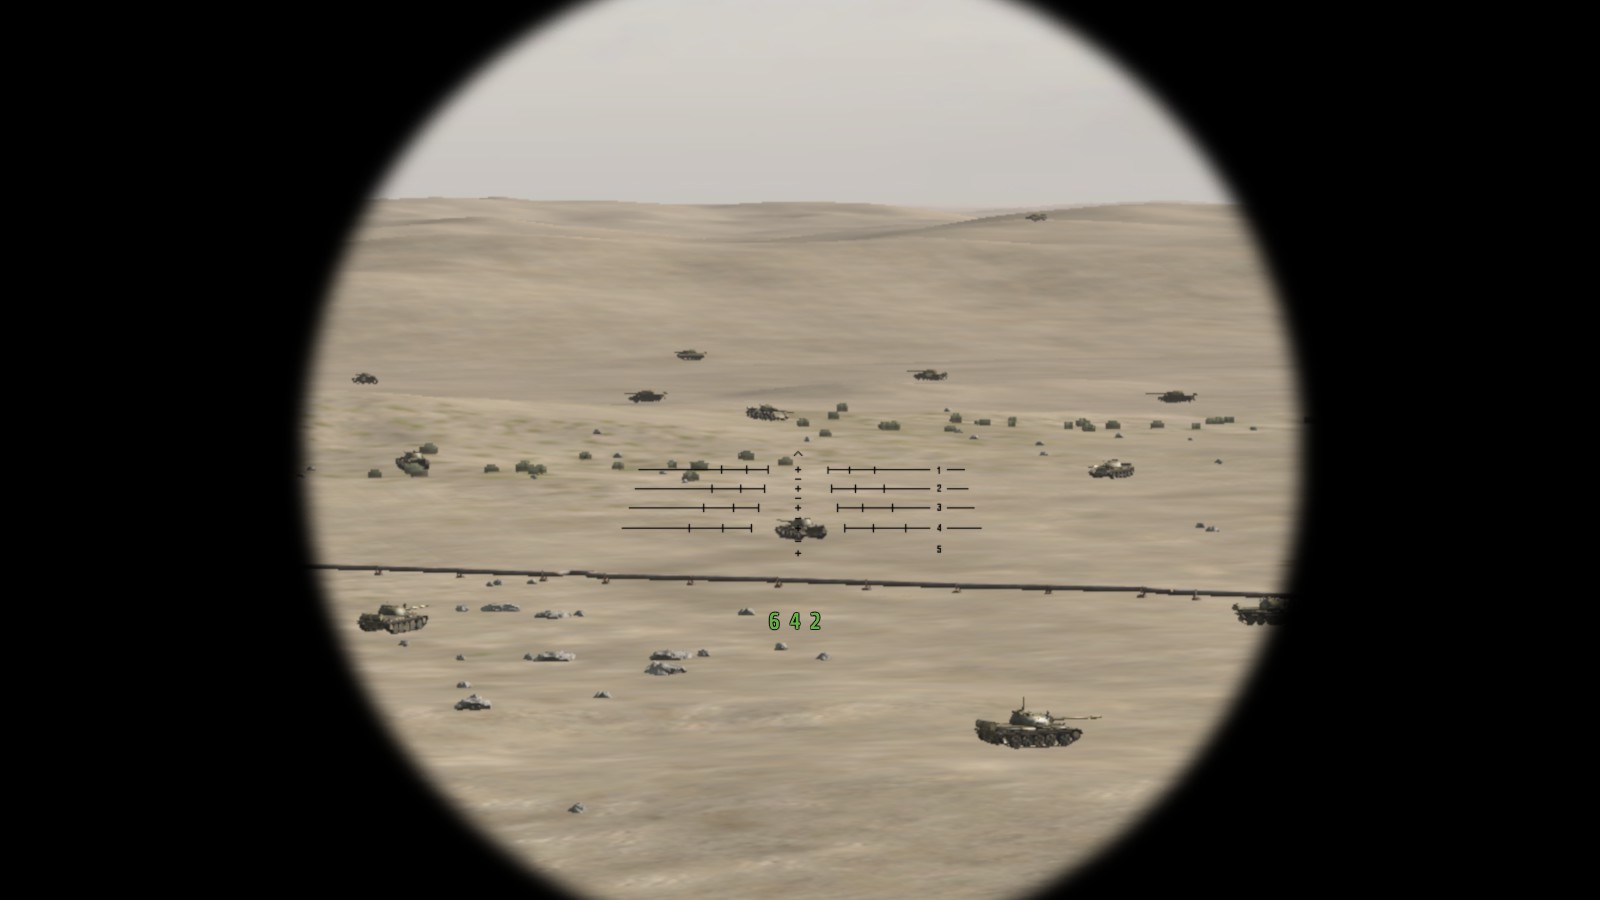
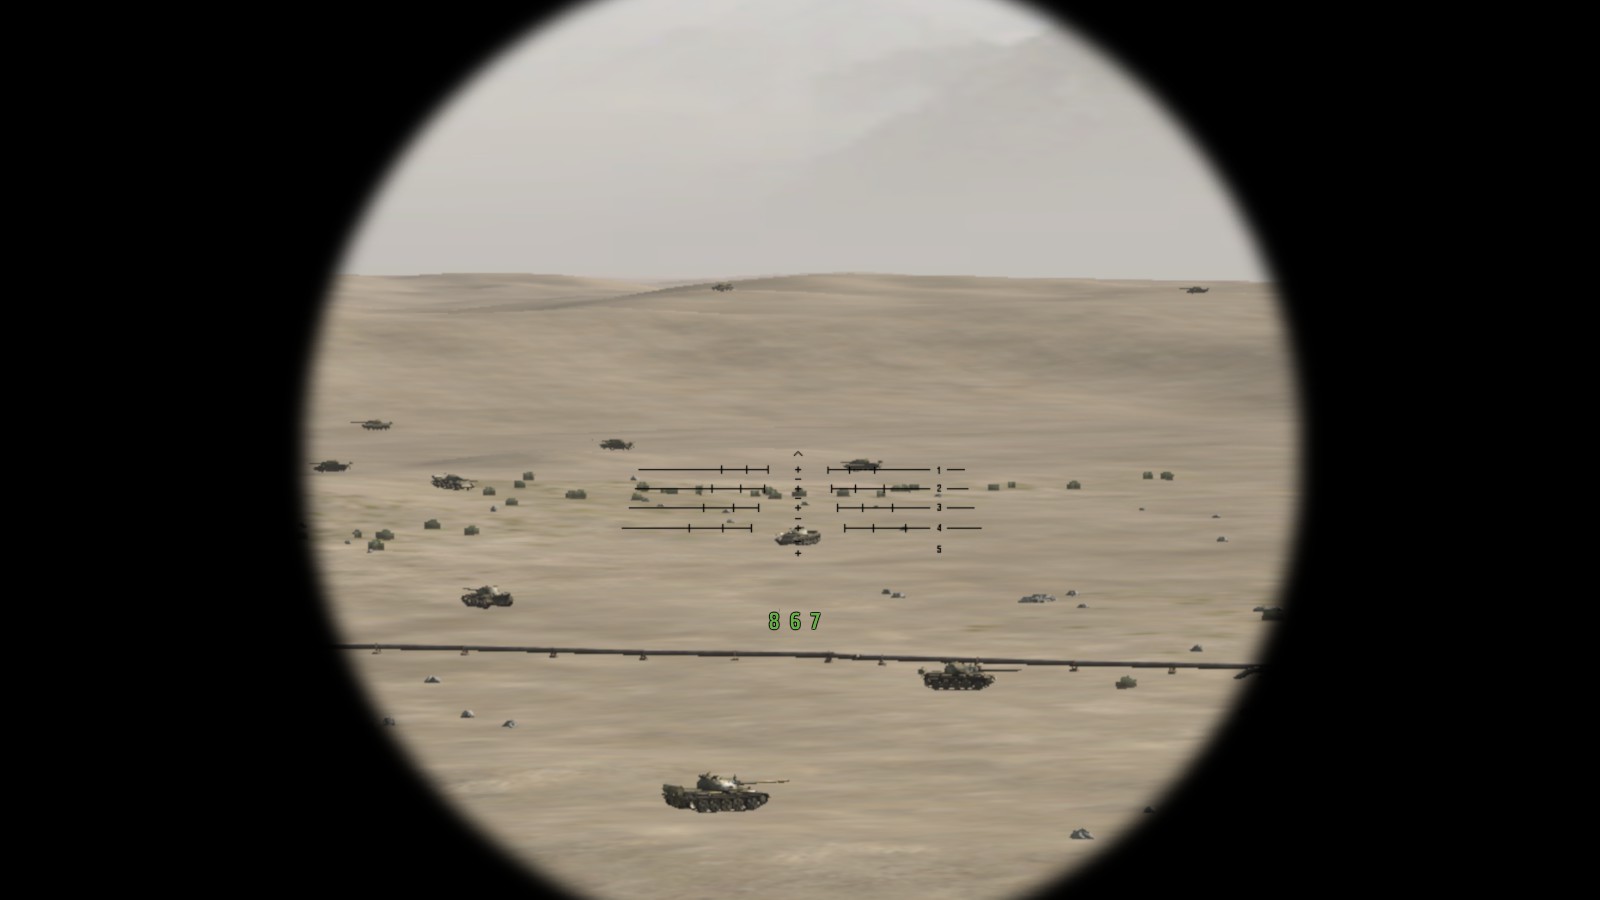
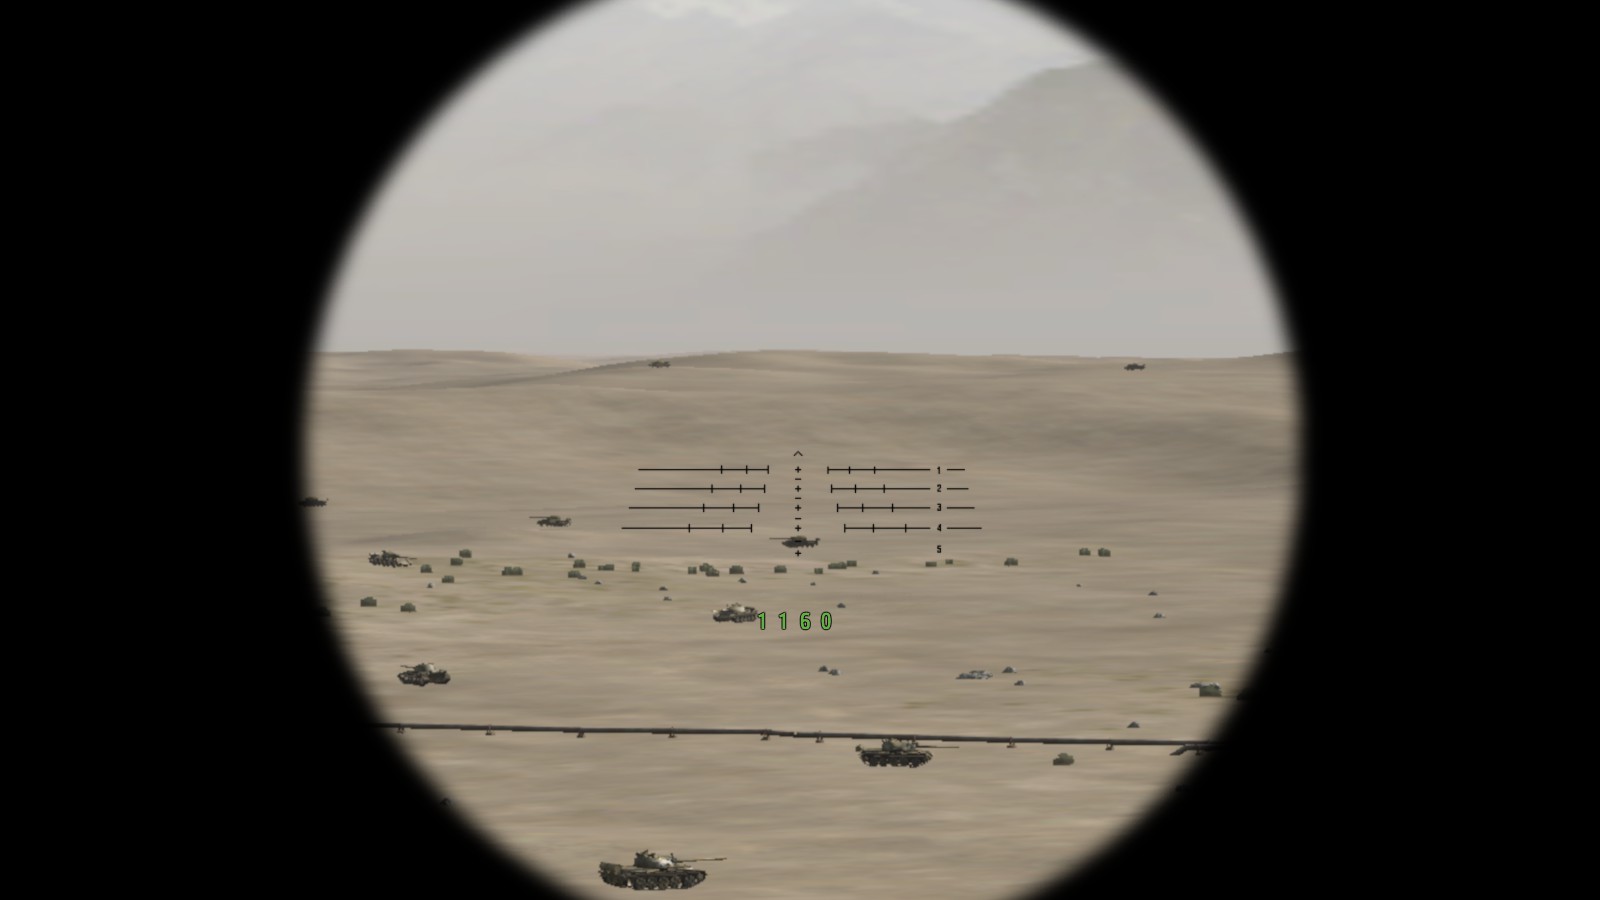
Arma 2: Operation Arrowhead

Arma 2: Operation Arrowhead

33 ratings
MAAWS / Carl Gustav - Long Range Aiming
By Wolfy
Learn how to propperly employ the Carl Gustav's HEAT-shells, from short to extremely long ranges.
   
Award
Favorite
Favorited
Unfavorite
Introduction
Hello fellow Arma 2 players,
In this guide i want to show you how to accurately employ the Carl Gustav's 'High Explosive Anti-Tank', or 'HEAT'-shells, at ranges far beyond what the scope originally implies.

While using the Gustav myself, i saw how the Gustav's sights were downright inaccurate at certain ranges, making your shell overshoot most of the time.
After an afternoon of checking, testing and re-checking, i came up with a list of numbers which proved far more reliable, and accurate at ranges up to (ànd over!) 1000m.

I hope these numbers will prove valuable to you as well, and help you achieve the most from this impressive AT-weapon.
Target ranging, and engaging up to 400m.
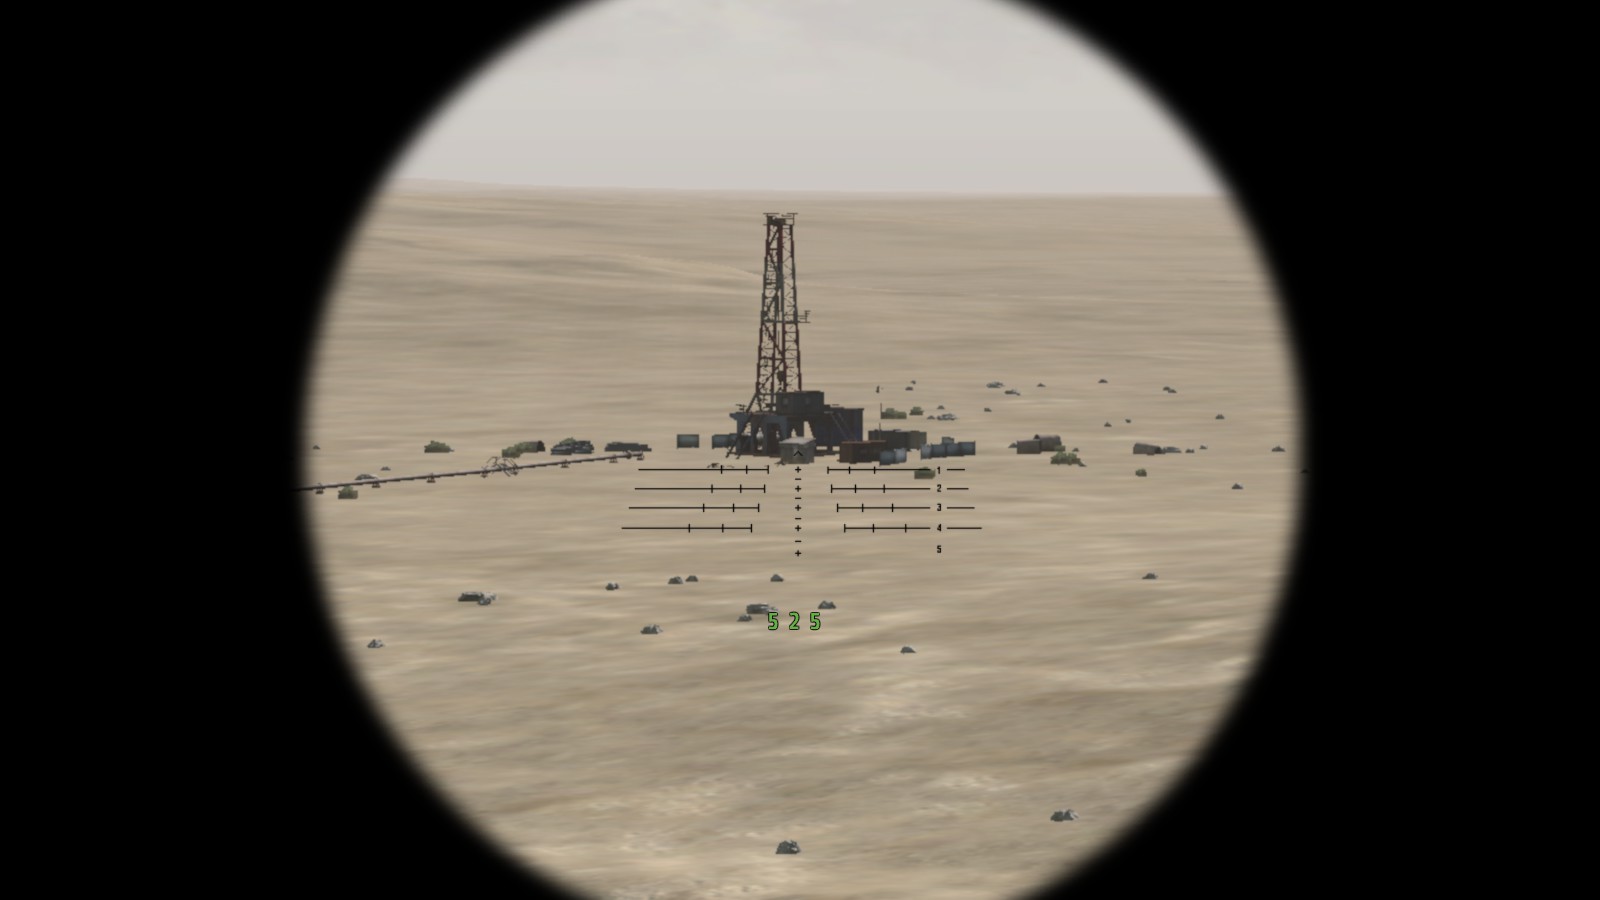
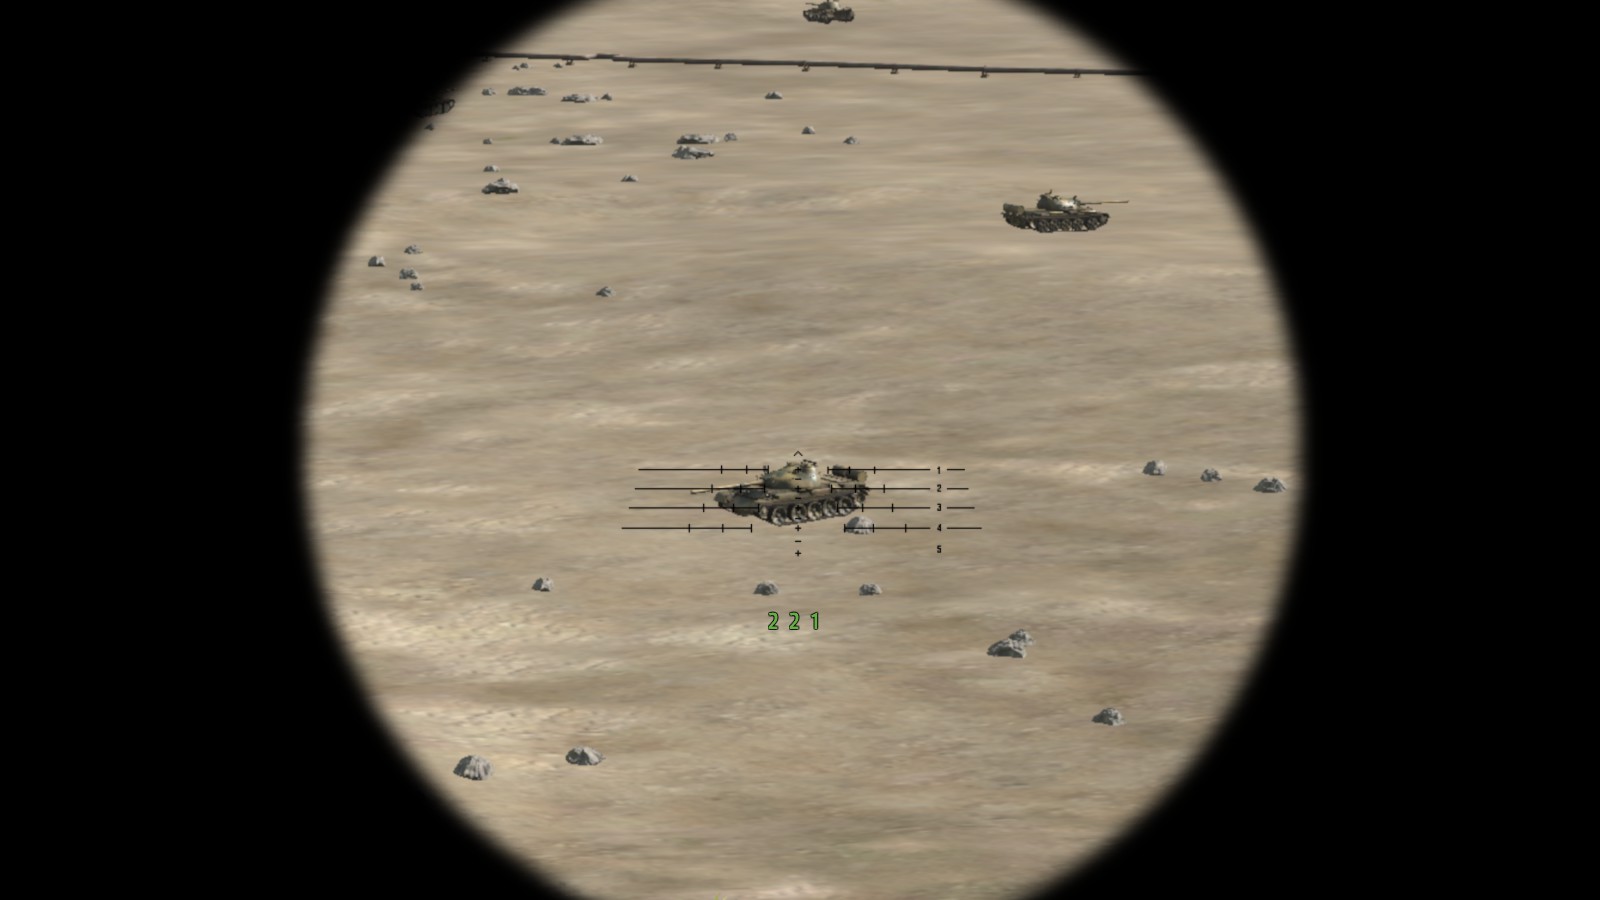
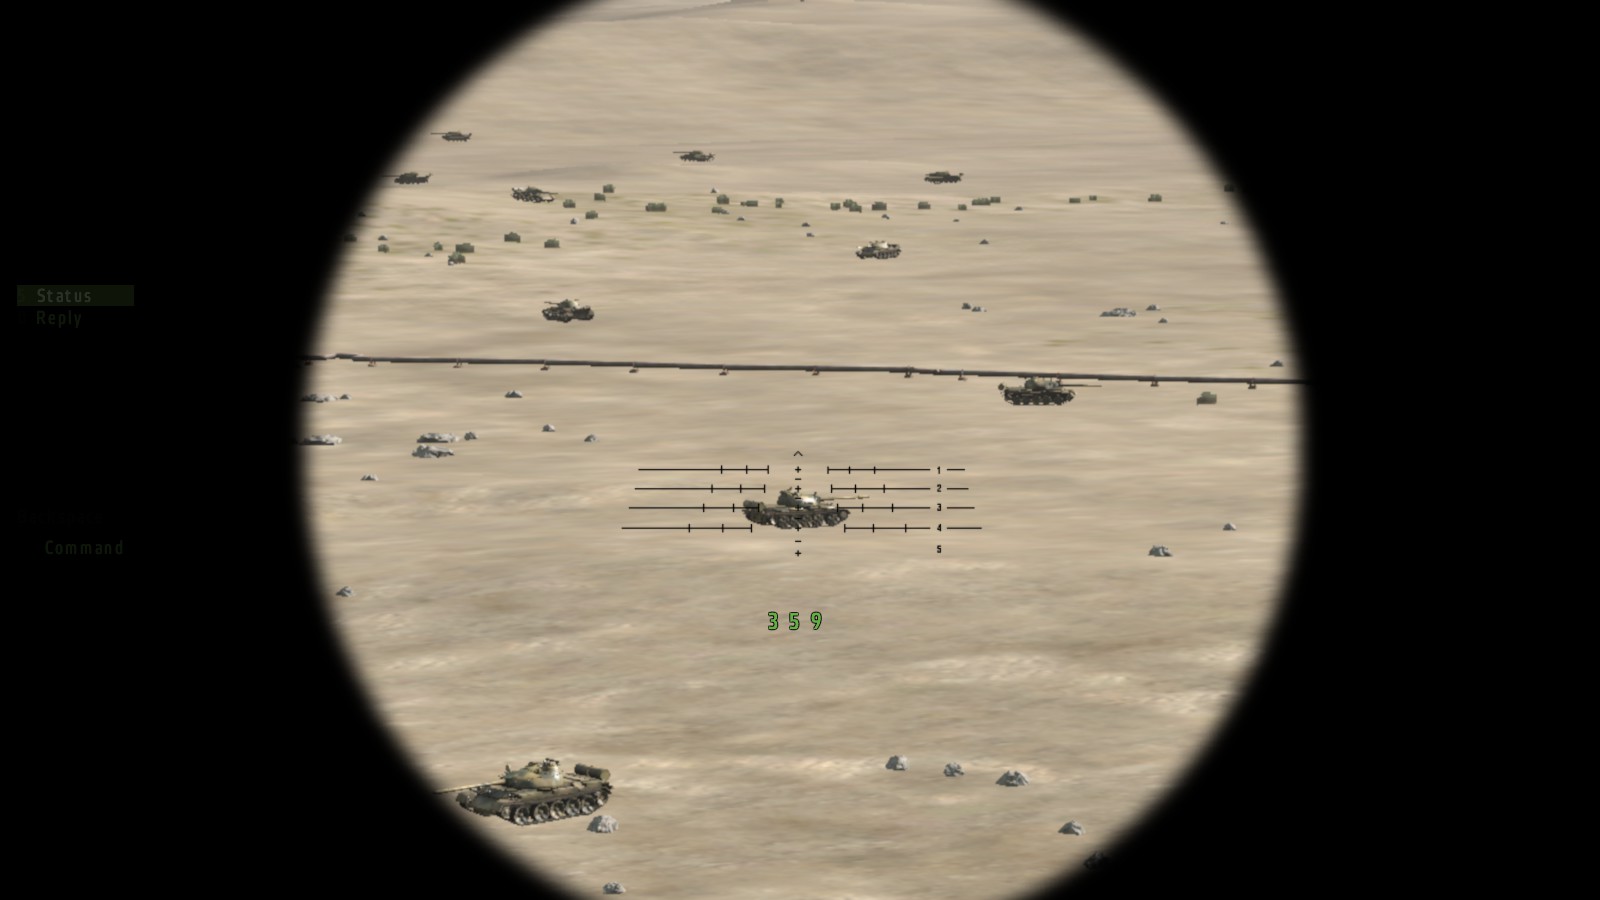
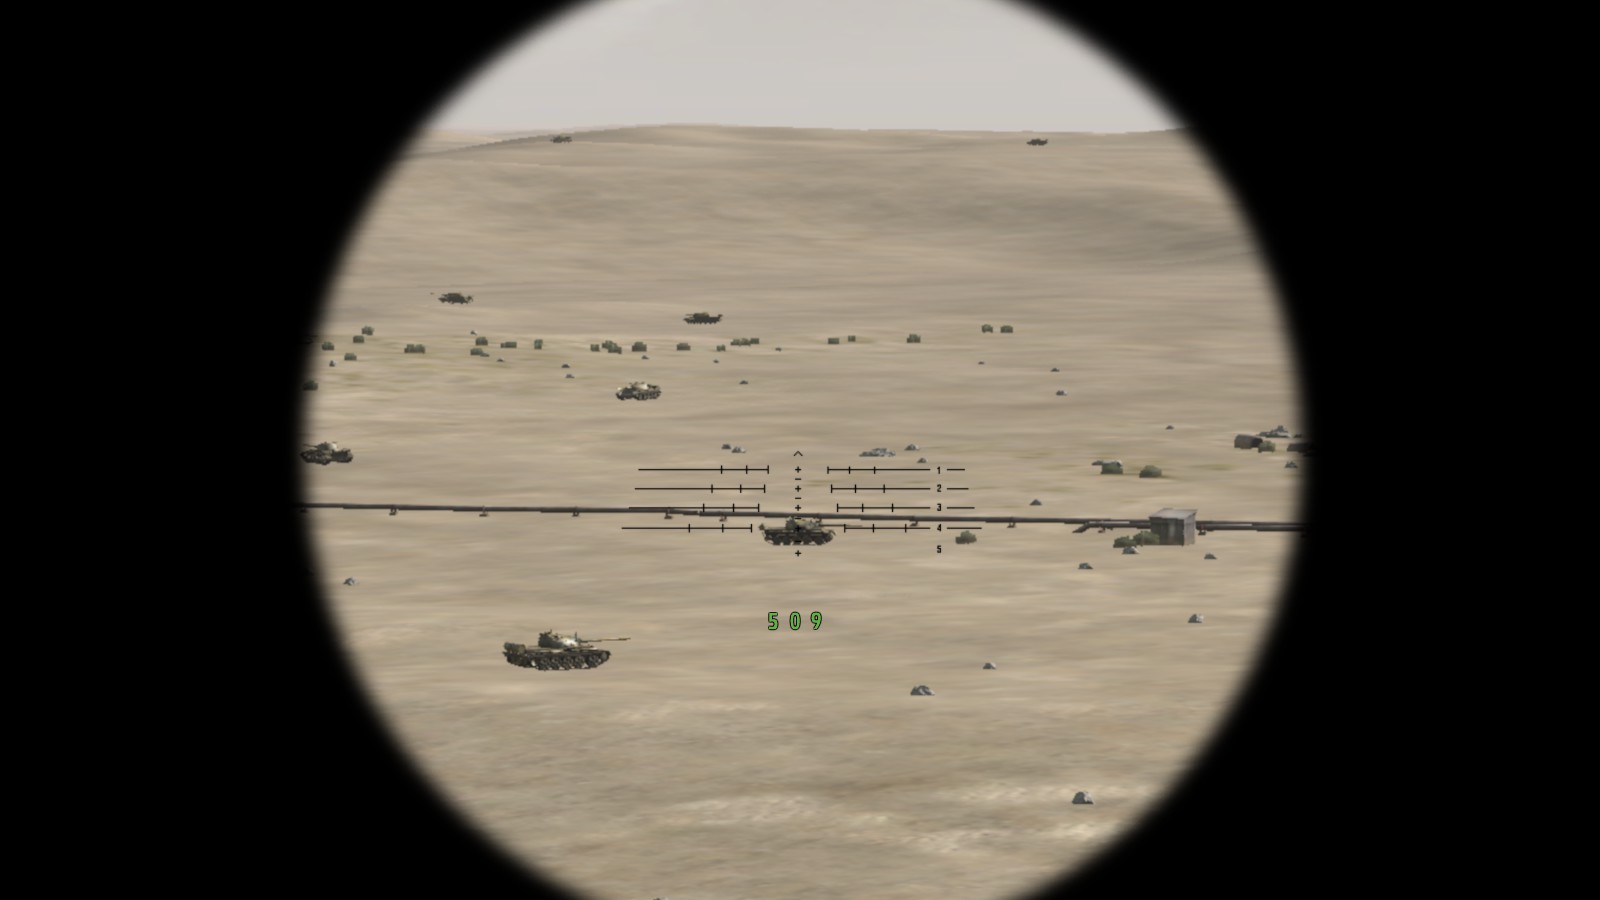
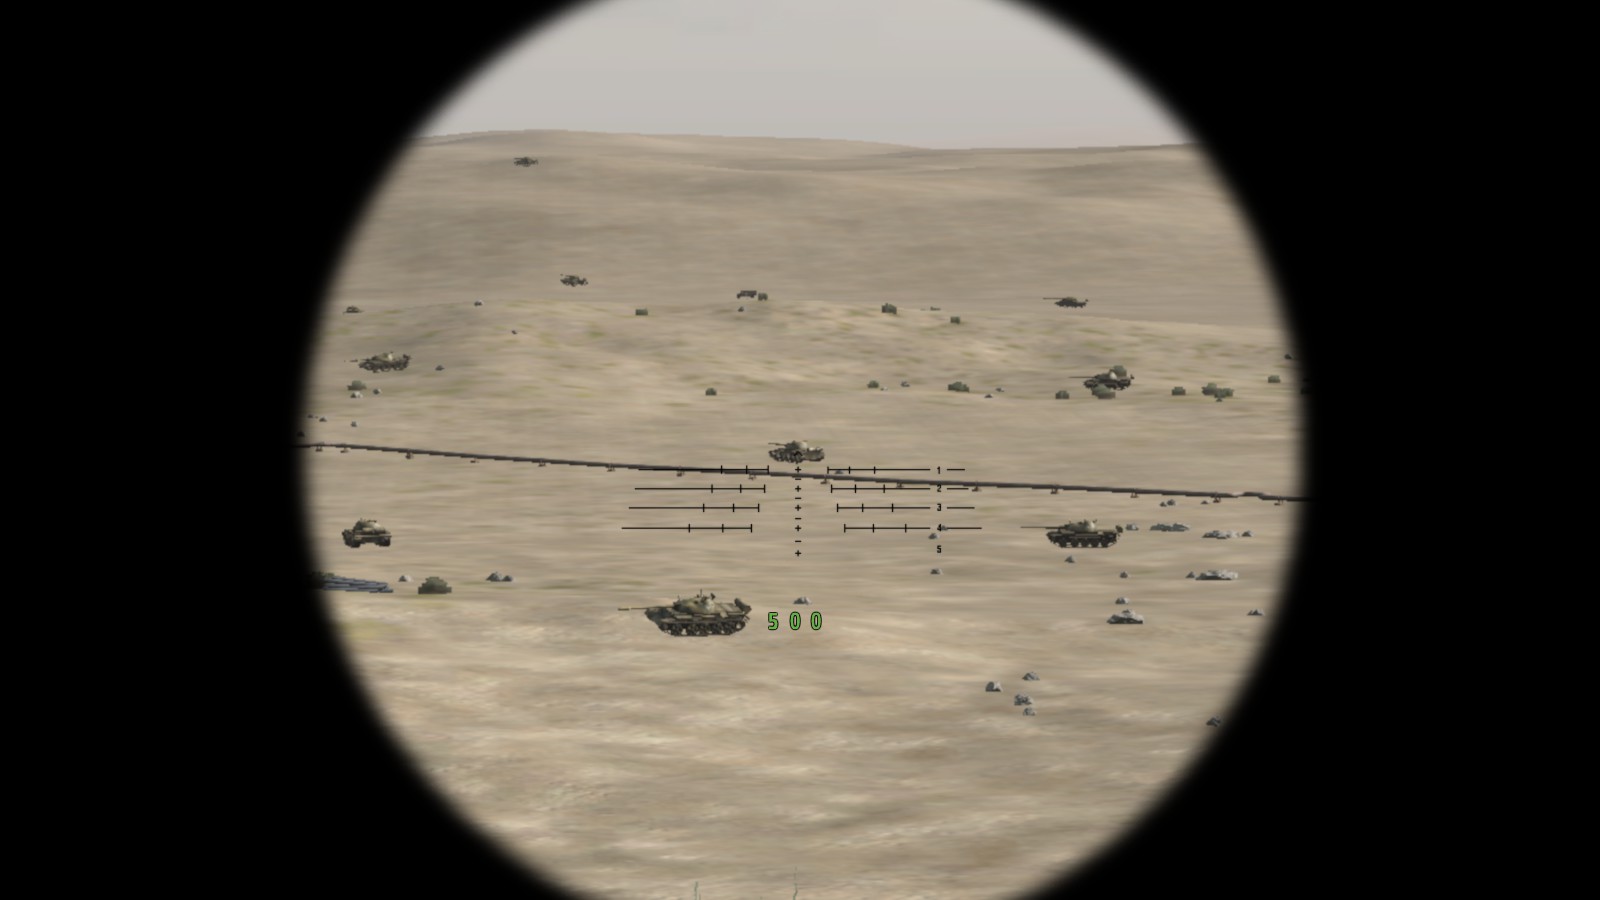
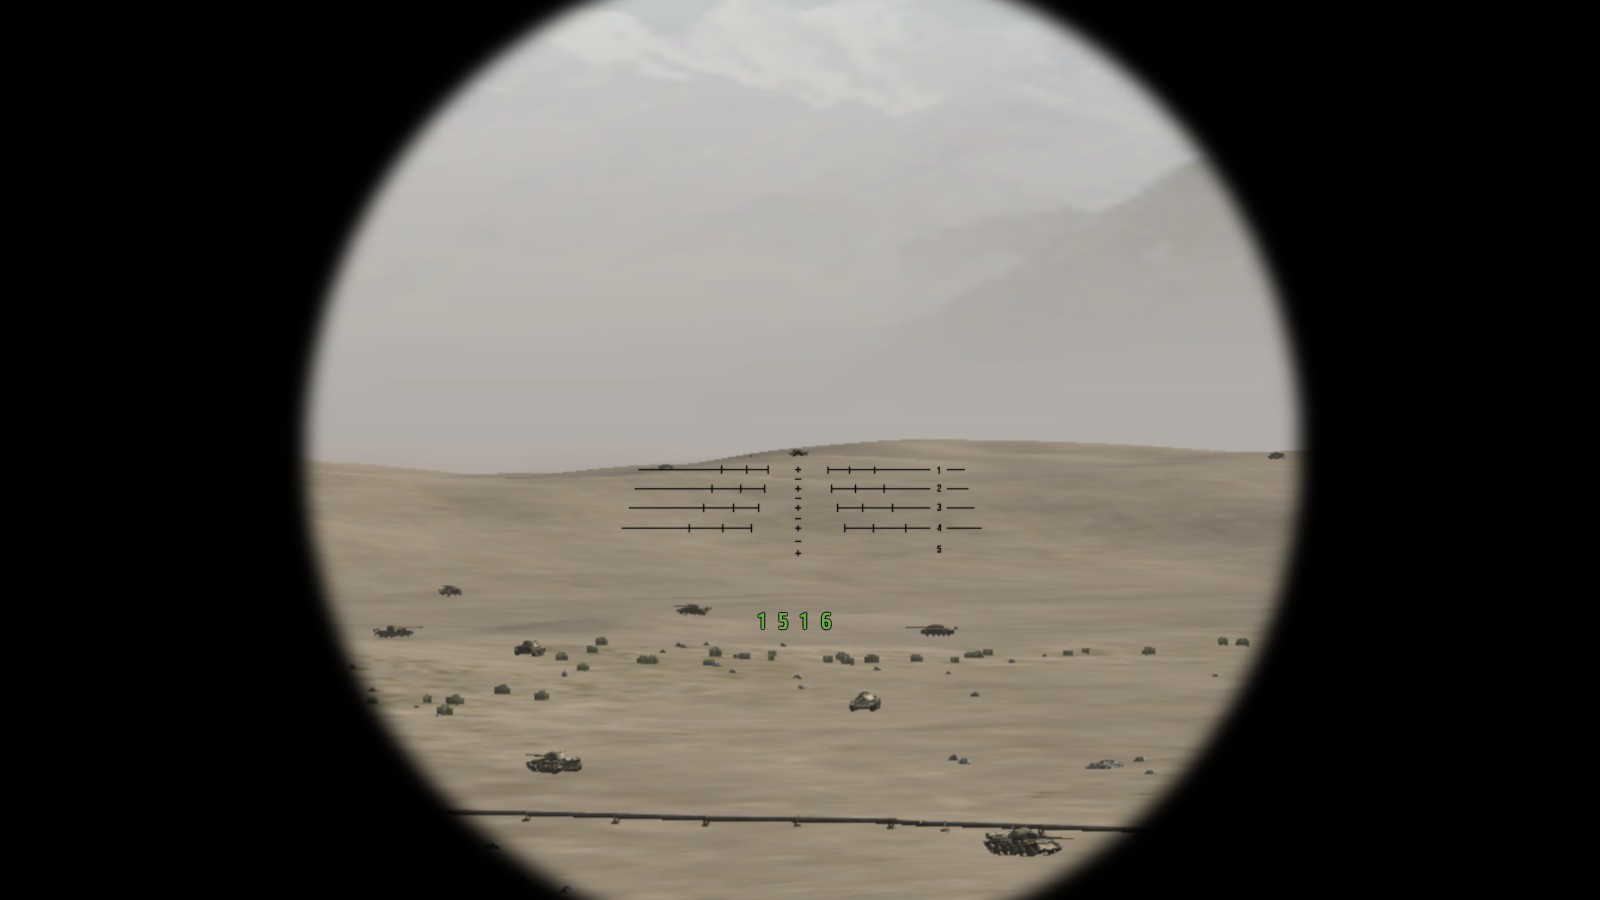
This is your default Gustav sight.
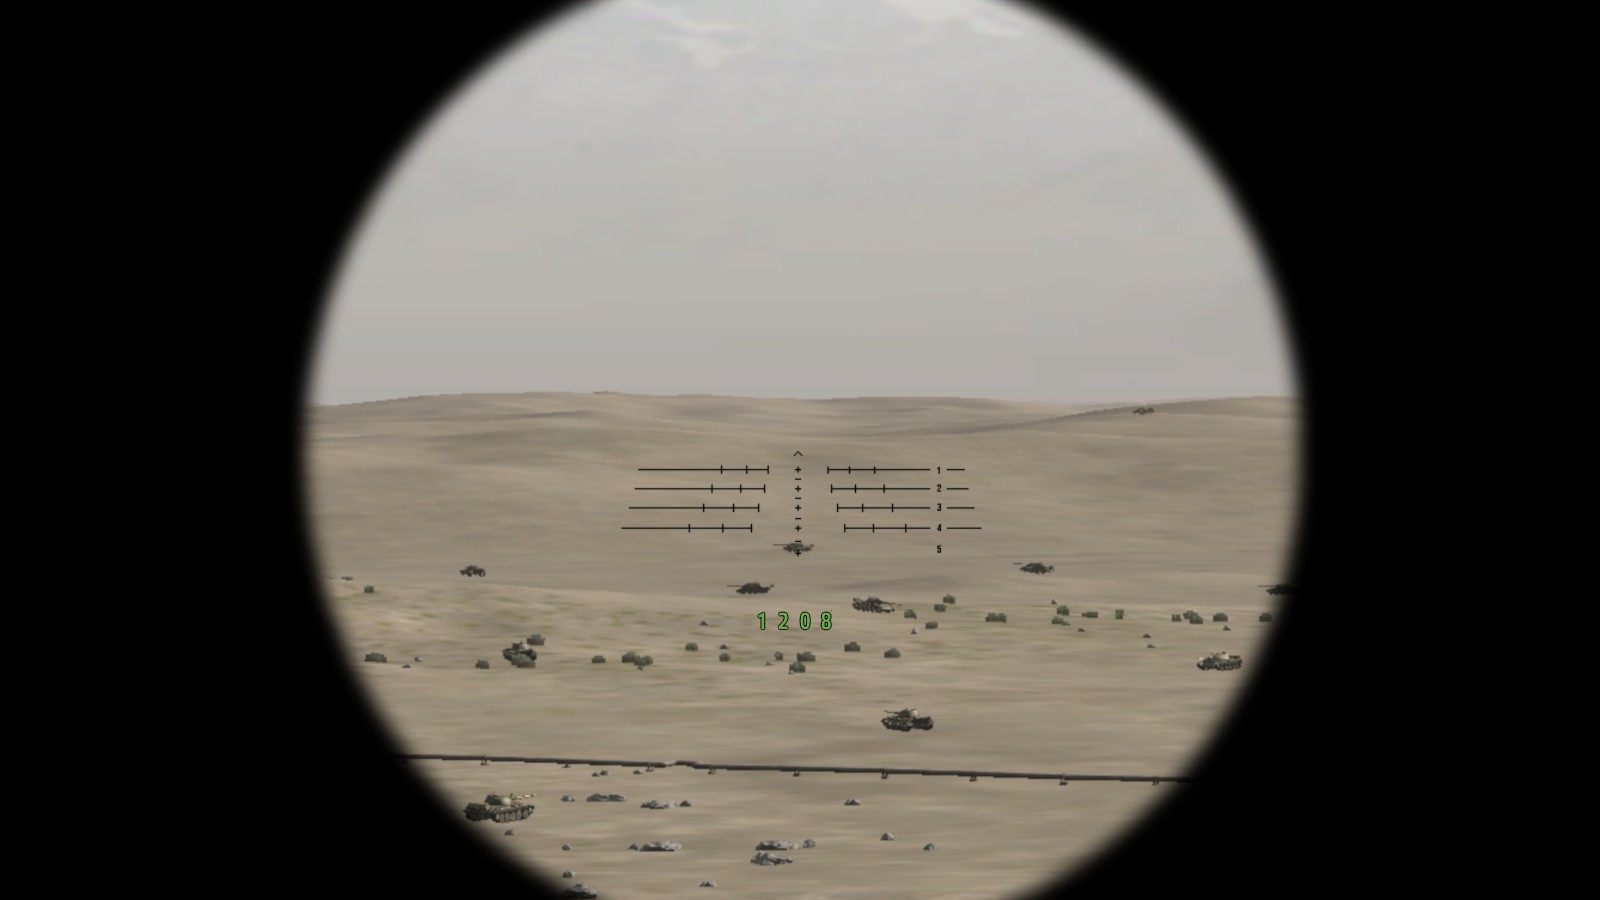
It has an integrated rangefinder, and distance-crosses to properly elevate the launcher to engage distant targets. The point where the distance is measured (displayed in green numbers) is right underneath the top chevron: ^

For example: this grey shed in front of the oilderrick is 525m away:


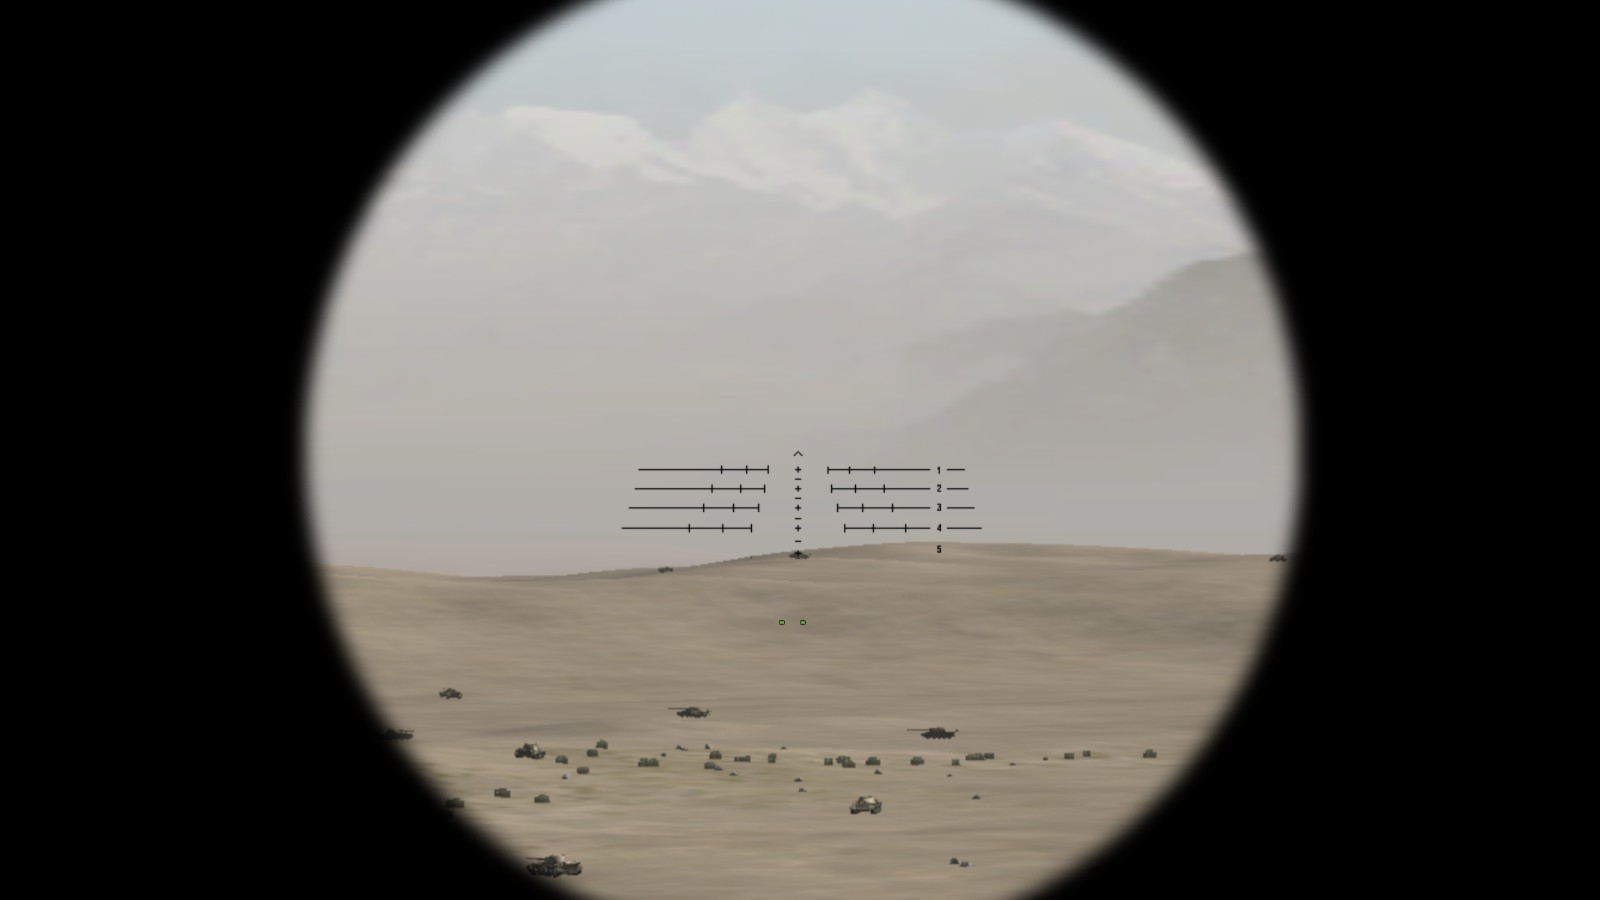
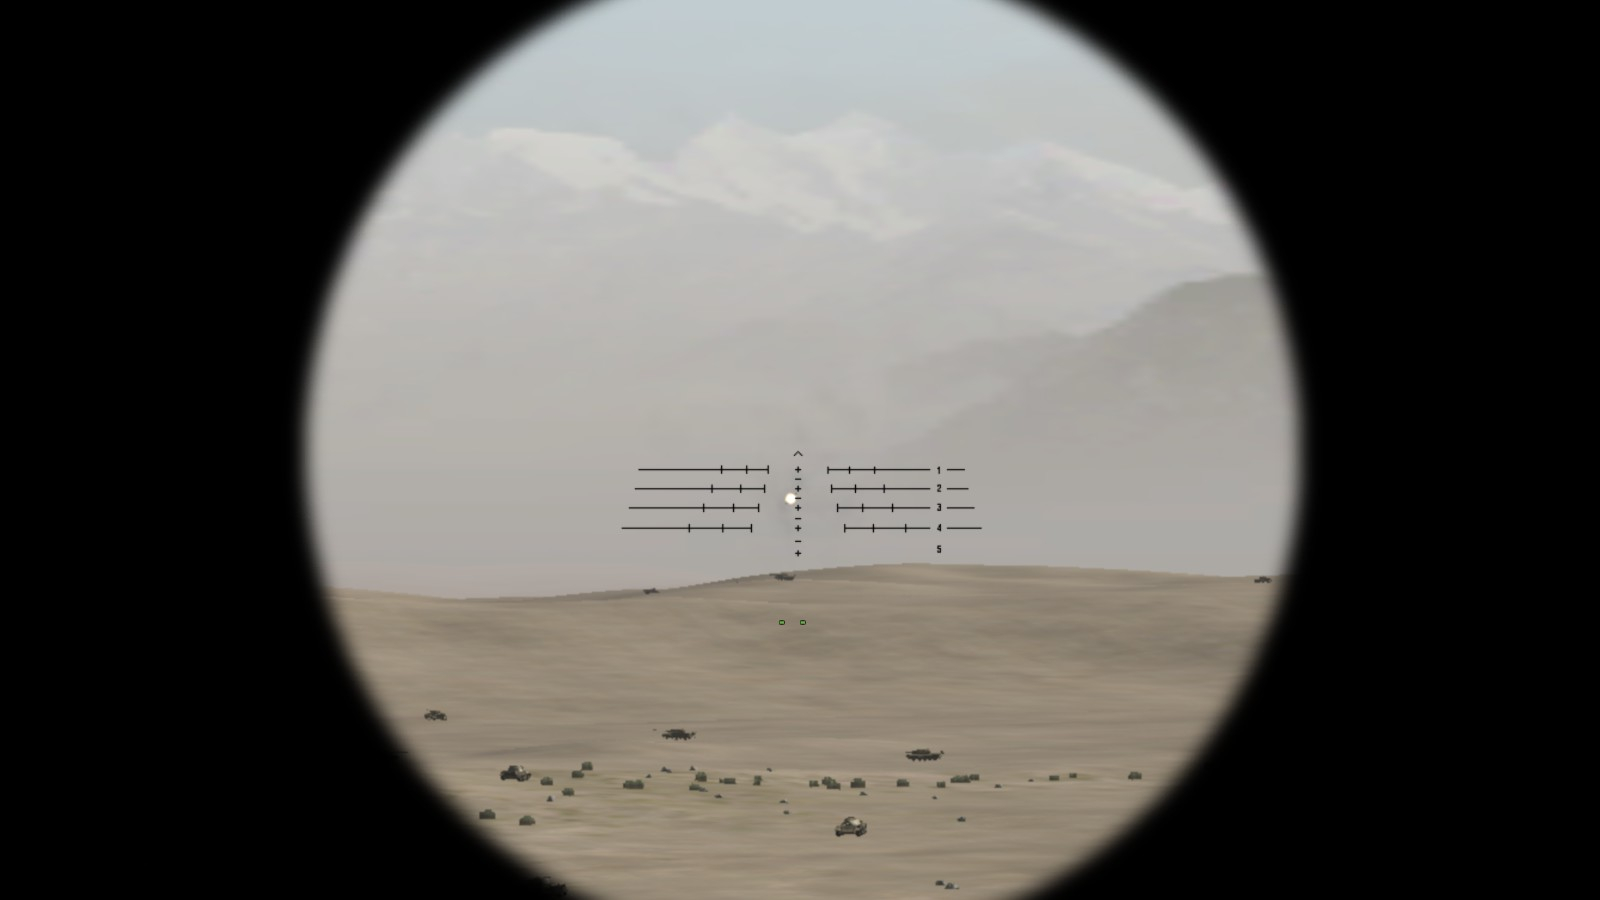
Following the appropriate numbers, these are your sight-pictures for the corresponding ranges.

Sight for a target at 100m:

Sight for a target at 200m:

Sight for a target at 300m:

Sight for a target at 400m:


Note how at the further ranges the sight is elevated to such an extent, that the ^-mark now measures a point much further than your initial target. Don't let that confuse you: First measure the distance, remember that distance, thèn line up your shot - while ignoring the now changing green number.

At 500m though, the original sight is horribly off, making the shell land way beyond the target:
Engaging targets beyond 400m. (Wày beyond!)
This is where you have to adjust your sights to very specific points in order to score a hit.
I always keep a list of these numbers nearby for quick reference, and i suggest you do the same.

For a 500m target, simply use the '4'-mark:


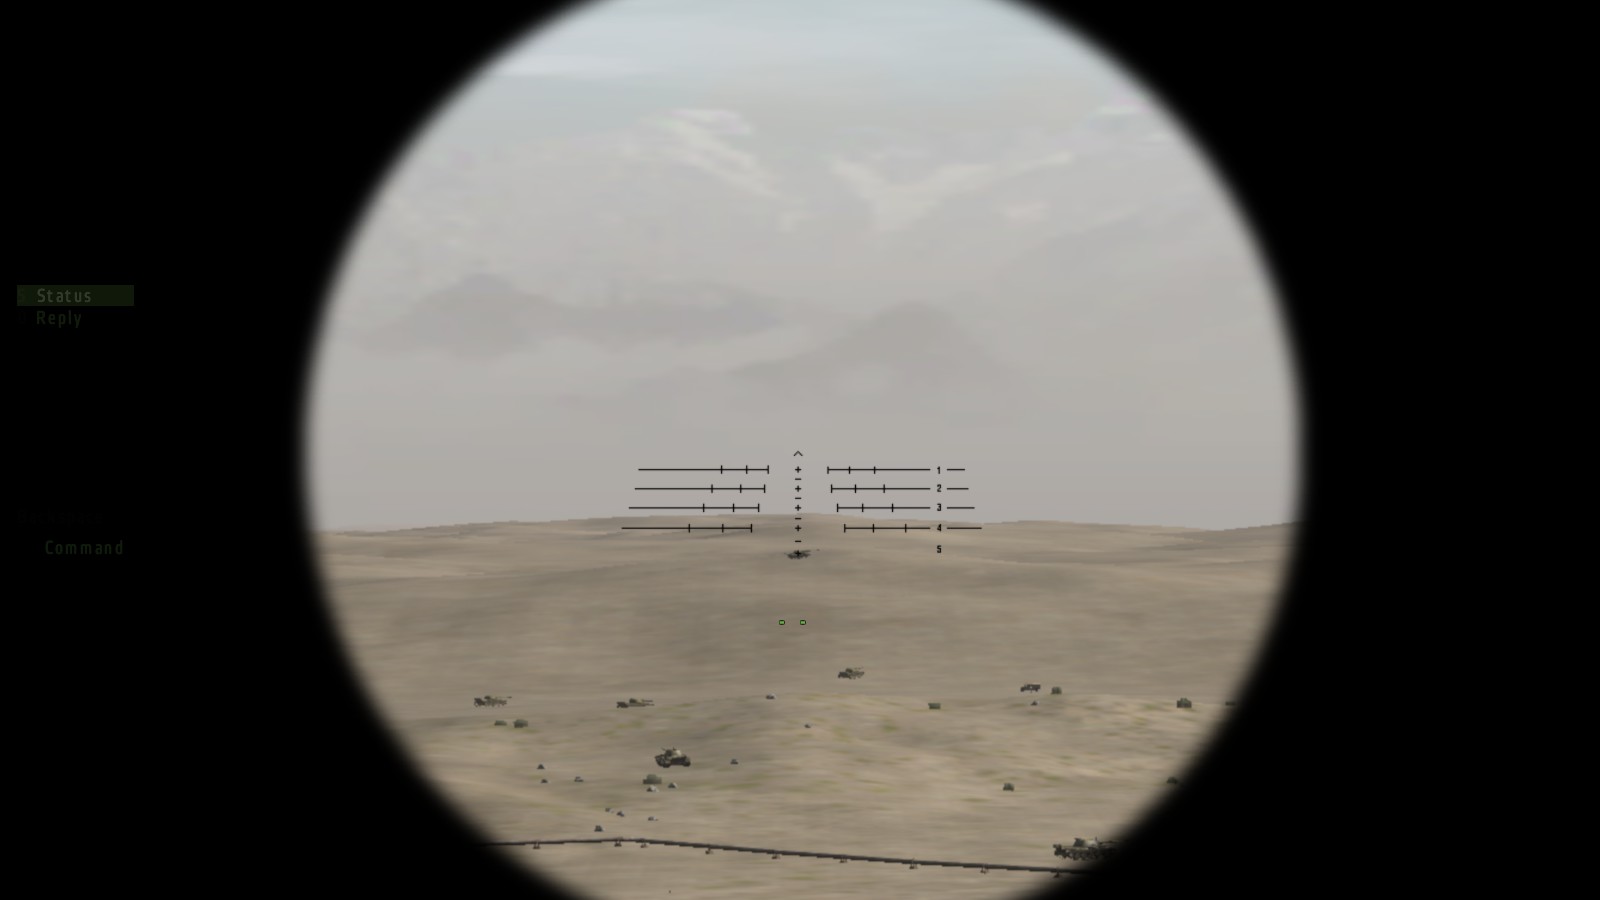
For a target at 600m or 700m, you have to aim for what i call the 4.25 mark.
Bracket the target inbetween the '+' cross for number 4, and the '-' line for 4.5:


At 800m and 900m put the 4.5 line '-' over the target:


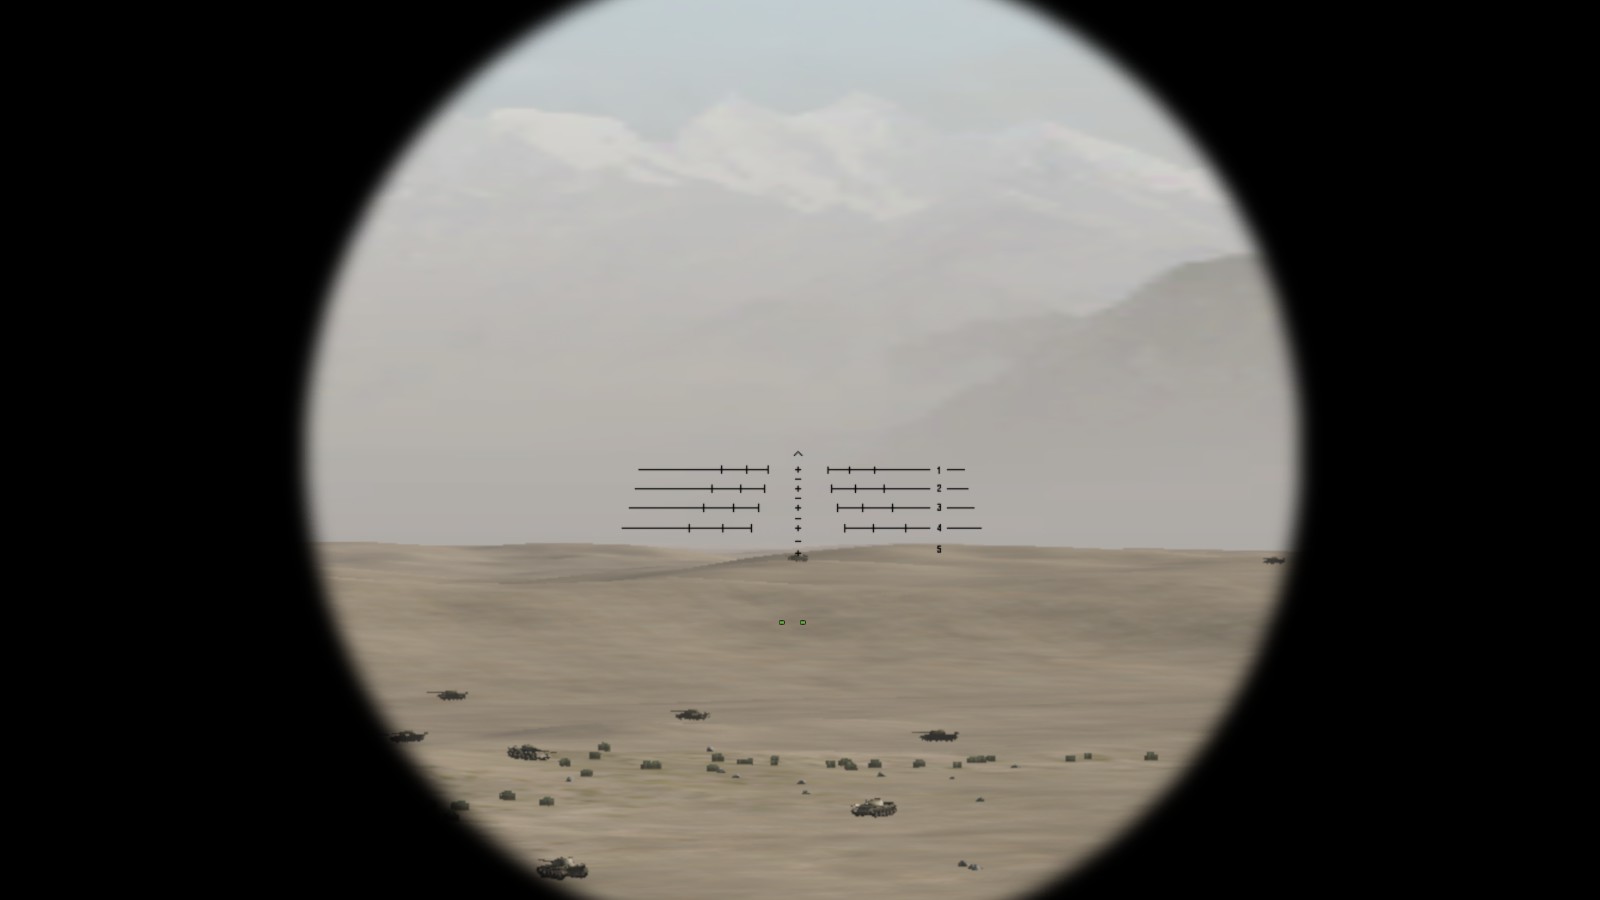
For 1000m and 1100m (we're already at a kilometer now) aim for 4.75.
Bracket the target inbetween the '-' line for 4.5, and the '+' cross for number 5:


Still not done. :)
To engage a target at 1200m or 1300m, place the '+' cross number 5 directly on the target:


As final icing on the cake, you can even engage targets at 1400m and slightly beyond.
I find placing the '+' cross number 5 at the top edge of the target works best.
Example: tank shot at 1500m
Here is a small demonstration of how an engagement at such long ranges would work.
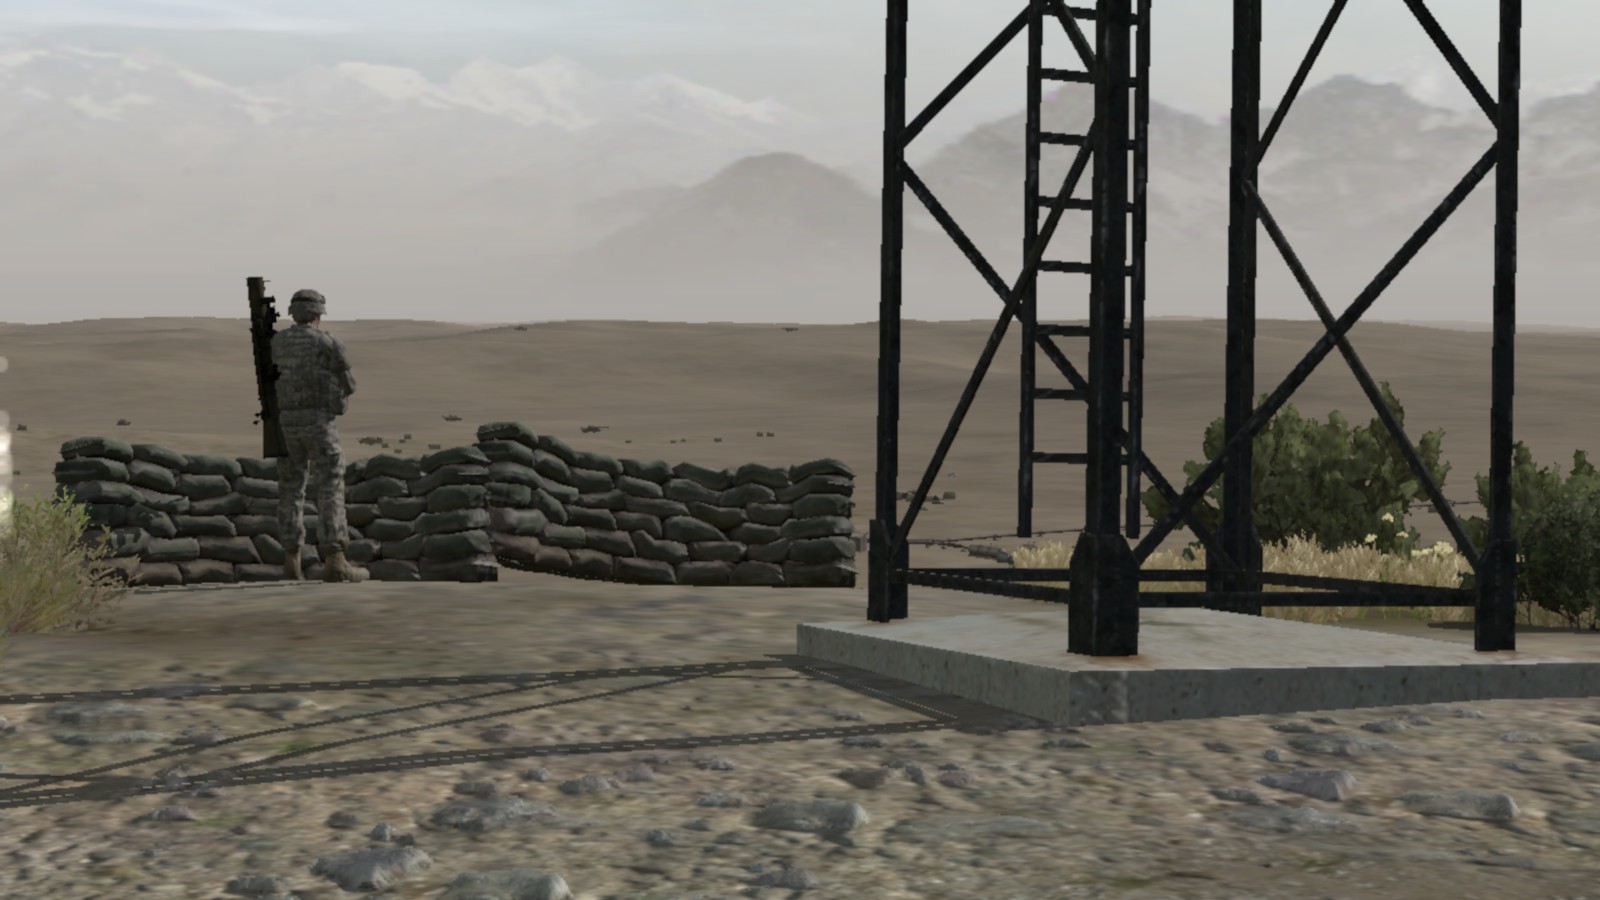
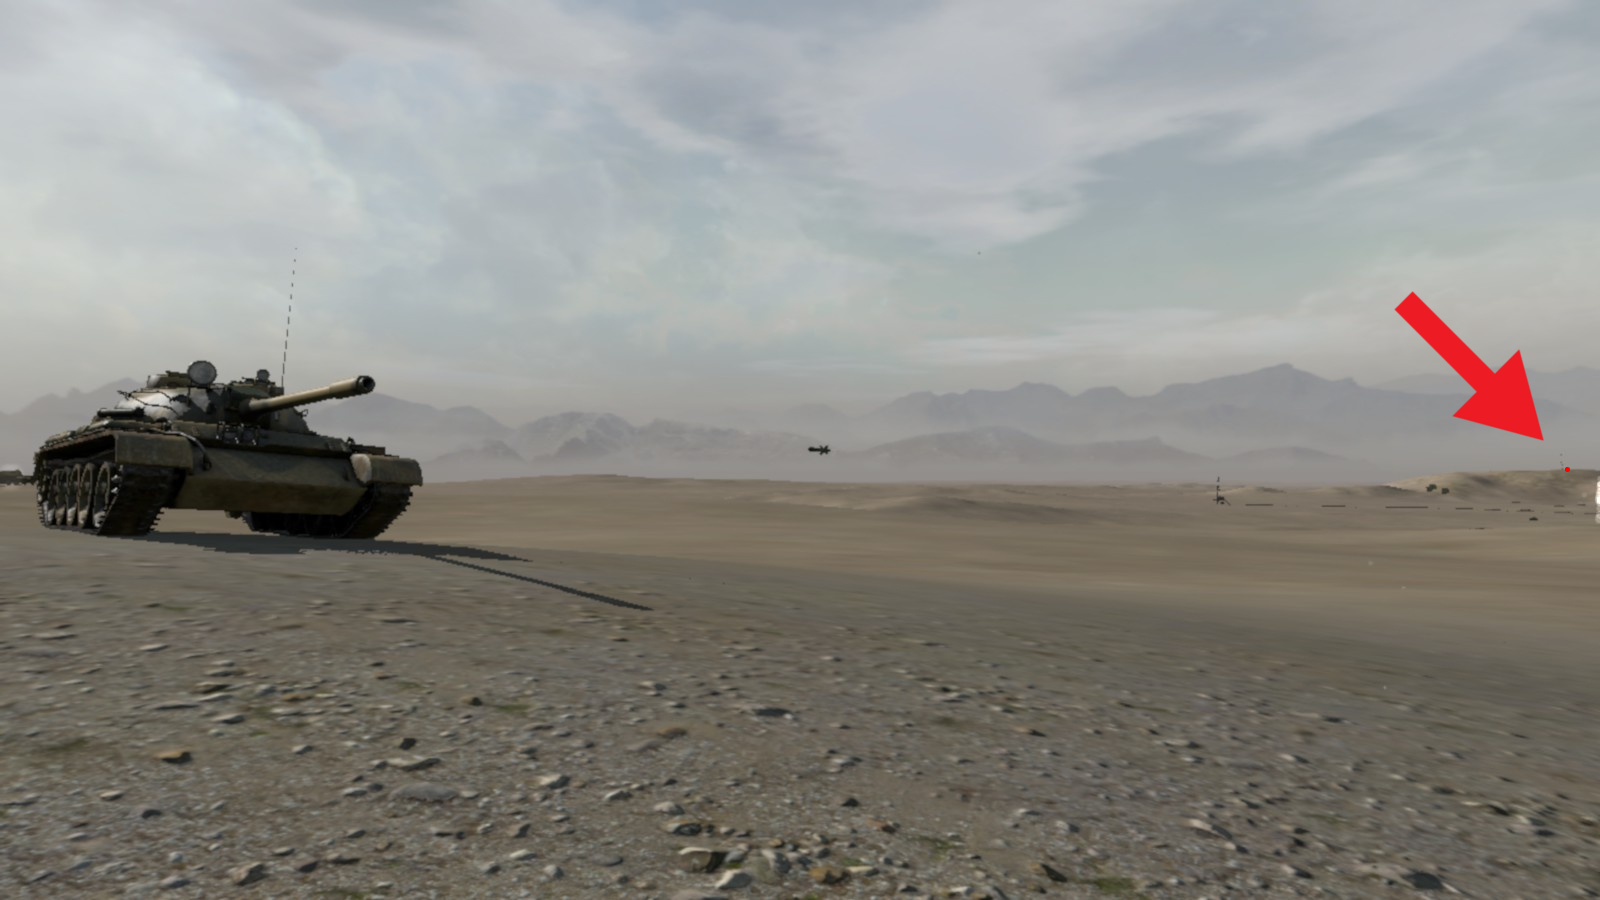
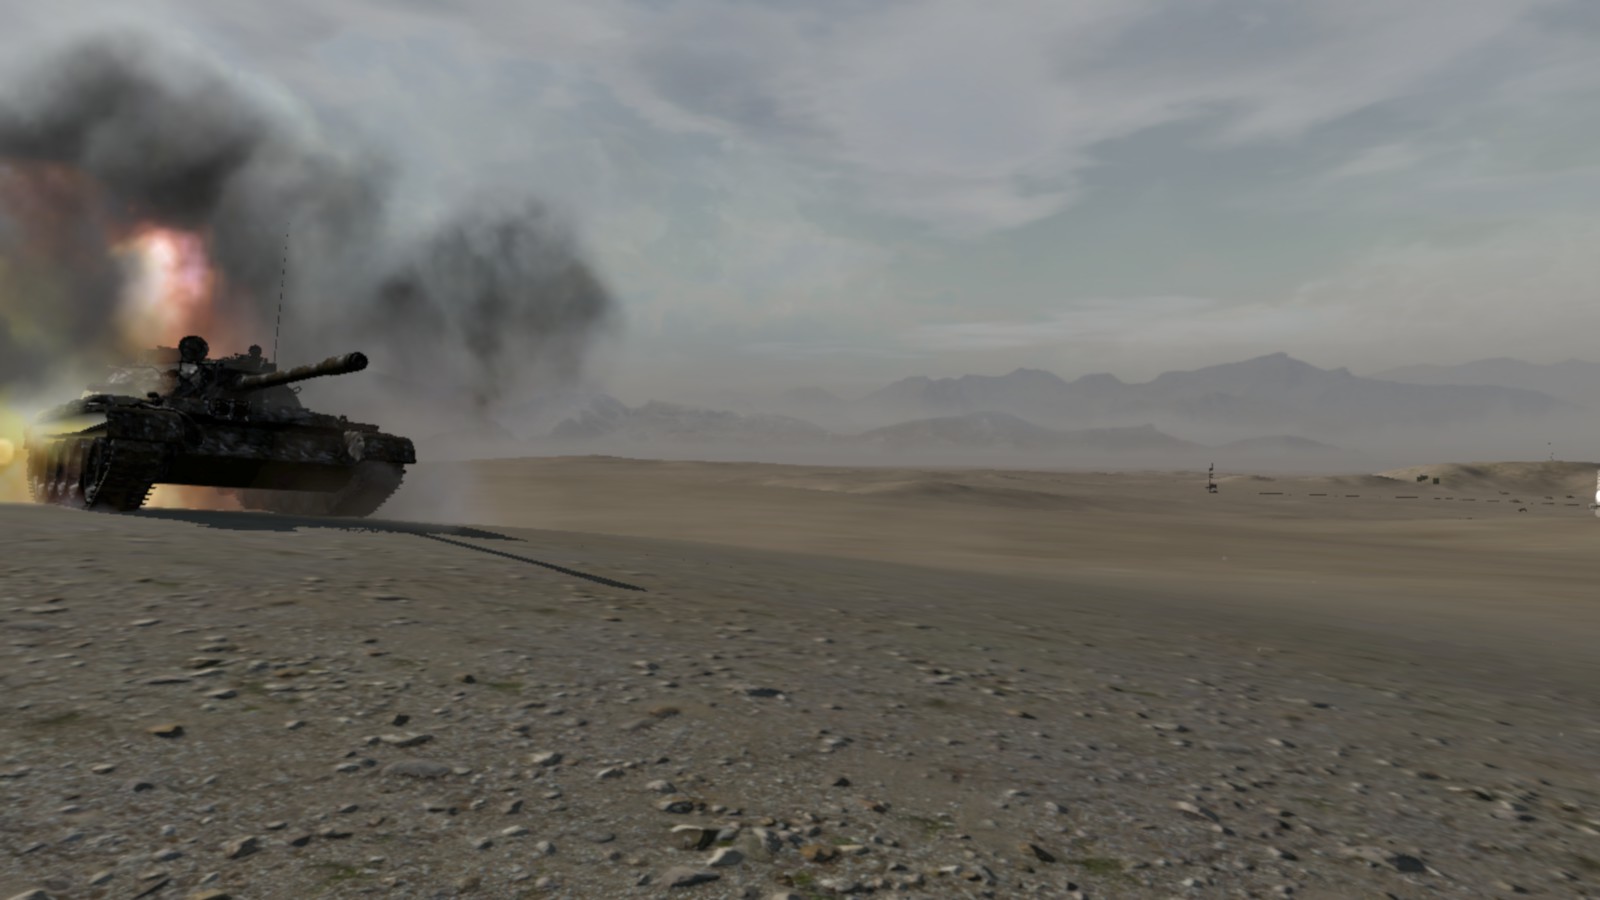
These two screenshots show both viewpoints - from the AT-gunner to the tank, and vice versa:

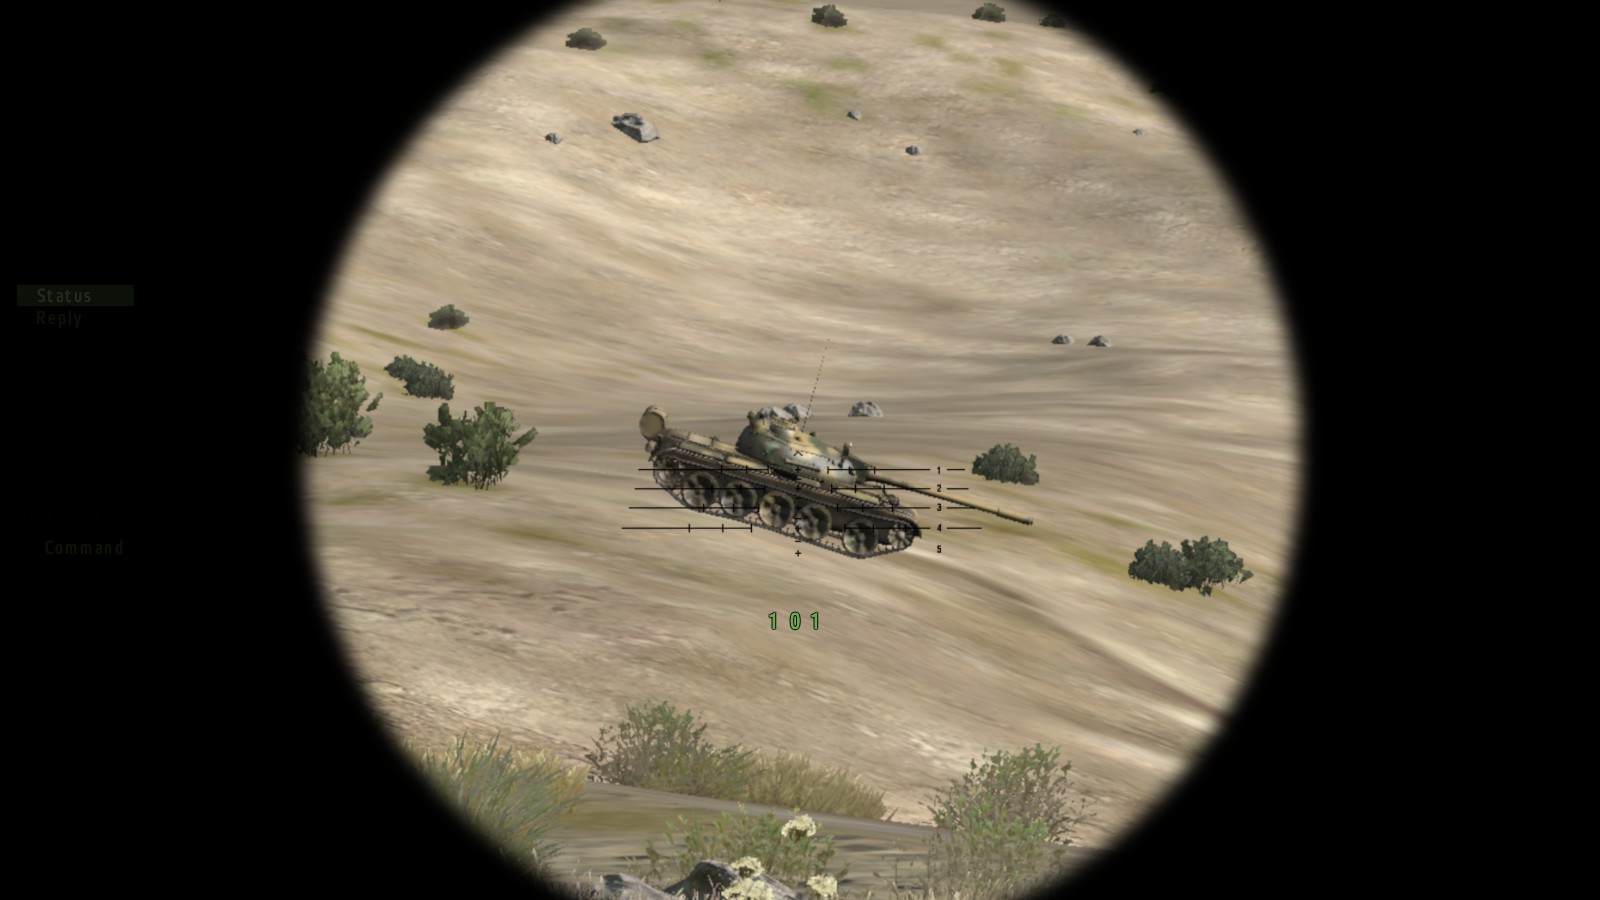
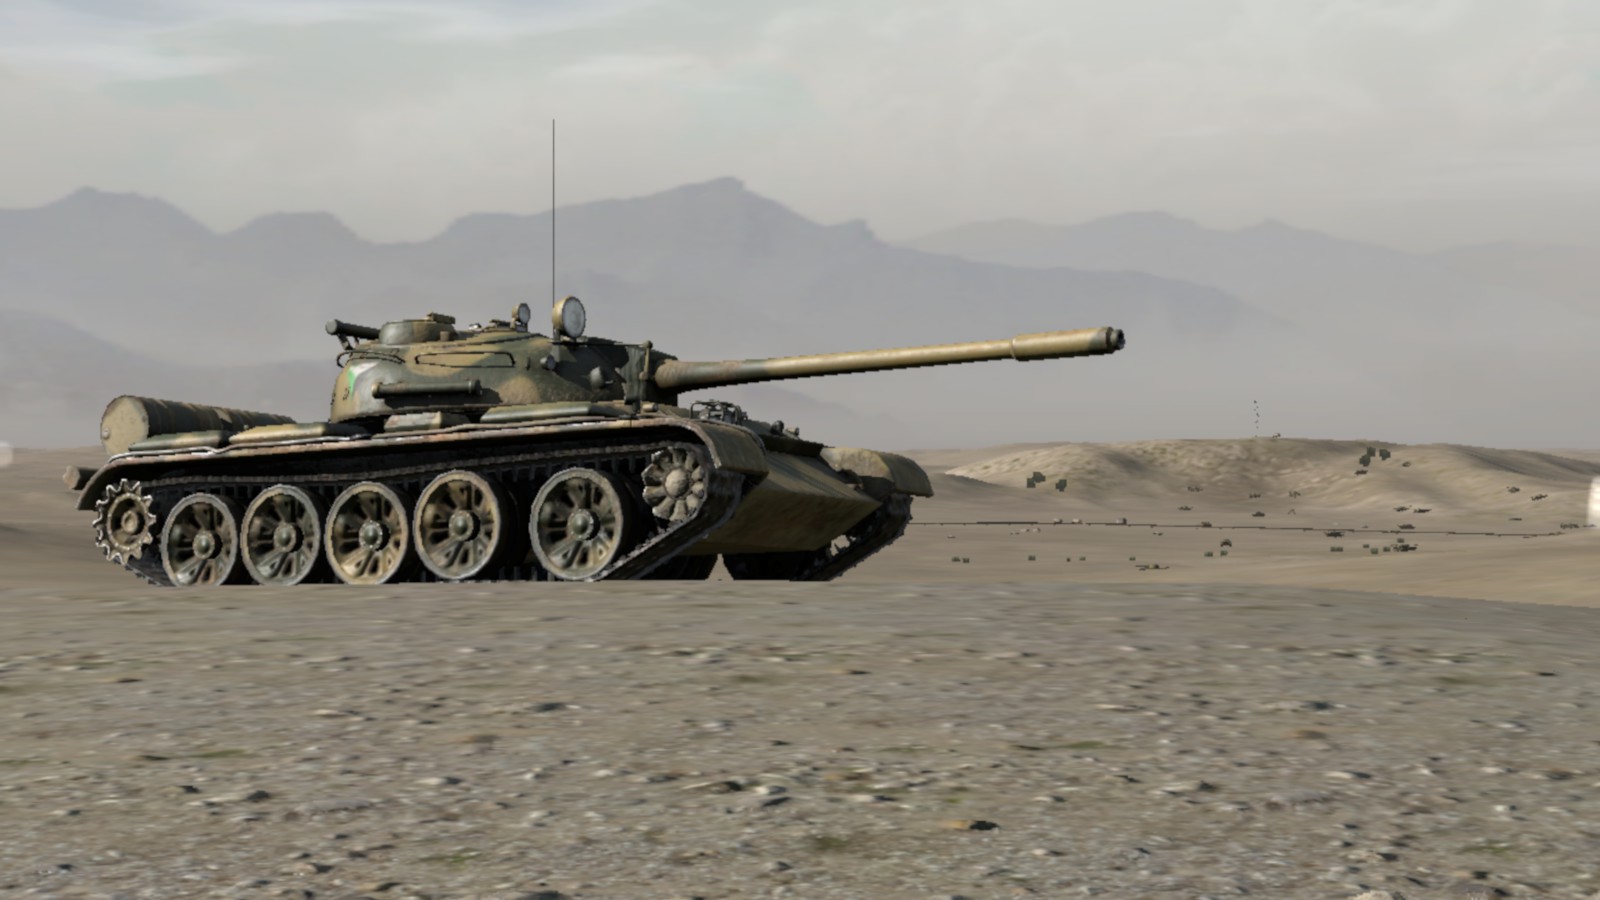
With the scope's rangefinder, i see that my target (a T-55 tank) is just over 1.5km away.
Using my range-card - as explained above - i place the nr.5-cross at the top edge of the turret.


Carefully move your cursor on the apropriate point, since targets are incredibly small at these ranges.

Even a small nudge of your mouse can make you miss your shot...


It takes about four and a half seconds for the HEAT shell to travel the 1500m.
Note the red arrow that indicates where i fired from.
Summary and Closure
These are the ranges i mentioned in this guide, and their corresponding sight-points.
Again, i suggest you write it down / print it out, and keep it handy for quick refference.

Range:______Aimpoint:
__100m ---------- 1
__200m ---------- 2
__300m ---------- 3
__400m ---------- 4
__500m ---------- 4
__600m ---------- 4.25
__700m ---------- 4.25
__800m ---------- 4.5
__900m ---------- 4.5
_1000m ---------- 4.75
_1100m ---------- 4.75
_1200m ---------- 5
_1300m ---------- 5
_1400m ---------- 5 (at top of target)
_1500m ---------- 5 (at top of target)

*********************************************************************
That concludes my guide on the Gustav's HEAT employment.
HEDP-shells are a different story: those things plummet to the ground very quickly...

I hope this helps you out ingame, and feel free to send me any suggestions, corrections, etc.
Greetings,
Wolfy.
11 Comments
Nuclearfish 27 Feb, 2021 @ 3:10pm 
its almost like those lines mean something...
RC LargerComic 27 Nov, 2020 @ 7:40pm 
Helped me blow up a SCUD in Arma 3, 10/10 would range again.
Wolfy  [author] 18 Apr, 2019 @ 6:21am 
No probs in using it in your group Bullets :) although ArmA 2 is definitely in it's dinosaur-age now.
And ArmA 3's sights seem to work fine without adjustments.
See you on the virtual battlefield (and thx for all the pro training-missions with MTF at the time!)
[MTF] CPT Bullets 3 Aug, 2018 @ 5:33pm 
Good job Wolfy! Well done and very informational, and works great. Might have to get your permission to use if we get another group up and running and create another training syllabus. Take care my friend.
Wolfy  [author] 11 Dec, 2017 @ 11:22am 
Not at all anymore JVortex - i barely touched the mod, and with DayZ SA being almost dead in development, i haven't used that in years either...
JVortex 4 Nov, 2017 @ 3:58pm 
Wolfy do u play dayz?
Wolfy  [author] 12 Oct, 2017 @ 3:14pm 
Means i tested it in Arma 2 OA without mods, and was glad that common mods don't alter the ballistics of the Gustav..
TomahawkFTW 9 Oct, 2017 @ 7:16am 
Woah, there are still vanilla Arma 2 servers?
Wolfy  [author] 5 Oct, 2017 @ 6:50am 
You're welcome LoneWolf :)
Glad to see it works regardless in vanilla A2, or modded servers.
Readzie 13 Sep, 2017 @ 2:23pm 
Tried this on a domination server, hit 3 targets from 800 metres first try <3 Thanks Wolfy.