Counter-Strike 2

Counter-Strike 2

Not enough ratings
The Creative Process of Gun Finishing
By |||JamesB|||
This guide is a look into the creative process of skinning weapons. It's from my perspective and my process, but it's set to be an open discussion. I'm not the best, but I can't find any guides that even remotely address this issue. So here's a starting point.
   
Award
Favorite
Favorited
Unfavorite
Introduction:
Why I'm Writing This Guide:

This guide comes from months of searching and learning how to skin for the Counter-Strike community. This guide is a showcase of the creative process, but only from my perspective. I've seen skins that range from bland patterns just being thrown onto weapon models to extremely intricate works of art. I'm amazed by some of these designers attention to detail... but as hard as I search, the best guides that I've found just show someone showing the technical details of how to open up .objs and UV patterns and then drawing a random lazy attempt at a design; then they show you how to publish said skin and that's it.

That being said; This guide will not teach you how to open .OBJ's or unpack them, where to find the original UVs and techniques to use in Photoshop. There are plenty of guides out there for that information.

This guide is going to show you my thought processes and some screenshots from major changes. I'm hoping this guide is an open dialogue. I want to see other people's process and I want feedback on my own.

Here is a link to the finished gun that's published in the workshop. If you feel compelled, Please visit and vote/ comment. Any feedback is appreciated, especially because I'm new at this.

Mac-10 "Red Opus"

Thanks for tuning in, and here we go!
Getting Setup:
The way I start is by opening up Photoshop and load in the .OBJ file of the gun that I will be working on. In this case, it's the Mac -10 (Of the 6 skins I have created and published, this has been the only model I've used. And I did that on purpose to try to explore as many creative skinnings of the gun that I can come up with before moving on to a new model)

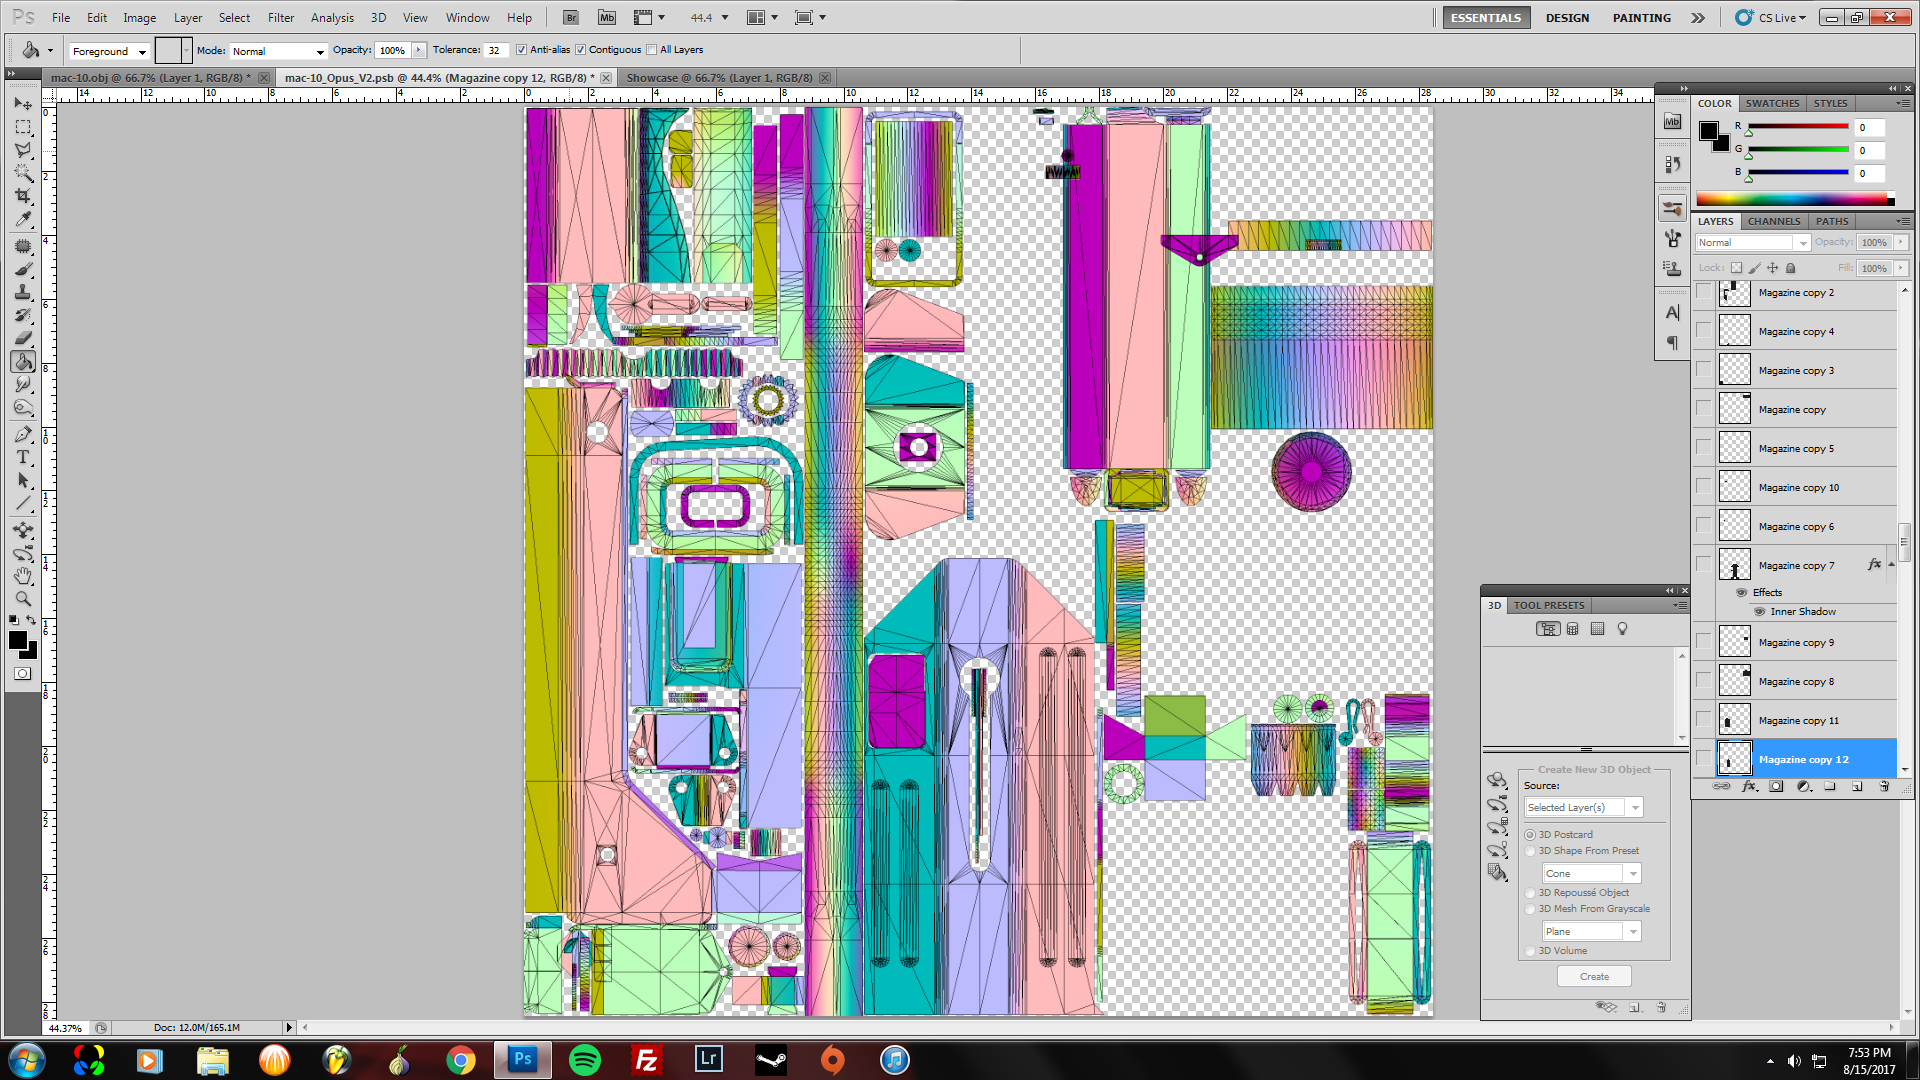
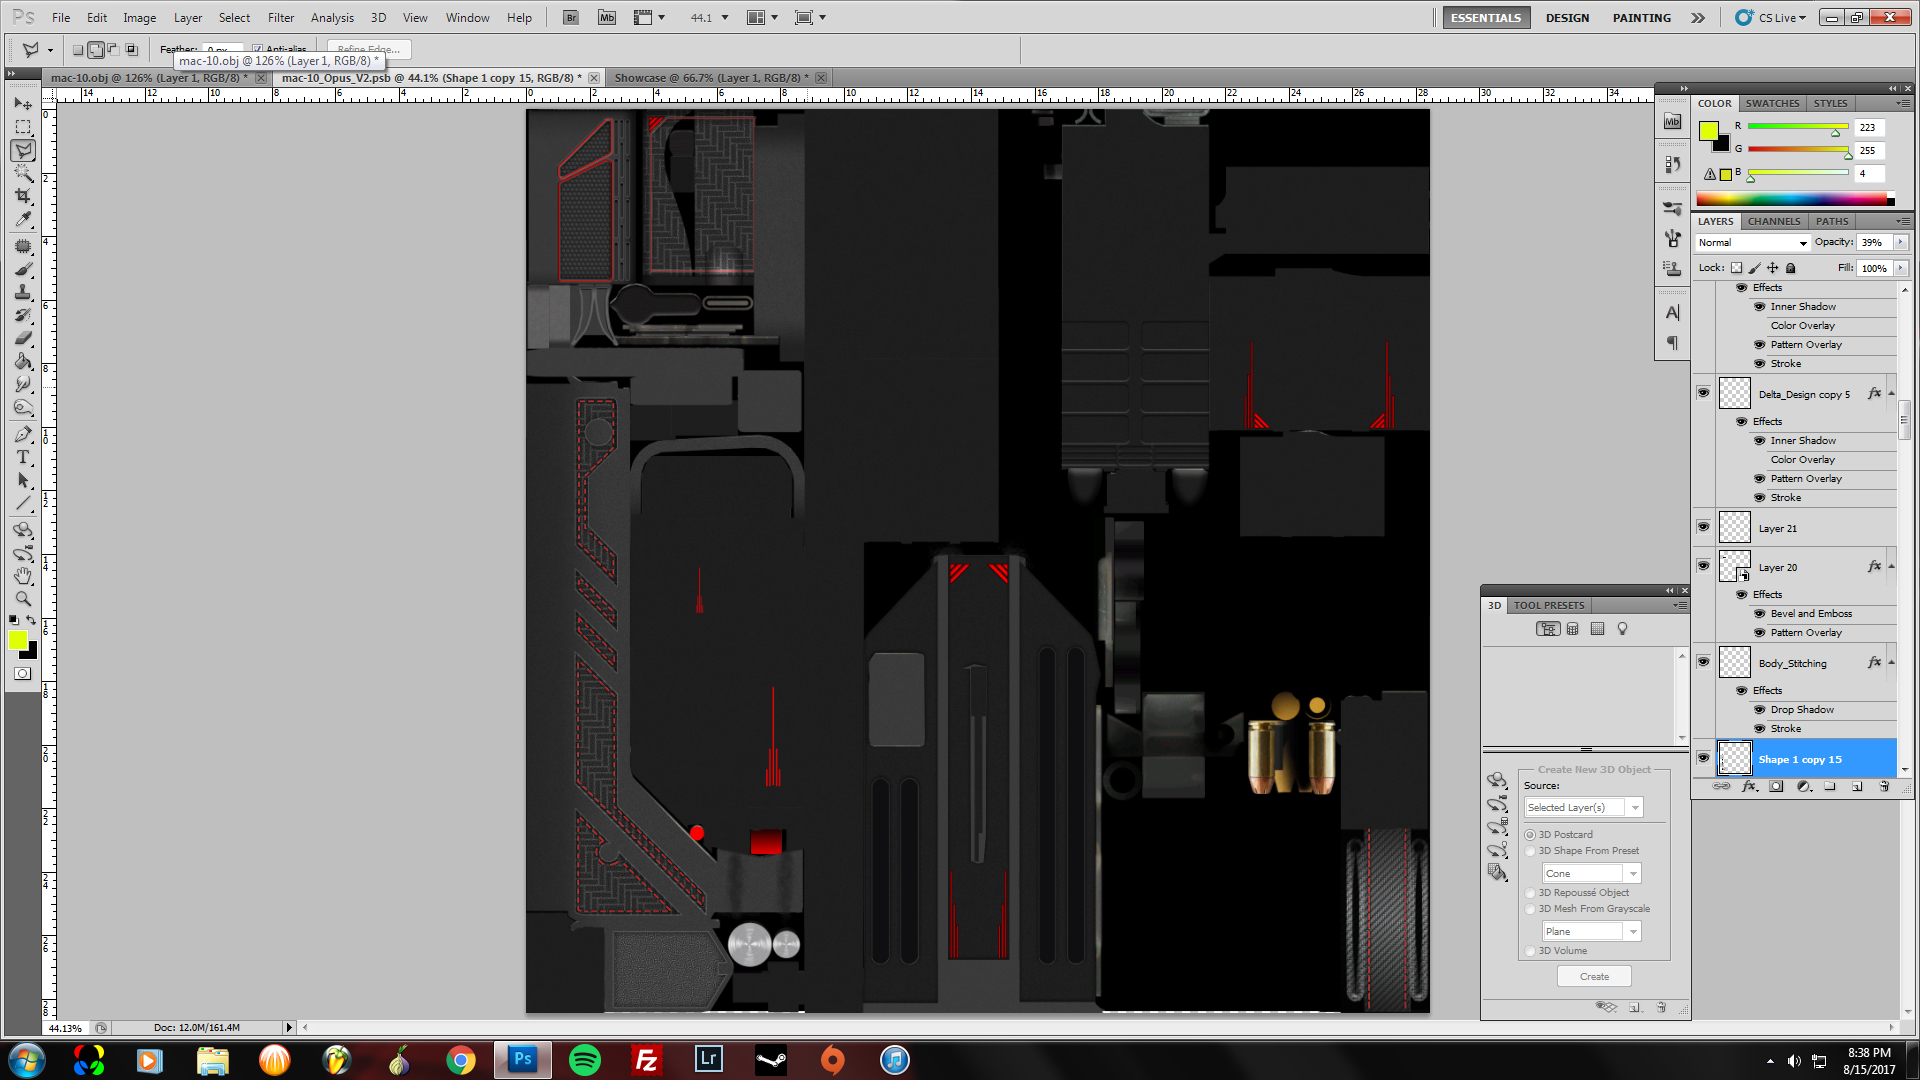
There's a feature in photoshop that allows you to create a UV from the .OBJ file. I've layered the gradient model (which makes it easier to locate parts of the gun) and the wireframe together to make it easier to find features and edit them. It can be hard to see certain parts on the original UV sheets, so this helps drastically as a background layer.

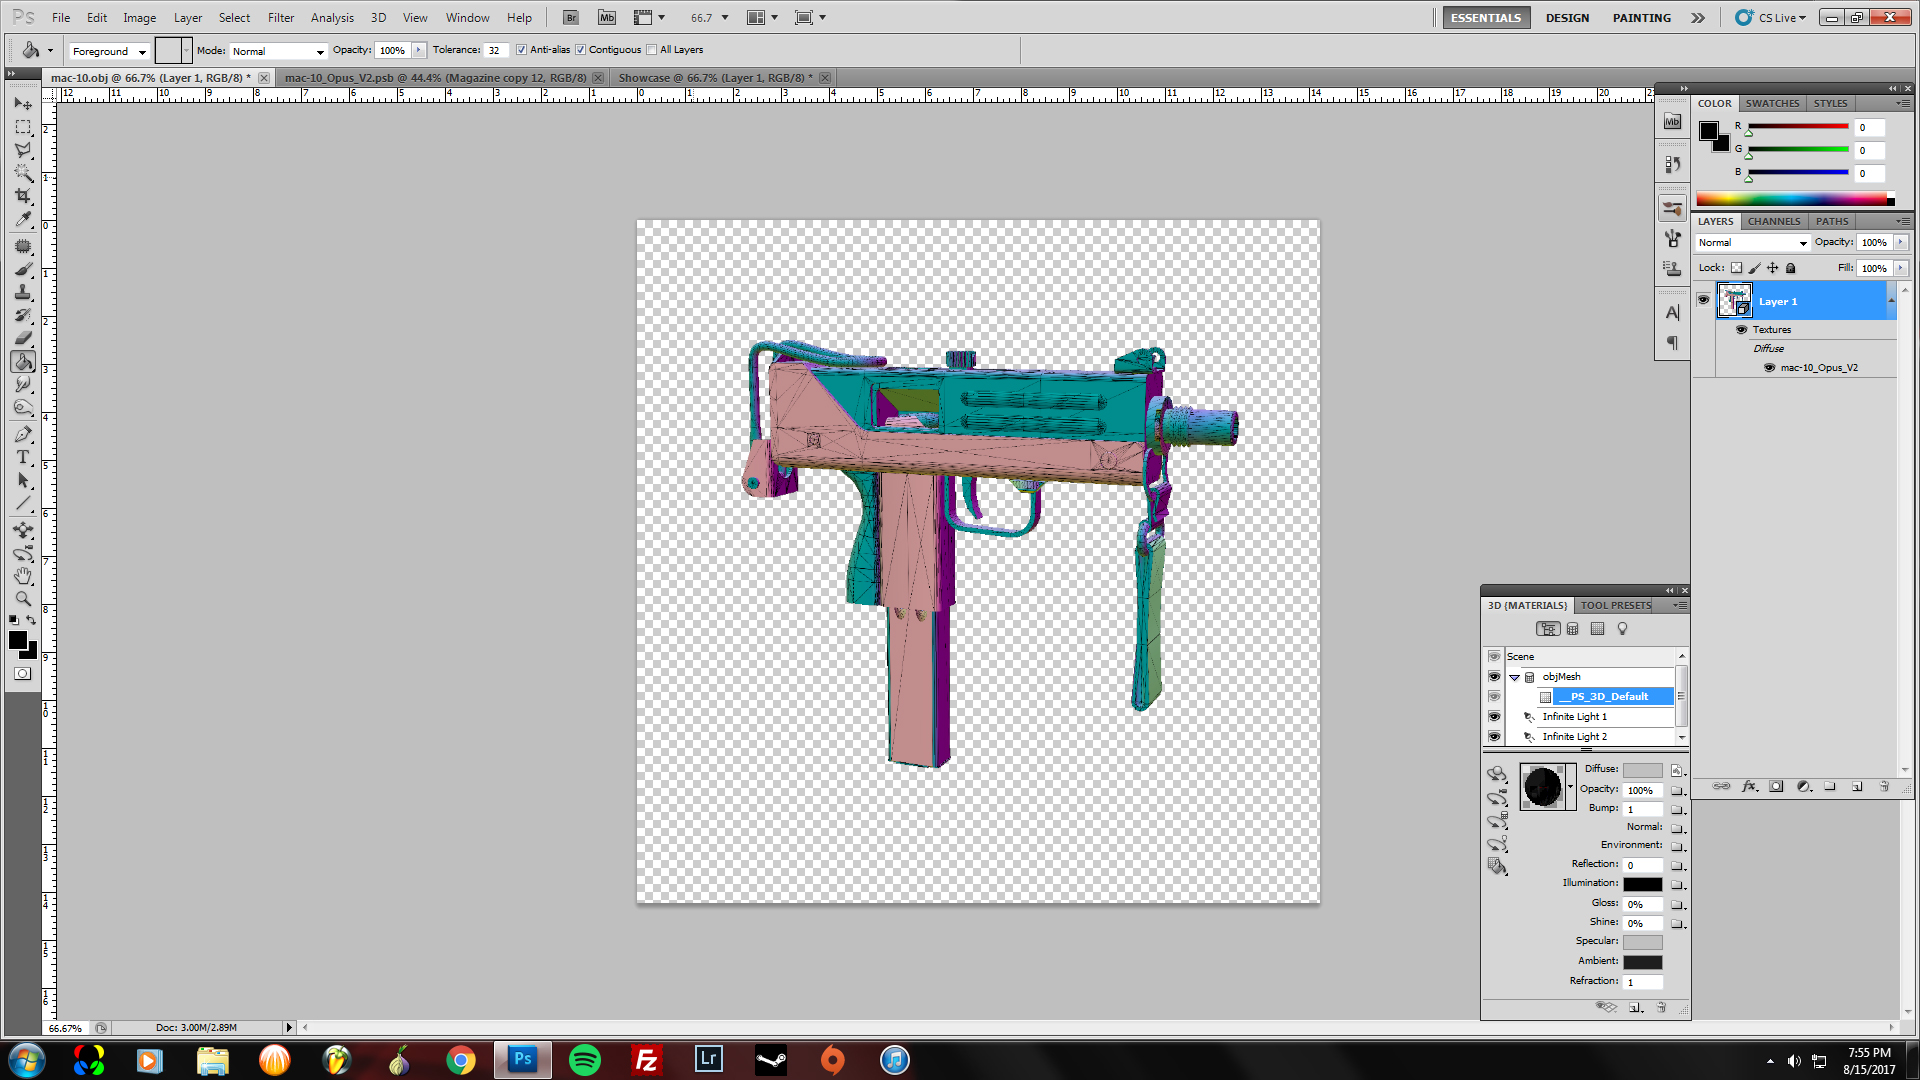
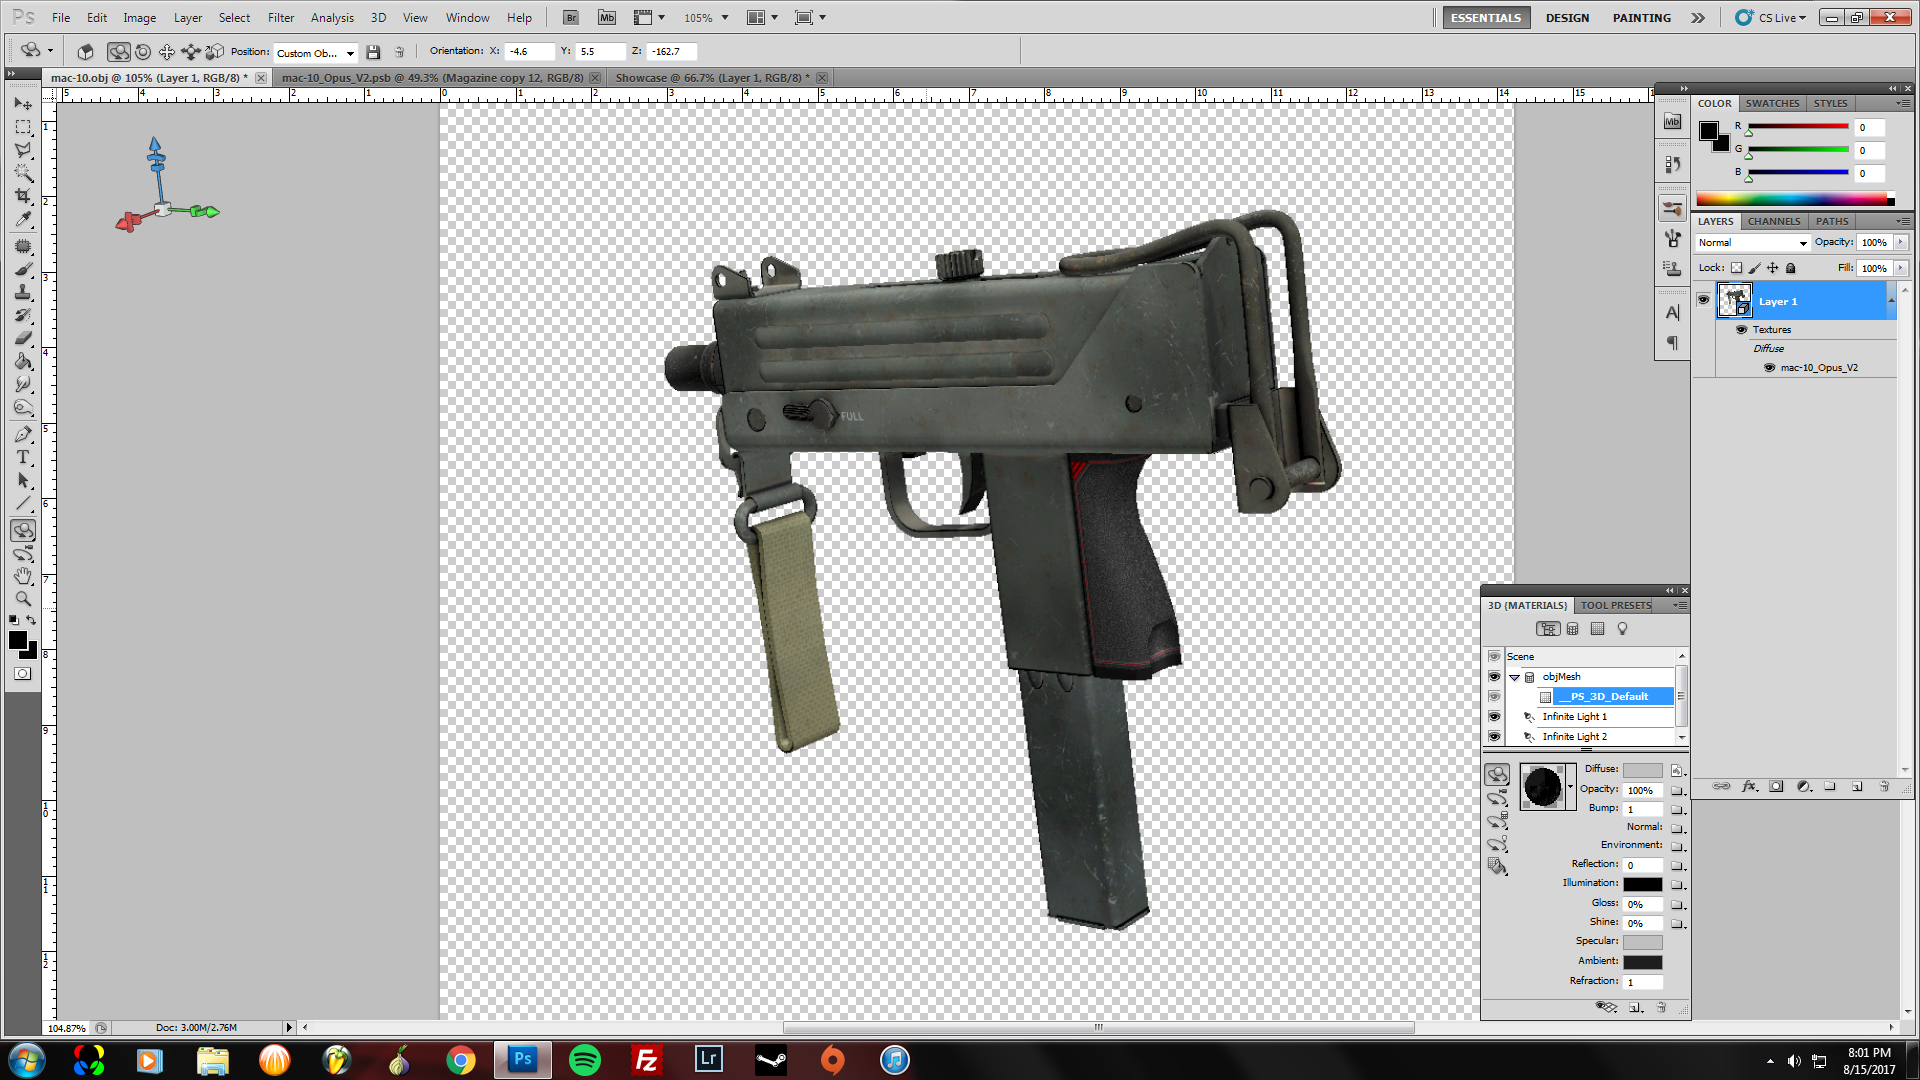
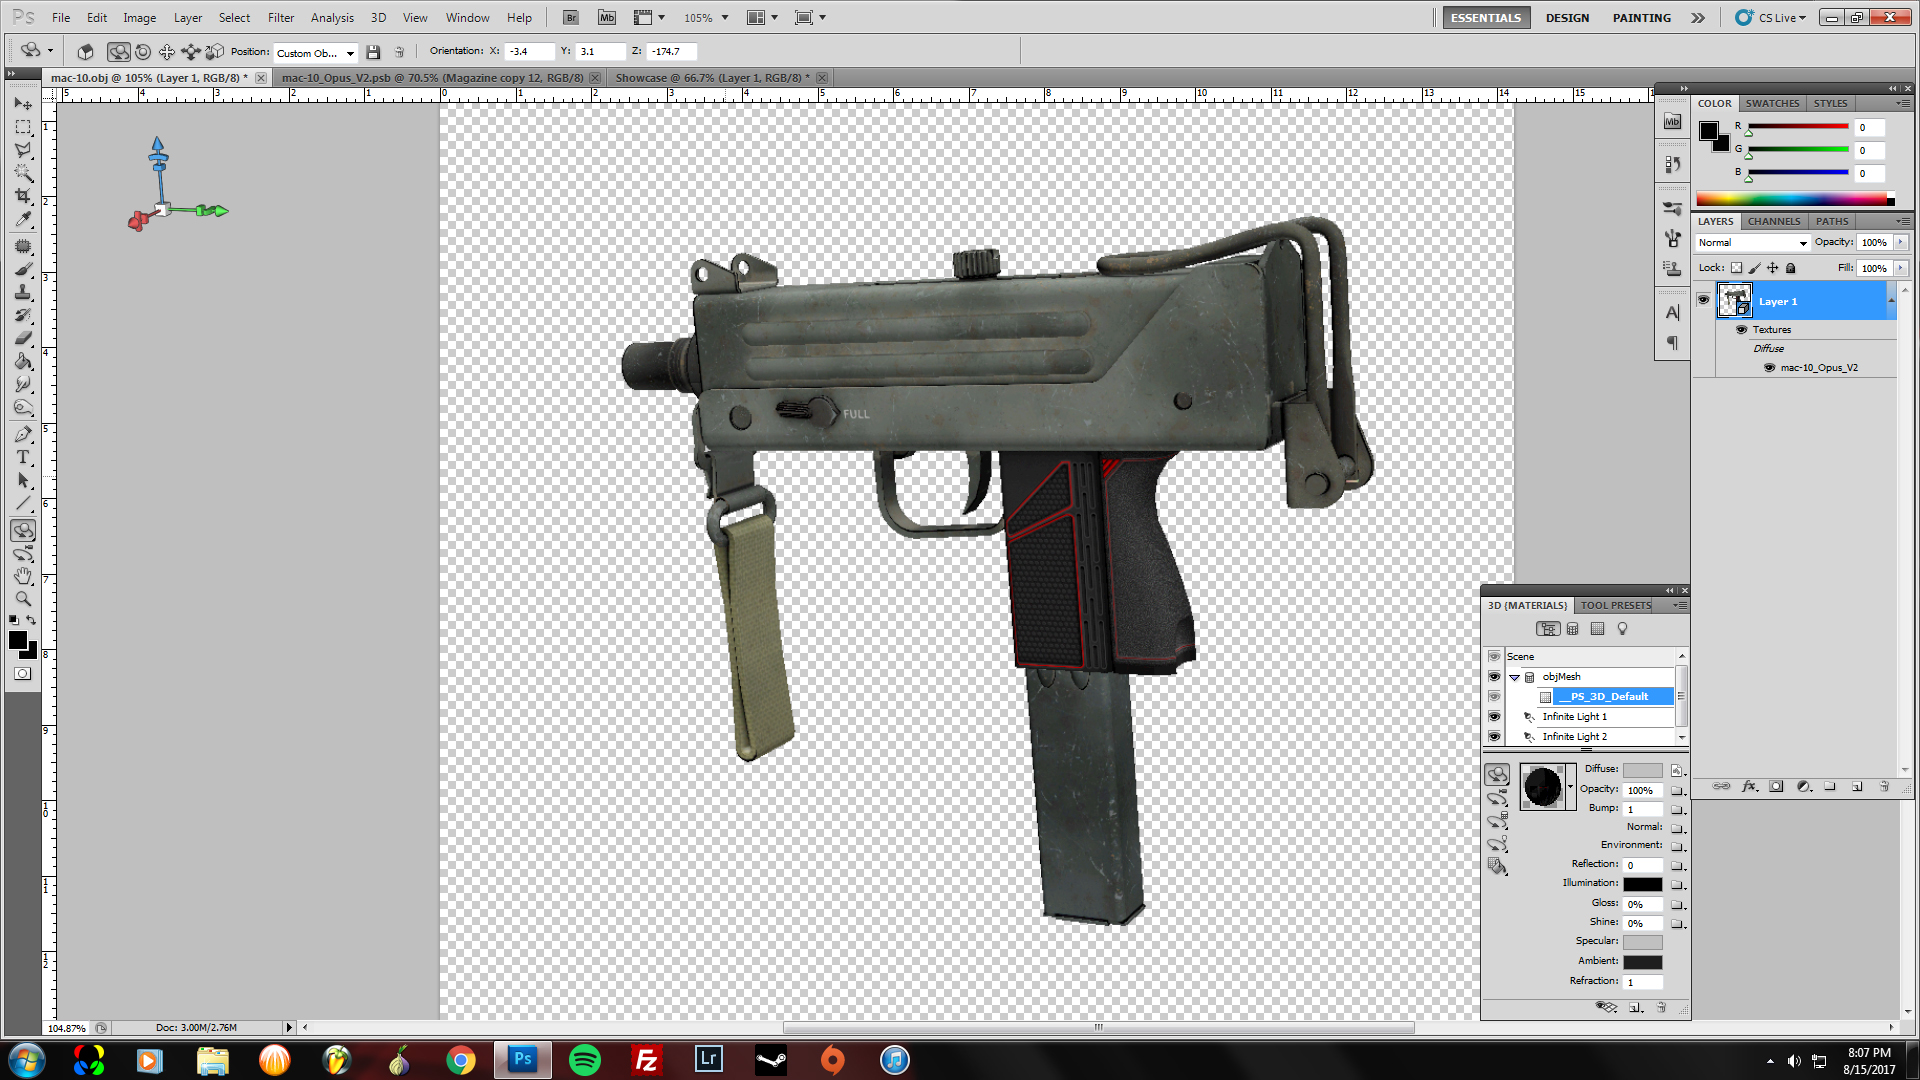
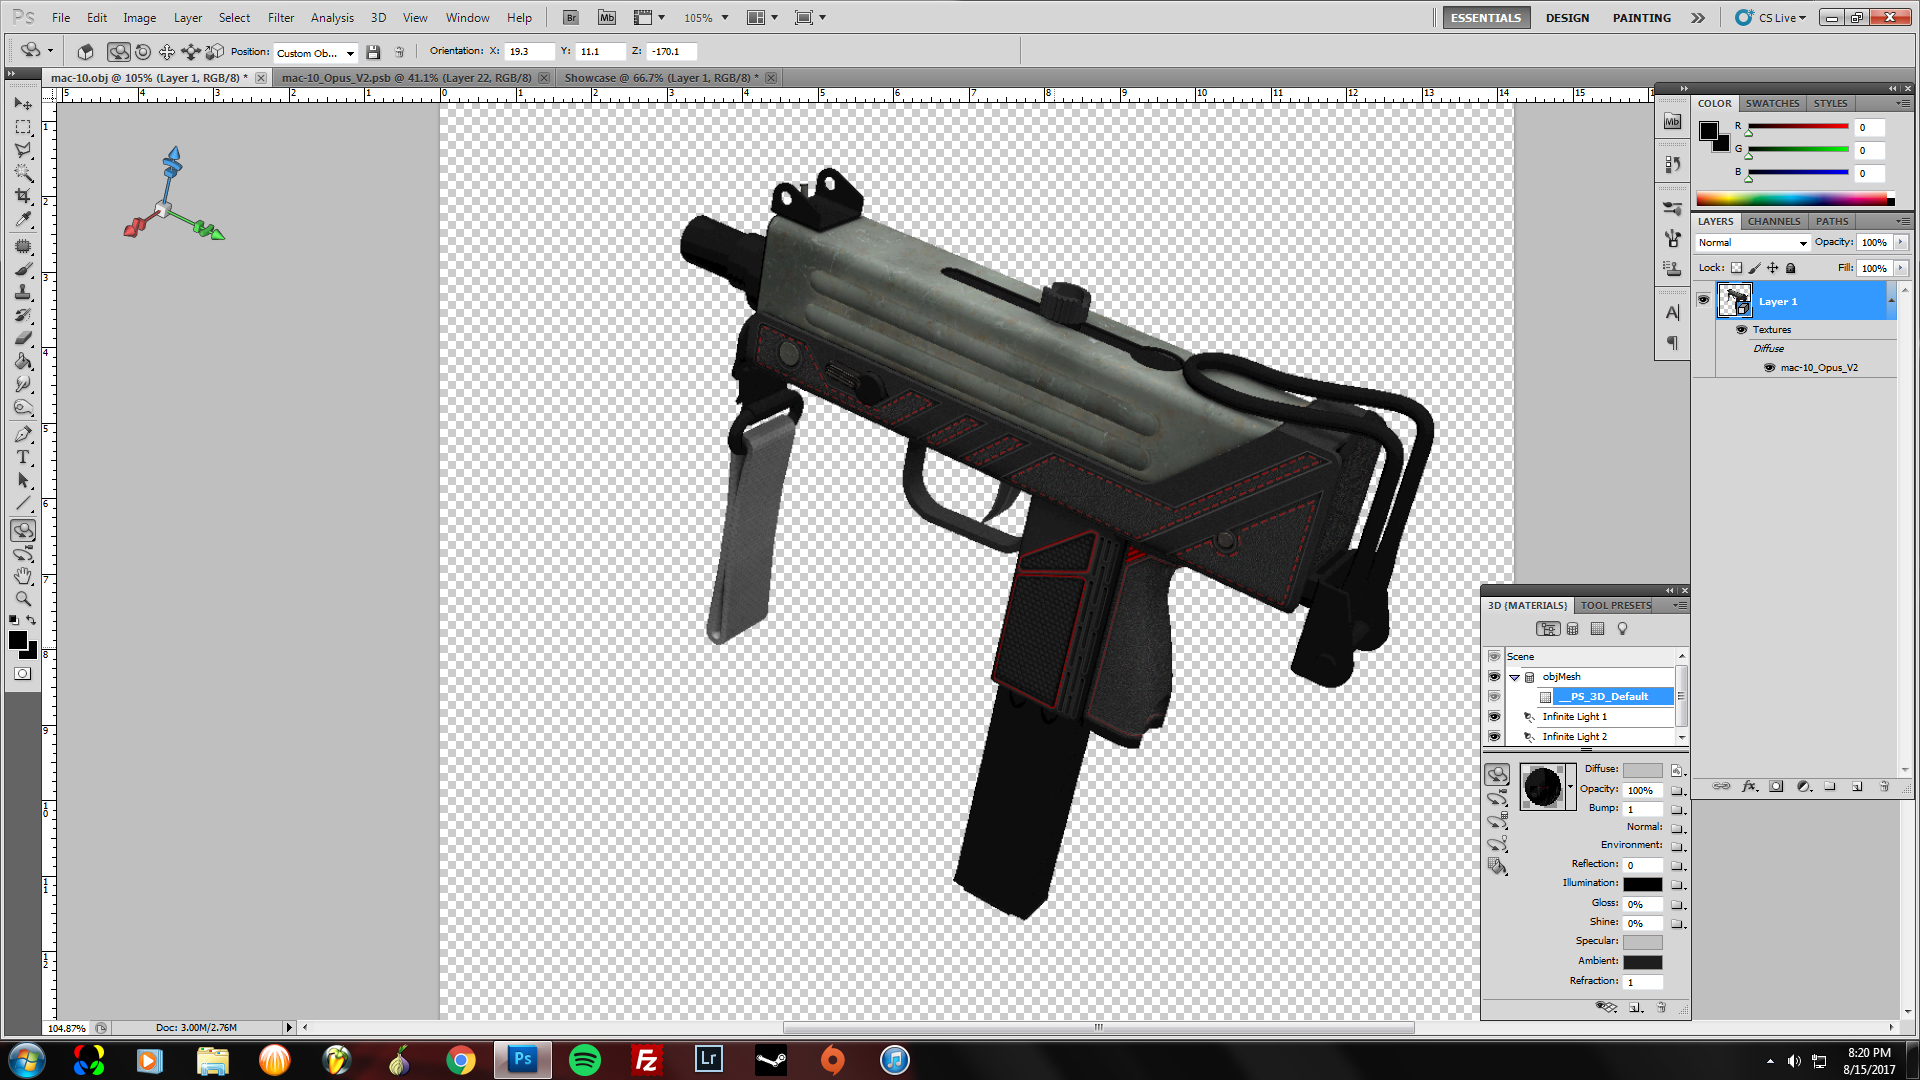
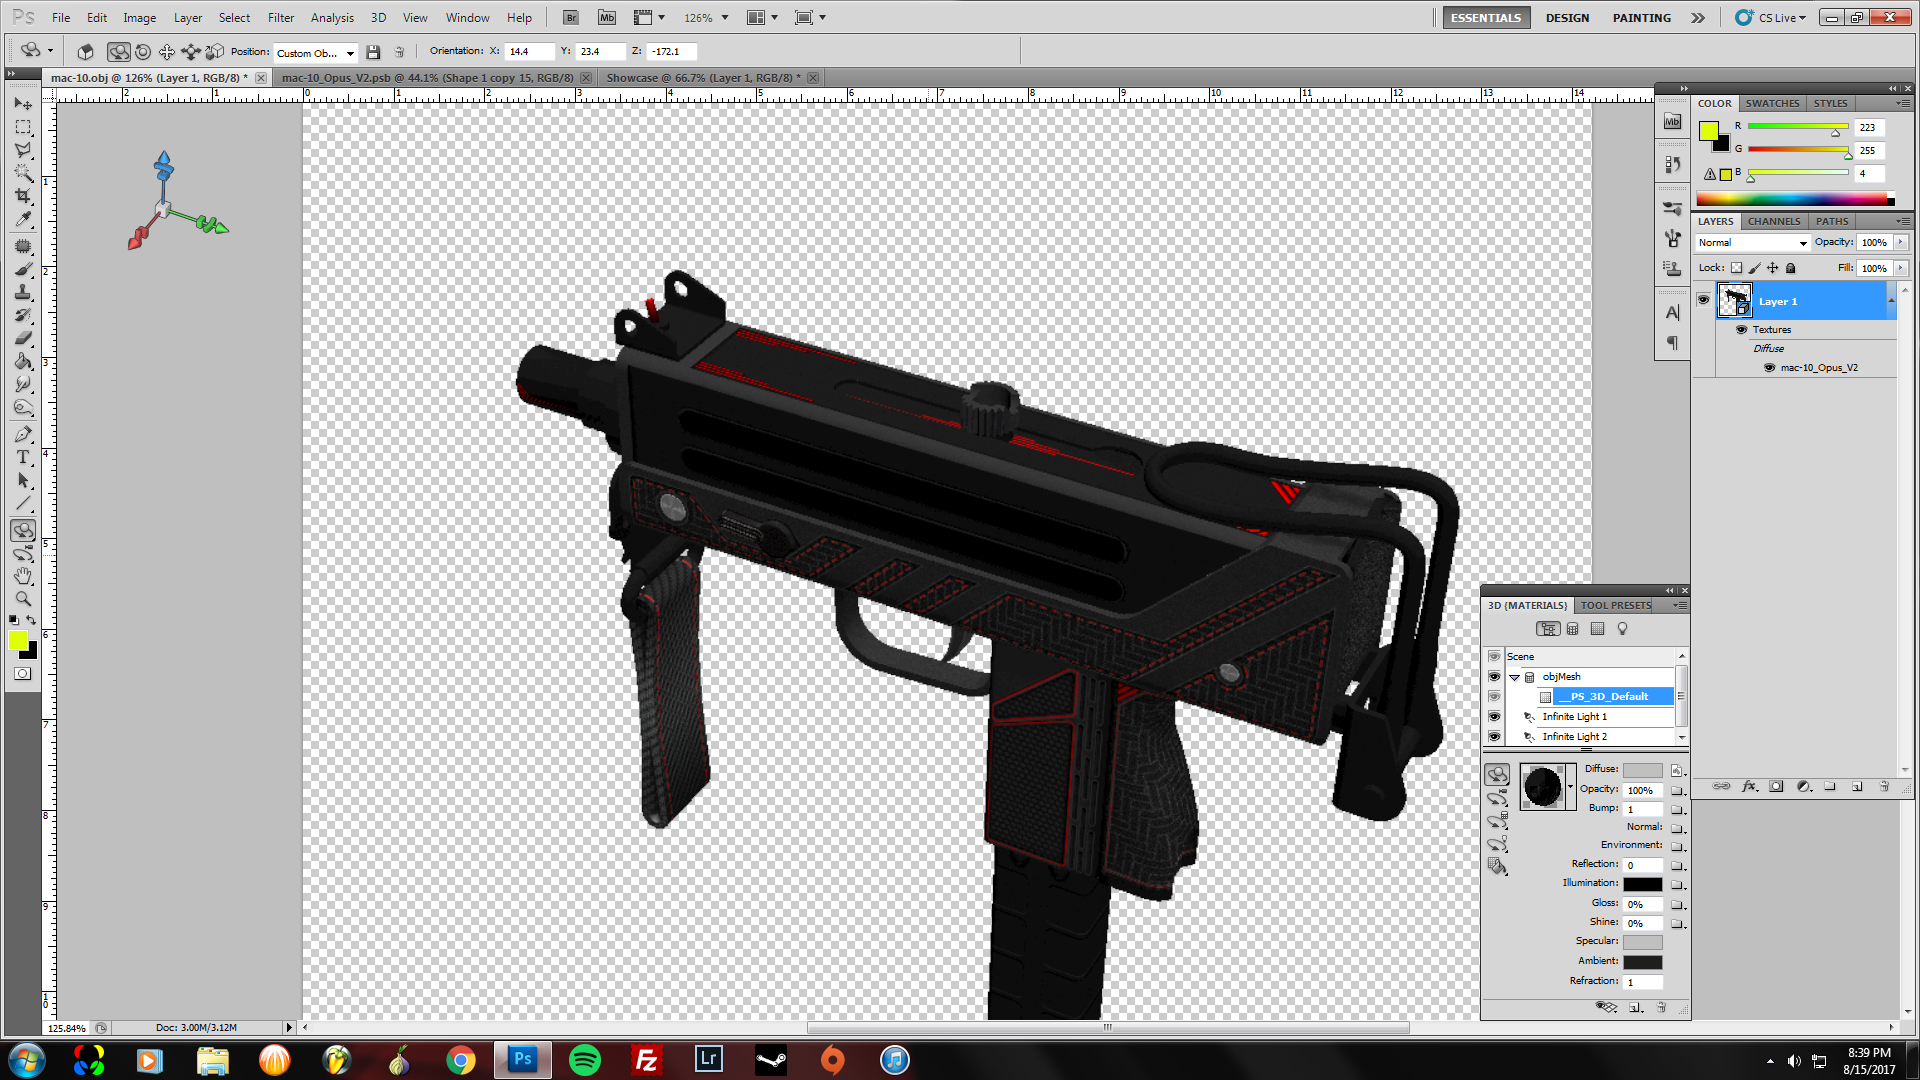
Here's the real-time 3d view of the OBJ with my Gradient/Wireframe base layer


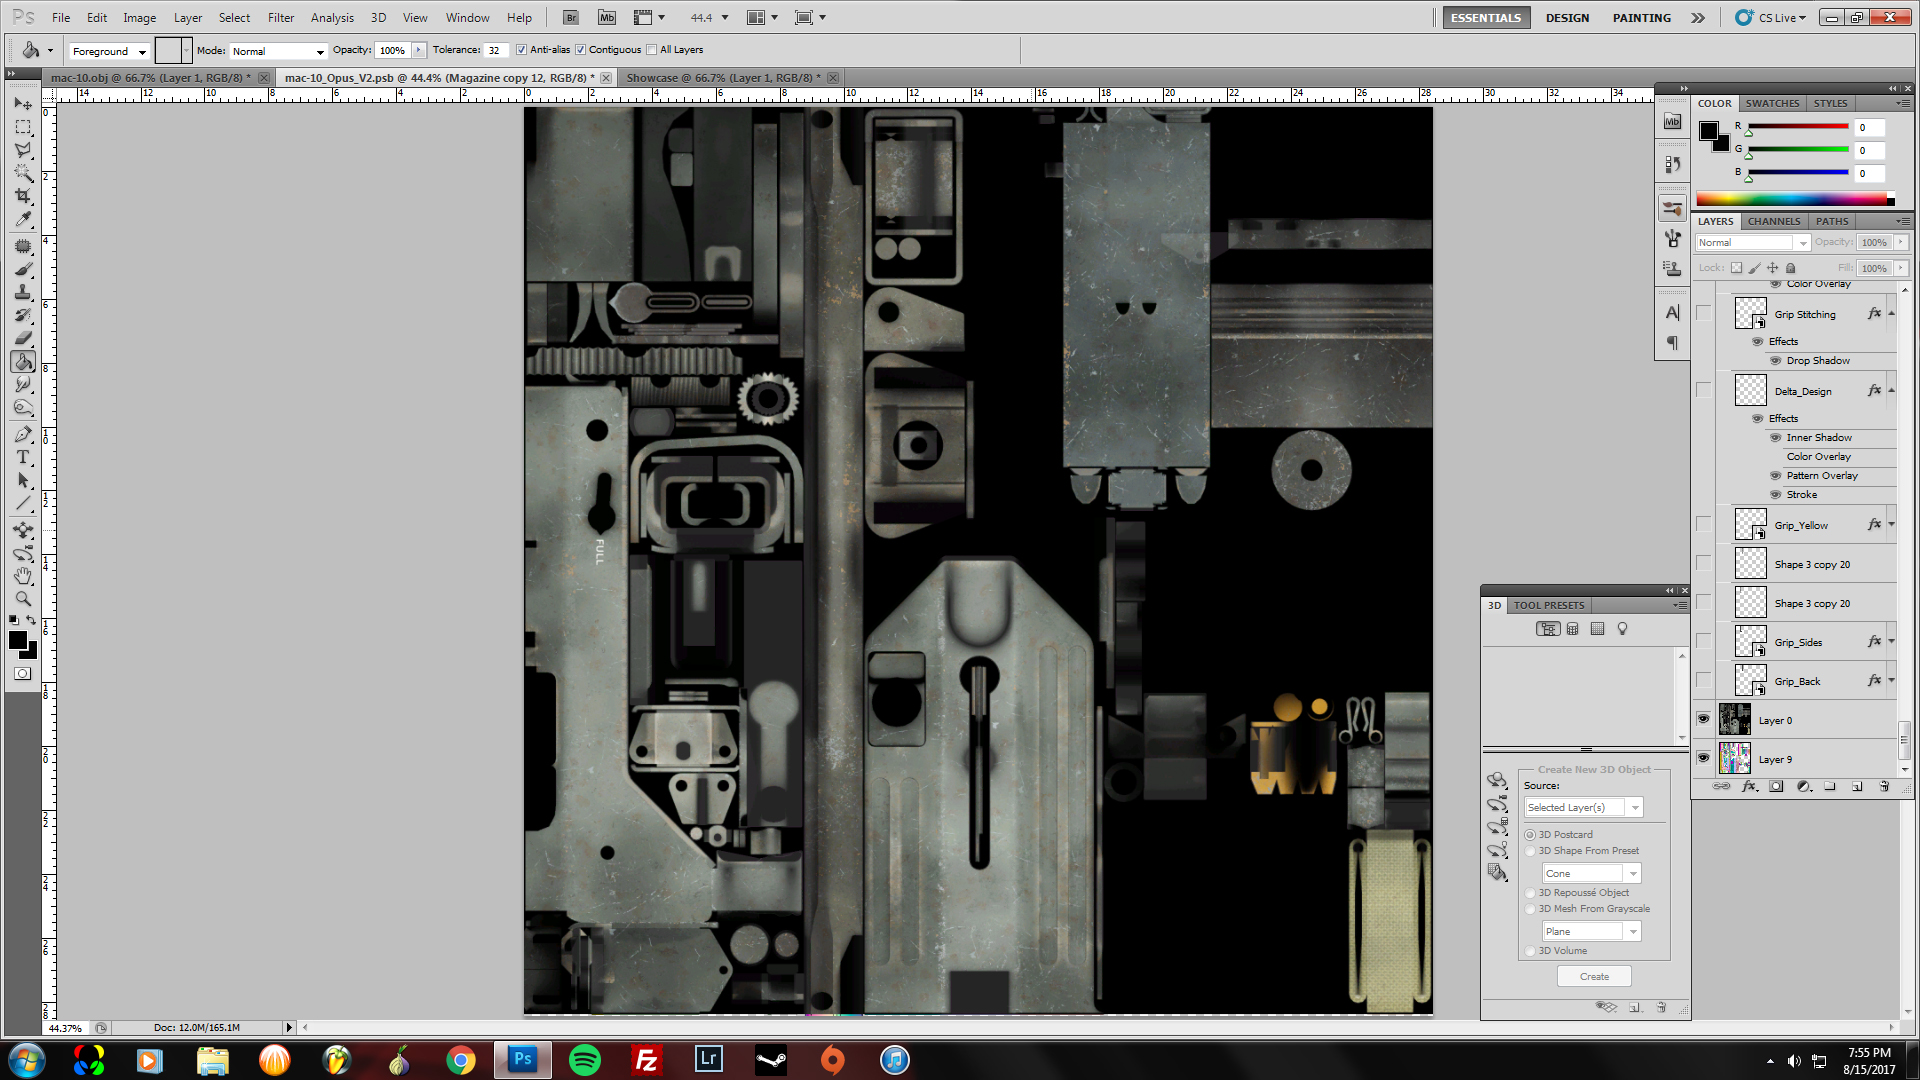
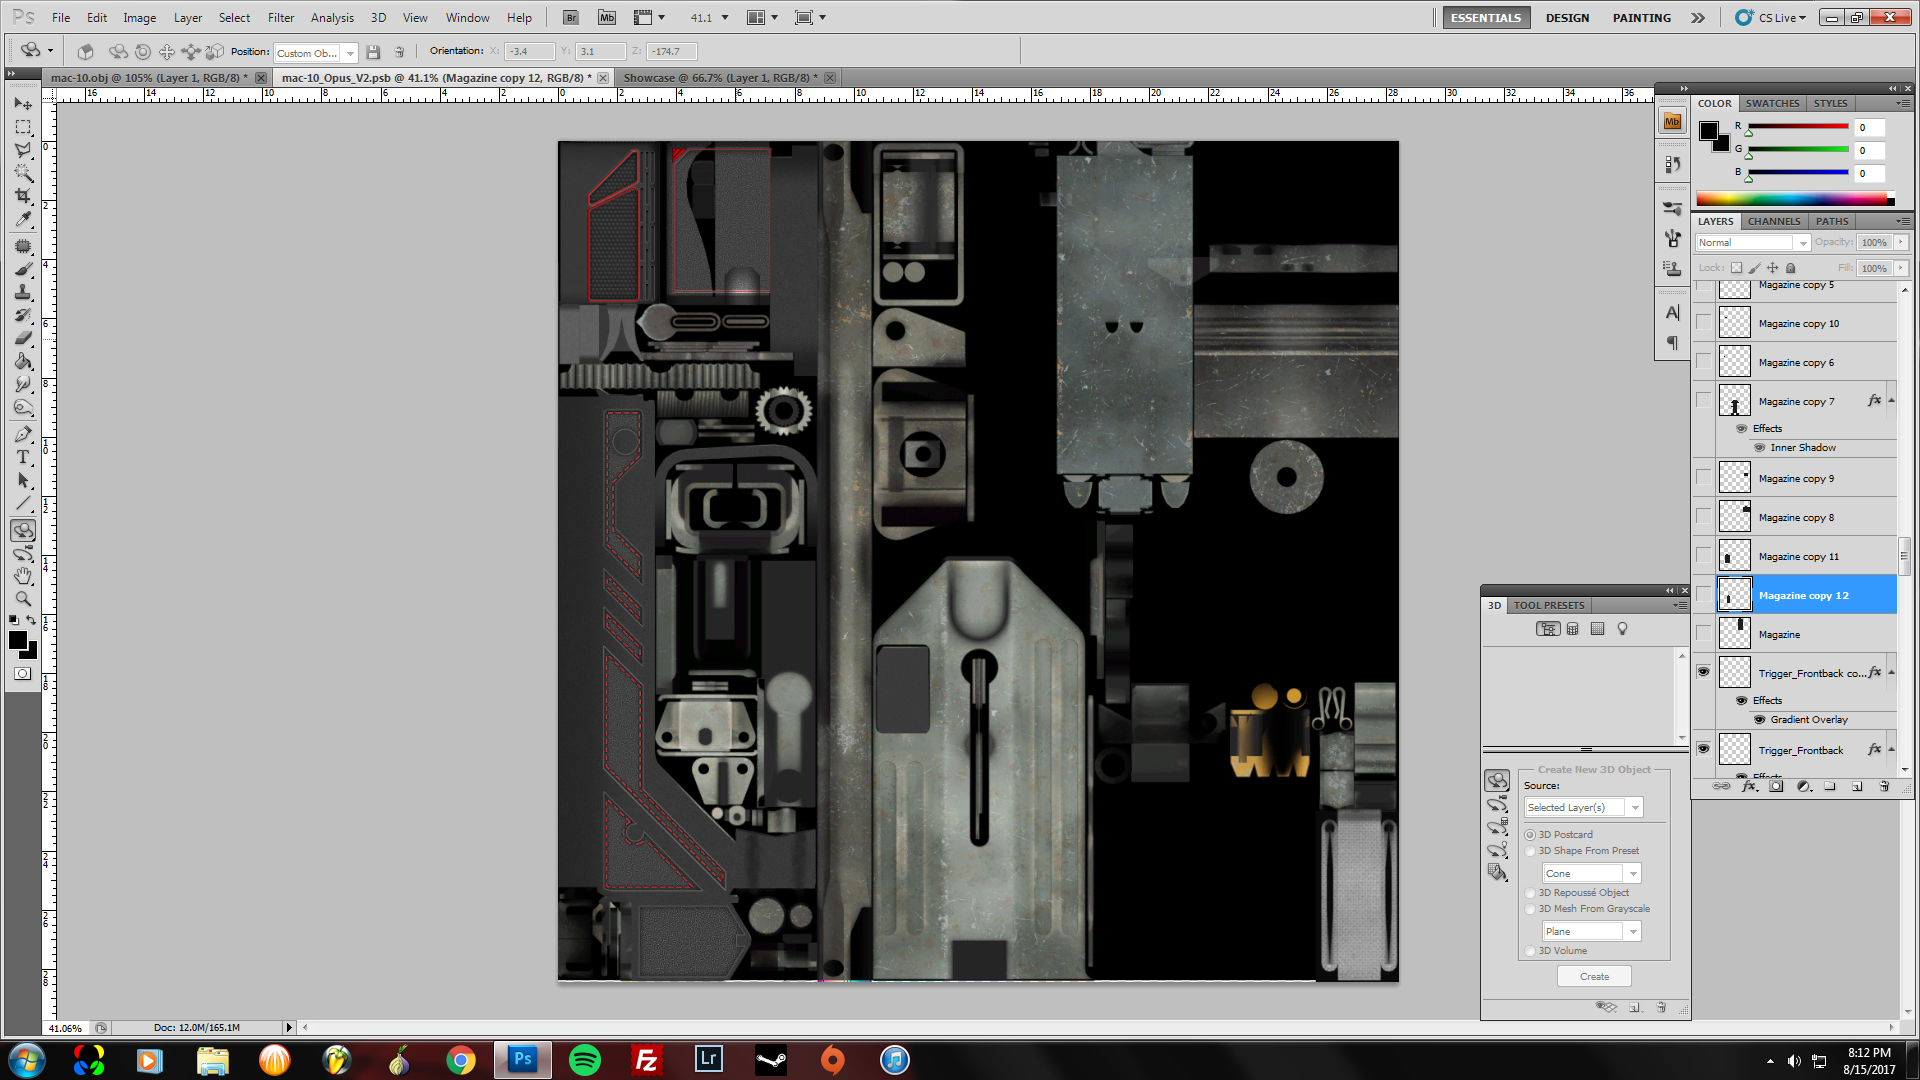
Next, I'll add the original UV sheet for the Mac-10 and add that layer above the 1st. I'll hide or unhide these throughout the process to check for specific parts and how they work. For example: There's no texturing on the wireframe layer, but I can look and see how the original artists approached certain parts of the mac-10 by switching to the UV layer.
Inspiration
There's many creative processes and sources for inspiration. I know that some people will draw and fully flesh out an idea on paper before even touching any sort of editing software. I'm not one of those people. I might have one tiny inkling of an idea; I will just jump in and build my idea on the fly around that one concept.

For example: This gun started off with the vague idea of "Matte Crinkly Texture"... whatever that meant to me at the time. So I built a texture, using noise filters and embossing layer styles, till I got a result that looked like what I envisioned in my mind's eye.


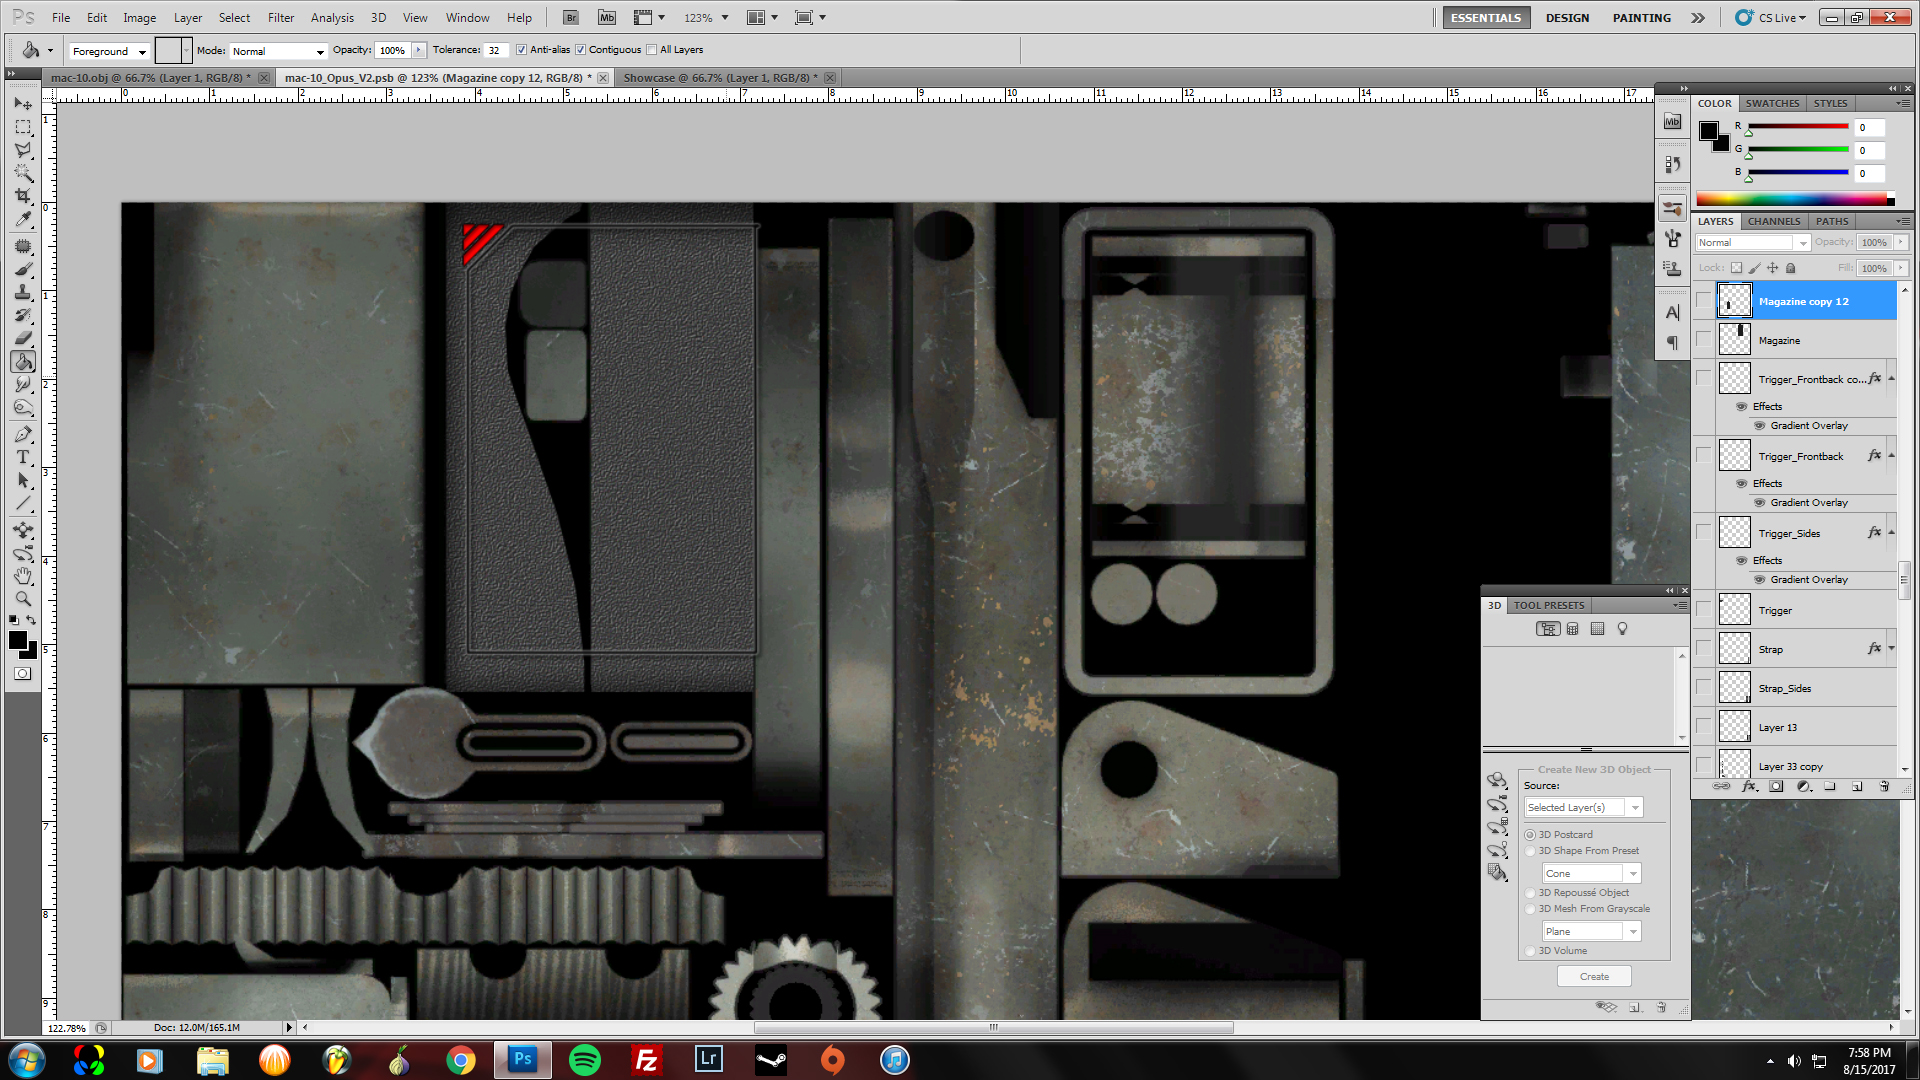
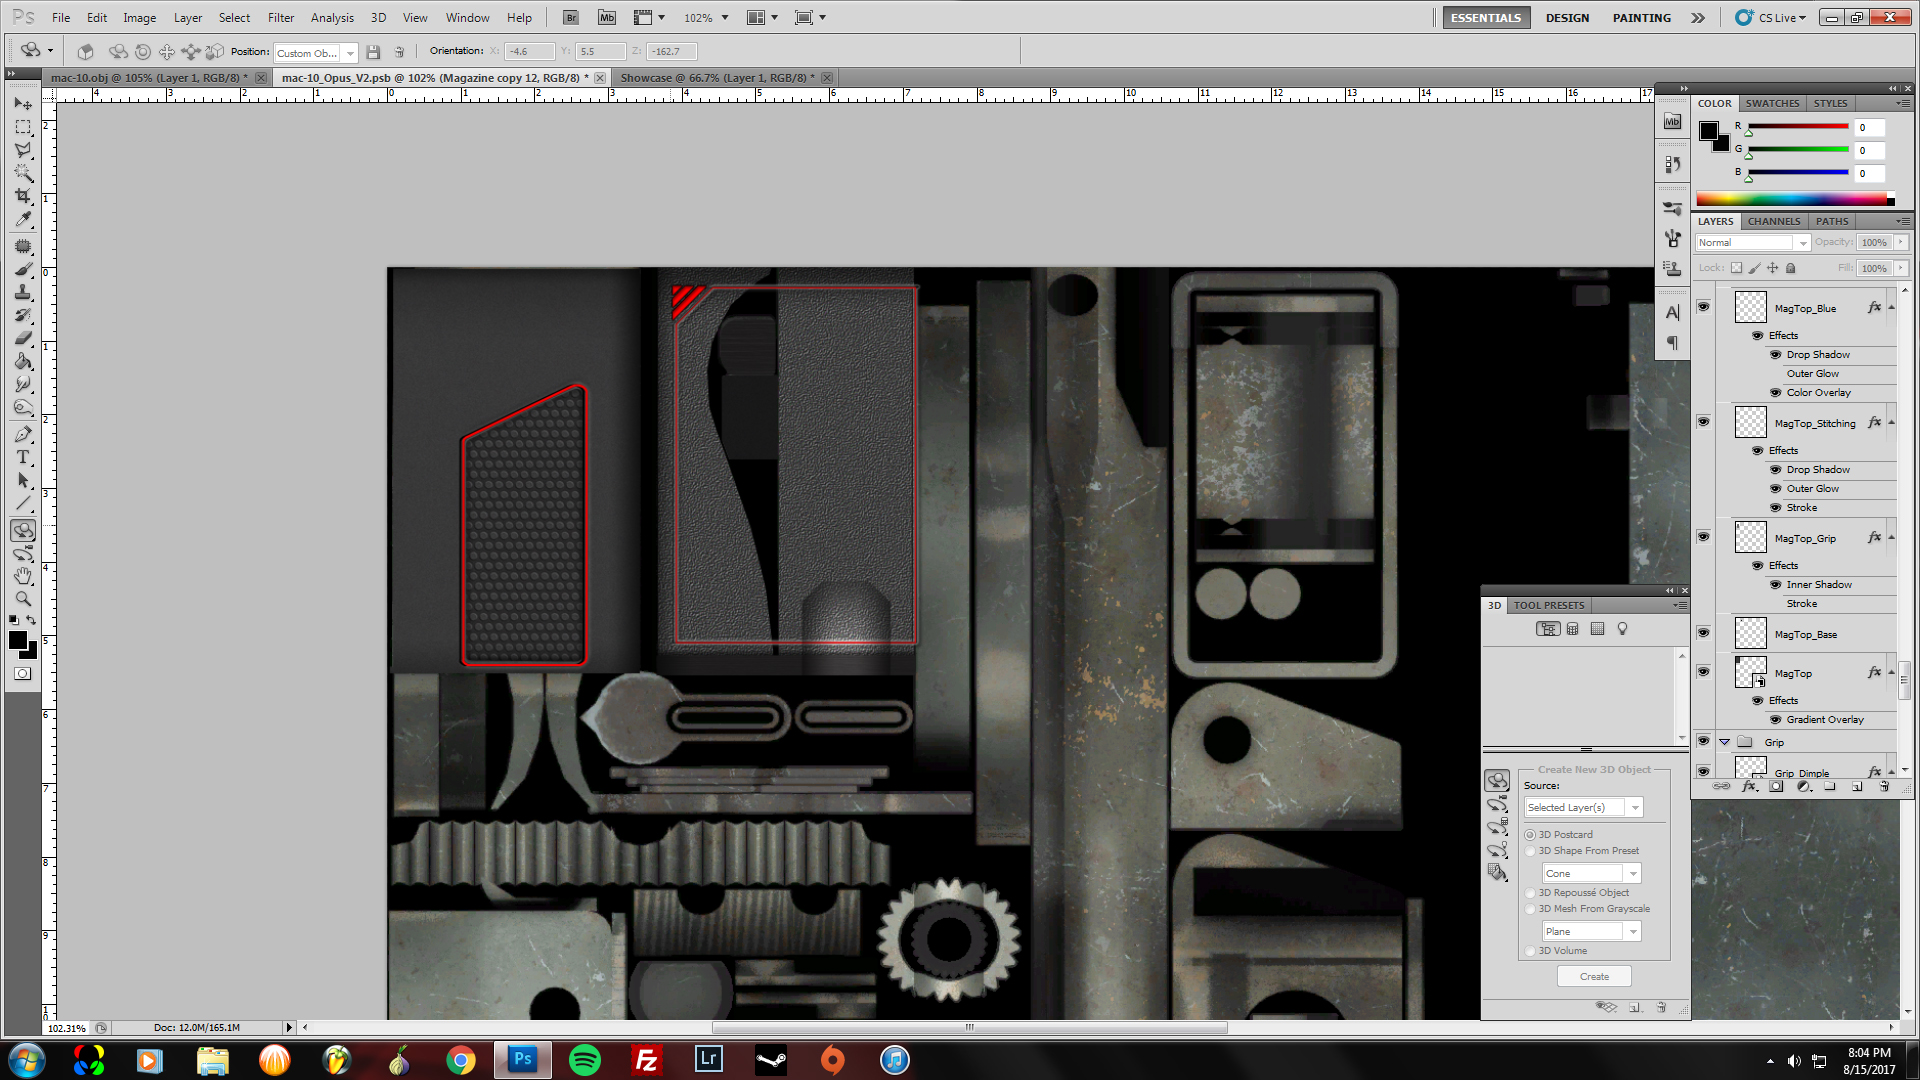
I knew that this kind of texture would probably work best on the grip, cause it looks like a surface designed to be anti-slip. So that's where I started. Simply outlined the side and back of the grip (after I found it on the UV), masked it off and applied my texture along with a little gradients to indicate some shading.
I thought it needed a splash of color, so I created a small little red tri-delta pattern to sit in the corner as a little accent. Finally decided that I like the idea of a little faux stitching, so I made the black line and fleshed it out with an outline and a drop shadow.

In keeping with the red theme, I thought a little more color wouldn't hurt, so i filled in the faux-stitch with a red line. Added a little shading (via gradients) in the back dimple of the handle, and put a little metal "cap" on the bottom. I don't know what function it served, but I thought it tied that part together.


So by this point, I've probably spent about 2 hours on this. From creation of the first texture, through smoke-breaks, and tedious second guessing my design decisions.

Here's what we have currently
Moving Forward
At this point I was stumped...

I admired my sweet looking grip for a bit, realizing that there was a creative block. I didn't know where to go next. That texture was great for the grip, but it would look cheesy being all over the gun.

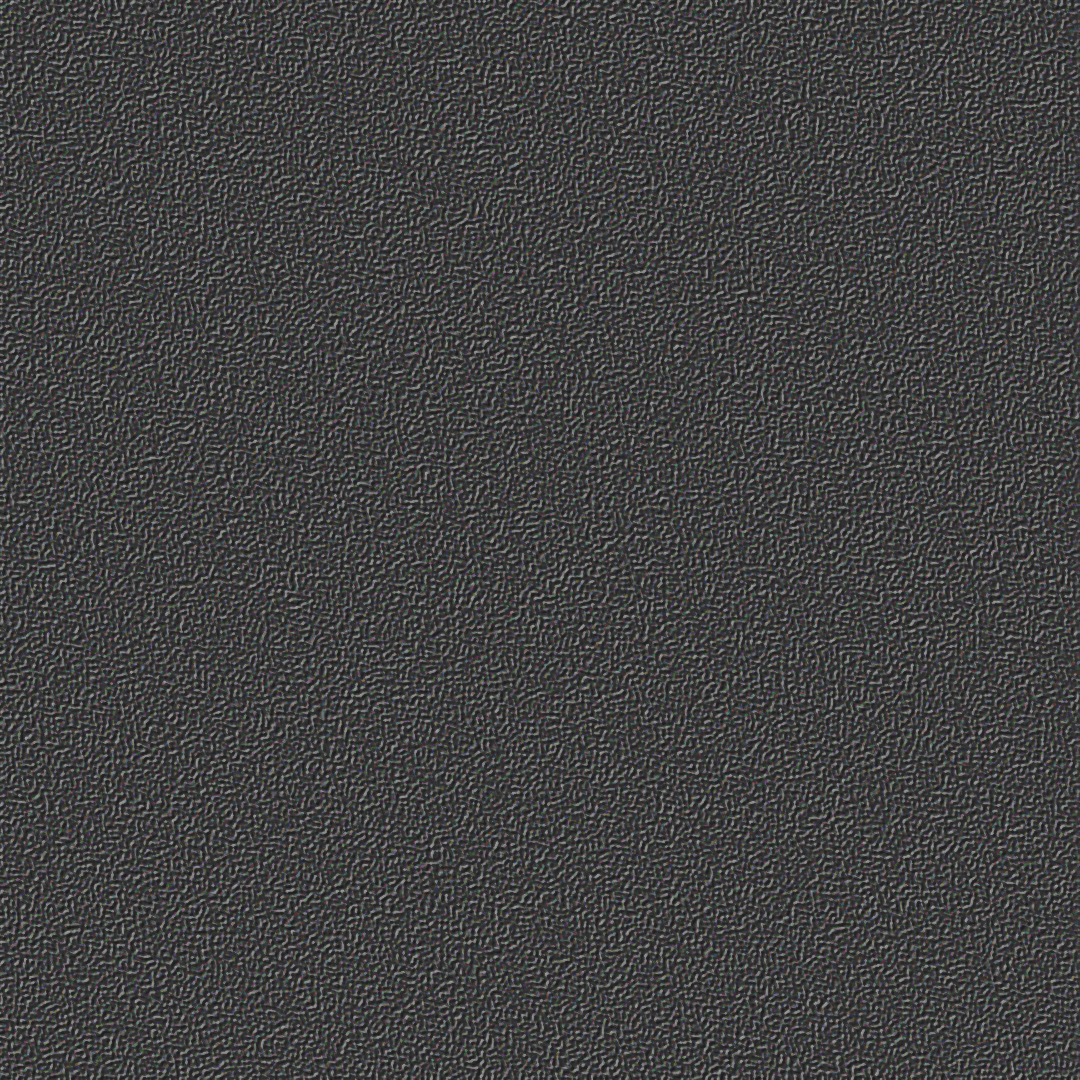
Finally I settled on creating a Matte texture. I had no idea how I was going to accomplish that at the time. After much experimentation and layering, I had something that was grainy enough to look how I pictured it in my head. Here's the result.


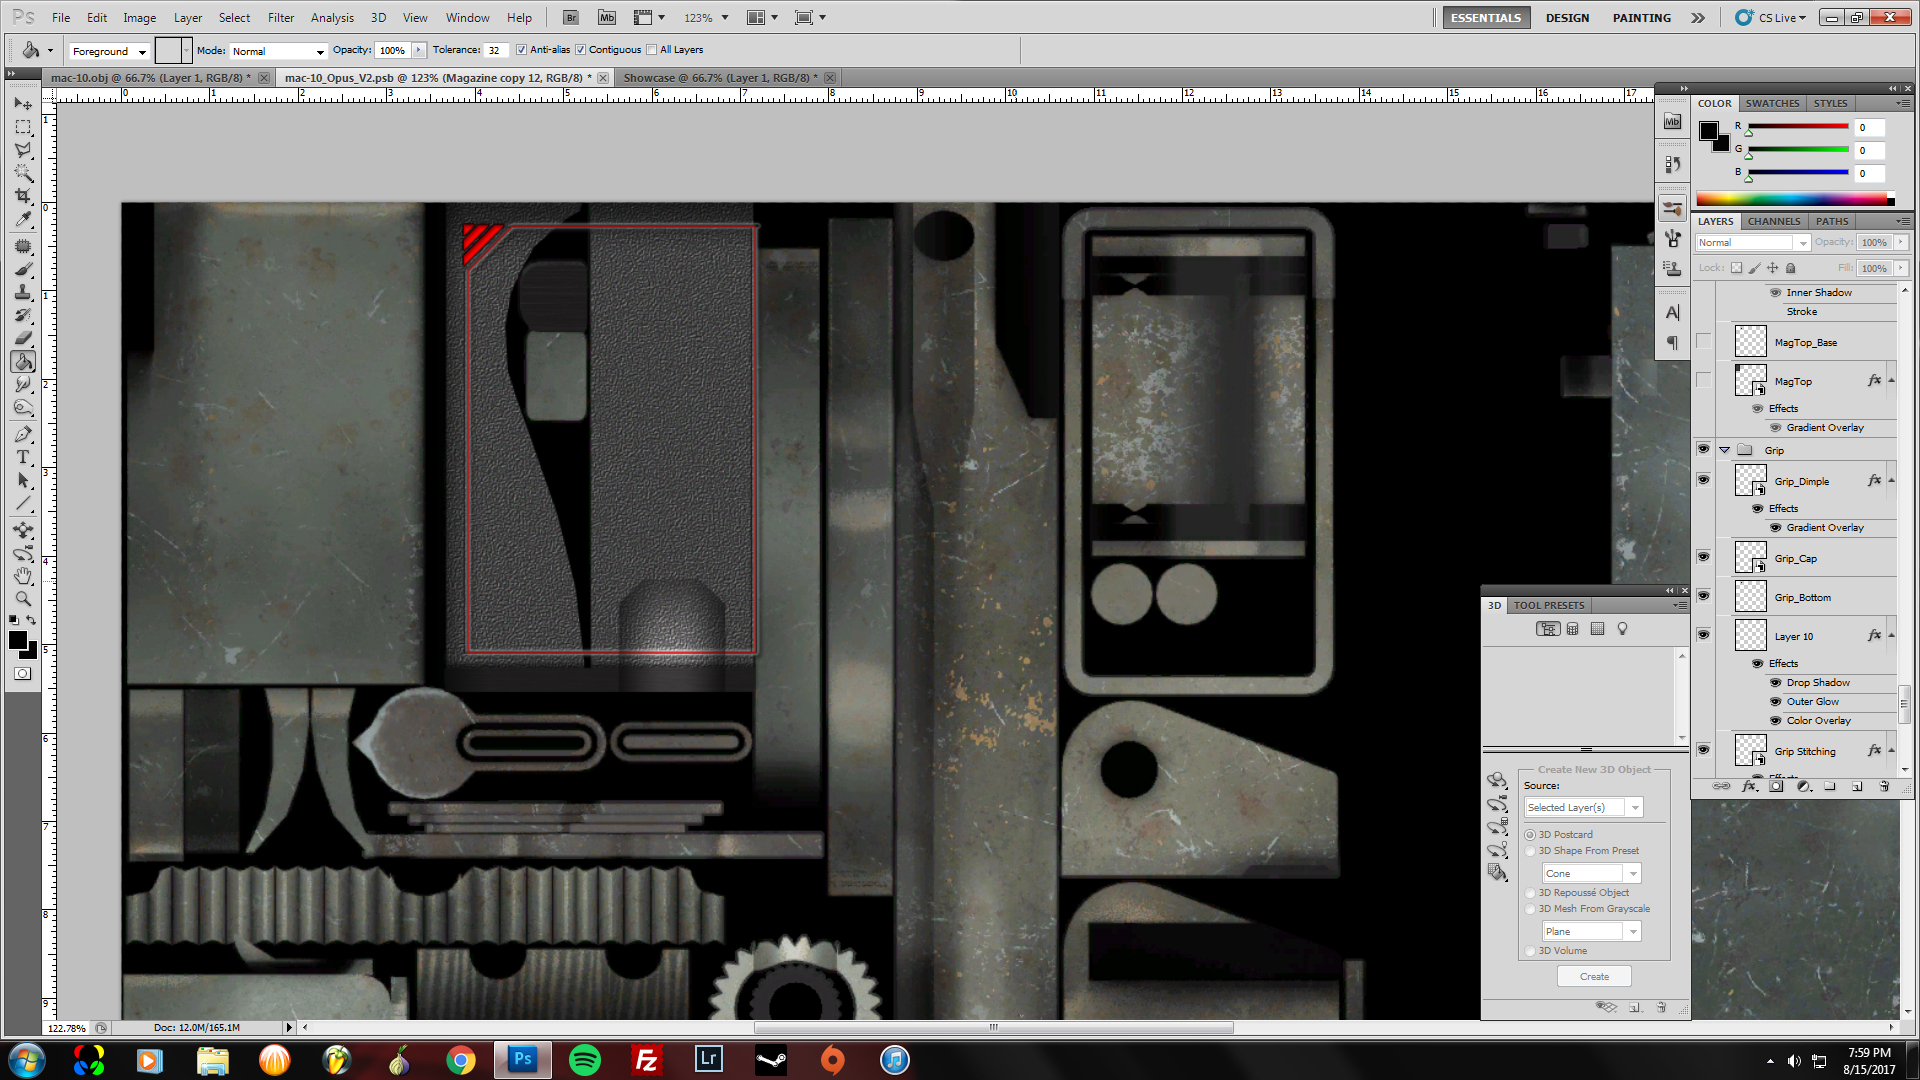
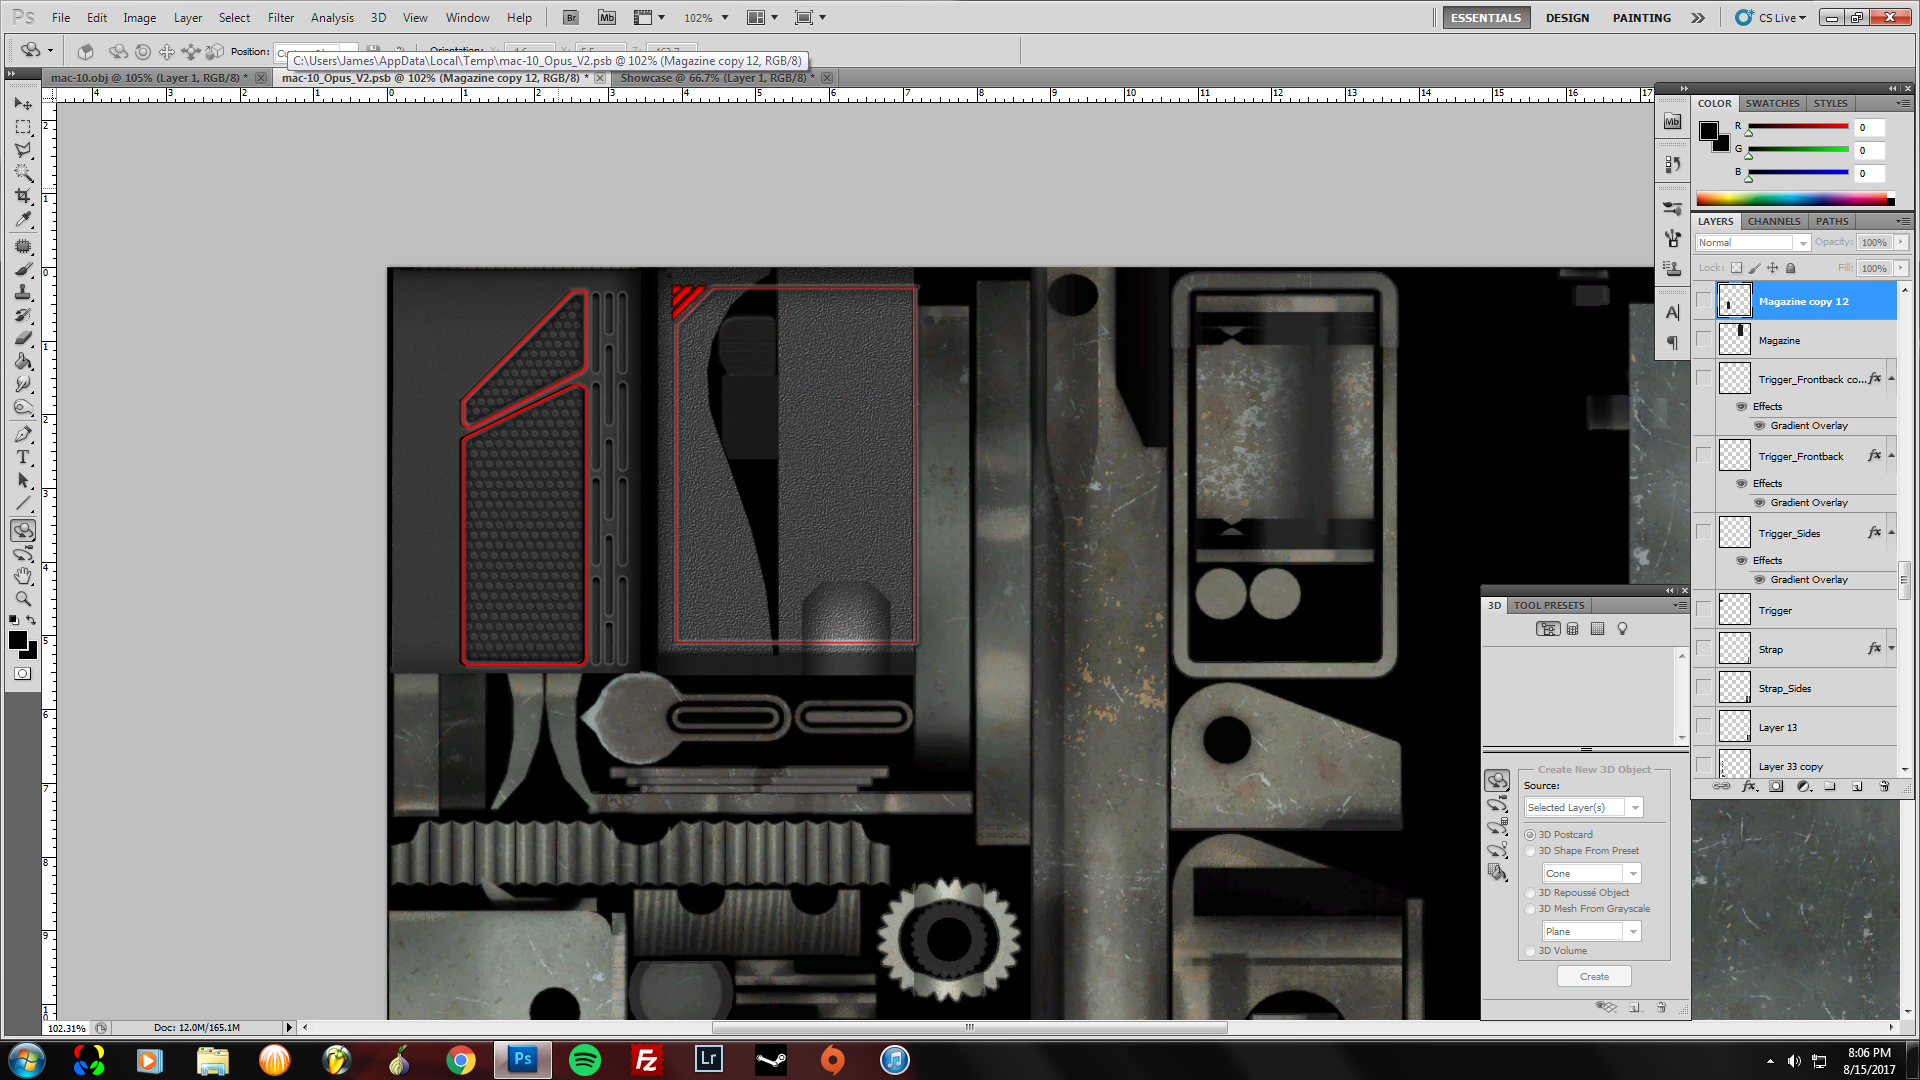
I moved on to a different part of the gun, but something that was adjacent, so I could make sure that the design was being tied together through the whole process. So I chose the upper magazine area and covered it in the matte texture. It looked fine being just that texture, but I thought it needed some detail.

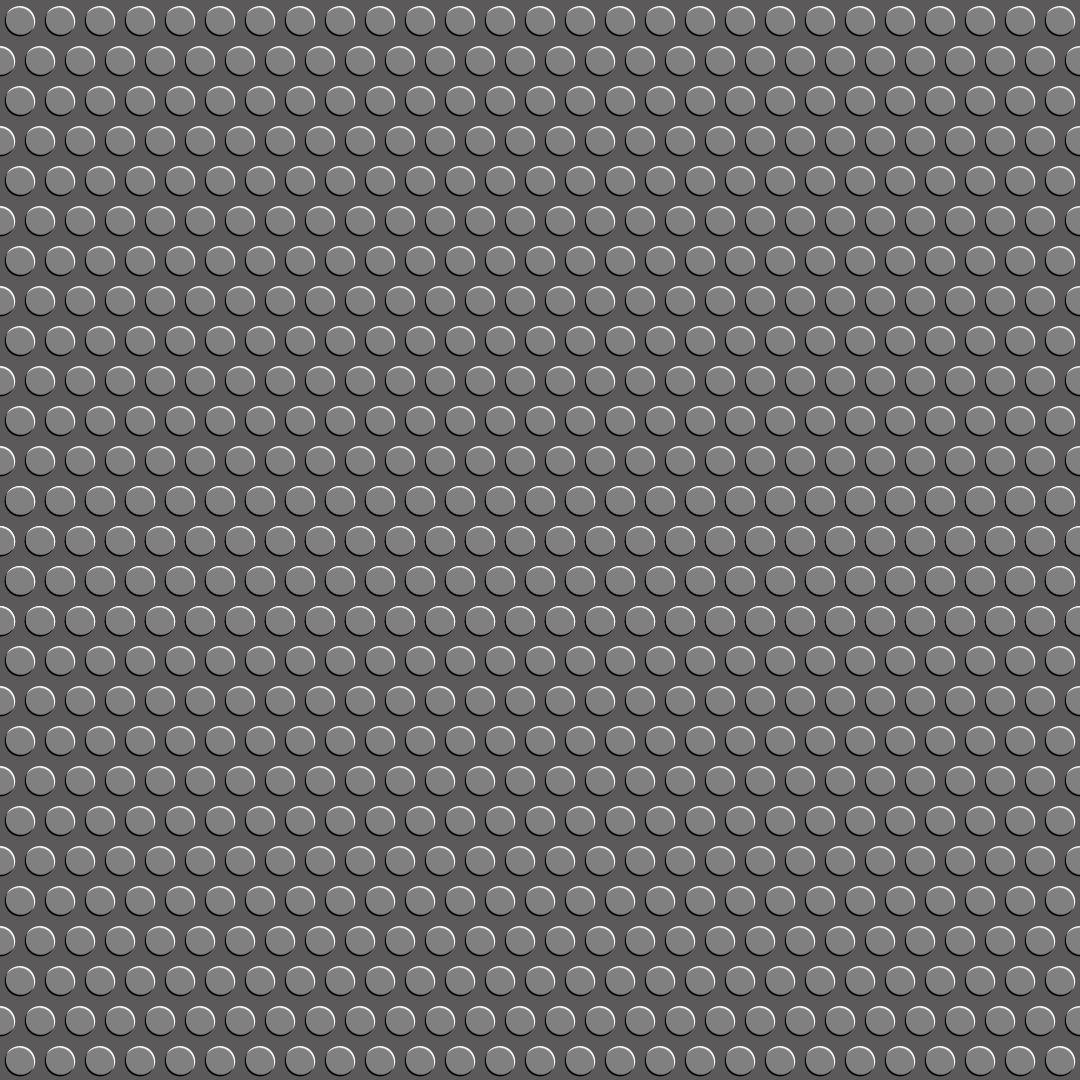
I fleshed out some arbitrary grip shapes and layered them onto my new texture - For some reason I felt that re-using the first grip texture so close was a bit of a cop-out... so I created a circle grip texture using gray circles and beveling.


I added the red faux-stitching and called it a day

It still needed something, cause there was a big gap between the grip and the back, so I came up with this oval pattern that reminds me of venting... and added some inner-shadow and a thin gray line to separate it from the darker parts around it. Here's the final result.

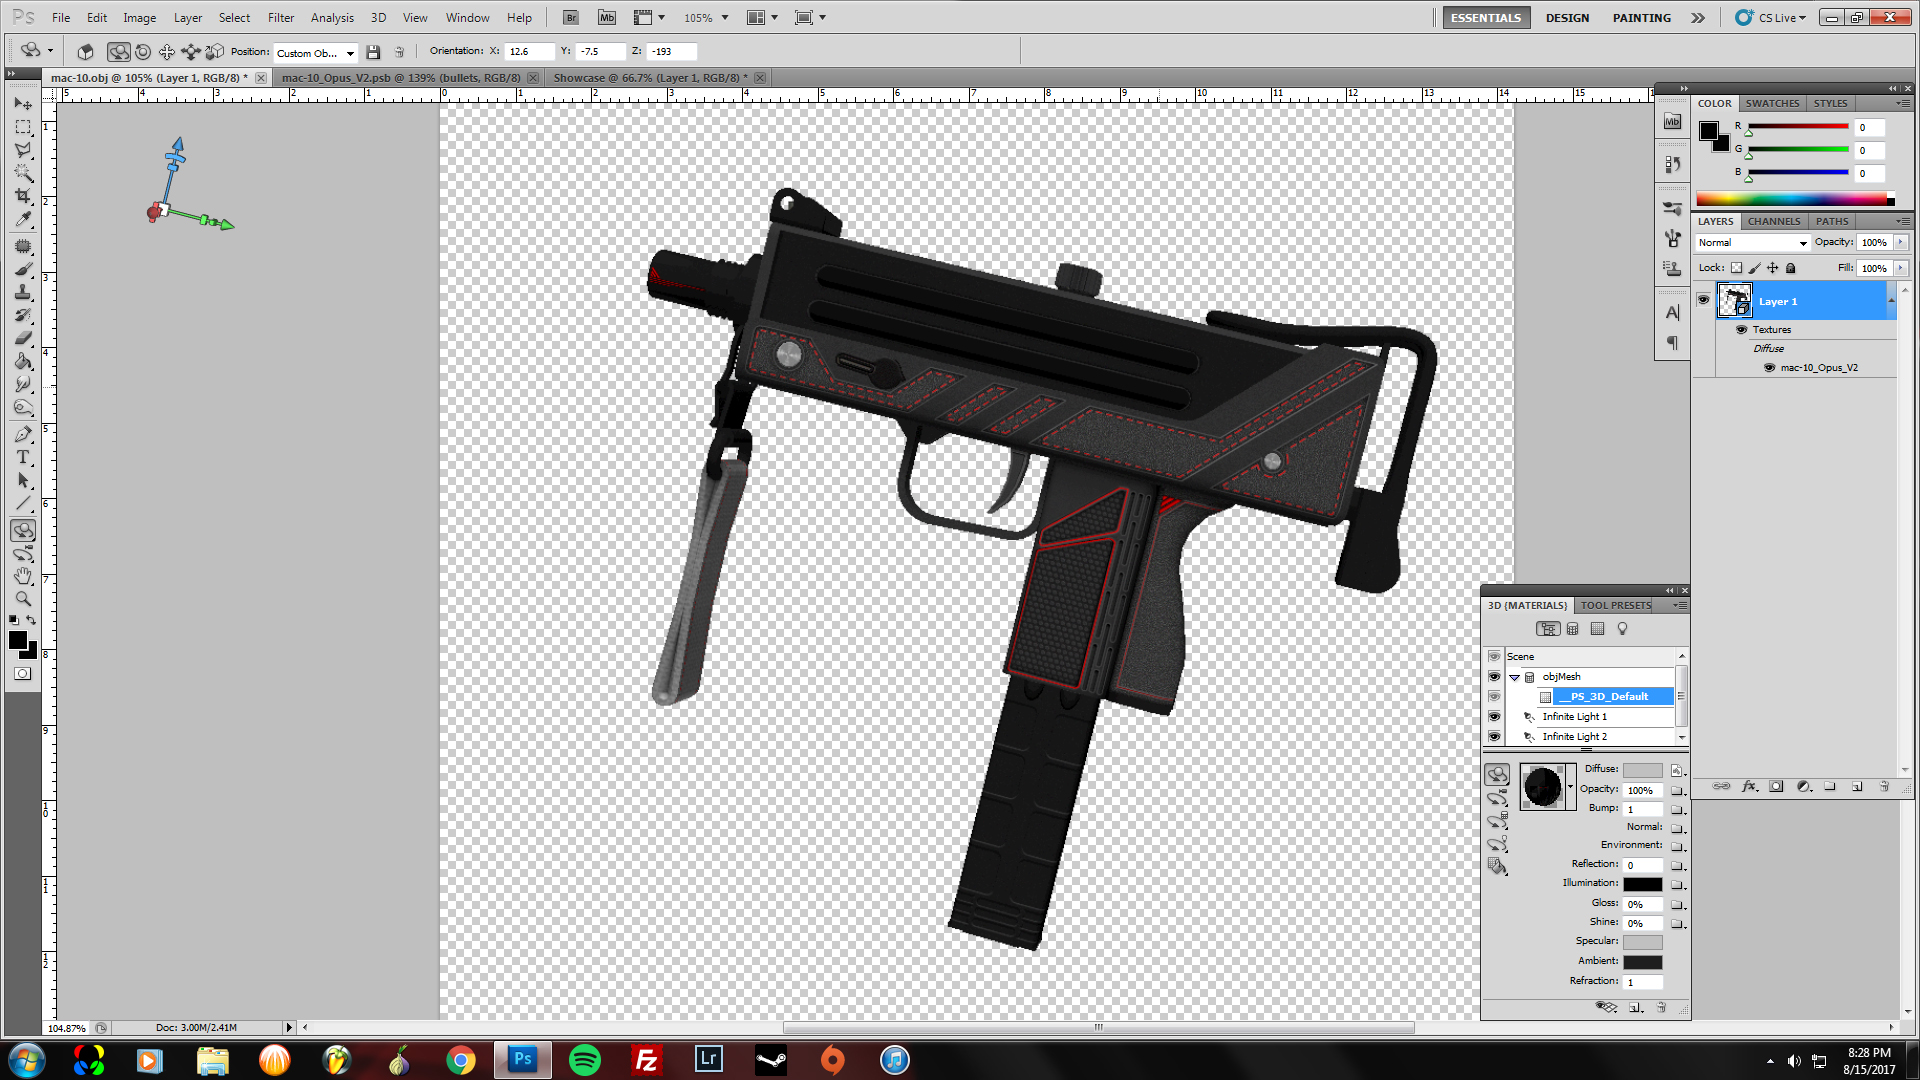
The OBJ so far
Fast Forward
So I'm not trying to skip over important details, but I also don't want to end up having a long-winded guide.

Use of the Matte Texture
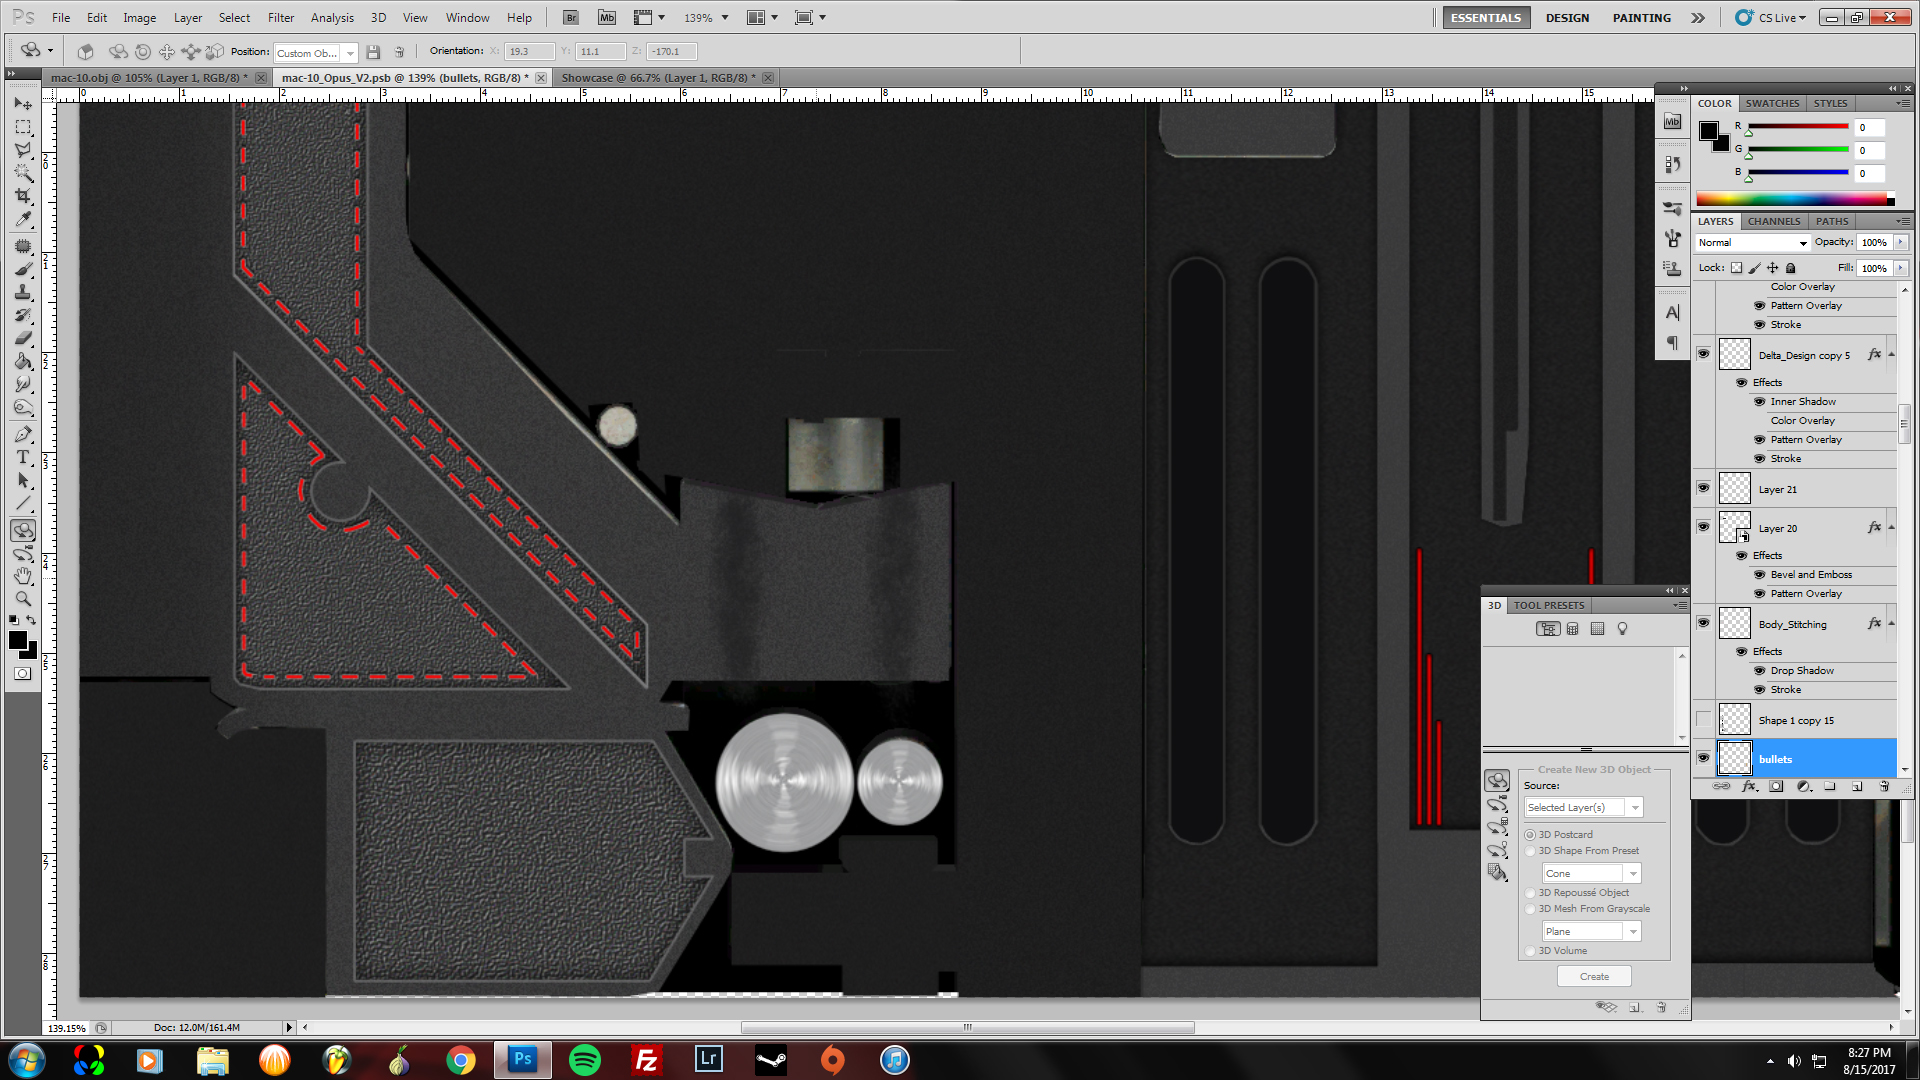
Next thing I did was to choose parts of the gun to get the Matte texture. The lower part of the main body. It looked nice, but also kind of bland. So I masked off a design that fit the gun (In my eye) and covered it with my stock grip texture, followed by red faux-stitching.
Now I'm sure there is probably a way to create a dotted line from a path in photoshop, but I did the hard method of creating a mask and moving along the line and erasing bit by bit. It took about 20 minutes and was kinda tedious. But it serves it's purpose and looks like stitching.
Why I chose to omit stitching on the backside is something I'm not sure of. I think it looked like it was overkill to have that much red, but who knows. I did it, so it shall stay.


Altering the Matte Texture
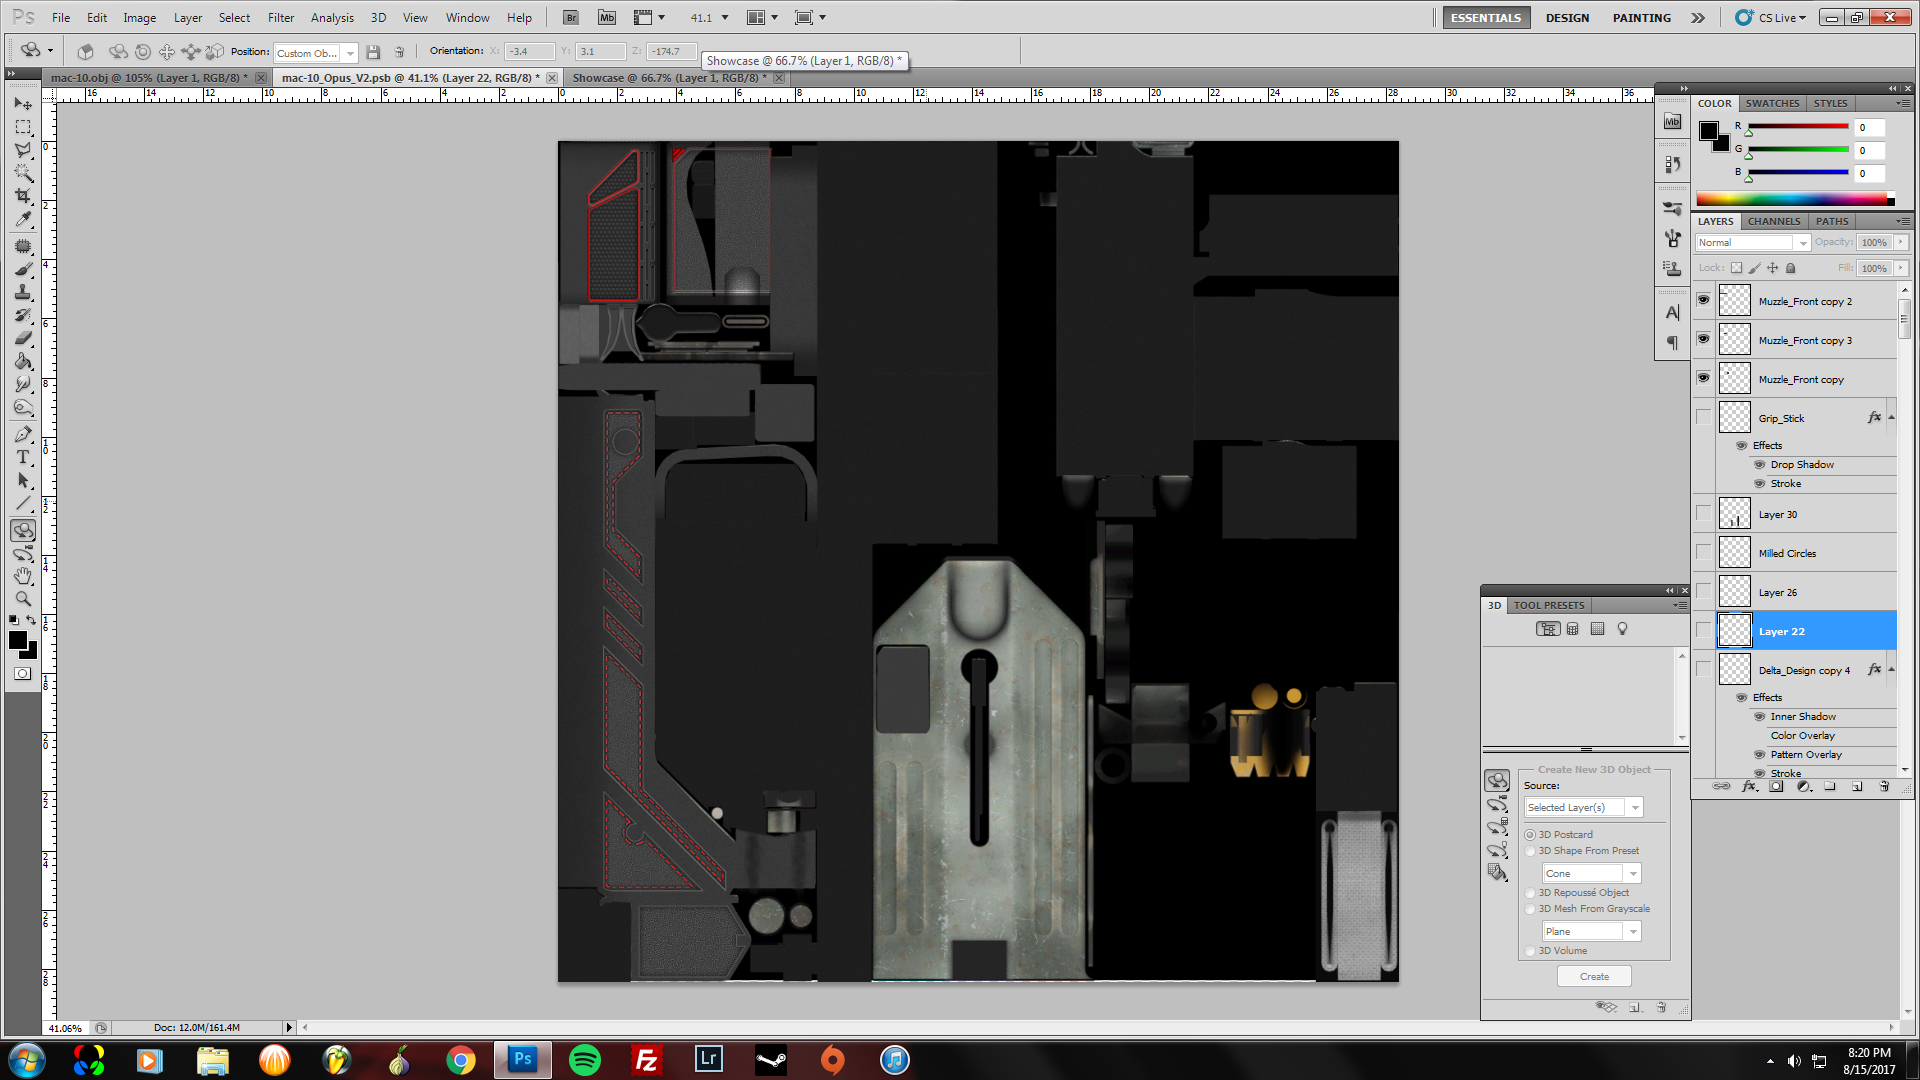
Finally, I hit another block and got lazy and started copying and pasting my Matte Texture all over everything, just to cover the tiny bits that weren't in need of great detail. But it looked dull with the same shade, so I darkened parts of them by overlaying a darker gray. Results below:
The OBJ at this point:
The Upper Body
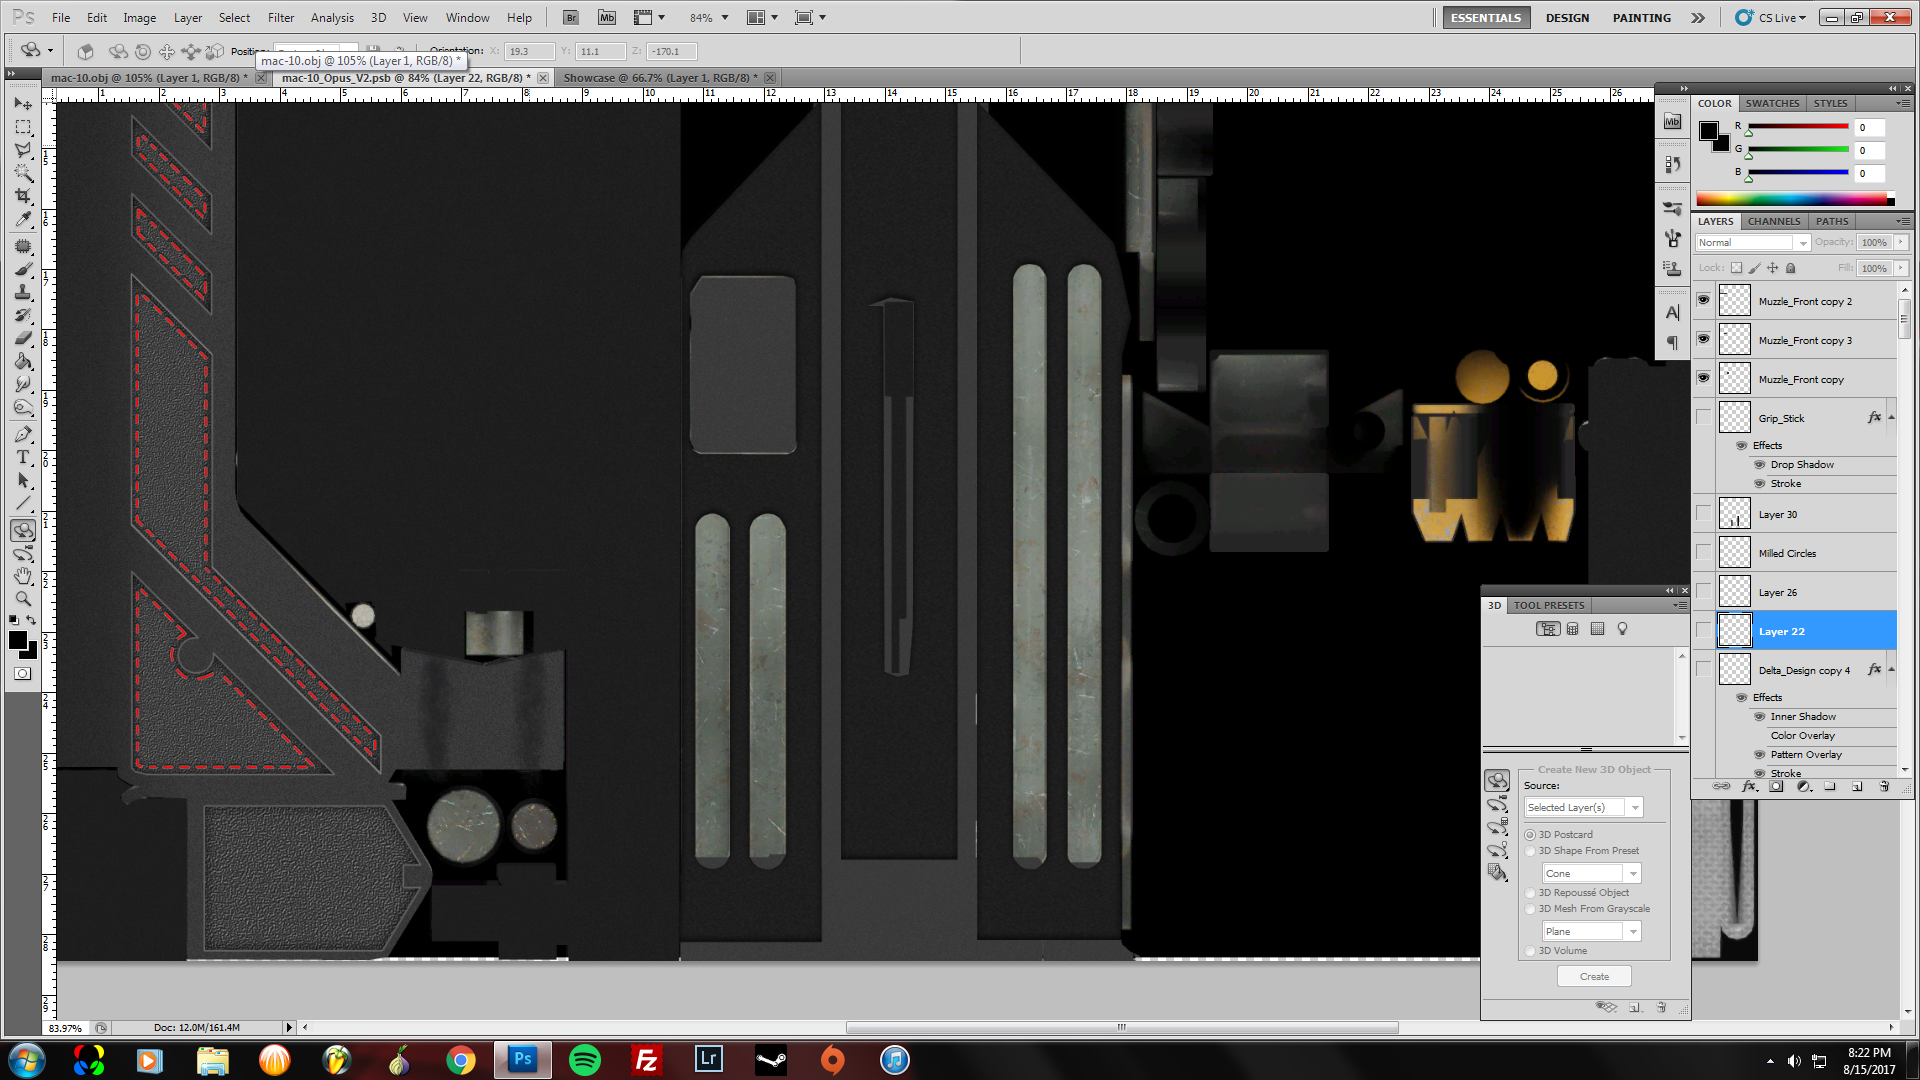
I then added that same dark texture to the top portion of the body of the gun, along with a few details (like the border of lighter gray, to make the darker parts look inset, and give a little depth)
I eventually filled in the rails with an even darker color... I toyed with the idea of putting a texture there, but all the ideas came out cheesy looking, so I stuck with a flat black coloring (Which you will see later.

The Magazine Details
I was looking for something to set the magazine apart, while making it look semi-authentic/realistic. After looking online, I found this design. I used a layer with 0% fill and beveled layer styles to create the pattern you see in the picture below. I was proud of this one!

Color and Accents
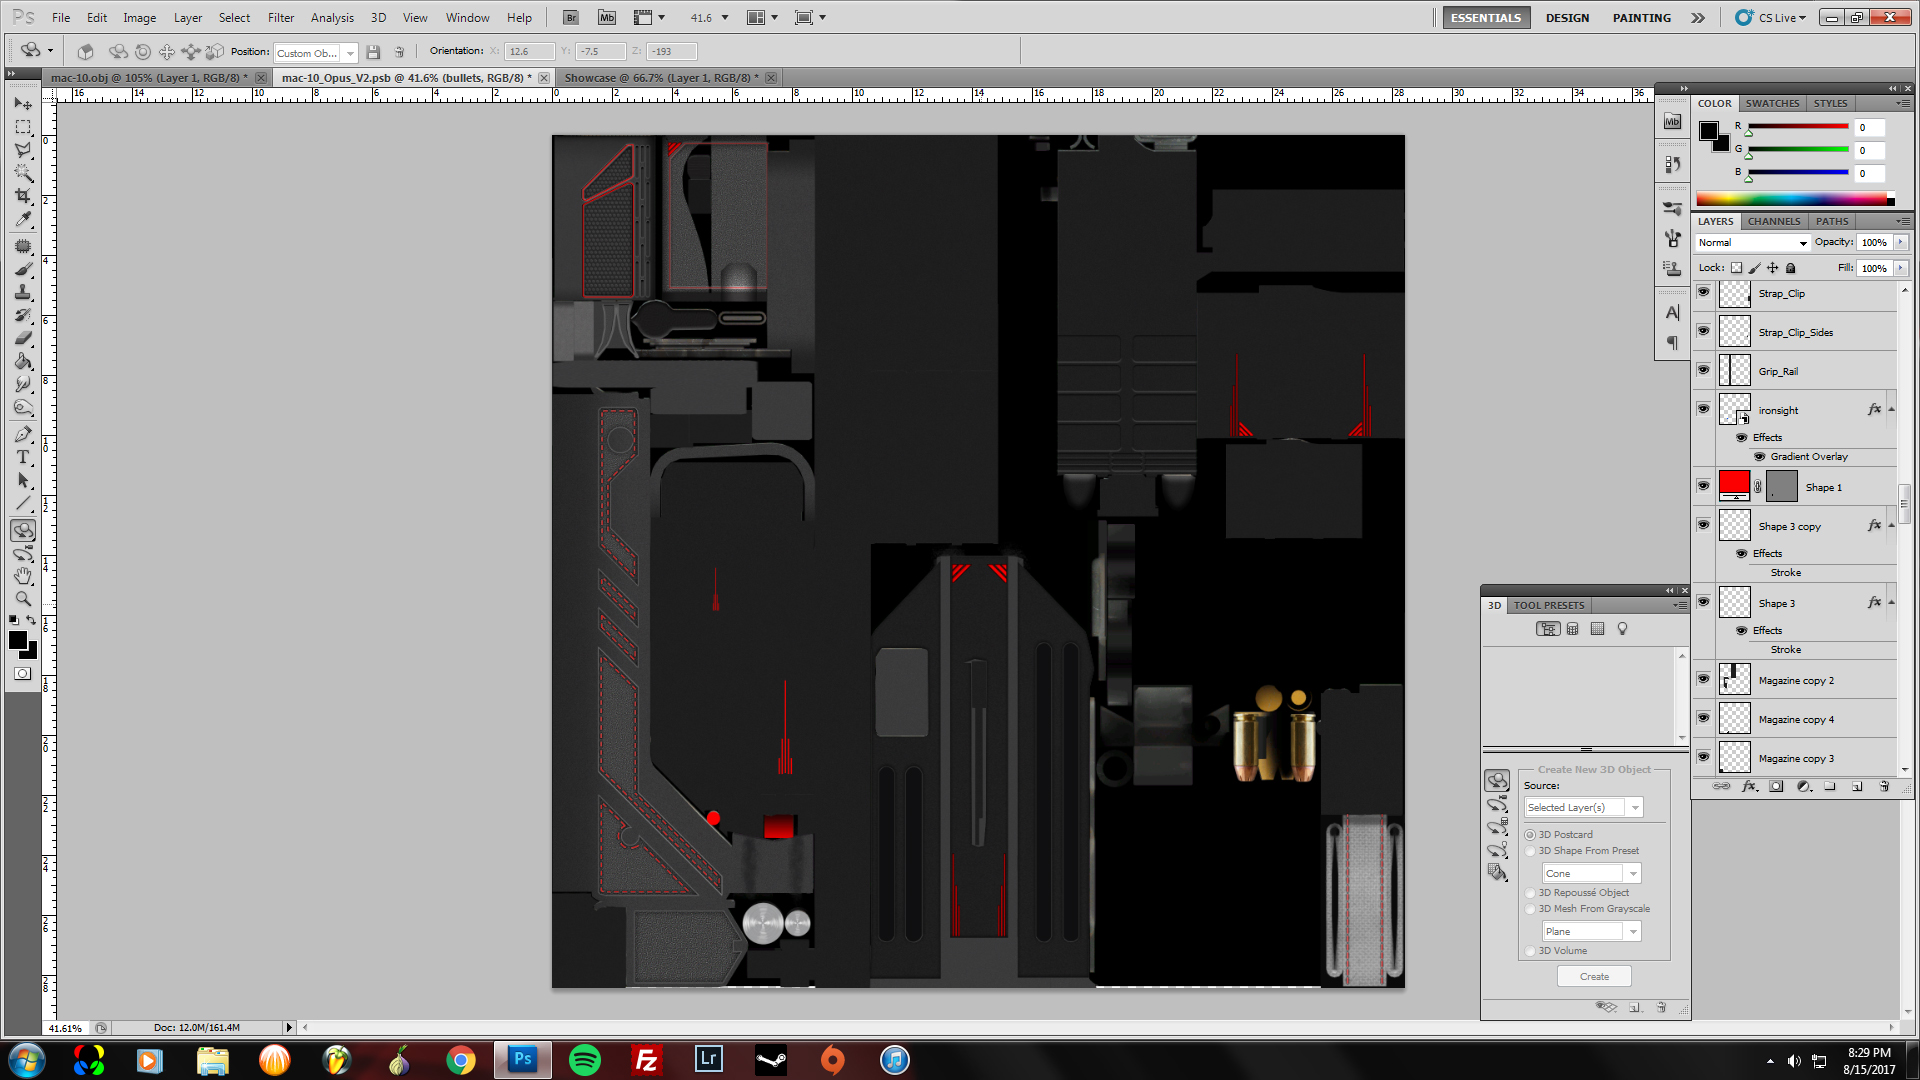
The gun and design were coming together. At this point, it's been a week's worth of work - couple hours at a time. I've come to the conclusion, from my 1st red shape on the grip, that grouping of 3 red stripes was the motif. So I copy and pasted the tri-delta symbol on a couple of places and drew some lines that I felt provided a nice contour to the Mac-10.

Little bit o' zazz
I wanted to see if I could make circles that looked like they were milled. So I took a gray circle, added some white arbitrary brush strokes, and then blurred the whole thing in a radial fashion to creat these.

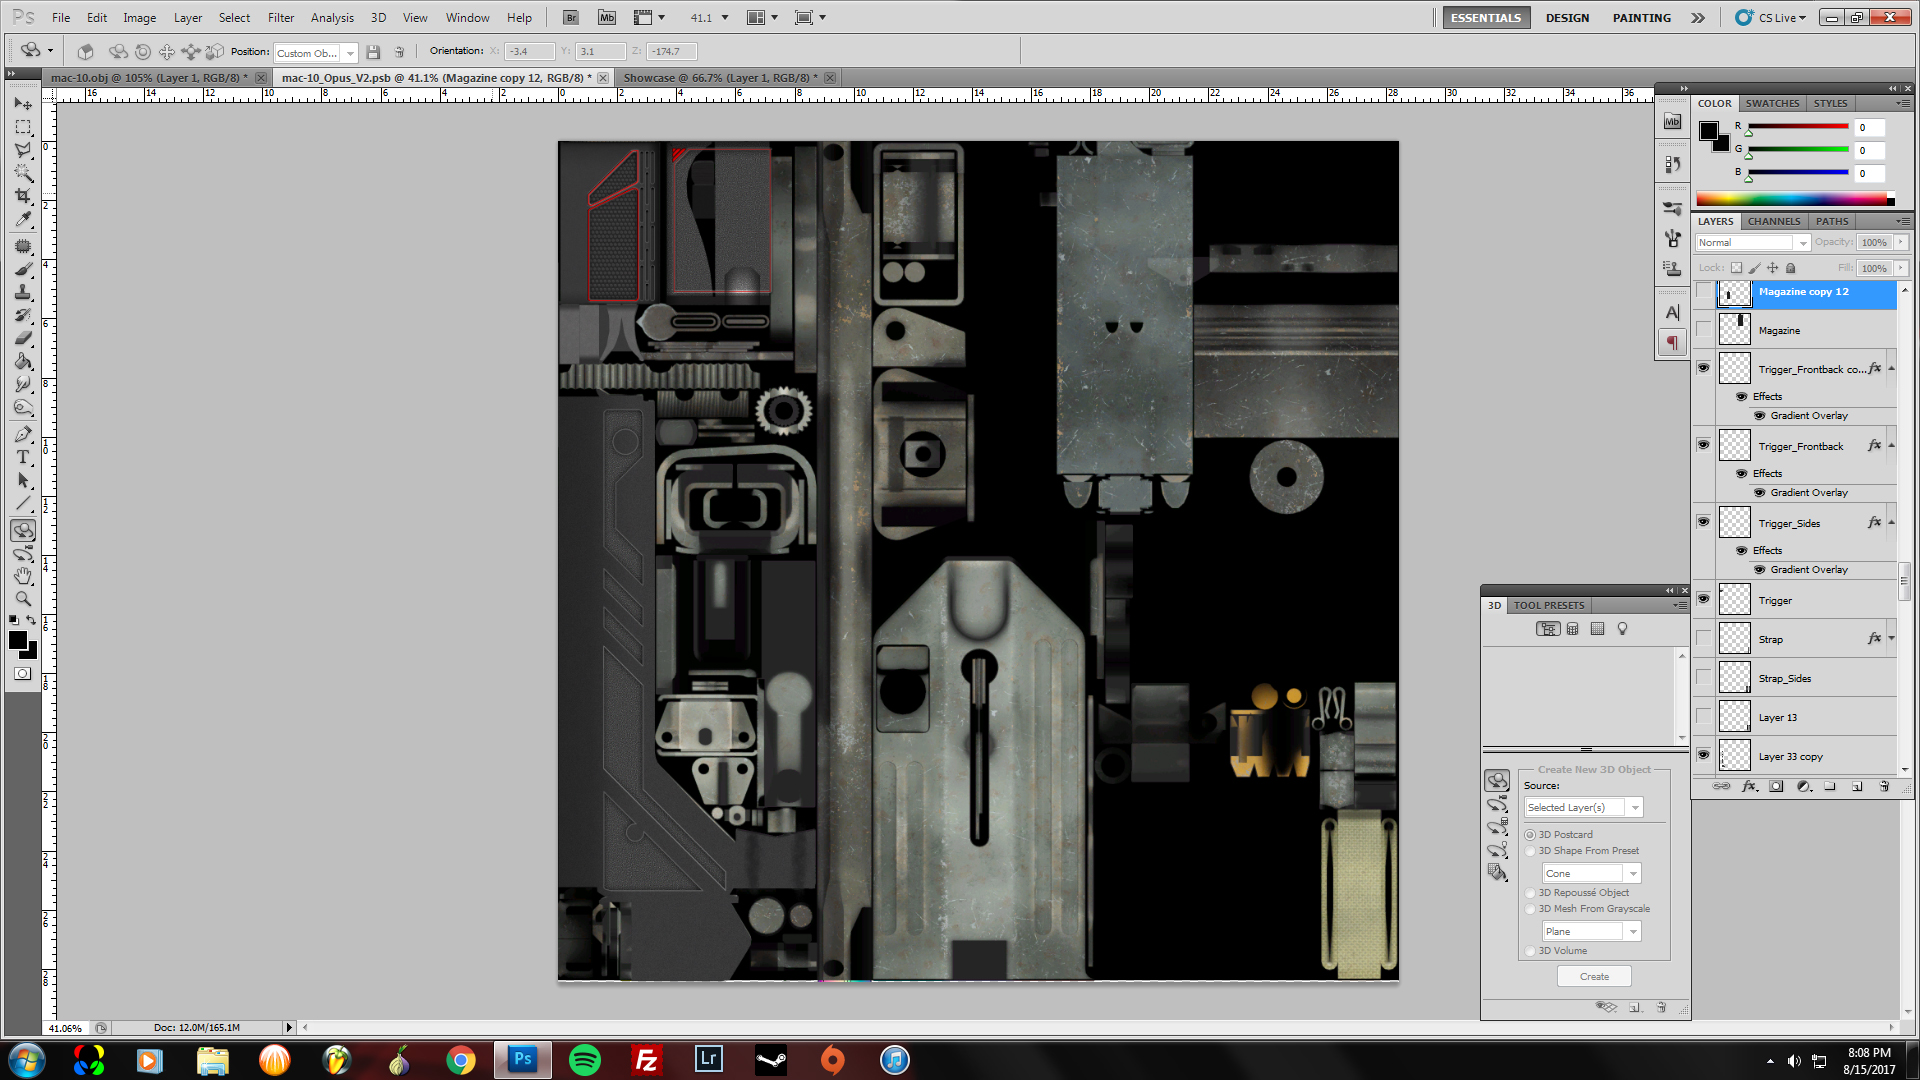
So Here's what I have up til this point:
Final Details
Little Details
  • Added a gradient from black to red on the iron sights
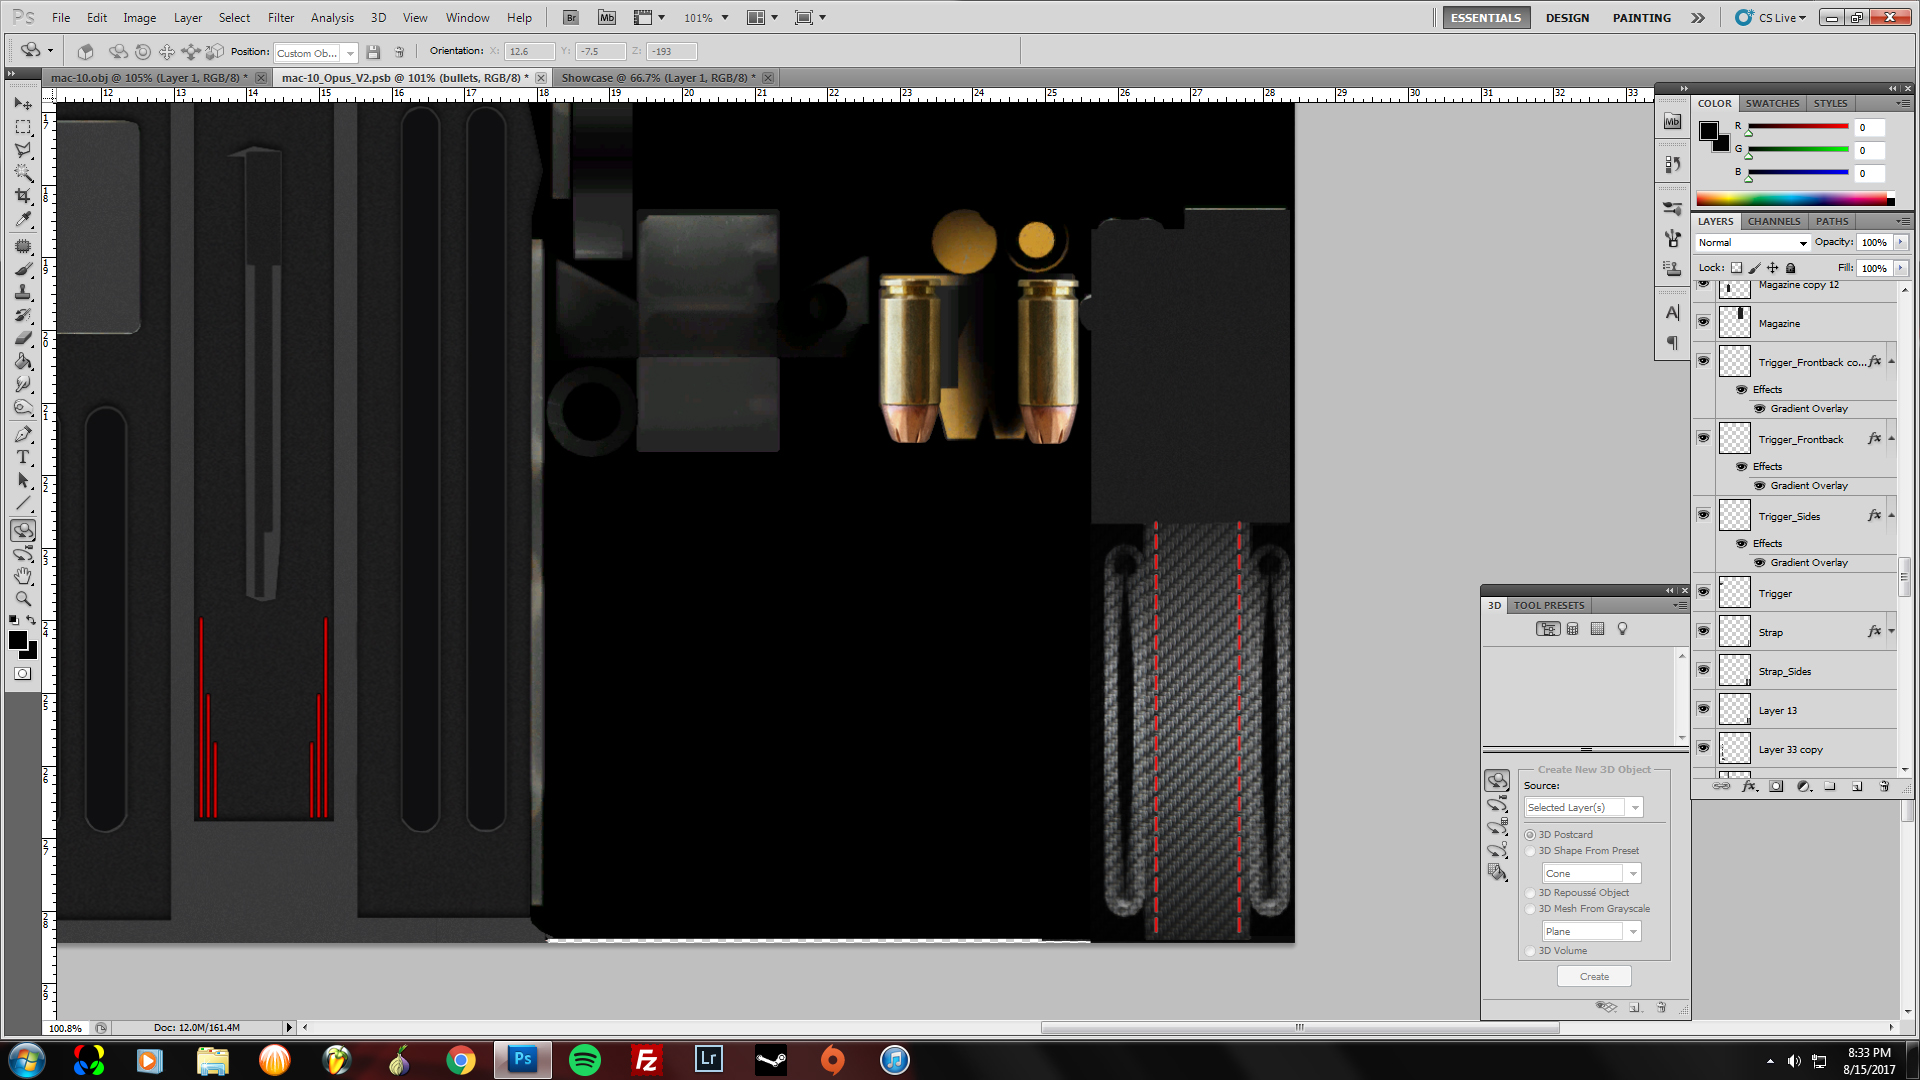
  • Added carbon fiber texture to the front grip strap
  • Added some red stripes to the "bolt" area on top of the Mac-10
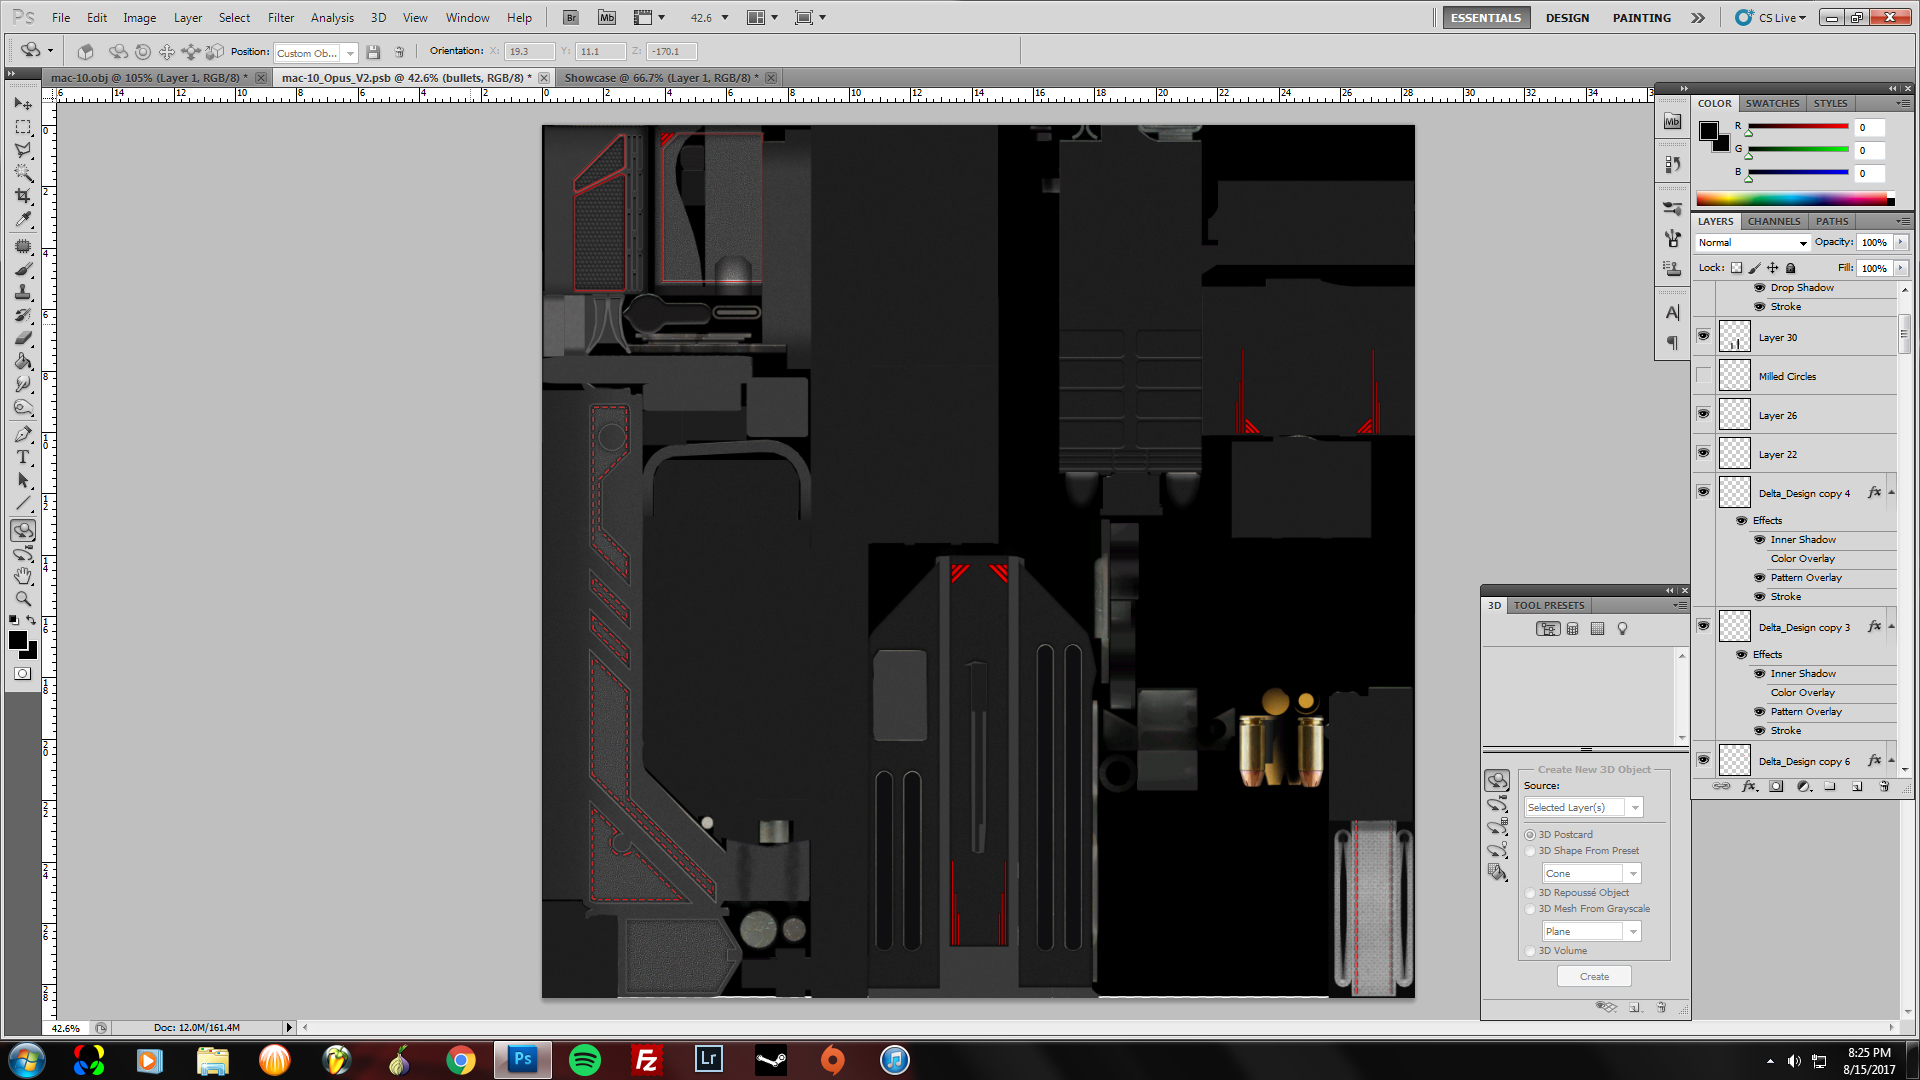
  • Added realistic bullet textures taken from a photograph I took.
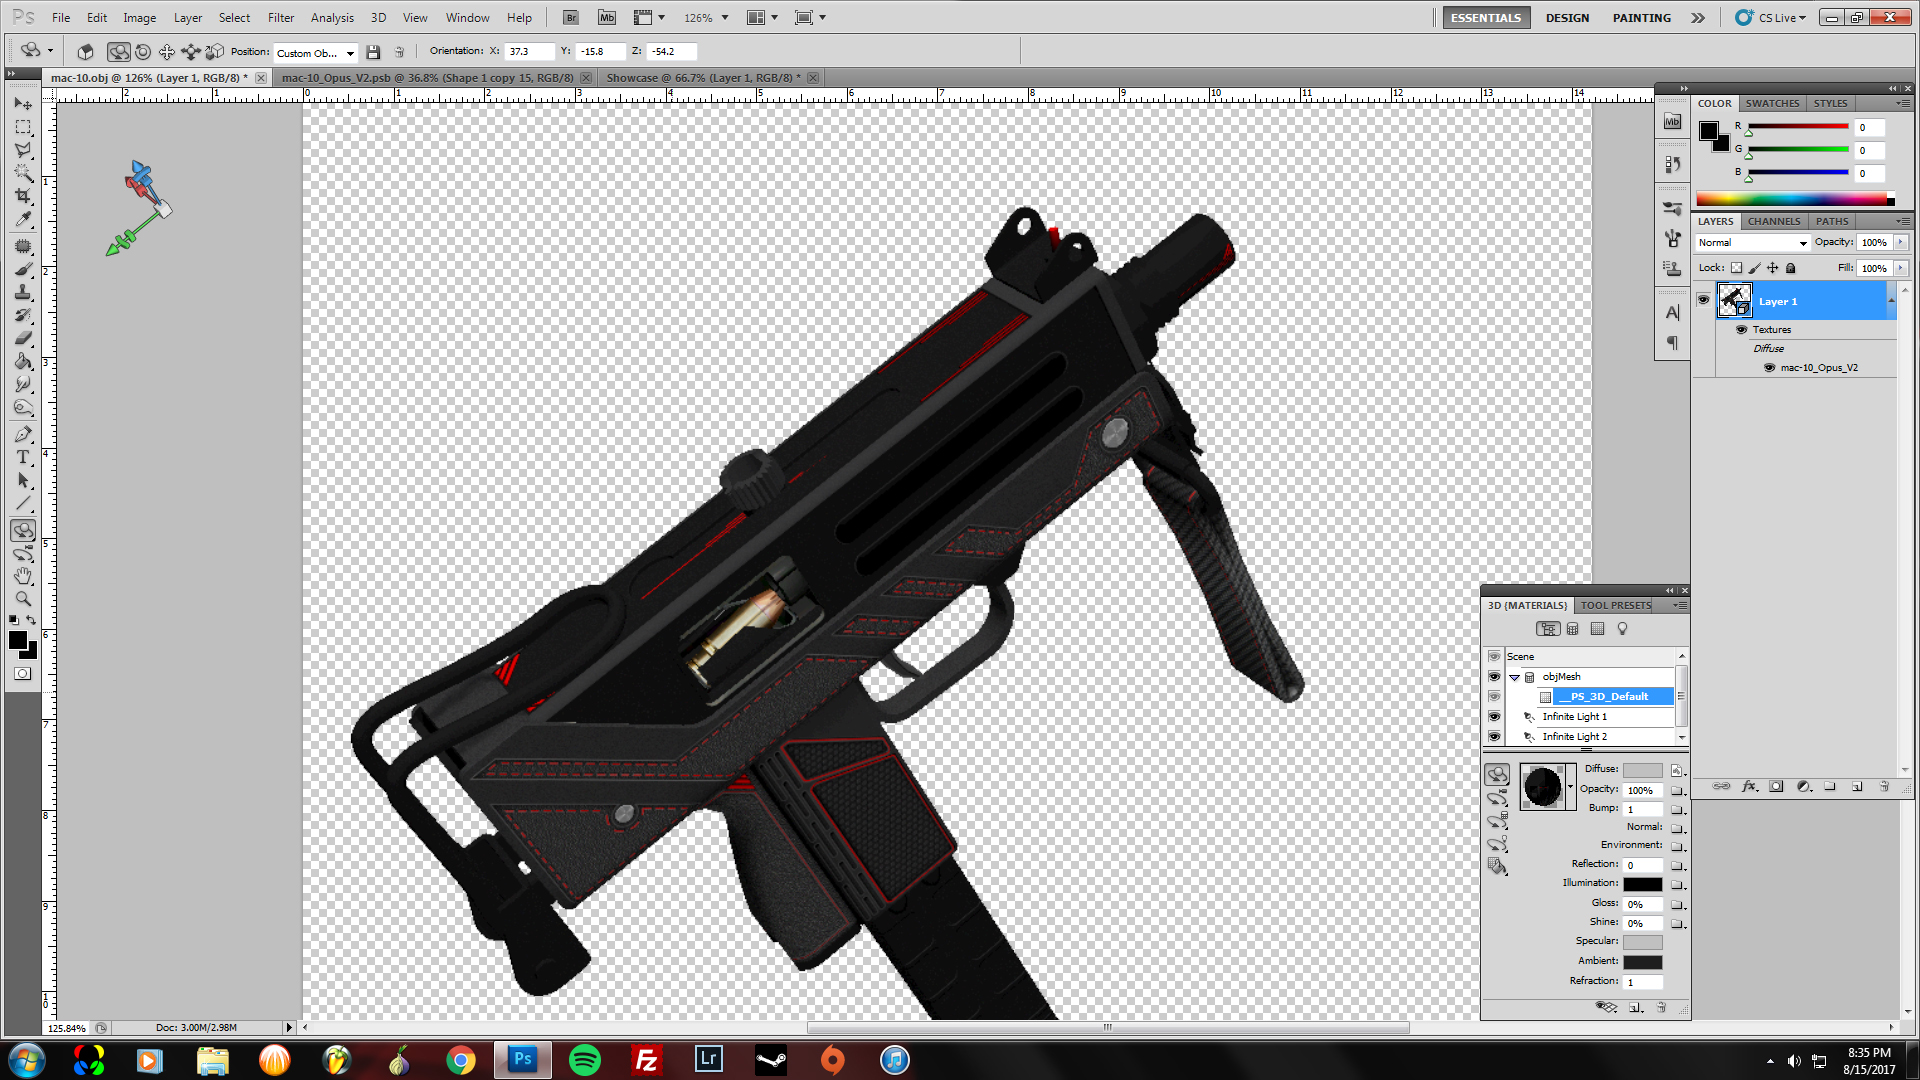
I'm aware that it may be hard to interpret just from looking at a UV sheet. If you look closely, you'll see these red stripes arbitrarily placed in the middle of a field of dark gray. But they line up perfectly when transferred onto the model.
Getting Close:

The Last Touch
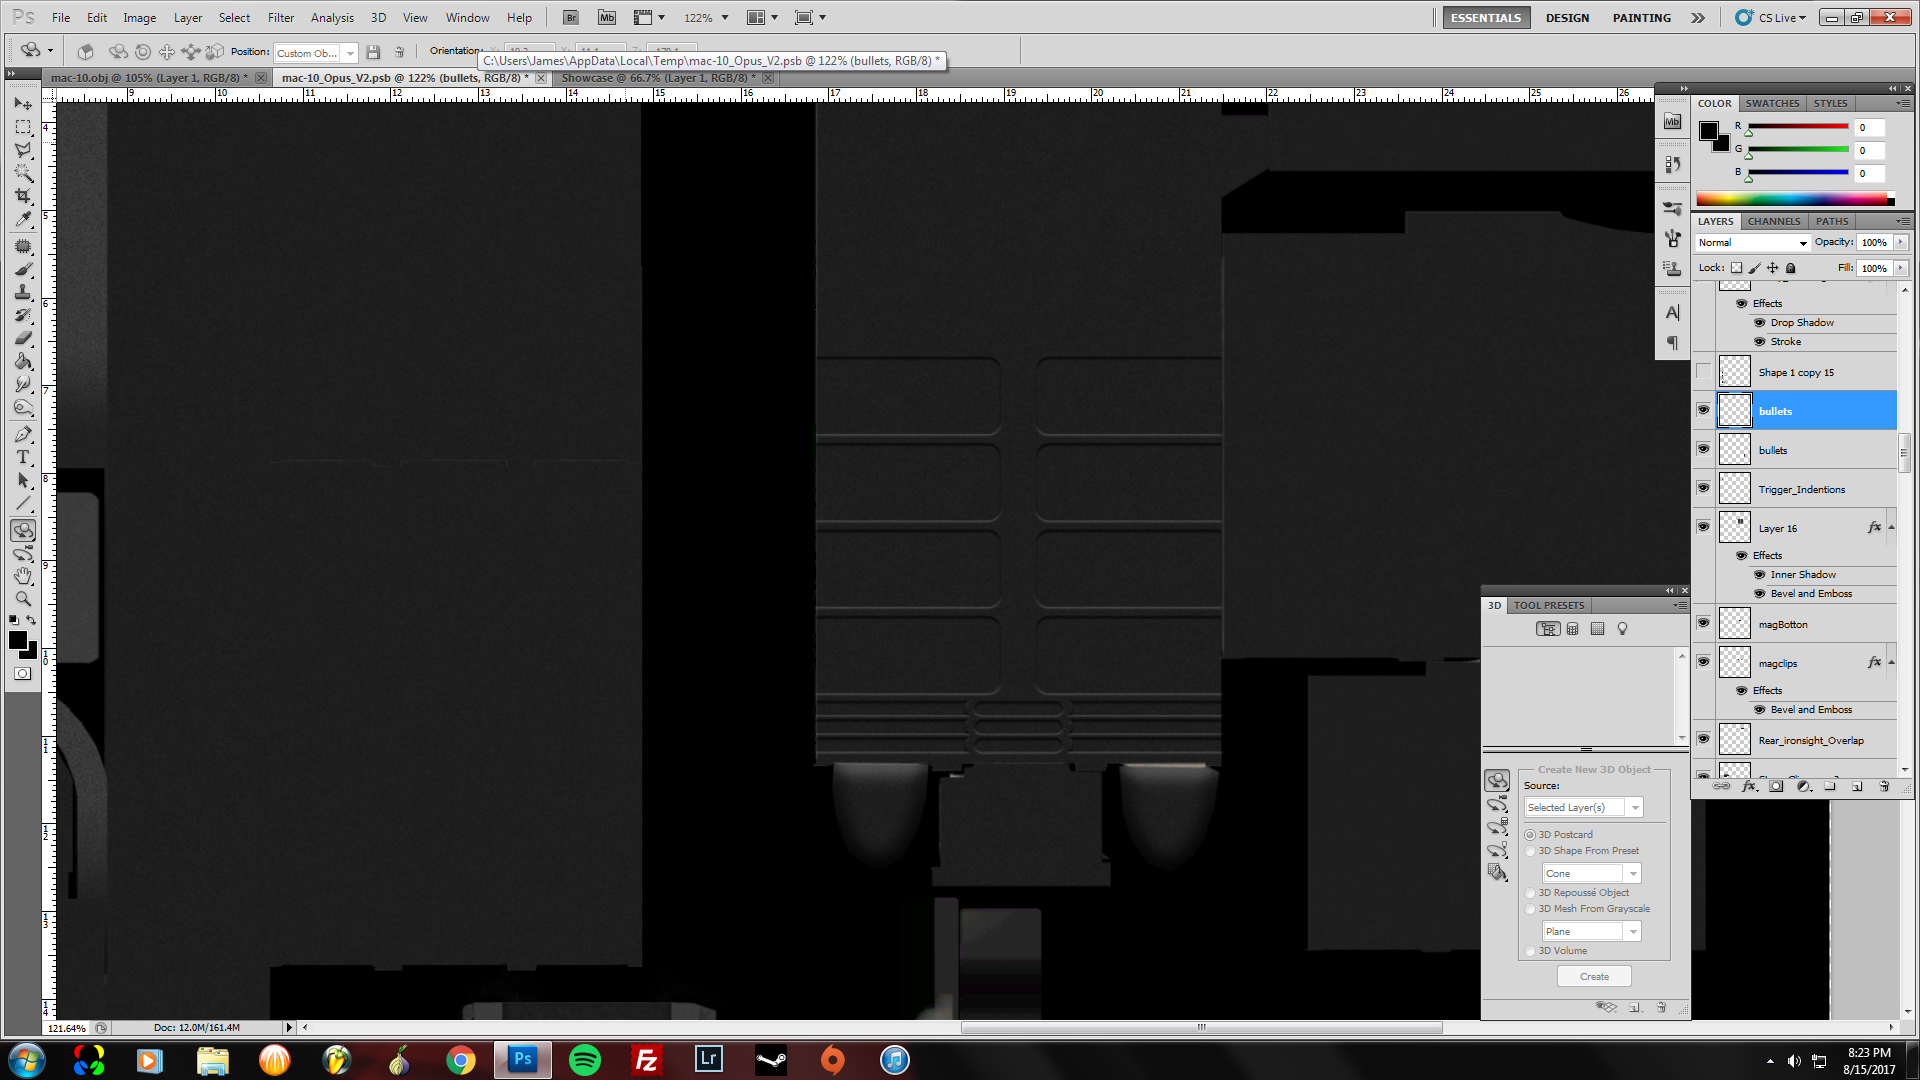
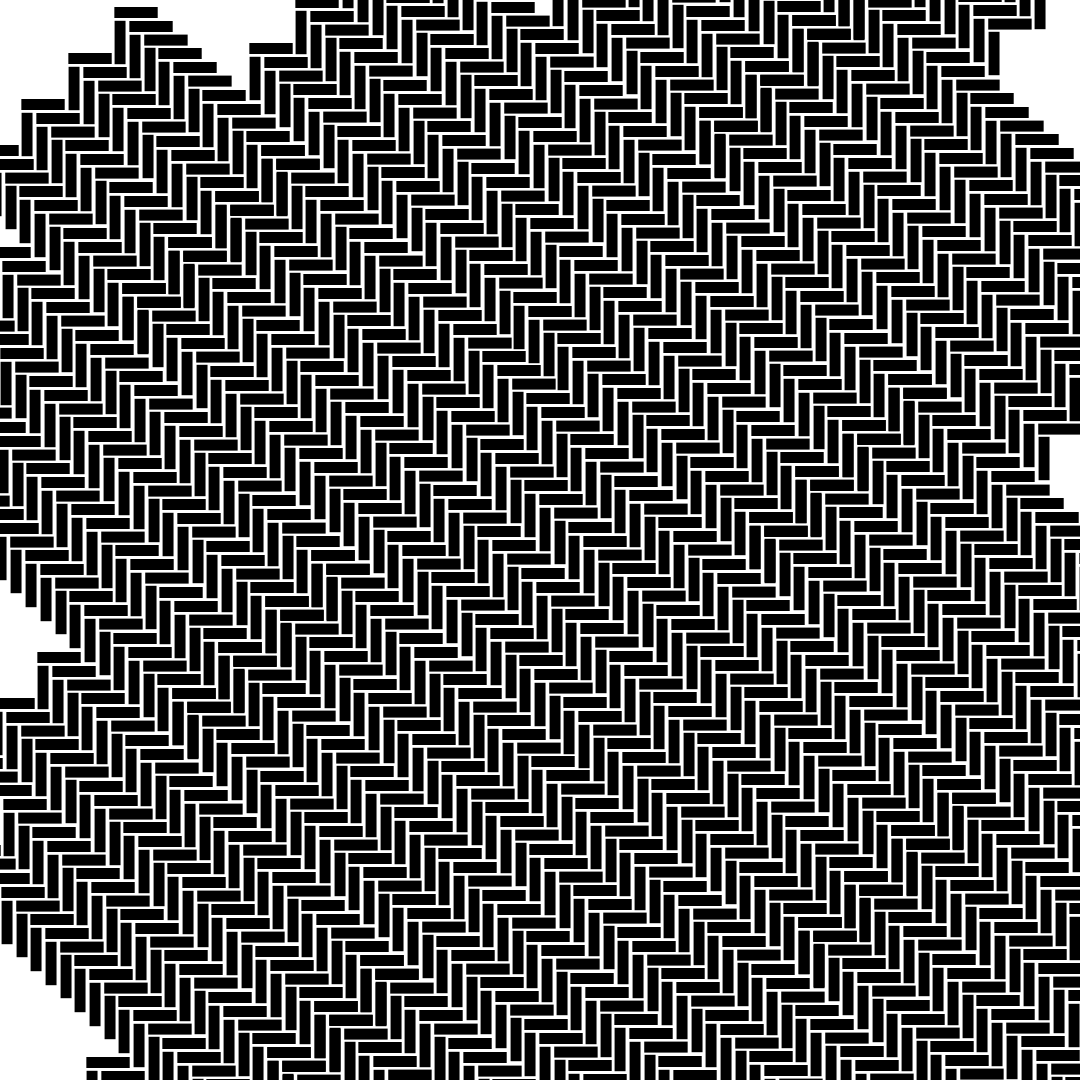
It needed something else. What does it need? Hmmm... I decided on a subtle tessellation within the "grippy" texture. something simple.... Rectangles. I created this pattern and applied it to all the sections of grip texture using a layer mask. Dropped the opacity to 40% and voila!


THIS ISN'T EVEN MY FINAL FORM
...but it is, cause I already submitted it.

I could probably spend a life-time nitpicking and editing. I had to call it quits. This is my 6th attempt at gun skinning. This design is even a spin-off of another that I put up.

Mac-10 "Opus"

I'm not posting these to necessarily get votes or to sell my stuff. I'm just sharing a part of the process. It seems like some of these designers just come out of the woodwork with amazing work and there's no telling how they got to be as good as they are. I want to know... I want to pick their brains!!
A Few Extra Thoughts
Recycling
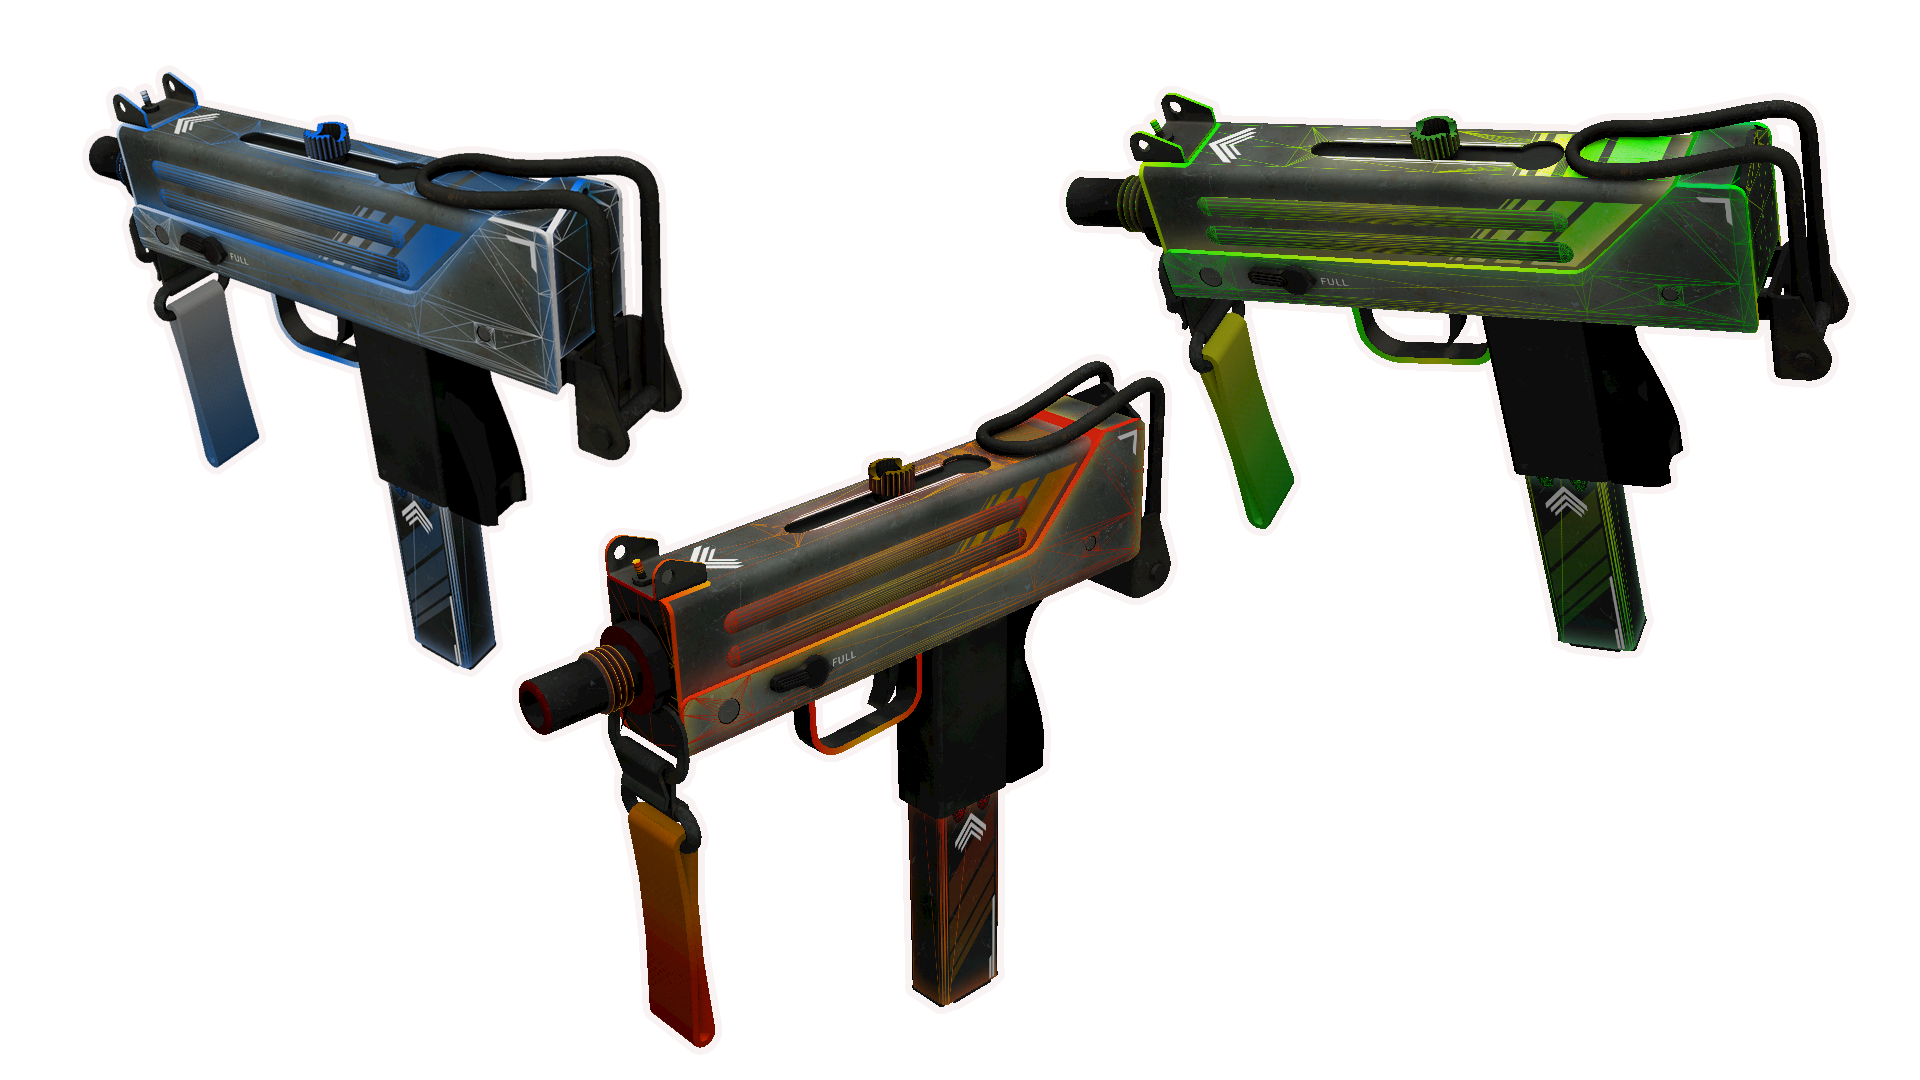
These were my first 3 designs:
  • Fire-Frame
  • Freeze-Frame
  • Caustic
These were all based off one design scheme (Obviously), but with the .PSD intact, I was able to go back and just alter the colors to create completely different "feels" for the guns.

Digitizing My Own Physical Art
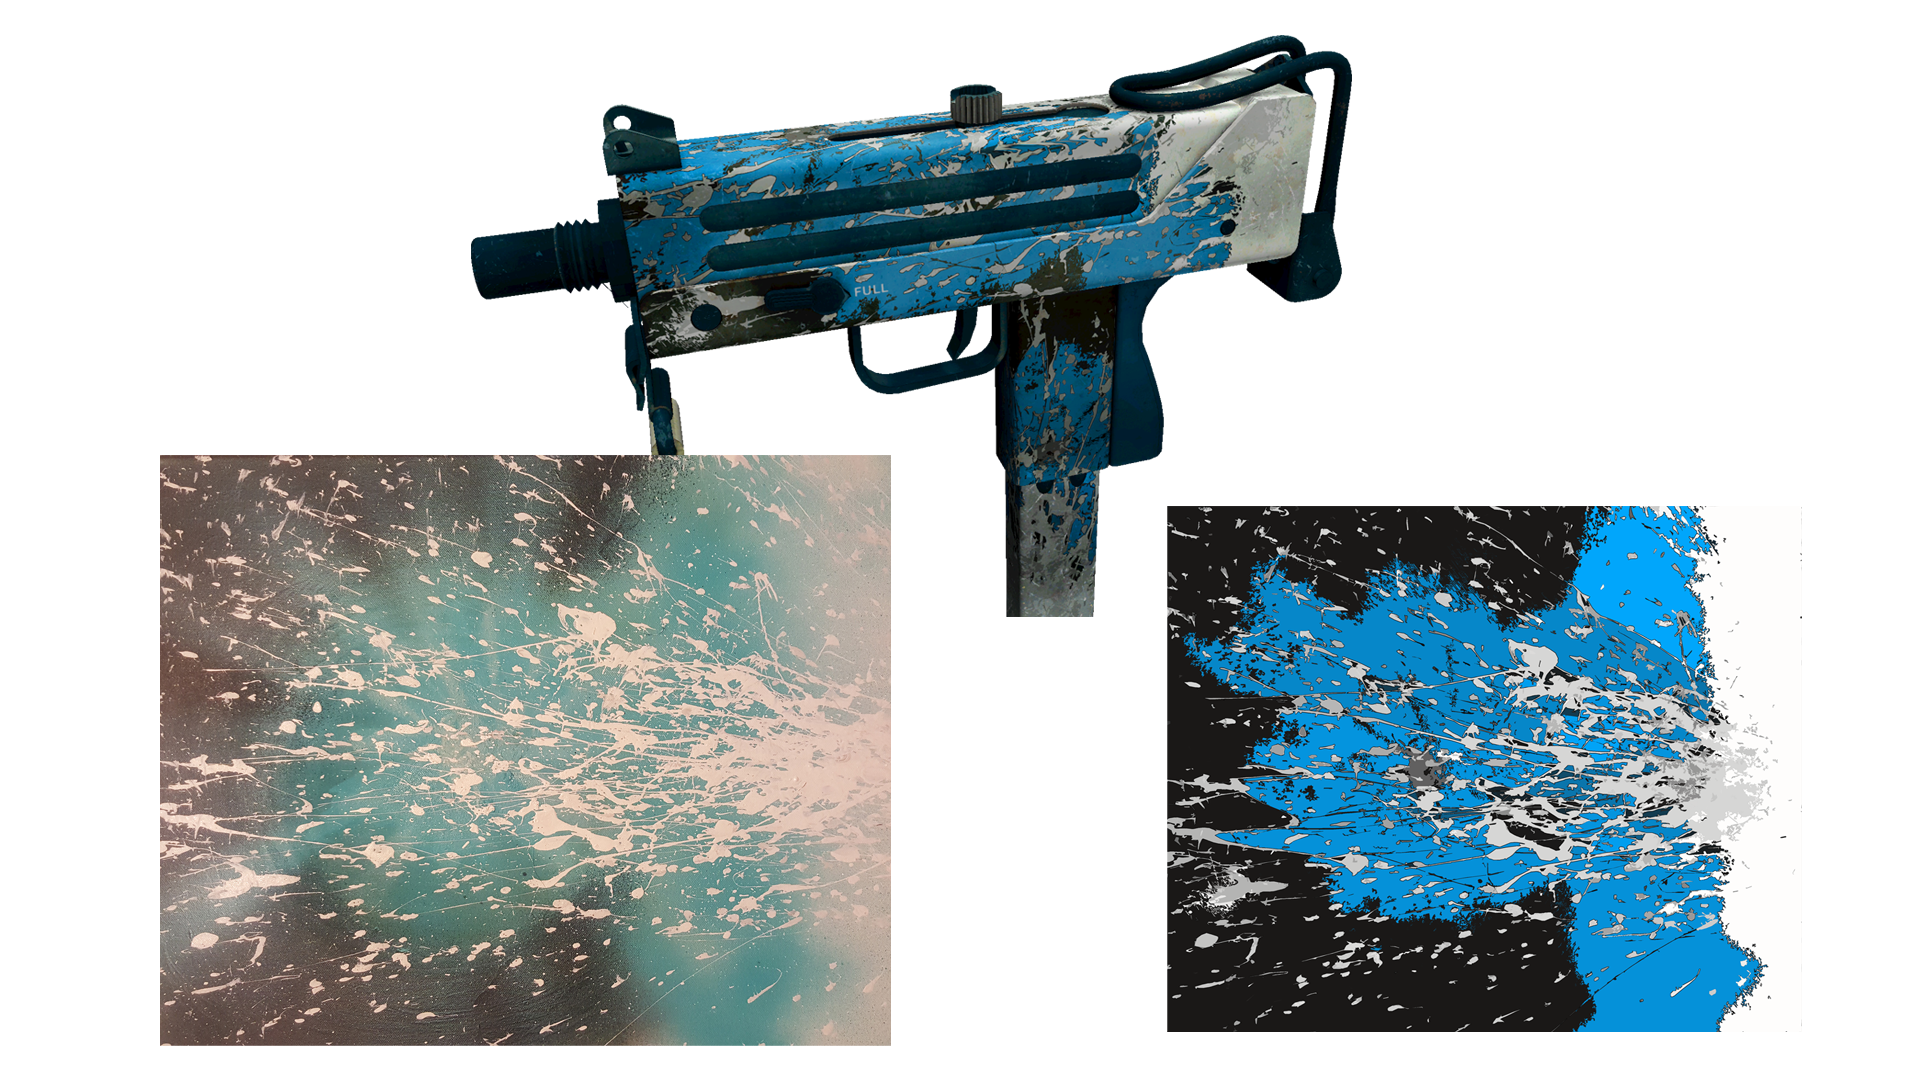
Then there was my next experiment. I took a Pollock style painting that I did, digitized the art, and applied it to the gun. I later found out that it was not even remotely an original idea, but the following through on the thought process was rewarding in an of itself... but frankly, the gun doesn't look good at all. But you gotta make mistake to learn... right?!
Thank You!
Like I said, I have yet to see a guide about the creative process. My process might not be as clean or well thought out as yours or some other people, but here it is laid out. I would have found this helpful when first starting out.

And I invite an open discussion. I really want to know how people approach the art of skinning 3d models and where they get their ideas and inspirations.

Please feel free to start a discussion, give me feedback, or ask any questions.

Thanks guys,
James B.
2 Comments
[UA/SK] Divine Lotus 1 Jul, 2019 @ 10:13am 
For anyone that use GIMP (pasting my info to relative guides):

I recommend looking into the official Valve SDK Documentation for insight on how materials work in CSGO's Source engine, linked below:
GIMP alpha channel
https://developer.valvesoftware.com/wiki/GIMP

GIMP Alpha channel: https://m.youtube.com/watch?v=LQCziSTNJgQ
https://www.youtube.com/watch?v=A9aZdPqs17M

Using GIMP VTF plugin?
Be sure you're using GIMP 2.8.0

Not using it for GIMP? Follow this: https://developer.valvesoftware.com/wiki/Creating_a_Material

I have a wiki going on here that relates to the process of making skins / modding: https://gtm.steamproxy.vip/sharedfiles/filedetails/?id=1501754039&searchtext=Wiki

Always try to read the manuals in anything, because they often give you insight and the proper foundation of how to handle things which most people don't care to look. They miss the good stuff
[UA/SK] Divine Lotus 1 Jul, 2019 @ 6:35am 
Great guide and finished callout